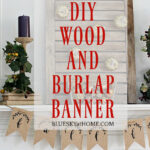
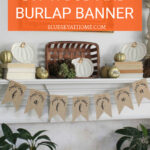
How to Make a DIY Wood and Burlap Fall Banner
Do you like banners for seasonal and holiday decorating? They are such easy DIY projects for all sorts of events and seasons. Today I am going to show you how to make a DIY wood and burlap fall banner.
I’ve been sharing several fall decor ideas lately. I think you will like this DIY wood and burlap fall banner. It’s a really easy, cute one.
Have you ever made a banner? If not, I’m sure you will be tempted to make this one. If you have made a banner, you will love to make this one.
As I think about preparing our home for this fall, I wanted to include some good old fall DIY projects.

Do you want step~by~step instructions for DIY projects? I hope so. You know that I love showing you how to make home decor projects for your home.
You may have seen my most recent fall banner, also made with burlap. For that one, I added fabric as the other main element.
For this week’s fall~focused blog hop hosted by Juliet of A Loverly Life, I thought you would also like to have another fall banner option. So I’m showing you an earlier one I made ~ this DIY wood and burlap fall banner.
This DIY wood and burlap fall banner really speaks to my love of teaching and sharing and home decor for the seasons.
The inspiration for this DIY fall banner came when I found a package of wood pennants at Joann several weeks ago. I have a soft spot for DIY projects with wood, such as the wood tags I made for a fall tablescape.
I knew that I would make them into a banner. It wasn’t until I searched through my office for other supplies that I came up with the idea for the wood and burlap banner. So let’s started.
For your convenience, this post contains links to products that I love, used, and highly recommend. If you should order any product from this site, I may receive compensation, but you don’t pay a penny more. Thank You!
HOW TO MAKE A DIY WOOD AND BURLAP BANNER
SUPPLIES FOR THE DIY WOOD AND BURLAP BANNER
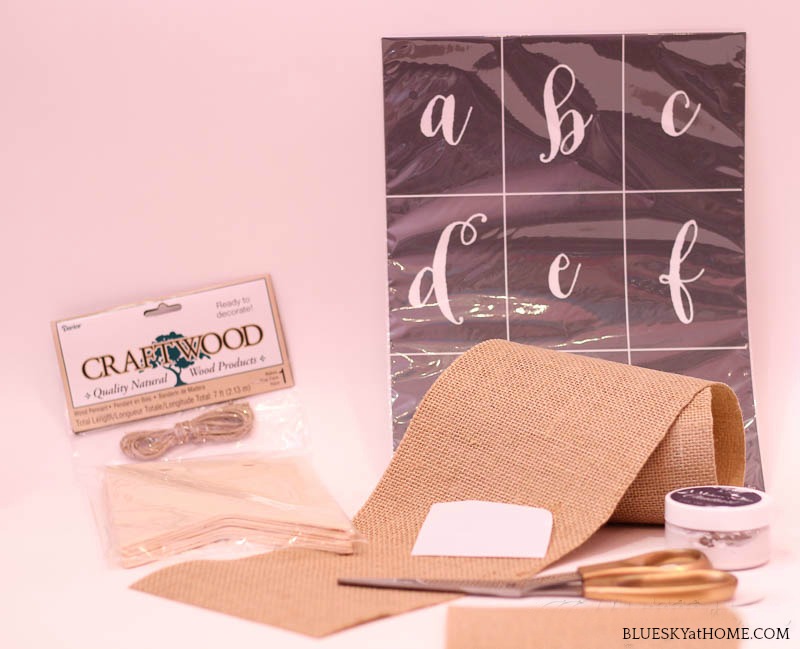
- package of wood pennants (7~count) from Craftwood at Joann
- roll of adhesive back burlap (5 1/2~inches wide) from Panacea Decorative Accents at Joann
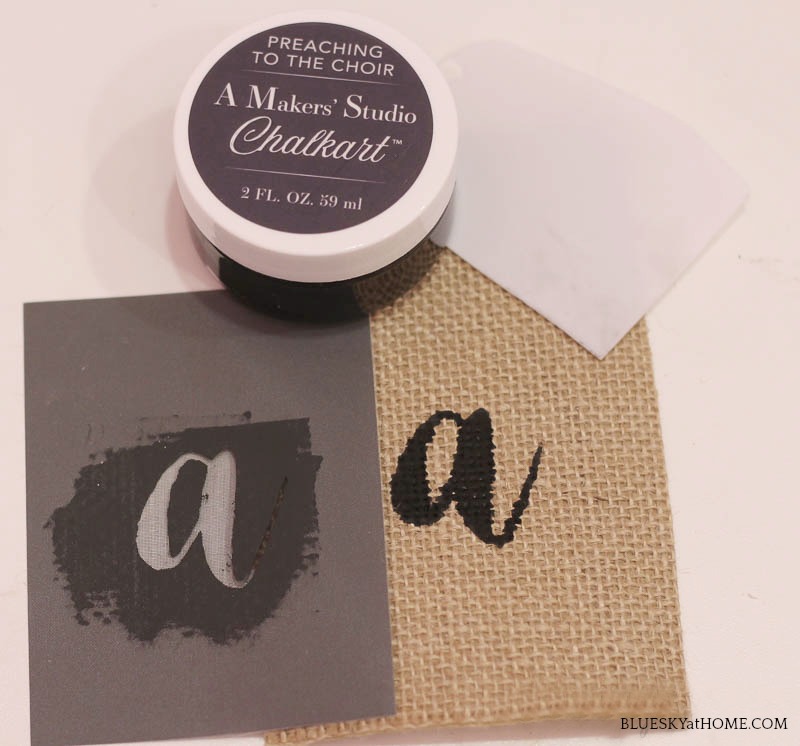
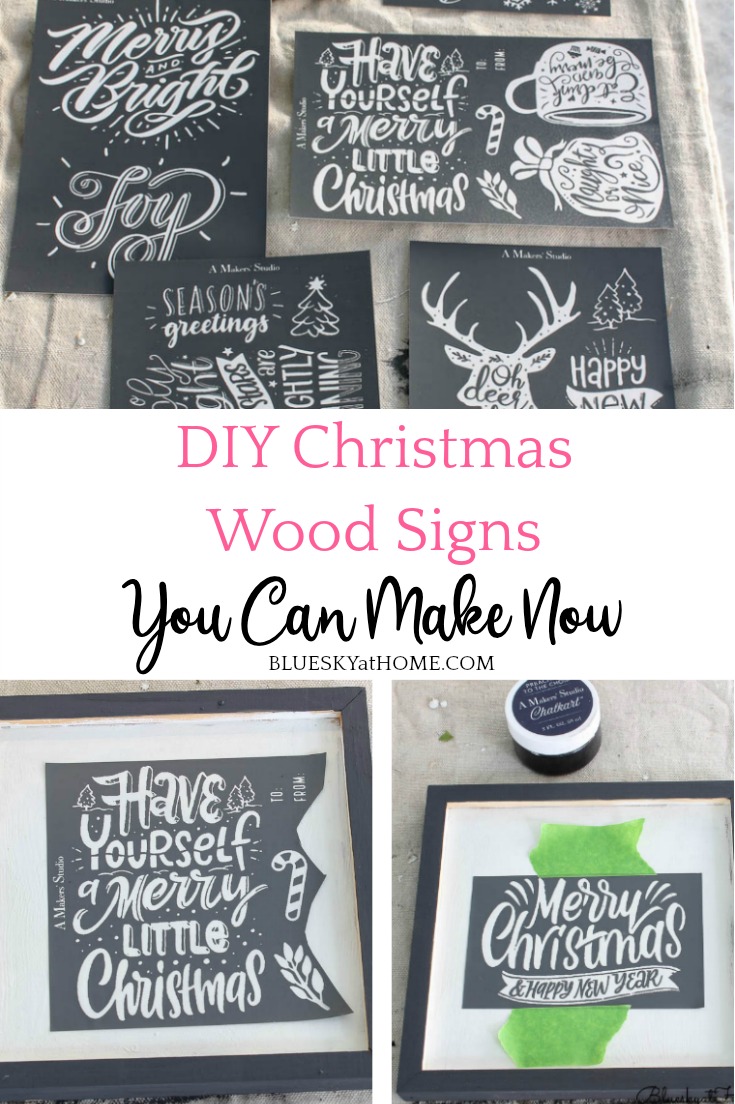
- 1 jar ChalkArt from A Maker’s Studio; I used Preaching to the Choir, which is black.
- mesh stencil in your letter font of choice; I used Alphabet 2 which is a lowercase script font.*
- optional: stencil for embellishment; I used Details, which has 25 different leaf motifs on one sheet.*
- 1 plastic scraper
- pencil
- scissors
- optional: hole punch
PREPARING THE BURLAP
At first, I thought I would paint the wood pennants. When I found the roll of adhesive~backed burlap, painting the wood went out the window.
Confession: I do have a drawer with burlap paraphernalia.
Instead, I would cover the wood with burlap ~ another of my favorite things. But a banner needs words, right?
To me, that means stencil and stencil means ChalkArt. And so one thing led to another.
Unroll the burlap. It is adhesive~backed with thin paper that you separate from the burlap to adhere to your surface of choice.
Open the package of wood pennants. Set the included twine aside. Use 1 of the wood pennants as a pattern to cut out the burlap. Draw around the wood pennant with a pencil.
TIP: I found it easiest to place the wood pennants along the edge of the burlap and top to top ~ fewer lines to draw and cut.
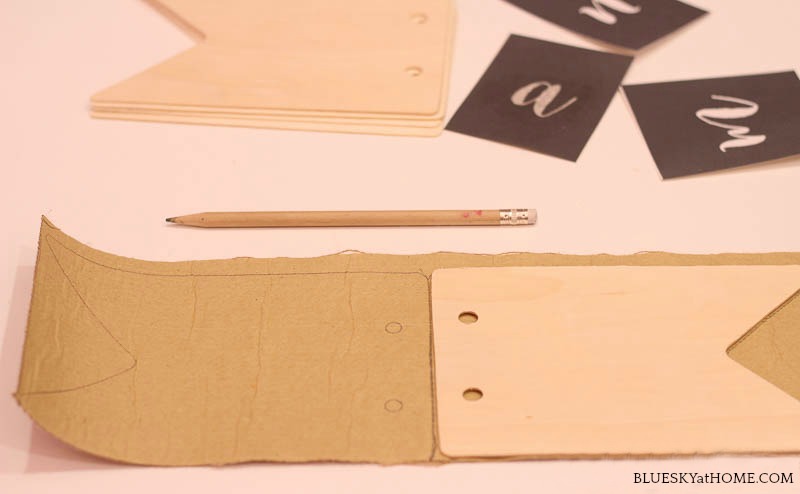
NOTE: Don’t forget to mark the circles for the twine.
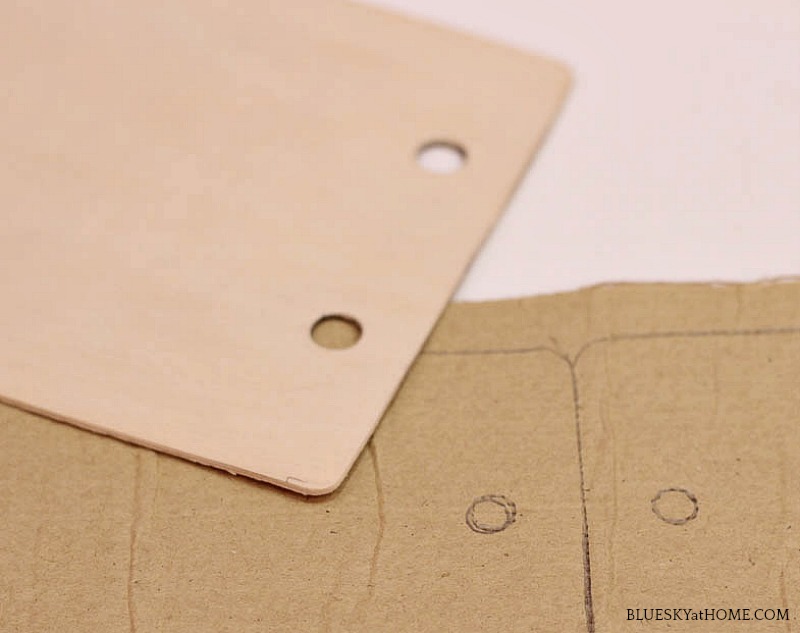
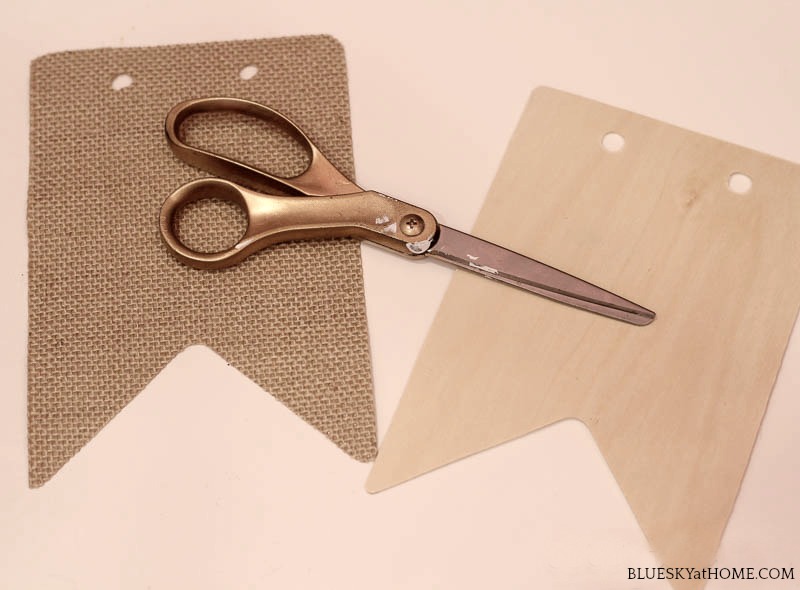
Cut out the burlap with scissors. For the small holes, my hole punch wasn’t working ~ I think I’ve had it since high school ~ so I poked the point of small scissors through and cut out the hole, which worked great.
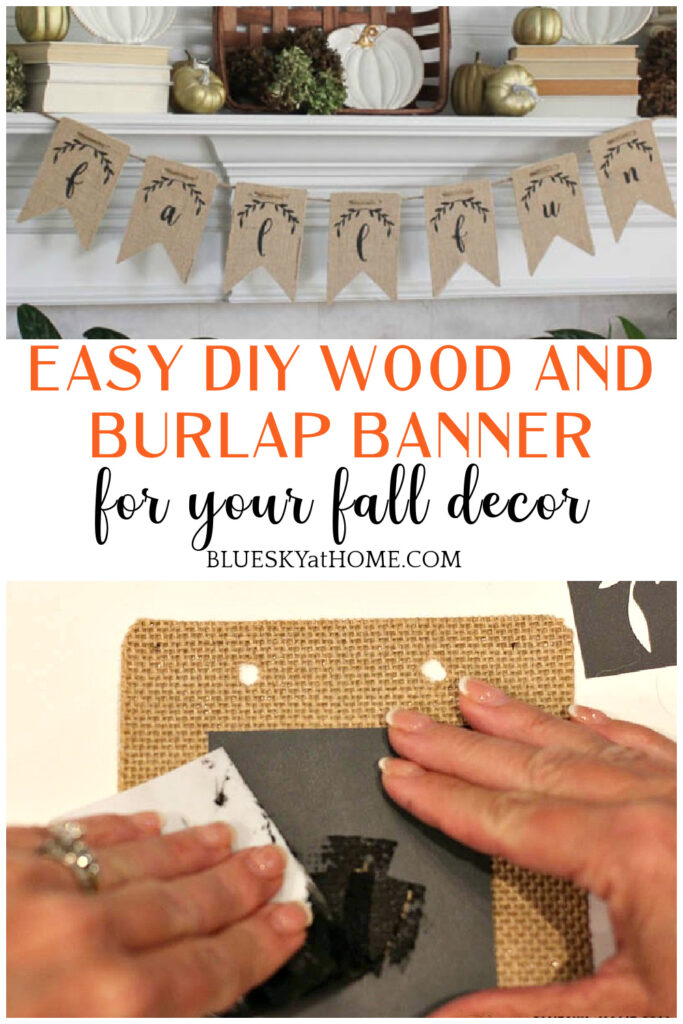
STENCIL THE BURLAP
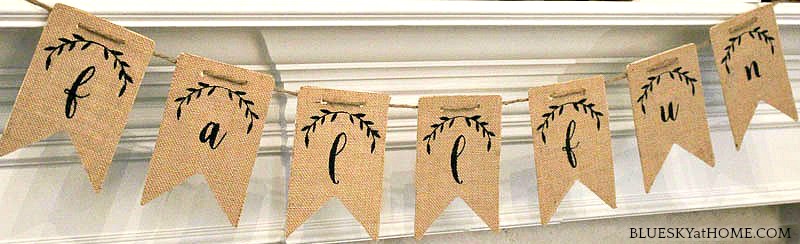
Decide what word or words you want to have on your sign. Keep in mind that there are 7 pennants in the package. I started with one 6~letter word (autumn) but I hated not to use all 7 pennants, so I changed my one word to two words.
With scissors, cut out the stencil letters you will need from the sheet of letters. It’s like cutting fabric.
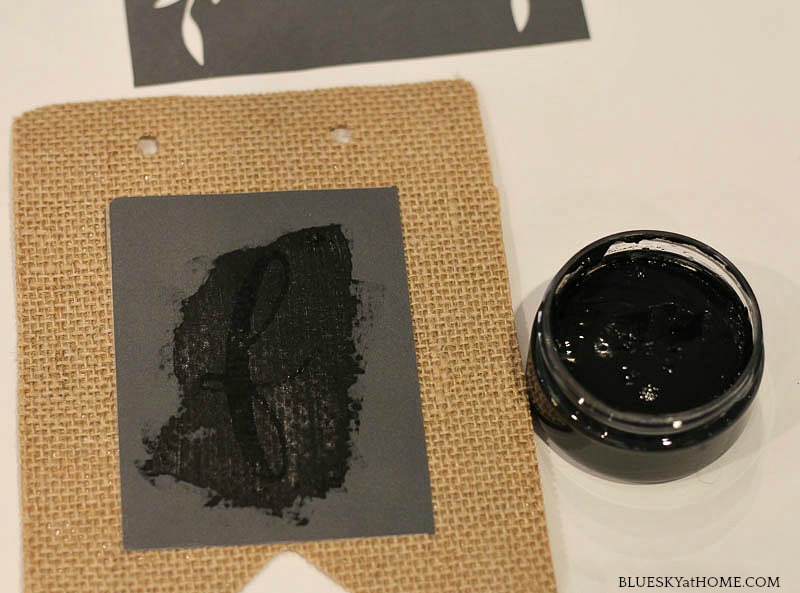
NOTE: Because I had not used ChalkArt on burlap, I did a test piece first, and it worked great.
I think that if I had used regular acrylic stencil paint, it would have bled on the burlap. I intended to use white ChalkArt, but decided that black would show up better.
Separate the stencil from the paper backing. Keep the paper for storing the stencil.
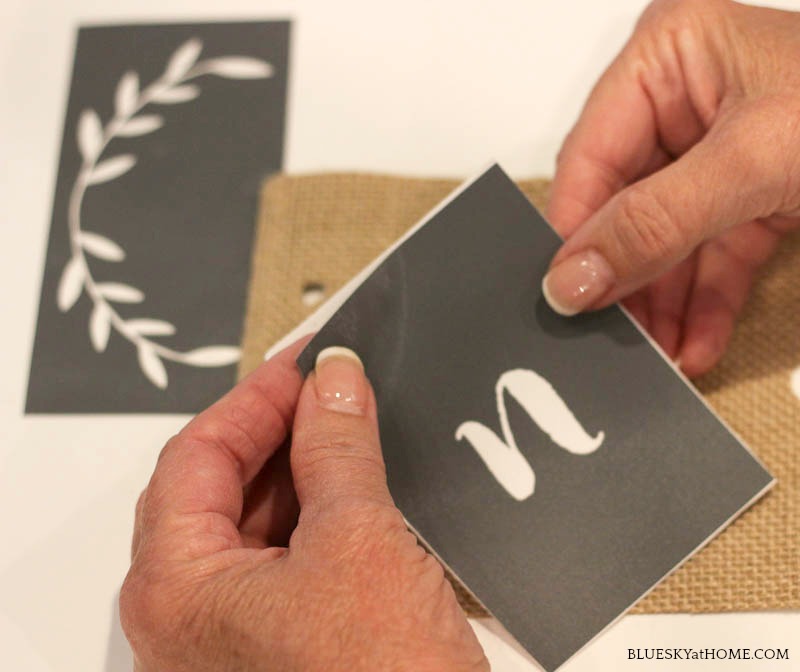
On one piece of burlap, place the stencil where you want it. Press down to adhere the stencil to the burlap. Remember ~ one of the great things about the stencils is that they are adhesive on the back.
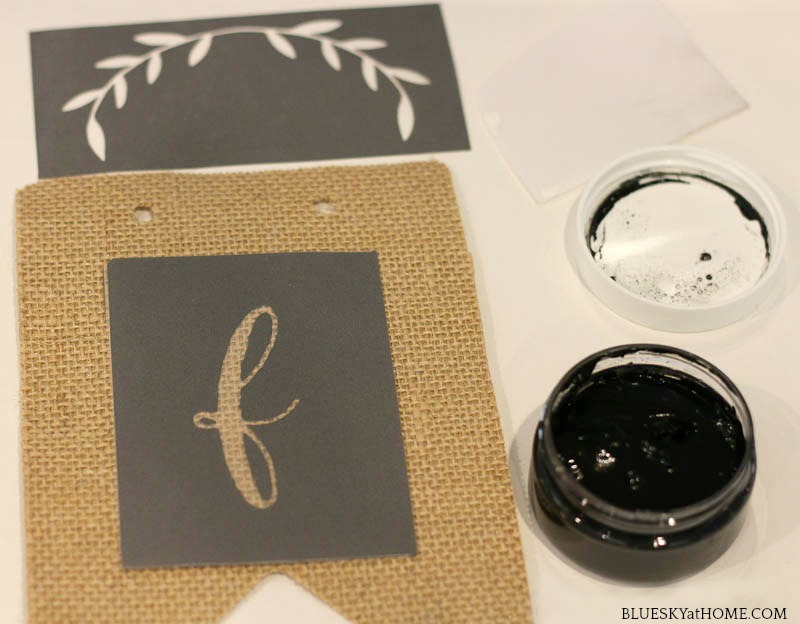
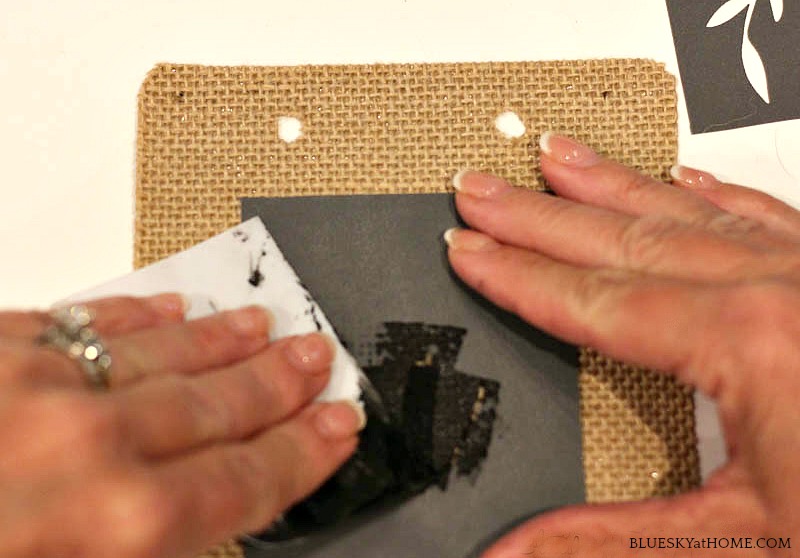
Using your plastic scraper, place a small amount of ChalkArt over the stencil. Apply the ChalkArt in a “scrape and smear” motion.
For a more detailed explanation, here are earlier stencil projects: DIY Signs and Farmhouse Sign. Be careful not to get any ChalkArt on the burlap.
Scrape off excess ChalkArt. Gently lift the corner of the stencil to make sure you have covered all of the stencil design. If not, lay the stencil down and go over the area that you missed.
Gently lift off the stencil. Repeat with the other letters in your word.
TIP: Clean the stencil with water and a little dish soap. Lay the stencil, design side down, on a drying mat or dishtowel. You can blot the adhesive side dry with a lint~free towel.
Continue until you have stenciled all your letters on the burlap.
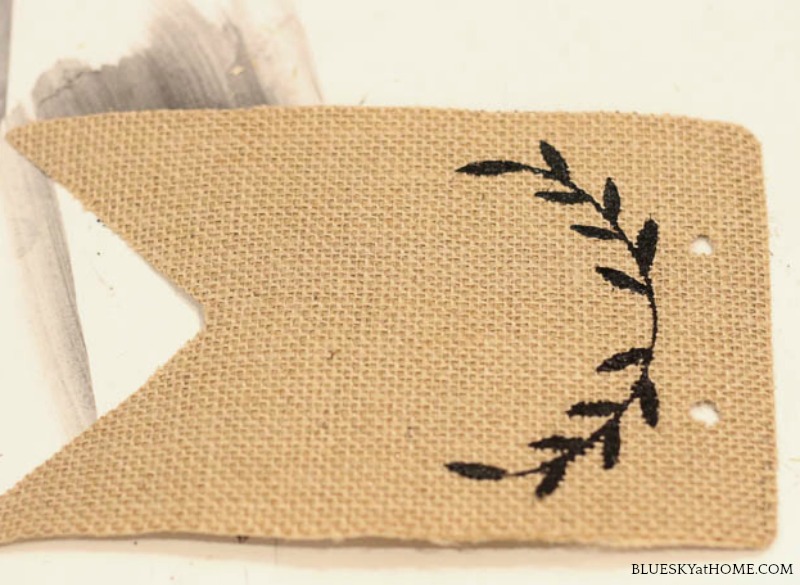
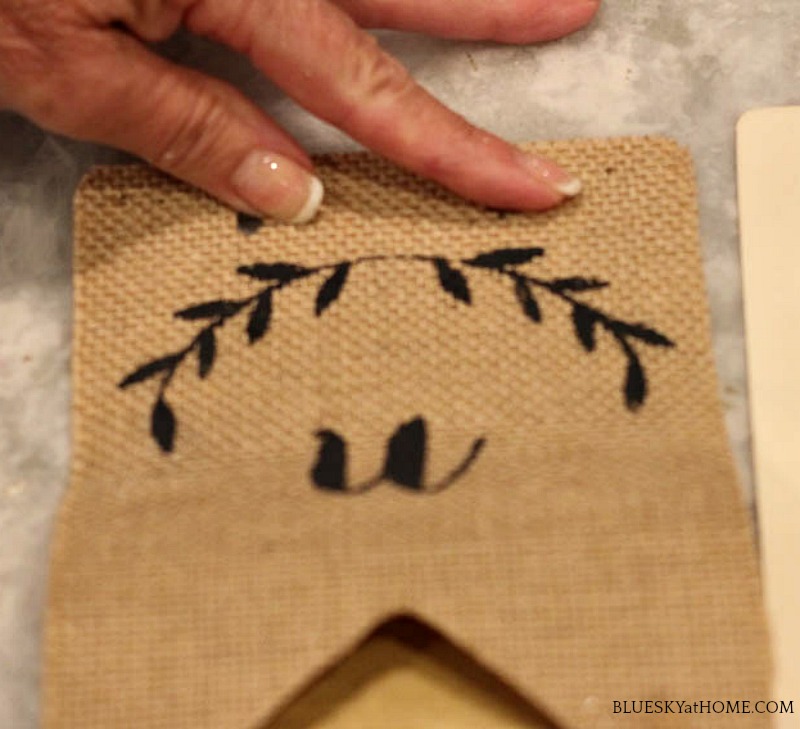
I decided that the letter needed a bit more design. Since I already had the “Details” stencil, I picked a design that would enhance my letter and fit on the burlap across the top of the letter.
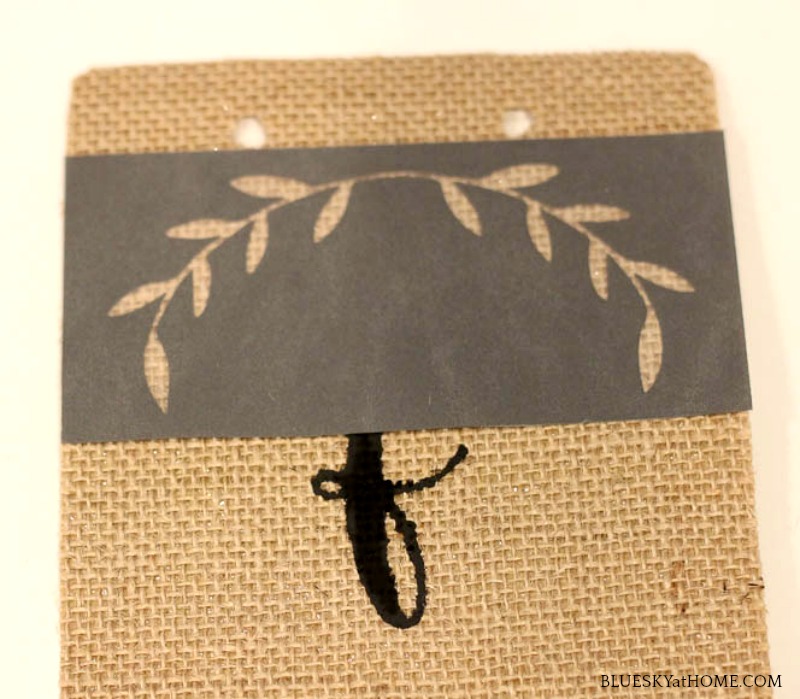
Apply the ChalkArt as you did for the letters.
NOTE: You could definitely use a different color of ChalkArt for the 2nd design if you like.
ATTACH THE BURLAP TO THE WOOD PENNANT
Use your fingernail to separate a corner of the paper backing from the burlap. I pulled back just the top couple of inches and laid the burlap on the wood, aligning the top and sides.
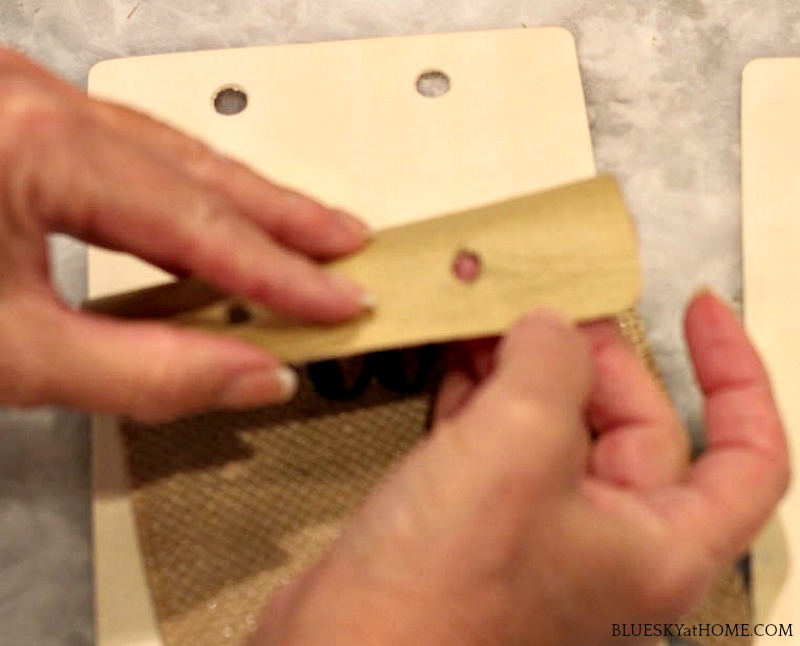
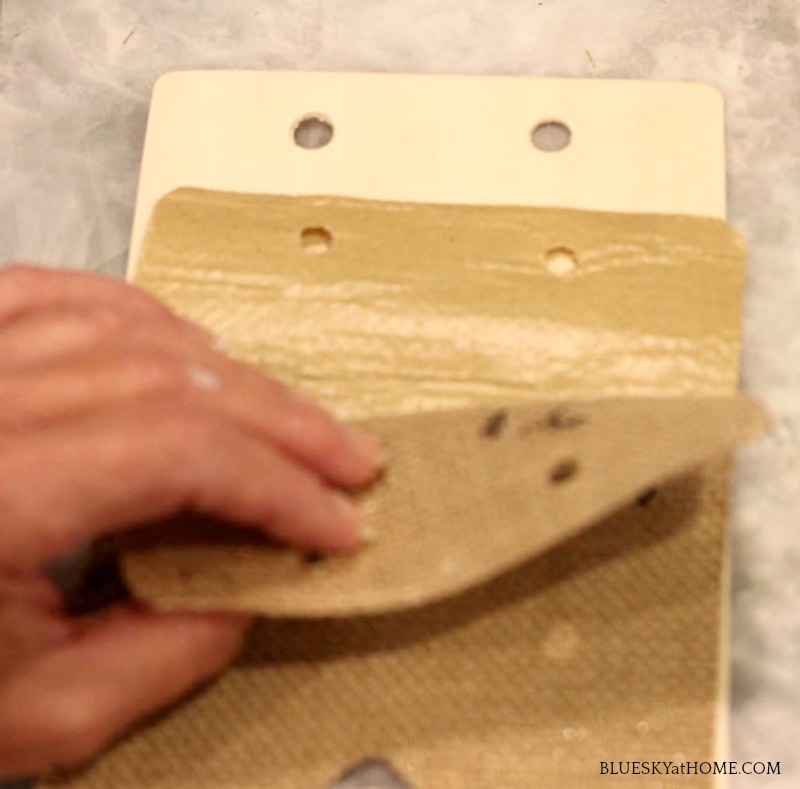
Slowly pull the paper away from the burlap as you press the burlap to the wood. If it’s not completely straight, you can lift the burlap and reposition it. Smooth the burlap all across the wood.
STRING THE WOOD AND BURLAP BANNER
Place the letters of your word in order. As I mentioned, the wood pennants come with twine, but it’s really thin. I used a thicker twine that I already had on hand.
Begin at the end of the word by pulling your twine through the holes in the pennants. Oops, I forgot to take a picture of this step.
NOTE: If you keep your twine in a jar as I do, the end is in the jar, so you have to start at the end of your word and insert your twine from right to left. Don’t cut off the twine!
NOTE: Keep your twine in a screw~top jar with a hole in the lid; I have two jars that were both freebies at Haven. You could always poke a hole in the lid of a jar.
Giving yourself plenty of slack, pull the twine through the holes from back to front, leaving a few inches between each letter.
When all the letters are on the twine, determine the center of your word or words (I had two words.) Adjust the distance between the letters.
Take your completed DIY wood and burlap banner to the place where you are going to hang it.
Determine how much additional twine you need at each end to attach the banner. Once you’ve done that, you can now cut off the end of the twine.
Attach the banner where you want it. Since I knew that my banner would be on our mantle, I attached it to the “feet” of our tall wood candleholders by making a loose knot. Tie or securely tape your banner in place.
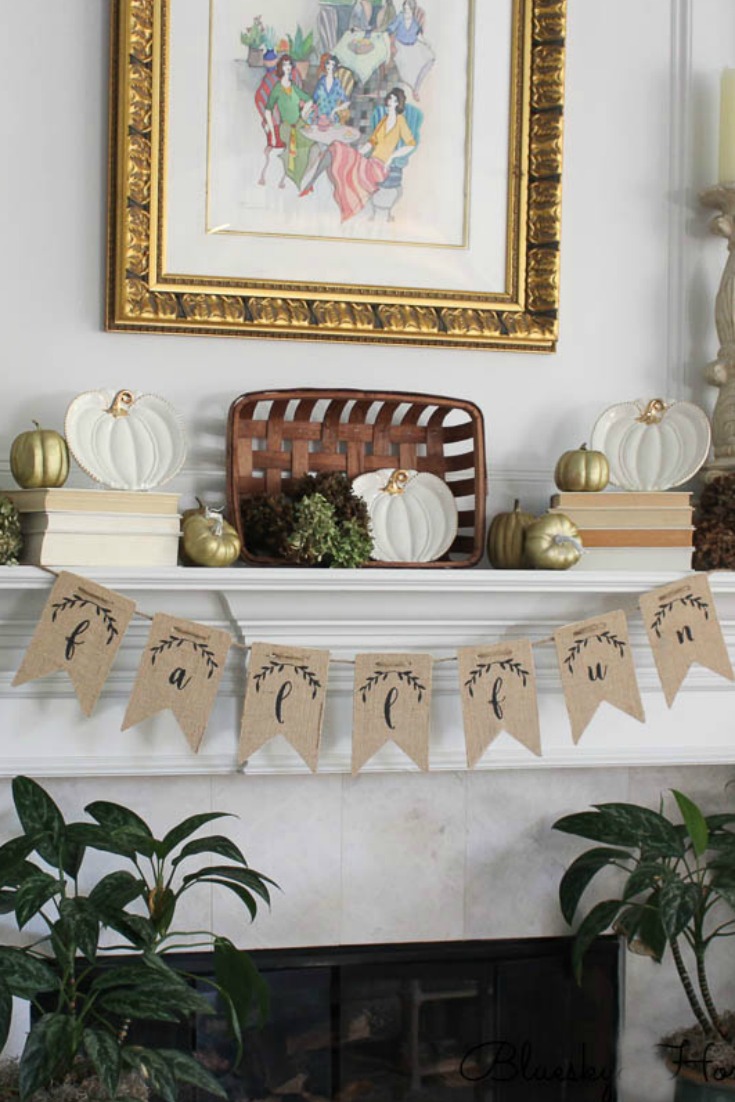
THE BIG REVEAL OF MY WOOD AND BURLAP BANNER
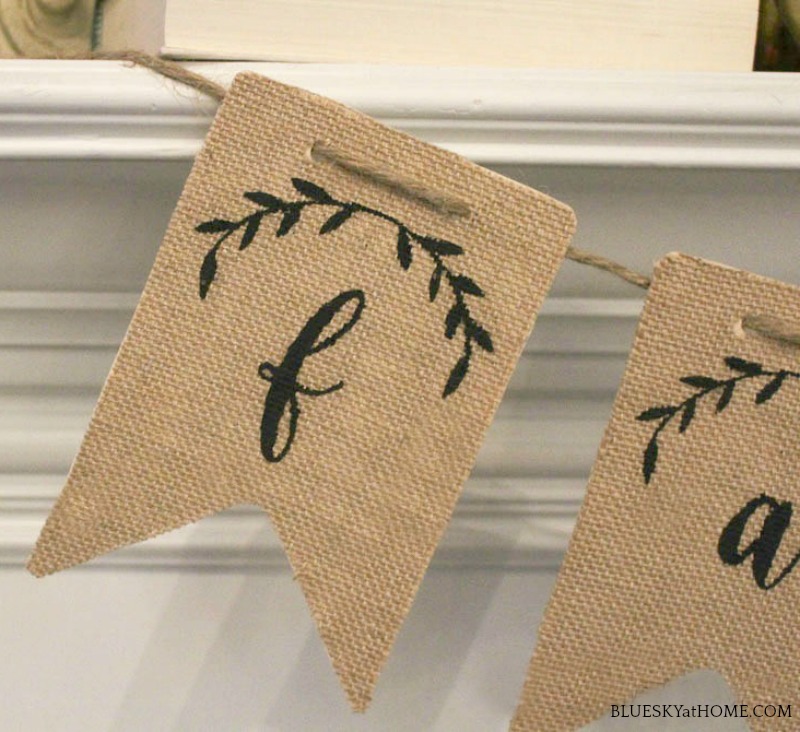
Here is the DIY wood and burlap fall banner in all her glory. I love how it turned out.
See how nicely the banner looks on my mantel from year to year?

HOW MUCH DID THE WOOD AND BURLAP BANNER COST?
Here’s the cost breakdown for this DIY wood and burlap fall banner project:
- package of 7 wood pennants $4.99
Since I already had the burlap and the twine I’m not counting them. I’m not counting the stencils because I already had them and I will use them over and over.
I also already had the ChalkArt, but it was a brand-new jar, so I’ll count it. The 2-ounce jar is $8.99. You can hardly tell I used any, but I’ll be generous and say I used $1.00 worth.
Bottom line: I’m counting this as a $6.00 DIY project.
In the past couple of weeks, I shared some other fall DIY projects that you might like.
Here’s another cute banner project that I made for my granddaughter using my Cricut machine.
Do you like this project? Please let me know. Other projects you want to learn how to do? Tell me those too.
I hope that you will take a look at the fall projects my friends are sharing. See the list below.


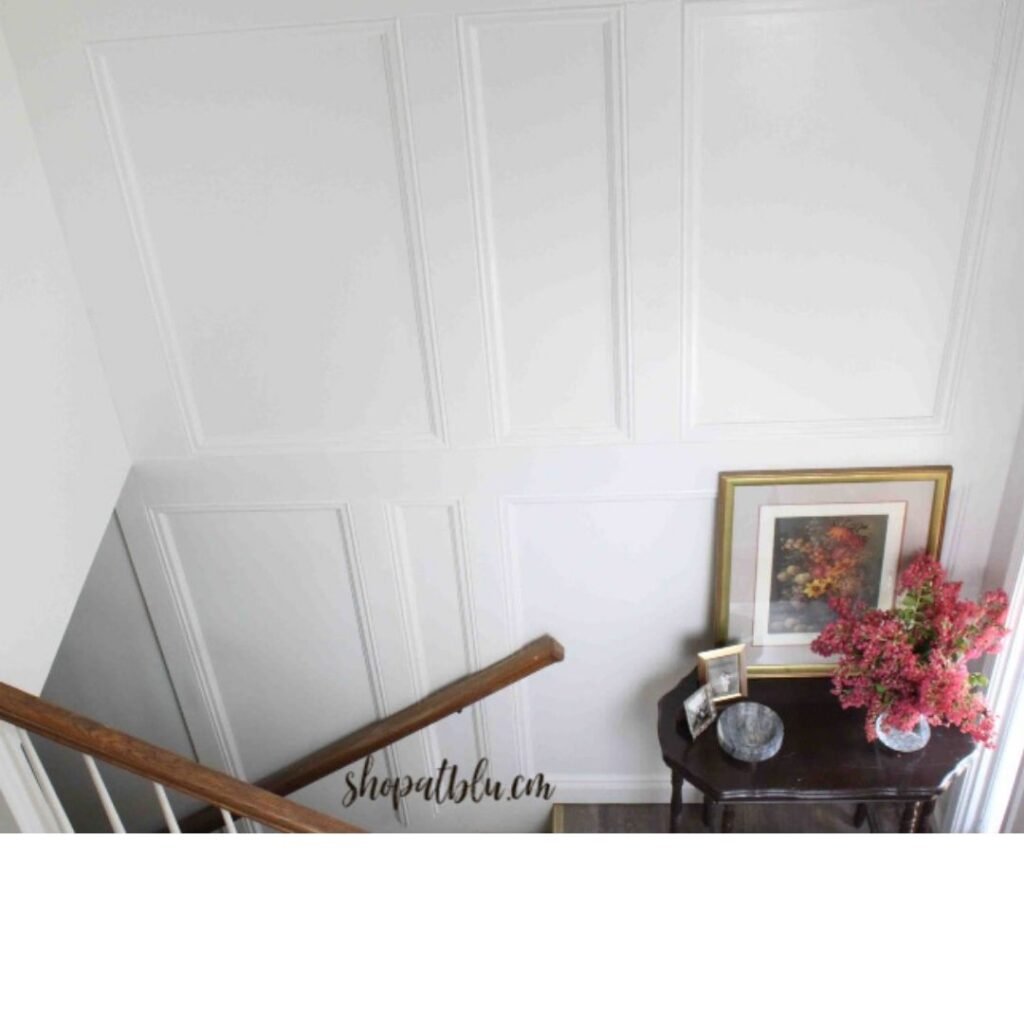
My friend Sue from Shop at Blu created this AMAZING accent wall, check out how she did DIY’d it.

and how adorable is this fall wood & burlap banner from Carol at Bluesky at Home?

Stephanie from Gathered in the Kitchen created this fun Witch Hat Wreath from items she purchased at the Dollar Store!
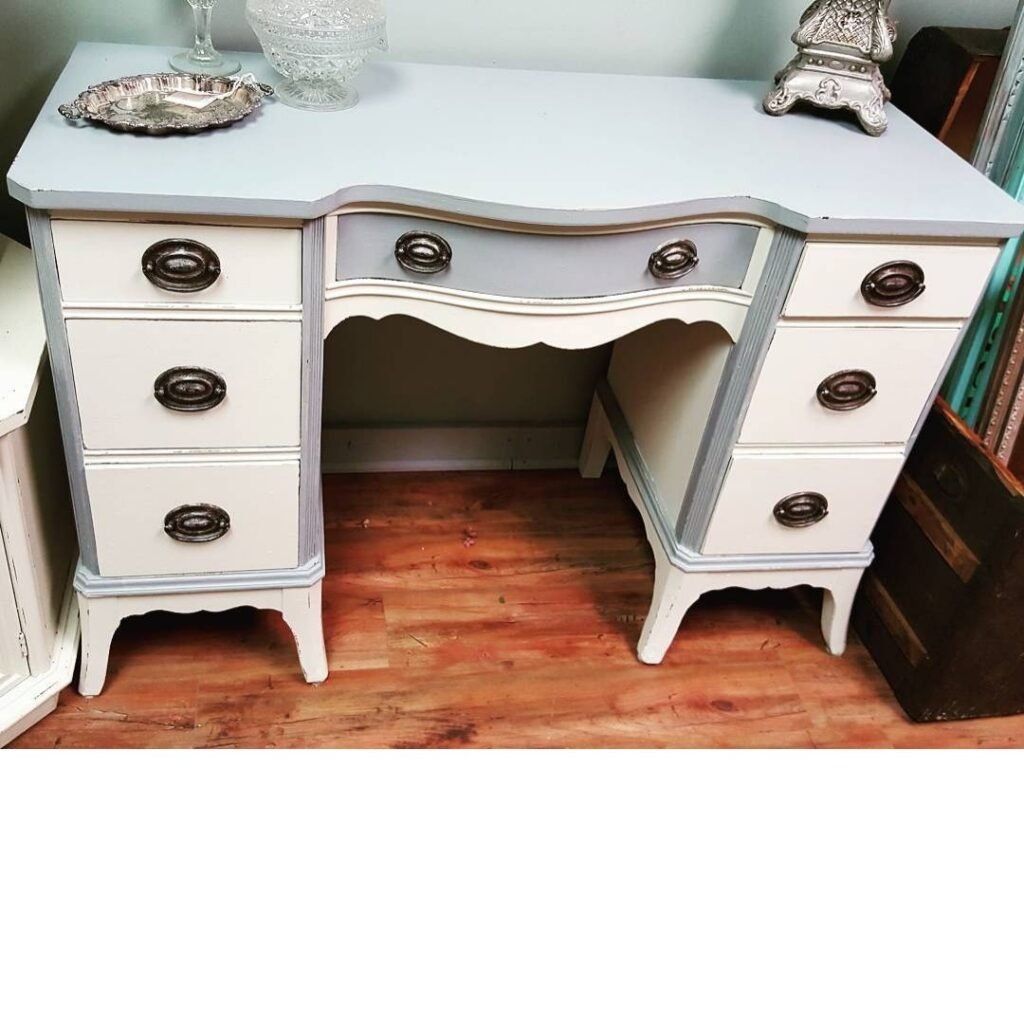
Juliet from A Loverly Life shares a beautiful DIY Desk Makeover

Hi Carol! Oh, isn’t this the cutest banner and no one would ever think you actually made it! Thank you for sharing with us how to do it. It looks so cute hanging on your fireplace too.
Hope you’re having a nice weekend.
Blessings,
Shelia 🙂
Sweet little project Carol. Your instructions are always so detailed. So cute!
Your banner looks great! The sticky burlap worked out so well on the wood. I didn’t even know sticky burlap existed.
This is right up my alley — burlap and fall-related, priceless! Thanks for such a great tutorial and thanks for sharing at Vintage Charm:) xo Kathleen|Our Hopeful Home
Kathleen, I am definitely smitten with burlap.
That turned out great, I love it. I also gained a tip on how to keep the paint from bleeding when doing this. Which always happens to me it seems, when I use a pouncer. I am buying a scraper now.
Really cute!! It turned out just gorgeous.
Such a cute and simple banner! Thanks for sharing it on this fun tour! Blessings, Cecilia @My Thrift Store Addiction
I was really happy how it turned out Cecilia.
Carol, this is fun, rustic, and a little bit elegant all at the same time! So glad you shared this for Ten on the 10th. 🙂
Stacey, sometimes my mind does work to bring together different elements for something new. Happy to share.
I like the way it turned out, looks great. Thanks for sharing on To Grandma’s House We Go!
Chas, so happy that it turned out well and happy to share.
Such a pretty banner Carol. I had no idea they sold stickable burlap. Your stenciling is also lovely. I’ll have to look into that burlap!
Mary, I discovered the stickable burlap just by walking though Joann. It’s in the floral area. I couldn’t find it on the website.
Carol- this is amazing!
You are sooo talented!
That’s so sweet Laura. I don’t know if I am 3 o’s talented, but thank you anyway.
Banners are my weakness and this one is just lovely!!
Kim, aren’t banners so cute! We have several places in our home to use them so I’ll be making more.
Hello! Thanks for letting me be a part of your group! I love the banner you’ve made. I like what it says, and I like the fact that you used wood because it will keep it sturdy so you can enjoy it for years to come. Such a cute project!
I love this. It’s so cute. Using the wood as a backing is a great and creative idea.
Very Pretty Carol! I love the simplicity of it – so perfect!
Thanks Tammy. It’s always nice to see your comments.
This is so cute and you gave such detailed directions! It is a perfect decoration for fall and Thanksgiving!!
Thank so Patti.