How to Make a DIY Happy Birthday Banner
A couple of years ago, I shared my love affair with my new Cricut Explore Air and my first projects and one of my first projects, Easter cards for my grandkids. When my older granddaughter was turning 6 two years ago, I wanted to make her a special crafty treat for her birthday. And I wanted to use my Cricut. I found the cutest idea to make a DIY happy birthday banner for one of the sweetest little girls on the planet.
I looked for something that had pastels, something to match her room and that she could hang up and something that I could write her name on. Scrolling through the Cricut Design Space, I came across a banner idea and found the perfect solution.
Now, at almost 8, she is still one of the sweetest little girls (although her little sister is vying for the title). She still loves to draw, cut out paper, and see her name in print ~ what kid doesn’t? Now that she is an avid reader, she writes her own name on school papers and notes. I was in Atlanta 2 weeks ago visiting babysitting my granddaughters while mom and dad were on a school reunion trip. Since Annabelle’s birthday was 2 weeks away, we got out her Happy Birthday banner and hung it up.
Since tutorials that I’ve done using my Cricut are always popular with readers, I wanted to share this banner project again and show you how to make a DIY happy birthday banner. It’s still as cute as can be.
How to Make a DIY Happy Birthday Banner
If you don’t have a Cricut or Cricut Design Access, you can still make this project with a paper cutter and scissors.
I’m one of those people who like to use things I already have on hand. I discovered that you can change the suggested colors for a Cricut project if you just pay attention to the Cricut Design Space on your computer. So I used both card stock and scrapbook paper that I already had.
I now have 6 plastic boxes to hold scrapbook paper because I buy colors and patterns I like when they are on sale at the craft stores. I’ve mentioned before that I have the BIG 3 all within 15 minutes of my house. Don’t be jealous ~ I’m just lucky.
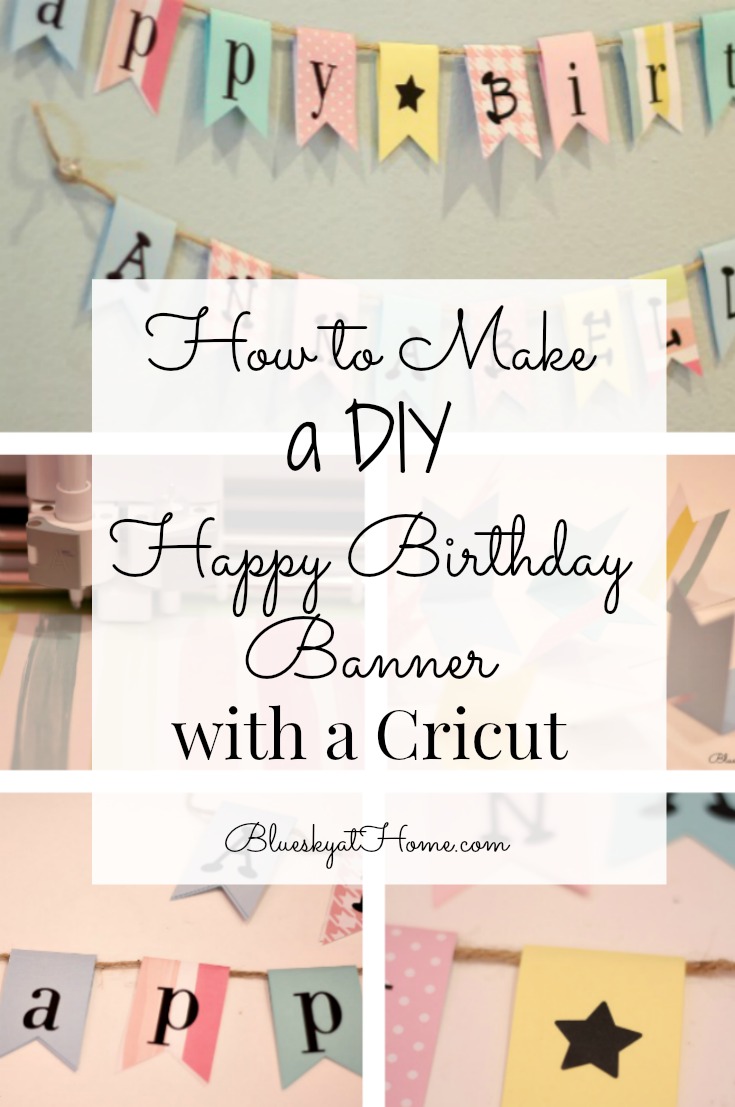
Here is the original project. You’ll see that by changing the colors and patterns of your paper, you can get very different looks. You can space your banners far apart or close together. This project had plain pendants, but I obviously had to add “Happy Birthday.” You could leave them plain or embellish them as I did.
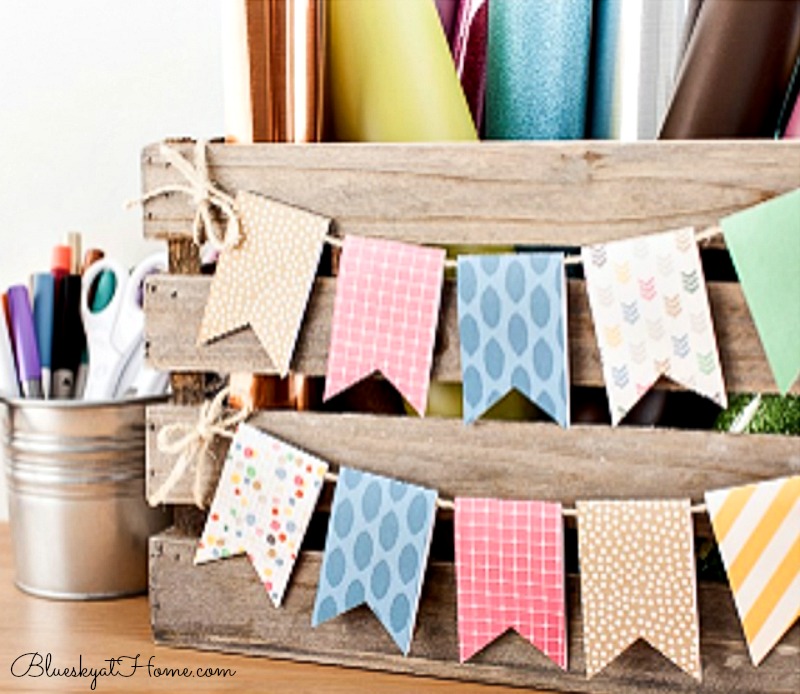
Supplies
- several different pieces of card stock or heavy scrapbook paper in preferred colors and/or patterns. The number of individual pendants you need to make depends on what you want to spell out.
- scorer
- twine
- glue, double stick tape or adhesive
- ruler and/or tape measure
- adhesive letters, stencils or markers (if you are good at hand lettering)*
NOTE: I made this project 2 years ago before I was comfortable using stencils. Today I might use Alphabet stencils and ChalkArt as I did for this Easter banner project.
Step 1 ~ Cutting Out the Pendants
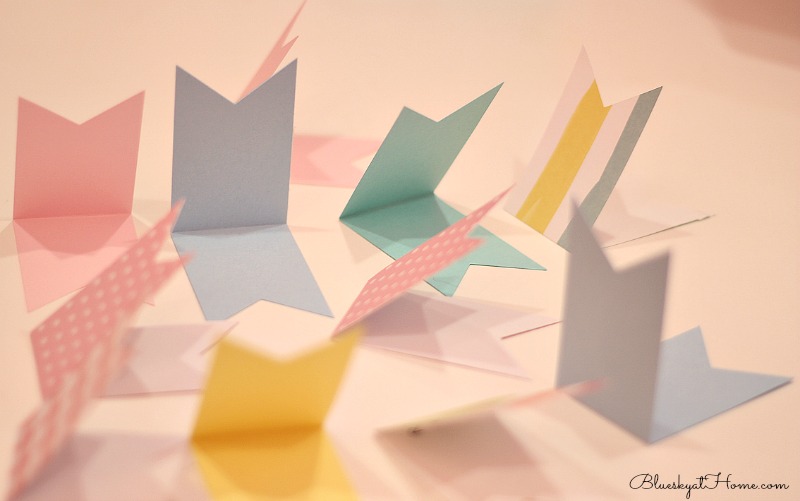
If you are using a Cricut, follow the instructions to make the individual pendants. Each Cricut pendant is 5 5/8 inches long X 1 3/4 inches wide with an inverted V in the center. After folding, each pendant is 1 3/4 inches wide x 2 5/8 inches long.
If using a paper cutter and scissors, first make a pattern on heavy paper. I’ve made a pattern that is very close in size that you can print. You will need one pendant for each letter. If you have multiple words, I would make extra pendants to go in between your words. You could leave those blank or decorate with a design. I needed 9 pendants (Annabelle is long name) for the name banner and 14 for the one that said “Happy Birthday”.
Here is the black banner pattern that you can print.

As I mentioned, I wanted to use the pastel papers I already had; some were full sheets and some were scraps from earlier projects. Fortunately, I had plenty of paper in pastel solids and patterns for this project.
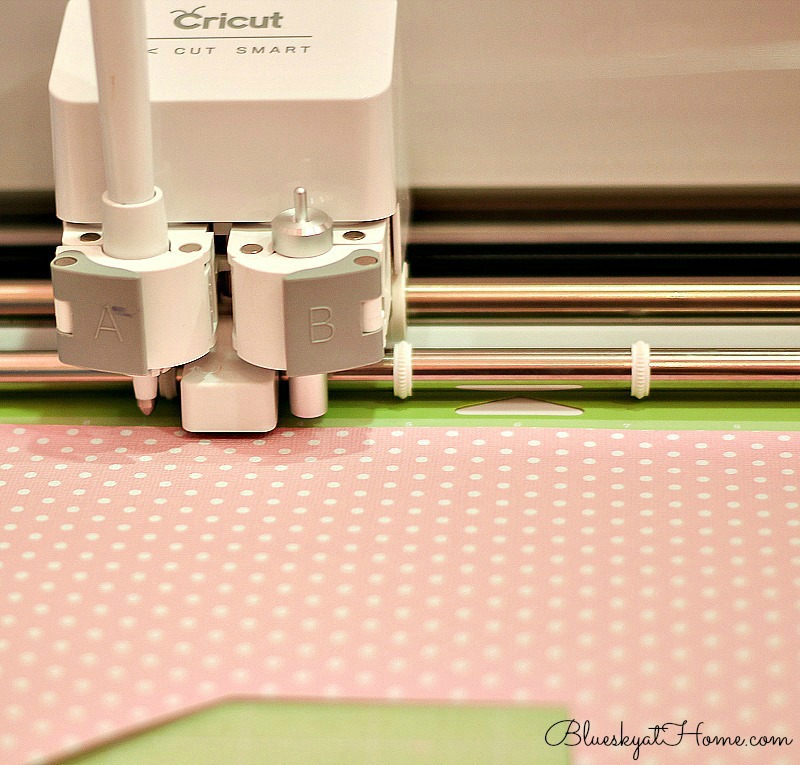
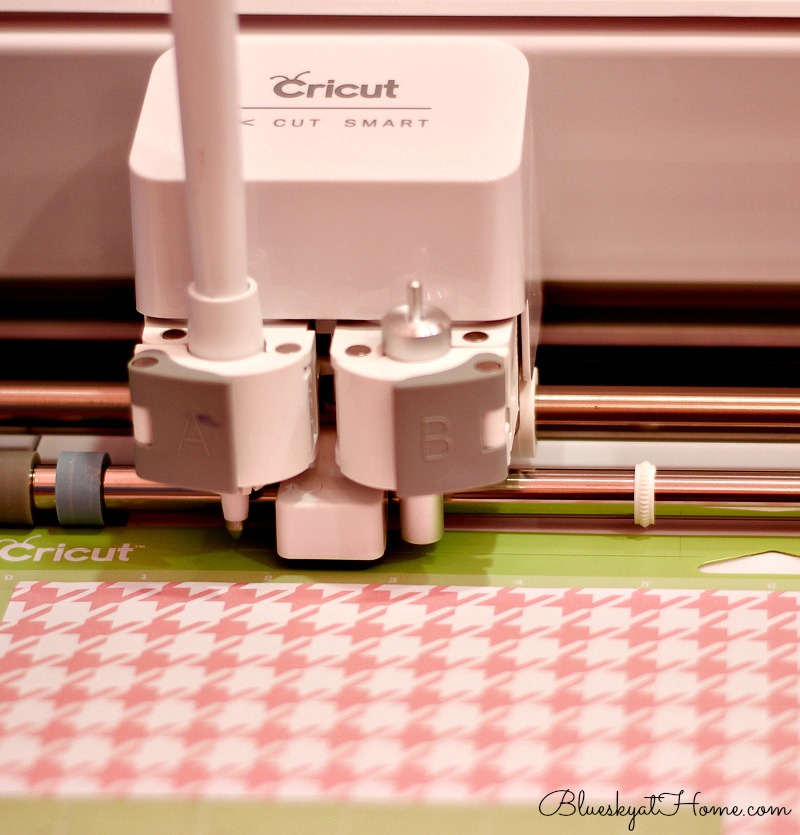
TIP: You can use smaller pieces of paper for Cricut projects, not just a whole sheet; just make sure that there is enough paper for the cut~out. This way you can utilize scraps of paper.
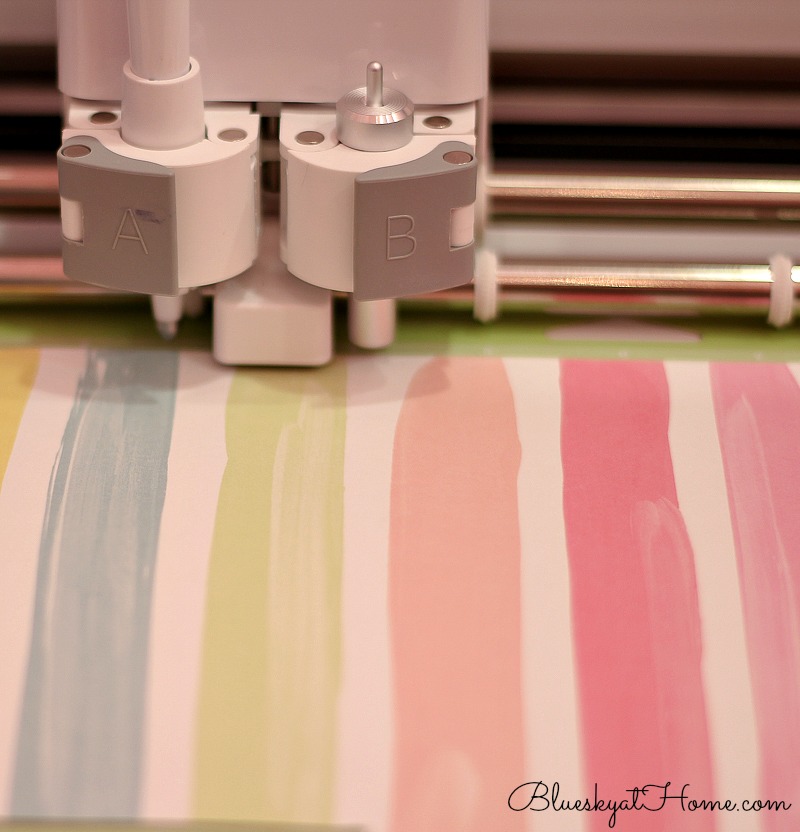
Once you have cut out all your pendants, fold them at the scoring line.
Step 2 ~ The Twine
You could use twine or cording in a contrasting color. Since I had plenty of twine on hand, that is what I used.
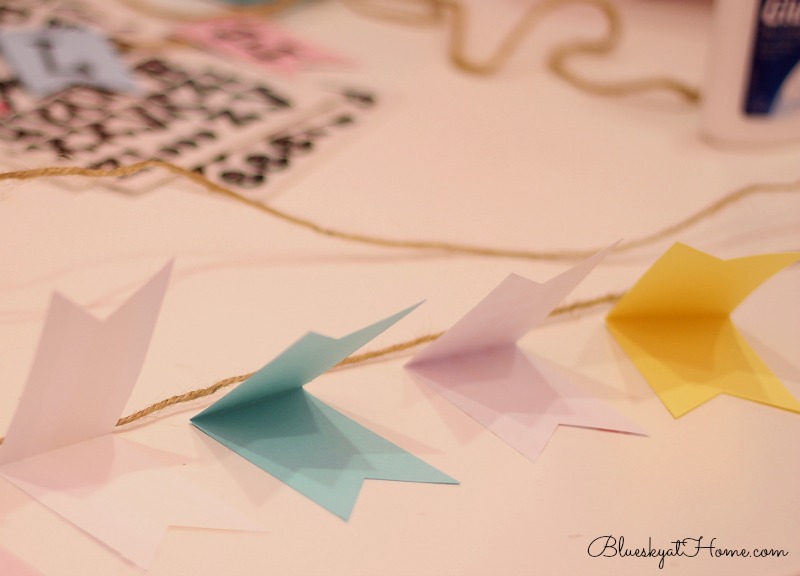
Arrange the pendants in the order you like for color and pattern and lay them out on a flat surface. Leave with about 1/2~inch ~ 1 inch between each pendant. Allow extra twine at each end for hanging your banner ~ about 4 ~ 6 inches. Then measure your twine. I had a piece of twine that was 36 inches long and it was just right for the name banner. I measured another piece 45 inches for the “Happy Birthday” banner. I used tape to hold down the twine on my work counter.
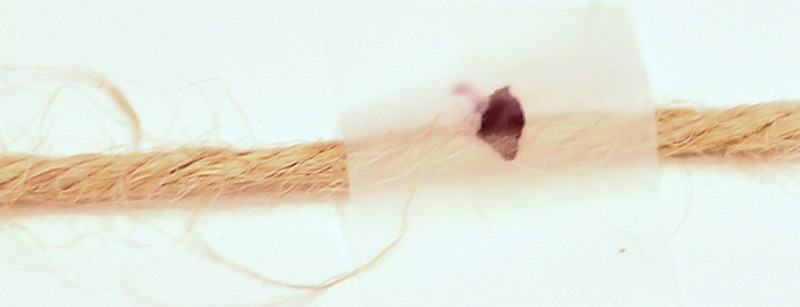
Measure the center of your twine.
 .
.
TIP: Don’t cut the twine until you have spaced out and attached the pendants around the twine.
Step 3 ~ Attaching Your Pendants
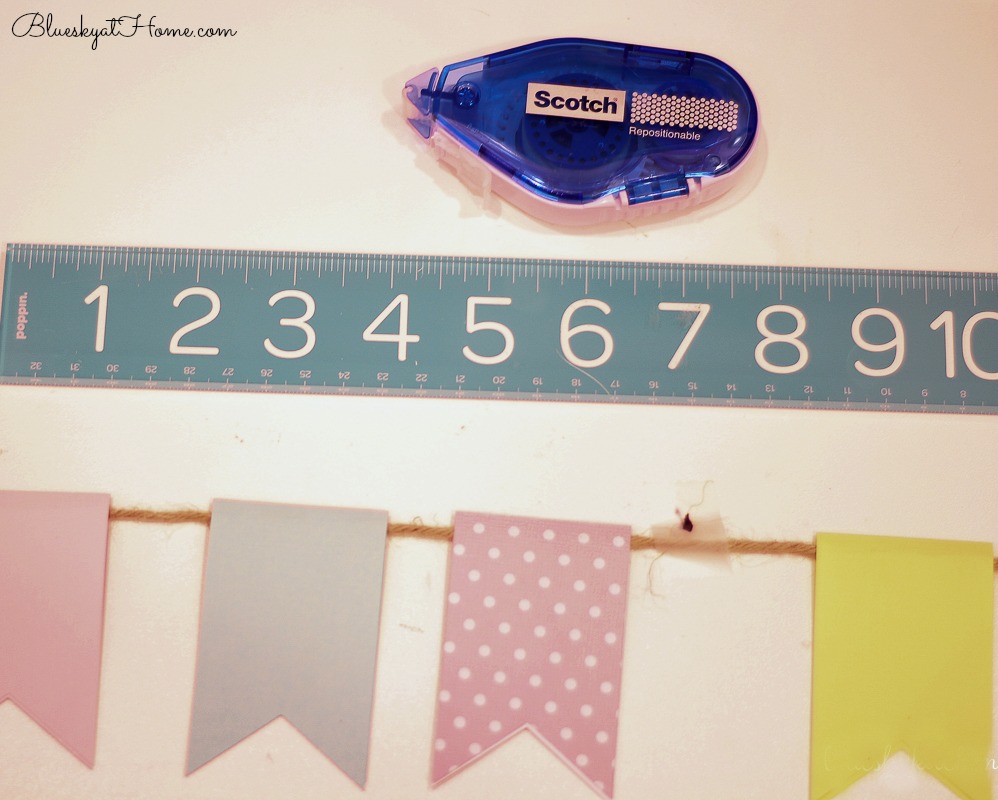
With your pendants in order and your twine measured, place the twine inside the folded pendants. Use glue, double stick tape or adhesive to adhere the front and back of the pendants together. I found the adhesive tape was the easiest, but I added a drop of glue at the points of the banners. I placed the banners 1 inch apart for the name banner and 1/2 inches apart for the Happy Birthday one.
Use a ruler if you need to for accurate spacing.
Step 4
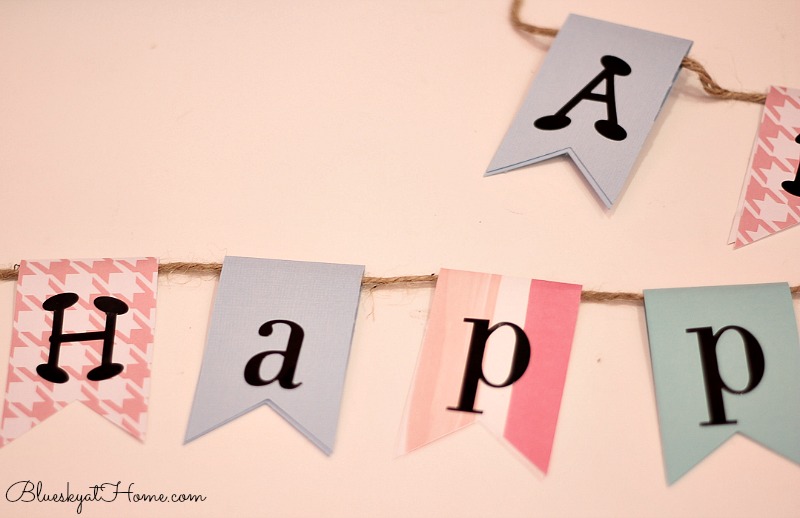
Once all your pendants are glued around your twine, you can add your lettering or other embellishments. A few years ago, I bought a huge stack of all kinds of stick~on letters at a garage sale for $3.00. One of the best buys ever. I chose to use those to write out her name and “Happy Birthday”.
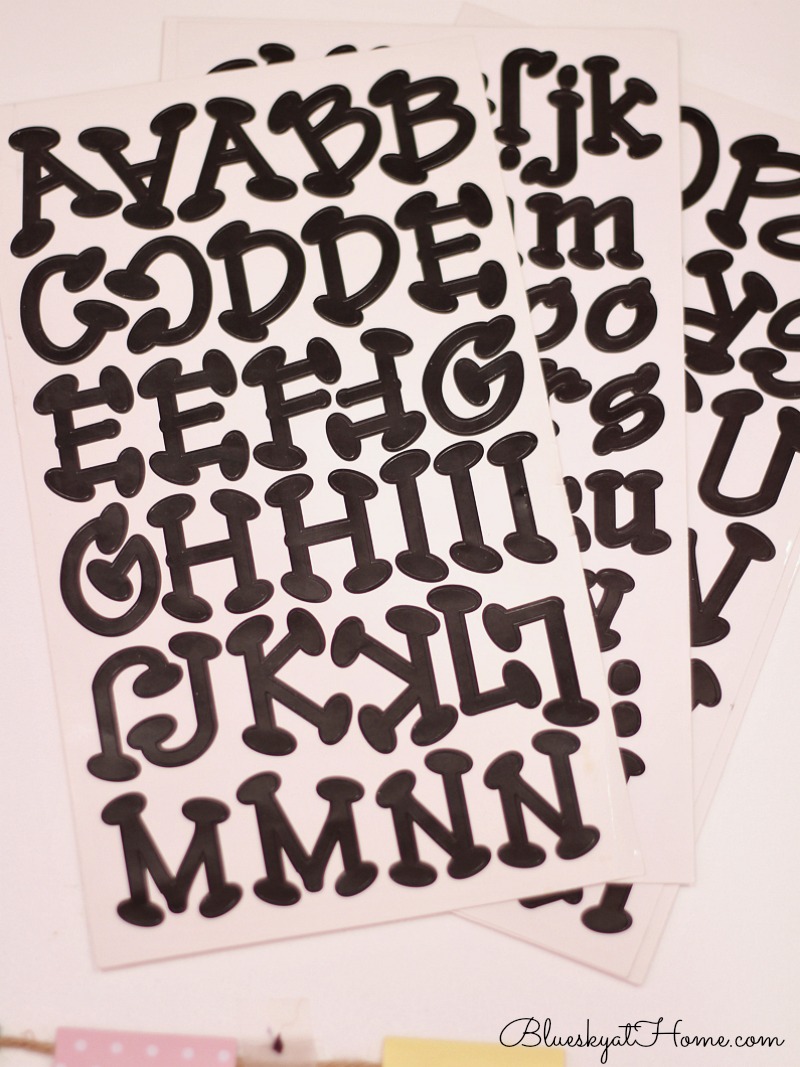
I had to use 2 different fonts with upper and lower case, but I think it looks great.
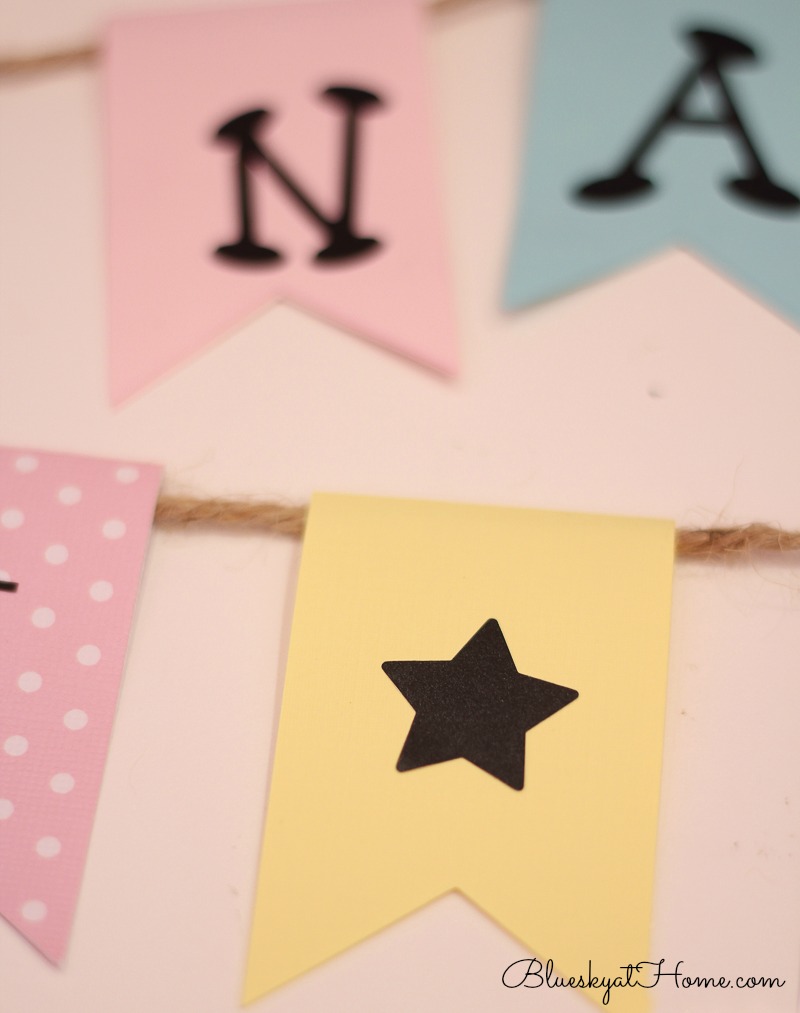
For the banner between “Happy” and “Birthday”, I used my star punch and some black vinyl.
Here’s the finished project. I was so happy with it.
I folded it accordion style and packaged it carefully. A week after making the banner, I left for Atlanta to spend a week before we all went to the beach at Sandestin for Mother’s Day weekend. Since I’ll be coming home 2 days before her birthday, we hung the banner up in her room before we left for the beach. She loved it!! We celebrated her birthday and Mother’s Day at the beach. And mom hung it up again last year for her 7th birthday.
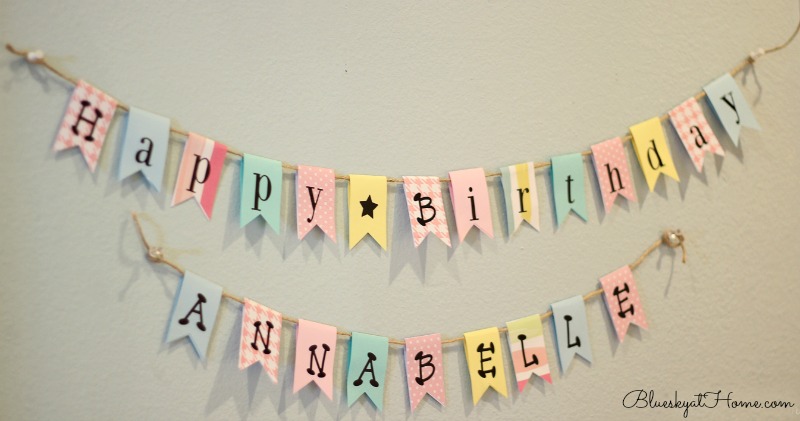
That’s all it took for this easy DIY Happy Birthday banner. I’m thrilled with how it turned out. It probably took me about 1 1/2 hours, but if I had been a little more organized, I bet I could do it in an hour. I hope that you’ll make this DIY Happy Birthday banner for your next family birthday or special occasion.
If you love creating DIY projects for family occasions, then this Happy Birthday banner is perfect to PIN for your next event.


What a great banner! My granddaughter is also an Annabelle; I think it is such a great name. It fits my girl so well. She will be 14 in Sept.; time has gone too fast. My SO and I keep track of how long we have been together by her birthday!
That’s so sweet! Any girl would love a lovely banner like yours. Thanks for sharing the how to with us
Thank you Pili, It was fun to make, I learned some more techniques for using my Cricut, and I can’t wait for her to see it.
This turned out great! Perfect for your granddaughter, I’m sure she’ll love it. Thanks for sharing at Vintage Charm! xo Kathleen | Our Hopeful Home
Thanks, Kathleen. I can’t wait to give it to her.
What fun and pretty party decor! One of these days, I really need to buy a circuit. Thanks for sharing at Snickerdoodle. Pinning.
Beverly, I’ve loved learning how to make paper projects on the Cricut. I’m in kindergarten. Learning a new skill on a new piece of equipment can be frustrating at times, but I’m getting better with each new project. This one was fun.
Awww! Mom I love it!!!! We’ll have to laminate it and keep it for every birthday. What a great project! I won’t tell her. You can surprise her with it!!
Love this banner Carol…so simple, but awesome!!!
Thank you, Michelle.