How to Take a Flea Market Clock from Drab to Delightful
It’s time again for Ten on the 10th under $10. I love this challenge. I don’t always look for an item at a flea market to transform just for the sake of the post. I actually have been looking for a clock for our patio. We had one on the patio at our previous home and I enjoyed being able to glance up to see the time. I’m kind of time obsessed. I like to know how long I’ve been working on a project, how long I’ve been reading, how long until happy hour or how long until dinner ~ those last 2 are very important. So in April at the City View Antique Flea Market Sale, I couldn’t believe it when I came across the exact same clock that we had at our last house. It was a bit dingy and the battery didn’t work and the hands were a bit bent. But it was $5.00 ~ a $5 flea market clock! A clock that I knew was originally about $65. (At least that’s what we paid for it over 10 years ago.) Who can walk away from anything at a flea market for $5? Not me. I figured that I could turn a $5 flea market clock back into a $65 clock with a little DIY magic.
How to Take a Flea Market Clock from Drab to Delightful
When I got home, I was so excited to show Sweet Shark my flea market clock. Here’s how the conversation went.
I asked, “Hey, does this clock look familiar?”
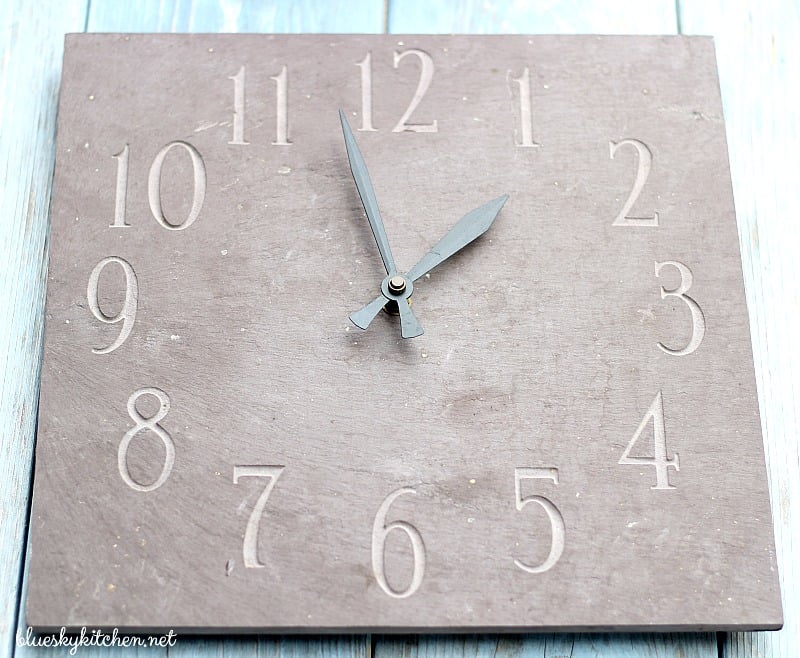
“Where did you find the clock?”, he said. We thought we had lost the clock in our move.
“I bought it at the flea market,” I smiled back.
“Does it work?” he asked.
“No,” I smiled.
TIP #1: always smile when you bring things home from the flea market and show them to the person who has to live with your stuff.
“Then, why did you buy it?” he asked. Really, come on. “All it needs is a battery,” I answered (sweetly).
TIP #2: Do not give out more information than necessary. Don’t explain that it also needs new hands and some paint and fixing up.
So, of course, he gets a new battery and the clock doesn’t work.
“I hope you didn’t pay much for this clock that doesn’t work and is dirty and dingy,” he said.
“Only $5,” I answered smugly.
“Good,” he said. “At least, you didn’t waste a bunch of money.”
Oh, ye of little faith. I won’t be deterred or defeated, not by this old flea market clock. Let the games begin.
Making that Darn Flea Market Clock Look Pretty over My Dead Body
This post contains affiliate links to products that I love, use and recommend. I may be compensated if you purchase anything through this site, but you don’t’ pay one penny more.
This clock is a piece of slate with the numbers etched and a hole in the middle for the clock mechanism. The first thing I did was remove the battery housing and the hands. Fortunately the hanger was still attached to the back of the clock. (What a deal!) Then I cleaned it with a damp cloth.
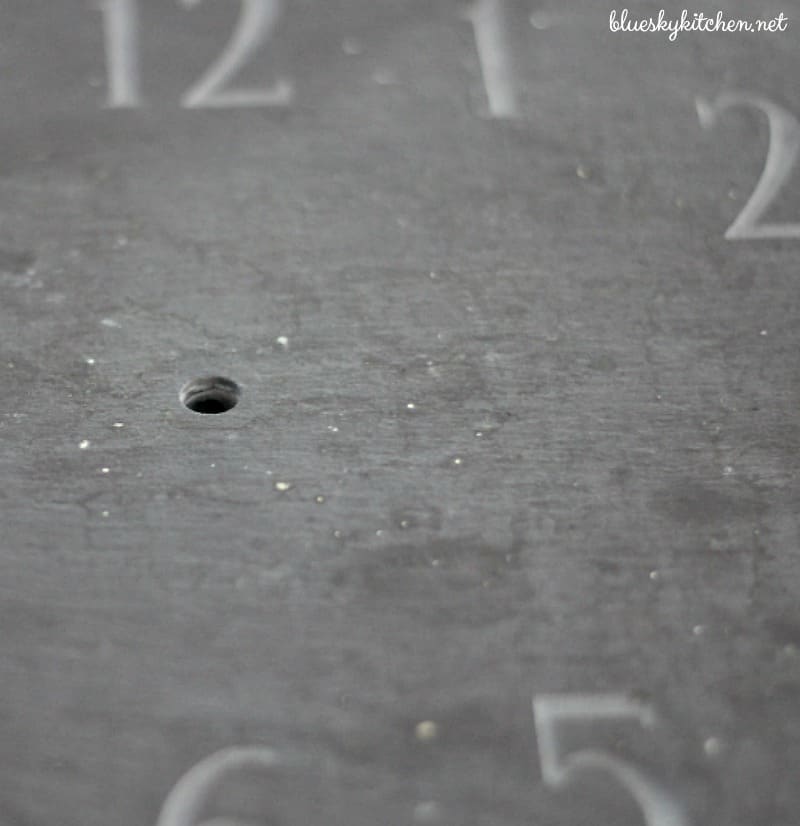
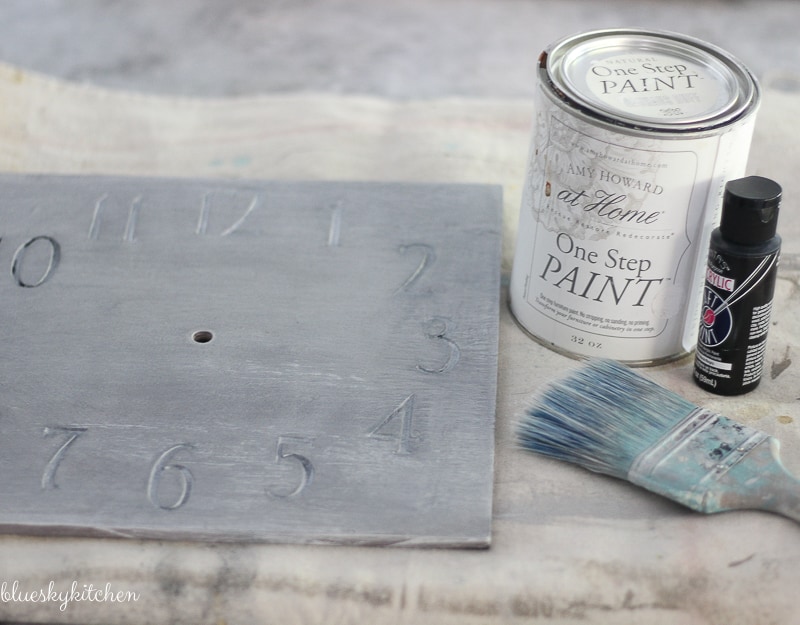
The slate was dark grey and the letters were light grey. The hands on the clock were a bit flimsy which I didn’t like. I wanted the slate to be light grey and the numbers black and the hands black. So the first thing I did was use a little bit of black Acrylic paint that I had on hand and a little brush to fill in the letters. I don’t have the steadiest hand and the paint didn’t go on smoothly so this was a tedious process.
TIP #3: Do not tell your significant other that you are getting a little frustrated during the process of a DIY project.
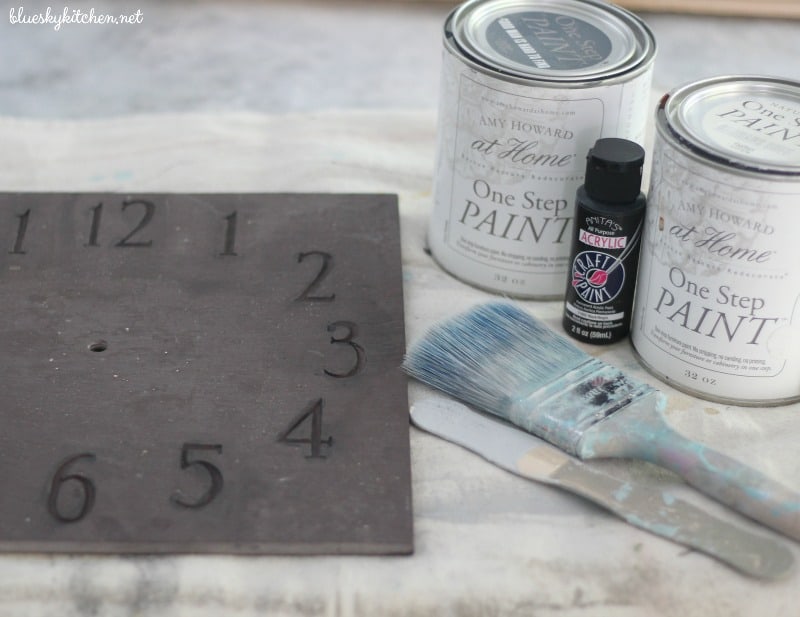
I had to wipe off some of the black paint off the face of the clock. But the letters stood out more.
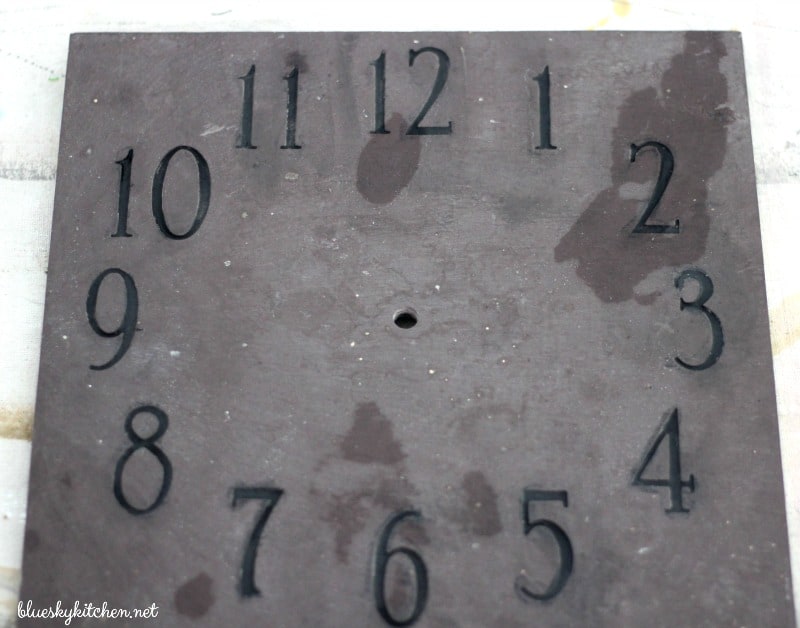
After the black paint dried, I painted over the clock face with Amy Howard One Step Paint in Bauhaus Buff. I loved how the One Step Paint lightened the slate to just the right shade of grey. I thought it need a little more contrast, so I lightly brushed across the clock face to create white streaks. I think it adds more interest to the clock.
My plan was that the black numbers would still stand out after I painted the clock face. Well, now the clock face was exactly the light grey I wanted, but the black letters no longer showed up.
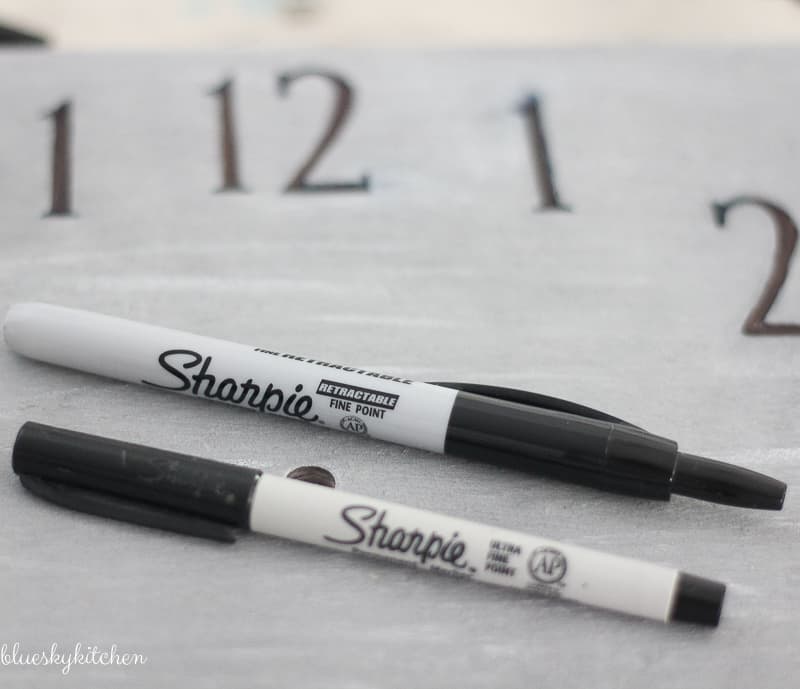
After my first attempt with black paint, I didn’t think I could successfully paint the letters black. Then I thought to try Sharpie markers. I had markers in a fine point and an ultra fine point, so I started filling in the etched numbers and this worked great. The markers were much easier to use and control than the paint.
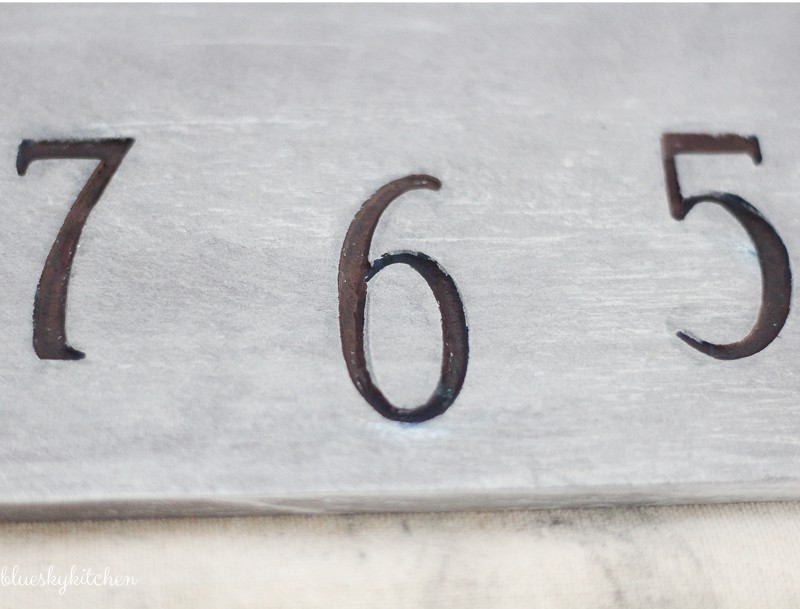
Now the clock was looking as I had envisioned it.
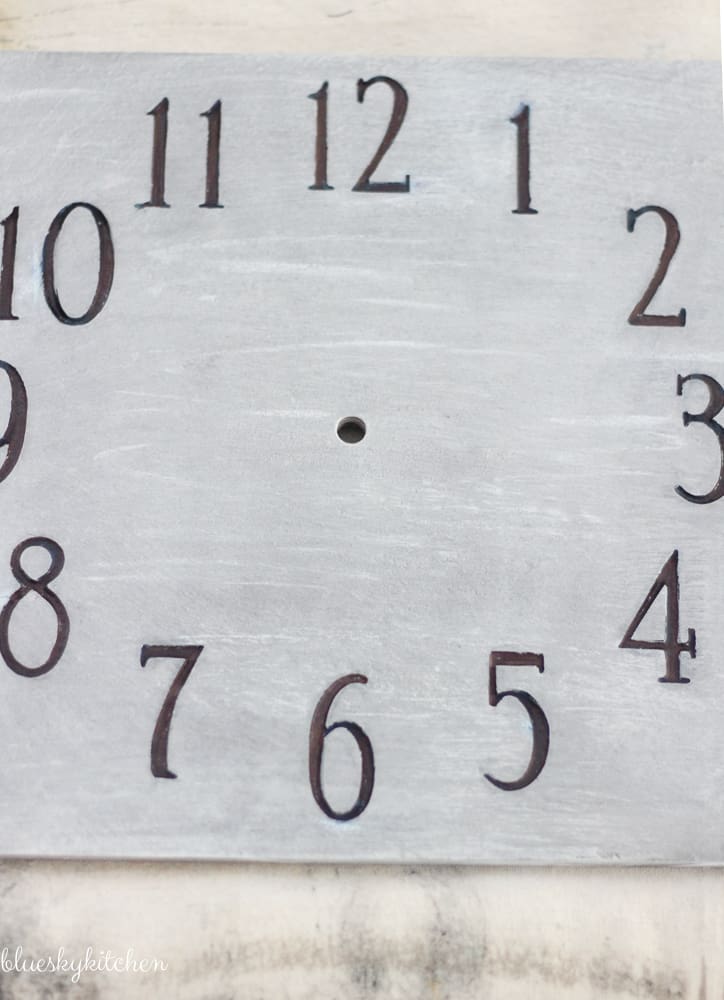
If I saw a little spot that needed filling it, it was easy to add just a dot or 2 of black with the markers.
Making that Darn Flea Market Clock Work over my Dead Body
I already had a clock mechanism that I had bought several months ago for another project (hopefully, to be competed in the near future) that seemed to be the right size. All I needed were hands. At Hobby Lobby, I found the black hands that were the right size. The hands came with a second hand, but I didn’t think we needed it. (Honey, it’s 4:59 and 33 seconds until happy hour ~uhm, I mean 5:00.) It took me about 10 minutes (why are instructions on the back of packaging so darn small?) to figure out the assembly and put the little, teeny, tiny round pieces and clock hands on the front of the clock face in the right order.
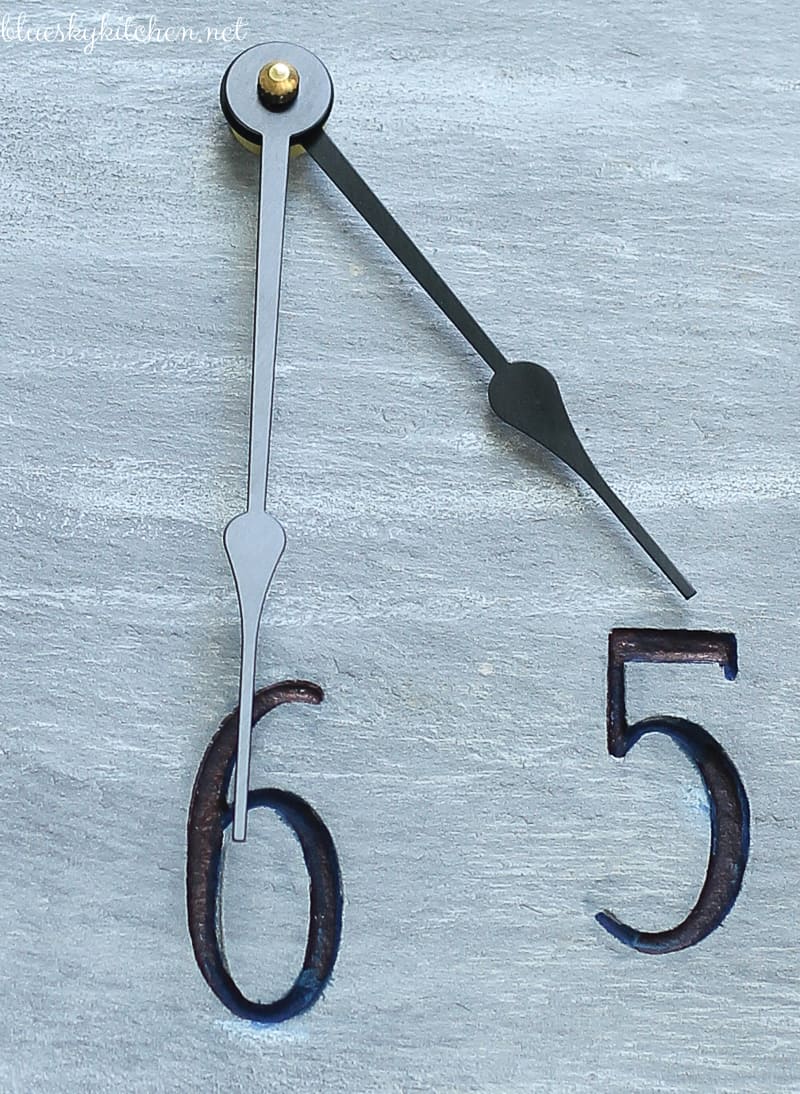
Finally, the moment of truth. I put in a new battery and waited . . . and waited . . . what seemed like forever. Then, I heard a little click and saw that the minute hand moved and moved and it kept moving. I stood the clock up on the kitchen counter and watched it, keeping my fingers crossed that this wasn’t a fluke. When Sweet Shark got home a couple of hours later, I didn’t say a word. I just stood by the clock and smiled.
“Cool,” he said. “How are you going to hang it?” (Minor detail, I thought.)
“Put a nail in the mortar outside for a hook.”
“You can’t do that,” he said. (Oh, just watch me.)
Next day, I went to Lowe’s and asked (smiling really big) the man on the nail aisle what kind of nail I needed for mortar. “You need a screw,” he said with a stone face. He handed me a package of screws. “I only need one,” I said. He didn’t say anything. Just gave me the “this little package of screws costs $1. 69, lady”. O.K. O.K. I’ll take it.
Hanging that Darn Flea Market Clock over My Dead Body
Here’s where I asked Sweet Shark for help. I honestly didn’t know if I could stand on a step stool and drill a hole for the screw into the mortar by myself. When I saw how easily my (yes, it’s mine) electric drill made that pilot hole and how easily the screw went in the mortar, I could have stomped my foot and rolled my eyes. I could have done it all by myself, without any help. But, it made Sweet Shark puff up all proud of himself, so I let it go. I handed him the clock and let him have the honor of hanging it on the side of our house, just outside our back door, right above my Flower Garden sign.
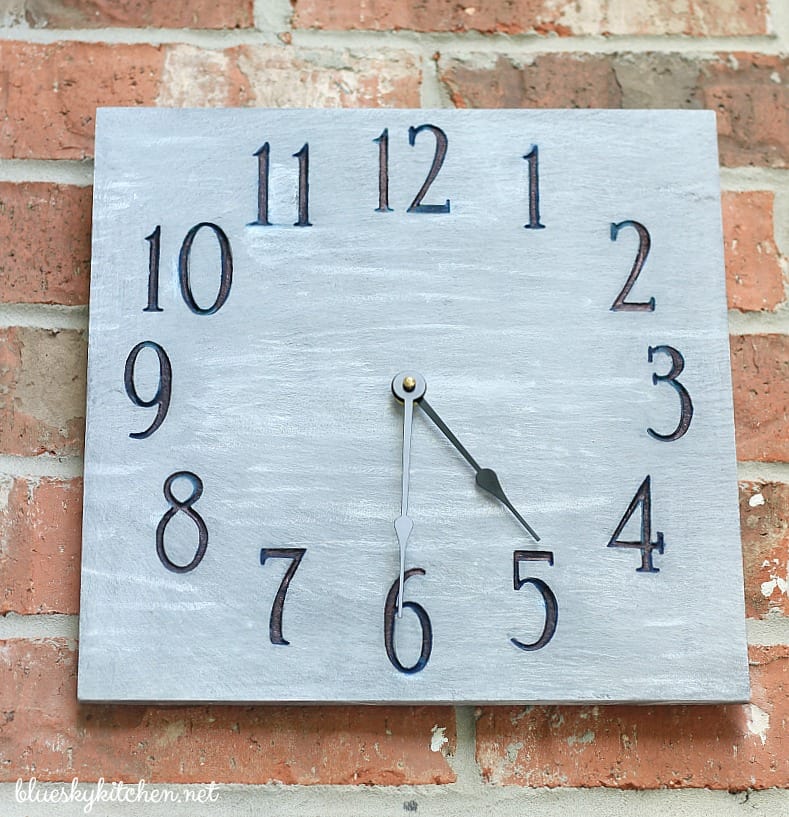
Now I can sit outside drinking my sweet iced tea, reading a book, listening to Jimmy Buffet in the background on the patio speakers. I just barely lift my head and glance at what was an ugly duckling, drab and dingy, non~working $5 flea market clock that is now all clean and pretty, in a lovely light grey color with little white streaks with black numbers and black minute and hour hands that work. And, you know what it’s telling me?
It’s 5:00 o’clock right here.
Cost of this Project
Clock $5.00
Paint 0
Markers 0
Clock Mechanism 0
Battery 0
New Clock Hands $2.98
1 Screw (package of 8 $1.69) 21¢
Total Cost $7.98
I think I won over that clock!





Very creative! What would we do without Sharpies? Thanks for sharing at The Gathering Place!
Sharpies did come to the rescue and I will put them on my “use~more” list.
What a great idea and I love how it turned out! Thanks for joining us at The Gathering Place link party and hope to see you again next week!
Thank you and happy to join the party.
You made a terrific transformation. The clock looks great — love the new color!
Hi Mimi! Thanks for visiting and I appreciate the compliment.
Oh my gosh, Carol. Your clock transformation is amazing! I have a clock that need some TLC and you’ve inspired me to get it out and see what I can do with it. And, it’s always 5 o’clock somewhere!
Beautiful transformation and very good tips 😉😉😉
Donna, thank you so much. So happy you liked my clock update.
Loved this story of the clock rescue Carol. The power of paint conquers all once again 😉
Michelle, paint is a cure-all for what ails you. We are certainly enjoying having the clock outside.
Lisa, thank you so much. That’s funny about the coffee (Stacey). I’m just getting my sweet iced tea for the day.
What a cool makeover! And I love the idea of a clock on the porch. Now I just need a porch… 🙂
Kimm, thank you for the compliment. We have a patio, but I would love a front porch, too.
I just happen to have a clock that could use this treatment! Thanks for the great DIY instructions. 🙂
Stacey, you’re so welcome. Thanks for getting the Super 10 together. I’d love to see your clock when you get around to it. Not like you don’t have a lot on your plate.
Too funny! The clock is beautiful and definitely a find. Don’t you just love sharpies? I use them for just about everything – even bought the triple deluxe box with 24 colors! lol Great job on the clock!
Tammy, yes, I love Sharpies and markers. I’m just happy that the light bulb went off doing this project.