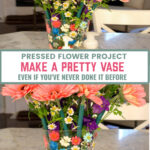
Easy Pressed Flower Vase Project for Your Home Decor
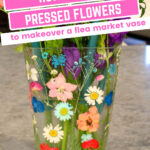
Are you a flower lover? Do you look for creative ways to bring the beauty of nature into your home? I just tried my hand at using dried pressed flowers to transform a plain glass vase from a flea market into a gorgeous decorative accessory. This easy pressed flower vase project is one you will want to save for your future decor accessories.
This delightful project involves just a few simple steps. When you finish, you’ll have a unique and eye-catching piece that will brighten up any space. I say unique because every single piece that you create will be different – that’s one of the great things about this easy pressed flower vase project.
Imagine a lovely vase on your living room coffee table or your kitchen counter. It is adorned with delicate dried pressed flowers on the outside that you can use over and over.
Inside the vase are beautiful fresh flowers that reflect the pressed flowers on the vase.

Upcycling a Flea Market Glass Vase with Dried Pressed Flowers
I have wanted to make a DIY project with dried pressed flowers for quite a while.
The problem was I couldn’t decide how to use them. I had seen so many possible projects on Pinterest that I even created a new Pinterest Board for Pressed Flower Projects.
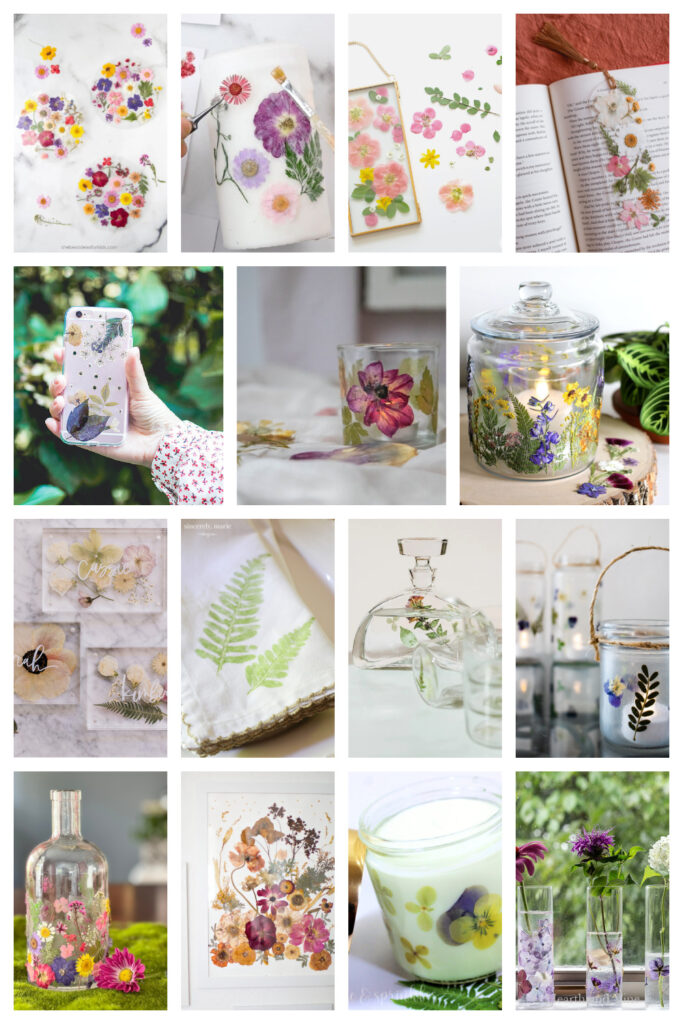
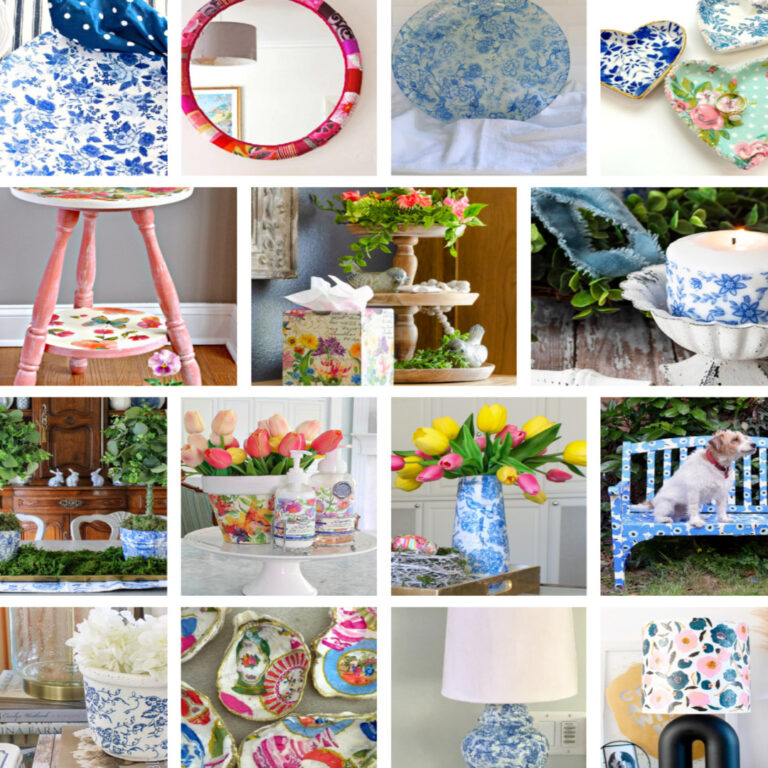
Last week I shared 15 Pressed Flower Projects that showcased different ways to use pressed flowers.
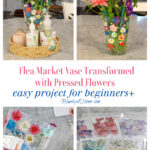
I decided to start with an easy pressed flower vase project. Why? Because I had a clear glass vase that I had bought at a flea market weeks ago. It was the perfect object to embellish with pressed flowers and try my hand at this new skill.
To DIY Dry Pressed Flowers or Not?
In my research, I discovered that flowers can be manually dried or bought already dried. It bought back a memory of drying flowers either in Camp Fire Girls or at camp. Wow! That was a long time ago!
Since this was my first pressed flower project (and I didn’t want to wait days for the flowers to dry), I decided to buy pre-dried pressed flowers online.


You will have quite a range of color choices and types of flowers.
TIP: After one project, I recommend purchasing pressed flower packages with a high quantity of flowers. They will go fast for any project. I’ve already reordered more.
Maybe at some point, I’ll try to dry flowers “from scratch”. I know that certain flowers work better than others. There are different methods to dry flowers.
- You can place flowers between pieces of parchment paper or tissue paper and set them inside the pages of a heavy book for several days.
- You can buy a wooden flower press to place flowers in and screw them down.
- I’ve even read that you can microwave flowers to dry them out.
Flower pressing doesn’t sound hard, but, for now, I’m taking the easy way and using the dried flowers I bought online.
Supplies Needed for This Easy Flower Craft Project
One good thing about these pressed flower projects is that they don’t require too many supplies. For my first pressed flower project, the only things I bought were the glass vase and the pressed flowers.
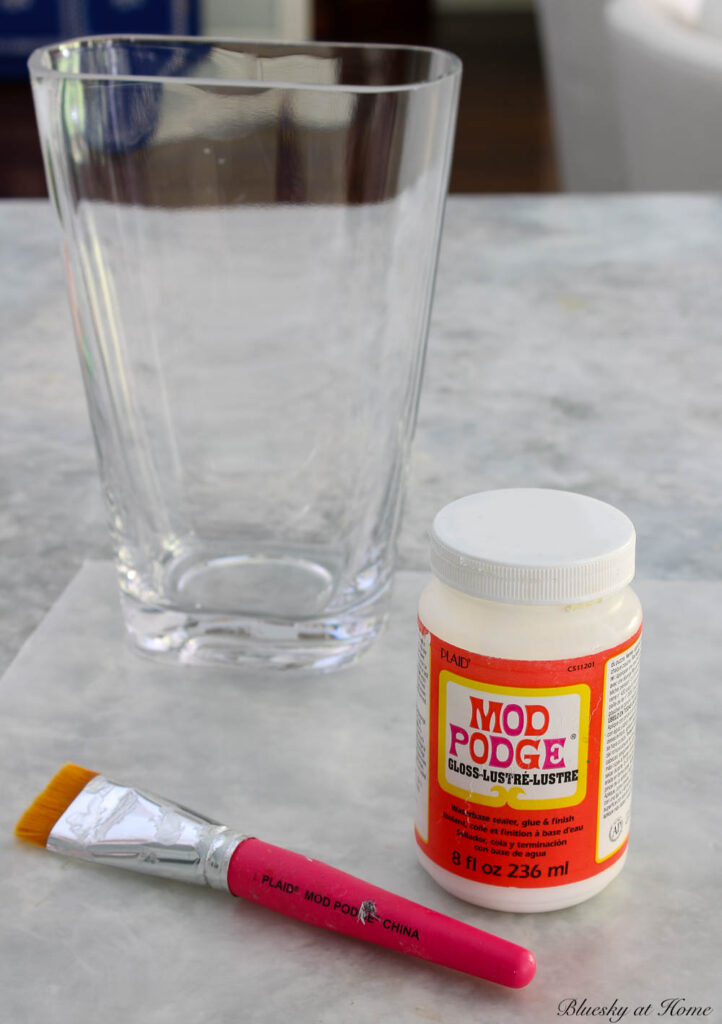
- Glass vase or glass bottle (from a flea market or thrift store). My glass vase cost $3 at a charity flea market. I really liked the shape.

- Dried pressed flowers (you can press your own or buy them online or at a craft store). You can choose a selection of dried pressed flowers that complement the colors and style of your home. Or create a harmonious arrangement by selecting flowers of different shapes, sizes, and colors. Experiment with various combinations until you find one that you like. I didn’t use the two packages of lavender and purple flowers for this project.

- Clear glue (preferably one that dries transparent). I used Gloss Mod Podge since I had plenty on hand and I’m familiar with using it for decoupage projects.
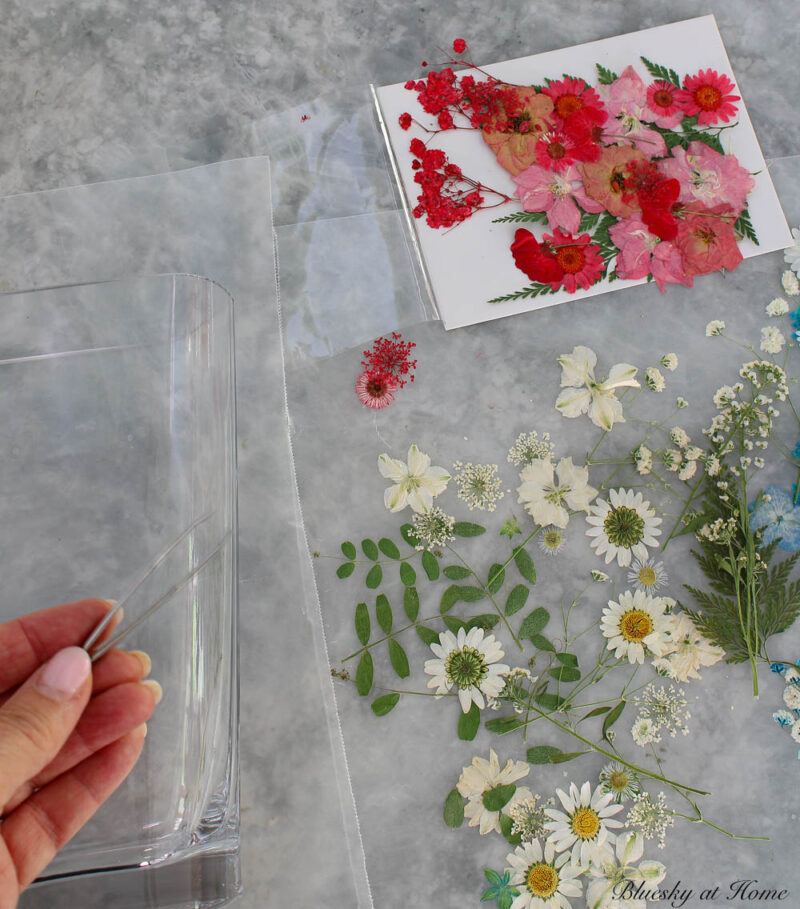
- Tweezers or small tongs for handling delicate flowers. I keep small tweezers in my Cricut machine so I used those. After I finished the project, I found a pair in one of the pressed flower packages I bought.
- Paintbrush (preferably a small, soft-bristle brush). I used one of my Mod Podge brushes. I love these brushes.
- Wax paper or parchment paper to place under your vase, glue, and flowers to protect your work surface.
Step-by-Step Instructions
Step 1: Gather your materials. Lay them out on your clean and protected workspace, ensuring everything is easily accessible.
Step 2: Prepare the glass vase. Although my vase was clean, I ran it through the dishwasher to make sure there was no grease or oils on it. This will ensure a clean surface for attaching the dried pressed flowers.

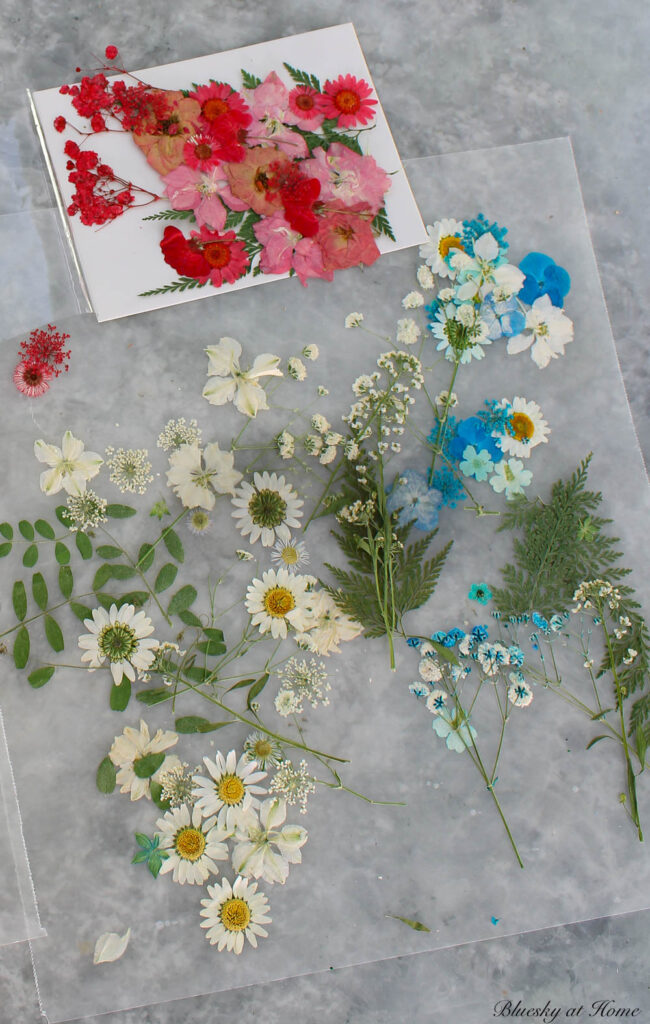
Step 3: Carefully remove the flowers from the packages. These small flowers are delicate. Arrange the dried pressed flowers that you want to use on your work surface. My flowers were in shades of yellow/white, pink, and blue. I had three “piles” to make it easy to choose which one I wanted.
Step 4: I read about two ways to attach your flowers to the vase: Either you can apply a small amount of glue to the back of each flower or you can apply the glue in small sections to the vase. I chose to apply the glue to the vase.
NOTE: Remember that Mod Podge goes on white and dries clear. Whatever glue you use, make sure it dries clear. I also read that you can use a hot glue gun.
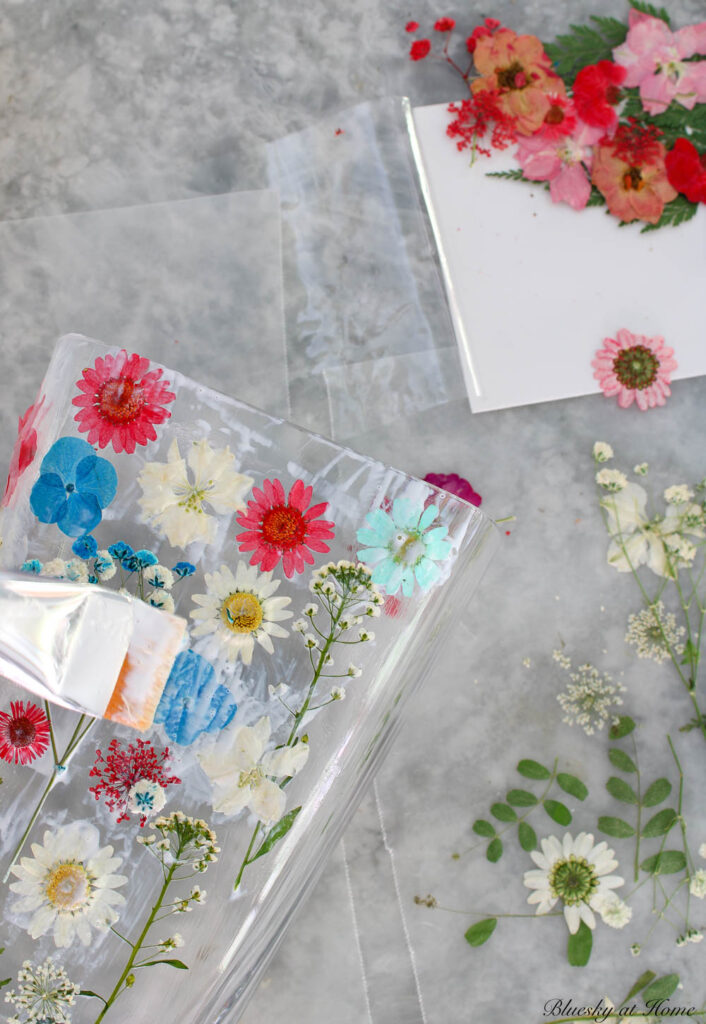
Step 5: Using the small paintbrush, apply a thin layer of clear glue on the vase where you want to place the flower.
I used the tweezers to gently pick up each flower or stem and position it on the desired area of the glass vase. I pressed down lightly on the flower to adhere it to the glass vase (or whatever container you are using).
Repeat this process for each flower, arranging them in a way that pleases you. Don’t be afraid to get creative and experiment with different placements.
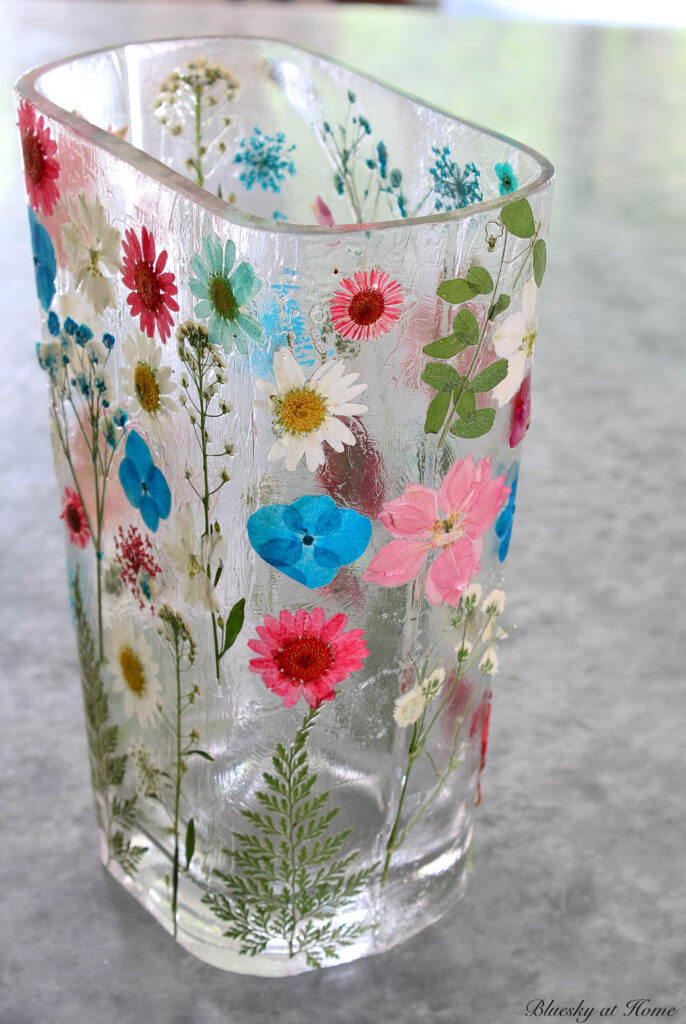
I didn’t have a specific design plan in mind. I did place the ferns and flowers on stems at the bottom of the vase. Then I arranged the flowers so that the colors of the flowers were spaced out around the vase.
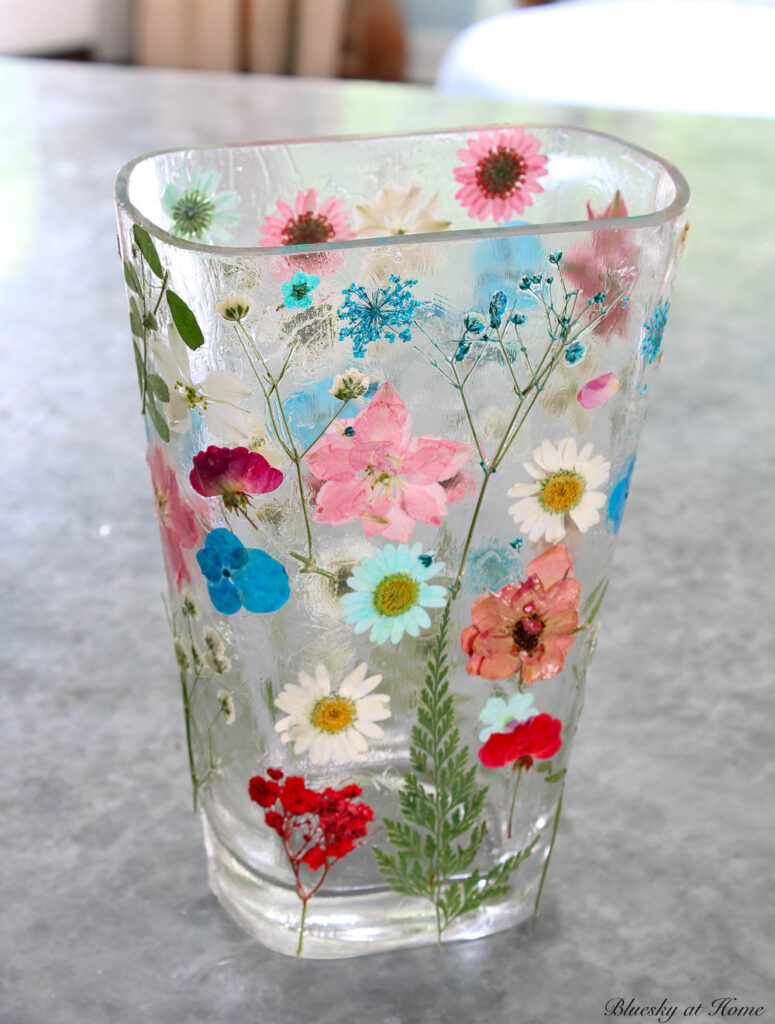
Step 6: After you have attached all your flowers, apply a coat of Mod Podge over the entire surface of the flowers to secure them. Let the glue dry completely. Refer to the glue’s instructions for the recommended drying time, as it may vary depending on the brand.
During this time, avoid moving or disturbing the vase to prevent the flowers from shifting or falling off. I let my vase sit overnight. It was dry and clear.
NOTE: The next morning I noticed that there were a few little stems sticking up from the vase. I used my super sharp little scissors to cut them off.
Adding Fresh Flowers to Your Pressed Flower Vase
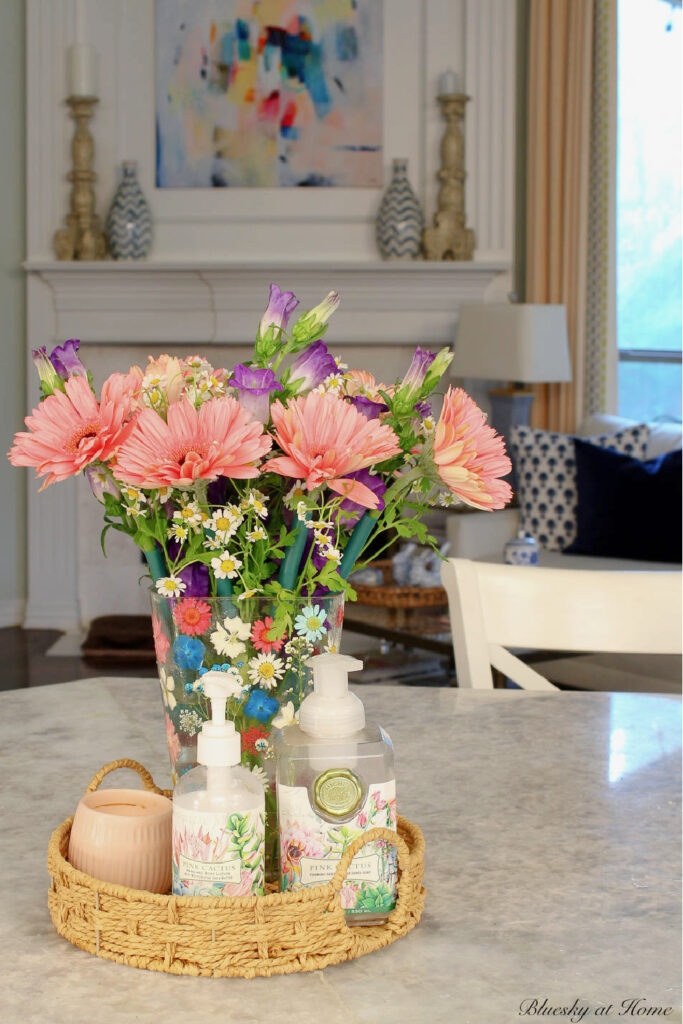
Now my beautiful DIY creation is ready to be displayed! The colors of the flowers would look great on my kitchen counter. I have a small tray that holds my Michel Design Works hand soap, lotion and a small pink candle. The soap and lotion have pretty floral labels on them.
My flea market vase looks so different. The pressed flower vase has such a pretty look now.

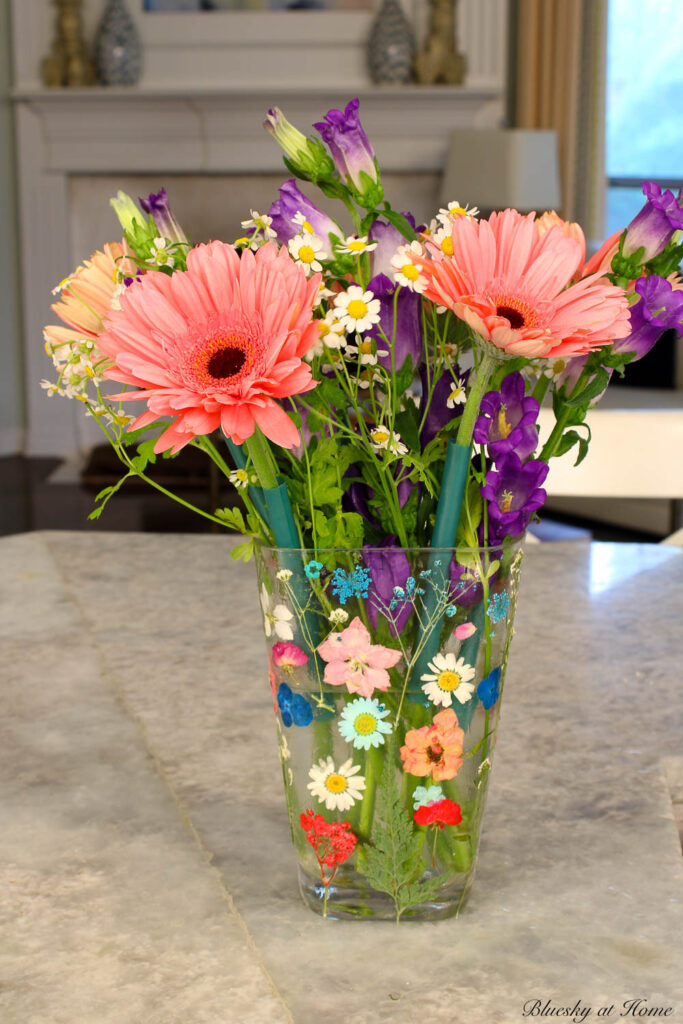
One thing was missing: I wanted fresh flowers in my pressed flower vase. I made a trip to Trader Joe’s and bought three types of flowers in the same colors as my pressed flowers: yellow/white, pink, and blue.
Each flower is different – daisy-like yellow and white flowers and bright pink Gerber daisies. I don’t know the name of the blue flower, but I love the shape of it.

The loose arrangement of the fresh flowers reflects the arrangement of the pressed flowers on the vase. I couldn’t be happier with how this project turned out. It’s a fun activity that is easy, inexpensive, and requires no special equipment.
Decorating a flea market glass vase with dried pressed flowers is not only a creative endeavor but also a wonderful way to bring nature indoors.
By following these simple steps, you can transform an ordinary glass vase into a delightful decorative accessory that showcases your DIY crafts skills and the delicate allure of dried pressed flowers.
Do you think that I will make other projects with pressed flowers? Absolutely! There are so many possibilities – gifts, art, and decorative accessories. Stay tuned for more easy pressed flower projects.
Please PIN this beginner-level simple pressed flower project. I know you will be so pleased with the results and want to create a one-of-a-kind decorative accessory for your home.


Popping back in to say I’m featuring this amazing craft tomorrow on Farmhouse Friday. Thanks for linking up. Hope you have a safe and cool celebration this weekend. pinned
This is just beautiful! I have been wanting to make some projects with pressed flowers. I’m happy to say I’ll be featuring this post at Thursday Favorite Things today. 🙂
This post really caught my creative attention. I have passed up so many plain vases in thrift stores because I didn’t know how to make them pretty. I will definitely be trying this one out. Your project is beautiful and will be a featured this week. Thanks for always sharing each week at the party. #HomeMattersParty
That turned out lovely! I love pressed flowers but have never done anything with them. Have pinned several ideas but nope to doing any of them. Love this and the flowers and colors you chose. Perfect for summer! pinned