How to Paint Planters from Plain to Pretty
Do you like to add green plants in pretty planters in your home decor? Nothing adds a pretty pop of natural color to our spaces as much as a plant ~ whether it’s fresh or faux. What makes the green plant even better is when it’s in a planter that adds color, pattern or texture. What if you don’t have a planter like that? Let me show you how to paint planters and take them from plain to pretty.
You can paint planters both for indoor and outdoor use. As long as your planter is the right size and shape for your plant, you can create just about any look you want for your planter. You can use just about any planter material ~ wood, metal, ceramic, plastic ~ as long as you use a paint that will work on that surface.

I am not an artist by any stretch of the imagination; somehow, my younger daughter is the only one in our family who is a bonafide artist. But I can paint furniture and just about any surface that can be used for home decor. I’ve painted several planters and always loved the results. Want to know how to paint planters and take them from plain to pretty? Let’s get started.
How to Paint Planters from Plain to Pretty
For your convenience, this post contains links to products used in this project and I recommend. If you should order any product from this site, I may receive compensation, but you will not pay a penny more.
The great thing about starting with a plain planter is that you can customize it to whatever color or pattern or design you want. Let me show you some examples of previous planter projects I’ve done.
Examples of Previous Painted Planters
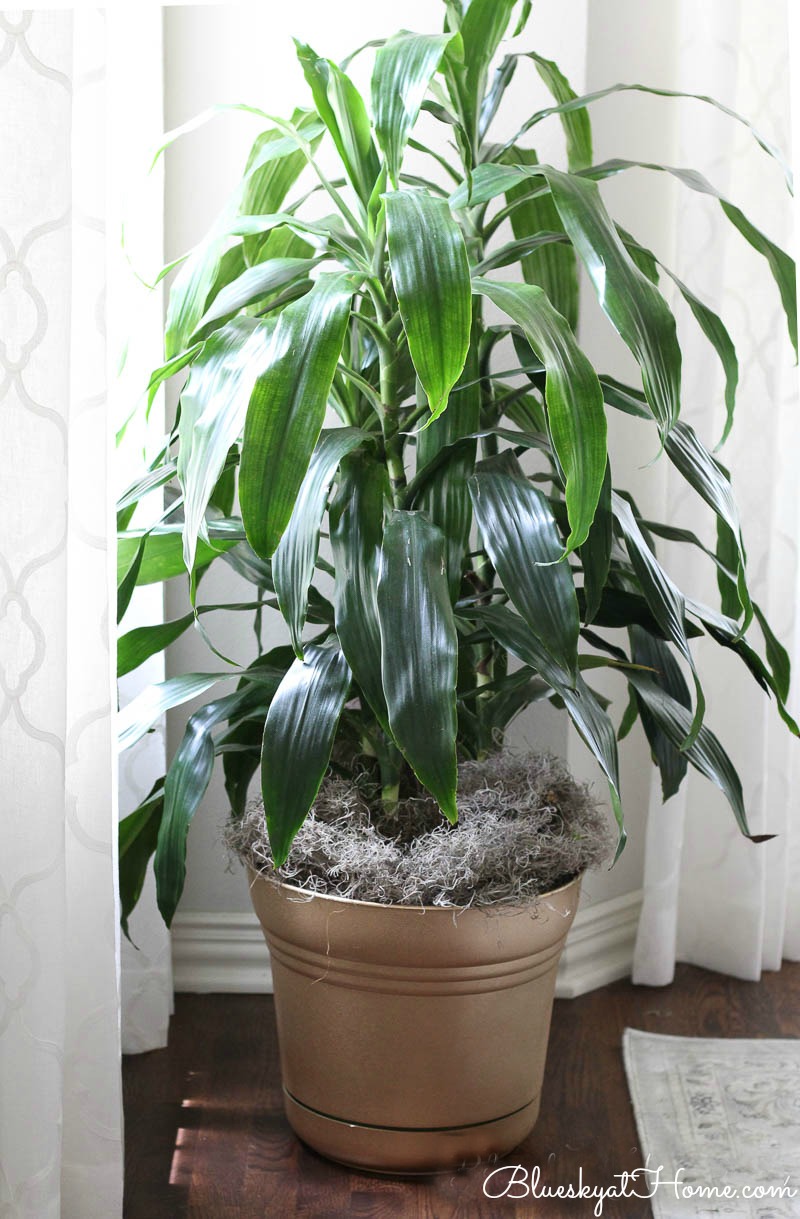
You can change a planter from one color to another, which is what I did in our dining room makeover last year. I took an ugly green plastic planter and spray painted it gold.
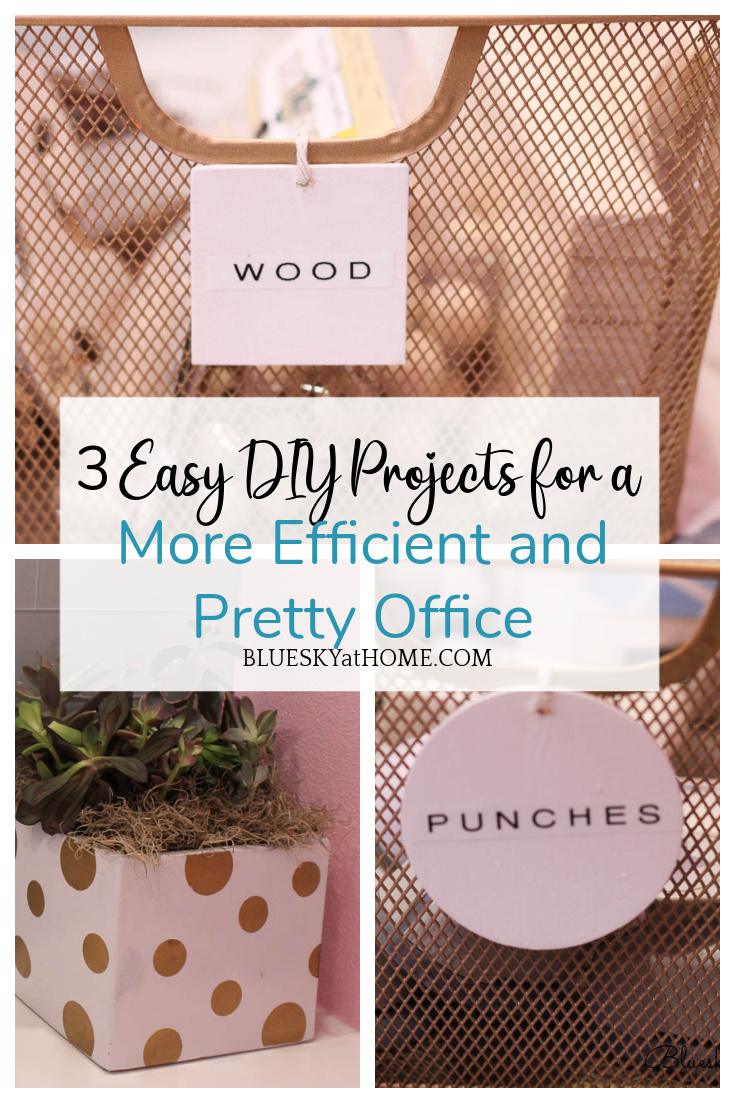
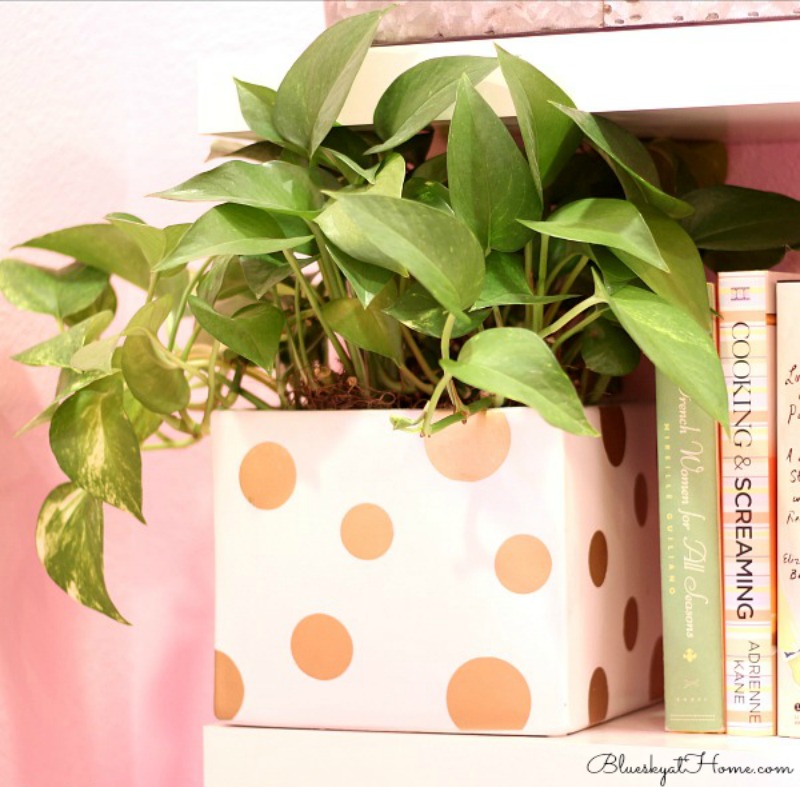
You can add a design to a planter. I painted gold polka~dots to give a plain planter a metallic and elegant look for my office.
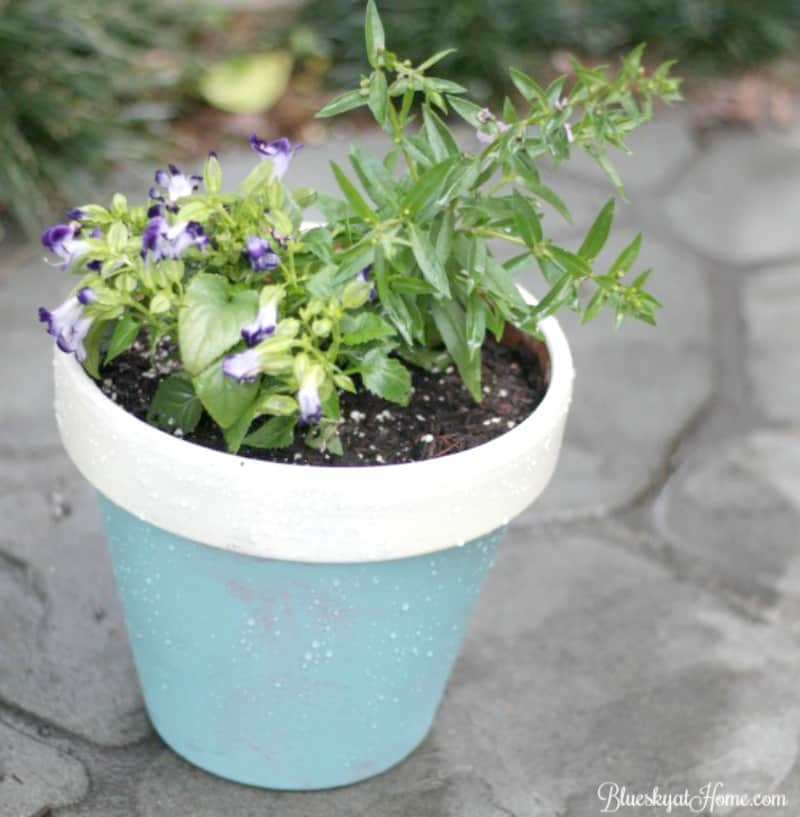
Just about any material can be painted, like the terra cotta planters I painted in pretty blue and white.
New Painted Planters
In June we worked on updating our backyard patio area. As one of the last design features, I wanted some pretty planters to dress up our patio coffee table and our new side tables made from our estate sale teak table. The only criteria was that the container had blue since that was the color of our chair cushions.
Several weeks earlier, I had seen these blue and white candles at Joann.
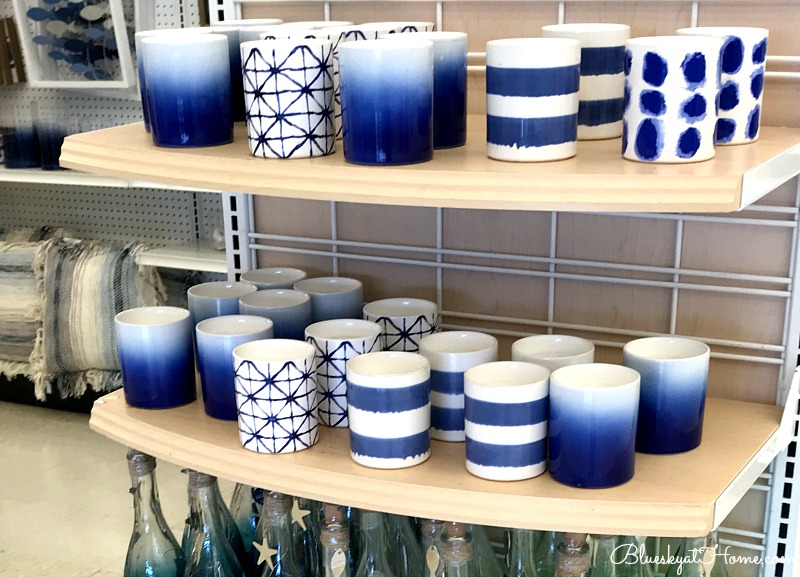
I especially liked the blue and white stripe one, which I bought for our master bedroom. I also loved the one with the “splashes” on it. Fortunately, I took a picture and those 2 designs were the inspiration for my painted planters.
I knew I could paint stripes and splashes. Now I just needed some plain planters, which I knew I had at home.
For my paint, I decided to use some paint that has been sitting in my office for 2 years. After Haven 2017, the nice people at FolkArt sent me a set of their Coastal Textured Paints. The set of 12 had beautiful coastal colors from white to greys and lovely shades of blue.
The paint was meant to be outdoors, so I thought this was a good time to try them.
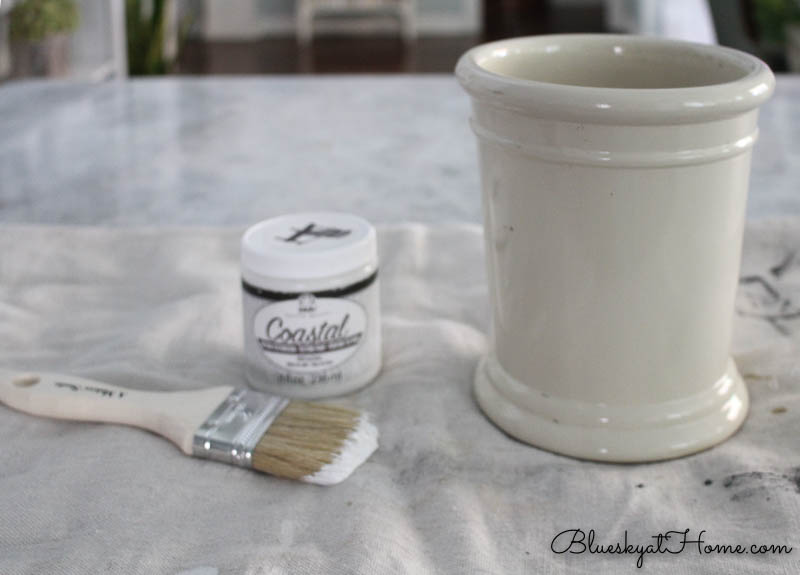
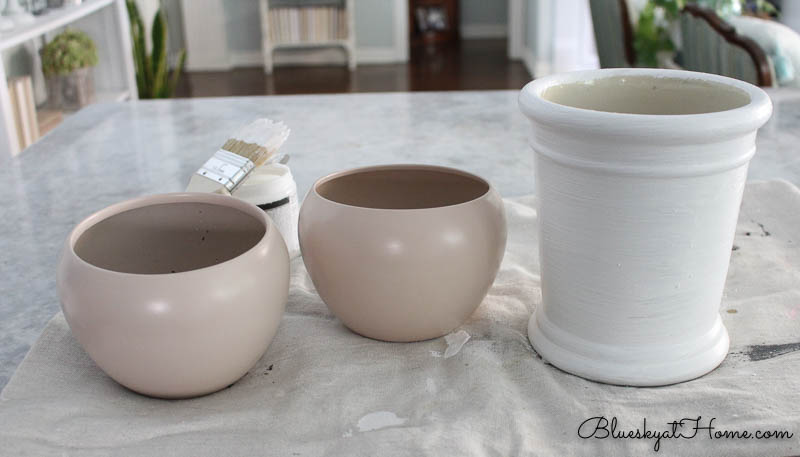
The first planter was this tall ceramic planter. When I bought the planter at a charity plant sale in March, it had a rose in it. The rose didn’t live, but I kept the planter, of course. It was a funky cream color which I didn’t like. The first step was to paint the planter white.
I used a color called Sand Dollar. This paint is very thick and creamy. Fortunately, in almost 2 years it had not dried out at all. I applied 2 coats of paint, using a regular chip brush. The paint went on very easily and dried quickly. It did wash out with dish detergent (Dawn) and water.
I also had 4 planters from Trader Joe’s 2 were white and 2 were taupe. I painted the taupe ones with the same Folk Art Coastal paint in Sand.
No was the fun part ~ turning the plain planters into pretty planters. I used a deep blue called Poseidon.
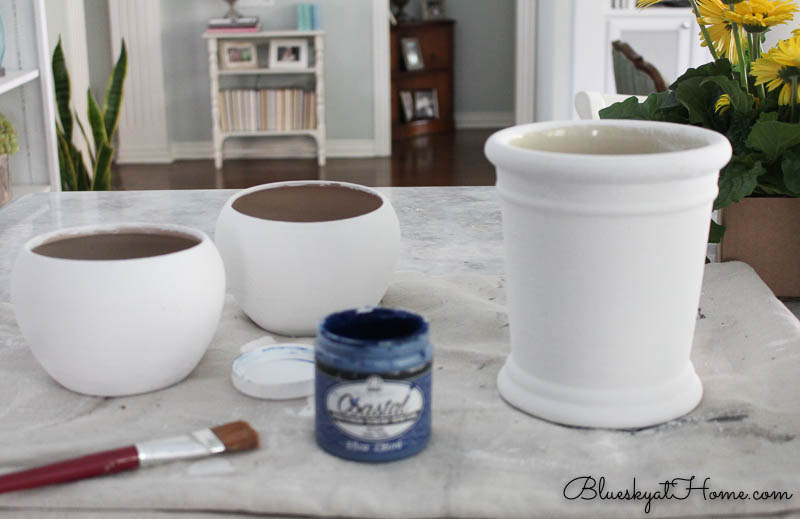
To make the first planters, I used a small flat brush to add random “splashes” of blue. Talk about easy!
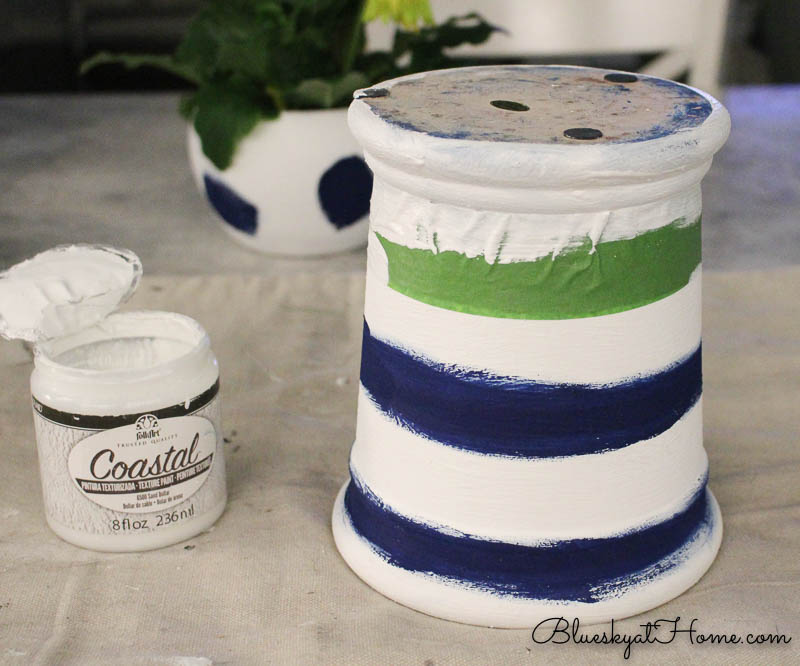
For the tall planter, I used Frog Tape to create stripes.

I wasn’t looking for perfection here. In fact, I wanted the design to look rather abstract. I didn’t mind that the edges had a feathered look to them. After the first coat of blue dried, I did go back with the small brush and cleaned up some places with a bit of white or blue as was needed.
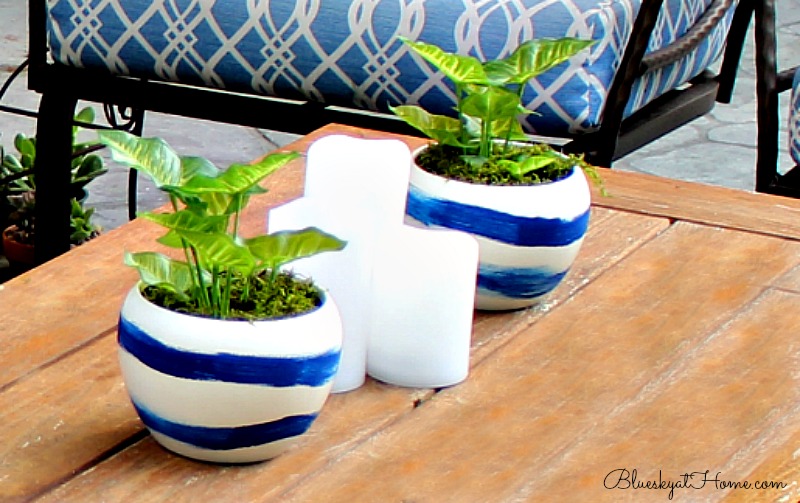
For the other 2 Trader Joe’s planters that were white, the painter’s tape wouldn’t go around the “fat” round shape. So I held my breath brush and carefully painted the stripes on free~hand. It was easier than I thought and had the same abstract look of the tall planter. I forgot to take a picture of the process, but here are the finished planters with stripes.
Planters for Our Master Bedroom
Fast forward a couple of weeks as I was finishing our summer master bedroom update. On a trip to Ikea, I discovered these simple white plastic planters. They would be perfect for adding color and design in our bedroom. Once again paint would turn plain planters into pretty planters.
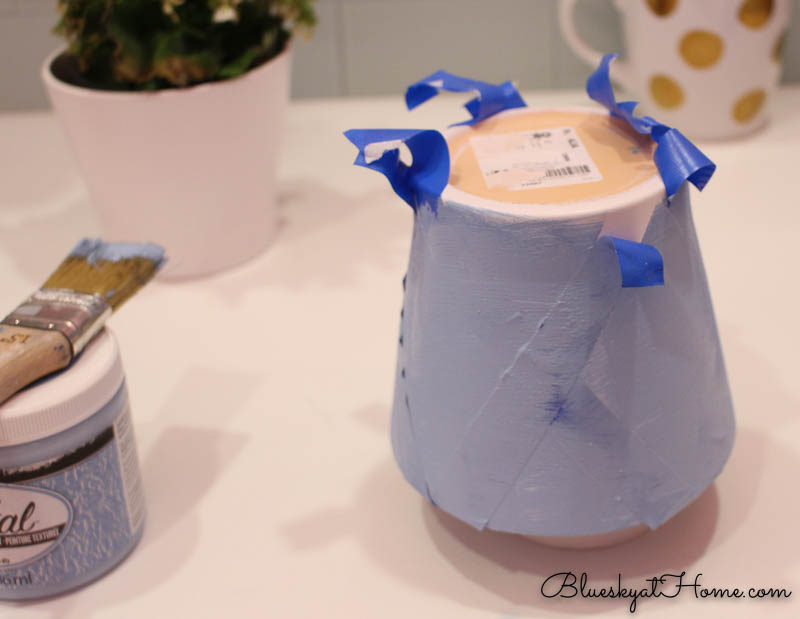
All I needed was some painters tape and a brush. I decided to once again use the FolkArt Coastal Texture Paint. The color High Tide was a perfect match with the blue in the buffalo check shams that I made.
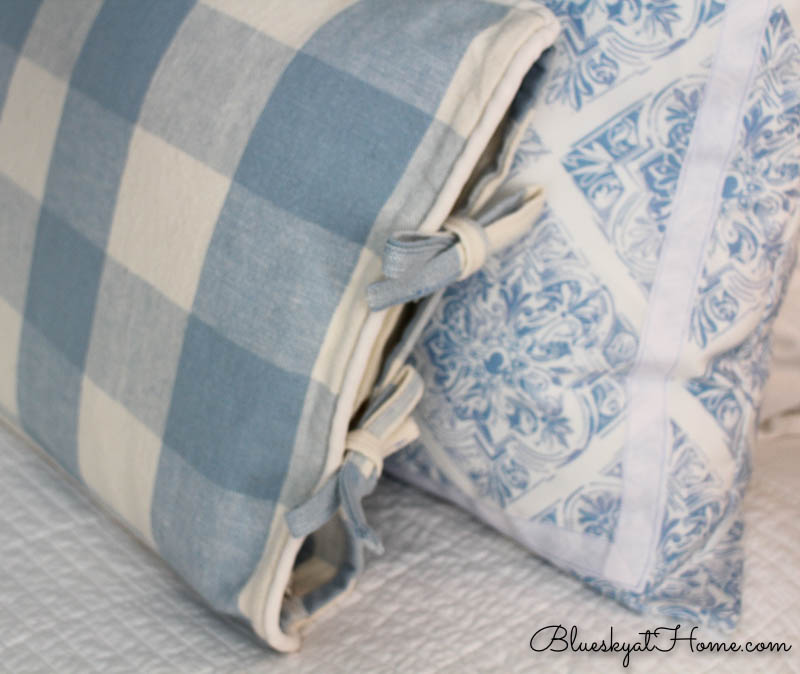
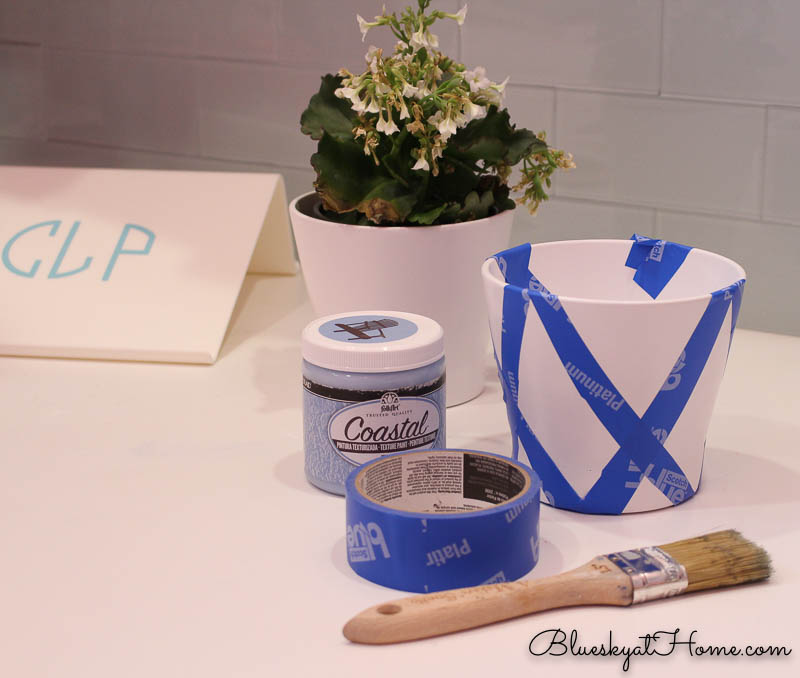
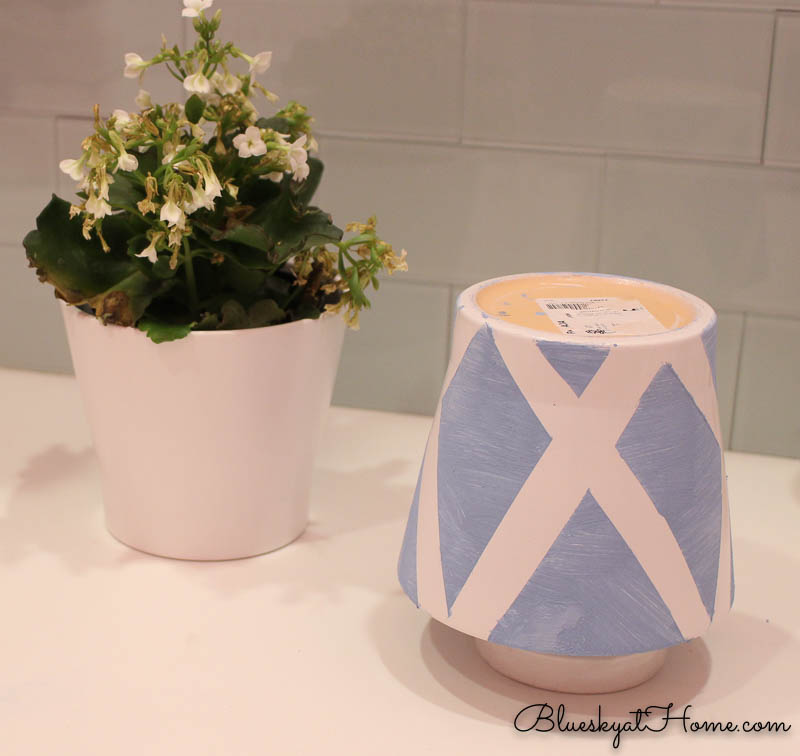
For painter’s tape, I used Scotch 3M blue tape because it has some stretch and give to it. I thought a crisscross pattern would be a nice design feature with the large check and paisley of the patterns already on our bed.
TIP: Place the planter upside down on a jar or can to keep it off your work surface and make it easier to turn the planter as you paint.
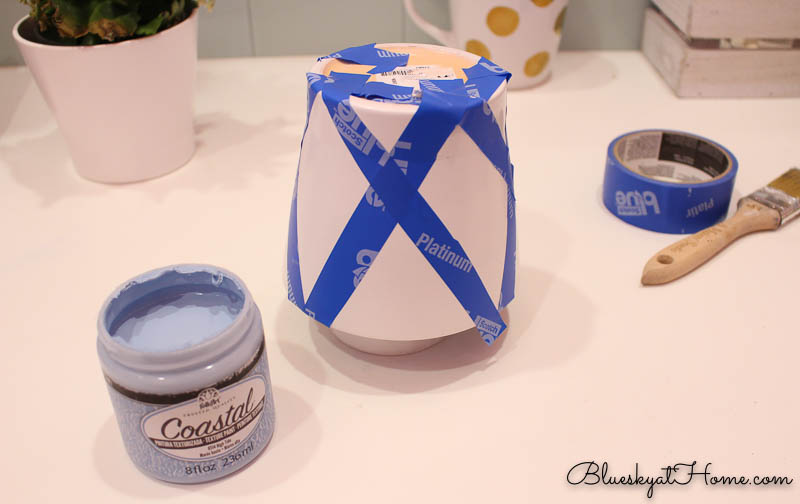
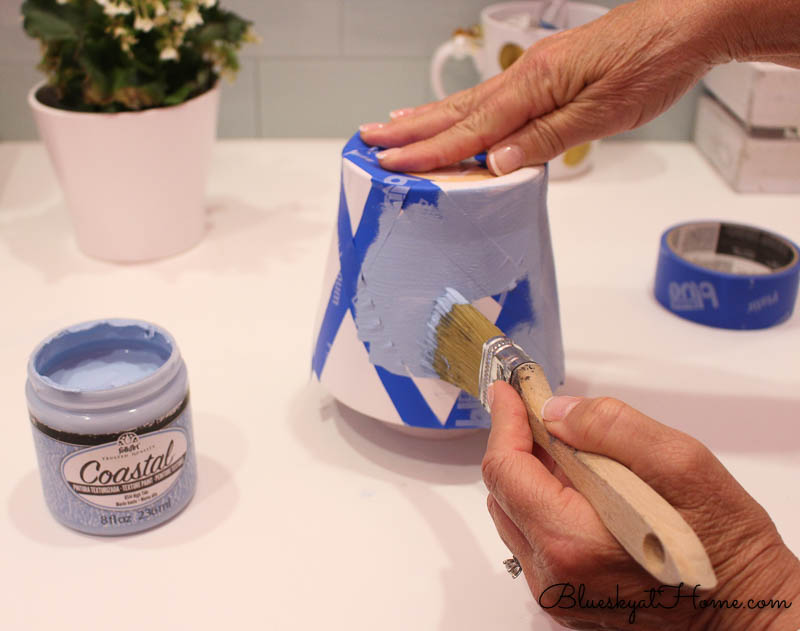
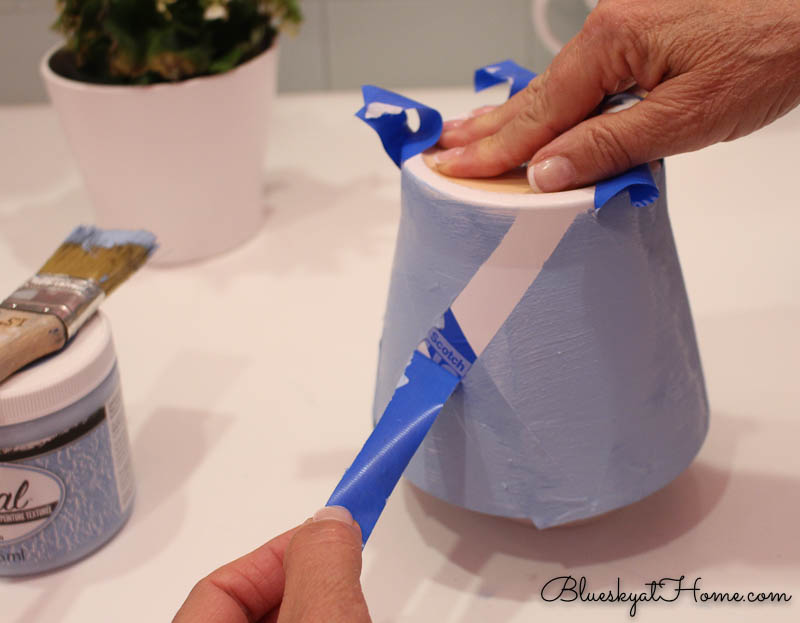
I made sure that the X’s were spaced evenly and the tops and bottoms of the tape met. Then I just painted over everything.
TIP: don’t press the painter’s tape down at the ends since you want to be able to pull the tape off after you’ve painted.
Carefully lift up the tape, one strip at a time and slowly pull back to where the tape crosses. Then pull the next strip up and remove the top strip of tape.
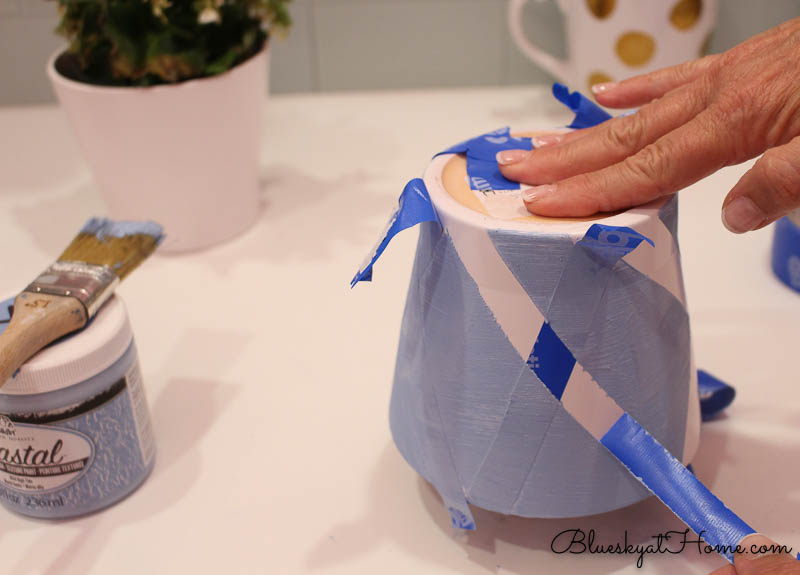
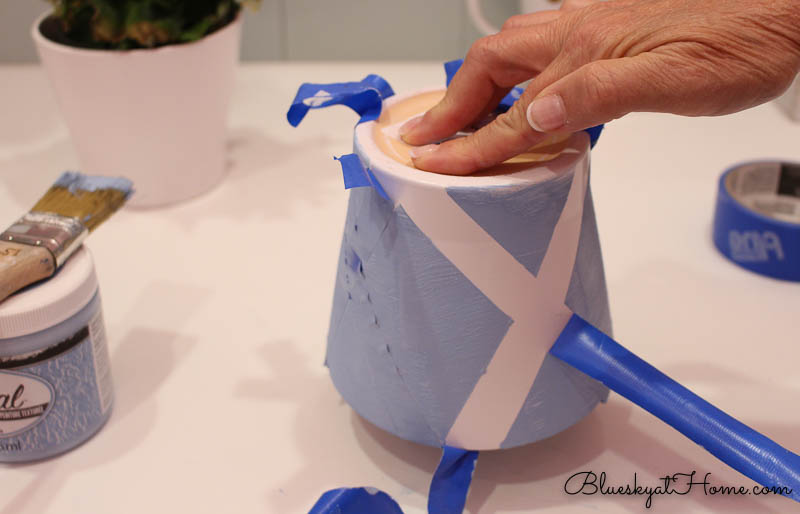
Once all your tape is removed, let the planter sit for at least 20 minutes to dry. Then repeat with more planters.
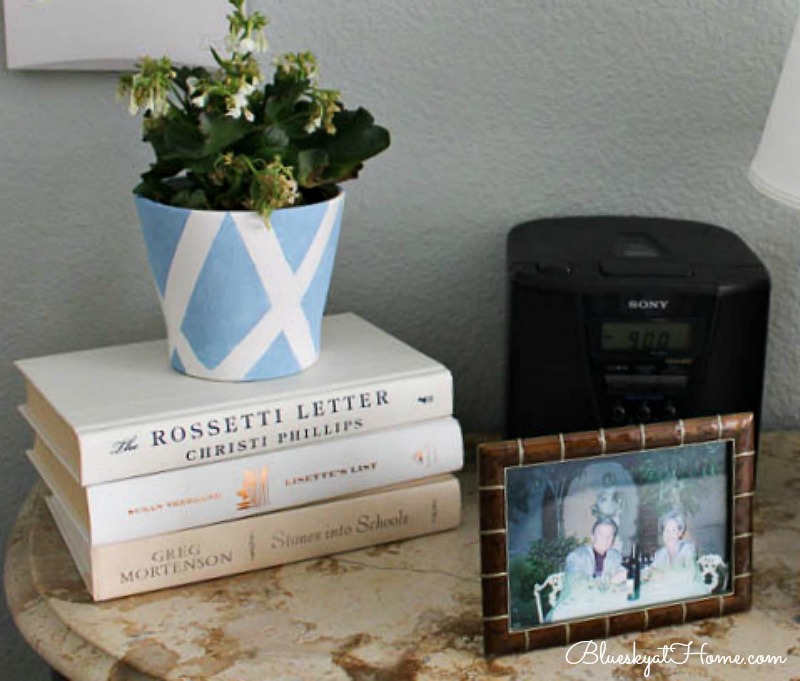
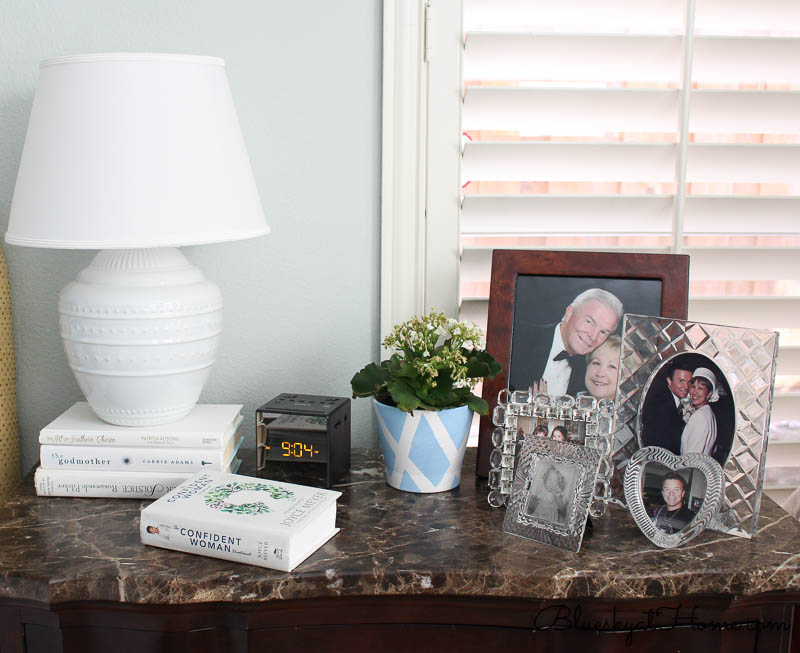
Here’s the finished planter in our bedroom.
There you have it: an easy way to add color and pattern and pizzaz to your home decor by knowing how to paint planters and transform them from plain to pretty. All you need is a plain planter ~ inexpensive and readily available, brushes, possibly painter’s tape and paint of your choice.
If you like watching how~to videos, here is the one of this project that I posted on Facebook.
If you like YouTube, here you can watch as I paint planters.
The only thing I bought new were the 2 planters from Ikea. Everything else was on hand. Even my paint was free. Lucky me. You can do this too, you know! Even the free~hand planters were so easy. Strive for creativity in your DIY projects, not perfection.
Oh, you can PIN this project too.