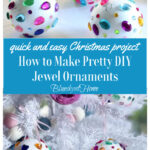
How to Make Pretty Jeweled Christmas Ornaments
Do you look for creative ways to make your Christmas tree shine for the holidays? Would you like a quick and easy DIY project? I’m showing you how to make pretty jeweled Christmas ornaments.
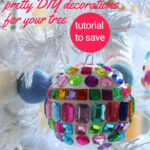
This easy Christmas project uses adhesive jewels and styrofoam balls to create shiny ornaments.
Your Christmas decorations will glow with the addition of these quick and simple jeweled Christmas ornaments.
These stunning jeweled Christmas ornaments are the perfect DIY project to make your holiday season shine.
Scrolling through Amazon, I discovered these jewels by chance. I was looking for a way to decorate the styrofoam balls I already had.
I was so excited when I found these adhesive jewel decorations.
This is Day 3 of Christmas in July. See Day 1 and Day 2 below. Those projects were about DIY Christmas trees.
This is a great project to make while watching a Hallmark Channel movie, sitting by the fire listening to Christmas music or watching a football game.
Since this is July, you might want to find a summer beach movie to watch instead.

Last year, I planned to design a new Christmas tree in our bedroom. We’ve had a 4-foot-tall faux green tree in our bedroom for several years. I wanted to change to a white tree.
My plan was to use mainly pink and blue decorations on the tree. I would then add to the Christmas tree with other pink and blue decorated small bottle brush trees.
Jeweled Christmas Ornaments: Simple, Easy, and Quick
These DIY Christmas ornaments are so easy. You don’t even need a glue gun to make them.
The Christmas ornaments turned out even better than I thought they would.
What do you need to make them? Just a few supplies.
Supplies for these Jeweled Christmas Ornaments
- styrofoam balls in your size of choice. I already had eight 3-inch styrofoam balls on hand.
- jeweled adhesive stickers. I ordered 2 packages and had leftover jewels.
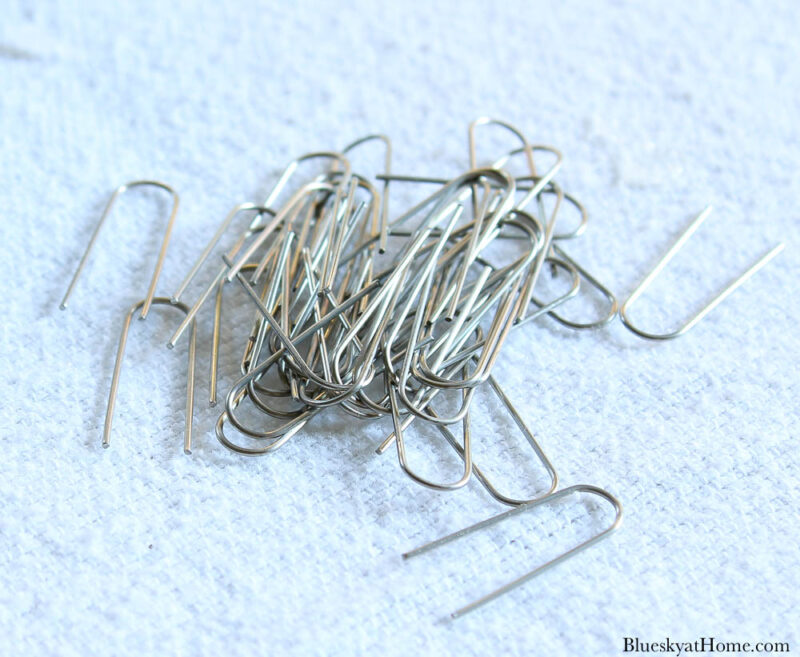
- U-hook hangers. The styrofoam balls don’t have hangers. I found these hangers which you push into the styrofoam ball.
- skinny ribbon to hang the ornaments. I already had skinny pink ribbon.
- scissors to cut ribbon


NOTE: The number of packages of jewel stickers you will need depends on three things:
- the size of your styrofoam balls
- the number of balls you are decorating
- the design you use for your ornaments
Honestly, I don’t remember if I have ever made handmade Christmas ornaments. I actually have a couple more ideas for other styles of Christmas ornaments.
Making the Jeweled Christmas Ornaments
Here is the step-by-step process to craft these eye-catching decorations for a memorable holiday season.
This may be the easiest Christmas ornament you’ll ever make. It would be great for kids.
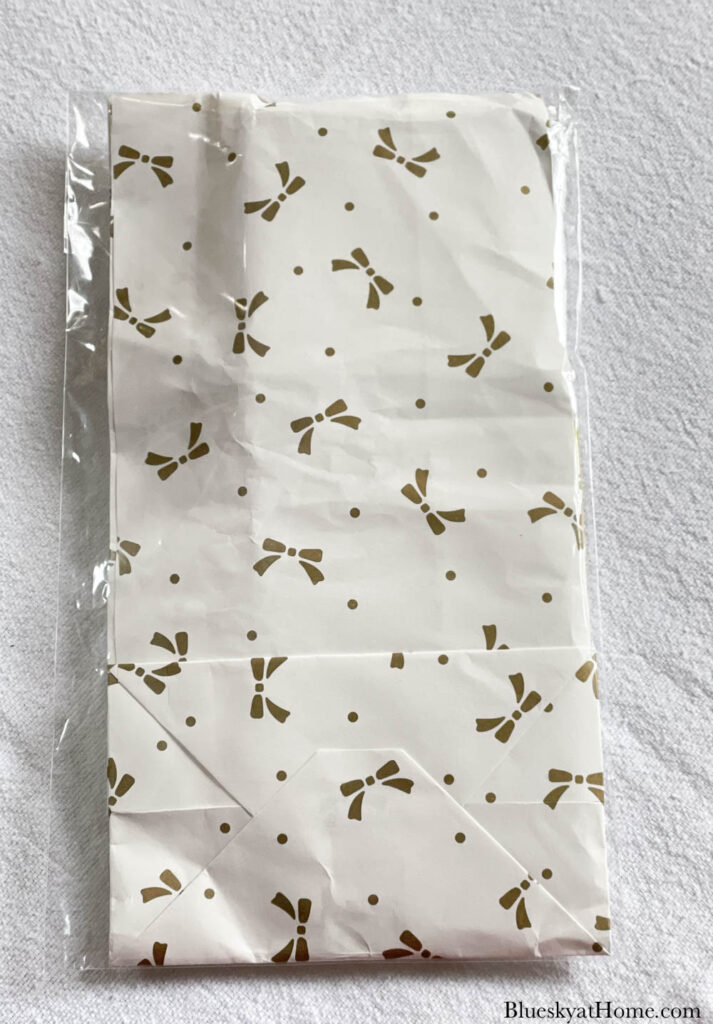
The jewels come in a nice gift bag that you can keep.
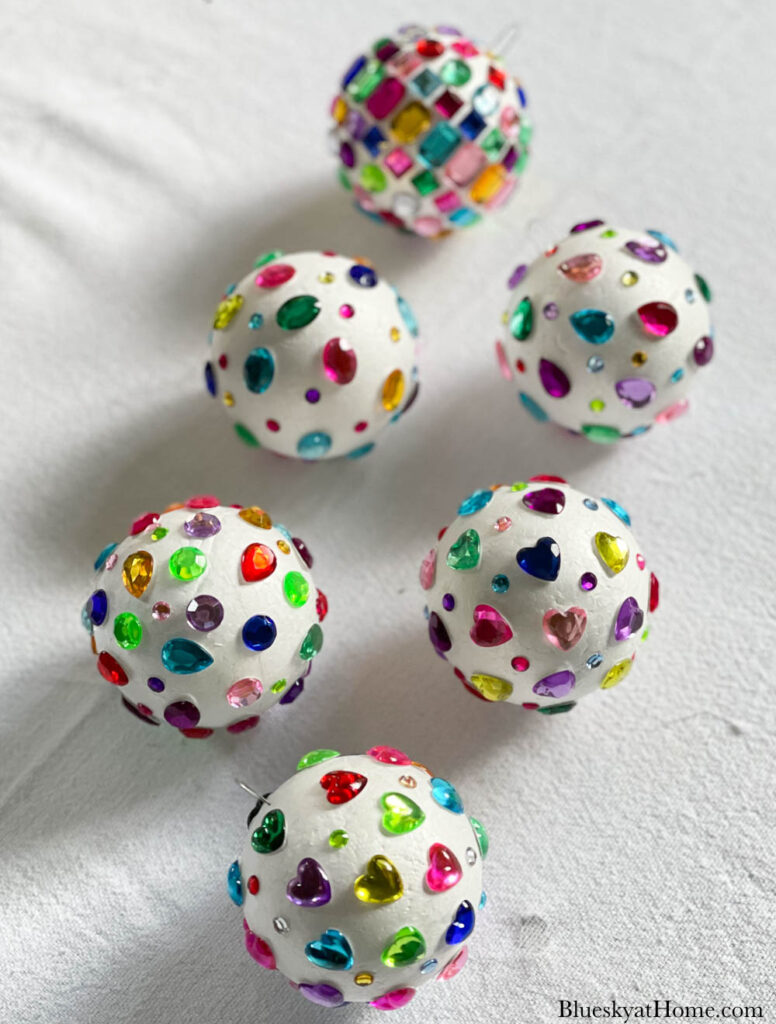
All the jewel ornaments can be the same or you can make each one look different. I went for a different look for each ornament.
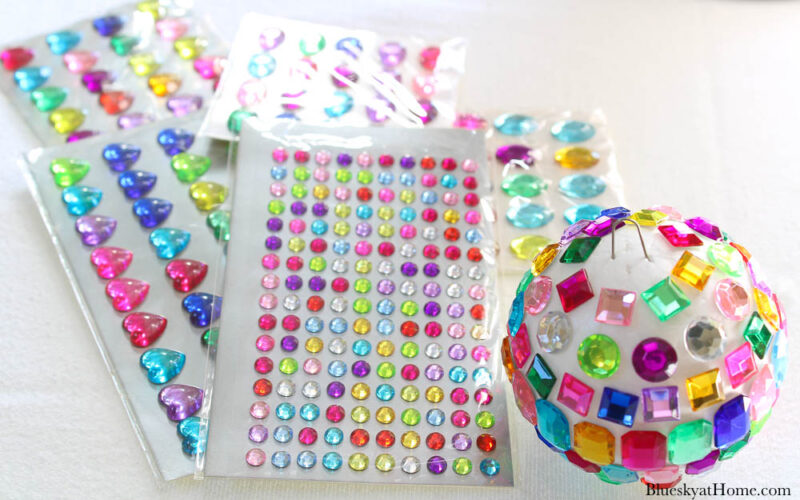
Step 1 – Spread the plastic sheets of jewel stickers out and pick the individual one you want. I think it’s best to start with the bigger jewels.
As you can see, each style of jewel comes in a plastic bag.

Step 2 – Remove the jewels you want to use from the bag.
Step 3 – Pull the jewel away from the plastic backing, Make sure that the adhesive backing comes with the jewel and doesn’t stay on the plastic. That only happened to me a couple of times.
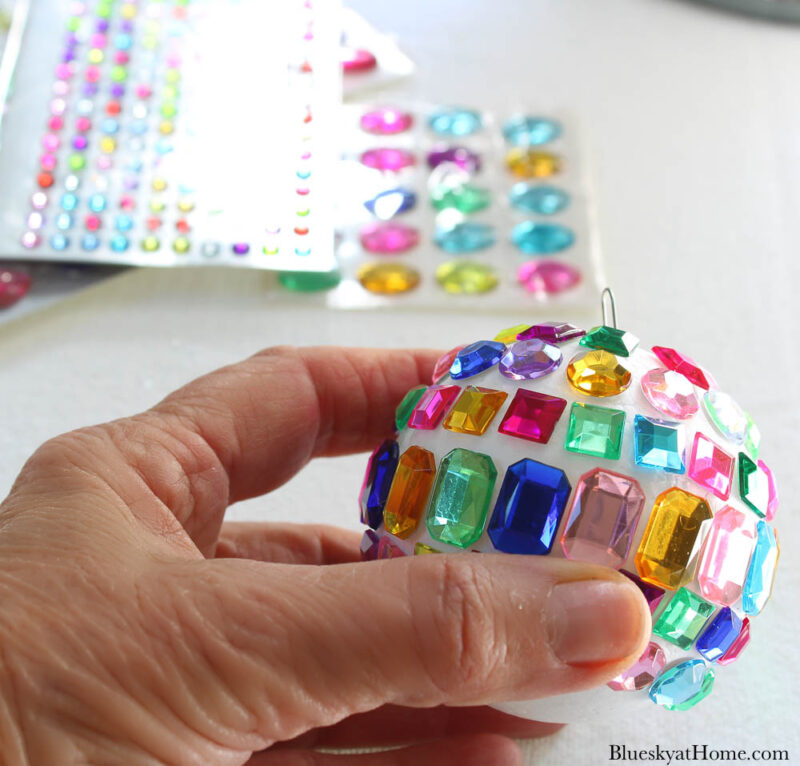
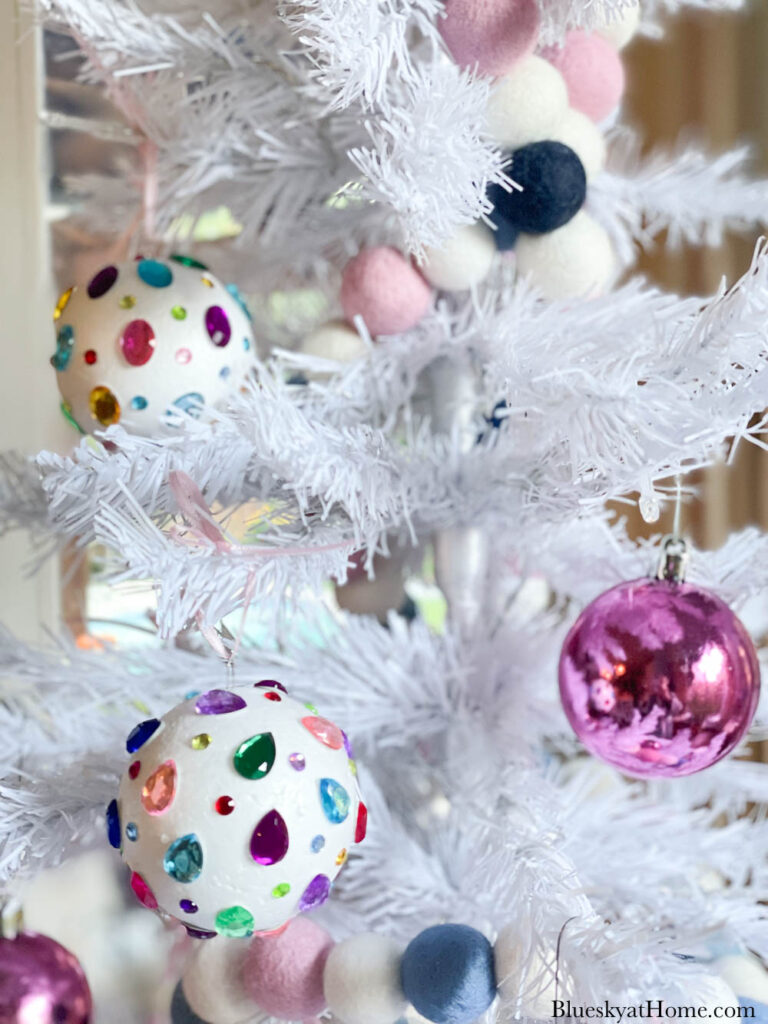
Step 4 – Stick the jewel on the styrofoam ball and gently press down. That’s it.
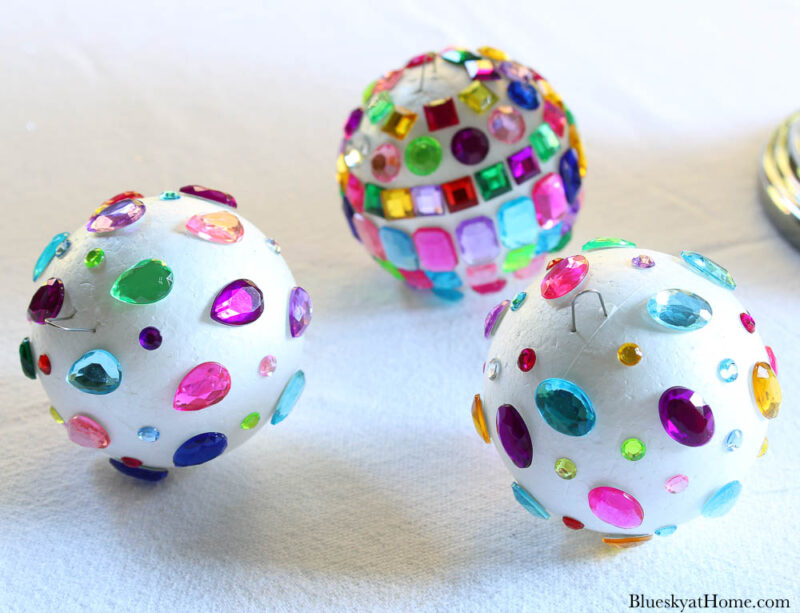
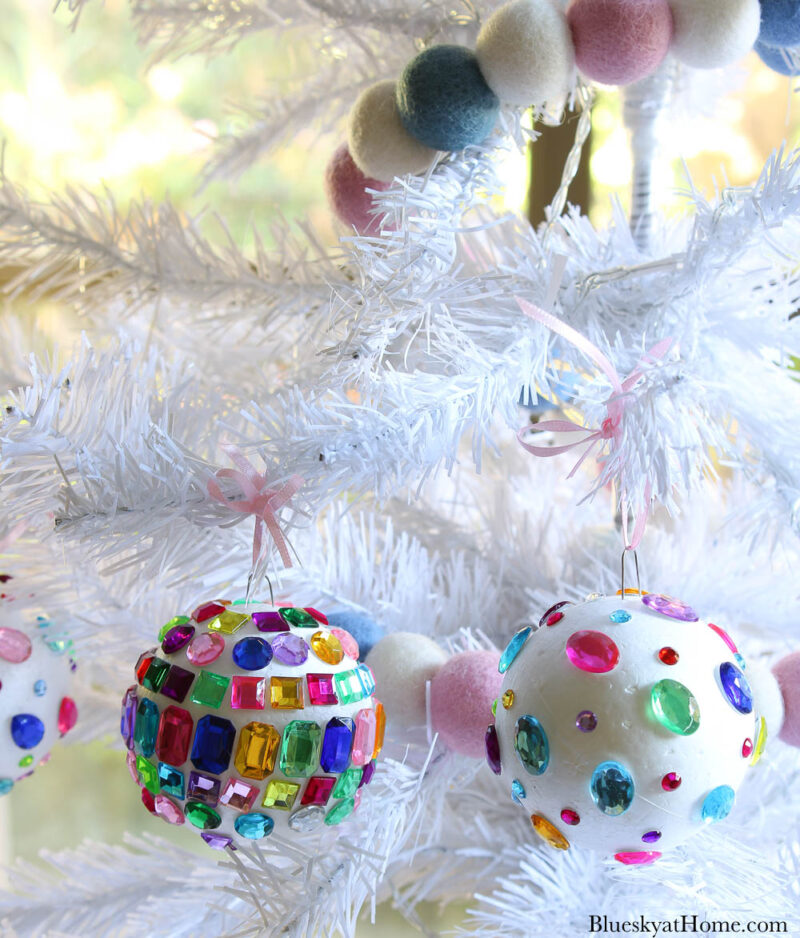
You can cover the entire styrofoam ball like I did for my first one. That style will require more jewels. I used three different styles of jewels on this first ball.
I realized that that design would take up a lot of jewels. For the other seven balls, I spread out the design.
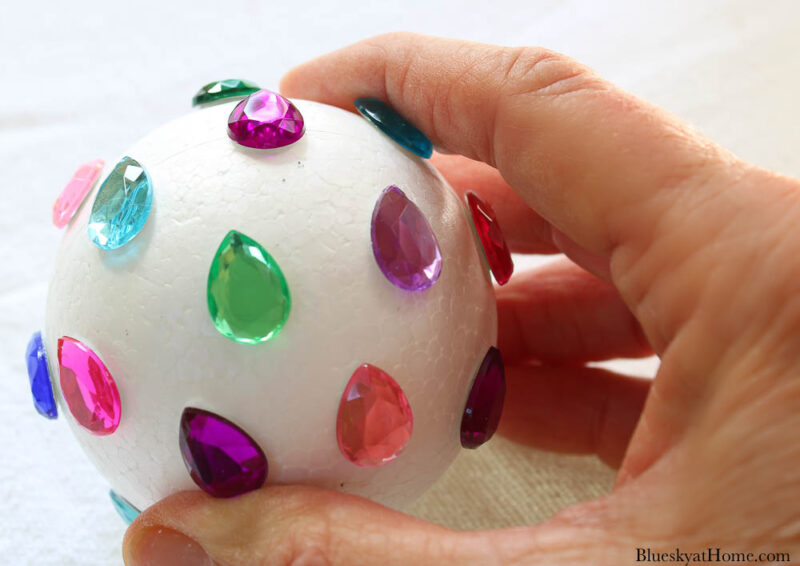
I mixed up the shapes – round, square, heart, diamond – of the jewels as much as possible. I mostly went for a random design.
You can fill in the larger jewels with the small round ones.
I guess you could paint the styrofoam balls first, but I didn’t see the need for it. If you want a colored ball, then either spray paint or craft paint applied with a brush will work.
Step 5 – After you have placed all your jewel stickers on the balls, you add the hangers. Be sure to push them into the styrofoam with some pressure.
TIP: I recommend that you apply a little bit of hot glue or super glue on the prongs of the hangers before you stick them in the styrofoam balls.
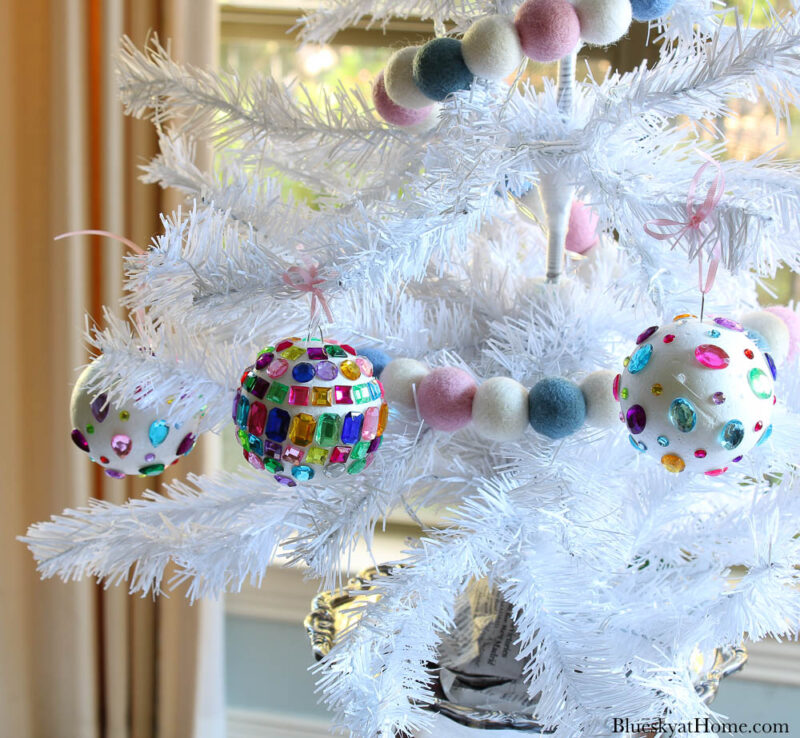
Displaying Your Jewel Ornaments
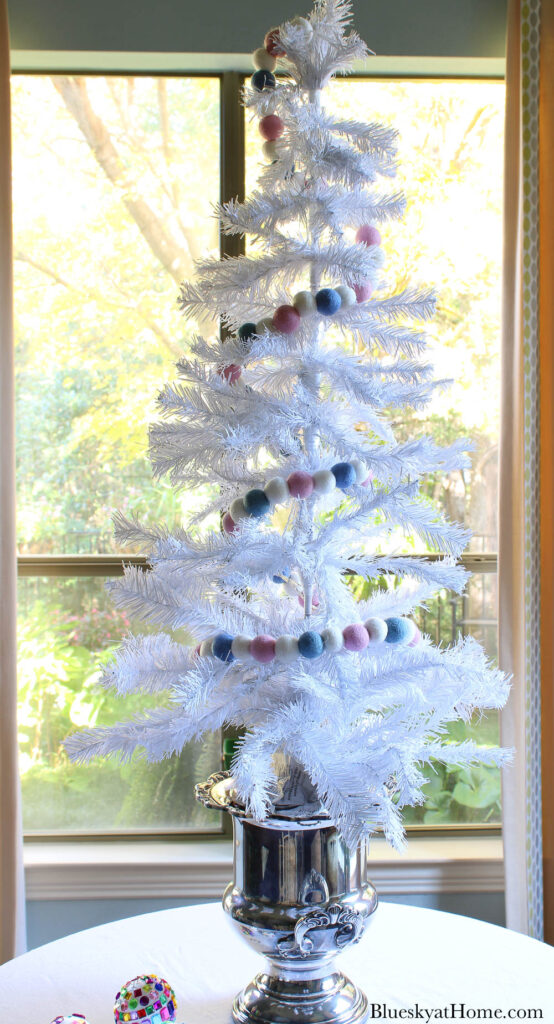
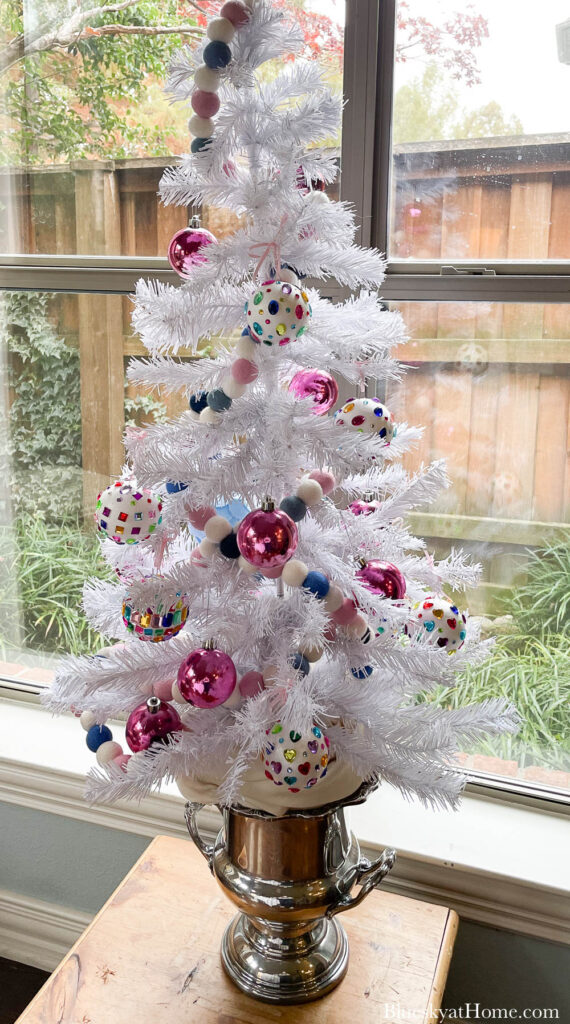
First, I set up the 4-foot-lighted white tree that I ordered online. For an inexpensive tree, it was just the right choice. It looks better than I thought it would.

I put the two parts together and added batteries to the battery pack. This tree has four different lighting options.
Rather than use the plastic stand that comes with the tree, I used one of our silver champagne buckets, but first I had to polish it.
Of course, I used my favorite silver wipes. These wipes are so easy to use – no muss, no fuss.

I placed the tree in the silver champagne bucket and filled the bucket with crushed newspaper to keep the tree straight and secure.
Then I added a piece of cream fabric from my stash to cover the paper. You can use a piece of fabric in a pattern you like depending on your color scheme.
Next, I added the felt ball garland that I made. (See a link to that project below.)
Now you can add your jewel ornaments.
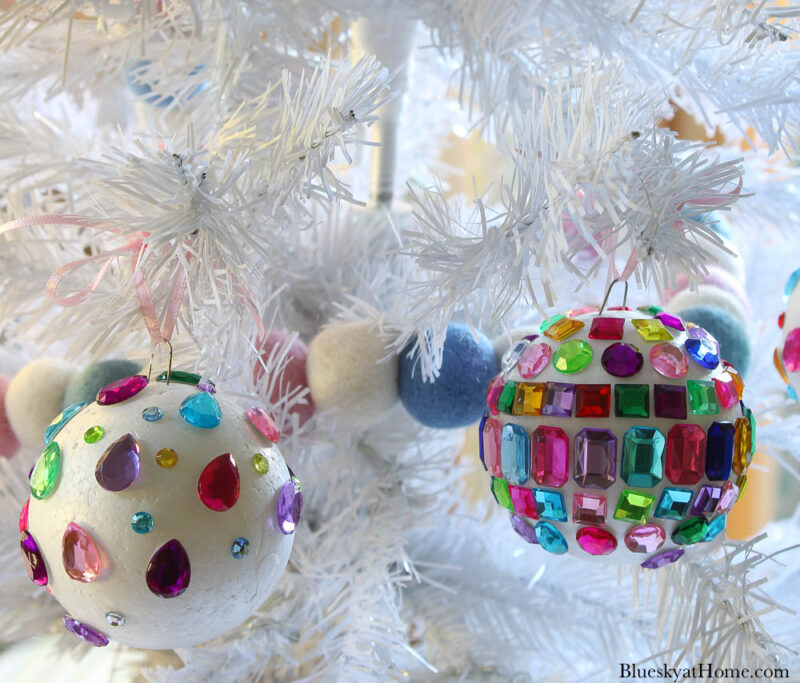
Use your skinny ribbon to tie the jeweled ornament to the tree branches. You can either tie a bow or make a loop.
TIP: After hanging seven jeweled Christmas ornaments with a bow, I found making a loop is an easier method.
I added all eight ornaments around the tree.
A few weeks ago, I found 10 vintage pink ornaments at a local antique mall. They were 25 cents each.
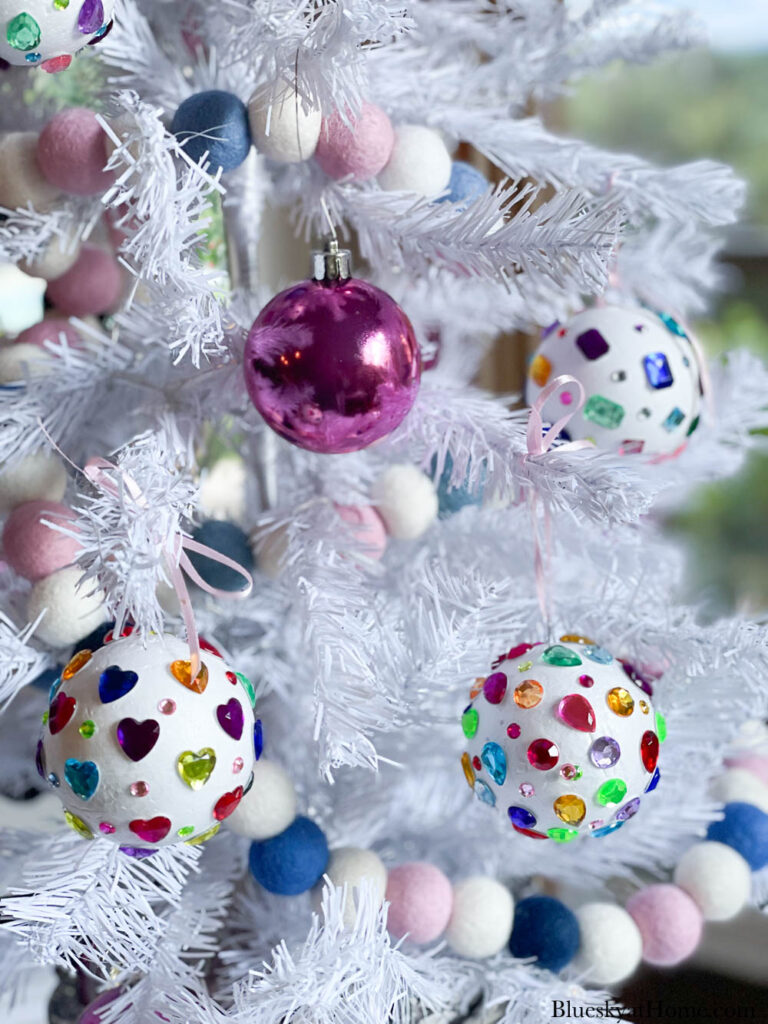
Am I done with the tree for our bedroom? No, I made another wool felt garland ornament. (You can see a bit of it in the picture below.) and added it to the tree.
I still have another type of DIY Christmas ornament to add (One of them is poking out in the picture below.) and a topper for the tree. For now, the tree is sitting in our breakfast room, waiting to be finished after Thanksgiving.
I hope that you liked this super easy jeweled Christmas ornament. I think it will be so pretty in our bedroom for the holidays.
My most recent DIY Christmas ornaments are pretty blue ones made using decoupage.
More Fun Christmas Decorations
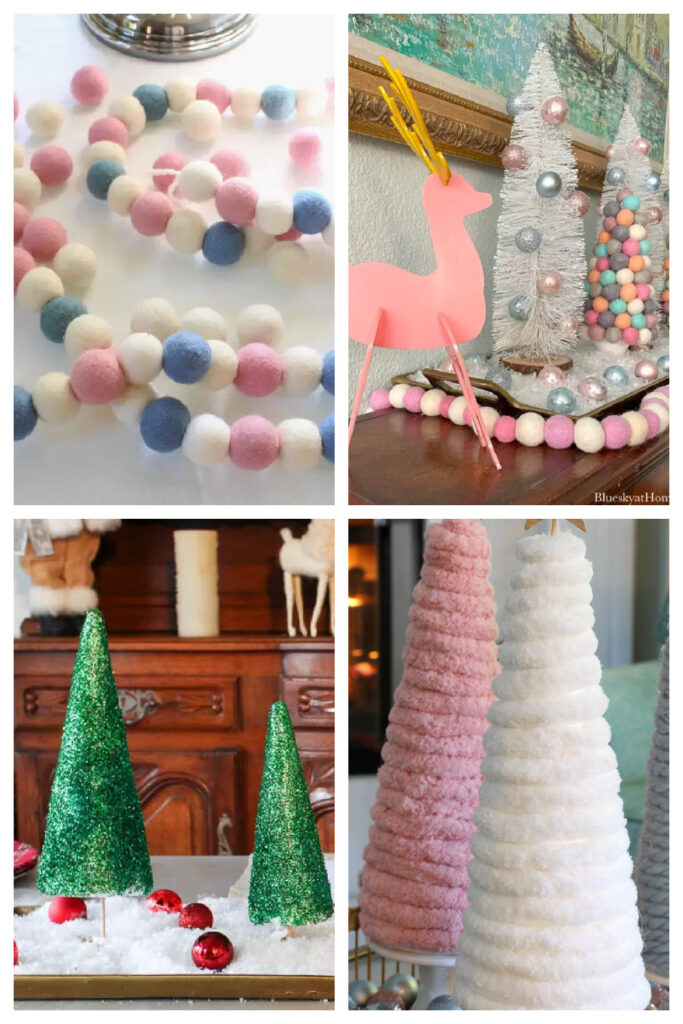
- How to Make the Cutest DIY Christmas Garland
- DIY Christmas Trees in a Holiday Vignette
- How to Make Pretty Yarn Christmas Trees
- Glitter Christmas Trees
Christmas Pinterest Boards You’ll Love
Here are some of my Christmas Boards where you’ll find more great Christmas ideas. (Follow me to see more awesome inspiration):
If you don’t want to forget this project, then please PIN it to your Christmas Boards.
Have fun discovering all these fun Christmas ornaments.


These are FABULOUS! Perfect timing to get a jump start on Christmas projects and I’m featuring when my party opens!
So pretty and a good summer vacation project to do with the grandkids.
I visited you via Funtastic Friday Link Party # 447
I have linked up this week with = 92+93.
If you have not joined us at SSPS yet, this is a personal invite to come and share your awesome post/s with us
You will find the linkup information (1) In the Top bar under Blogging: Weekly Senior Salon Pit Stop OR 2nd image In the sidebar.
We hope to meet you there virtually.
Hi Esme, yes, I have been joining the link party. Thanks again for the invitation.
What an easy and inexpensive way to create olorful Chrismtas bling! Your ornaments look so good on the white tree too!
So fun hopping with you. Merry Christmas!
Oh wow, the jewels are so pretty and they sparkle so pretty in the light. What a fun and genius way to create some stunning ornaments.
Thank you for sharing you idea, Carol! Would have never thought of this!
Your home has to be the happiest of Christmas homes! I love all that color. You make me want to change everything in my house and start off with an all white tree. Seriously so cute and you amaze with your creativity. Thank you for joining in this month. Happy Thanksgiving! pinned.
These would be so fun for kids to make! The make your tree so festive and pretty and show up beautifully against the white tree.
Bring on the jewels! Carol your ornaments are super cute, and I love how they look on your white tree with pink ribbon! So clever!
Carol
These are so cute on the white trees. Happy Thanksgiving
Oh my goodness! My granddaughter would love this project so much. Thank you for the inspiration. Happy holidays!
So cute and colorful Carol! Thanks for sharing!
Carol,
OMG I love this. They look amazing! Pinned. My nieces would love to do this!
Happy Thanksgiving friend! xo laura in Colorado