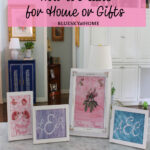
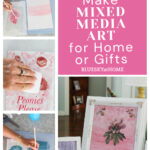
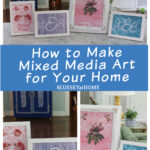
How to Make Mixed Media Art for Home or Gifts
Some of us use paint to make pretty things. Some of us use stencils or a Cricut to make designs. Have you ever thought about combining more than one type of medium in the same project? Here is how to make mixed media art for your home.
It’s fun to try different methods of artistic mediums to create a new piece of art. I decided to try combining three different types of projects and products to make some pretty artwork.
Are you an artist? I am not an artist by any stretch of the imagination. That’s one reason that I’ve tried to use stencils with different types of paint on different surfaces.
I needed to make a new DIY art project. That led me to think about how to make mixed media art for gifts. This project was easier than I anticipated. Here is what I did.

Before I share the mixed media art projects that I made, I thought it would be helpful to explain a little about it. Most of this information I gathered from Google.
What is Mixed Media Art?
This post contains affiliate links to products used to create this project. If you should order any item from this site, I may receive compensation, but you do not pay a penny more. Your purchase is greatly appreciated as it helps support the continued publication of this site.
When I think of mixed media art, I think of painting poster board and then gluing beans, rice and buttons to it as a kid. I know what it is. But being artistically challenged, I’d never thought about mixing different mediums that I currently use to create home decor projects.
According to Wikipedia, mixed media is “visual art that describes artwork in which more than one medium (the material used) or material has been employed. Assemblages, collages, and sculptures are three common examples of art using different media.”
What Materials Can Be Used in Mixed Media Art?
Materials used to create mixed media art include, but are not limited to:
- Acrylics
- Watercolor
- Ink
- Cloth
- Paper
- Wood
- Pastels
- Graphite, Colored pencils, and Watercolor pencils
- Poster Markers and Permanent markers
- Fine liners or Brush pens
- Vinyl decals*
- Colored ink transfers*
*These are materials that I added.
What Makes Art Mixed Media?
A mixed-media painting combines different painting and drawing materials and methods, rather than only one medium. Any materials can be used, including collage items such as pages from magazines, newspaper, photographs, fabric, soil, or packaging.
That description rang a bell. Do you remember making collages from magazines as a teenager? I may still have one I made in a box in the attic.
Why Make a Mixed Media Art Project?
- Because it’s fun!
- Mixed Media art allows you to use bits and pieces of supplies you have on hand.
- You can use different supplies, mediums and skills.
- It allows you to be really creative.
In June, my older daughter and SIL sold their home in Atlanta. This was their first house, their 3 – 5 year house, that ended up being their 15-year house. Next to my own home, I’ve spent more nights in their home than any other.
Rather than rush to buy a new home (not much for sale in the areas they wanted), they decided to rent for a year. This rental home happens to be in their desired neighborhood. It even has four bedrooms. Which means that now I have my very own “Cici’s room” when I go to visit.
The guest room now has Lilah’s trundle bed, (She got a new queen size bed.) her sweet blue-painted dresser, s small bookcase, and a lamp. That’s it. No decorations, no art, no pretty stuff.
Since I’m going to Atlanta next week, and I’ll be staying with them a few extra days after Haven, I thought, “why don’t I make something pretty to put in the guest room?” (Which I consider my room.)
What Sparked My Mixed Media Art Projects?
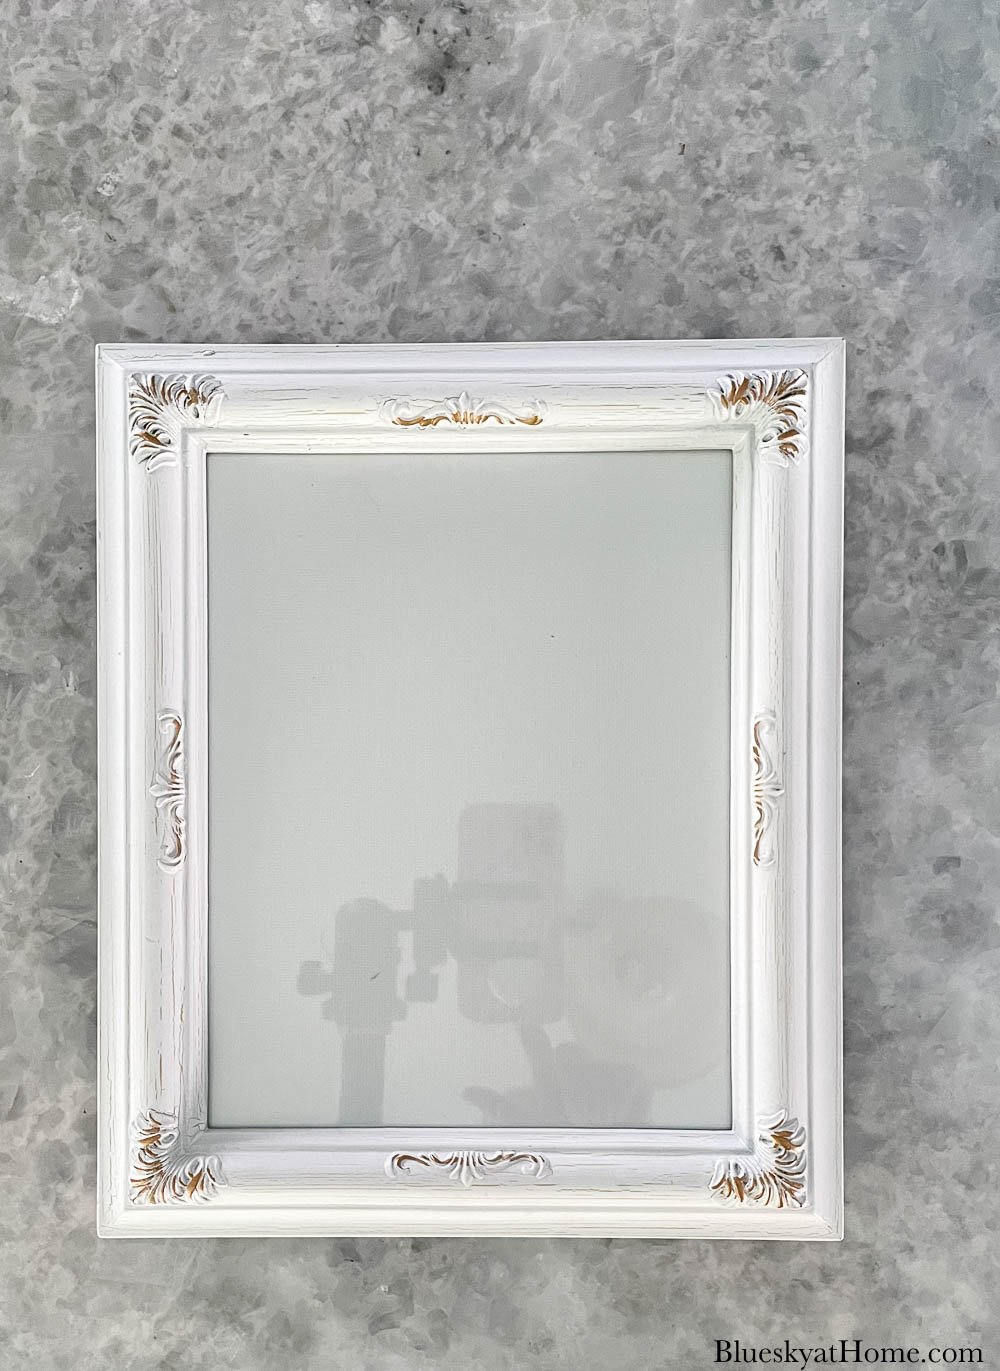
The one thing that started this mixed media project was a pretty white frame that I wanted to reuse. Then I found 3 more simple frames in my stash. Why not use them all?
What Else Determined My Mixed Media Projects?
- supplies that I already had on hand
- supplies that would work for mixed-media art
- finished art that would work in the new guest room or other rooms in my daughter’s new home
- finished art that would fit in my suitcase
What Would be My Mixed Media?
I would make decorative art on canvas that would be framed. Based on what I had on hand, I chose to use:
- Gel Art Ink that I could make into watercolor
- Vinyl Decals made with a Cricut cutting machine
- Colored Ink Transfers – a new medium I really wanted to try
- Other Supplies for the Mixed Media Projects
Supplies for Painting the Mixed Media Projects
I had all these supplies on hand which was great. All these supplies are easily bought online.
- picture frames; I had one 8 X 10 frame that I used years ago (this frame is very close)and three 5 X 7 frames
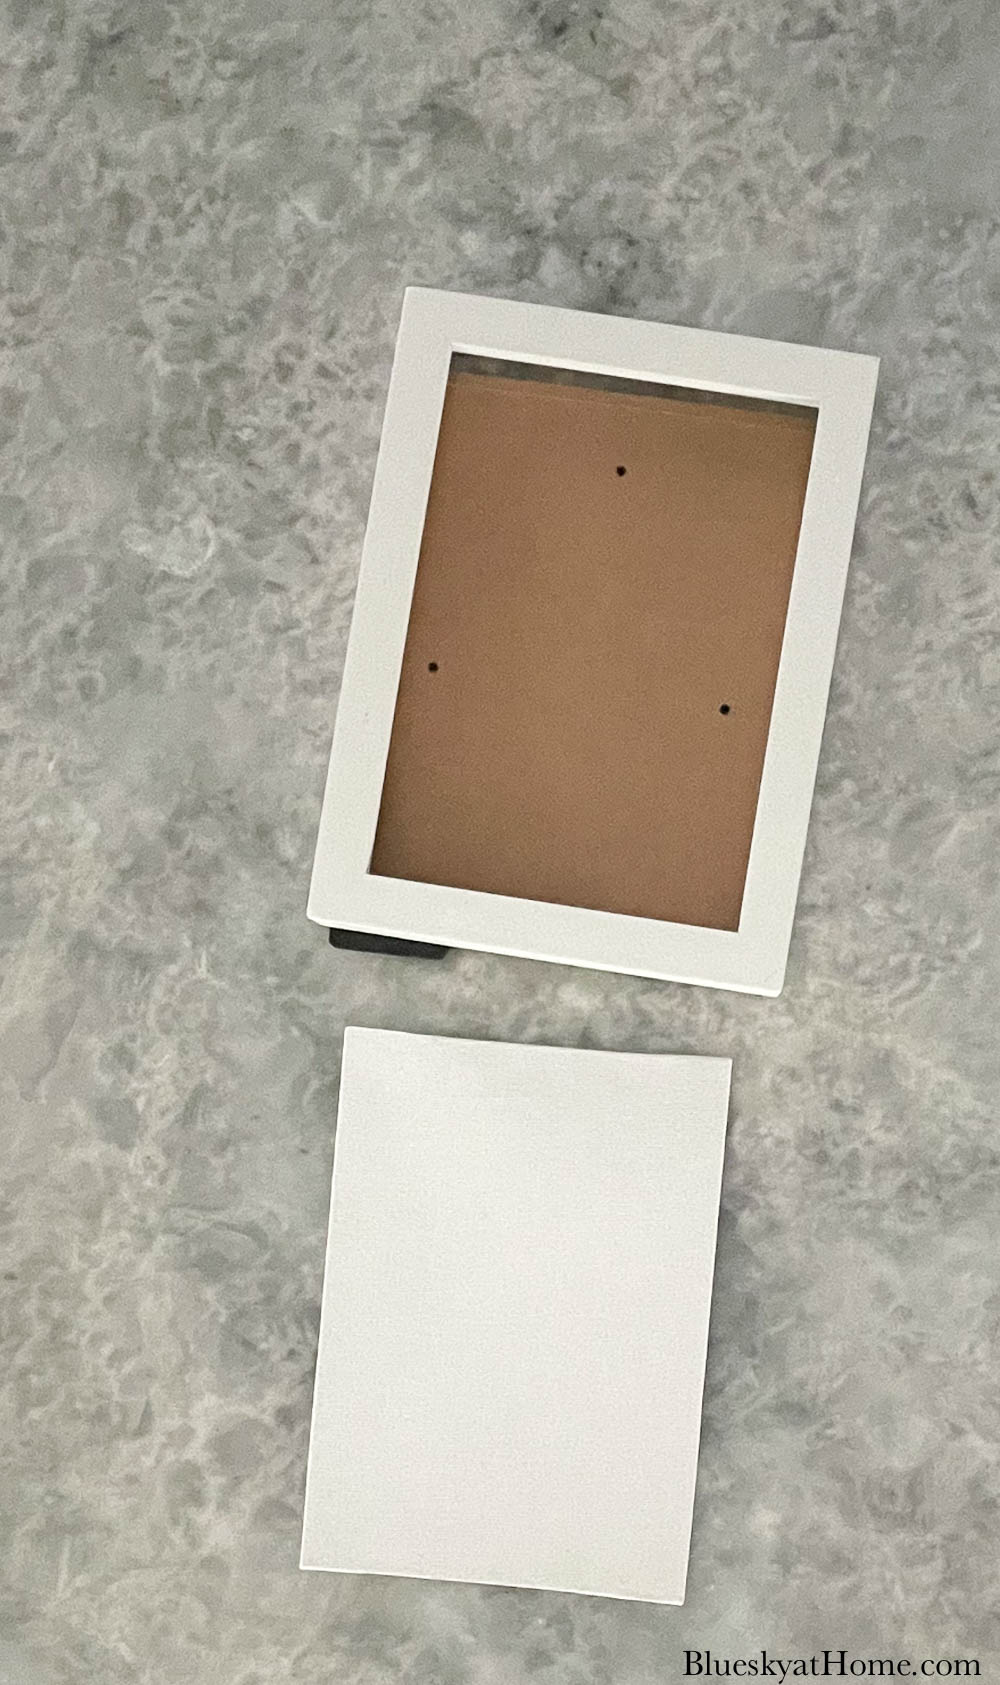
- Flat canvases in the size you want; mine were 8 X 10 and 5 X 7; these canvases were 1/8″ thick to fit into a frame
- Gel Art Ink paint from A Makers’ Studio; I recently used this fabric paint for decorating t-shirts. For these projects I used: White ~ Well, I Declare; Pink ~ Pretty as a Picture; Red ~ Bless His Heart; Dark Blue ~ Hush Your Mouth

Step 1 – Painting Canvases
Gel Art Ink can be used on a variety of surfaces, including fabric (like the t~shirt project), paper or canvas.
Supplies to Make Gel Art Ink into Watercolor
- a piece of glass or cardboard for mixing the paint with water
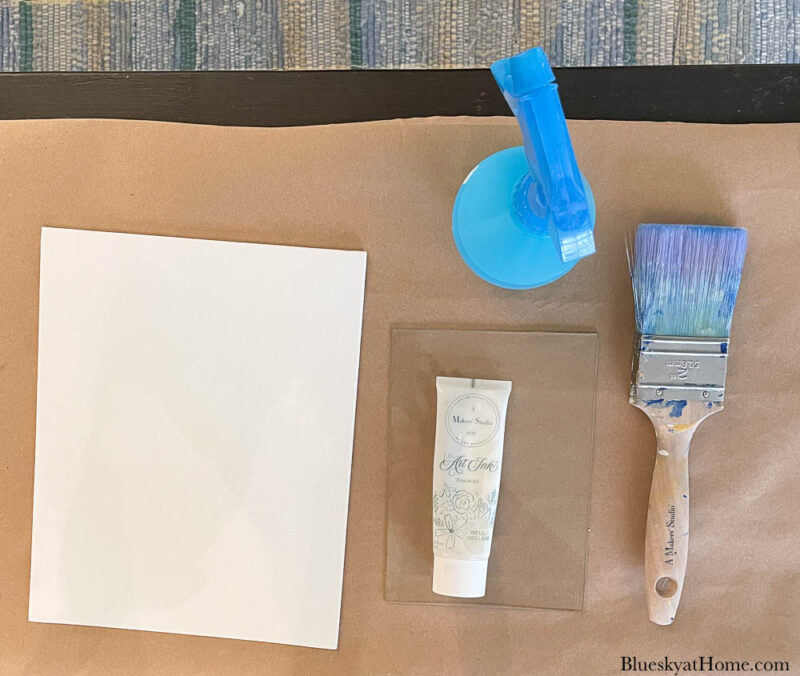
- your Gel Art Ink colors of choice; I recommend having White ~ Well, I Declare ~ on hand to make other colors lighter
- a spray bottle of water
- artist brush for mixing and applying to the canvas
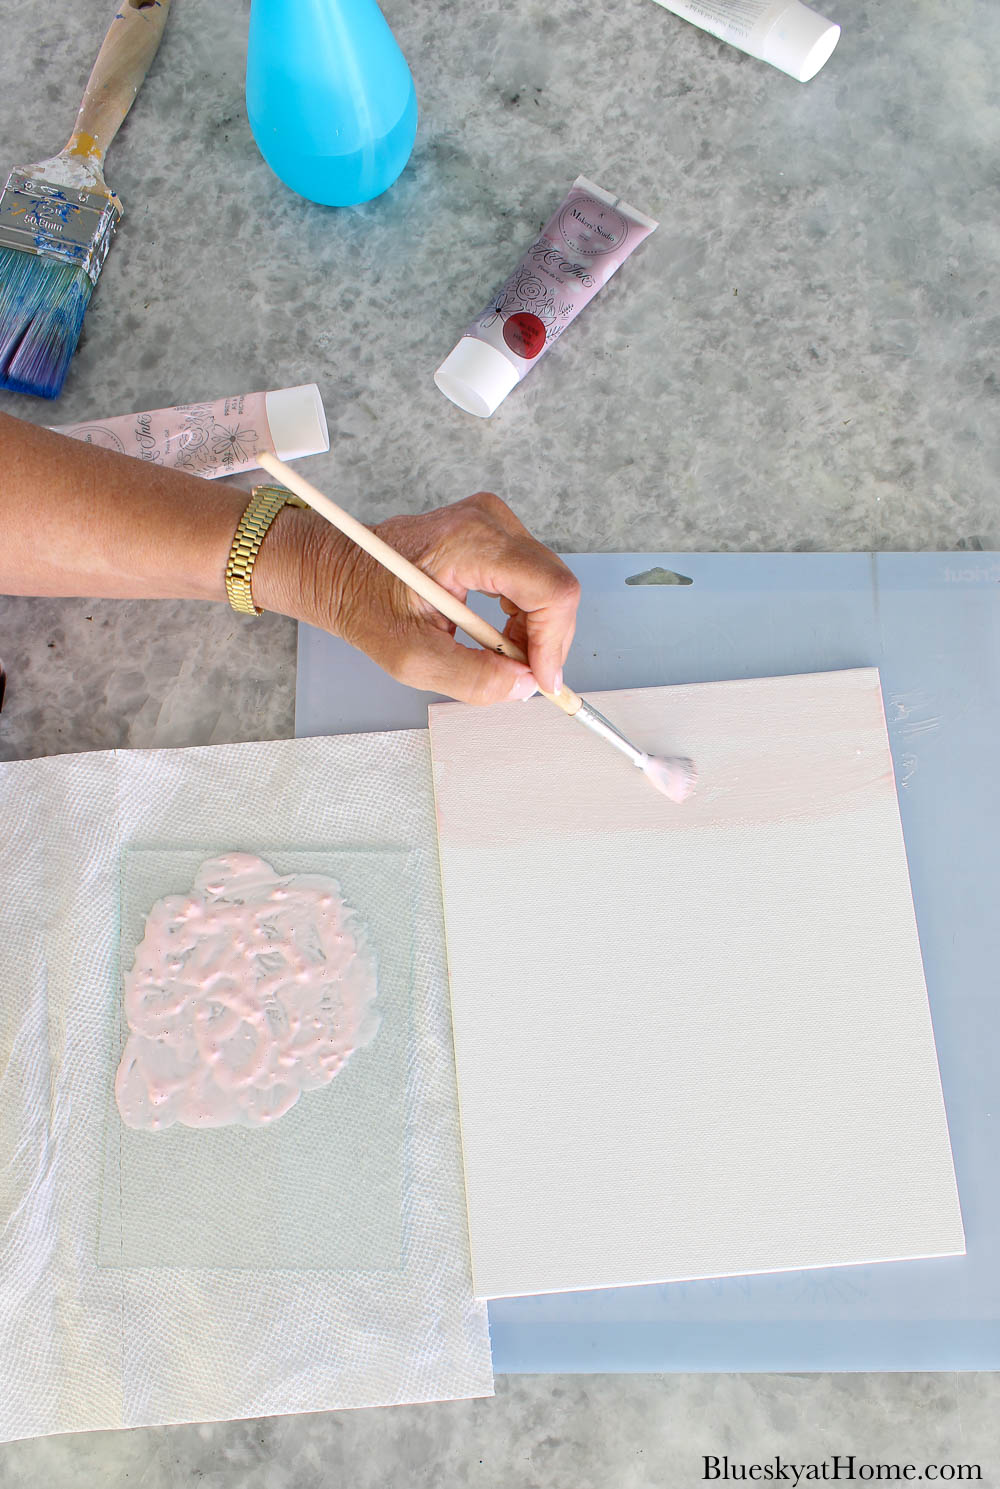
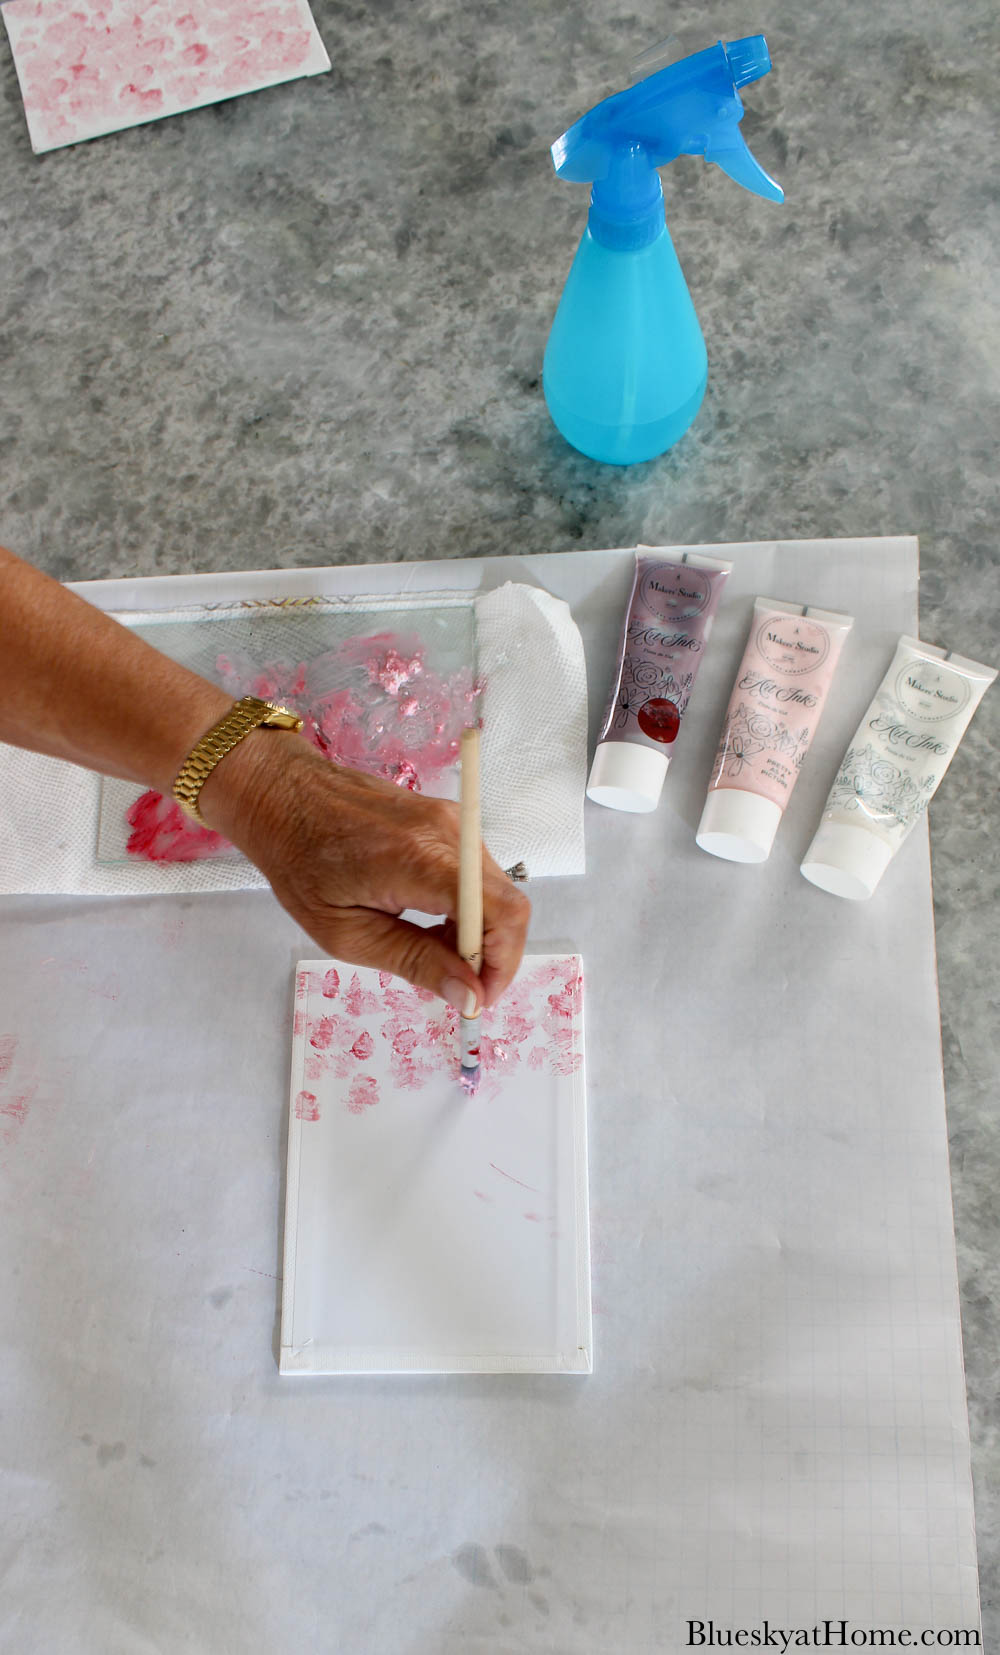
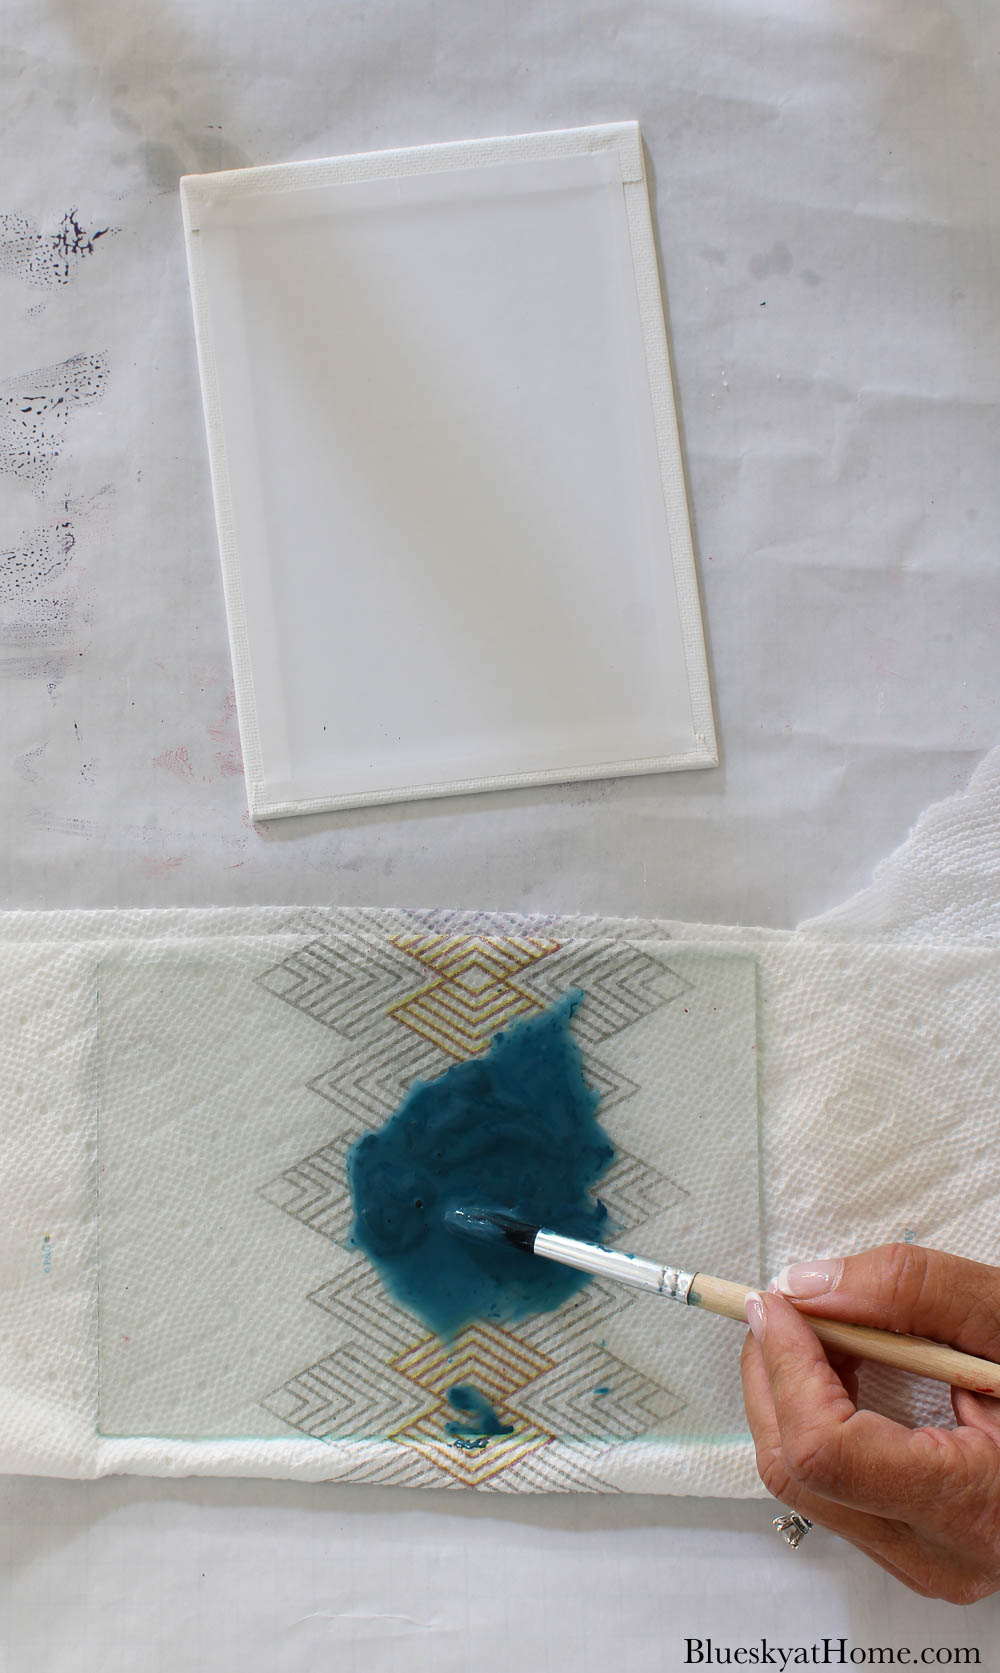
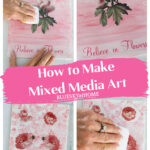
On the piece of glass (I used a piece from one of the frames.), squeeze out the Gel Art Ink ~ about 1/2 inch (like toothpaste). Spray water onto the Gel Art Ink and use your artist brush to mix to the consistency of watercolor. I started with Pink.
I painted the top 1/3 of the canvas.
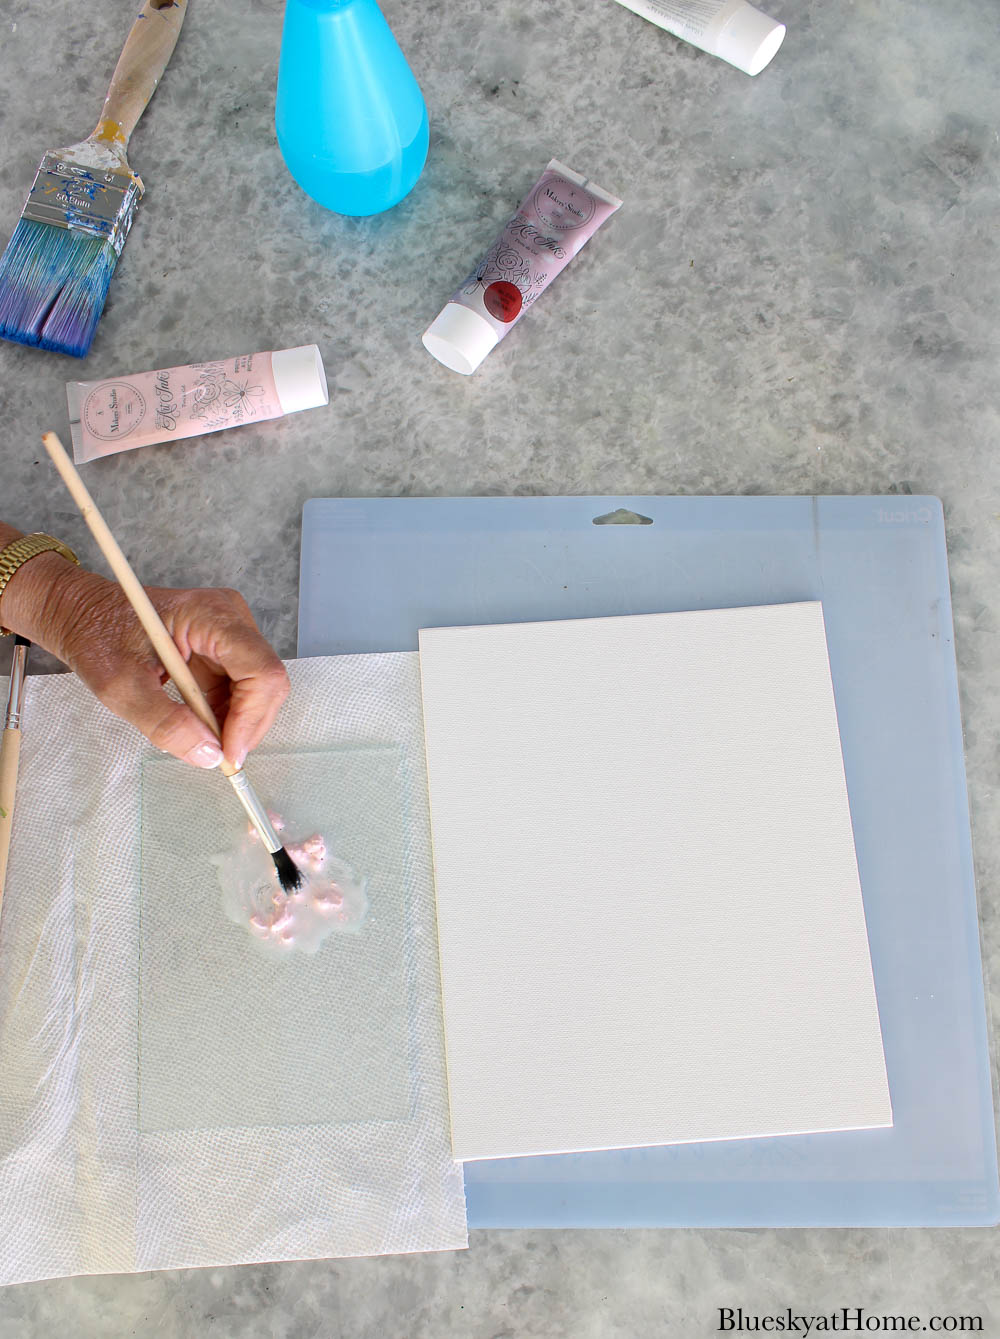
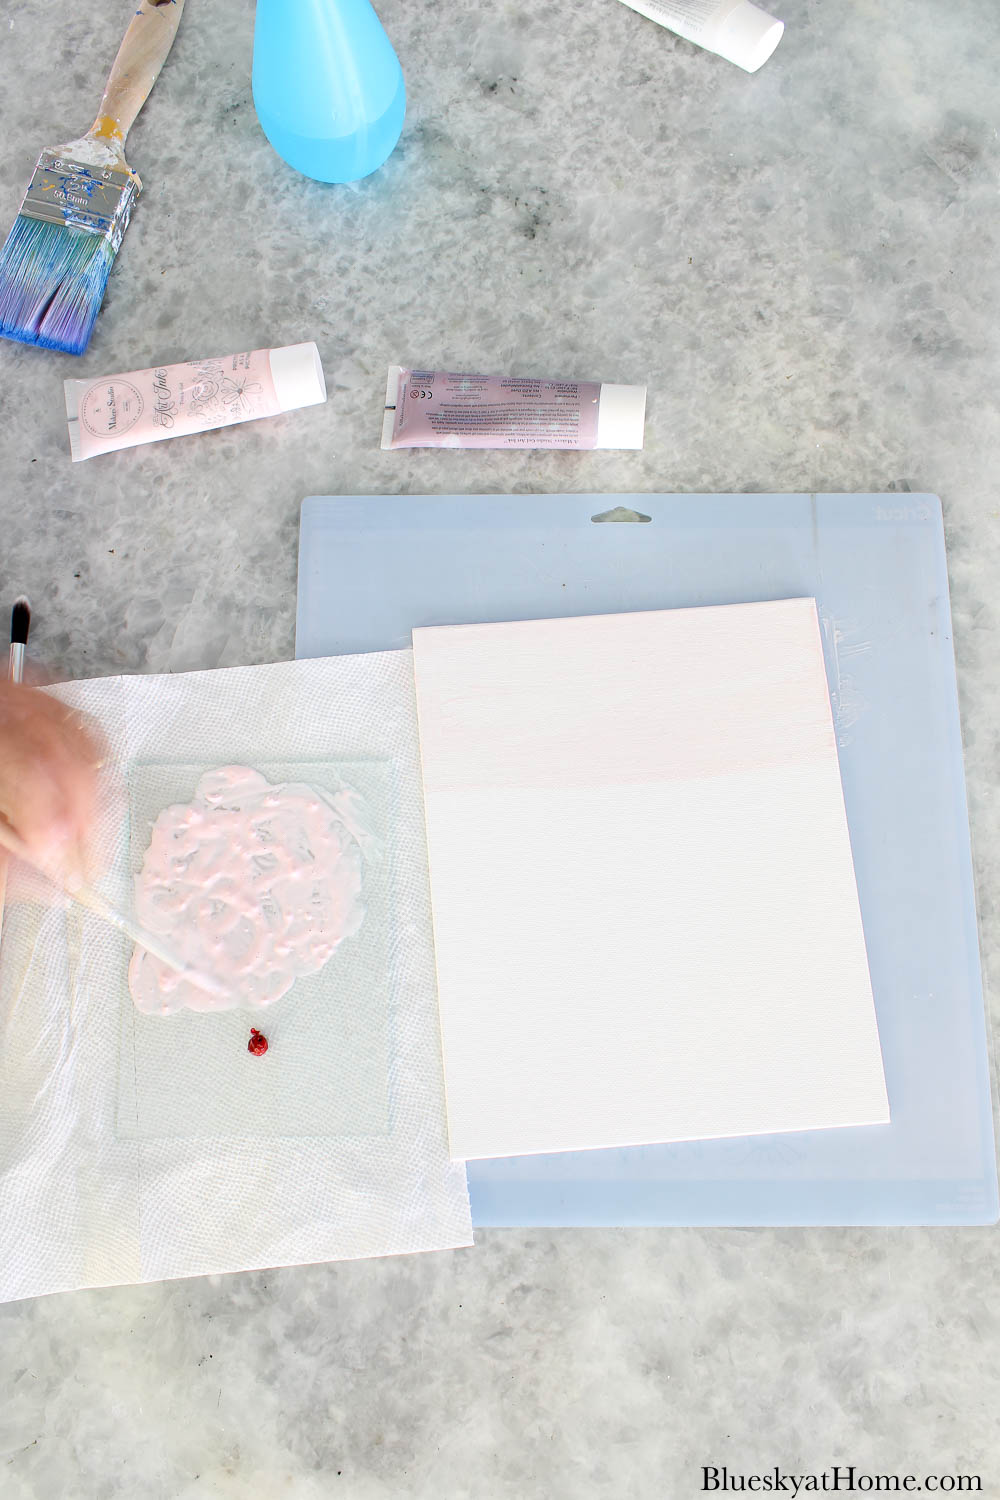
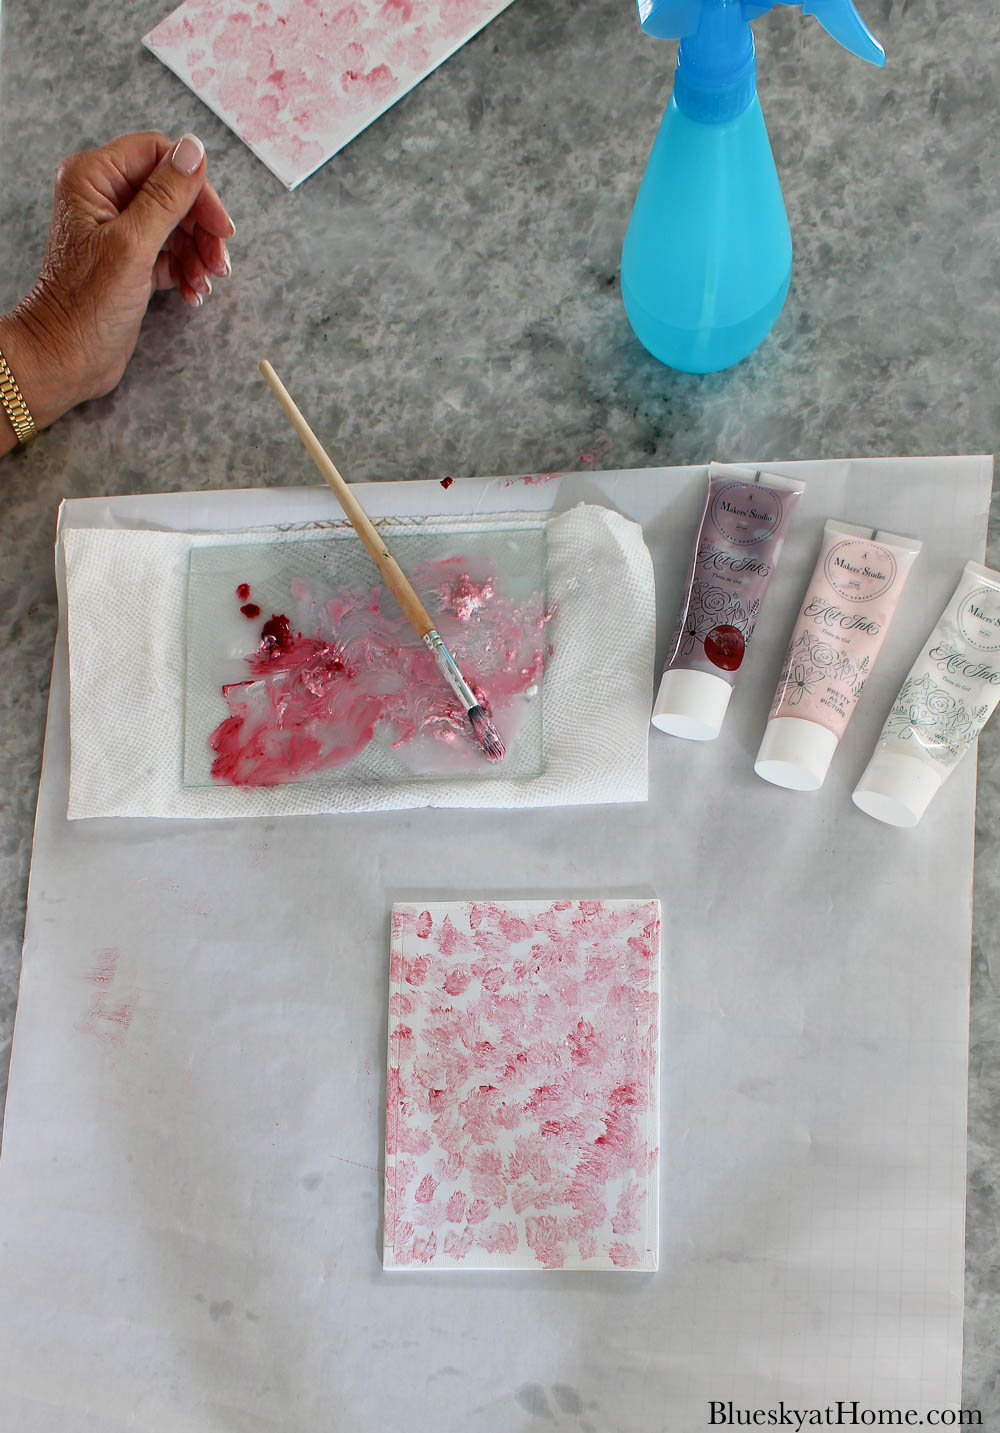
To get a darker Pink, I added the Red – Bless His Heart – to the glass. Then I mixed the colors and added more water until I got the color I liked. I added a little White.
This part is fun, adjusting and playing with the colors.
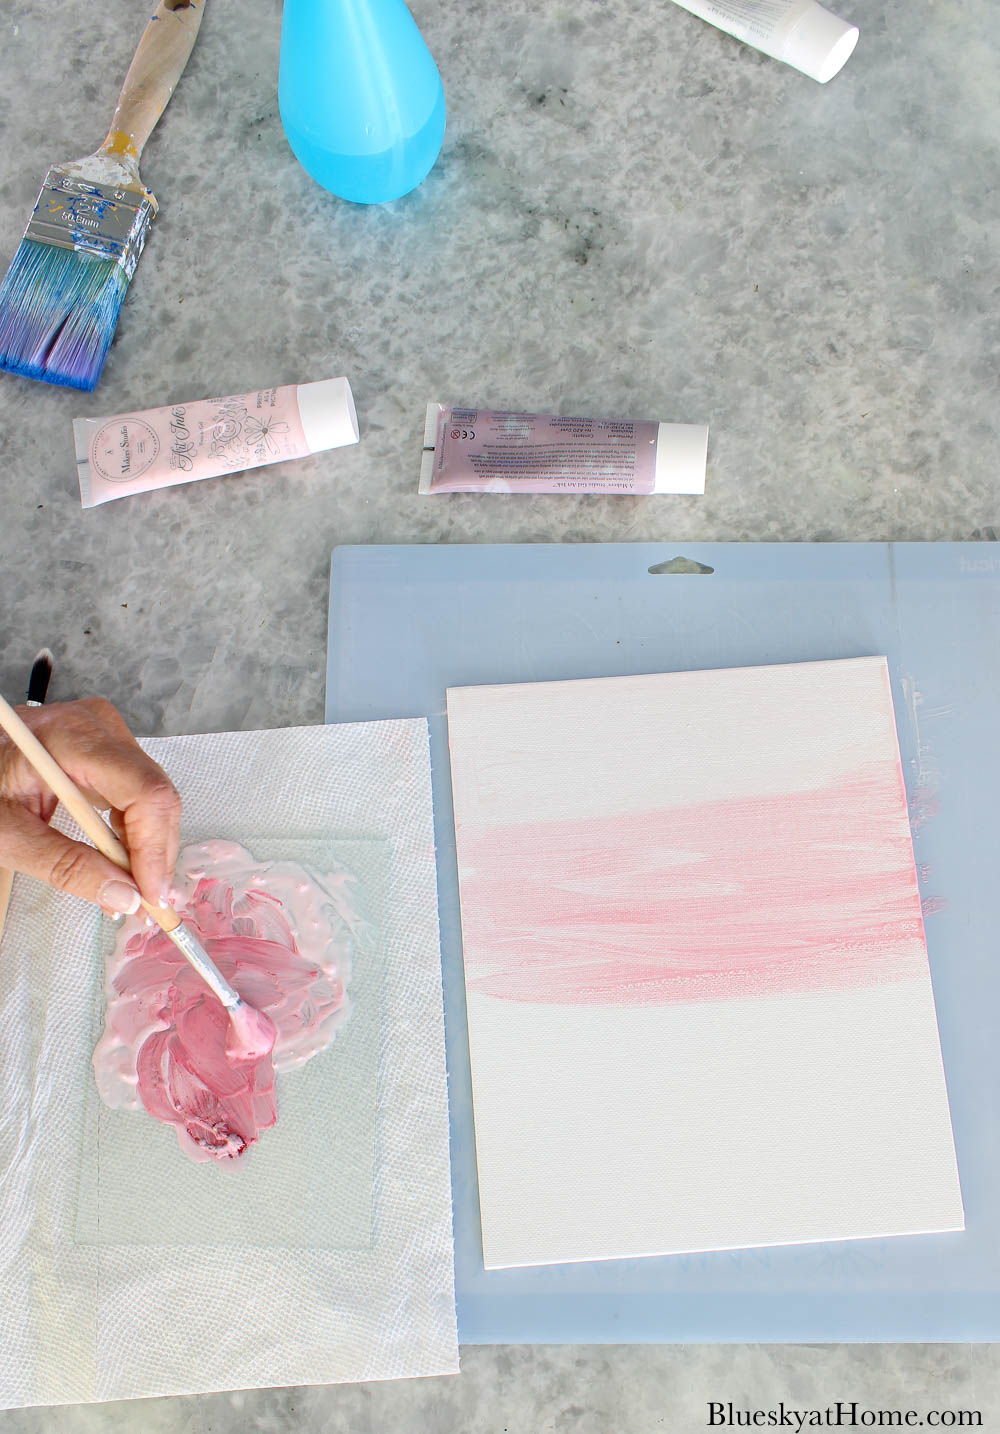
Then I began painting the bottom 2/3 of the canvas, going back and forth across the canvas. I was really just playing with the intensity of the paint color.
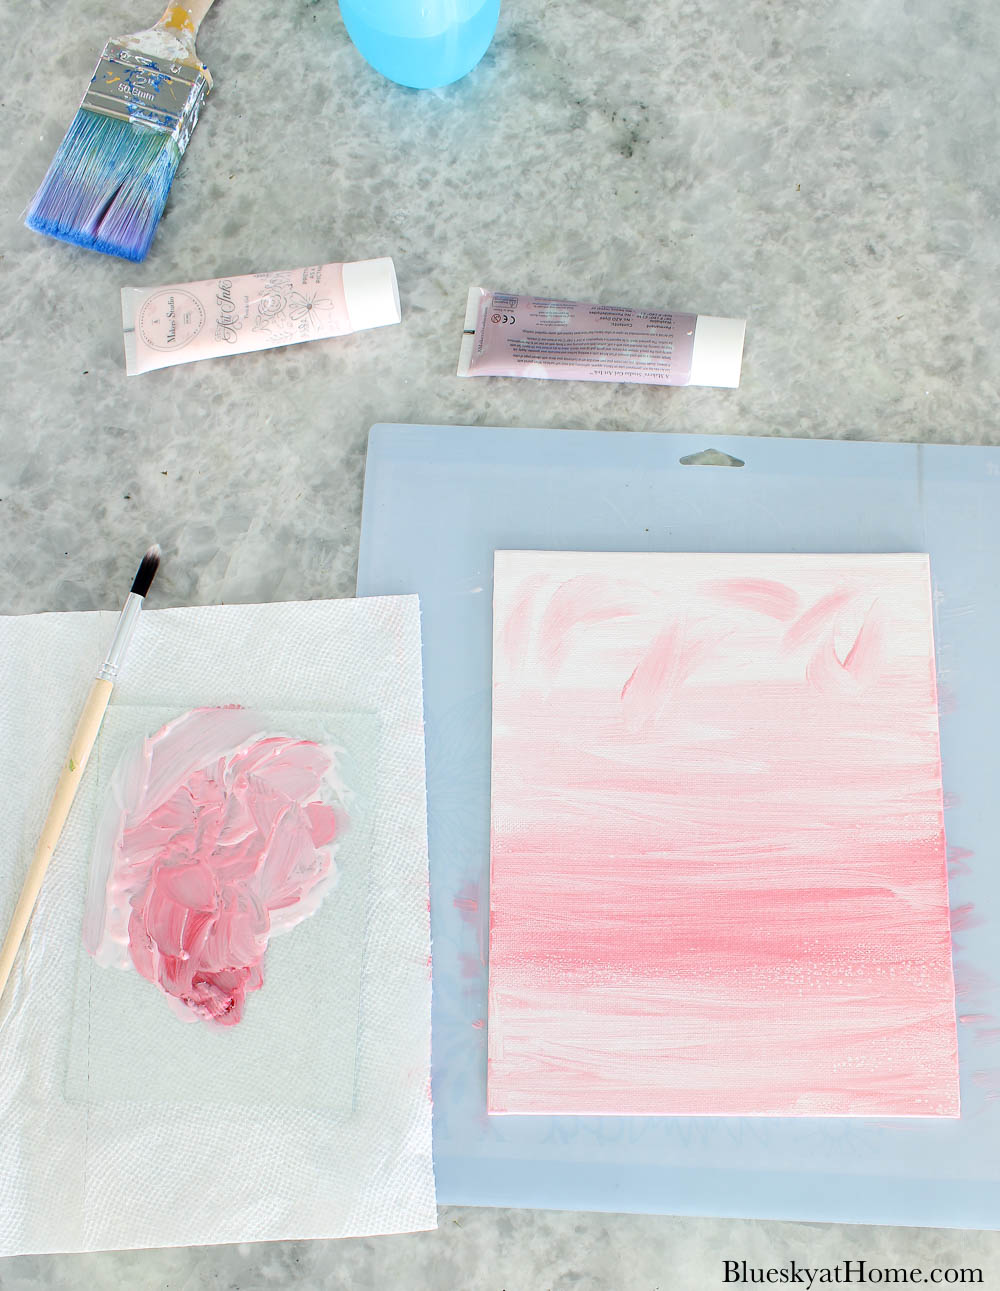
I used the tip of the artist’s brush to add “puffs” to the top of the canvas. Here you can see them on a smaller canvas.
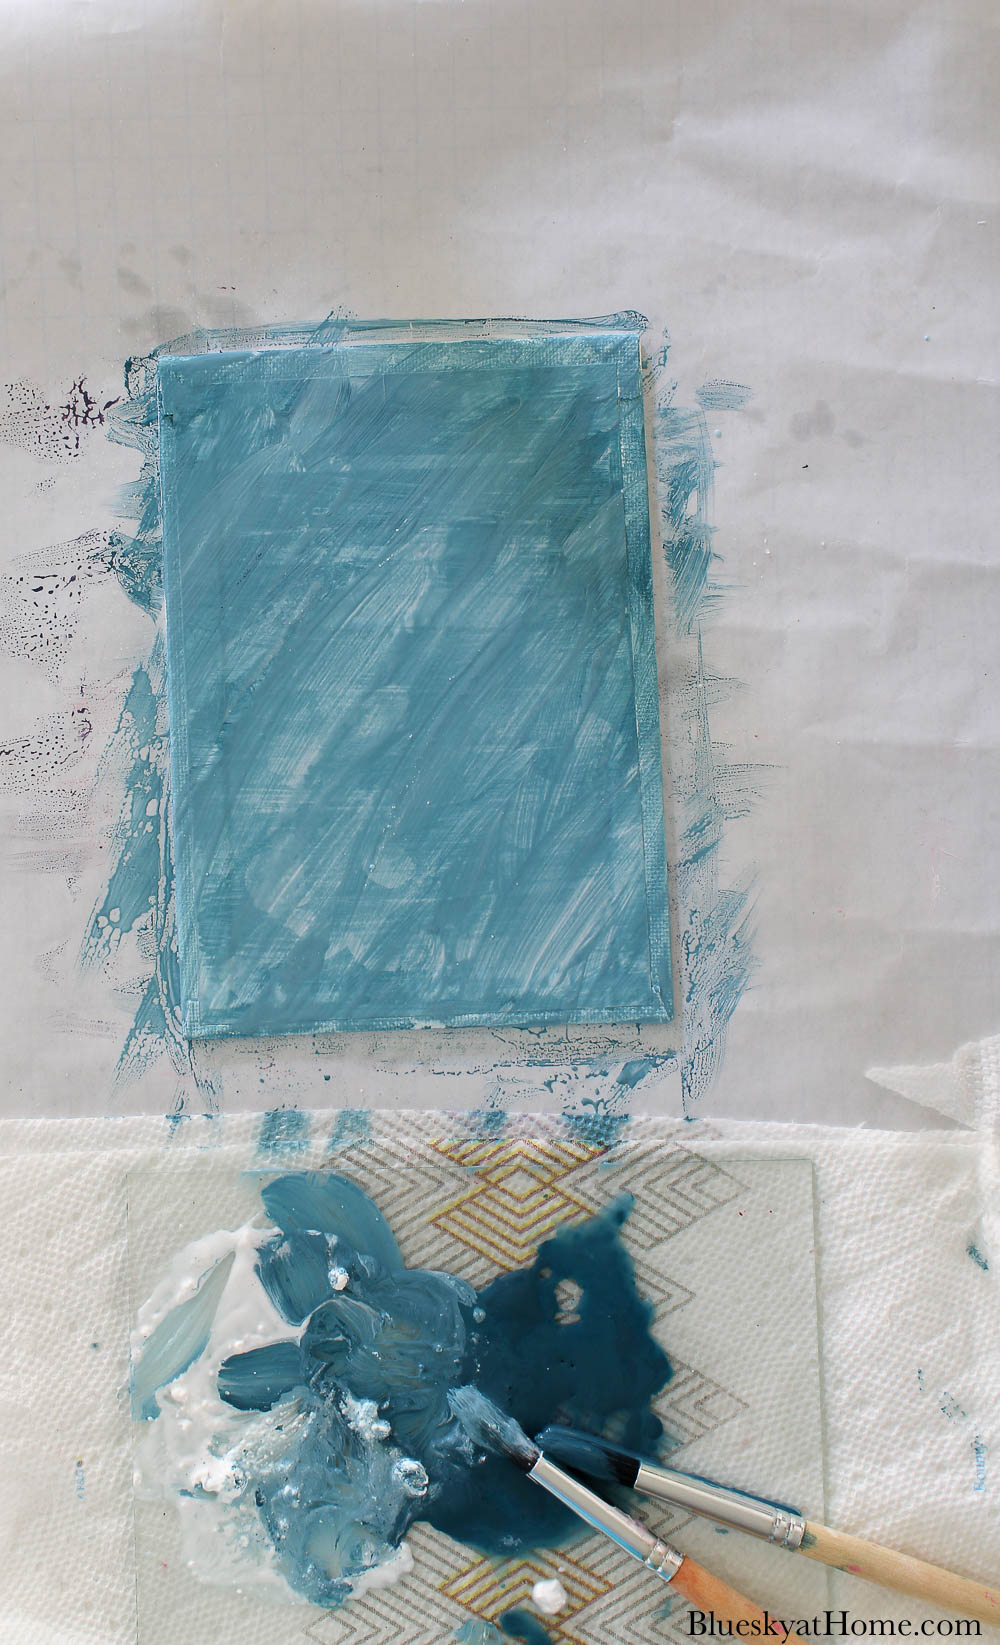
I repeated the process for two other small canvases. One in blue and one in purple; these would be for my granddaughters. I mixed Hush Your Mouth with Well, I Declare to get a lighter blue.
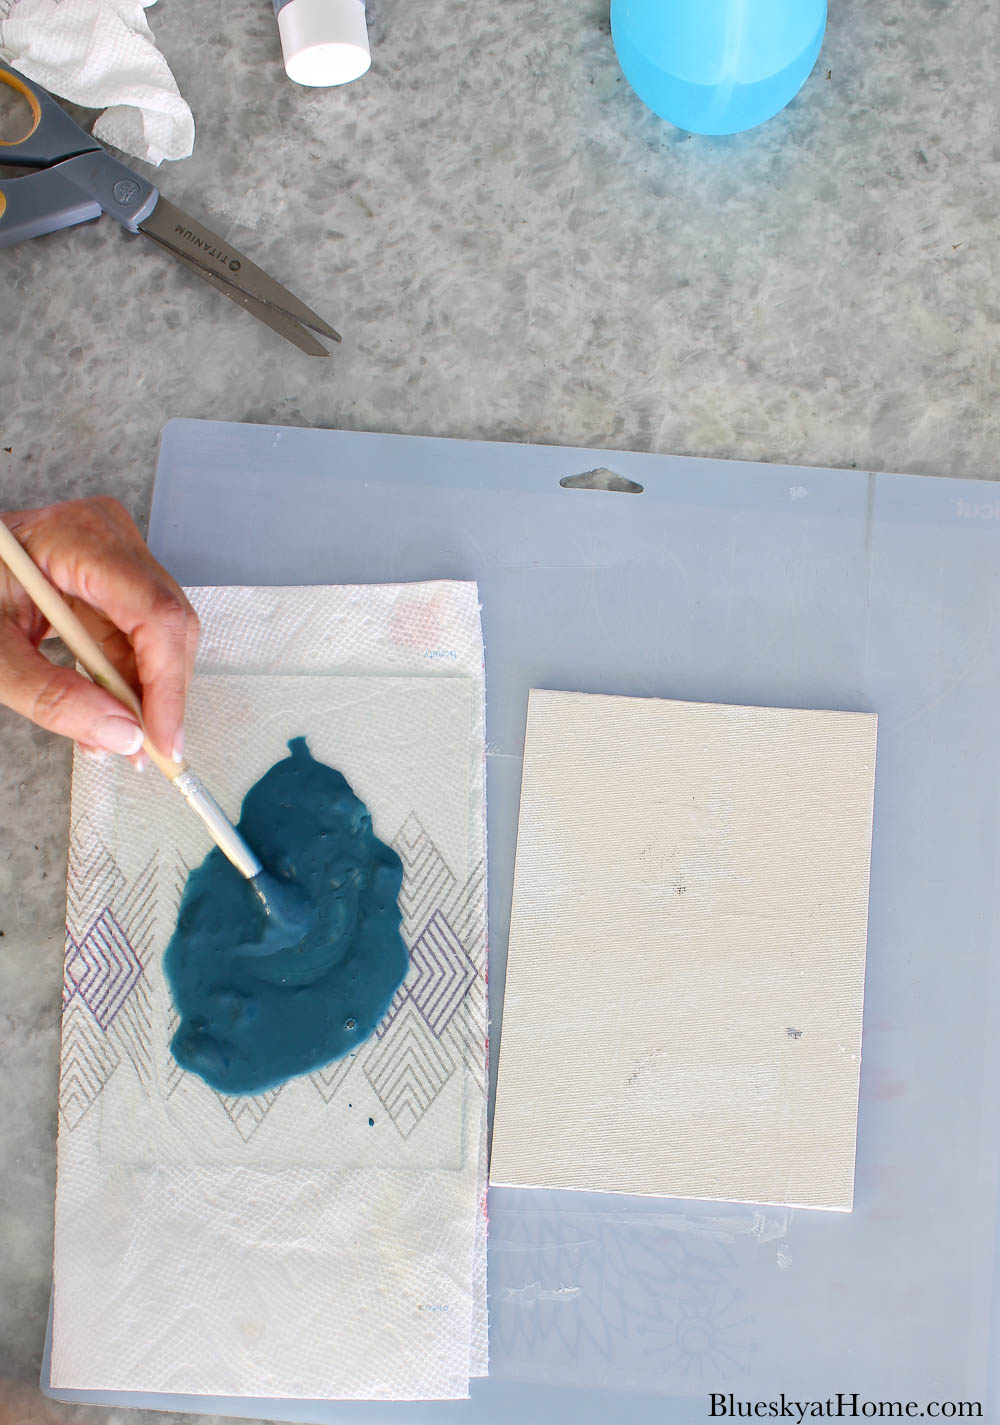

For purple, I mixed blue and red (Thank goodness for elementary school art classes!)
That completes the first of the mixed media materials and methods: paint and painting.
TIP: It takes very little Gel Art Ink to make watercolor. I used more than needed. I would suggest squeezing out less.
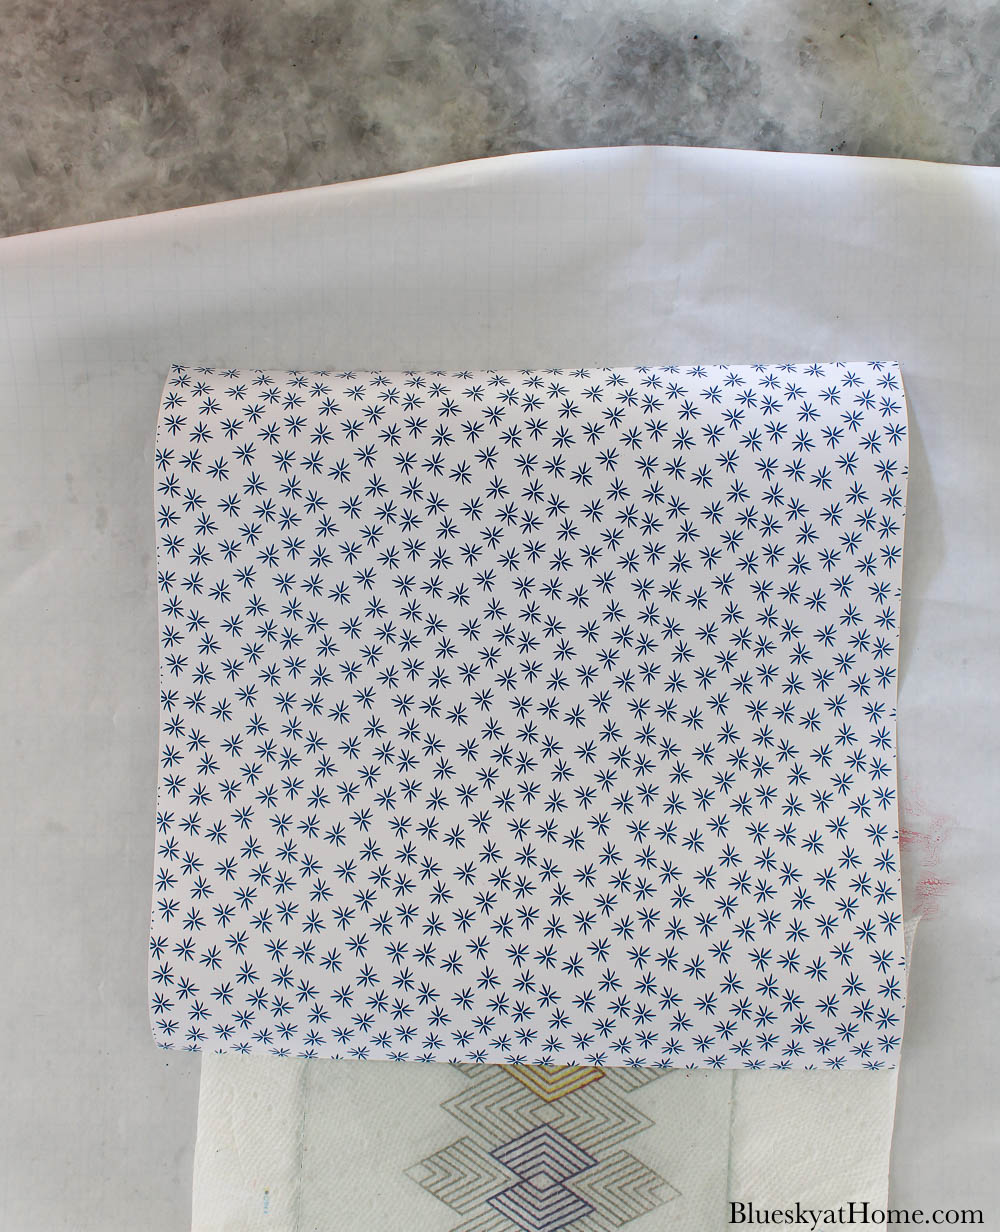
After finishing painting, wash all the leftover paint off the glass. Then dry it. I wrapped the glass in a paper towel.
Step 2 – Add Mixed Media # 2 ~Vinyl Decals to the Paint
I recently had to update my version of Cricut Design Space. I haven’t used my Cricut in a while and knew that adding a vinyl decal would be perfect for the next mixed media step.
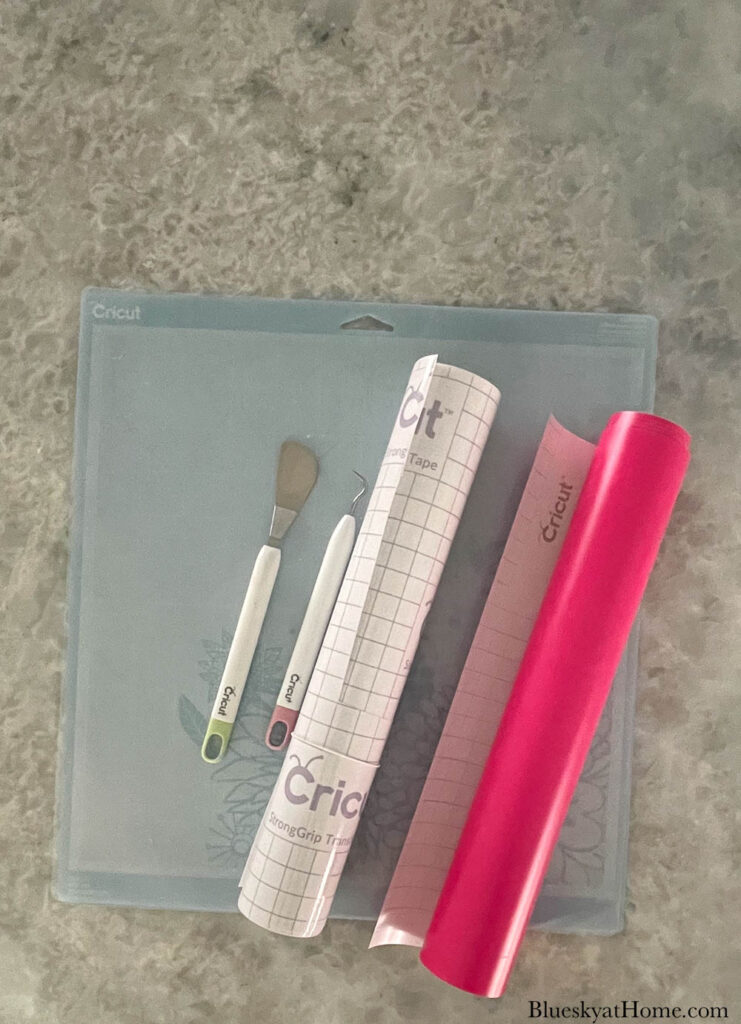
Supplies for this step of the mixed media project
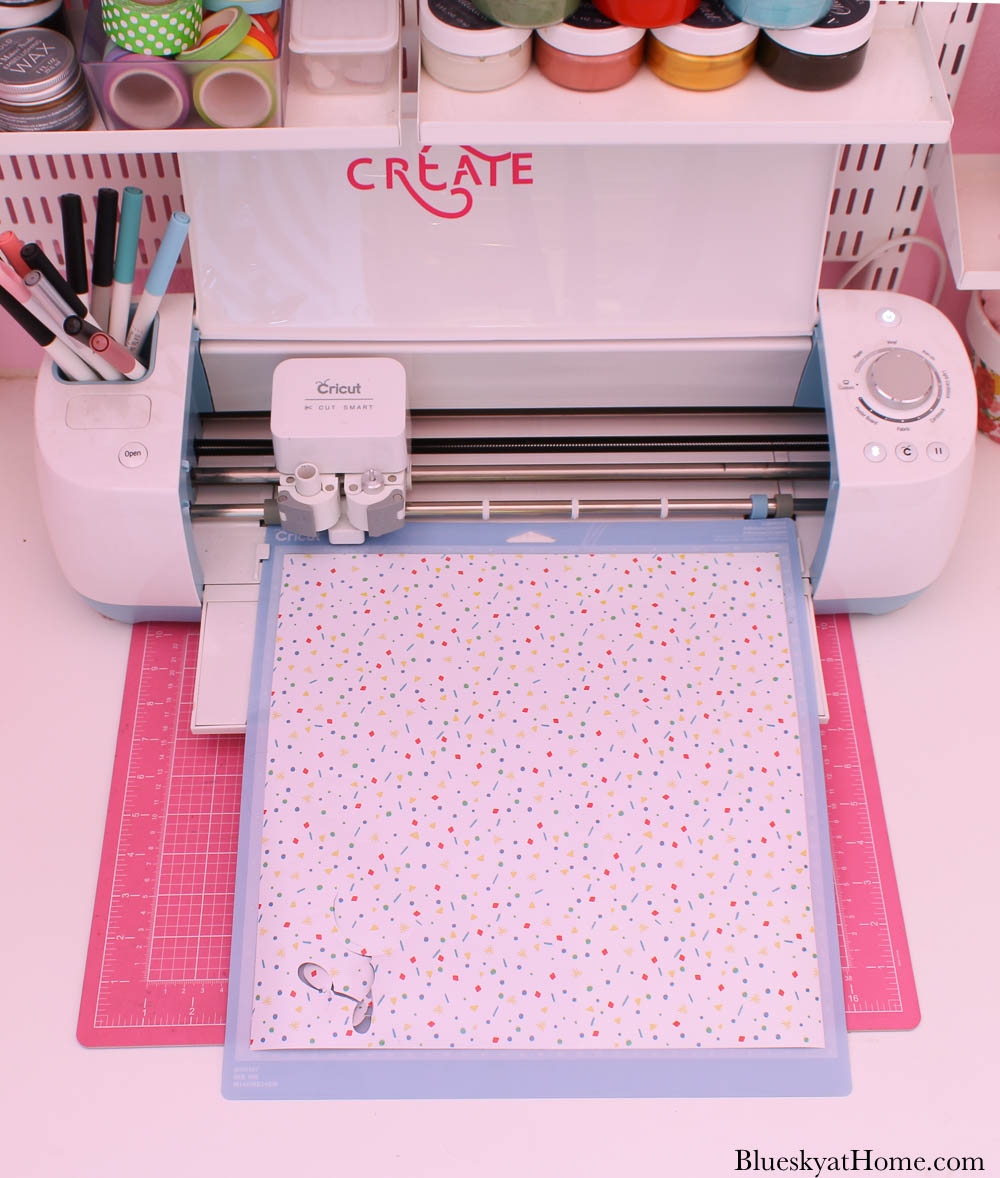
- Cricut Explore Air 2 Cutting Machine, Cricut Explore Air 3
- Vinyl for making Stencils
- Vinyl Transfer Tape
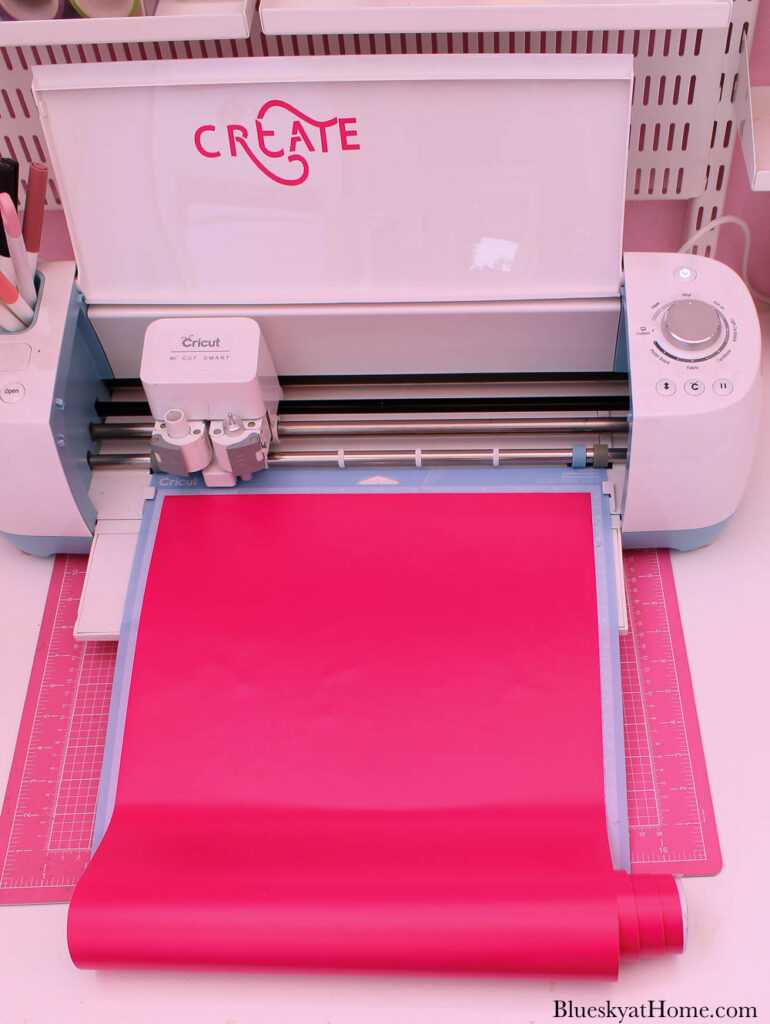
For two of my art pieces I used the bright pink vinyl I already had.
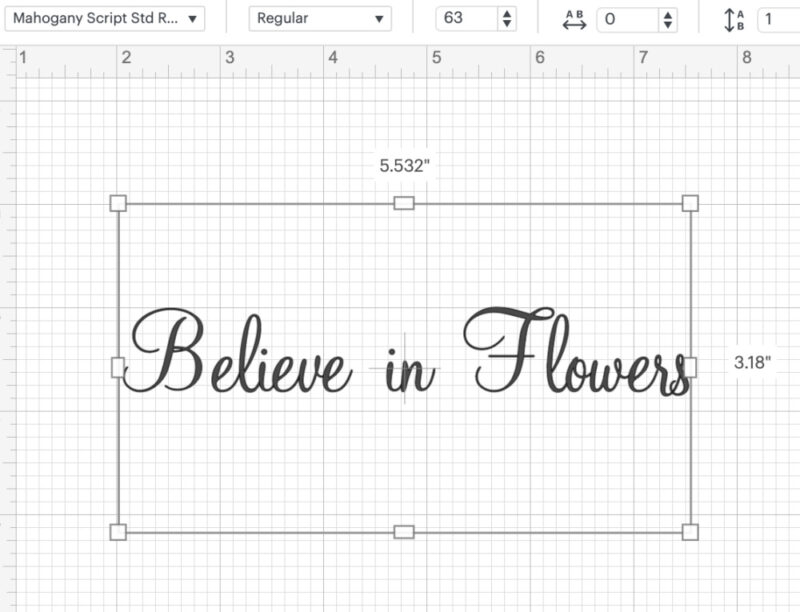
For the larger canvas, my vinyl decal could be 6 1/2 inches wide.
I opened Cricut Design Space, found a font I liked, and typed in the words I wanted for my art. As you’ll see in a moment, flowers were going to be a focal point of the artwork.
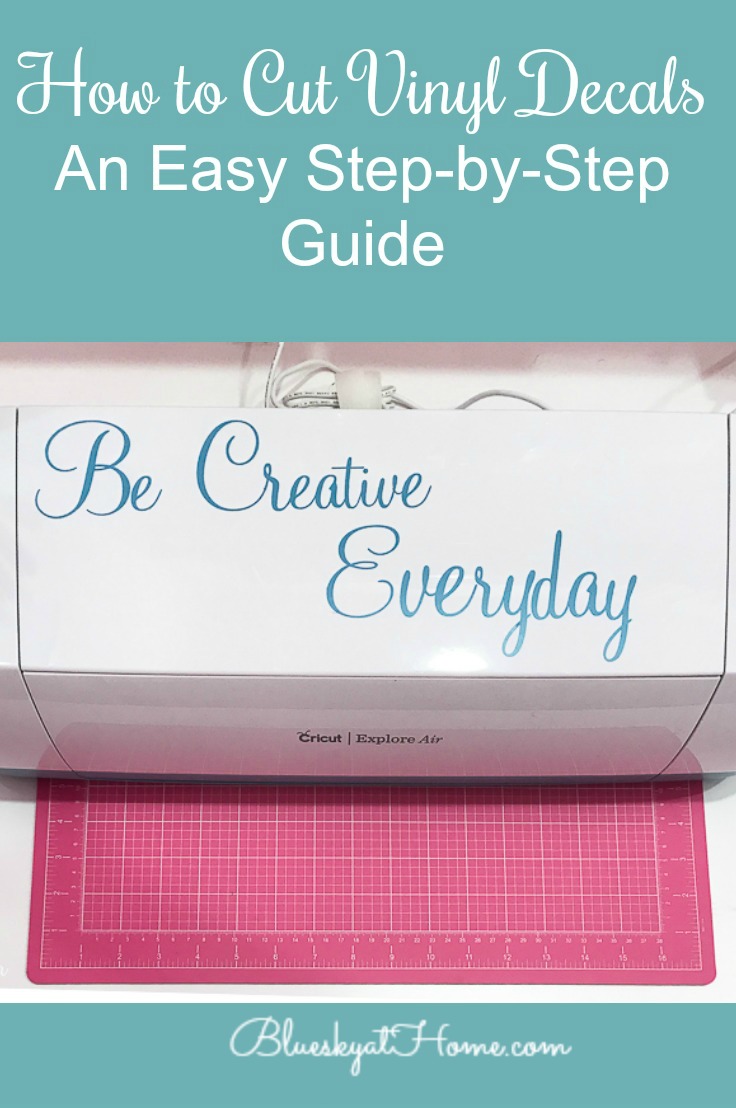
Here is an in~depth How to Cut Cricut Vinyl Decal tutorial.
I loaded the pink vinyl into my Cricut.
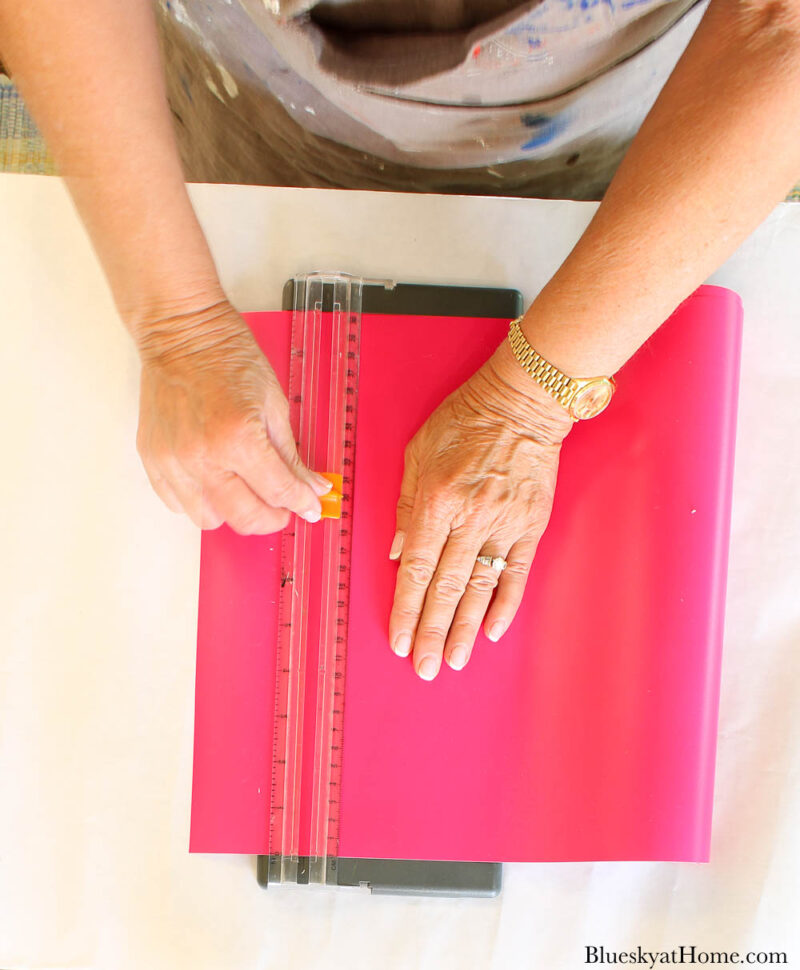
After the decal was made, I cut it from the roll of vinyl. I find that a paper cutter works great.
Using the weeder tool, I removed the excess vinyl from the vinyl backing.
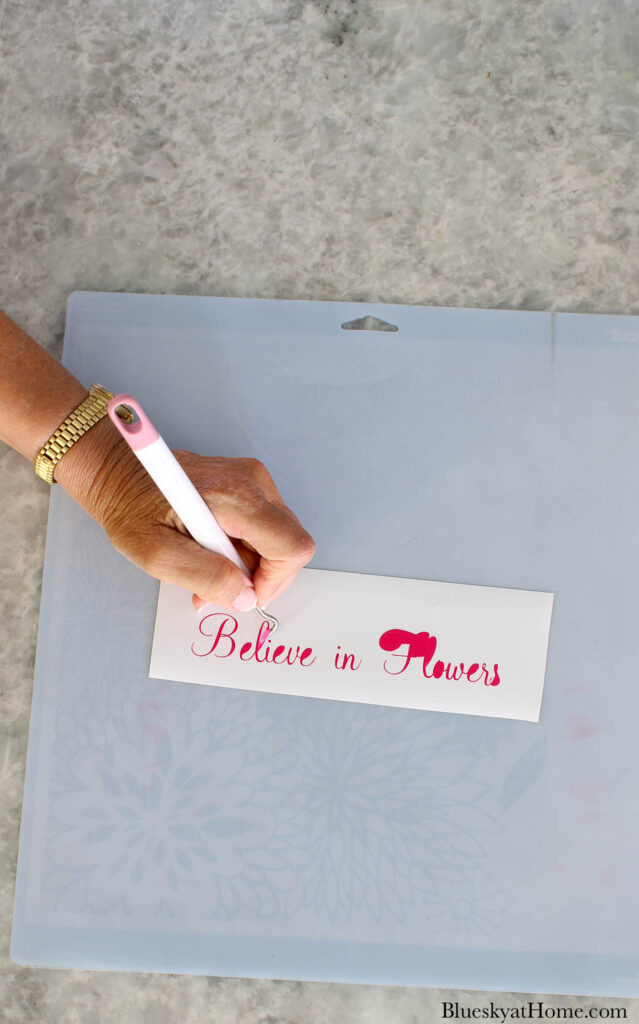
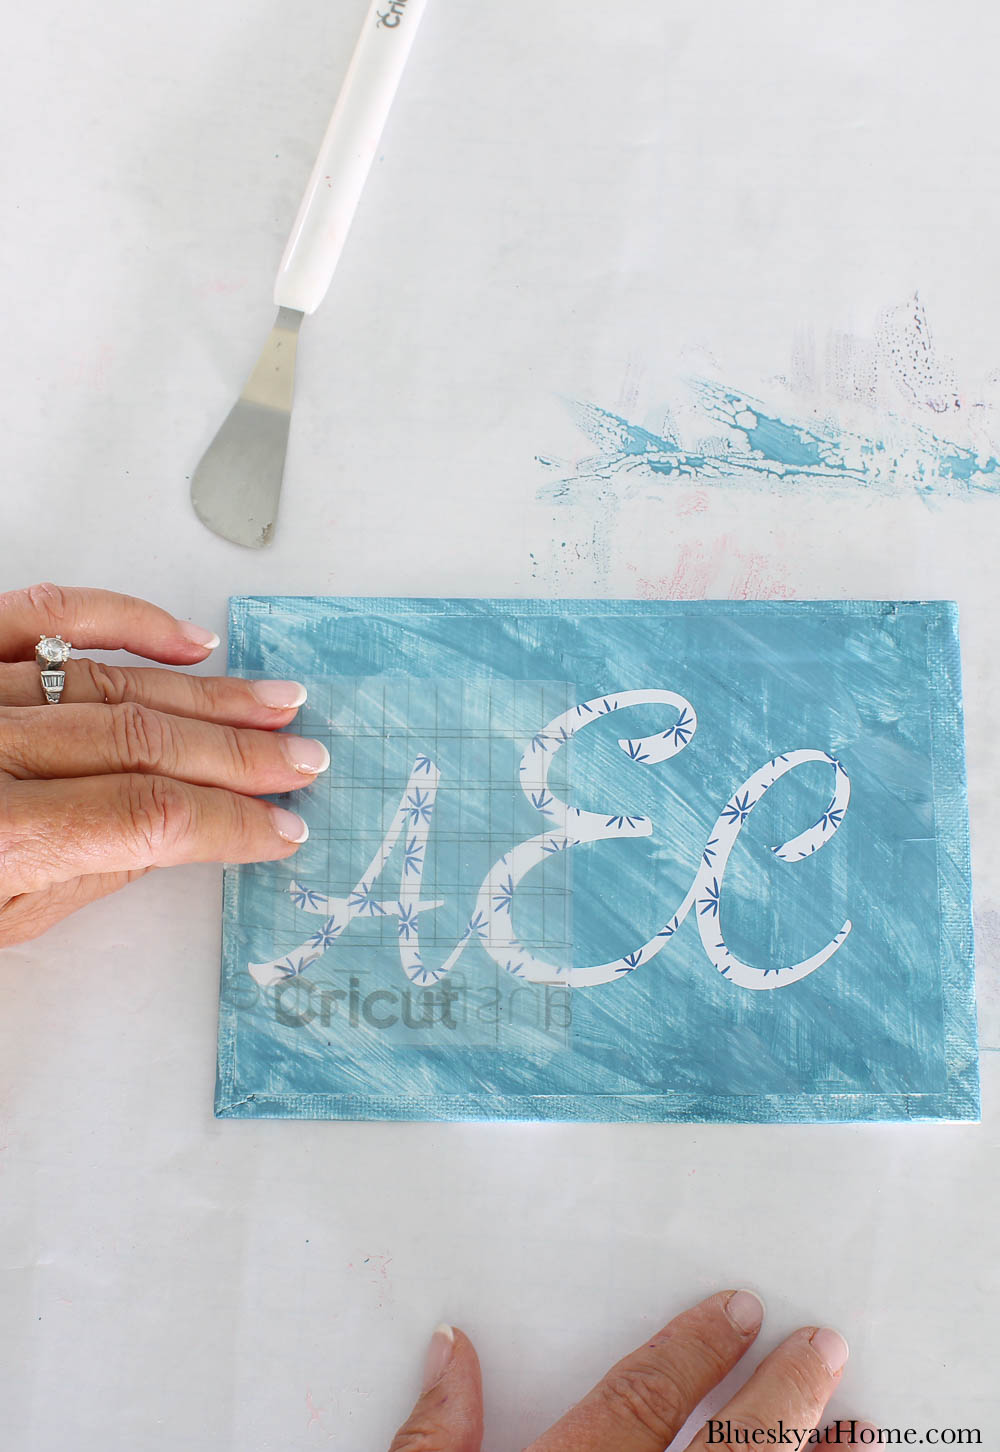
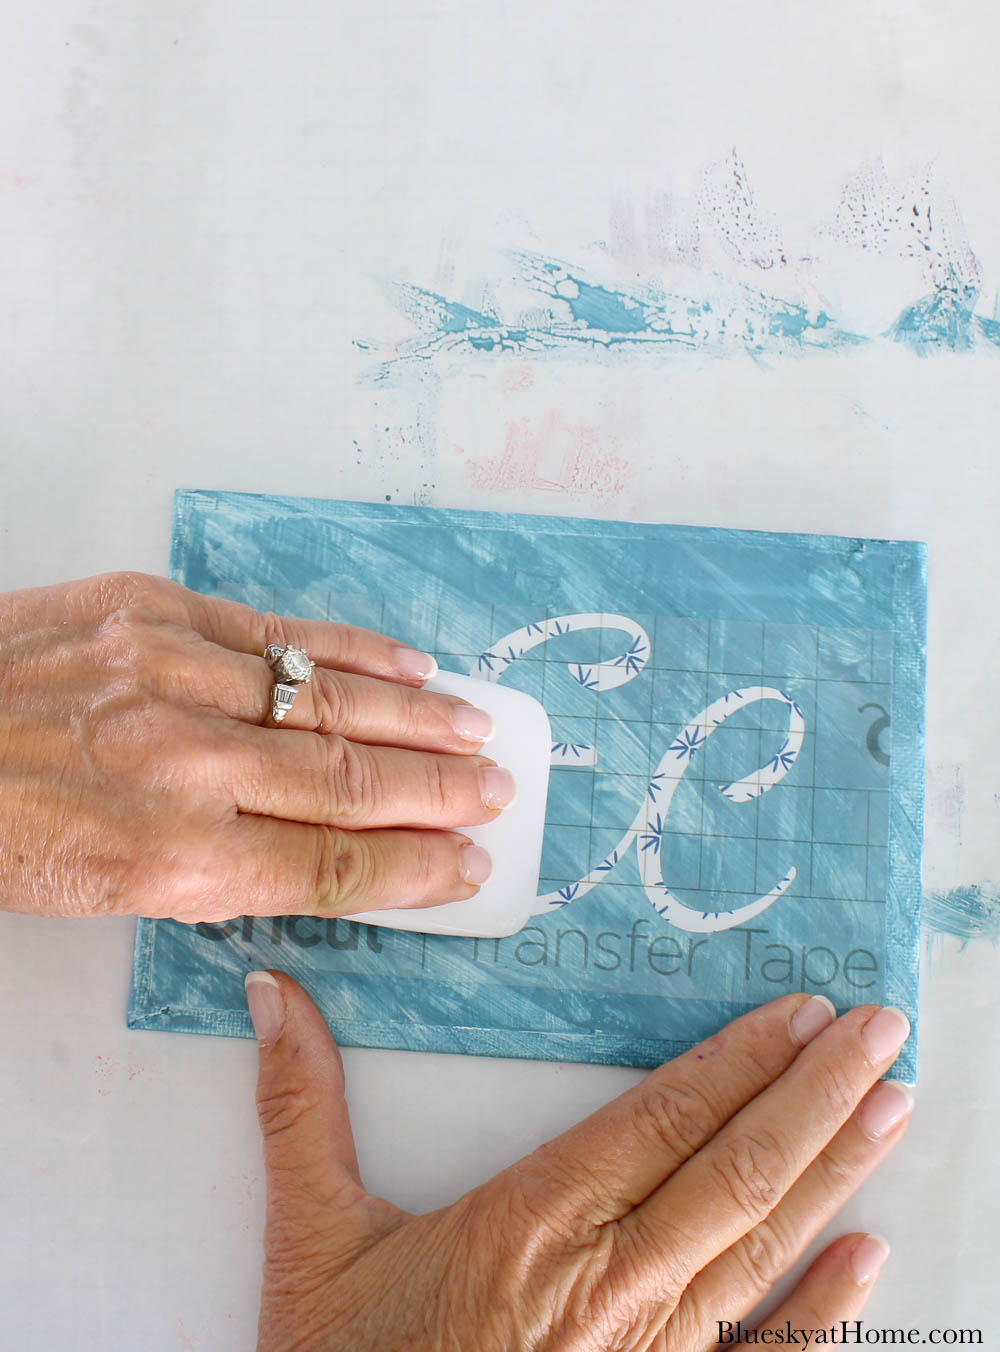
The next step was to attach the Transfer Tape to the Vinyl Decal. And then attach the Vinyl Decal to the canvas. Again, refer to the link above for the detailed vinyl how~to.
This is where this project hit a snag. No matter what I did, the Vinyl Decal wouldn’t adhere to the canvas. Sweet Shark was watching my frustration. He suggested that maybe the problem was the rough texture of the canvas.
Oh, I had not thought of that. What did I do? I turned the canvases over and repainted on the smooth side. That worked perfectly.
NOTE: Paint the canvases on the BACK side, the smooth side!
Once I had repainted the back side of the canvases, I was ready to make all my Vinyl decals and apply them to the canvas. Worked like a charm this time.

Here is another fun project using words you’ve made with vinyl on your Cricut.
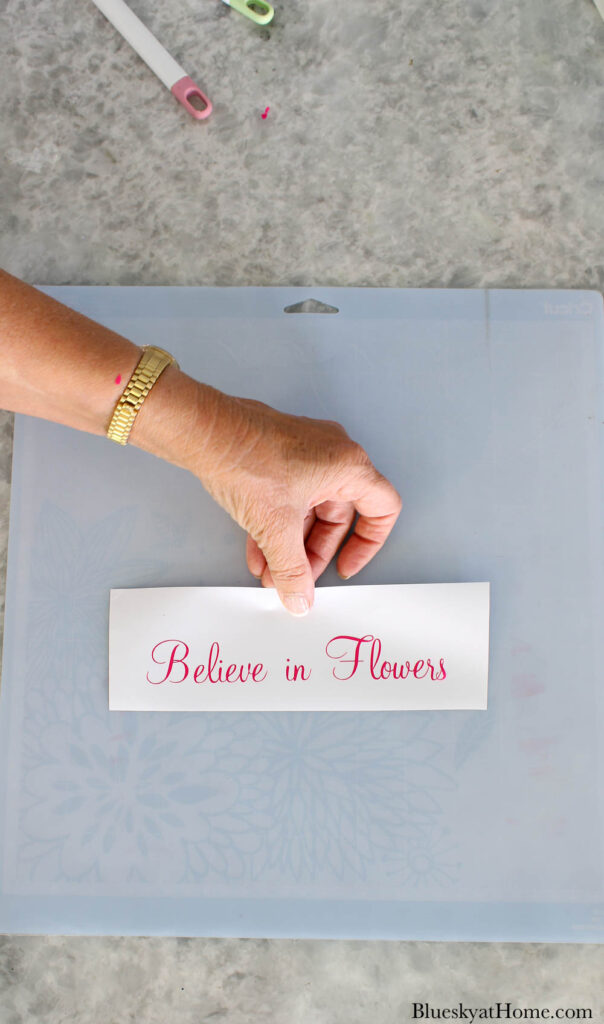
For the second small canvas, I made a new Vinyl Decal.
For the blue and the purple canvases, I made monograms for the granddaughters. As it turned out, I found a package of 12 X 12 Vinyl sheets in my stash that would work.
Once again, I used Cricut Design Space. I was having so much fun getting reacquainted with my Cricut.
Now I was ready for the last Mixed Media material and method.
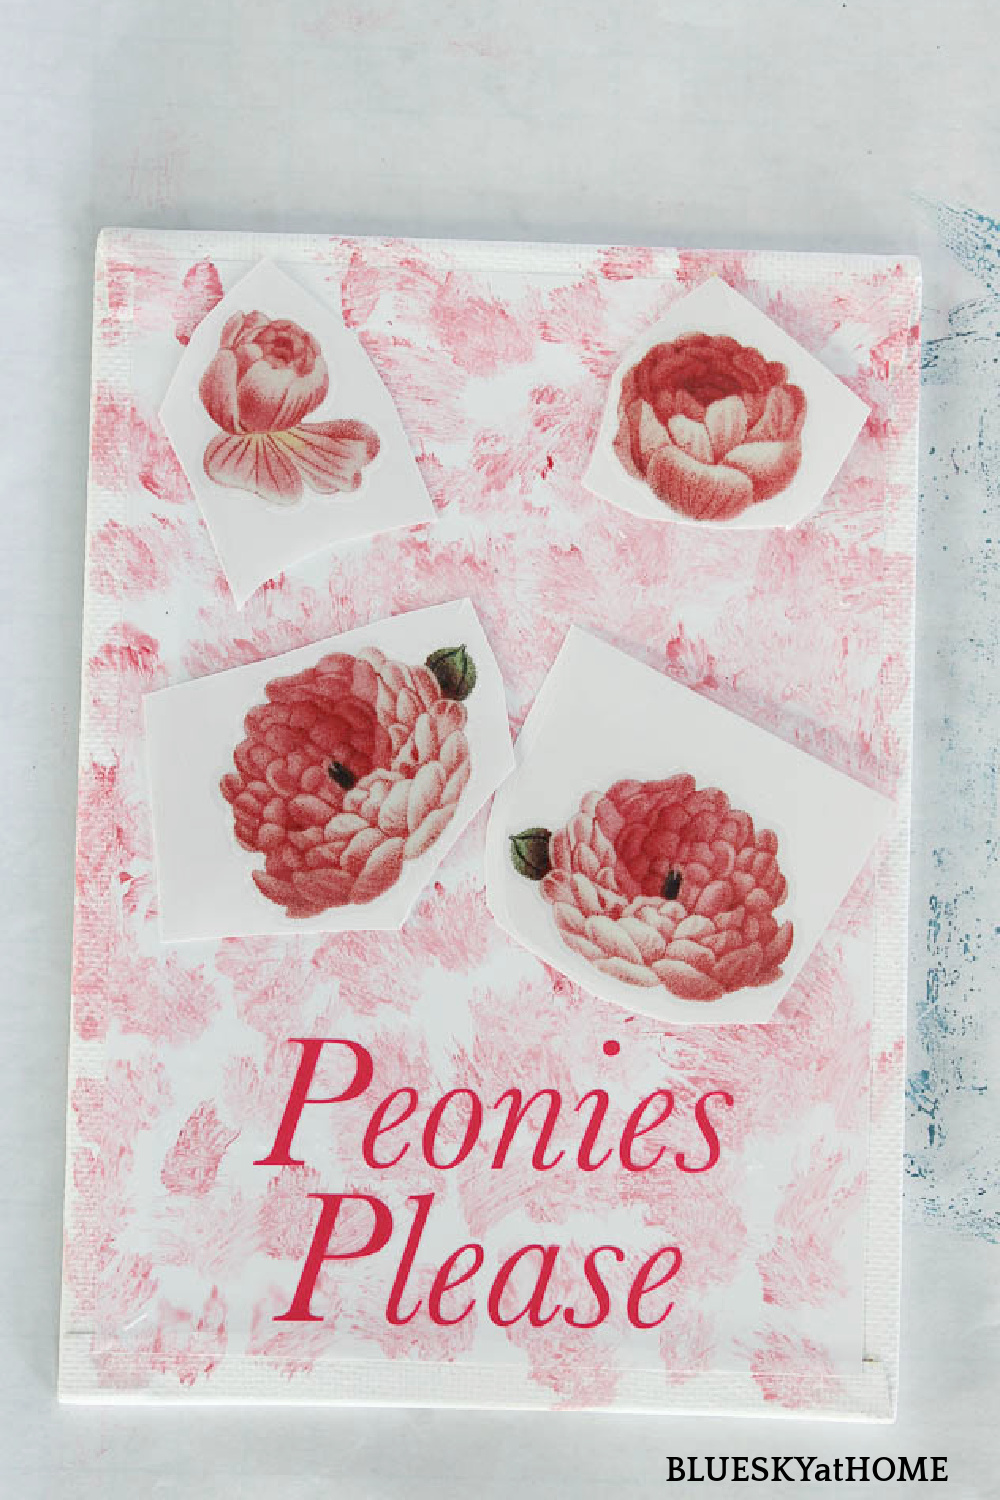
Step 3 ~ Adding Color Ink Transfers
Have you heard of Ink Transfers? They are also called rub-on transfers.
Ink transfers are rub-on designs that transfer the ink design to a surface. They are the easiest way to add amazing art to any DIY project. They come in black and colored designs.
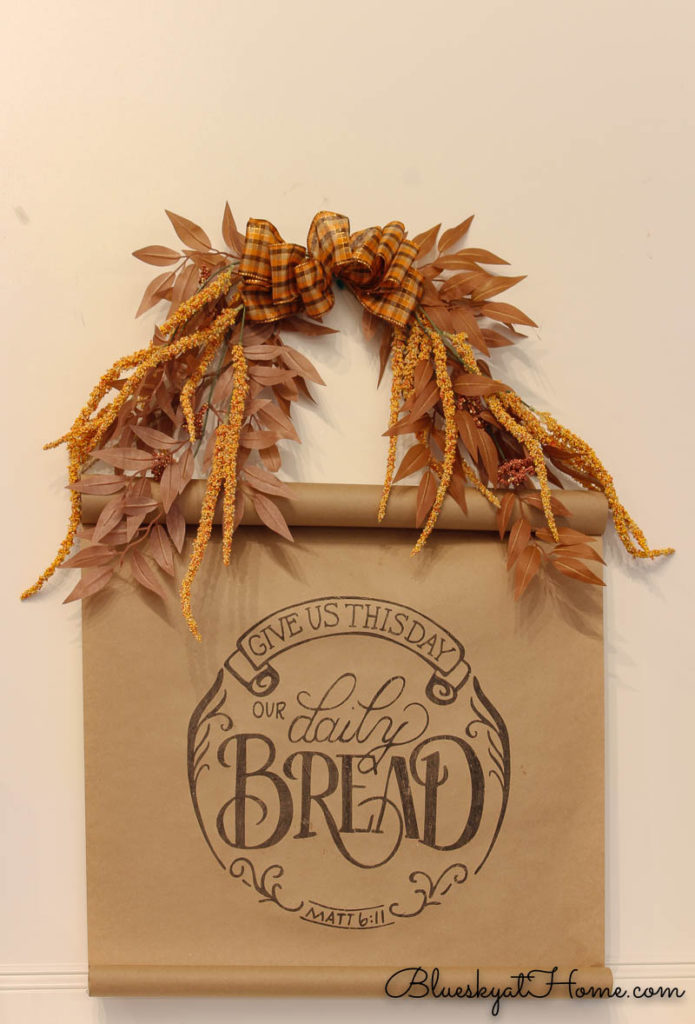
A few years ago, I used my first Ink Transfer for Thanksgiving.
- Full Color Ink Transfers from A Makers’ Studio; I had used a black Ink Transfer, but I had not used a Colored one. A month ago I bought one called Peonies and couldn’t wait to use it.
As you can see, there are a couple dozen individual designs.
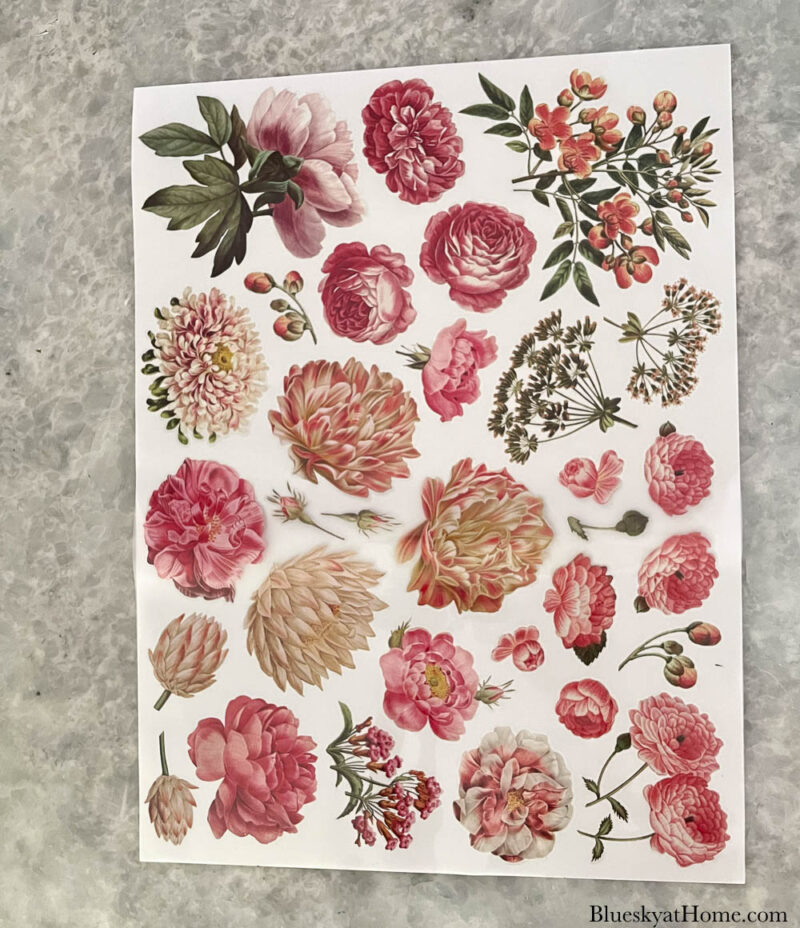
- These designs can be applied to paper, furniture, glass, fabric, or most any painted surface.
- Ink Transfers can be embellished with Gel Art Ink, Rescue Restore Paint, or ChalkArt.
You’ll love Ink Transfers, especially if you don’t have artistic skills, but want custom, detailed and beautiful designs. I recently created a new project using these rub-on transfers for spring home decor.
Why are Rub-on Transfers Such a Great Art Medium?
- Simply pick your project and watch your vision come to life as you rub the color design off of the sheet onto your clean surface.
- You can transform glass, ceramic, wood, most painted finishes, paper, and canvases ~ the possibilities are endless. Be sure to use the smooth side of the canvas.
- Start adding artistic elements to your furniture and accents without any drawing or painting skills!
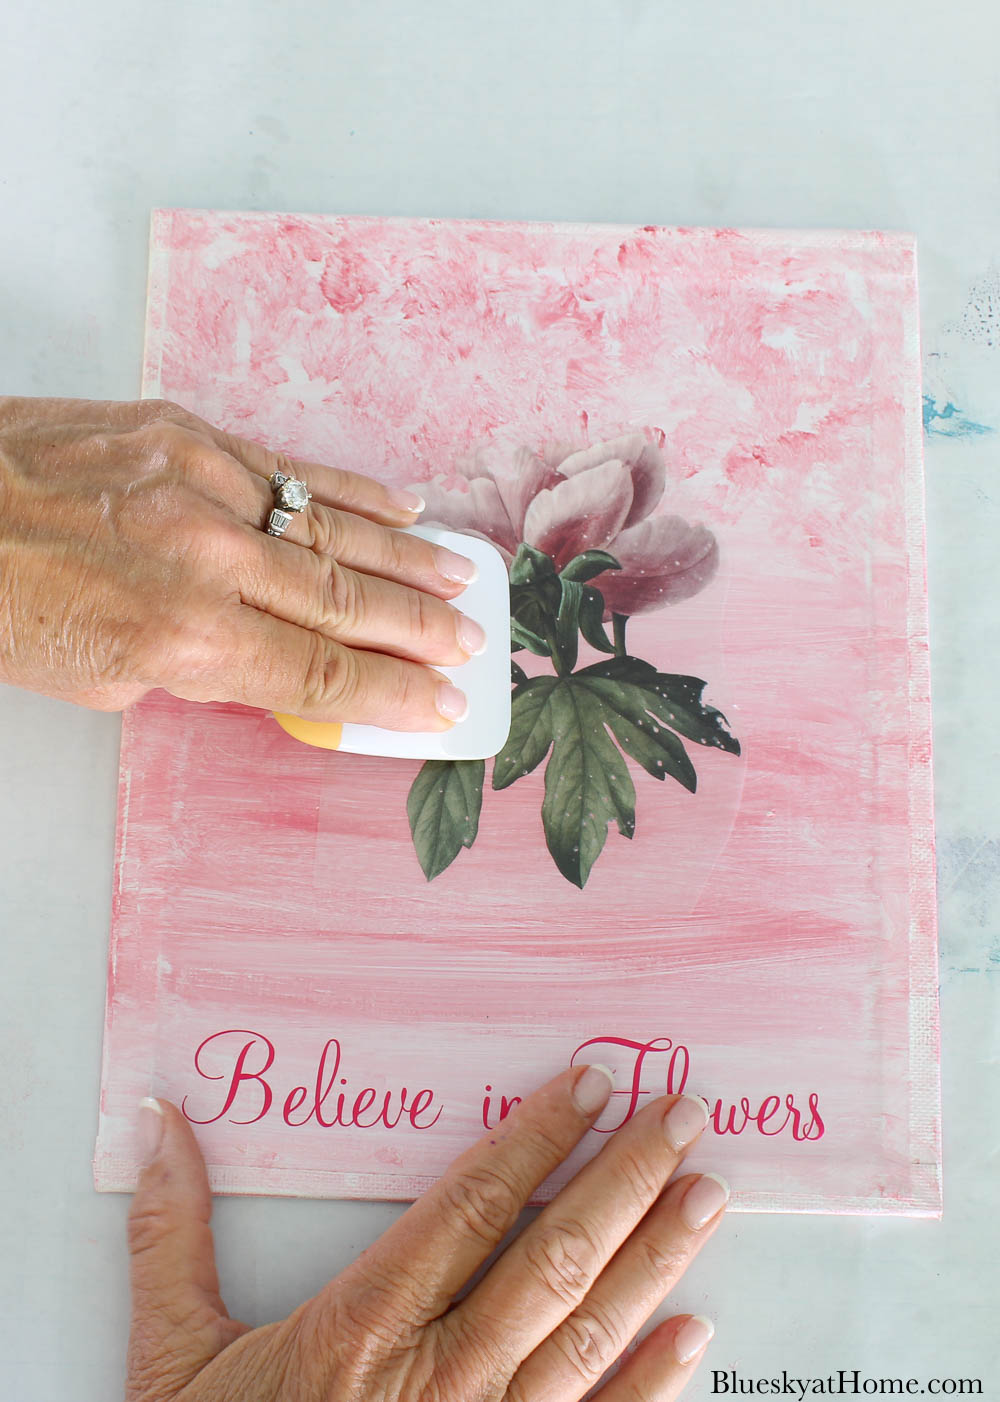
How to Apply the Ink Transfer
- Cut out the section you want to use or use the entire design.
- Position your Ink Transfer on your surface where you want it. Remove the paper backing.
- Use a scraper, flat wood stick, credit card or stiff edge to rub the design onto the surface. I used my Cricut scraper.
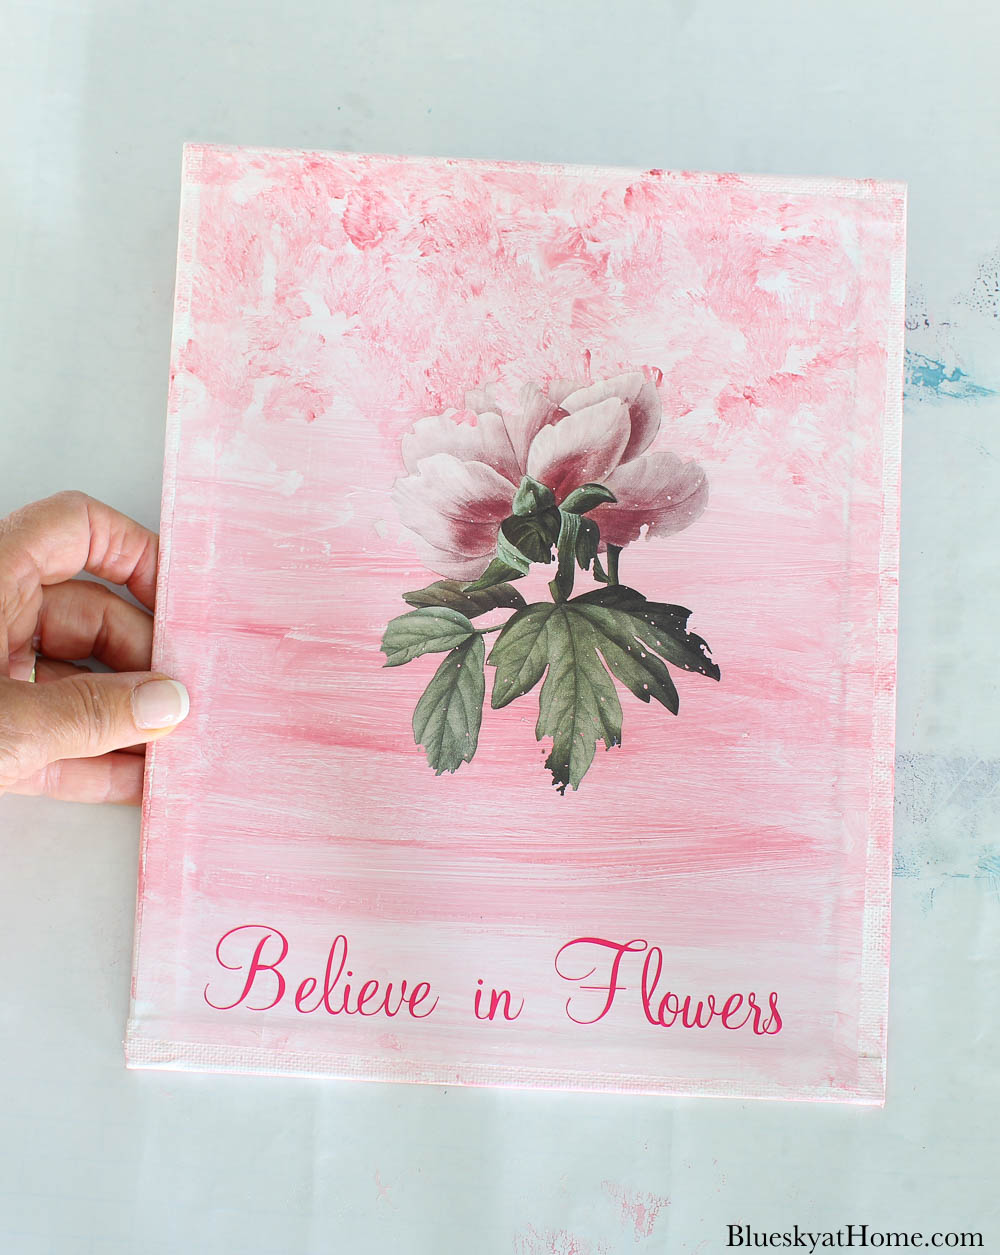
- Gently pull up the plastic cover from the Ink Transfer.
- That’s it. Your Ink Transfer is attached to the surface permanently for a looks-like-painted-design. You can barely feel it under your finger.

I repeated process with the other small pink canvas.
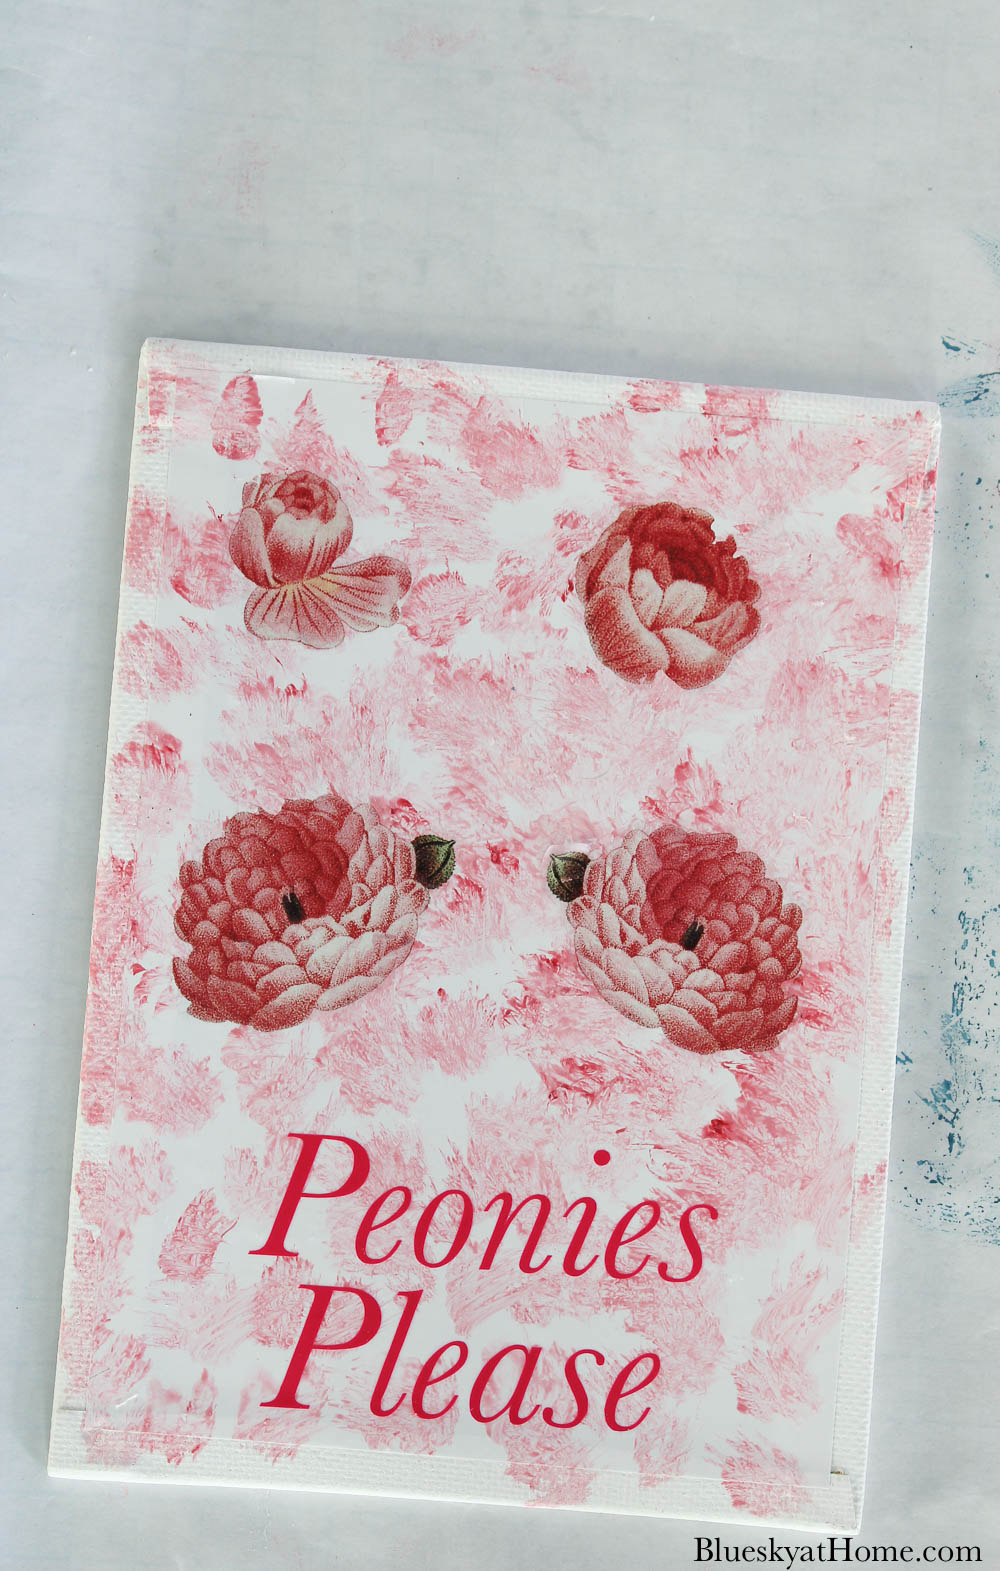
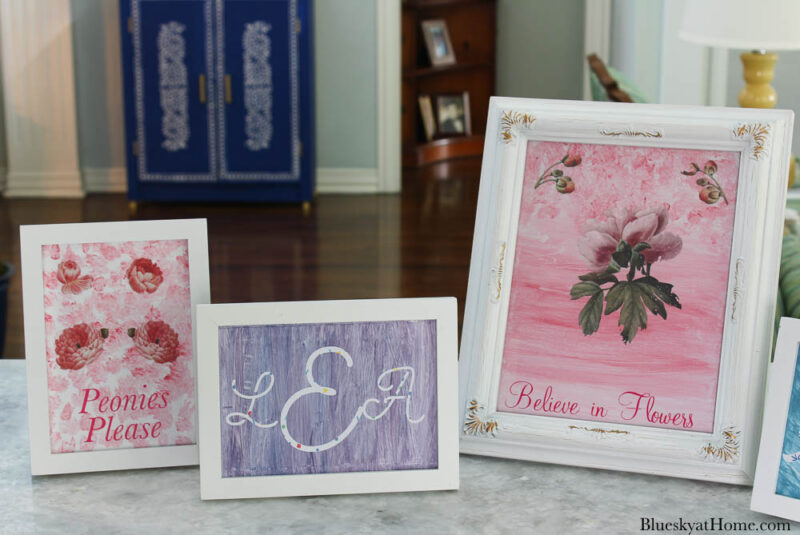
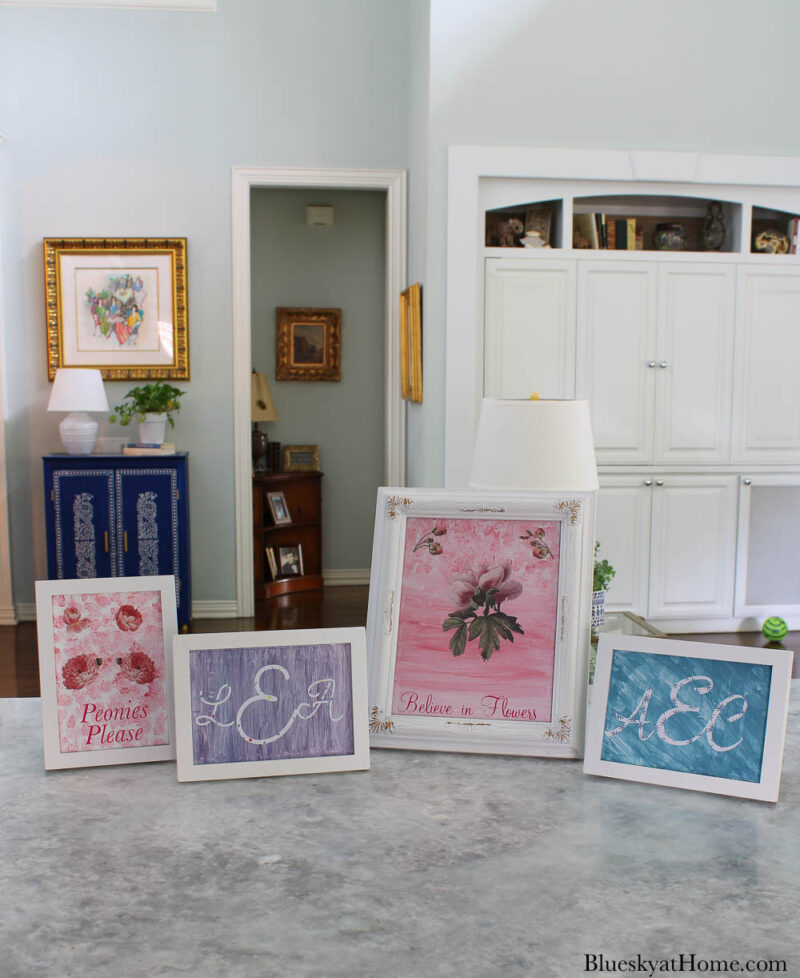
That completed my mixed media art projects. Two canvases had three different materials and two canvases had two. I just had to put them in the frames.
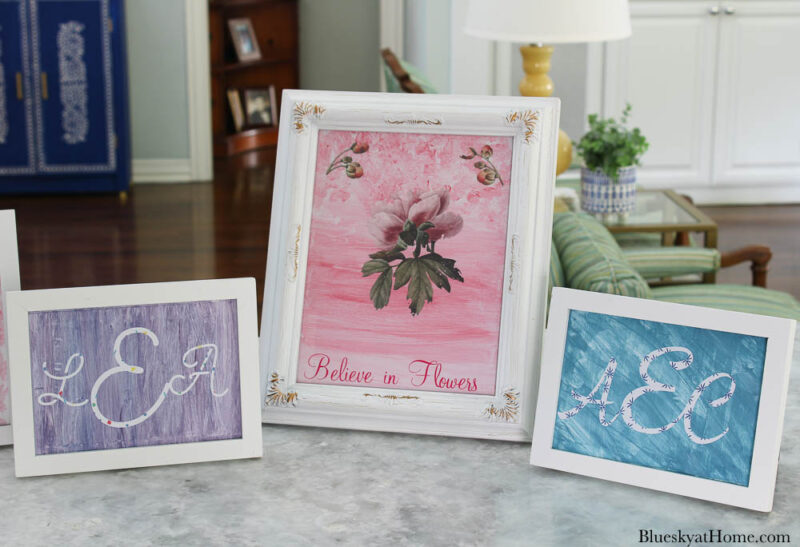
NOTE: The only frame with glass is the large one. The small frames didn’t have enough space to hold the glass and the canvas.
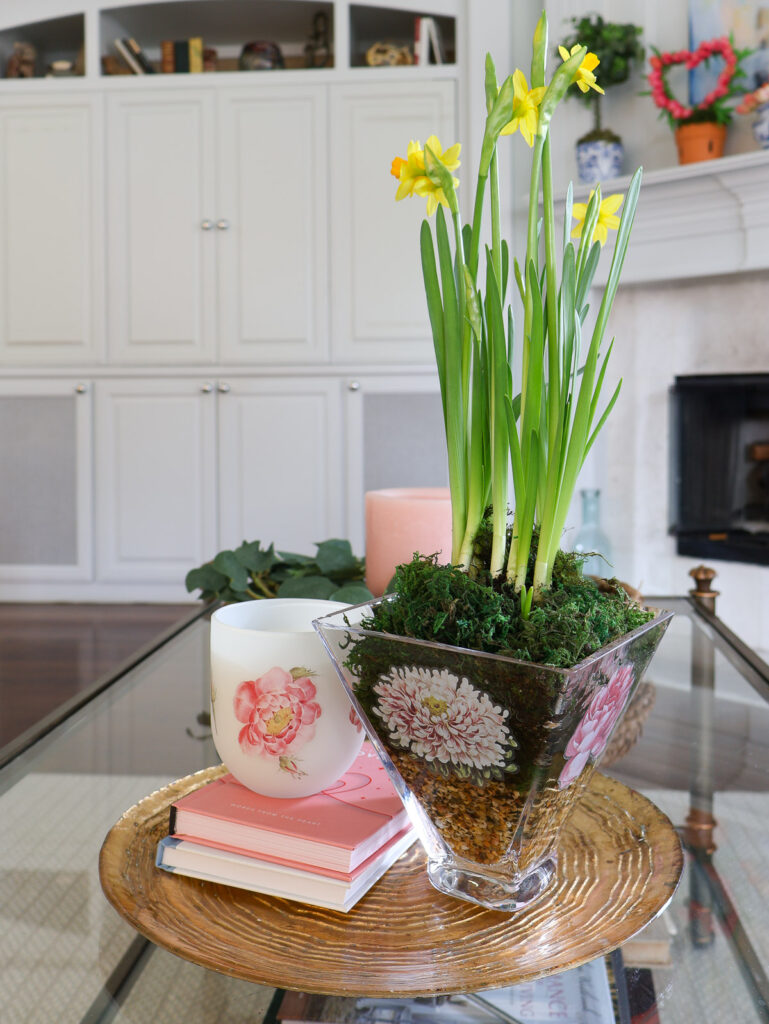
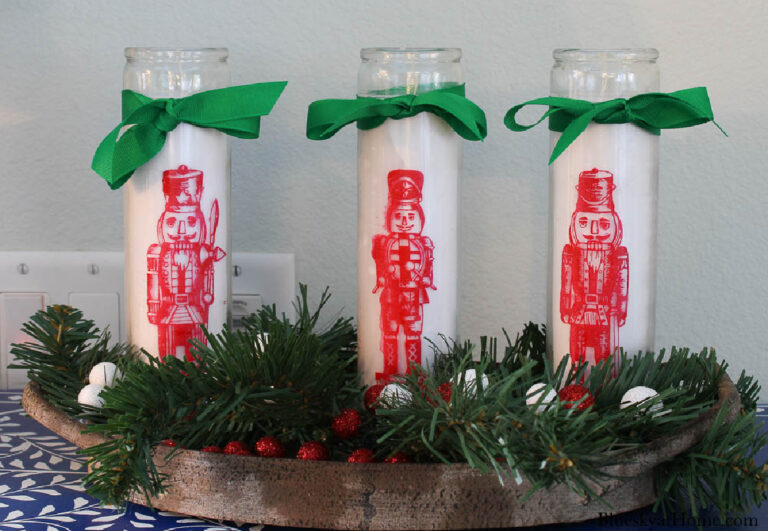
I love that I have plenty of Peony designs to use for other projects, like these two home decor accessories on glass and this one with a different brand of transfers on canvas.
The only thing left to do is wrap the mixed media art in tissue or bubble wrap for the trip to Atlanta.
If I had known to paint the canvases on the back side to begin with, the project would have gone much faster.
I know that this seems like a detailed project. If you have any questions, please ask in the comments or email me.
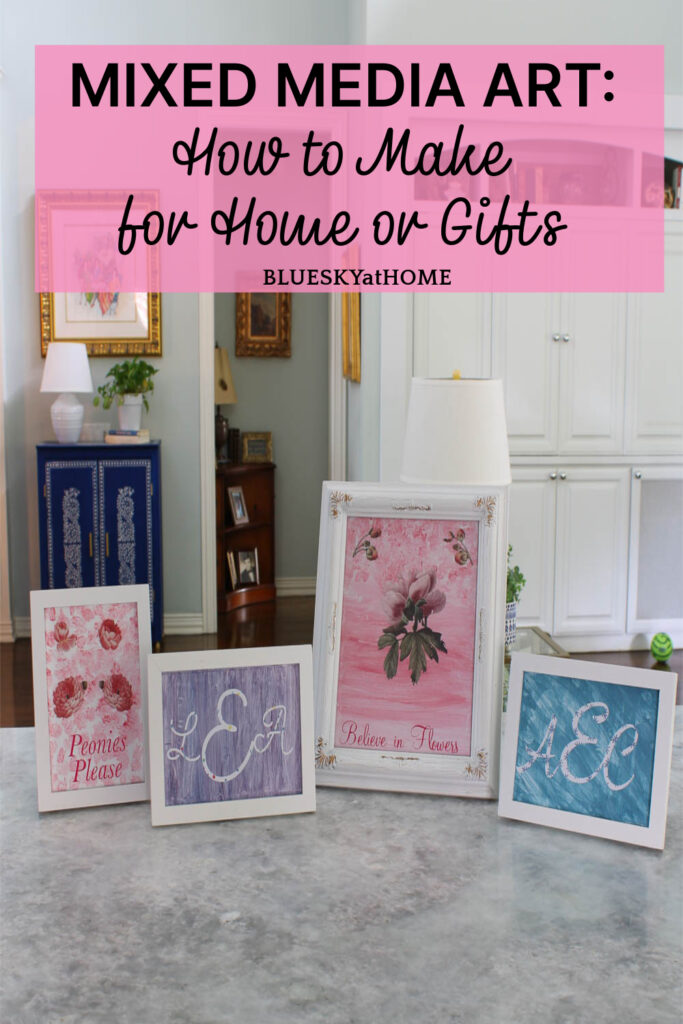
This is definitely a post to PIN and keep so you can follow the steps to make your own mixed media art projects.
I hope you try your own. It will be distinctive because it will be your creation.


I so appreciate your step by step procedure on how you craft your mixed media project Carol. I wish I would always have that burning spirit to pursue my crafty side.
What a great project. Your tutorials are always so clear. And I appreciate it when you admit to a goof–having to paint the smooth side. Ziggy, the cartoon guy, used to say, “There’s no use making mistakes if you don’t learn from them.” The addendum from who knows where is: “A smart man learns from his mistakes; a wise man learns from the mistakes of others. Thanx for letting US be wise–and saving us time and frustration. So far, most of my mixed media projects have been card making.
Kathy A, it is hard to admit a mistake, but what the heck, we all make them. I like the idea of making mixed media cards.
You are one of the best readers I have. Thanks you so much for your comments and making my day.