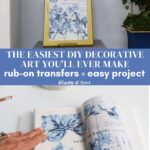
How to Use Rub-On Transfers for Home Decor (Easy DIY Art)
Do you have an empty spot in your home that’s begging for something beautiful? If you don’t want to shop, can’t paint, or don’t want to spend a lot of time or money, rub-on decor transfers may be exactly what you need. These easy-to-use transfers let you create stunning wall art and home decor accessories in minutes — no artistic talent required. Here’s how to use rub-on decor transfers for home decor.
There was an empty spot on a bookshelf that was screaming for something pretty, interesting, and blue.
I am not an artist. I really don’t have an artistic bone in my body. But I can craft, paint, hot-glue, create in Canva, and sew.
I now also know how to use rub-on transfers. In fact, I may have become addicted. Next to decoupage and air-dry clay, rub-on transfers are quickly becoming one of my favorite decorative materials for crafting home decor accessories.
Here is my latest project. It’s easy, fairly fast, and inexpensive. It’s pretty. And it’s blue.
Hang out with me as I show you how to turn this rub-on transfer project into art in your home. It’s a great way to add fresh spring decor to your home.
Earlier Rub-On Transfer Project
This post contains affiliate links to products used to create this project. If you should order any item from this site, I may receive compensation, but you do not pay a penny more. Your purchase is greatly appreciated as it helps support the continued publication of this site.
As a reminder, I used these gorgeous peony color transfers from A Makers’ Studio to make two decorative pieces for our coffee table.
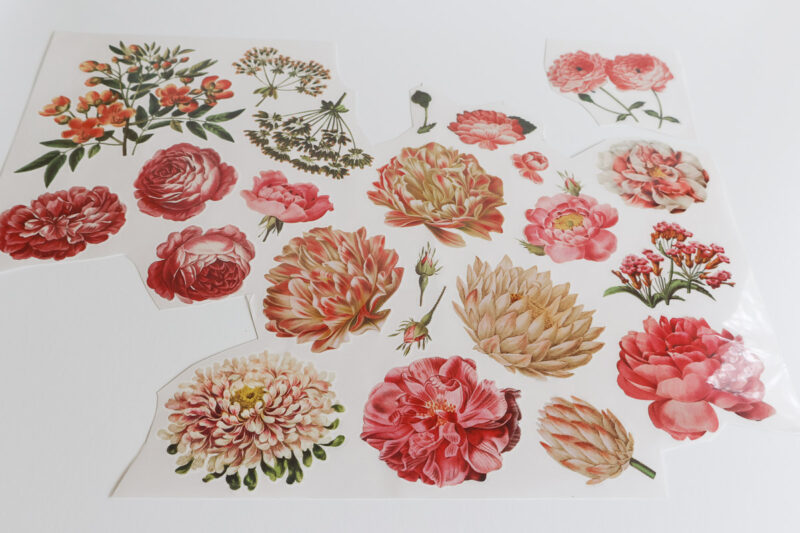

These transfers are so easy to use, and I loved the results. I couldn’t wait to try another project using them.
Before checking out this new project, if you want more information on transfers – what they are, where you can use them, or what supplies you need – you’ll find all that info in the post with the peonies.
Rub-On Transfers for a New Project
When I was rearranging our bookcase last week for a more spring-like feel, I ended up with a blank space.

I realized that it needed a pretty piece of art in that spot. I tried out a gold metal easel for size.

Searching my home decor stash, I came up empty. Nothing I had on hand would work to fill the space.
- First, I needed a piece of art that was at least 9 X 12 inches or taller to fill the space.
- Second, I needed something floral and blue to complement the chinoiserie that already adorned the bookshelves.
When I didn’t find anything already made, I went through the supply dresser I keep in our garage. I found a package of two canvases – I bet I’ve had them for a few years. I couldn’t believe that they were 9 X 12 inches – perfect for the space on my bookshelf.
Although I love the transfers from A Makers’ Studio, I wanted to try another company, just for comparison. Since I wanted something blue, I found a set of blue transfer designs from Redesign Prima on Amazon.
I couldn’t wait to create a new decorative accessory in our home for springtime.
Supplies for this Blue Art Transfer Project
To be honest, I wasn’t sure this project would work for three reasons:
- I hadn’t used this brand of rub-on transfers before.
- I didn’t know if the transfers would adhere to the canvas material.
- Would I be able to make a frame with paint?
For the Rub-On Transfer
- Your rub-on transfers of choice – at this point, I hadn’t opened the tube of rub-on transfers. Unlike the transfers from A Makers’ Studio, these transfers came rolled up in a tube.
- canvas of the size you need. I don’t even remember where I bought them.
- sharp craft scissors – these are my favorite for cutting around small spaces.
- tool to burnish the transfer. Last time I used a wooden stick that I found in my office. This time I the burnishing tool from Cricut.
For Making the Frame
- Paint to paint a frame on the canvas. At first, I thought I could use washi tape. There were two problems: it wasn’t wide enough and it didn’t have any stickiness left. Any acrylic or chalk paint would work.
- Frog tape to make the frame outline.
- Sponge brush

Attaching the Transfer to the Canvas
Step 1 – Open the transfer package and examine the transfers.
The first thing I noticed is that there were three transfers in the package. Instead of individual designs, each transfer was one big design. Being rolled up, it was hard to have them lie flat on my work surface.
I noticed two other things about the transfers:
- The white backing to the transfer was very wrinkled.
- The plastic transfer didn’t have any adhesive to keep it on the backing or on the surface to which you were adding it.
I wasn’t sure if the backing always came wrinkled or if this was just a fluke in my order. Also, how would the transfer stay attached to the canvas (or any surface) during the transfer step without adhesive?
Let’s see.

After looking at all three transfer sheets, I picked one with a design that would work best on the canvas. I picked the section below.
Step 2 – Cut Your Transfer Design to Size
Since I would be using this transfer as one piece, I measured it to fit my canvas. I made a cut to designate where the transfer should be cut.

Then I drew a line on the back of the transfer where to cut it.


Step 3 – Place your transfer on your canvas. I adjusted it to be centered from left to right and top to bottom.
Step 4 – Begin rolling back the backing and pressing down on the transfer. At this point, I remembered that there was no adhesive to hold the transfer to the canvas.

Step 5 – Use painter’s tape to hold the transfer down on the canvas. I removed all the backing as I added the tape.

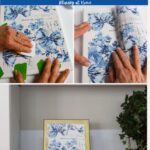
Step 6 – Begin burnishing the transfer design to the canvas. I started at the top and worked around the sides.
I like the Cricut spatula shape in my hand. It felt more comfortable in my hand than the wooden stick I had used on my previous project.

I don’t know if it was because the canvas had a “little give” or because of the transfer itself, but it took a lot of rubbing to get the entire design to adhere to the canvas. Also, my previous transfer project used glass and went on so easily.
My first rub-on transfer project involved canvas also, but the surface was firmer.
I decided to try the wooden stick that came with the transfers.

I liked the Cricut spatula better. It felt better in my hand and covered more surface. This package of two scrapers would work really well.
Continue rubbing the transfers and lifting the plastic film as needed to see if the design has transferred to the canvas. It took me about 30 minutes to burnish the entire design.
It looked great for the canvas.

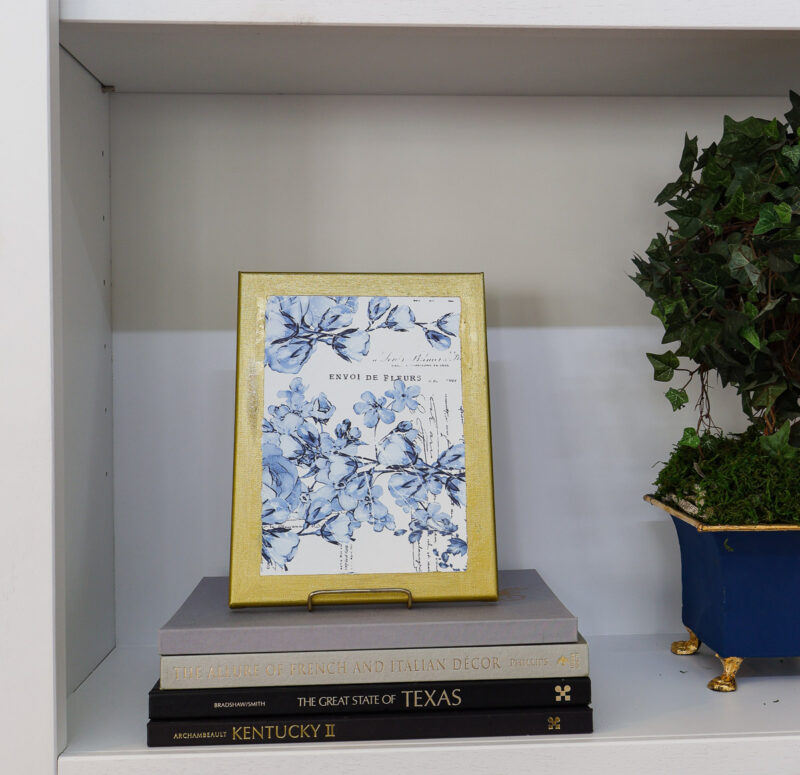
Painting the “Frame”
I wanted the design to look like it had a frame around it. Since I had other metallic gold colors in our lamp, a clock, and trim on the topiary planters, I thought a gold “frame” would be the right look.
For my paint, I used Gel Art Ink in Metallic Gold from A Makers’ Studio. You can tell that I’ve used this paint before. It works on many surfaces – wood, paper, fabric, and now, canvas.

This is another brand of Gold Metallic Paint that I really like. I’ve had good results with it on other projects.
Step 1 – Measure an equal width on all sides of the design. Whatever the widest space is, becomes your frame width. My frame would be one inch on all sides.
Step 2 – Make your frame outline using the Frog Tape.

Step 3 – Trim off the excess tape so you have your area to paint. You can see that I will need to cover some of the transfer design on the sides.

Step 4 – Using a sponge brush, cover the exposed canvas with your paint of choice. The Gel Art Ink did a nice job of covering the white canvas. Some of the transfer design might show through a bit. Let the first coat dry completely, then add a second coat of paint on all sides of the “frame”. The Gel Art Ink took about 30 minutes to dry.
I used long strokes on all sides of the canvas. Be sure to paint the side edges of the canvas.

Step 5 – Carefully and slowly remove the Frog Tape from the canvas as soon as you’ve added the second coat of paint.
I was a little worried that some of the transfer design on the edges might come up, but it stayed put.

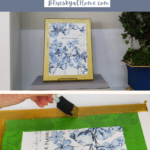
Displaying Your Art
This was easy. I placed the transfer art on the gold easel on the bookshelf. You can see the gold trim on the topiaries I made a few years ago.

Here is the artwork with a peek at our lamp on the left and Sweet Shark’s old clock above.

I loved how the project turned out. The art fills the space. The color and the design work perfectly with the other blue accessories and the touches of gold metallic.
Review of the New Rub-on Transfer
I would prefer the rub-on transfers to have some adhesive on the back for easier application. I’m not sure how easy it would be to apply the design if you were working with smaller transfer pieces.
I’ll use the other transfers in this tube when I can. Although I loved the design, I doubt that I would order this brand again
I’ve ordered another color transfer from A Makers’ Studio – this one is called Full Bloom. I can’t wait to make something pretty with them. In my opinion, the quality of this brand and the ease of application are much better.

I hope you’ll try your hand at using color rub-on transfers. It is a very satisfying craft and so versatile. Be sure to save this project. The artwork will be a great addition through spring and summer.
I hope you will PIN this project for your spring DIY crafting. Check out these PInterest Boards: