Easy Spring DIY Home Decor Projects with Rub on Transfers
These easy spring DIY home decor projects with rub on transfers will brighten your seasonal accessories. This super easy project requires few supplies and will give your home a lovely touch of spring.
Have you ever used color rub on transfers for home decor accessories? If not, you are in for a treat.
If you want an easy method to add colorful designs that does not involve paint, glue, or other adhesives, then transfers are the perfect project for you. Rub on transfers allow you to easily create beautiful designs that will give your home decor accessories a custom, one-of-a-kind look.
Get this fun, fast, and easy spring project now

What are Rub On Transfers?
A rub-on transfer is a thin sheet of paper with a design printed on it. The design can be in color or black and white. The rub-on transfer is an imprint of an image, text, logo, or figures on a translucent sheet.
The transfers will have three laters: the design, a white backing, and a clear plastic cover on top.
Tranfers are slightly similar to decals, but they more detail to the design. Whereas a decal is slightly raised from its surface, transfers become part of the surface. They look like they were painted on the surface.
The designs can be simple or very intricate. They can be different sizes.
The designs can be flowers, animals, typography, butterflies, things in nature such as mushrooms, leaves, or graphic designs.
Rub on transfers are used in crafting and home decor projects to add color, pattern, or typography to surfaces. They add a level of sophistication to any home decor style.
This post contains affiliate links to products used to create this project. If you should order any item from this site, I may receive compensation, but you do not pay a penny more. Your purchase is greatly appreciated as it helps support the continued publication of this site.
What Surfaces Can You Use Rub On Transfers On?
The range of possibilities that we can use with rub on transfers is quite wide:
- glass
- ceramics
- mirrors
- wood
- most painted surfaces
- metal
- paper
- clay
- plastic
The only requirement is that the surface be smooth and clean of wax, grime, dust, finger prints, or oil.
What Items Can You Use Transfers On?
The things that you can decorate in home decor with rub-on transfers is endless. As long as you are using one of the surfaces above, you can use are limited only by your imagination:
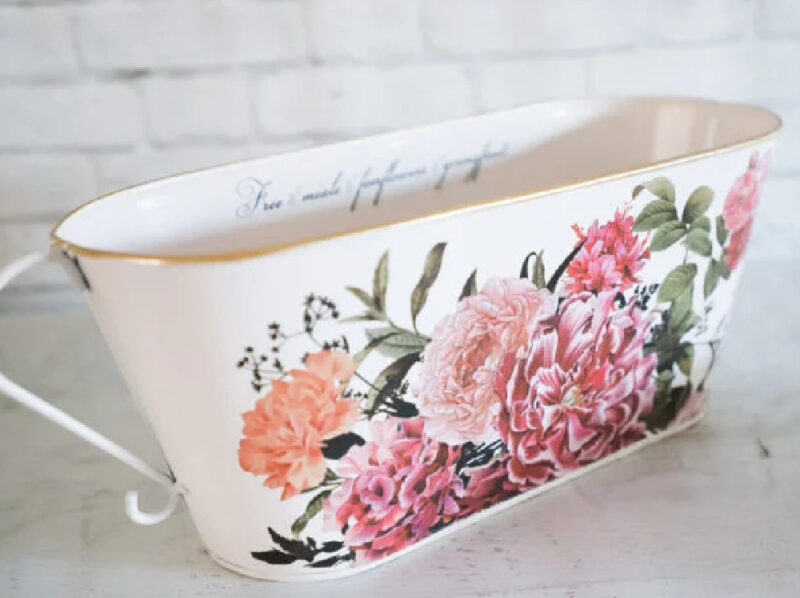

Galvanized planter with floral transfer from Artsy Chicks Rule; white chest with blue floral transfer from Decoupage Napkins.
This is my second project with rub-on transfers. I first used these color transfers a couple of years ago for my granddaughters’ rooms. It was a fun project using mixed media.
- painted or stained furniture
- vases
- trays – either wood or metal
- candles
- planters
- decorative plates or platters
- mugs
- picture frames
- mirrors
- on canvas
What Supplies Do You Need for This Project?
The beauty of rub-on transfers is that they require only three supplies:
- the rub on the transfer of your choice. The color transfers that I used are from A Makers’ Studio, but you can find them in craft stores and online resources. The color transfer that I used is called Peonies and has about 30 individual designs on the 16 X 12″ sheet.

- craft scissors for cutting individual designs from a larger sheet. These craft scissors are my favorite for all craft projects.
- a flat stick (like a wide pop sickle stick), scraper, or credit card for burnishing the transfer onto the solid surface.

No glue, no adhesive, no Mod Podge!
How to Use Color Rub On Transfers?
The steps are easy and quick. I did both these projects in about 1 1/2 hours.
Candle Holder Project
I’m starting with the candle project. As a note, items with a round shape are a bit more challenging. The size of the smaller transfers work better with smaller containers.
Step 1 – Choose the items that you will use with the rub on transfers.
I’m using two items, both in glass: the first is frosted glass candle holder from Target and the second is a four-sided glass vase that I’ve had for years.


Step 2 – Choose your transfer design.
With spring on the horizon, the Peony transfer I already had would be perfect for this time. I had already used it a few years ago for an art project for my granddaughters.
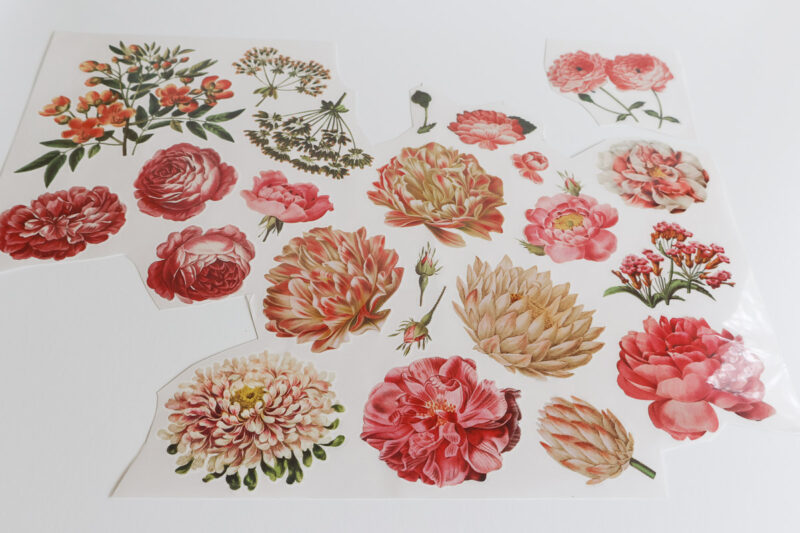
Step 3 – Cut Apart the Designs You Want to Use.
Some designs are meant to be used as one one. Others are meant to be used individually. For this candle project, it cut out four of the smaller peony designs.
Use the craft scissors to cut the designs apart.


Here are the designs I started with.
NOTE: When I turned the candle holder over to wipe it clean, the candle came out, which made the project easier.

Step 4 – Decide on the Arrangement of Your Transfers
You may need to change your designs based on size or how the transfers look together.

Step 5 – Remove the Backing from the the Design
Gently separate the white paper backing from the design. It easily separates.
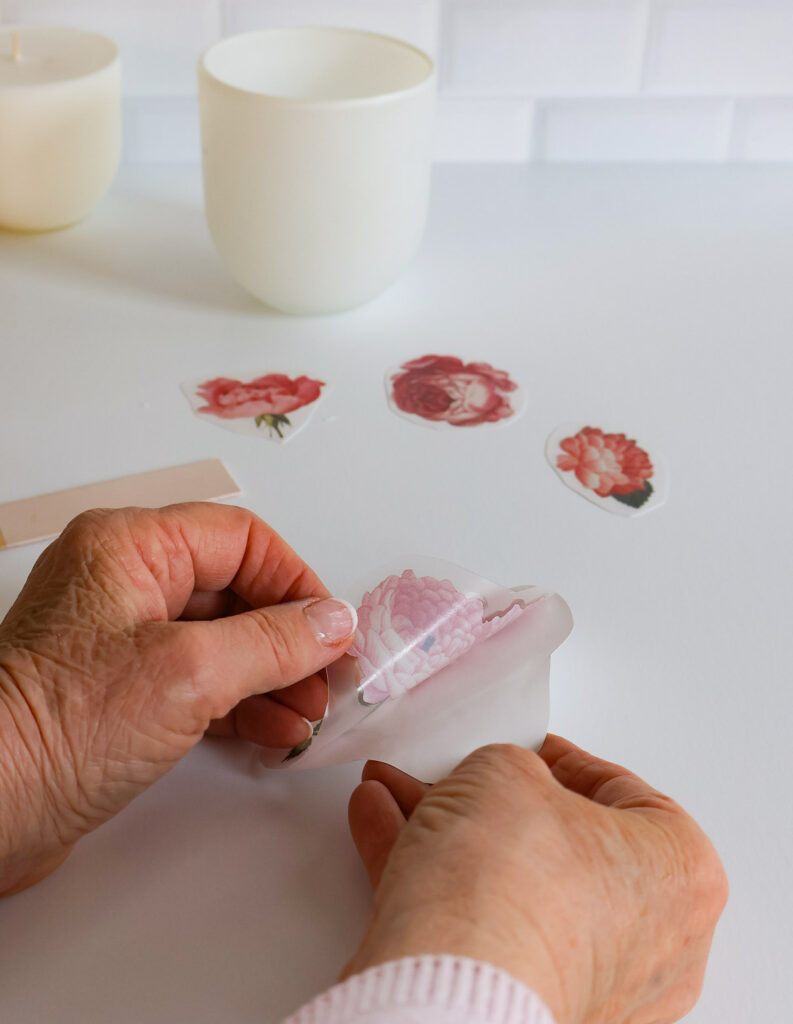
Step 6 – Place the Transfer on the Surface and Begin to Burnish It
Some transfers have to be taped down . Others are very sticky and can’t be re-adjusted. The transfers from A Makers’ Studio are neither sticky or do they need to be taped down.
Using a flat wood stick, credit card, or a credit card, begin to burnish the design. I like the size and shape of the flat wood stick.
Using pressure, in a back and forth motion to rub the transfer. I like to start in the middle of the design and then go all around the edges. Do it longer than you think is needed.
If you see the design get lighter, that means it is adhering to the surface.

Step 7 – Remove the Design Layer
Gently and slowly pull back on the top plastic layer. If any of the design doesn’t stay on the surface, press down on the top layer and burnish it a little more.
Repeat with the rest of your transfers.
I ended up using three medium flowers and three small flowers to fill in around the candle holder.

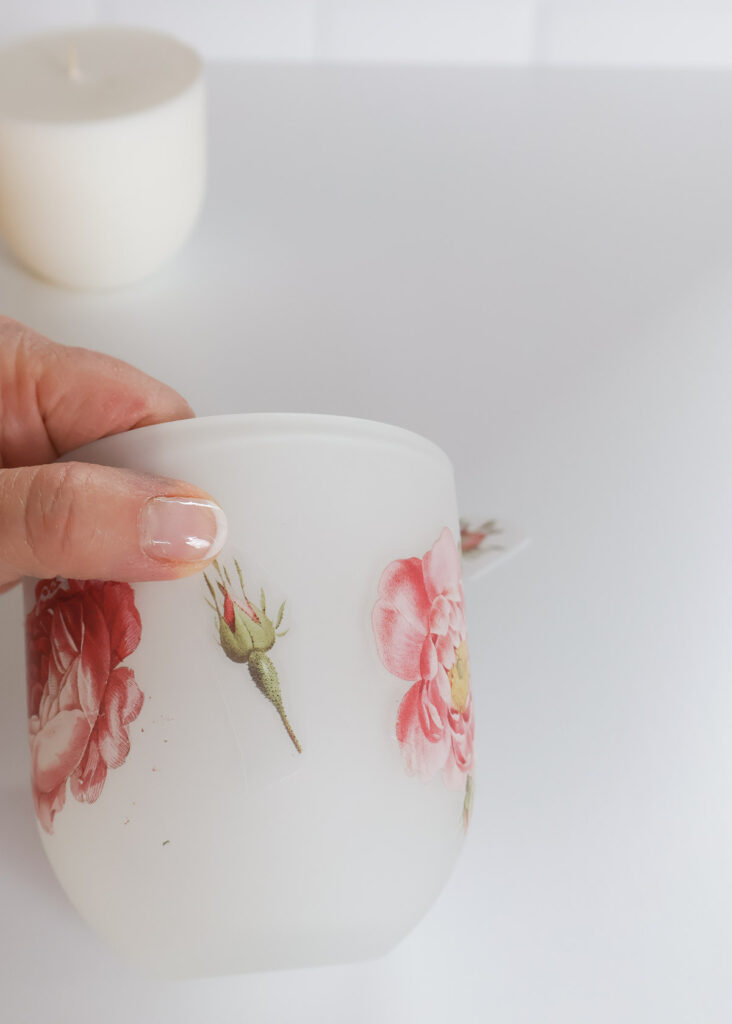
That’s how simple this project is. Now I have a pretty floral design for this candle holder – much better for spring.

Do You Need to Seal the Transfers?
The answer is it depends. If your project is like the ones I’ve made here, sealing is not necessary. If the project will experience wear and tear, then seal the project is a good idea. Items like trays, plates, platters, mugs.
If you want to seal your finished transfer projects, brush on a coat of Matte Sealer for durability.
Adding Flower Transfers to the Glass Vase
The sides of this vase are flat which make the application easier. Also I use transfers that are larger.

The process for the glass vase is exactly the same as for the candle holder project.


Filling the Decorated Vase with Flowers
From the beginning of this project, I planned to add a real flower to the vase.
A quick trip to Trader Joe’s for a small pot of daffodils and I was ready to begin.
Gathering My Potting Supplies
Fortunately, I had everything I needed on hand:

- indoor potting gravel
- bag of good potting soil
- Super Moss to line and cover the plant

Filling the Glass Vase
- Fill the vase with a couple inches of gravel.


- Add super moss around the sides of the vase. Fill in with a little soil, then add a little water to moisten the dirt and moss.

- Add your plant. Loosen the roots if necessary.

- Loosely cover the top of the bulbs with dirt and moss. Lightly water the bulbs.

Spring DIY Candle and Vase Rub On Transfer Vignette
Our coffee table was the perfect place to display and enjoy the spring candle and vase.
The movie Bell, Book and Candle came to mind as I was styling this vignette. I used flowers, book, and candle.

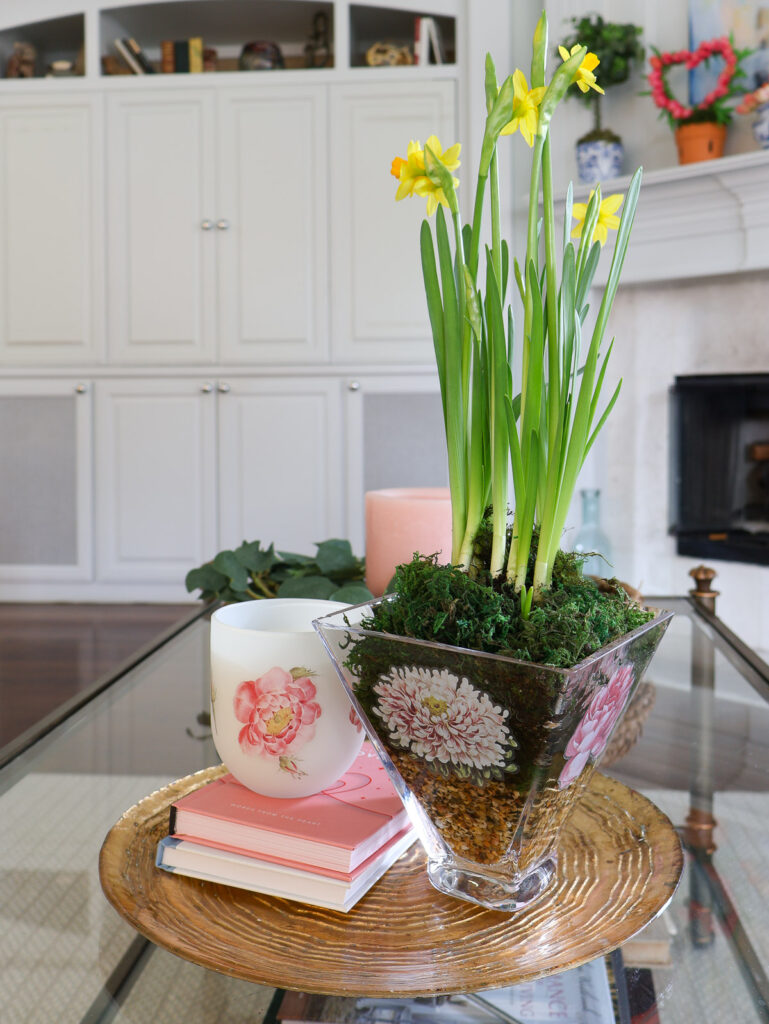
It was time to change out some pillows and the throw on the sofa from pink to blue. I left the big pink candle since its’ brand new and I wanted to enjoy it longer.

We now have a new spring focal point on the coffee table. My easy DIY spring vignette with rub on transfers is the perfect centerpiece for our living room.
It looks really pretty at night with the candles lit.

I hope you’ll try this project with rub on transfers. It’s so easy and so affordable. I plan to make more decorative projects using rub on transfers.
Here are more spring DIY projects for your home, starting with these creative homemade home decor crafts.
- 3 Easy Spring DIY Home Decor Ideas
- 17 Beautiful Spring DIY Floral Centerpiece Projects
- 13 Fun Spring Craft Projects
Please PIN this DIY idea to your Pinterest Boards: Here are some of mine: Spring DIY Decor, DIY Projects, and Spring Creative Home Decor Ideas.


How fun and pretty are the rub on transfers. I love the look. I might have to try them myself. Carol, I am happy to feature your pretty rub on transfers at Love Your Creativity. Happy March.
Linda, thank you so much for the lovely comment and I look forward to the feature. As always, a great link party.