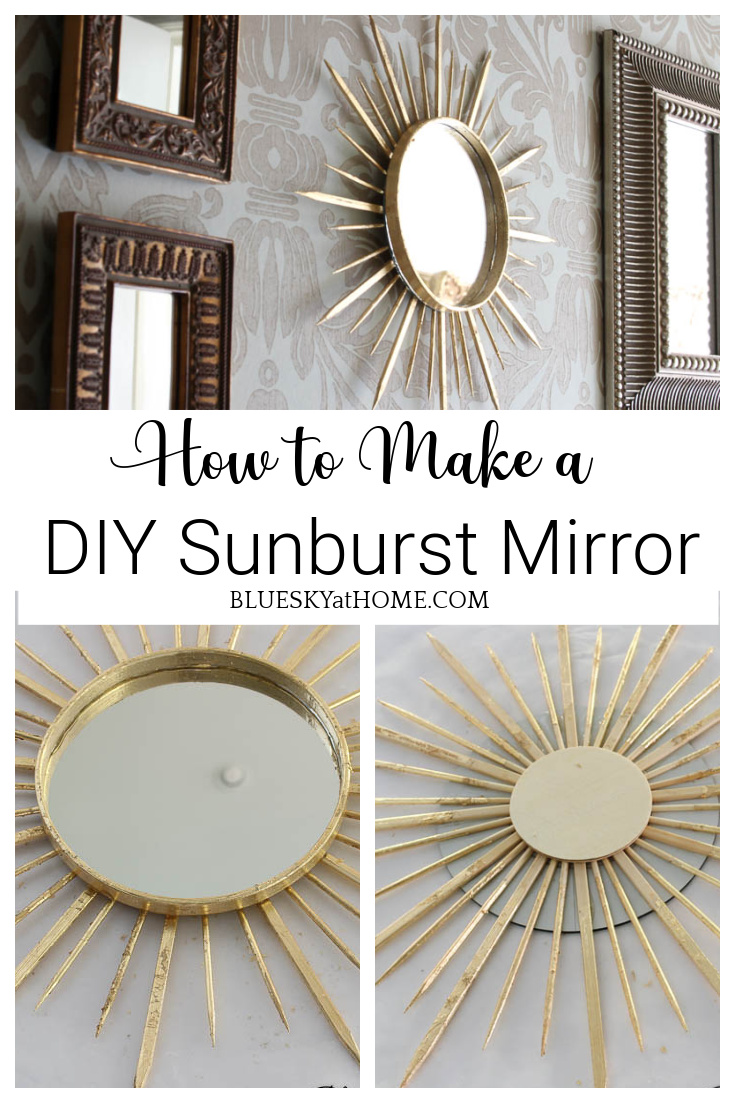
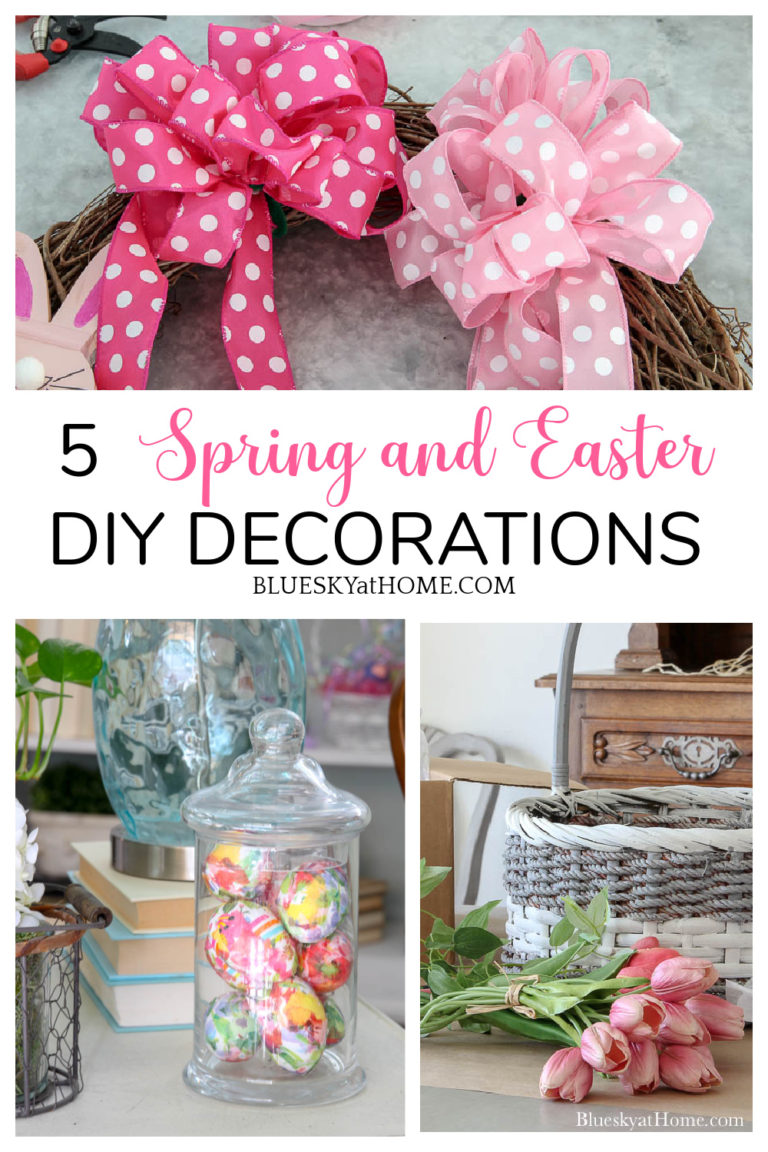
How to Make a DIY Sunburst Mirror
Do you love mirrors? Mirrors are great accessories for every room in your home. Because we’re friends, I have to show you how to make this DIY sunburst mirror – because it’s just too great a project not to share.
Mirrors are classics; they come in all shapes, sizes, and styles. One of the most iconic mirror styles is the sunburst mirror and I have just made one. I can show you how to make a DIY sunburst mirror for yourself.
You definitely want to see how to make this easy sunburst mirror and the supply list.
Although I never thought that I would make a DIY sunburst mirror myself, I actually enjoyed this project and I hope you will too. Hopefully, you’ll be inspired to make one of your own, in your own style, for your home.

I love sunburst mirrors and they are such a classic design feature. As it turned out, making this DIY sunburst mirror from scratch was the perfect addition to one area of our house.
How to Make a DIY Sunburst Mirror
So, mirror, mirror, on the wall. We have several decorative mirrors in our home. Obviously, in the bathrooms, but in our dining room, entry, master bedroom, and powder bath. I actually wrote a post a while back about using mirrors in our home decor.
What makes sunburst mirrors special is their shape – they are almost always round. They usually have spokes like a bicycle surrounding the mirror as a decorative element.
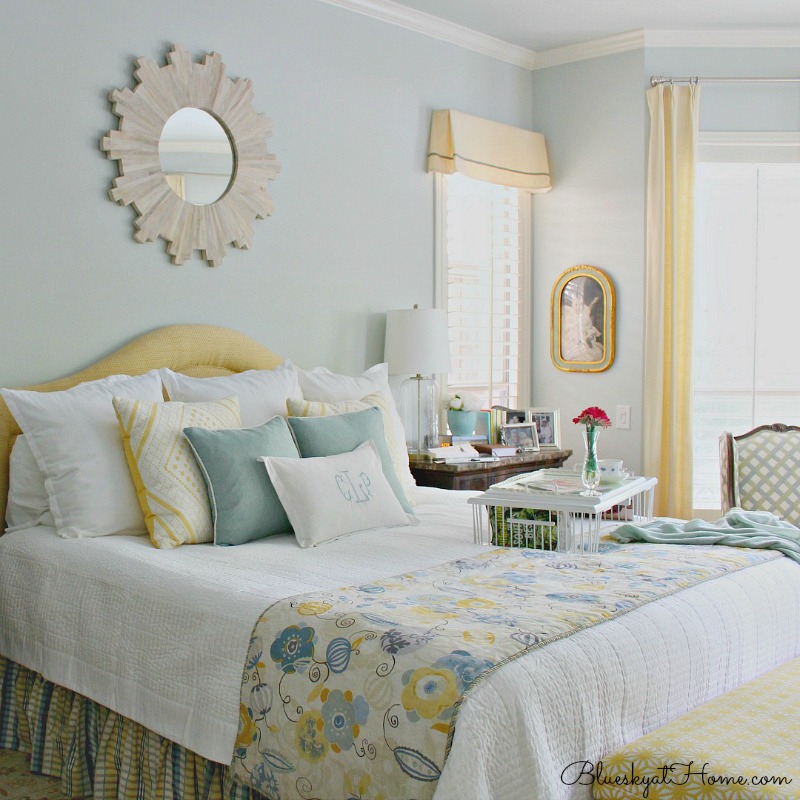
As the name sunburst implies, the area around the mirror can look like sun rays. Although usually made of metal, the surrounding area may also be made of wood, like the mirror in our master bedroom. As far as size, sunburst mirrors can be small, medium, larger and very large!
DIY Sunburst Mirror Idea
The place I had in mind for my DIY sunburst mirror was our powder bath.
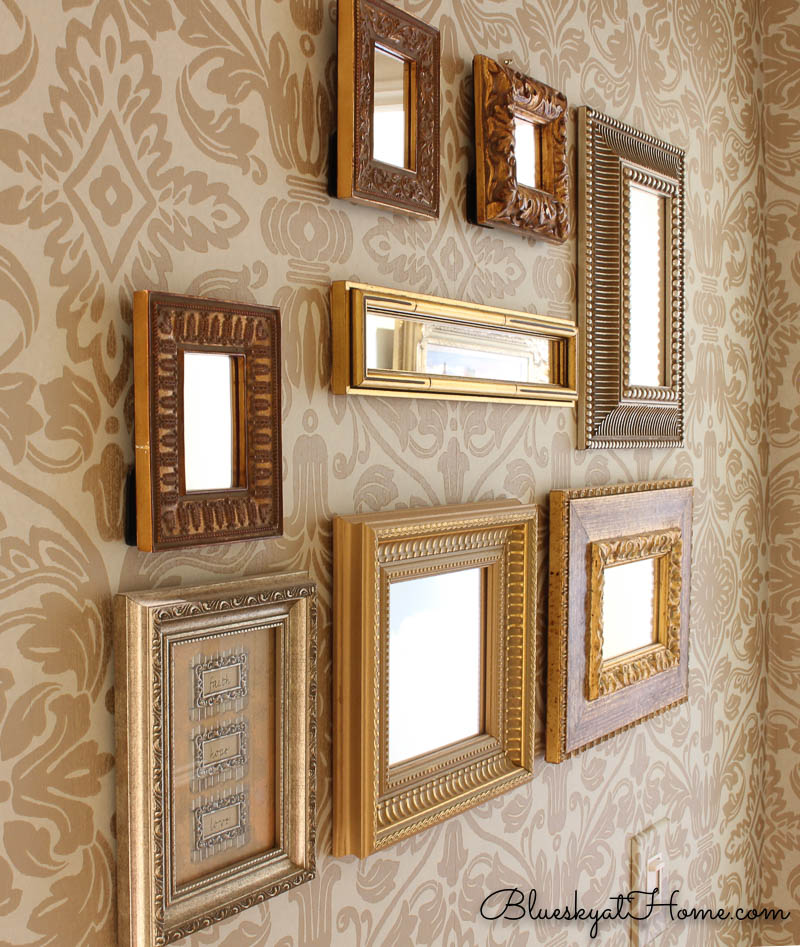
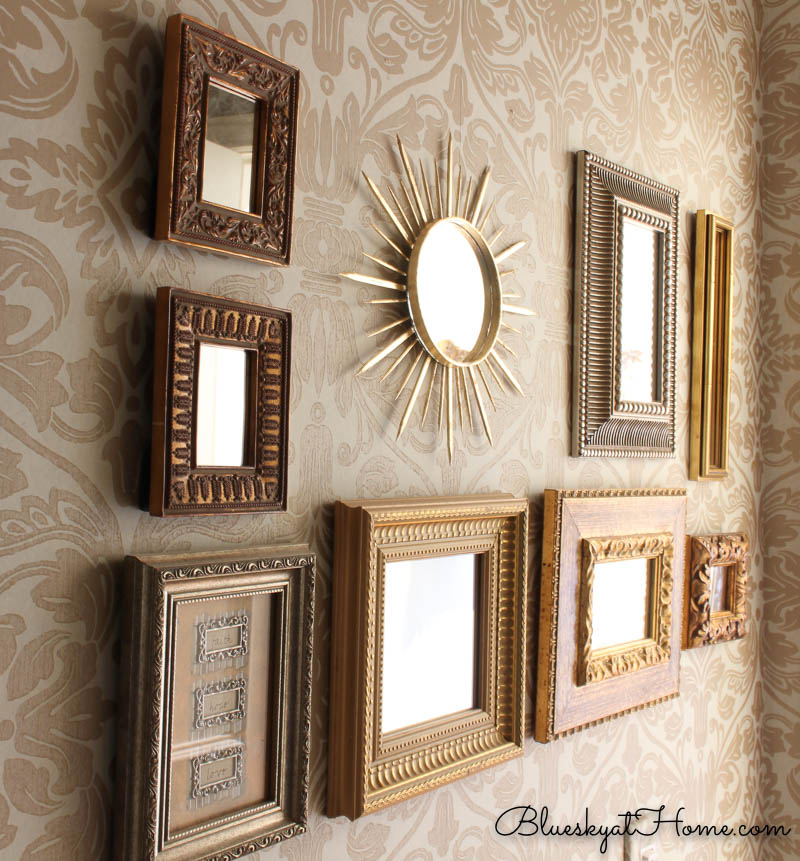
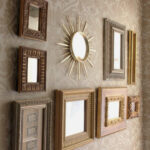
As soon as we moved into our home 10 years ago, I started using framed mirrors on one wall to create a collage, or gallery, if you will. I’ve added more over the years whenever I find a cool mirror on sale at estate sales or garage sales.
The only frame that is not a mirror (in the lower left), I found at a garage sale for $1.00. The frame and the gold finish fit in beautifully with the other mirrors. I love the vintage feel and the words: “faith, hope, love”.
As you can see, I have squares and rectangles. I thought, why not a sunburst mirror to really give the gallery more contrast and a central focal point?
Shopping for DIY Sunburst Mirror Supplies
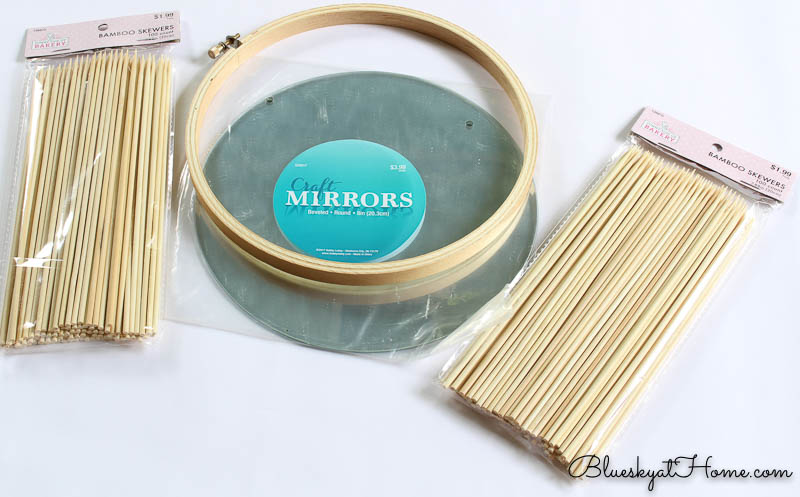
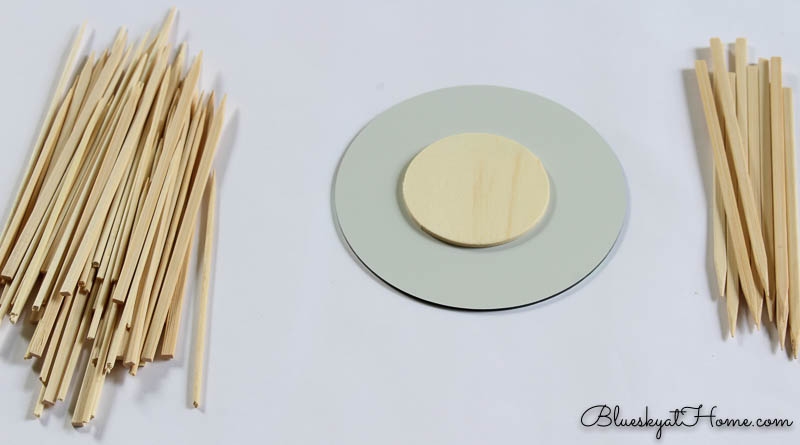
About 2 weeks ago, I stopped in Hobby Lobby after tennis for something. It suddenly occurred to me that I could look for supplies for my sunburst mirror project. I knew I needed a mirror and wood for the spokes. I picked up a 5-inch mirror and an 8-inch mirror. Thinking I would need something round to give the mirror a finished look, I came on the idea of an embroidery hoop. The only size that matched a mirror was 8-inch so that’s what I bought.
I decided on 8-inch wood skewers for my spokes. I found these in the baking section at Hobby Lobby. Not having a clue how many, I bought 2 packages of 100 each. Overkill, as it turned out.
When I got home, I started to assemble my other supplies.
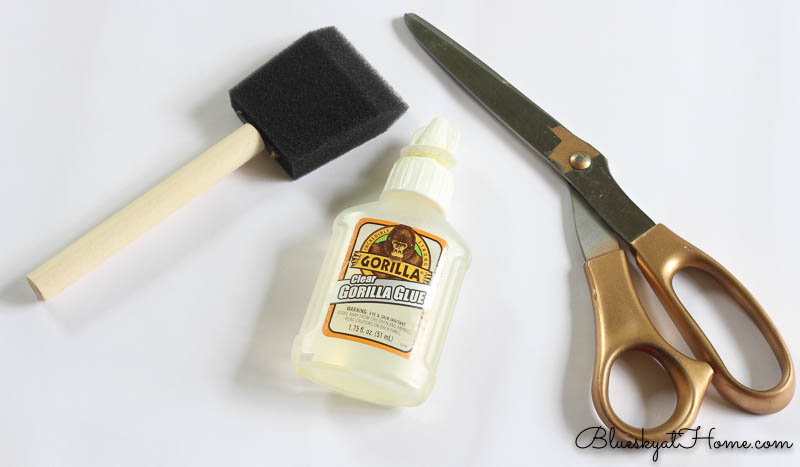
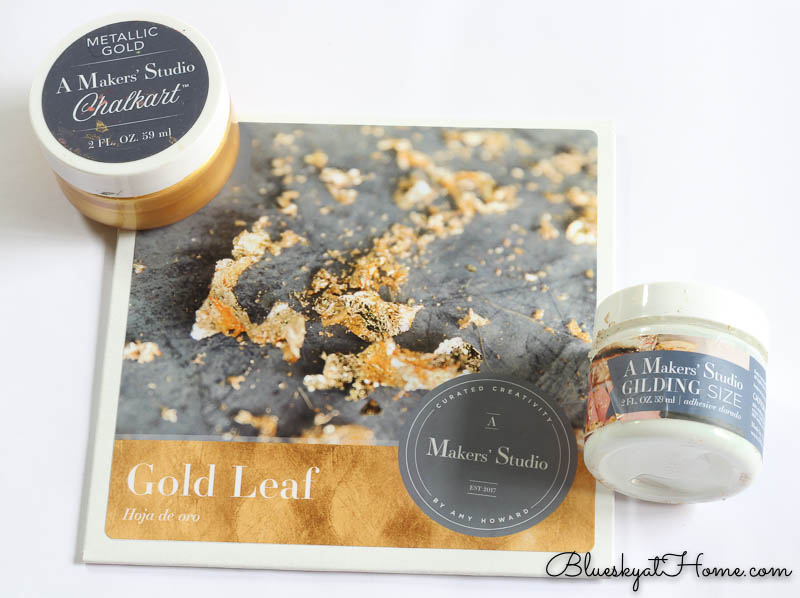
Since my sunburst mirror would definitely have gold tones, I knew for certain that I would either use Metallic Gold ChalkArt or Gold Leaf from A Makers’ Studio. I already had both on hand.
Making the DIY Sunburst Mirror
Never having made a sunburst mirror, I mentally used the vision I had and worked backward. Before gluing, painting, or gilding, I needed to know exactly how many spokes and what length. I had to lay out the complete spokes first.
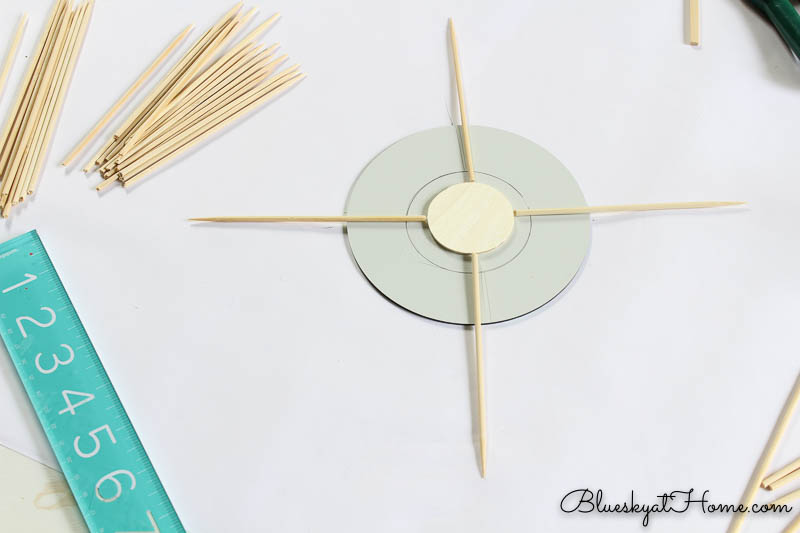
Step 1 – As a guide, I made 2 crossed lines for my first spokes on the back of the mirror.
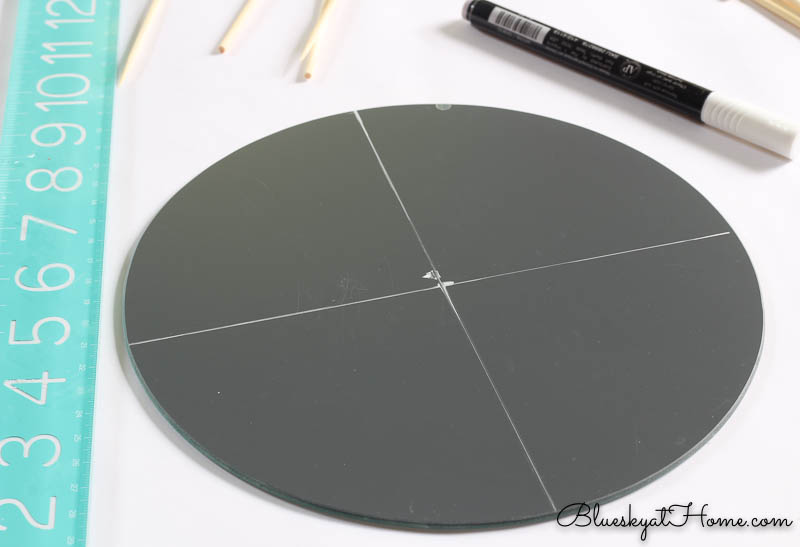
Step 2 – Then, thinking of the mirror as a clock, I added spokes at 12, 3, 6, 9.
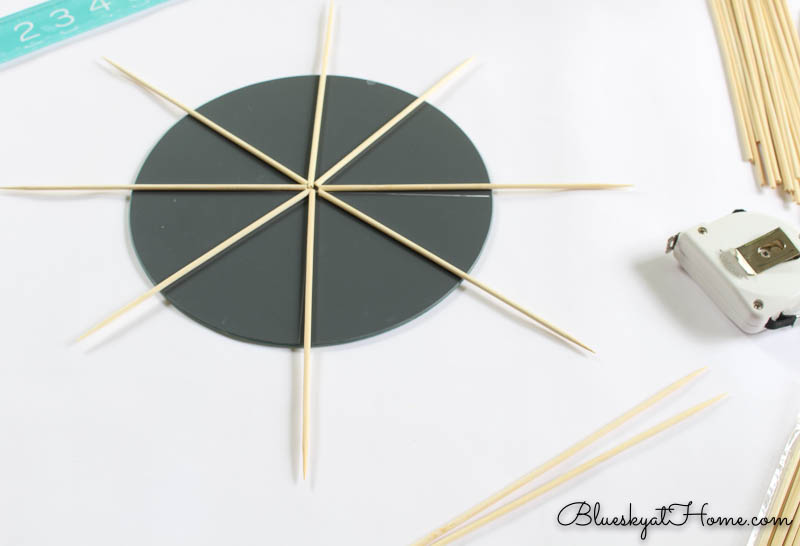
Step 3 – Next, I added a spoke in between. And then another until I had 12 spokes. I cut more skewers down to 7- and 6-inches to fill in.
Step 4 – At this point, in a kitchen drawer I found a bunch of 8-inch round wood skewers and 6-inch flat skewers. I should have looked at home before I went shopping.
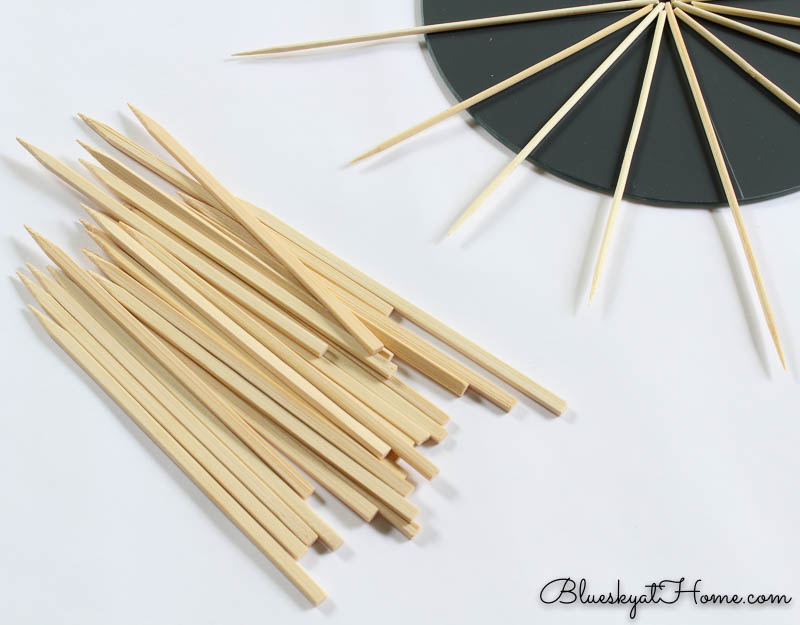
I really liked the idea of mixing the round and the flat skewers together.
Design Bump: It also became obvious that starting with an 8-inch mirror and 8-inch skewers would be way too big for my space in the powder bathroom. I also needed a circle in the center to butt the skewers up against. All I could find at home was a chair pad – not a good solution.
It became obvious that a trip back to the craft store was needed.
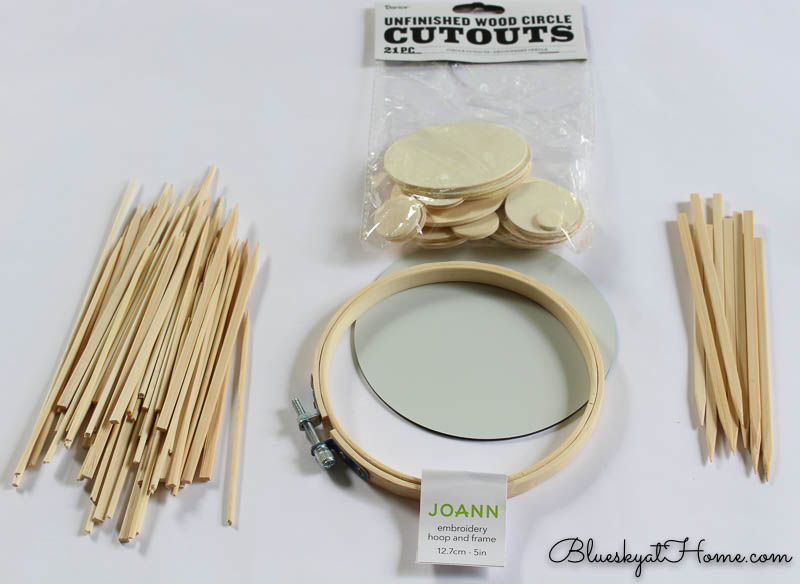
This time I went to Joann which is much closer to me. I found a 5-inch mirror and a 5-inch embroidery hoop – a much better size. I also purchased a package of various sizes of thin wood circles. Now I could go forward with my DIY sunburst mirror.
TIP: Measured exactly how much space you have for your mirror. On the powder room wall, the max size for my DIY sunburst mirror was 12 inches.
Now, I was back on track.
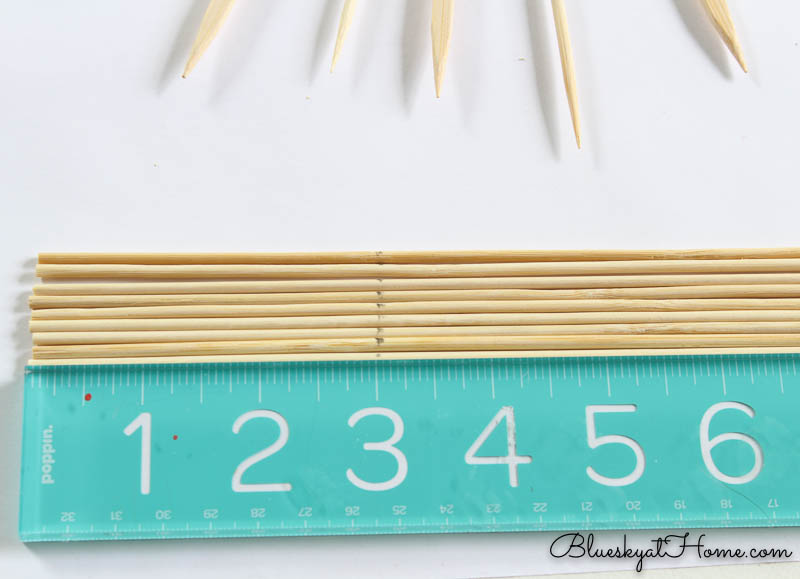
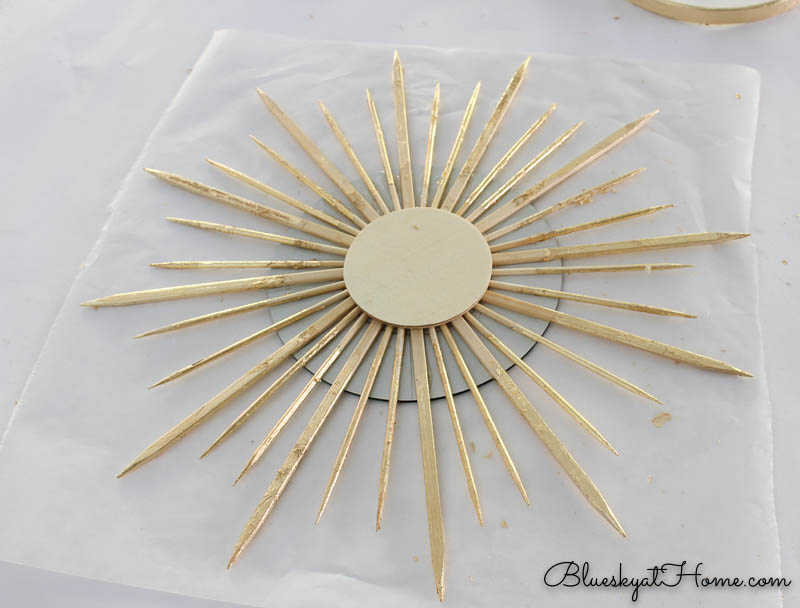
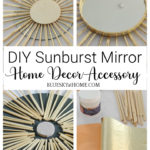
Step 5 – This time, I decided to use the flat skewers as my “hour hands”. I cut 12 of them down to 5 inches. A little pair of garden shears did the trick.
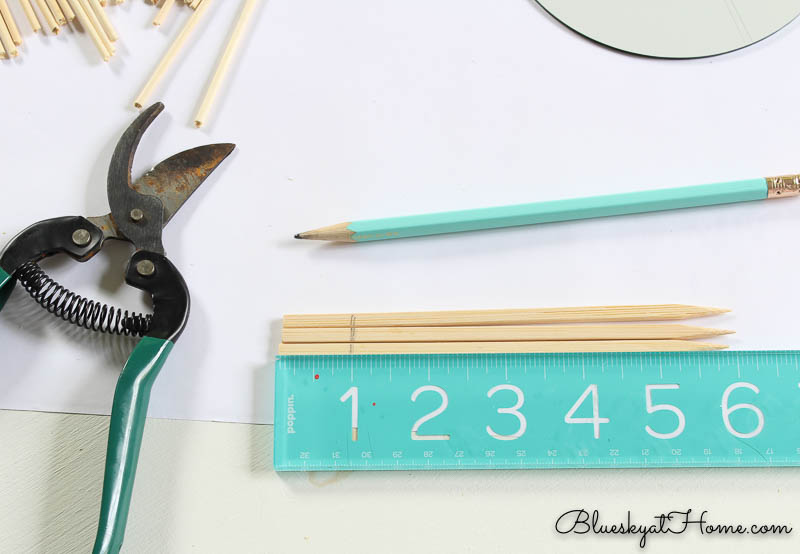
Step 6 – Then I cut 24 round skewers down to 4 inches.
Step 7 – I started to glue a 2 1/2 circle to the center of the mirror back, but quickly realized that it was too big. 1 3/4-inch was much better.
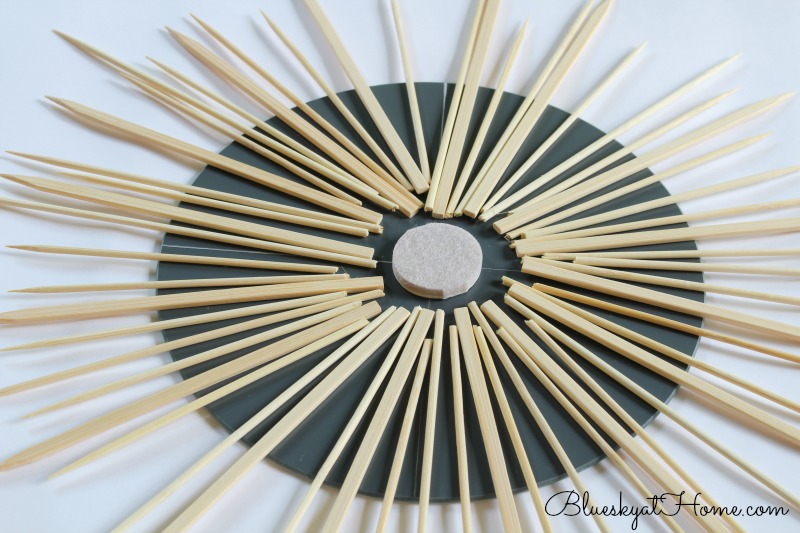
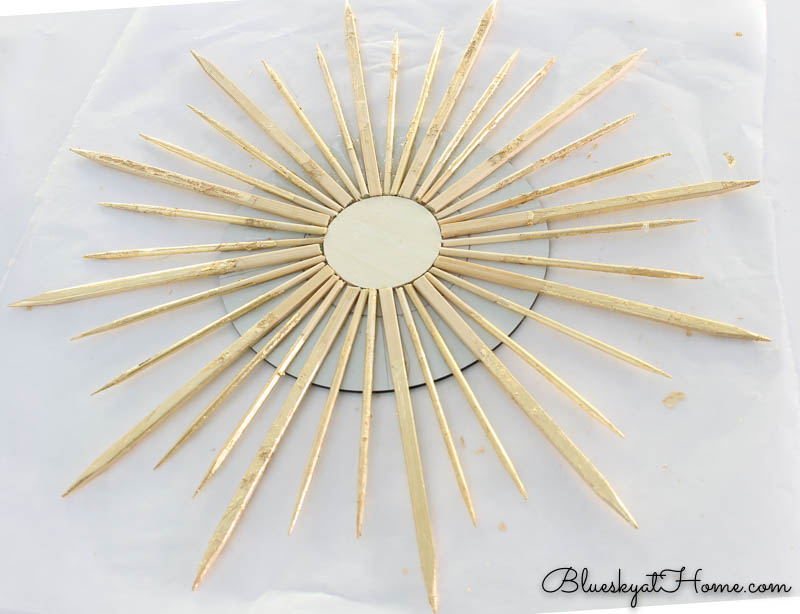
Step 8 – Once I had all the flat skewers in place, then I filled in with 2 4-inch round skewers between the “hour hands”. It was at this point that I could really see my DIY sunburst mirror as I had envisioned it.
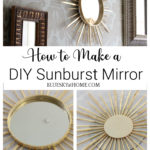
Gilding My DIY Sunburst Mirror
I love gold leaf and how it transforms the dull to the divine. Each package of Gold Leaf from A Makers’ Studio contains 25 sheets. I knew I wouldn’t even need half that much. The only other supply needed is Gilding Size and a foam brush.
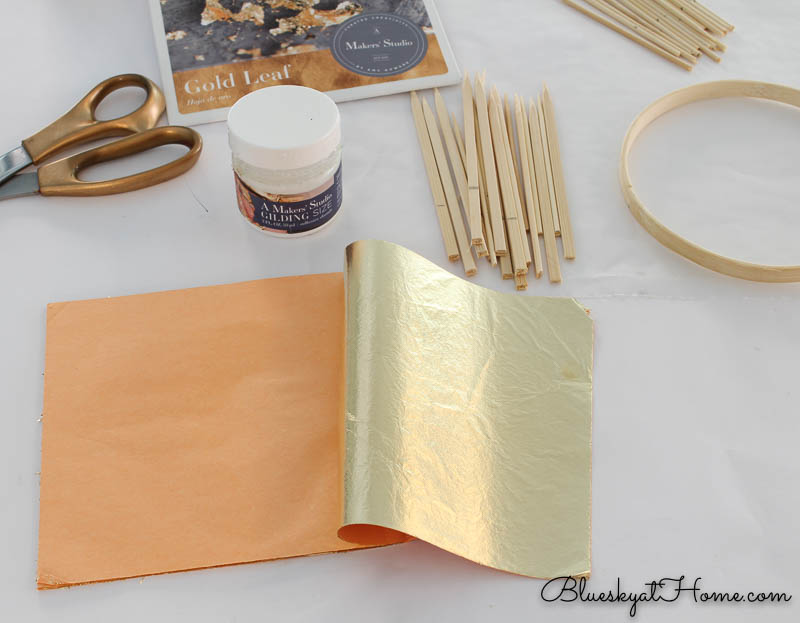
Since my skewers/spokes were 4 and 5 inches, I cut a few sheets of Gold Leaf down to 4 inches. I worked on a piece of wax paper to hold all the little pieces of Gold Leaf.
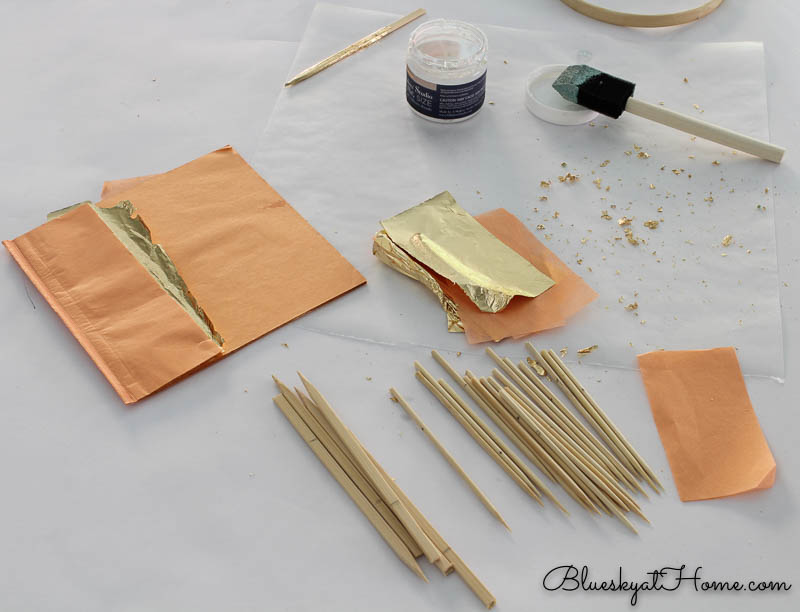
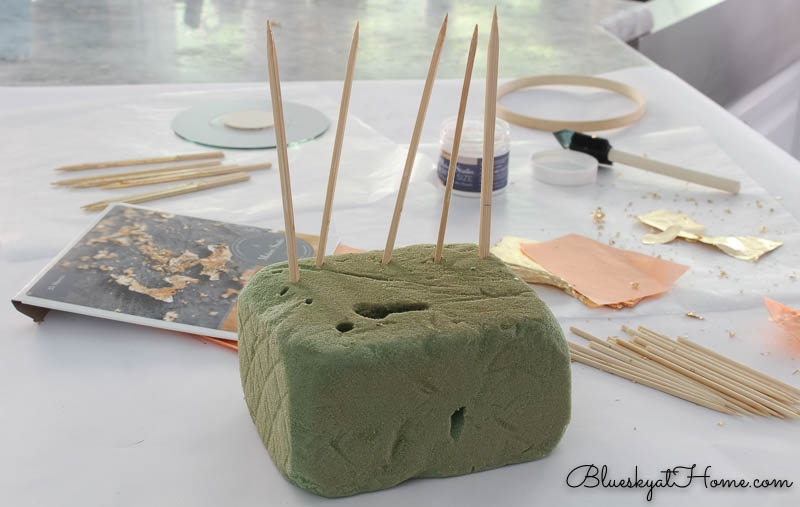
I used the foam brush to apply the Gilding Size to the skewers. The Gilding Size needs to dry for about 15 minutes to “come to tack”. I found a piece of florist foam in the garage to hold the skewers while they dried.
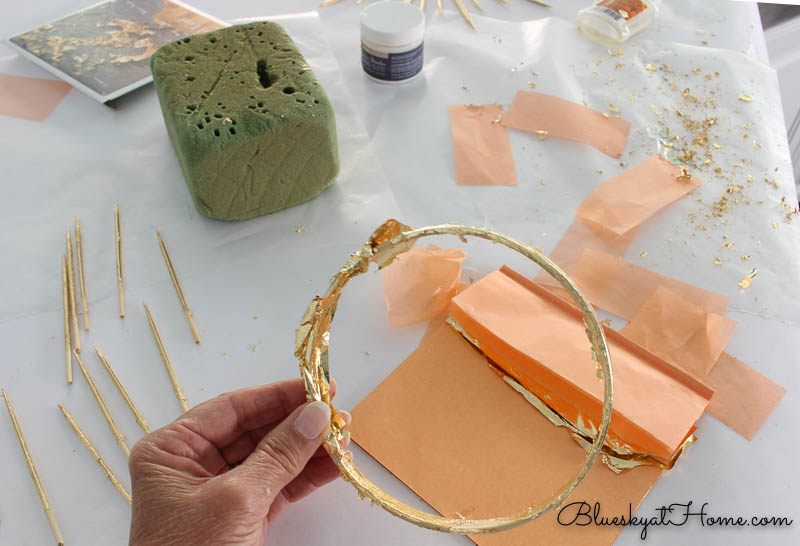
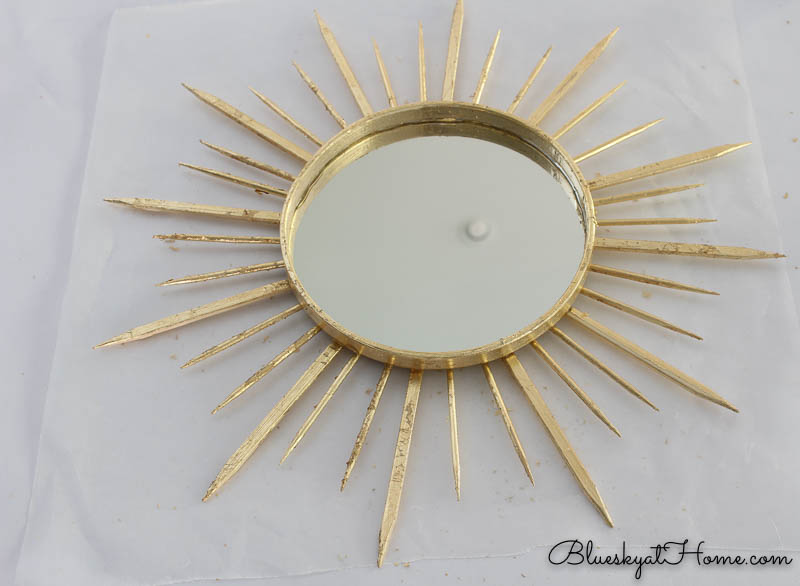
Then I applied the Gold Leaf around the skewers, rubbing the Gold Leaf with the orange tissue paper to smooth and burnish.
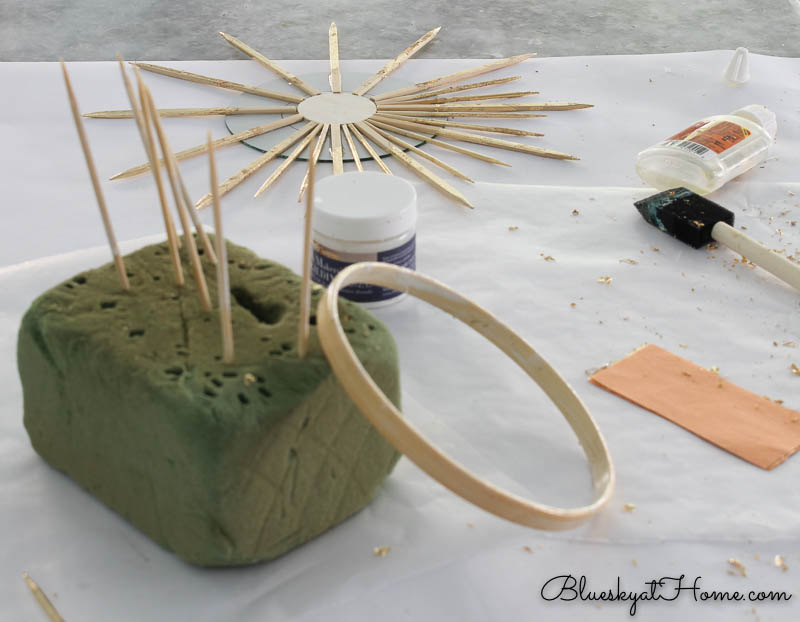
The inside embroidery hoop was the last piece that I applied to the Gold Leaf.
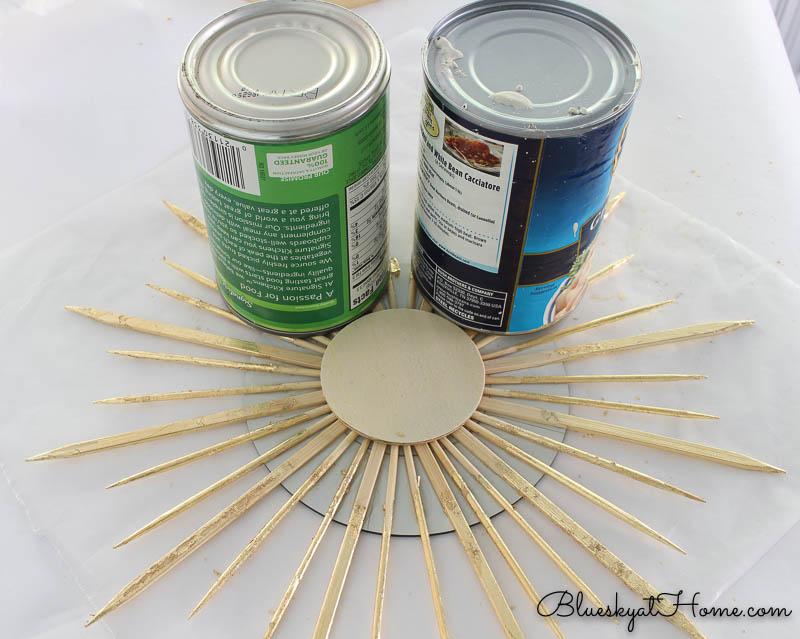
Starting with the 5-inch flat skewers, I glued them to the back of the mirror, touching the cut end to the wood circle. Then I filled in with the round skewers. I used Gorilla Glue, one of my favorites.
To finish the back of the mirror, I glued a 2 1/2-inch wood circle on top of the first one.
To make sure that the skewers would adhere to the mirror, I used cans from the pantry to weigh the skewers down.
I then used the wax paper to help me carefully turn the mirror over. I was a little nervous.
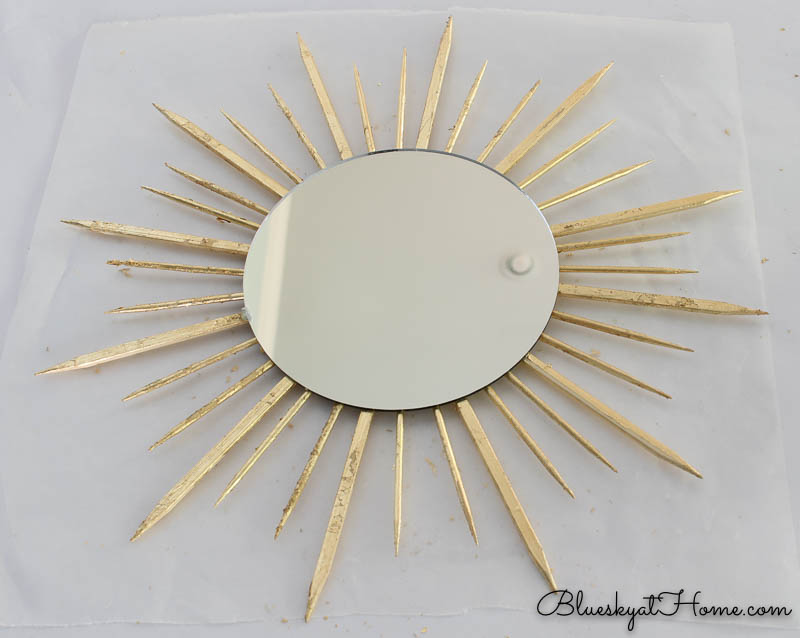
It was looking good, but definitely needed the Gold Leaf embroidery hoop to finish it off.
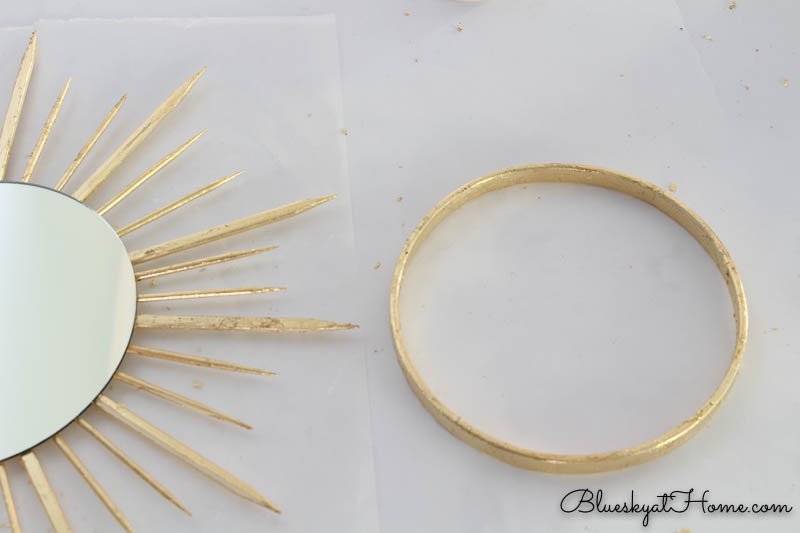
Oh, so much better!
And then to really make sure everything was completely sealed, I used the weight of my Le Creuset cast-iron skillet to cover everything. I let the glue set for a couple of hours while I binged watched 2 episodes of Call the Midwife – yes, I know I’m behind.

Now I was ready to hang my DIY sunburst mirror.
Hanging the DIY Sunburst Mirror
I knew that I didn’t want to use a traditional hanger on the back of my mirror. I love double stick mounting tape and I decided to give it a try. As it turned out, I glued one side to the wood circle.

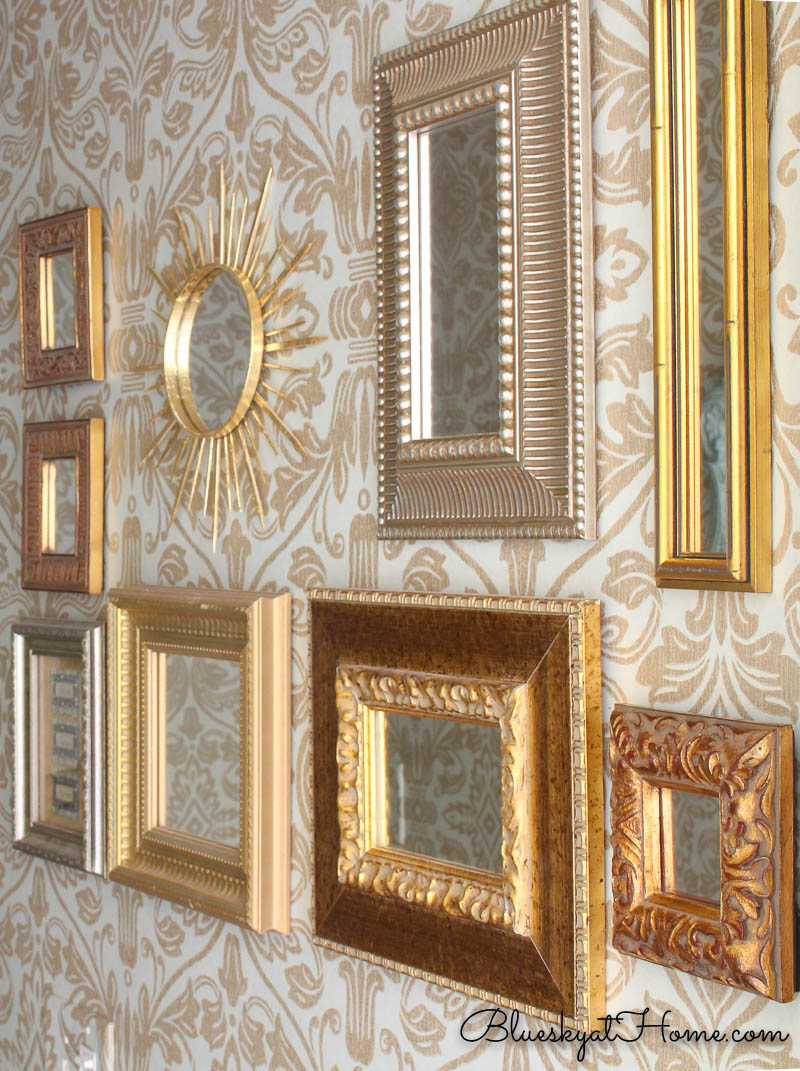
While the tape was drying, I moved 3 of the existing mirrors to make room for the new DIY sunburst mirror in the center of the collage. Then it was just a matter of centering the sunburst mirror in its space and pressing the mirror to adhere to be wallpaper.
I loved it. To be honest, the hardest part of this project was the beginning and end.
In the beginning, I lost time when I didn’t have the right size mirror and embroidery hoop. Be sure to measure your space first.
Then photographing the sunburst mirror in its new home was a challenge.
- The powder room doesn’t have a window and it’s in the middle of the house. The only light comes from the front door and window above and the large window in the living room. Thank goodness I could bump up my shutter speed to let in light.
- Secondly, there is only 39 inches wal-to-wall in this part of the powder bath – not much room for a tripod and me. For this picture, I was backed up to the pedestal sink at an angle.
For this picture, I was out in the hallway at an angle.
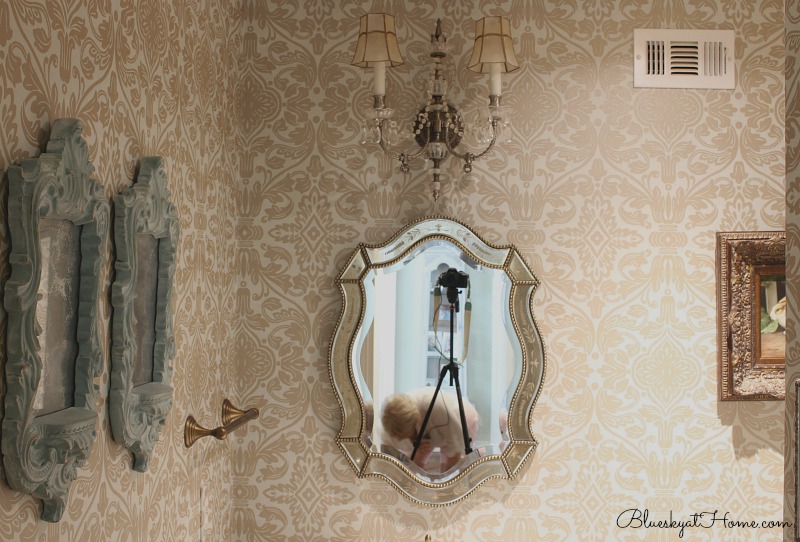
This shows you a little bit more of the powder bath and me trying to duck not to be in the picture.
This mirror is from Ballard, the light fixture is from Rutherford’s in Dallas. The two carved mirrors on the left wall originally were white plaster minus the mirrors that I found at a garage sale before we even moved into the house.
Once we found our wallpaper (I found it in Veranda Magazine!), I knew they would be perfect in the powder bath. I painted them with chalk paint and gold gilding wax. I made plain glass look like old mirrors using the vinegar and water technique. One of the early DIY projects that I still love.
So that is my DIY sunburst mirror. Here is the final list of the supplies that I used. I’m taking back the 8-inch mirror, the 8-inch embroidery hoop and 1 package of 8-inch skewers.
Supplies for My DIY Sunburst Mirror
- 5-inch mirror – .99
- 5-inch embroidery hoop, inner circle only – 2.29
- 12 5-inch flat skewers – on-hand
- 24 4-inch round skewers – on-hand
- 2 1/2-inch round wood slice – from a package of 21 – $5.49 – 40% = $2.20
- 1 3/4-inch round wood slice – from a package of 21 – $5.49 – 40% = $2.20
- Gorilla Glue – on-hand
- Gold Leaf (A Makers’ Studio) – on-hand
- Gilding Size (A Makers’ Studio) – on-hand
- double stick mounting tape – on-hand
So my mirror cost me less than $6.00. Not bad!
Obviously, this is just one way to make a DIY sunburst mirror. Although a little time-consuming, it was really easy, once I figured out the size of the supplies I needed.
I realized when I was almost finished with the sunburst mirror that I could have used Gold Gilding Wax to enhance it. If you have never used gilding wax, it’s fun and easy. Here are some inspirational ideas and directions for using gilding wax.
TIP: measure your available space before you buy any supplies.
Be sure to PIN this DIY project so you have the instructions handy.


I love this collection of mirrors Carol, and the sunburst is a fantastic addition. I think using a hoop as the frame to your mirror is genius! The gold leaf makes those skewers look amazing. Nice job.
Hi Jackie. Thanks so much for visiting. I was really pleased with how the hoops worked out. I knew the gold leaf would be beautiful because I’ve used it several times. Sometimes you just have figure a project out backwards and this one worked.
I love hearing the “hiccups”, too. When I do a project, sometimes it is one step forward and 2 steps back. IIn blogland, everything looks so perfect.Before you bring your too big supplies back, is there someone who would love a larger mirror on your Christmas list? I think it would be gorgeous over a mantel or headboard! I really like your collage of mirrors and your sunburst came out so well.
Carol, how pretty your mirror looks with the other mirrors on the wall. It gave it such a great look now. I love how you made your mirror and your tutorial is so easy to follow. Thanks for joining in on this challenge. I love your creativity.
I have never used gold leaf before but absolutely love how it looks! Your sunburst mirror is the perfect addition to your mirror collection.
Dani, you have to try gilding leaf. It is so easy to use. I just ordered silver and copper and can’t wait to use them. Very affordable for the impact it brings to your home. Please use the links in the post to order and let me know.
Carol, I love that you also shared the hiccups. Gold leaf is a new technique to me. Do these sheets come in different colors? What should I look for when I go to the craft store? Your mirror is beautiful and you would have thought you had bought this. Pinned.
Kelli,thank you. Hiccups do happen. The only gold leaf I use is from A Makers’ Studio and the link to the product and the Gilding Size that you will need is in the post. It’s so much fun to use.
Great job Carol! I love these challenges!