How to Make Vinyl Decals – Step-by-Step Guide
Do you love labels? Do you love making labels and decals? Yep, I thought so. I’m a label lover who is slightly obsessed with learning how to use my Cricut Explore Air. One of the main reasons I wanted a Cricut was to learn how to make vinyl decals.
At first, I used my Cricut to make cards and table decor. When we finished our laundry room makeover, I decided it was high time to cross over from paper to vinyl. I wanted to learn how to make vinyl decals to label my cleaning supplies in the newly organized laundry room.
I wanted cute signs to stick on jars, make my pantry so neat and pretty, or just label anything my little DIY heart desired.
A few weeks after making some vinyl decals for my granddaughter for her first day of first grade, I had forgotten how to make them. I had to relearn how to make vinyl decals.
And then last week, I wanted to make decals for my grandson. This time I got smart. I wrote down every single step on how to make the vinyl decals ~ in great detail. It was so helpful that I couldn’t keep my step~by~step directions to myself. So I’m going to share my little “how to make vinyl decals” guide with you.
You can get access to the How to Make Vinyl Decals Printable at the end of the post.

Who is this step~by~step guide for? If you are fairly new to Cricut (Disclaimer: you have to have a Cricut for this project.), thinking about buying a Cricut, or still in “how in the heck do I figure out how to make vinyl decals” mode, this post is for you.
How to Make Vinyl Decals ~ Step~by~Step Guide
Also, as I went back through the steps myself, I realized that there are 2 parts to make a vinyl decal from start (creation) to execution (making it) to actually preparing it for use. So I’ve divided this guide into 2 parts. Part 1 will cover designing and customizing your vinyl decal. Later I’ll share cutting your decal and preparing it for use.
MY FIRST ATTEMPTS TO MAKE VINYL DECALS
Before I attempted to make my first vinyl decal, I watched a few videos, but it wasn’t always an easy process. I love videos, but I was always having to pause them, click over to my computer screen, follow the instructions, go back to the video and repeat the process. It was a bit frustrating.
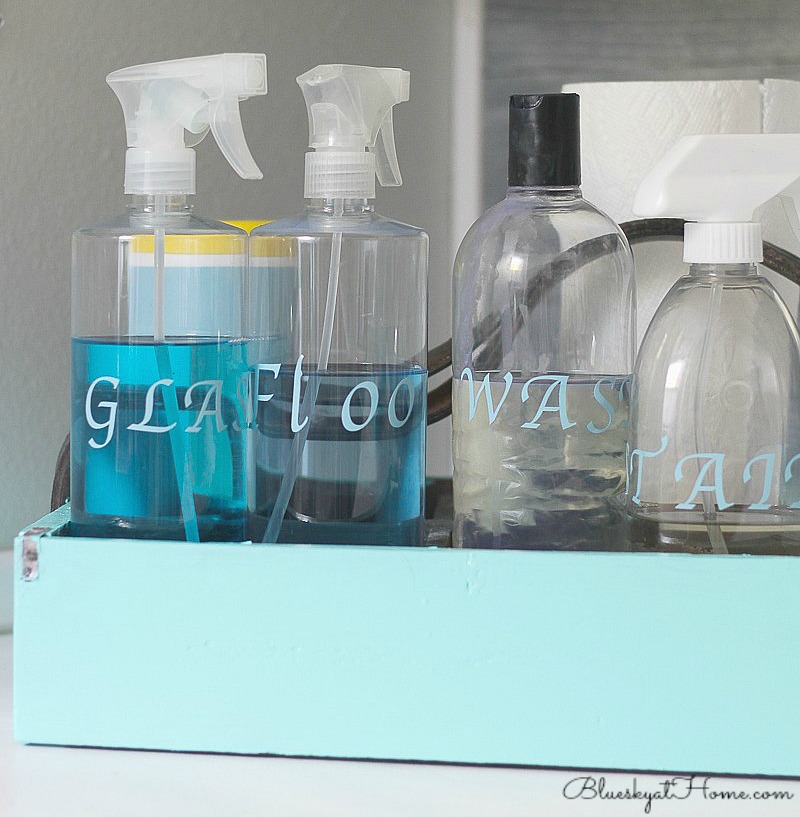
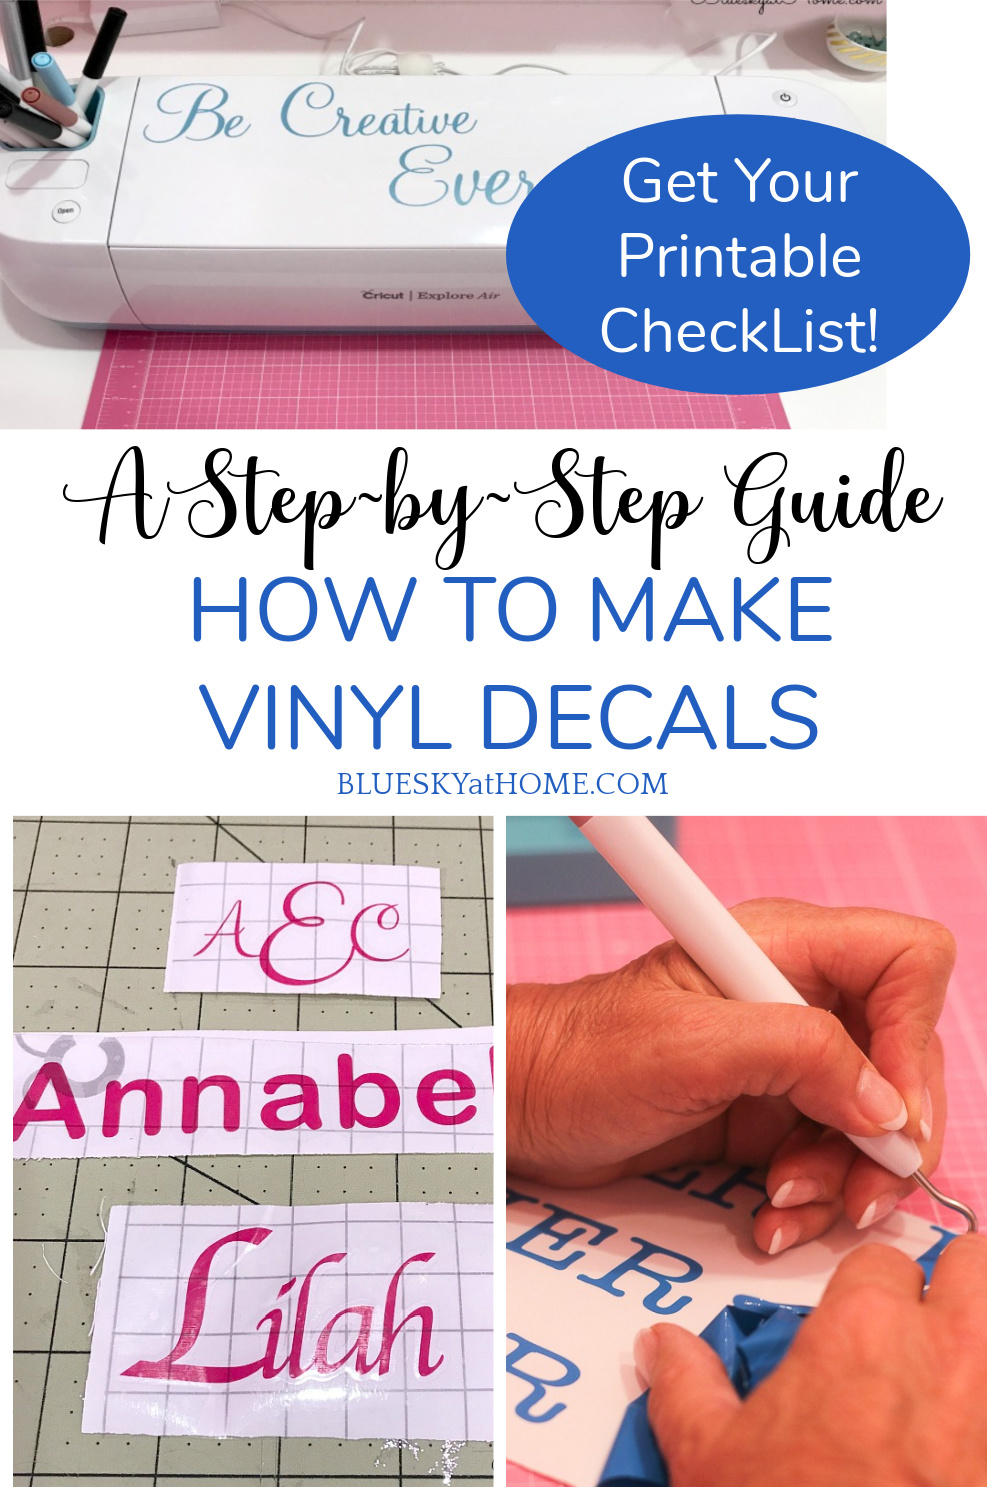
Here are my first vinyl decals ~ labels for the laundry room cleaning supplies. You might notice how far apart my letters are. At this point, I didn’t know how to move them.
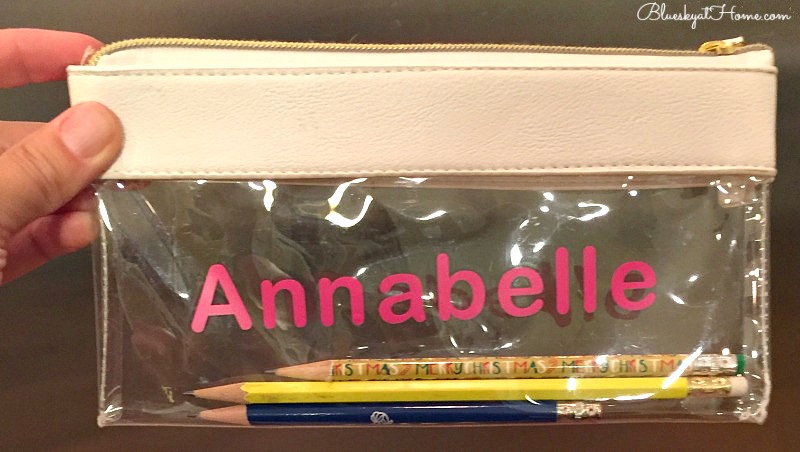
Here is the 2nd vinyl decal project I made ~ a decal for my granddaughter’s first~grade pencil bag.
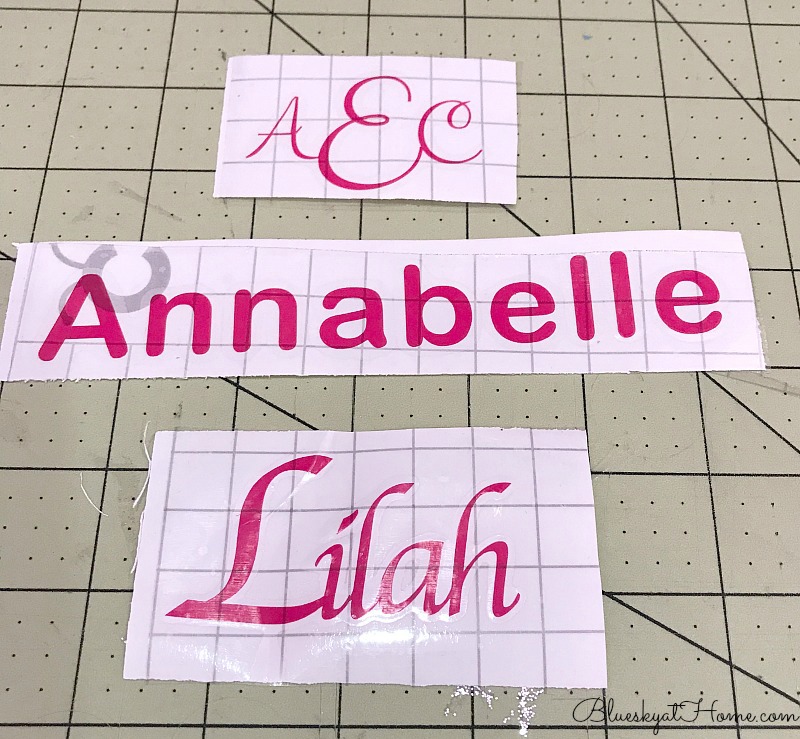
And just for practice, I made her a monogram and wrote my younger granddaughter’s name. For these decals, I figured out how to move the letters closer for a more scripted appearance. But I didn’t write down the steps, which is why I wrote everything down for the 3rd project.
To be honest, I like step~by~step written instructions that I can refer to while I am working on the computer. I didn’t like switching back and forth between the video and the computer screen. That’s why I wrote every down step.
Then I typed them up to clarify and clean~up the process. It was so much easier and faster to complete the project. I realized others may be just like me. That’s when I decided I could and should share it and I’ve tried to make this Guide as clear as possible for you.
READY TO LEARN HOW TO MAKE VINYL DECALS?
So you have a Cricut, it’s all set up, connected to the Internet and you have CRICUT DESIGN SPACE. Let’s get started.
First, let me say that I’ve taken screenshots to show you exactly where to find and click what you need. Screenshots are not always the best photo quality, but I’ve tried to make them as sharp as I can for you.
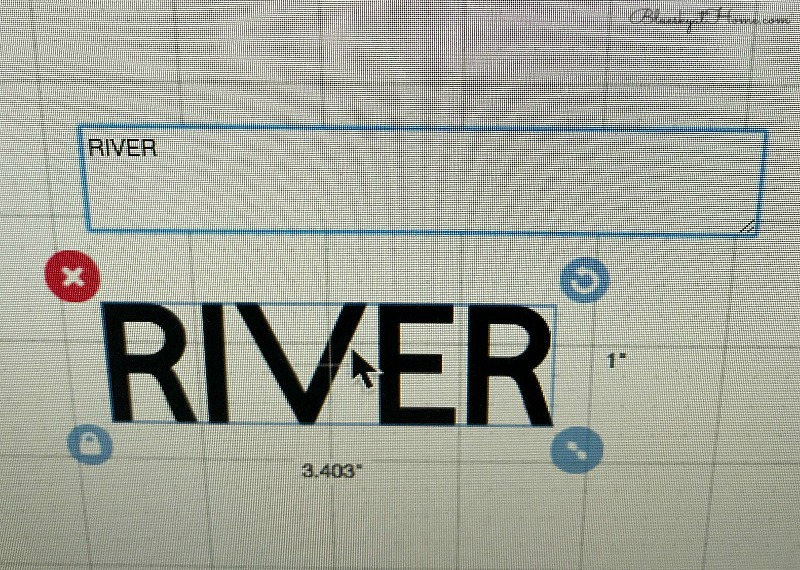
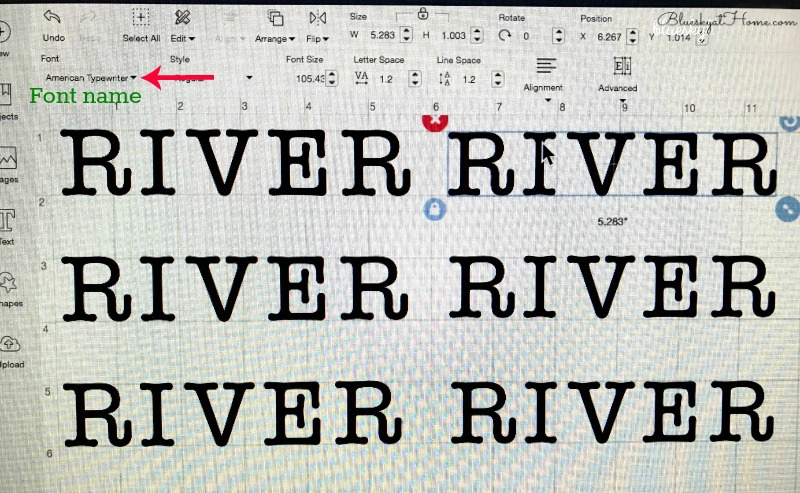
For this tutorial, I made 6 vinyl decals for my grandson River who is starting 4th grade.
NOTE: anytime I have mentioned a LOCATION of a function or a direction, such as CLICK, I have highlighted, bolded, and written it in ALL CAPS so you can see it clearly.
There are 11 steps in this guide. Just so you know.
STEP 1
On your computer screen, the little GREEN CRICUT ICON will be at the top of your screen on the right~hand side.

CLICK ON IT.
STEP 2
A DROP DOWN BOX will appear.

CLICK ON LAUNCH DESIGN SPACE.
STEP 3
NEW PROJECT will appear in the UPPER RIGHT CORNER.

CLICK ON NEW PROJECT
STEP 4
The CRICUT DESIGN SPACE will appear. Across the top will be the titles CANVAS, UNTITLED, and MY PROJECTS. The CRICUT SCREEN where you will design your vinyl decal project and other Cricut projects.

On the LEFT~HAND SIDE of the screen will be several options in a vertical list.

CLICK ON TEXT.
STEP 5
A BOX will appear on your screen. TYPE in your word or words. Use all caps or upper and lower case as you prefer.
STEP 6
CLICK AND DRAG the WORD BOX to the upper LEFT~HAND CORNER of the mat.
NOTE: the default FONT is CRICUT SANS.

STEP 7
To CHANGE THE FONT: in the UPPER LEFT of the screen, you will find the EDITING area. CLICK on FONT. A DROPDOWN menu will appear. All the fonts are shown in the same sentence. (If you ever took typing in high school, you will recognize the sentence.) SCROLL DOWN until you find a font you want to try.
CLICK ON THE FONT. Your text will change to the selected font.

NOTE: Some fonts will be free and others you have to pay for. CLICK on the ones you want to try.
TIP: So you don’t forget which fonts that you liked, write them down on a piece of paper or save them to your computer or phone.

STEP 8
Once you have selected your FONT, depending on the style, you may want to adjust the spacing between letters, especially if it is a SCRIPT FONT.
NOTE: For SCRIPT letters or MONOGRAMS, you probably will want them touching. (See the word Lilah above; the font is Apple Chancery.)
TO MOVE INDIVIDUAL LETTERS: In the UPPER RIGHT-HAND CORNER of the screen, you will see UNGROUP.
CLICK ON UPGROUP.

STEP 9
CLICK AND DRAG the letters until they are aligned how you like them.
CLICK SELECT ALL.
In the LOWER RIGHT~HAND CORNER of the screen, you will see the WELD button. This button will group your letters back into a word.
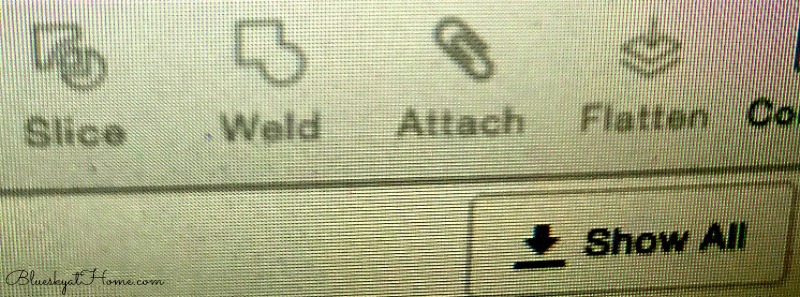
CLICK ON IT.
You can now drag and size your word.
STEP 10
You can either drag the ROUND BLUE BUTTON on the LOWER RIGHT of your word to size your text or you can use the W and H DROP DOWN ARROWS to adjust height and width. NUMBERS will also appear on the screen telling you the height and width.

Step 11
If you want to make multiple cuts (vinyl decals) of your word, at the TOP LEFT OF THE SCREEN, CLICK on EDIT, then in the DROP DOWN menu, CLICK ON COPY and then PASTE. Your 2nd word will appear on top of the first. CLICK AND DRAG it to the side. To have more copies, just CLICK ON PASTE until you have the number of words you need.

NOTE: allow space between words for the cutting machine.
If you are not ready to cut out your vinyl decal, you can CLICK ON THE SAVE BUTTON at the TOP RIGHT OF THE SCREEN. (See the image in Step 8.)
You made it through. It wasn’t that hard. My advice is to practice going through these steps several times. If you don’t want to cut your decal right now, you can save it as I explained above. Or just exit out of CRICUT DESIGN SPACE and CLICK ON DO NOT SAVE. The more you repeat the steps, the easier they will be.
You are now ready to learn how to cut your vinyl decals and prepare it for transfer to its intended place.
This step-by-step Printable Guide with tips and notes will be a great reference to keep when you are creating your vinyl decals.
I have tried to make this Step~by~Step Guide to How to Make Vinyl Decals as clear and precise as possible. I hope that it is helpful to you if you are a Cricut lover. If you have any questions, just ask in the comment section.
Please Pin this tutorial so you don’t forget it!


Carol,
Thank you for such detailed, specific written steps with screenshots. Anyone who has created a similar set of directions knows how time consuming this post was to write. Thank you for sharing your skills with others.
Judith
Hi Judith and thank you for the appreciation. Yes, posts like this are very time-consuming, but I learned so much in preparing for it. I now have my steps memorized!