Burlap is a material that we see used in home decor all over the place. How about making a cute burlap banner?
This burlap banner is just right for fall and the changing season. I’m going to show you how to make an easy burlap banner. One inspired by fall, for fall.
Have you ever made a burlap banner? I have made burlap placemats and a burlap runner. Curtains, tablecloths and pillows are made of burlap. Can clothes and sheets and napkins be far behind? Well, that may be going a bit too far.
I love making banners and using them for seasonal decor and party decorations. Banners make parties special.
Once I made a banner from a painter’s drop cloth (I still have it.) But I have never made a banner from burlap. I found how to make an easy burlap banner for fall ~ and it’s just so darn cute that you will want to make it too.
By the way, I did make a dozen huge burlap tablecloths for a charity auction once. Word of warning: don’t do that inside your house; you’ll be sweeping up burlap fuzz for weeks.
How to Make an Easy Burlap Banner
This post contains links to products used in this project. If you should purchase any product through this blog, I may receive compensation, but you don’t pay a penny more.
Have you ever just strolled down the aisles of the craft stores? You’re looking for something in particular and you have a minute and just stalk the shelves, gazing at items you’ve never noticed before.
Then you stop. You stare. You pick it up. You wonder, what is this? Looks pretty interesting. Your curiosity is peaked. What could I use this “thing” for? You check the price. It’s not too expensive. You think, for that price, I’ll just buy it and take it home, and see what happens. Maybe I’ll find a use for it.
New Burlap Product
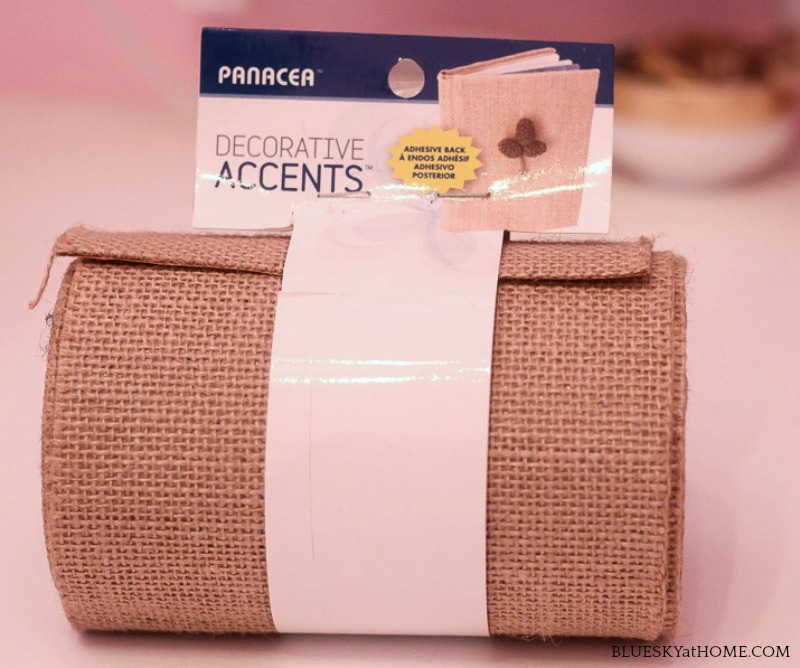
I found this product in the floral section at Joann. I was actually looking for florist foam, the kind you soak in water and use for flower arrangements. One aisle led to another and I came to the burlap supply section.
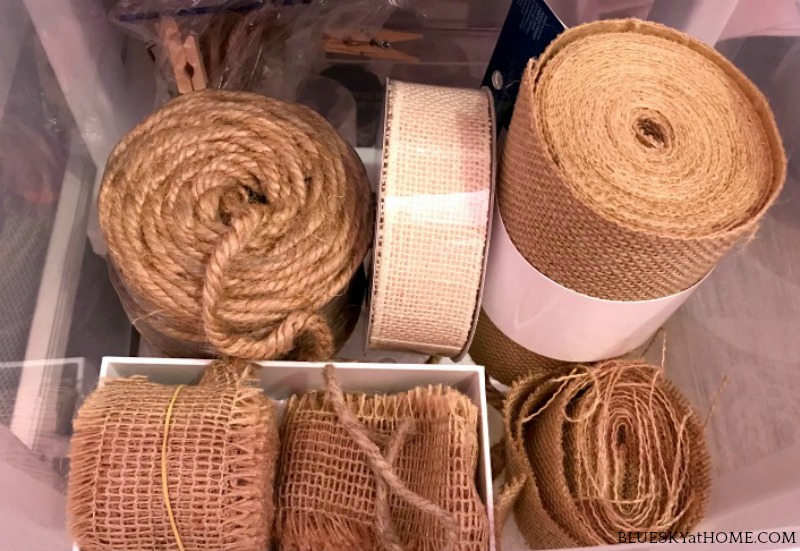
I have burlap twine, or jute, in a few thicknesses. Also, I have burlap ribbon, fringed and plain.
But this product? This is like the burlap fairy flew down and sprinkled magic burlap dust on a roll of burlap, making it so easy to use, free of burlap fuzz, and simple to cut.
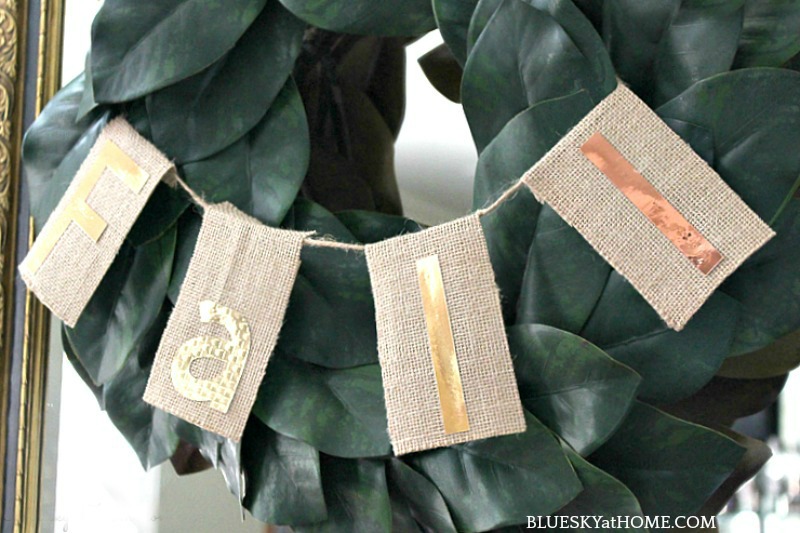
I was thinking about making a banner for the magnolia wreath I bought for our entry.
Then I remembered the adhesive burlap product I had bought a few weeks ago. It was in a drawer in my office that contains burlap stuff. (Yes, I have a drawer that contains just burlap supplies.) I pulled it out and thought, let’s see if I can use it for my fall banner.
How to Prepare the Burlap for the Banner
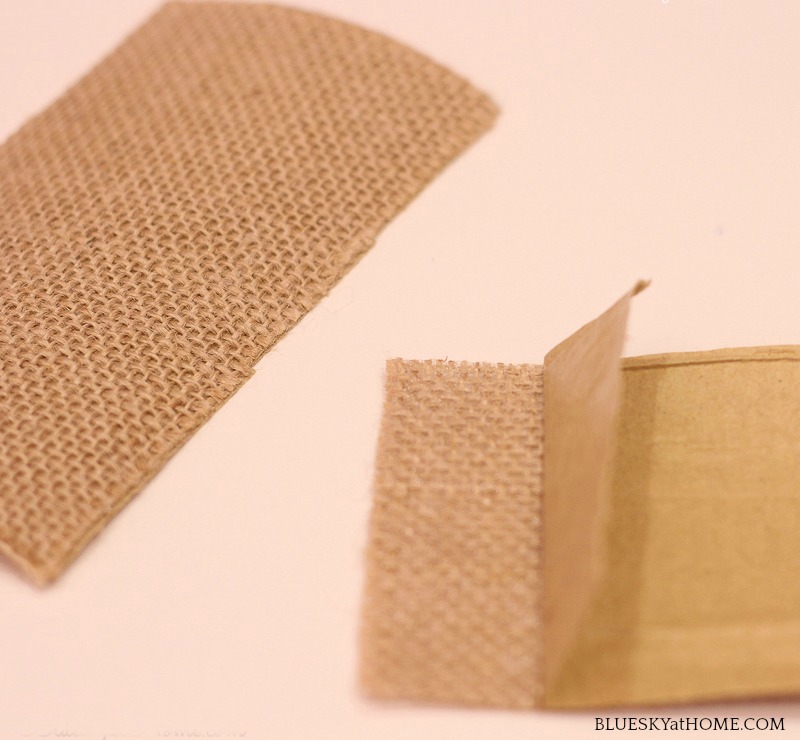
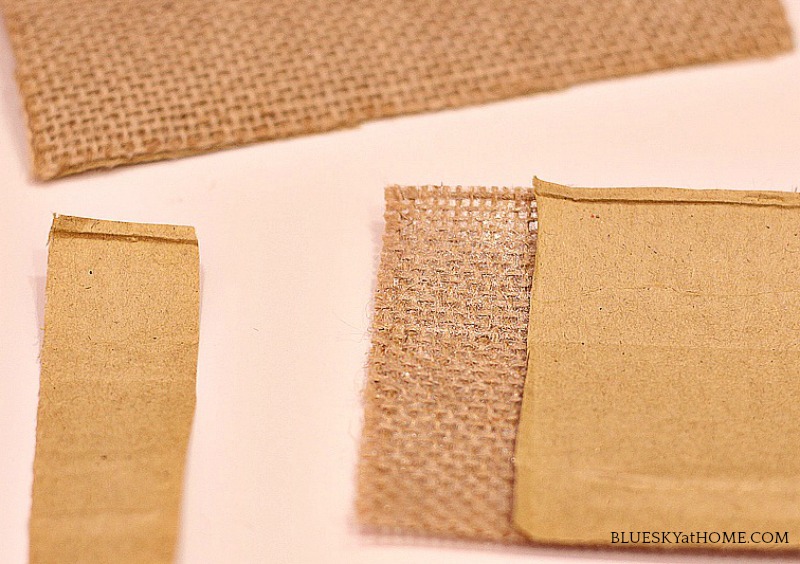
I discovered that the burlap has a paper backing and you could peel the backing off to stick it to things ~ like the book in the picture on the packaging.
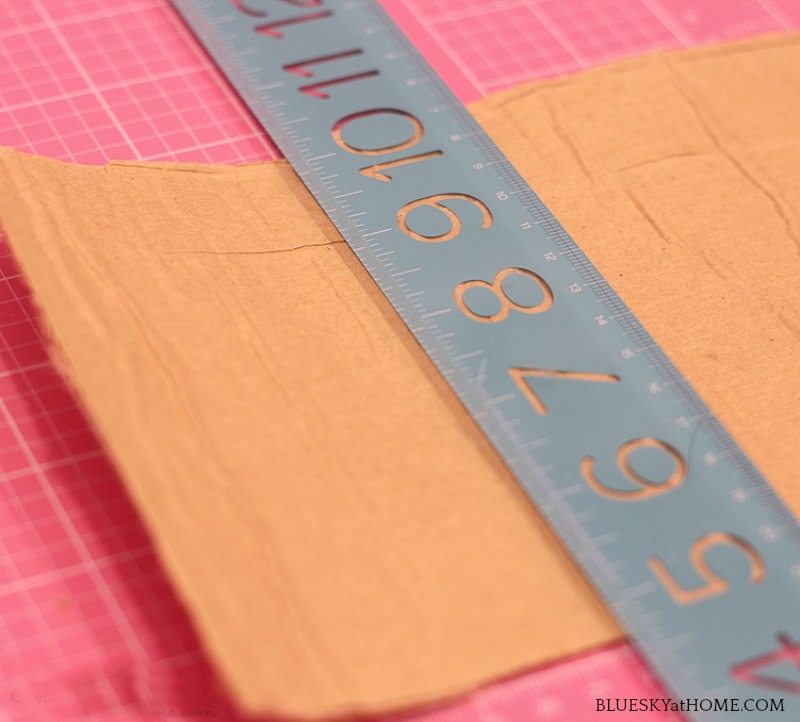
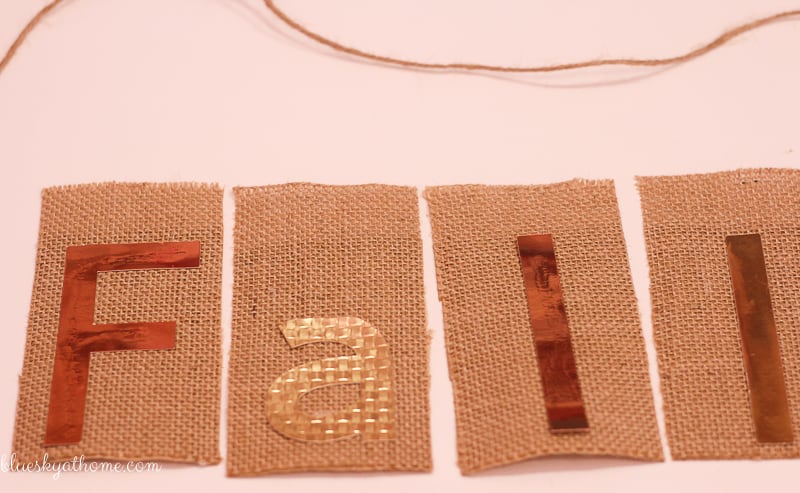
The burlap is 5 1/2 inches wide. I decided I needed a piece 3 inches wide for each letter.
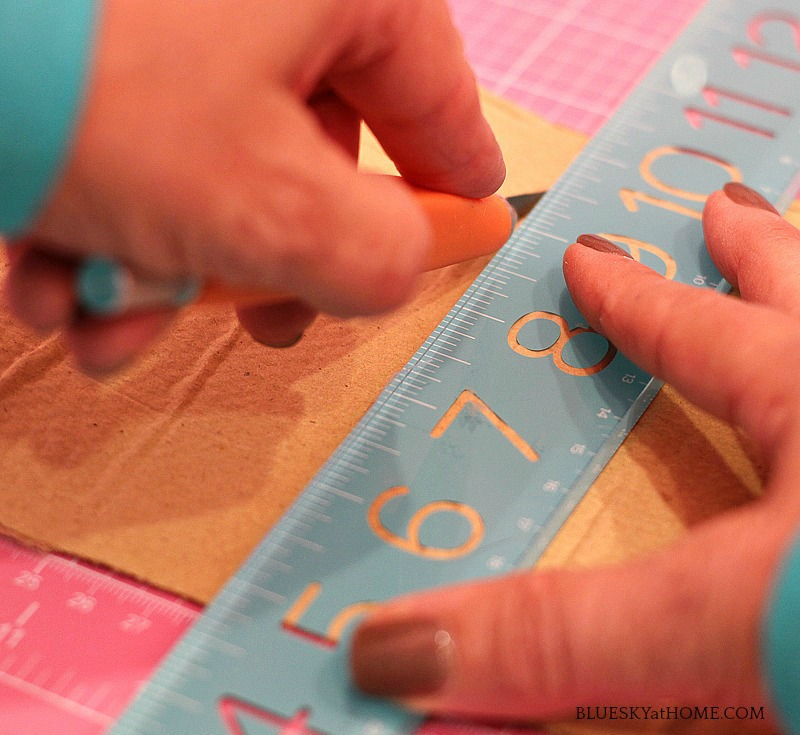
I used my straight edge cutter and ruler to cut 4 pieces for my letters F ~ a ~ l ~ l.
Next, I peeled back 1 inch at the top of each piece of burlap and folded the paper backing over to make a crease.
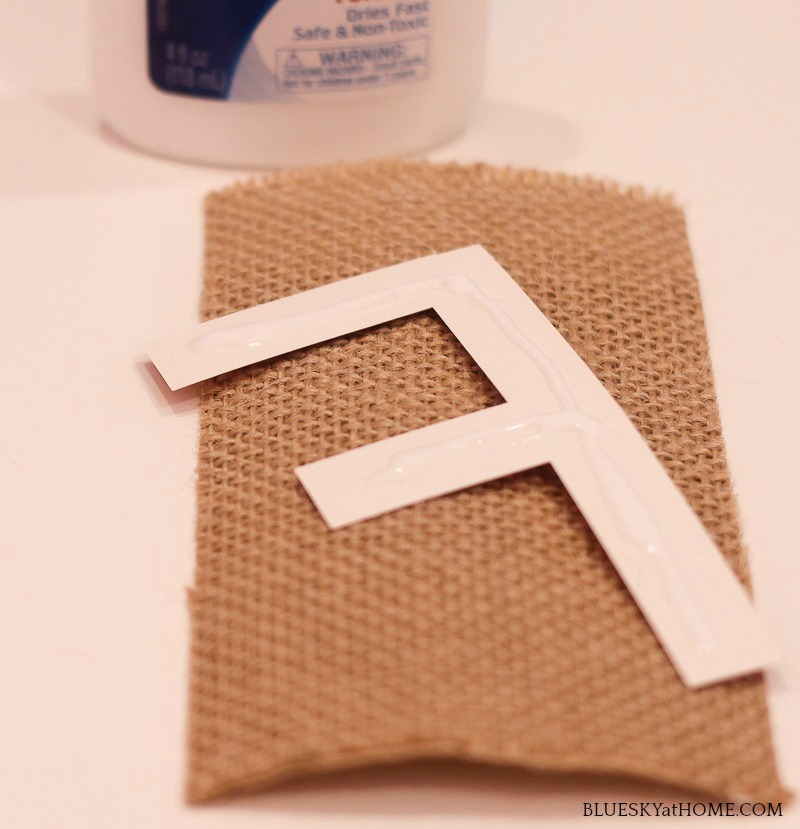
NOTE: If you don’t have a Cricut, you can use pre~made letters from the craft store.
Twine was the right rustic choice to use for attaching and hanging the letters. All I had to do was pull out a long piece of twine, space out the burlap letters. Then I folded over the top of the burlap over the twine. With the paper backing removed, the burlap was sticky and adhered to itself. Simple and no glue.
Hanging Your Burlap Banner
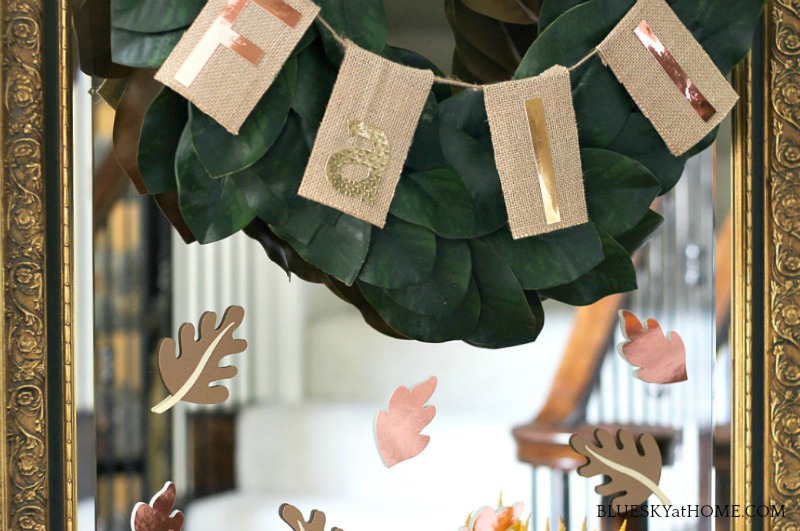
The final step was to center the banner on my magnolia wreath and tie the ends of the twine on the back of the wreath.
Why was this such a super fast and easy DIY burlap banner? I couldn’t have done it so easily without the paper~backed burlap. It was so much easier and less messy than using regular burlap. And the paper backing gave the burlap “body”.
Now our entry is complete.
Here’s what the banner and wreath looked like in our entry.
I found a few websites that have extensive burlap products:
I’m sure I’ll find other uses for this burlap product. Maybe I’ll actually cover a book with it. You can bet that I’ll be making more banners or signs with it.
I'm a Texas girl who loves all things about home decor and creating DIY projects for the home. I'm married, have 4 kids, and 3 grandkids. Former English teacher and culinary instructor. I'm a content creator who enjoys teaching readers the process of creating a lovely home. I love using photography to show the process of a project. As a former cooking instructor for 15 years, I include tested recipes and party ideas on my blog. Also own an Etsy Shop, Bluesky at Home Designs
Great project, Carol. I haven’t seen that product yet, but I have seen cork fabric. I didn’t buy any, but I’m keeping it mind,,,,,Thank you for sharing at Party In Your PJ’s.
Wow, I don’t think I’ve ever seen that type of burlap, Carol. Cool stuff! I love how easy it was to make your banner. Thank you for the tutorial! Pinning. 😉
Happy fall and I’m glad to be on the Fall In Love With Texas blog tour with you,
Barb 🙂


Thank you for participating in our linky party!
We are so excited that you participated! Thank you for sharing your creativity! This is so cute!
Thank you, Meg. I appreciate your sweet comment.
Thank you so much for sharing! Your project is absolutely darling!
Thank you Beth.
What a great addition to our linky party! We are so happy to have you!
Thank you so much, Laura. My pleasure to join.
Great project, Carol. I haven’t seen that product yet, but I have seen cork fabric. I didn’t buy any, but I’m keeping it mind,,,,,Thank you for sharing at Party In Your PJ’s.
Wow, I don’t think I’ve ever seen that type of burlap, Carol. Cool stuff! I love how easy it was to make your banner. Thank you for the tutorial! Pinning. 😉
Happy fall and I’m glad to be on the Fall In Love With Texas blog tour with you,
Barb 🙂
Barb, I found the burlap just wondering through Joann.
Your burlap banner looks perfect for Fall, and looks so pretty on your wreath! Thanks for the tutorial, Carol.