How to a Make Simple Boxwood Winter Wreath
Boxwood wreaths are so adaptable to any season or holiday. They make a great background for just about any style you want. It’s winter, so let me show you how to make a boxwood winter wreath that will take you from Christmas through wintertime.
A boxwood wreath is a blank slate. The only thing you start with is a green background. The possibilities for making a boxwood winter wreath are only limited by your imagination.
You only need a few “embellishments to give your boxwood winter wreath personality and interest. In fact, for this wreath, I only used items that I already had – except for oranges!

How to Make a Simple Boxwood Winter Wreath
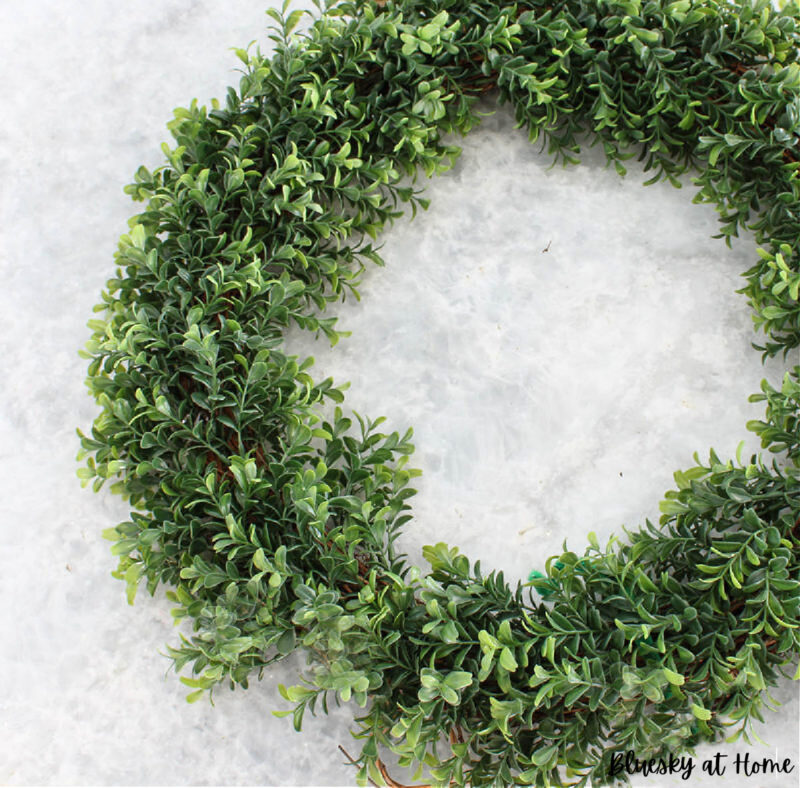
I have had this boxwood wreath for a few years. It’s been used for different holidays.
Most recently, it had a big red Christmas bow and white lights. We hung it on our sunburst mirror above our bed. Unfortunately, I forgot to take a picture of it.
I shared that in your transition from Christmas to winter decor, reusing wreaths is a great option. For that wreath, I used a faux cypress wreath.
I started this simple boxwood winter wreath by removing the bow and the lights.
Inspiration for the Winter Wreath
The inspiration for this boxwood winter wreath came from Julie at Restyle Relove.

Julie used 4 embellishments on her wreath:
- dried oranges
- pinecones – I like these natural-looking pinecones that are about 3 1/2 inches long.
- red berries
- cinnamon sticks – since these cinnamon sticks are being used for crafts, it’s not necessary to buy really good ones.
Oranges, pinecones, berries, and cinnamon are iconic winter elements.
I had pinecones, cinnamon sticks, and berries. All I had to buy were two large oranges at the grocery store.
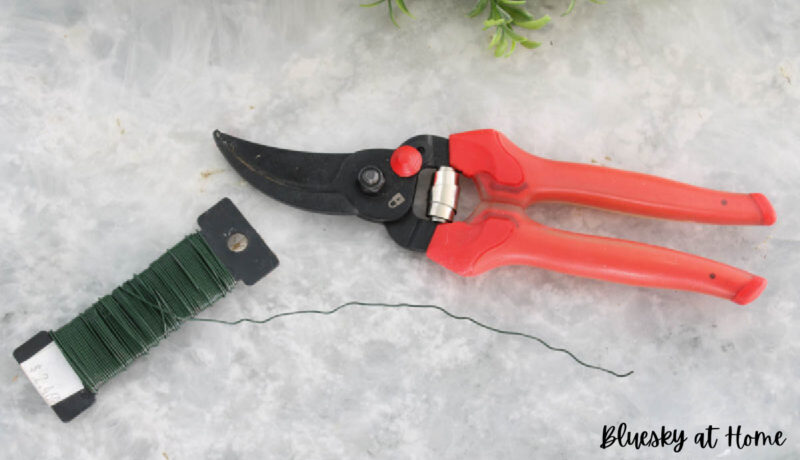
Other supplies you will need:
- florist wire
- wire clippers
Step 1 – Drying the Oranges
The first step was to dry the oranges. I Googled how to dry oranges. After reading a couple of posts, I decided on this process:
- heat your oven to 225˚F.
- slice the oranges about 1/4 inch thick
- pat the oranges dry with a paper towel
- place a cooking rack on a half-sheet pan with a piece of parchment paper

- bake the oranges for a few hours, turning them once or twice. I oven-dried my oranges for about 3 hours. You need to check that they are not getting brown.
- remove the oranges from the oven and set aside until you are ready to use. They will be a little sticky.
TIP: Let them sit overnight. They become less sticky the longer they sit.

Step 2 – Laying Out Your Embellishments
For this project, you want to lay out your elements to adjust your design. The orange slices and pinecones are the main elements.
How many of each embellishment you use is entirely up to you. The bigger your wreath, the more embellishments you will need.
You can also adjust the pattern of the embellishments to your liking.

I had nine orange slices, but the design worked best with 8 slices – 4 groups of two.

In between each pair of orange slices, I placed one pinecone. I have 5 pinecones here.

With the main design in place, it’s time to attach the elements.
Step 3 – Attaching your Orange Slices
I did not want to glue the embellishments to the boxwood wreath. That way I could reuse it again for another look.
I used thin florist wire to attach the orange slices. You will also need wire clippers.
Carefully, push the end of the floral wire into an orange slice next to the rind.
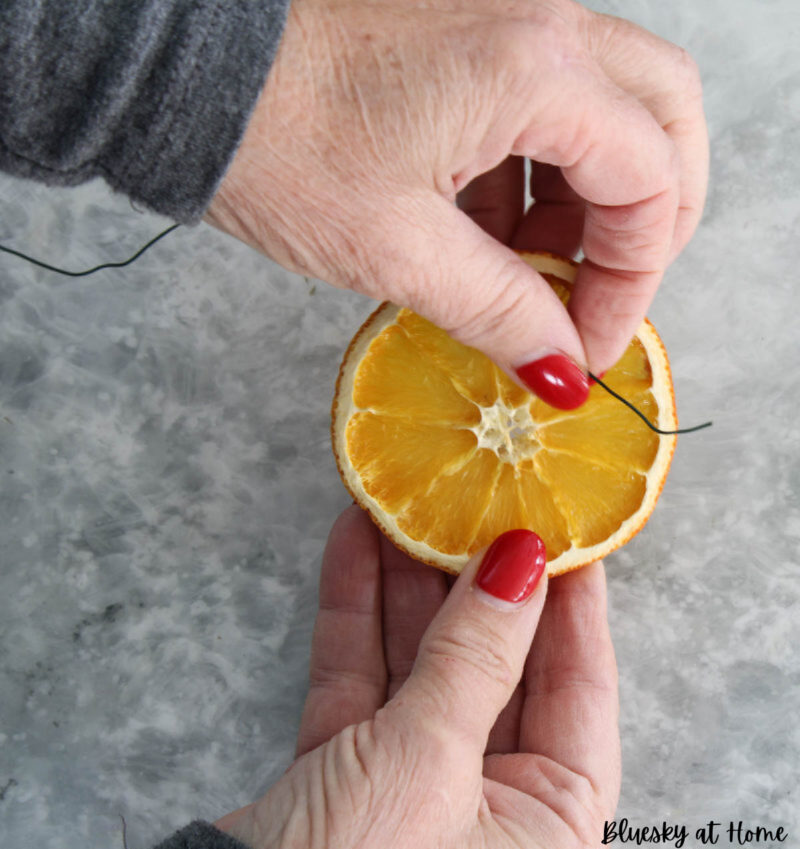
Gently pull the wire through the dried orange.

Next, wrap the ends of the wire around to the back of the wreath and twist to secure the orange slice. You can clip off the ends of the wire or tuck them into the back of the wreath.
Step 4 – Attaching the Pinecones
Again, the floral wire works great to attach the pinecones to the boxwood wreath. First, work the wire through the “leaves” of the pinecone about 3/4 of the way around.

TIP: Leave plenty of wire to wrap around to tie behind the wreath.
Now I could see that 4 pinecones would work best.
Step 5 – Attaching the Berries
This step is the absolute easiest. Any branch of berries you have will work. This one was by our front door during the holidays.

With the clippers, cut off pieces of berries.
TIP: be sure to leave enough of the stems so you can attach the berries to the wreath.

I said this was the easiest step. Just push the ends of the stems into the boxwood wreath. I put them between the two orange slices.

Julie used cinnamon sticks, but I didn’t want to “waste” good sticks. I decided my boxwood winter wreath was done. It was time to hang my wreath. Next time, I would use inexpensive sticks.
Step 6 – Displaying your Winter Wreath
If you’ve never thought of using a wreath for winter decor, it absolutely works after Christmas.
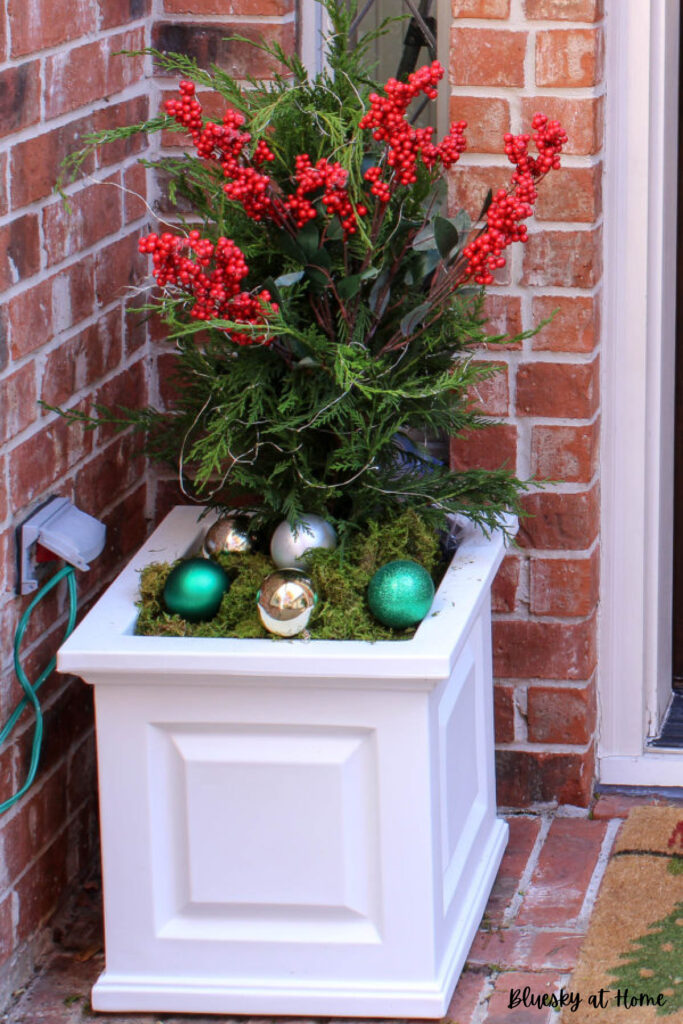
Where can you hang a boxwood winter wreath? The same places you hang a Christmas wreath.
- above the mantel
- on the front door
- on a mirror
- on a cabinet door
- above the bed
- on the stovetop hood – we have a wreath there every year.
Rather than hanging the wreath on our front door, I decided to use it in our entry on our mirror.
For a background in front of the mirror, I placed our teak panel (leftover from our teak table redo) for a natural wood background.
Notice the burlap ribbon? I’ll use it to attach the wreath to the teak panel.
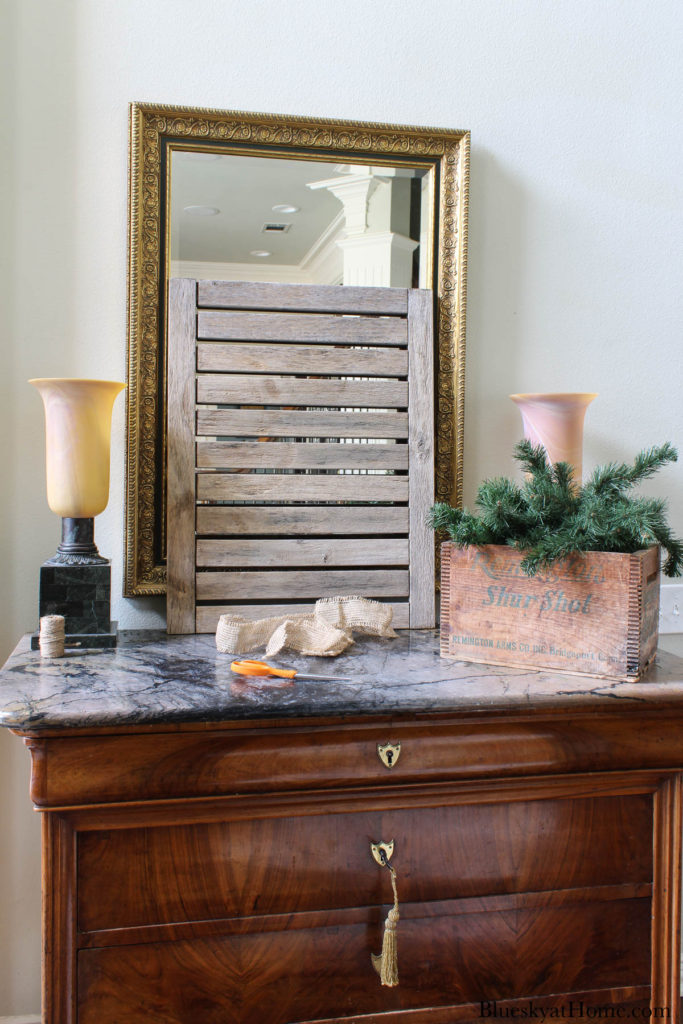
All I had to do was feed the burlap through two slats of the panel and around the wreath and tie a bow.
The weathered teak panel and the burlap add a natural element to the winter wreath.
Step 7 – Making and Adding Cinnamon Sticks
At this point, I thought I did need the cinnamon sticks.
Rather than use my good cinnamon sticks, I thought I could make a faux version
First, I made a couple of faux cinnamon sticks by cutting 5 X 5-inch squares of brown craft paper and rolling them up, cigar-style. I used permanent adhesive to secure them.
I asked Sweet Shark what he thought. My DIY skills must be rubbing off on him. He suggested using the cardboard part of a pant hanger. Brilliant idea!
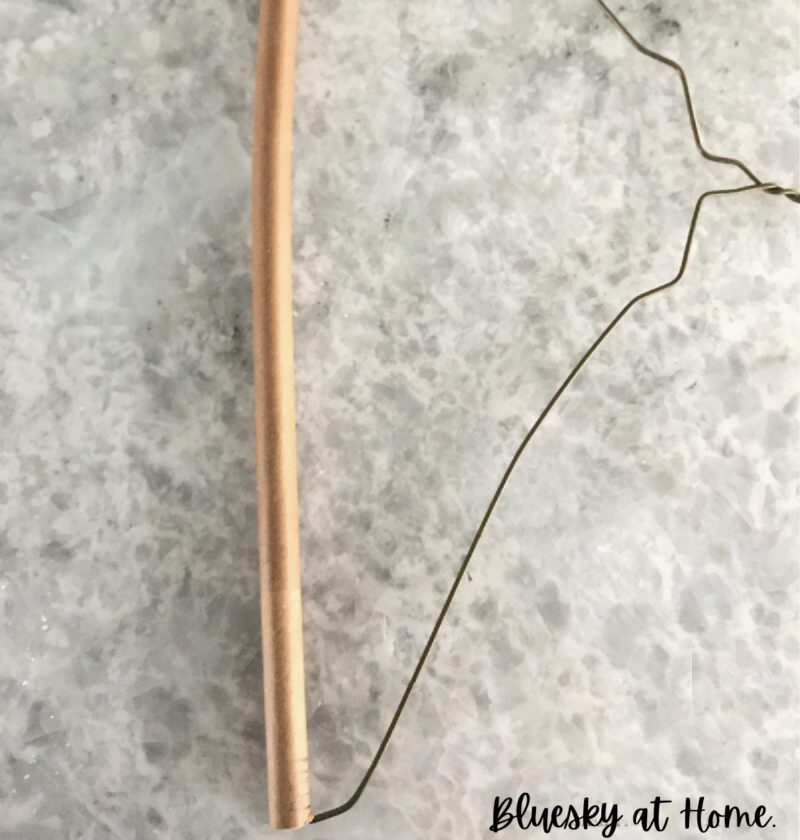
He used his yard clippers to cut four pieces. I added those to my paper cinnamon sticks and voila! I just stuck them into the boxwood wraeth.
With six “cinnamon sticks”, the boxwood winter wreath was done. I don’t think you can tell the sticks aren’t real.

I hope you see how easy it is to make a boxwood winter wreath with just a few supplies. My only expense was the 2 oranges – about $2.00!! Not counting drying the oranges, assembling the wreath took about 30 minutes.
You can add this boxwood wreath to your mantel to style a winter living room.
I love projects like this: quick, easy, and inexpensive. You get a beautiful decorative item for your winter home decor.
Please Pin this boxwood winter wreath project for your own inspiration. Customize it to fit your winter decor style. Add anything you want to make it your own and have fun.


So flattered Carol that you were inspired to make one too! 🙂