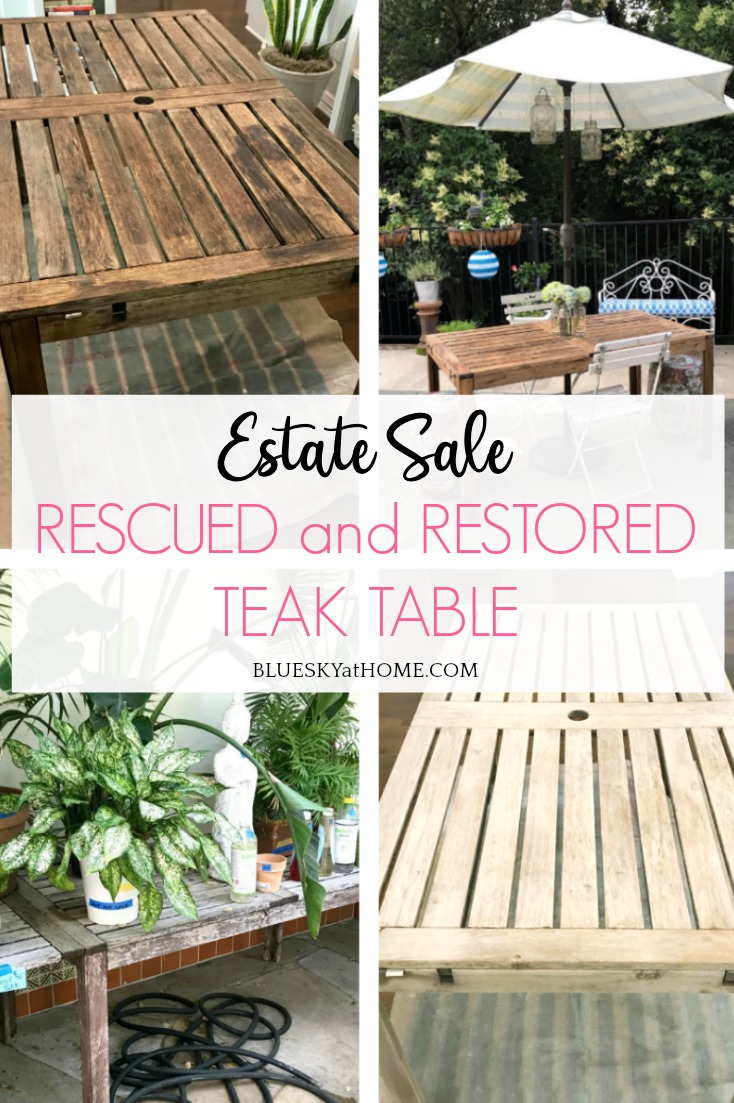
Estate Sale Rescued and Restored Teak Table
I recently finished a major project: an estate sale rescued and restored a teak table and 2 extra tables and a farmhouse-looking sign as a bonus. If you love this type of project, you’ll love this one.
Have you ever said something out loud and then it happens? You casually mention to a friend or your husband, “gee, I wish . . . ” and then your wish comes true? Well, that’s exactly what happened to me a couple of weeks ago and that’s what led to this rescued and restored teak table.
We probably share a love of finding old items at flea markets, estate sales or antique malls. It’s one of my favorite things. Many items in our homes were rescued and restored, brought back to life, and made useable. Or just made prettier or in our style. It’s a shame how many millions of tons of household items are thrown away each year ~ bad for our environment and bad for those of us who would love to repurpose, repaint or reuse them.

Lucky for me, lucky for our backyard, lucky for the environment, a rescued and restored teak table is now at the center of our backyard update.
Estate Sale Rescued and Restored Teak Table
This post contains affiliate links to products used in this project. If you should order any item through this site, I may receive compensation, but you do not pay a penny more.
Every rescued and restored teak table has a story, right? Here’s this one.
The Story Behind our Rescued and Restored Teak Table
The sage of our rescued and restored teak table starts the weekend before Memorial Day Weekend. (It was not a dark and stormy night.)
Sweet Shark and I were in the backyard talking about the plan for our summer flower planting. I convinced him to rearrange our patio love seat and 2 chairs.
We did that (much better by the way) and then as nonchalantly as possible (You ladies know how we have to approach these things.), I said, “you know, I think we need a new patio dining table. This one is sooo old and it’s soooo heavy and we can barely sit 2 people comfortably here.”
And then I didn’t say another word, which is really hard for me, but I was in sales and I know that silence can be golden. I thought I knew what Sweet Shark was thinking:
- There’s nothing wrong with this table. It’s not that heavy.
- You really worked hard making the top. (Yes, I did; like 20 years ago I made a mosaic top for the table base which he already owned and that’s why it’s so heavy.)
- No one except us ever eats outside because it’s too darn hot in the summer to eat outside.
- “New” means money.
But you know what? He said, “Well, O.K. What did you have in mind?”
I almost dropped my jaw, but I kept my cool. All my arguments went out the window. I just replied, “Oh, I don’t know. Something not as heavy, rectangular instead of round, a table that can seat at least 4 people, maybe 6. Wood to match the patio coffee table we bought last year.”
So fast forward to the Saturday of Memorial Day Weekend. (This was the Saturday that I was trying to put together my Pinterest~Inspired 4th of July vignette.) On my way home from tennis drills, I see an estate sale sign. Make a quick left, find the house and park the car. I walk in the house and glance around; look high, look low. Nothing is catching my eye. But I notice that there is a patio and people are outside walking around. I stepped outside.
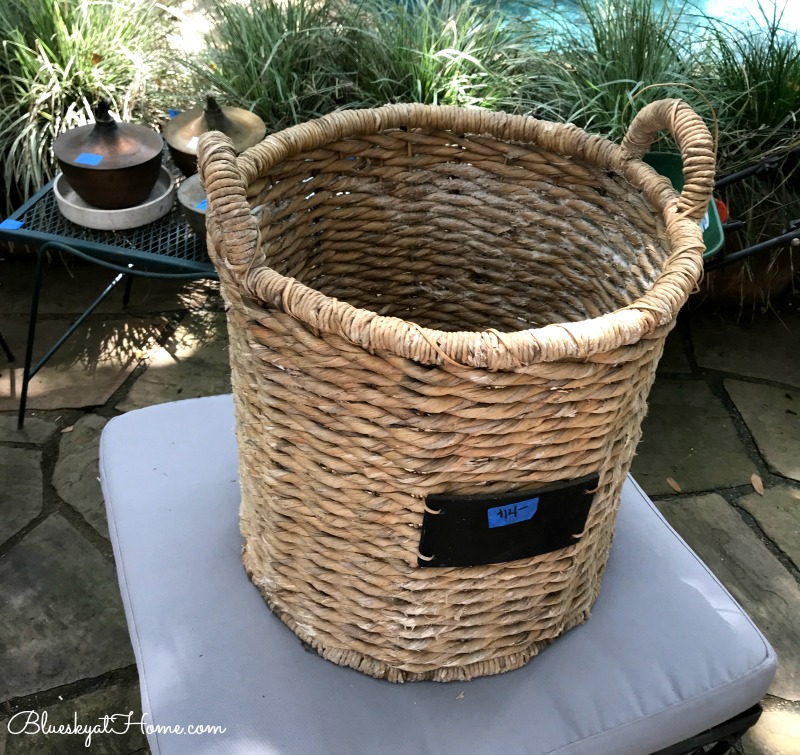
This is the first thing I see. Love this woven basket even though it was really big. The tag says $14, but everything was marked down 25%. I picked it up and then turned around. (I actually ended up finding a smaller version of the basket for $7.50.)
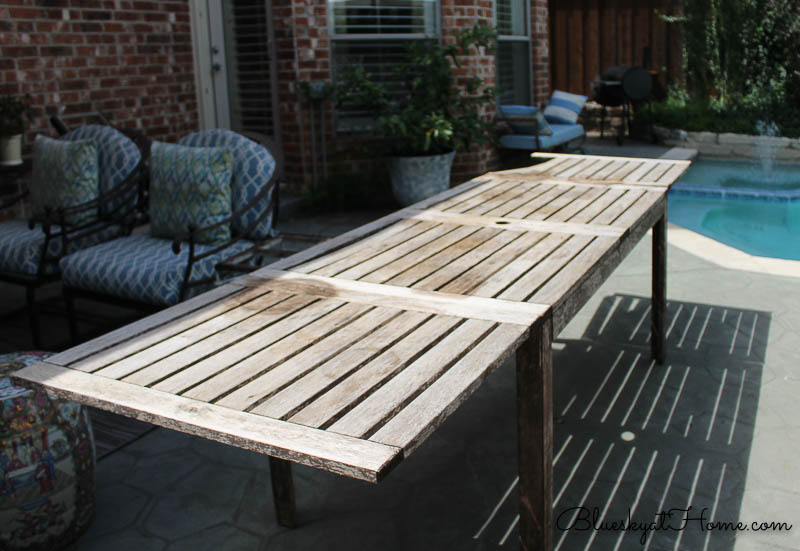
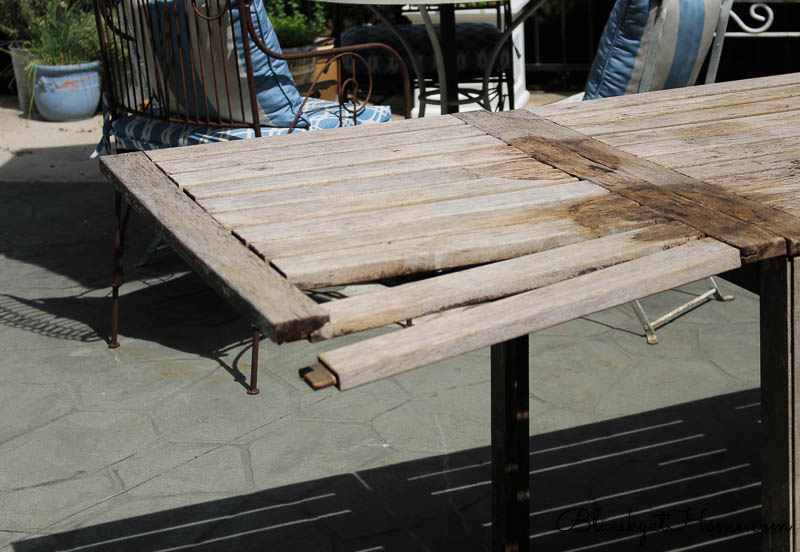
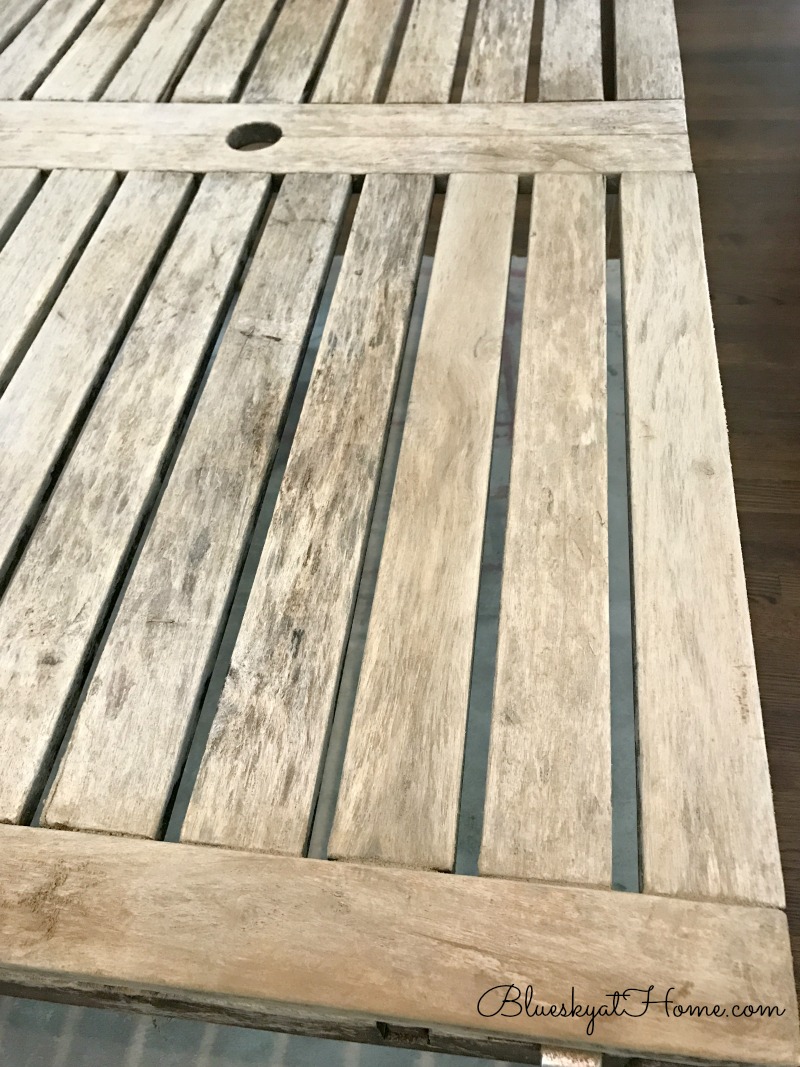
And that’s when I saw the table. I immediately knew it was teak . Do you know how expensive teak furniture is? I had to take a closer look. I could tell that is was dirty and hadn’t been cared for. I was intrigued. I could tell that it had 2 drop leaves at each end. The tag said $50 with 25% off.
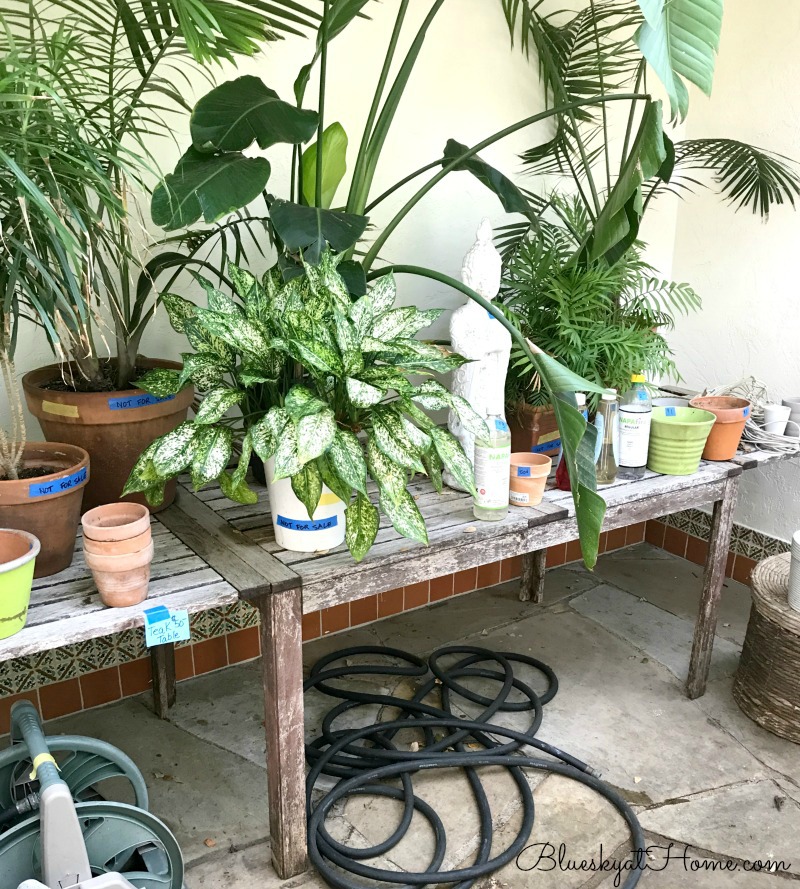
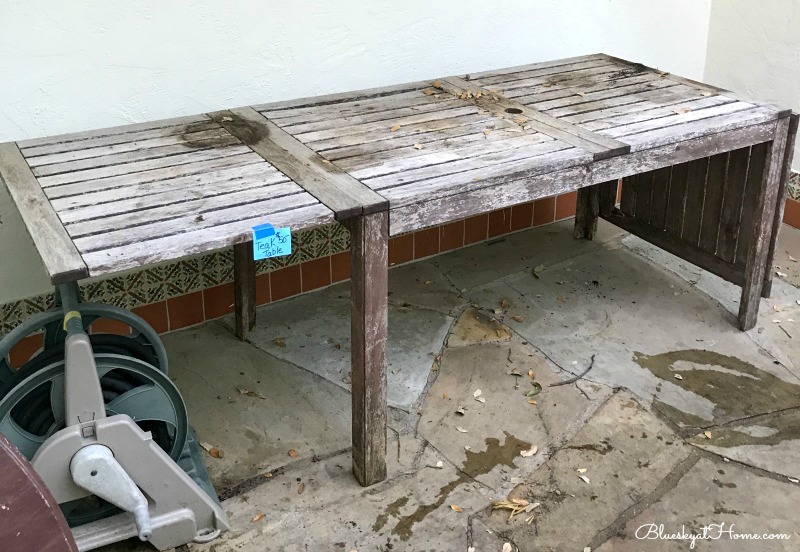
I asked the lady working the sale if she could take off all the plants so I could get a better look. I asked to lower one of the leaves to see if it worked. One leaf had 2 rotten slats, but I rattled and pressed down on the table and it seemed sturdy. I stared and stared. Where would we put it until I could restore it? How would I get it home? The sales lady said that we could pick it up on Sunday and they would help get it in the car.
I finally called Sweet Shark and told him about the table. He said if I thought it would work, then go ahead and buy it. (I love this guy!) So I walked away with my woven basket and a paid receipt for the table. Sunday we picked the table up. The man working the sale helped Sweet Shark put it on top of his car and we tied it securely with a rope that I had brought from home. We drove home slowly, but it wasn’t too far.
Fortunately, when we arrived home, our next-door neighbor’s grandsons, who are in their 20’s and out front, helped Sweet Shark take it off the car and carry it to the backyard.
Here you can see the aforementioned mosaic table in the background. If you want it, you can come pick it up at our house. The small white table frame is another story.
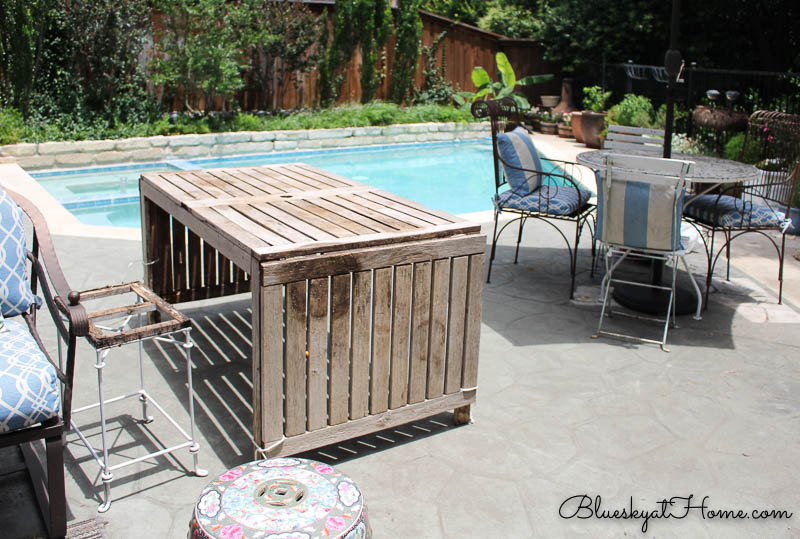
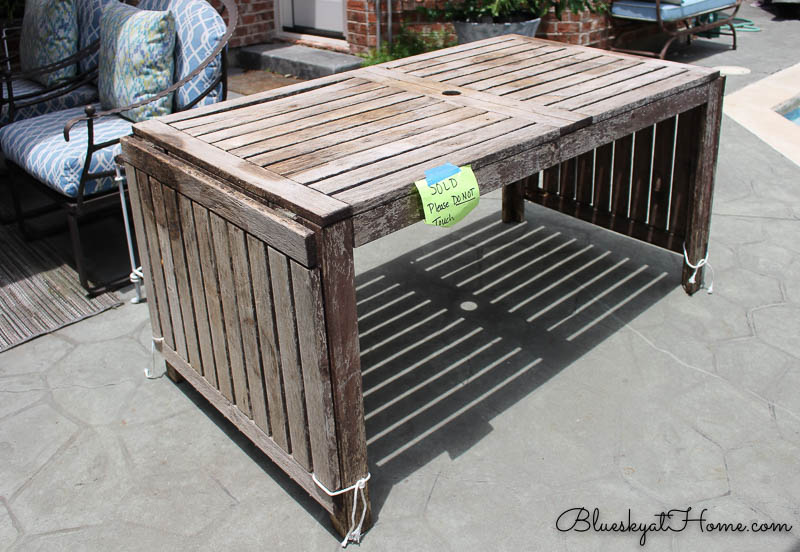
We raised the leaves to see the full table. It was definitely bigger than we needed. We could also clearly see the broken slats in one leaf. We decided that after cleaning, we would remove the leaves and use them for some other project ~ the wheels were turning.
The dark areas on the table are ground in dirt.
Well, that now we have rescued the teak table, it was time to start restoring it.
Cleaning our Rescued Teak Table
On the way home from picking up our teak table, I Googled “how to clean a dirty teak table”. This solution seemed the most reasonable.
Mix:
- 2 parts dish detergent
- 1 part bleach
- 1 part water
Apply with a rag or a brush, then thoroughly rinse.
Sounded easy.
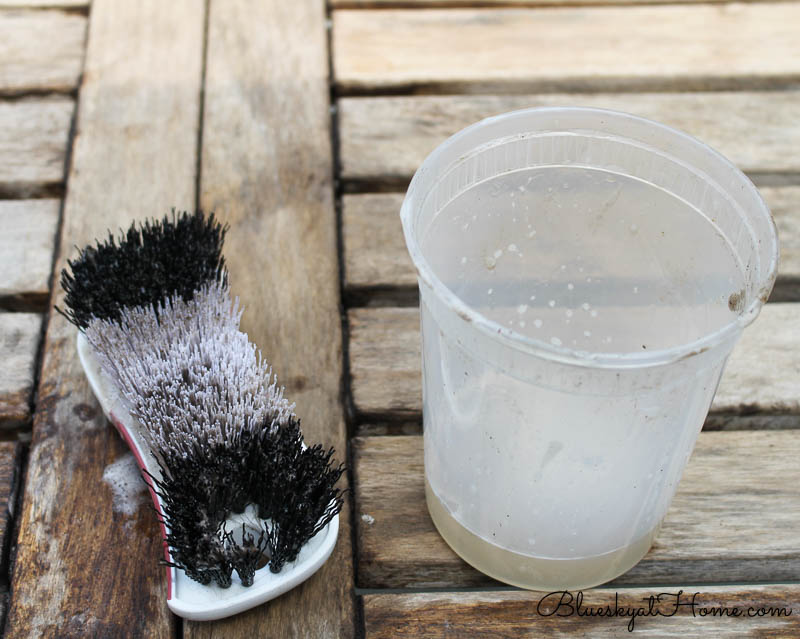
I used a scrub brush, the hose and 4 batches of the cleaning solution. My arms got a good workout scrubbing off the dirt as best I could.
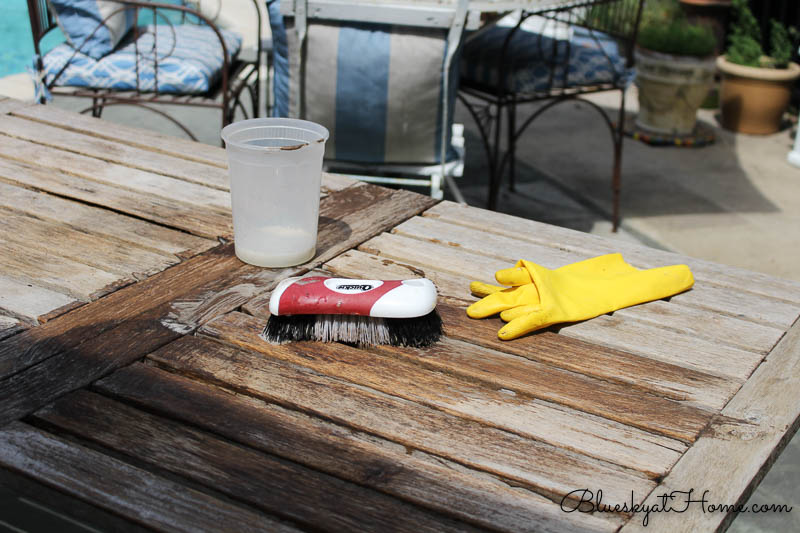
Some dirt came off easily and some required a ton of elbow grease. I constantly had to rinse off the dirt from the brush and empty the dirty solution.
Once I thought I had removed all the dirt and residue from the table, I started hosing the table down, trying to get rid of any visible soap suds. This step took the longest and I was constantly hosing the soap suds away from the flower bed and over our retaining wall.
That was all for the day. I wanted to make sure that the teak table was completely dry before proceeding to my next step.
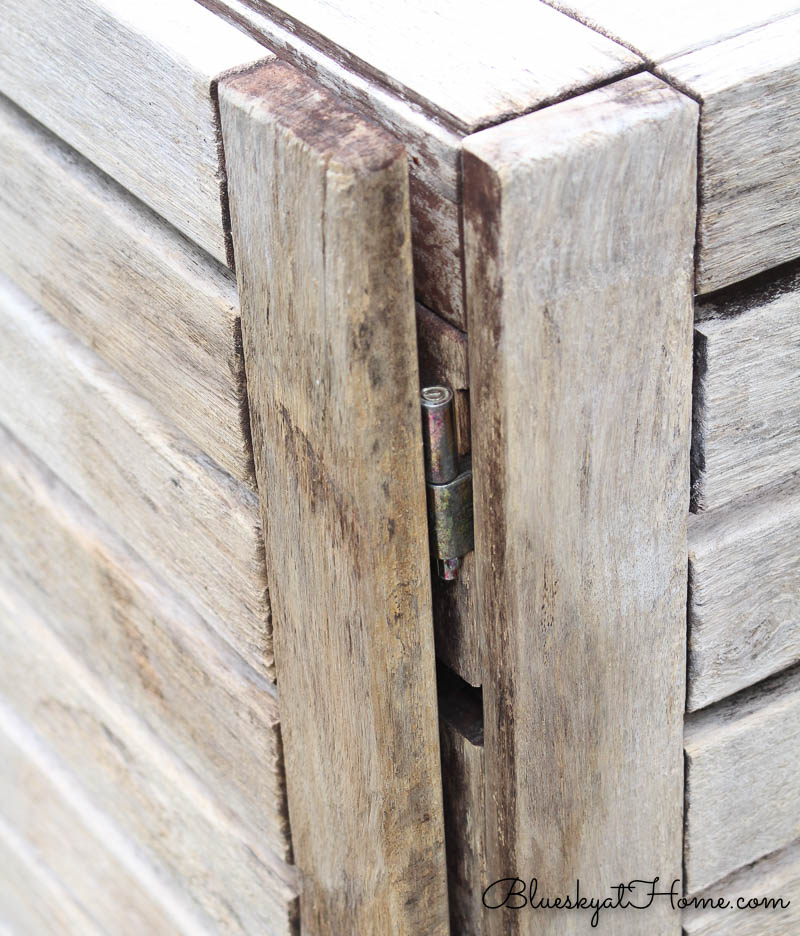
We left the table drying for a couple of days. Next up was to remove the leaves. Sweet Shark used my electric drill to remove the first leaf ~ the good one. Then one of the screws on the leaf with the rotten slats was stripped. We laughed as he slid the leaf all the hinges. He could have easily done that for both leaves.
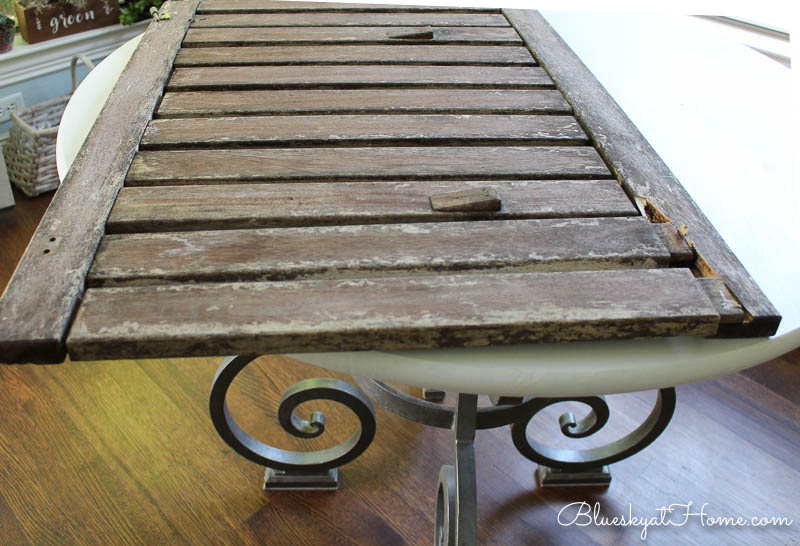
Here’s the good leaf ~ in perfect condition. You know I will find something wonderful to do with it. This is the bottom side that I didn’t scrub. The little wooden wedges were how the leaves stayed up.
Restoring our Teak Table
I wasn’t sure how to proceed. Do we stain the table, sand the table, seal the table? Once again I asked Google: how to restore a teak table? The answer was to use Teak Oil. Here’s the Teak Oil that we used.
The can said that we could sand the table before adding the Teak Oil. Not wanting to apply the Teak Oil outside where dust might settle on the table, we carried it into our living room. First I did place a drop cloth on the floor.
NOTE: This is when the lighter table I wanted definitely helped. We easily picked up the table and walked it into the house. We couldn’t have done that with the mosaic table.
Out of the sunlight, it was easier to see that the table still had tons of residue on it. I realized that sanding was necessary. I used 3 sanding blocks. Again, a lot of arm workout.
I was shocked at how much stuff came off the table. I went over the top, sides, and legs. Then I used my Dust Buster to vacuum up the dust and wiped it all over a lint~free rag. (A little coughing was in order too.)
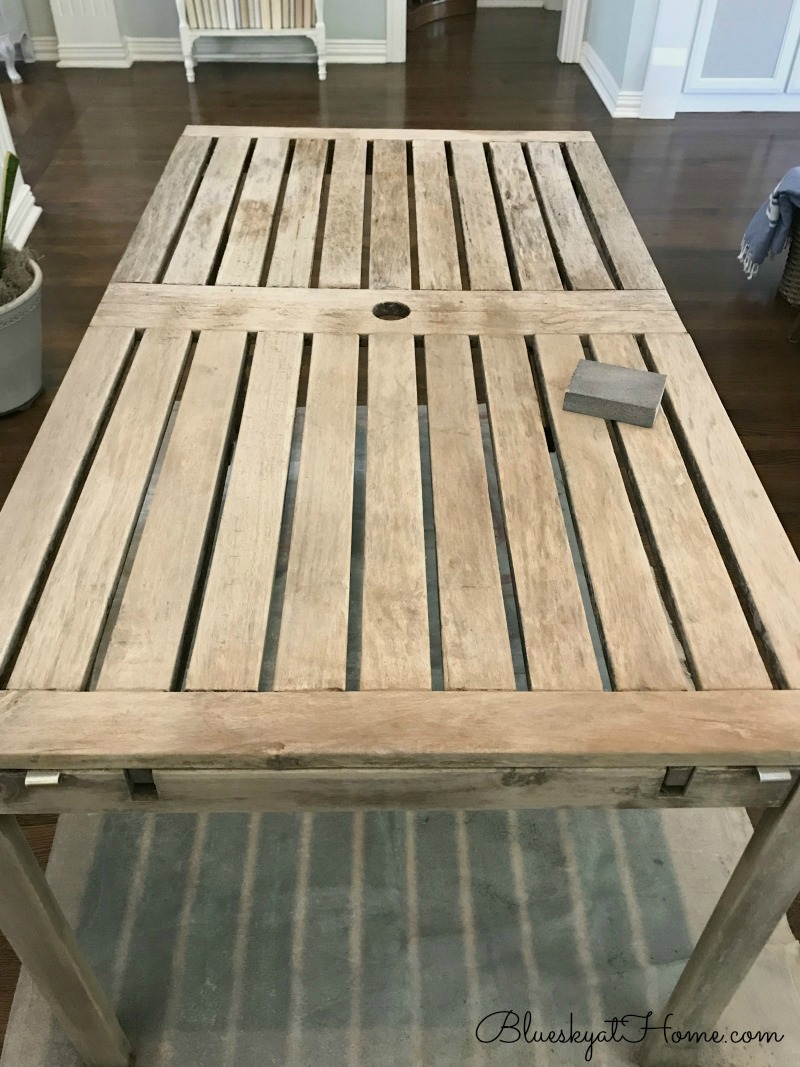
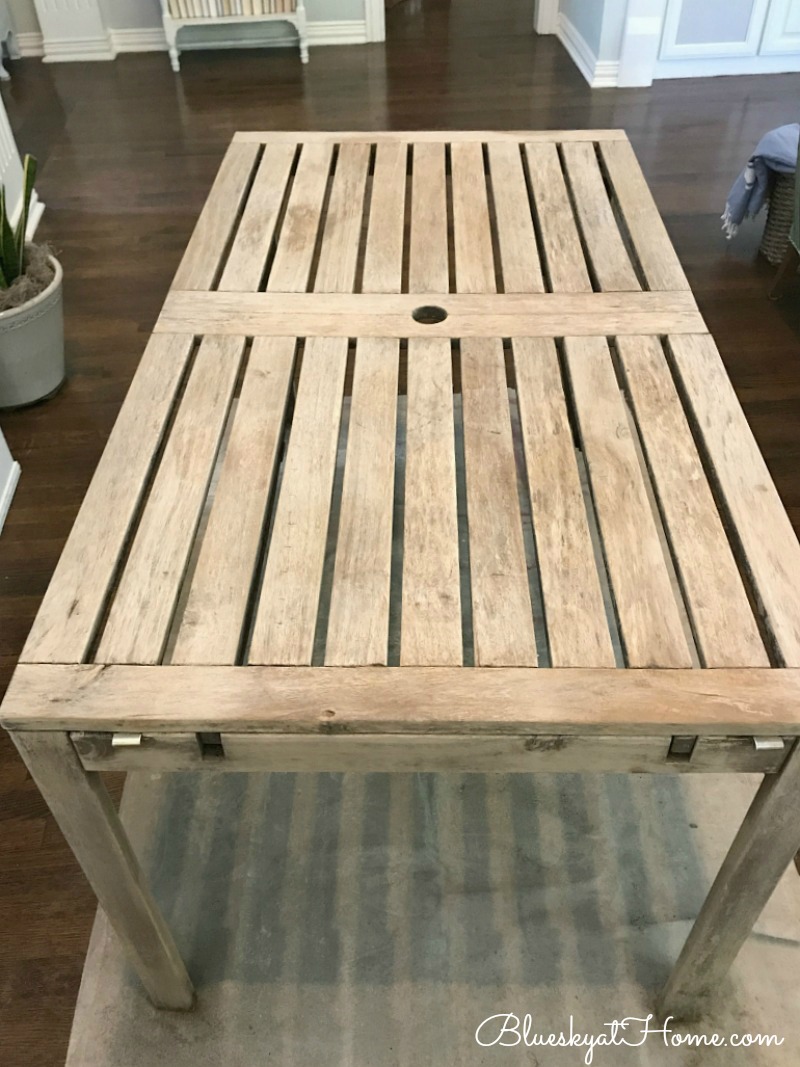
Finally, I thought I had removed as much direct and old stain/oil as I was going to get. Not only was the table cleaner, but it also felt much smoother. I actually liked the light color of the teak table, but Sweet Shark really wanted the dark finish of the original Teak Oil.
At the same time that I was working on the table, I was making good use of the one leaf with the rotten slats, using Gel Stain in Hazel Mahogany and Matte Sealer from A Makers’ Studio for that project. Since these products have no VOC and no odor, they are safe to use indoors. I’ll share that project next week. I’m only mentioning it now because once I started using the Teak Oil, I was in for a rude awakening.
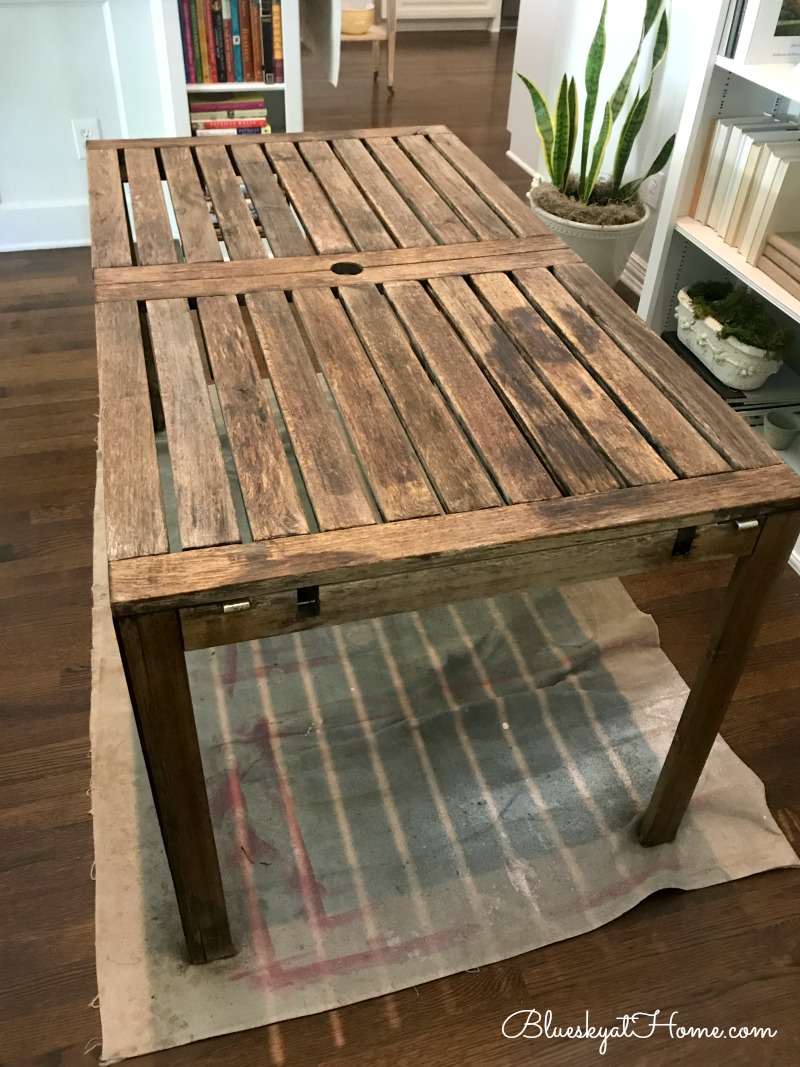
I used a wide chip brush to apply the first coat of the Teak Oil. The oil went on easily, but I immediately could smell the strong odor. After the first coat dried (about 20 minutes) and I was applying the second coat, I had a major headache. I wiped down the final coat to soak up any residue. The table needed 24 hours to completely set. The smell of the oil was very strong in the living room all night.
I was beginning to wish that I had used the Gel Stain in a lighter color, such as Antique Pine, and sealed the table with the Matte Sealer. Just thinking out loud.
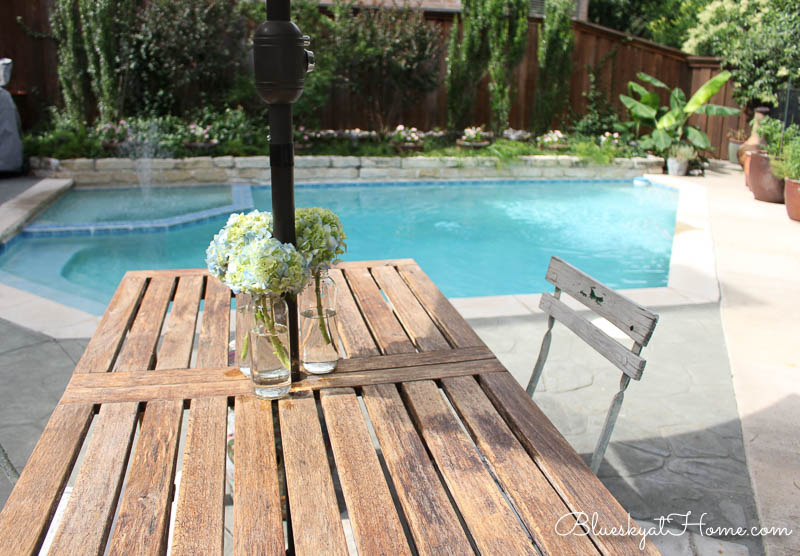
Obviously, there are still some dark spots where the pots sitting on top stained the wood. We’ll see how it weathers in our backyard. I may have to re~sand and re~oil the table ~ which will definitely be done outside this time.
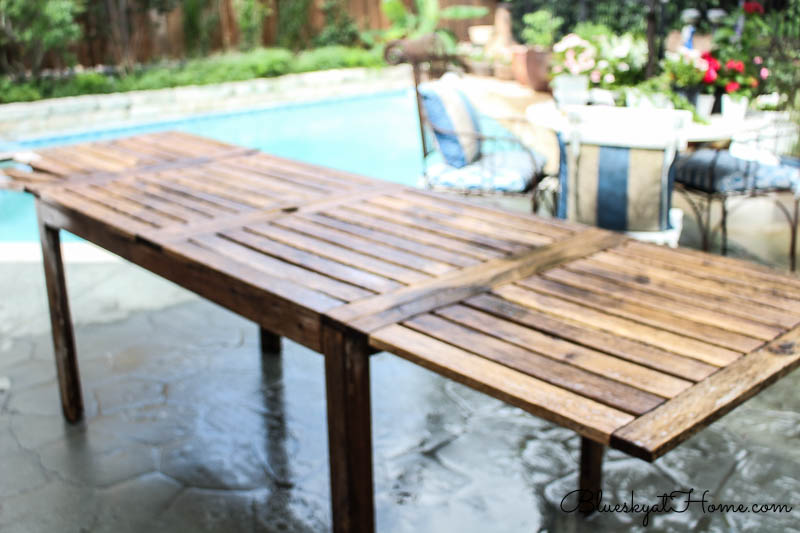
When I walked into our living room the next morning, the Teak Oil smell was still strong. Immediately, Sweet Shark and I carried the table to the patio. Fortunately, the smell went away as soon as we moved the table outside. Our next task was to remove the umbrella from the round table and carry the old round table to the side of the house. It is very heavy and not an easy job.
We then had open space to move the teak table around until we were happy with the placement ~ not too close to the seating area of the swimming pool, but with plenty of room to walk around all sides. We added the umbrella back ~ the existing hole in the teak table was the clincher on buying the table. Next we decided to move our 2 wrought~iron chairs over to the seating area to create a conversation area with 6 seats.
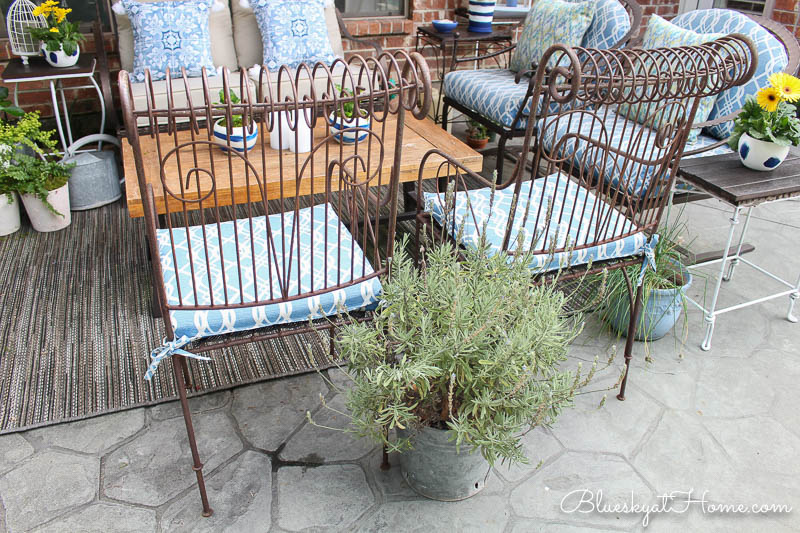
For now, we are going to use our 2 garden stools and 2 garden chairs around the teak table while we decide what type of chairs will work with the teak table. Any suggestions? What type of chairs would you use? I really need some help here.
We are both thrilled with the result. The rectangle shape and the seating for 6 fits our patio so much better than the round table that could only seat 2. I love the rustic wood which pairs with the wood of our patio coffee table.
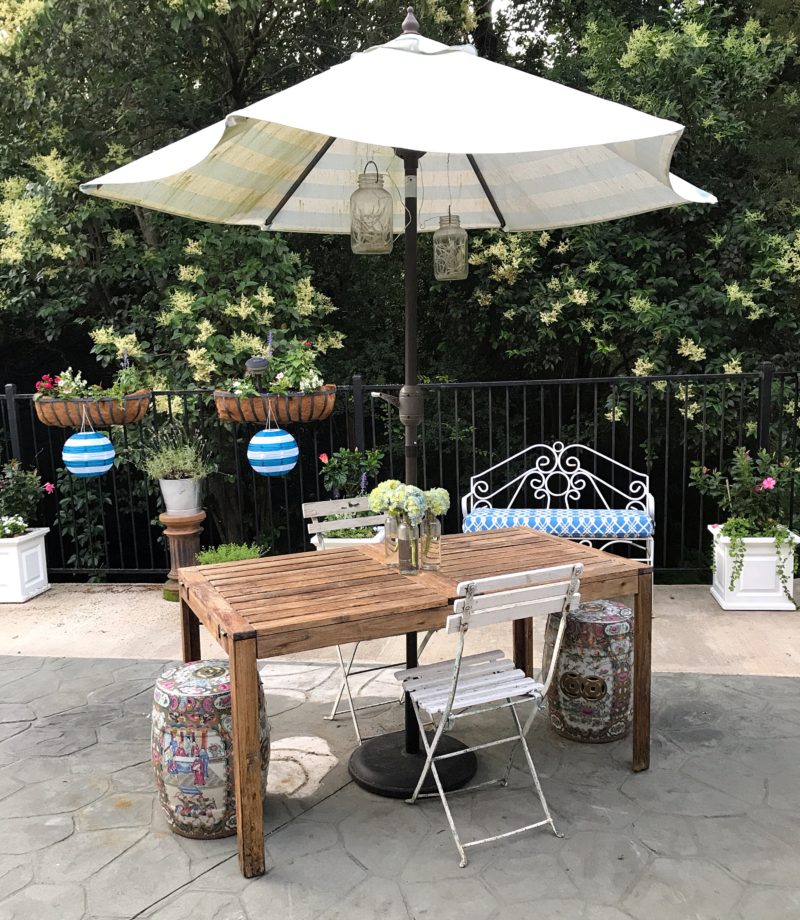

I also love the rustic, French country farmhouse feel of our rescued and restored teak table. Not a bad investment for $37.50 plus the cost of the Teak Oil. I am so looking forward to the first opportunity to create a tablescape on this table. I’m anxious to see how the Teak Oil holds up. If it needs another coat, You can be sure I will apply it outside.
I hope this project encourages you to shop estate sales and flea markets for furniture that can be rescued and restored and reused. Better to be loved again in your home than in the dumpster.
Later I’ll share how I reused the extra slats and the leaf that we removed from the table. Believe me, nothing went to waste with this rescued and restored teak table. Hope you enjoyed this transformation project.
Wishes spoken out loud do come true.
Here are a couple of my earlier rescued and restored projects.
I would love for you to PIN this rescued restored teak table project.


Awesome results. I am betting that after a summer’s worth of sun that your table will be ready for more oil and that will darken it up a bit more. You 2 did a great job with it!
Kathy, so glad you liked this project. I think the directions say every 6 months, but with our Texas heat, I may be re-oiling more than that
Kathy, I ate lunch outside on Friday and noticed that the table is getting a darker, richer look ~ after just 2 weeks. I know we will have to reoil periodically. Easy task ~ as long as I do it outside!
Carol, I was intrigued by your IG post so I immediately came over to your blog for a look. Wow, your hard work paid off. Yes, I do know how expensive teak tables are.
I really admire your hard work and time that you put into your project.
Hi Bonnie, great to hear from you and thank you for your sweet comment. We hope to enjoy this table for a long time.