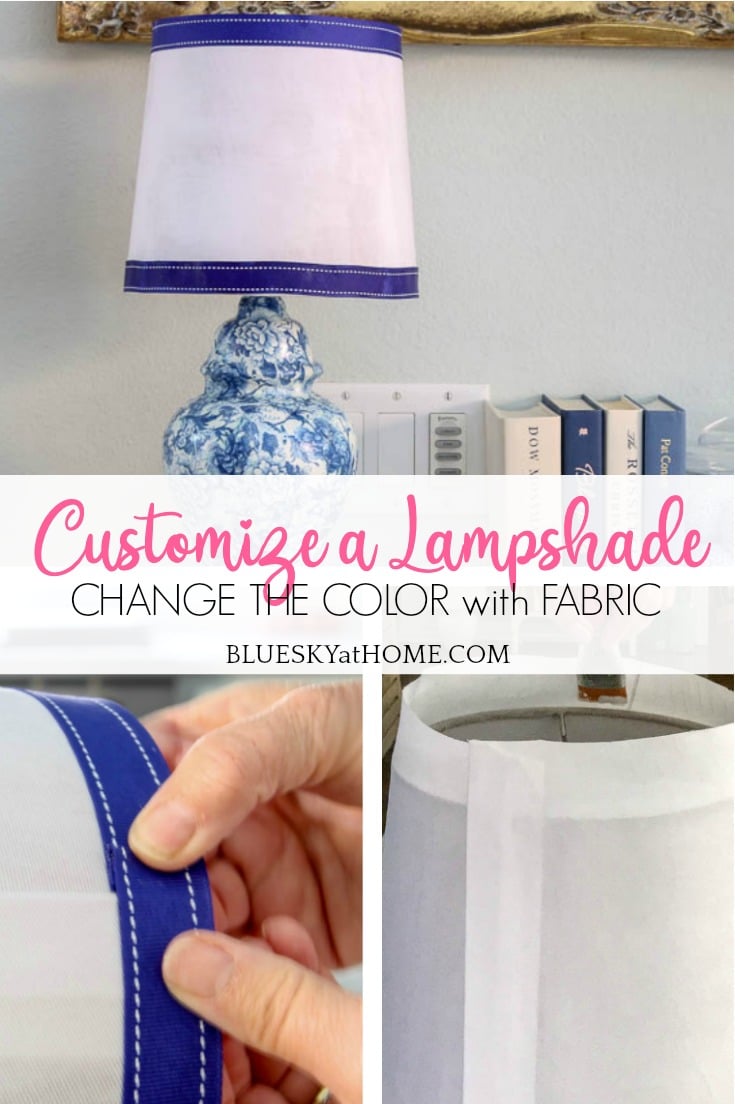
How to Customize a Lampshade with Fabric
Do you have a problem finding just the right lampshade for a lamp? You find the right size and shape, but not the right color. What to do? I want to share with you how to customize a lampshade with fabric.
You (most of the time) can’t have a lamp without a lampshade. Why should a lampshade be plain Jane and let the lamp have all the glory? One easy way to change the color of a lampshade is with fabric.
Custom lampshades are very expensive. You can take a fairly inexpensive lampshade and customize it to meet your home decor needs. Have you ever tried to customize a lampshade with fabric? Let me show you how.

How to Customize a Lampshade with Fabric
This post contains links to products used in the making of this project. If you should order any product from this site, I may receive compensation, but you don’t pay a penny more.
First, let me say that there are many ways to customize a lampshade:
- paint it
- decoupage it
- add embellishments, such as buttons, lace, cord, paper or felt cutouts
- stencil it
- add trim
And, of course, you can add fabric.
I have used fabric to cover lampshades many times. It’s one of those DIY projects that give your accessories that custom look. Usually, I’ve used extra fabric on lampshades in a bedroom to coordinate with the bed linens. This is a great way to extend the colors, patterns, or textures in a room. I have some examples at the end of the post.
Since it doesn’t take much fabric to cover a lampshade, it’s also a great way to use up scrap fabric.
Finding the Right Lampshade
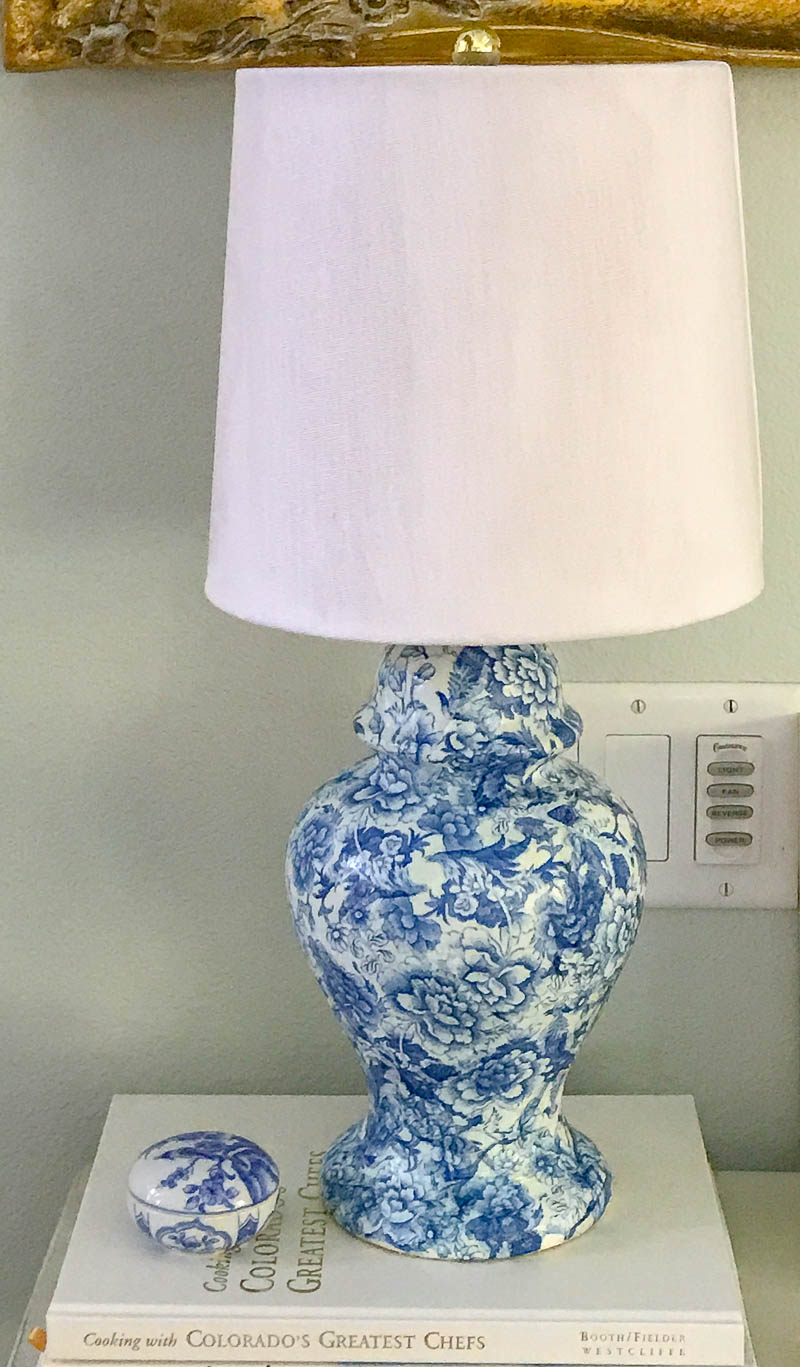
Sometimes, you just can’t find the right color lampshade or the right size for a lamp. That’s what happened with this project. Last week I shared how to make a chinoiserie style lamp project with you. I didn’t have a lampshade that would compliment the beautiful lamp that I created.
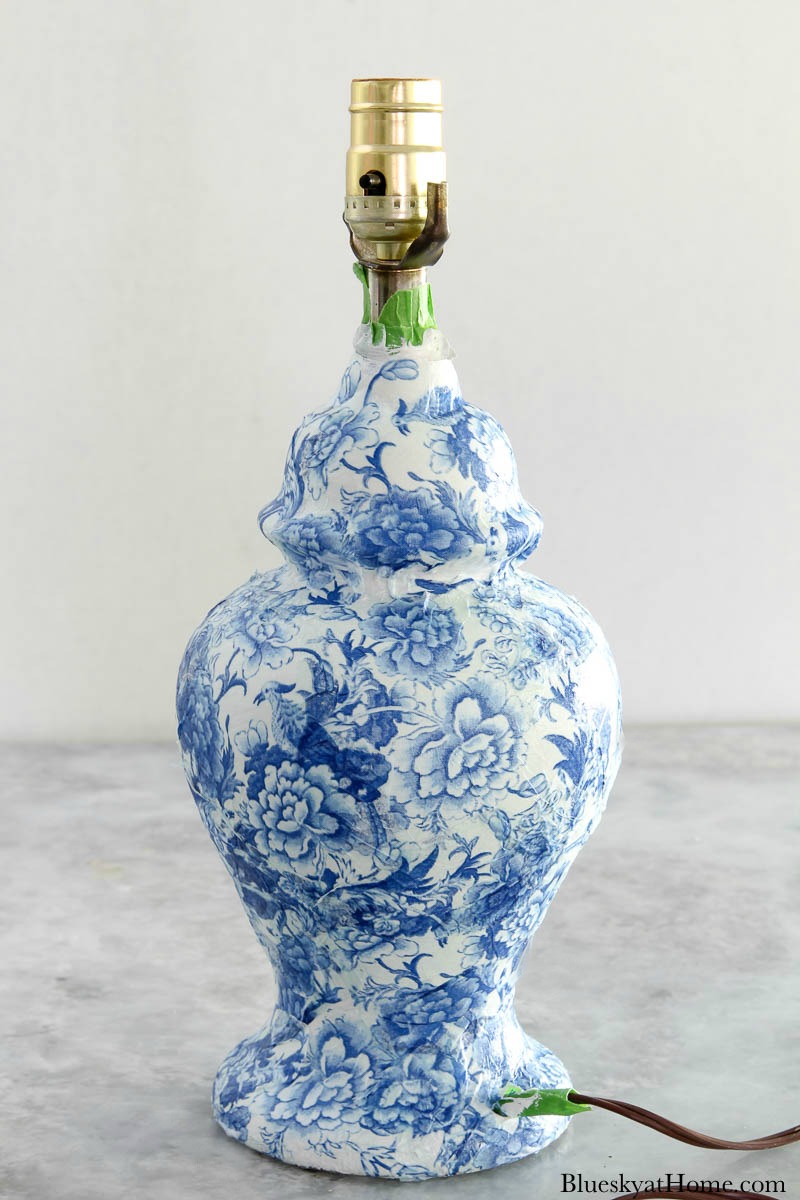
I thought a white lampshade would be the best choice since I thought a blue lampshade would be too overpowering. Also, the lampshade needed to be about 9 ~ 10 inches tall and 8~9 inches wide. I preferred a straight or slightly flared lampshade.
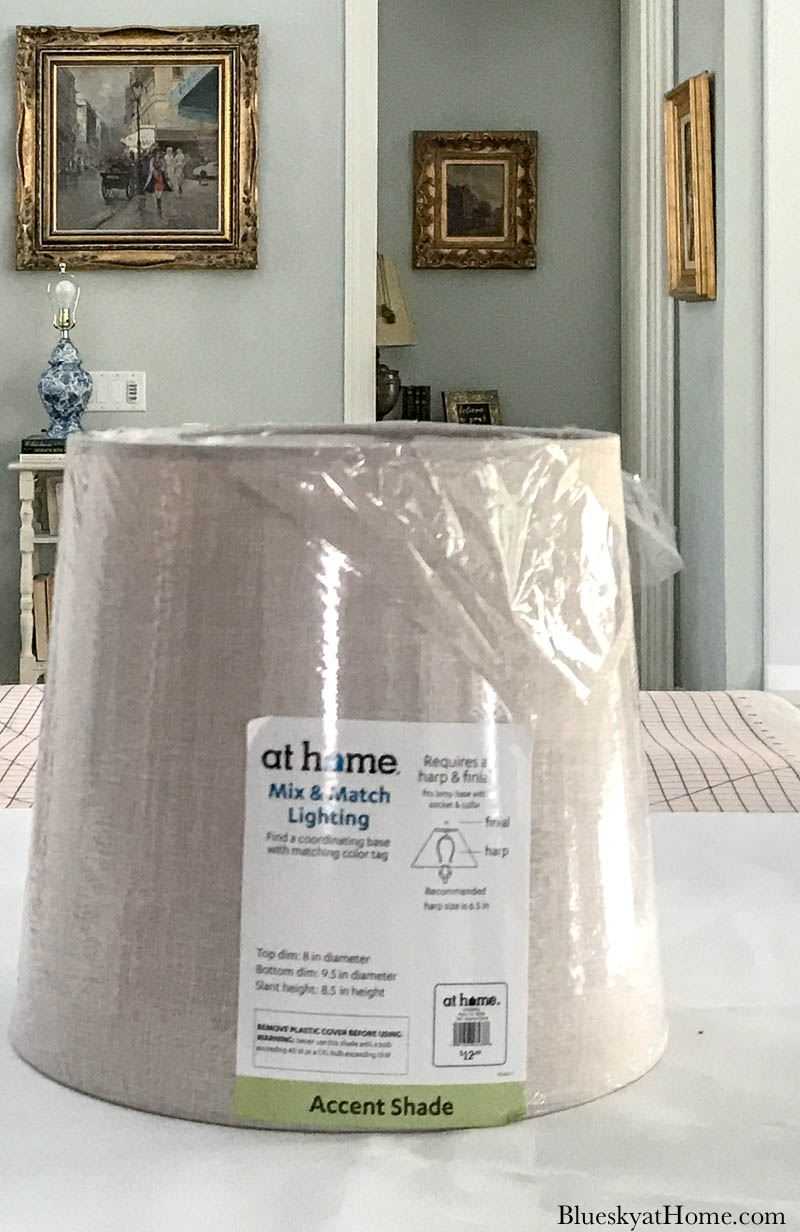
It’s not easy to find inexpensive lampshades locally. Joann used to carry them, but no longer does. Target has a few, but not in a wide variety of sizes and shapes. I have found that At Home is the best place. They have a large selection of lampshades in a variety of sizes, shapes, and even colors and patterns. I thought a plain white lampshade would be fairly easy.
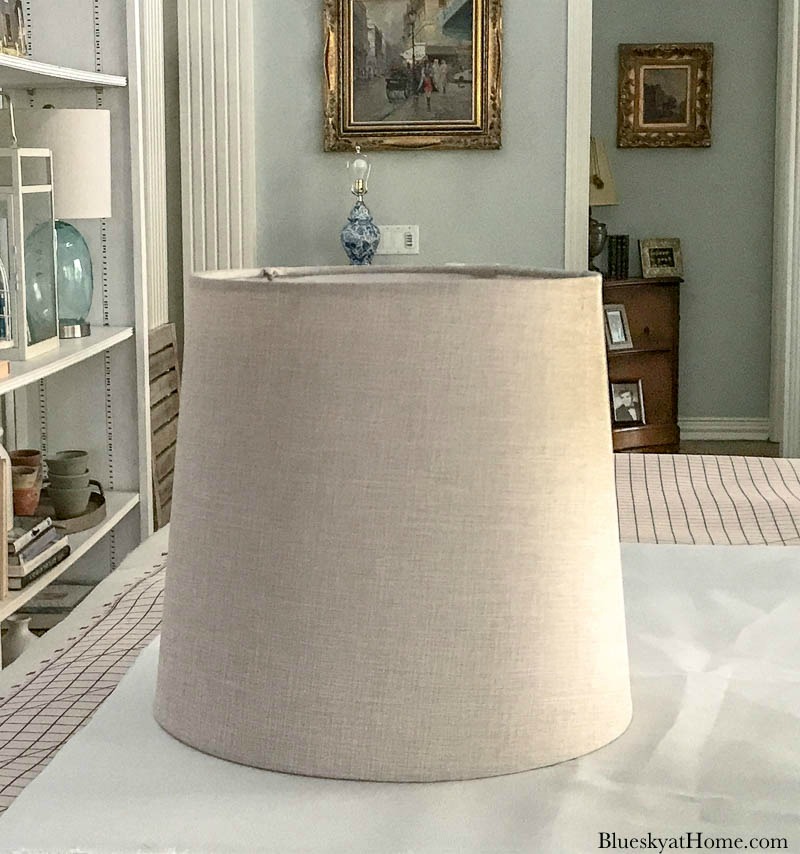
As it turned out, I had to make 3 trips to find the right size (8.5 inches tall and 8 ~ 9 inches wide) lampshade (think Goldilocks). When I finally found the right size, it was the wrong color ~ beige.
NOTE: Literally, 5 minutes before I started this lampshade project, my camera fell off my tripod. I have no idea how it happened. Fortunately, my 5~month~ old Tamaron lens was fine, but my 5~year~old Canon Rebel T5 was history. A frantic call to Canon and a conversation with a very helpful technician made it clear that I was better off getting a new camera model rather than spending money and weeks waiting to get my camera shipped and repaired.
While waiting for my new camera, I had to use my iPhone to take these pictures.
I also had to buy a harp for this lampshade. Fortunately, I had a gold finial that would work. Yes, the harp and the lampshade have a silver finish. The finial is gold. For now, they will have to work.
Adding Fabric to a Lampshade
When I found the right size, but the wrong color, I felt certain that I could change the color with paint or fabric. The fabric had a bit of texture to it that I liked. To keep the hint of texture, I decided to apply fabric over the existing shade.
Why add fabric to a lampshade?
- add pattern
- add texture
- need a different color for your lamp
- coordinate with other similar accessories
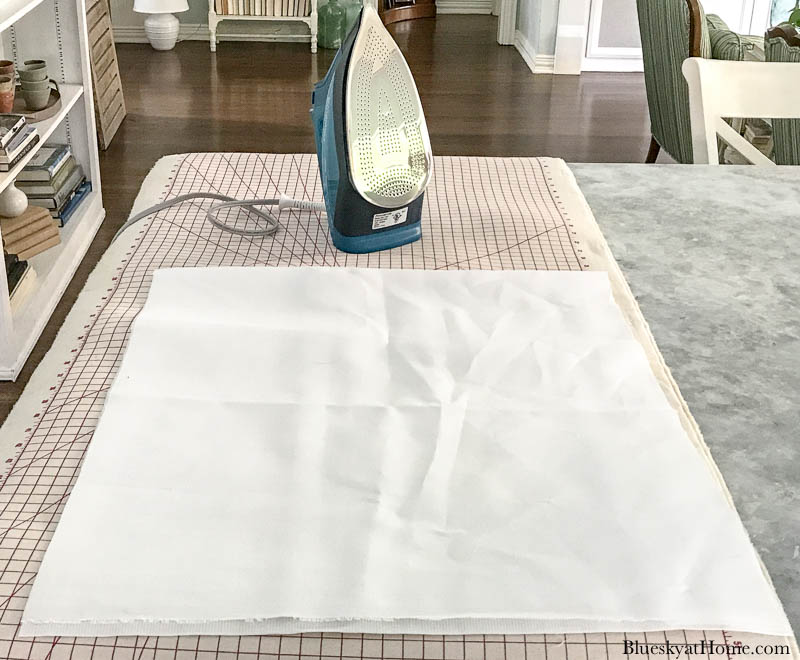
A trip to Joann yielded a white cotton fabric with a little texture, like heavy linen.
NOTE: I would use only cotton or cotton~blend fabrics. No silks, polyester, or stretchy material.
Step 1 ~ Iron your Fabric

Step 2 ~ Make your Pattern
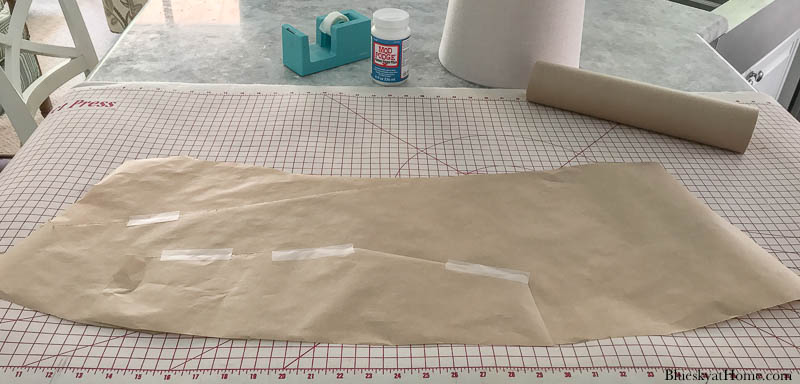
Before cutting out your fabric, you have to make a pattern. I used 2 pieces of 11~inch wide craft paper.
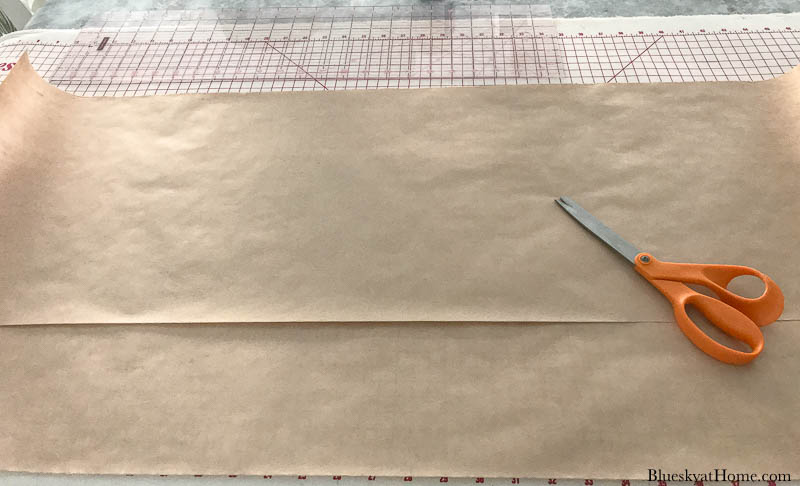
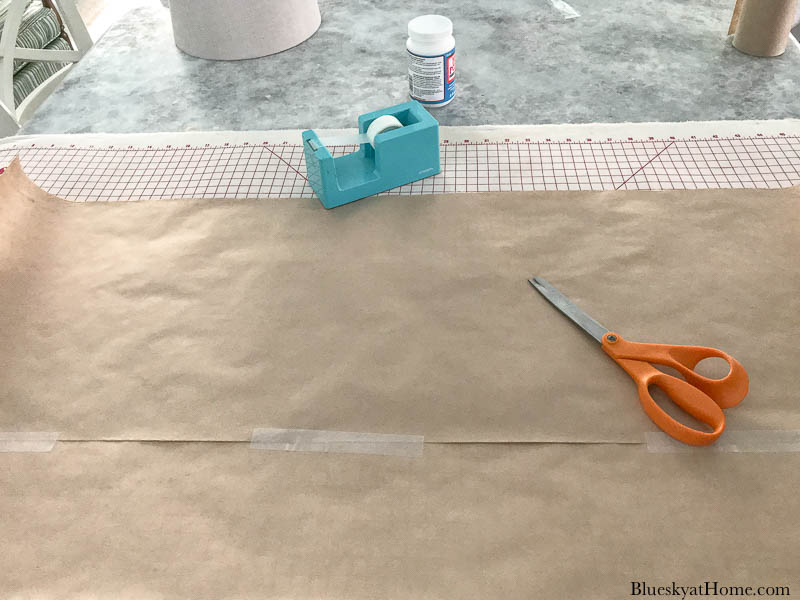
Then I taped the pieces together.
TIP: I like using craft paper because it doesn’t have any ink which could rub off on the fabric.
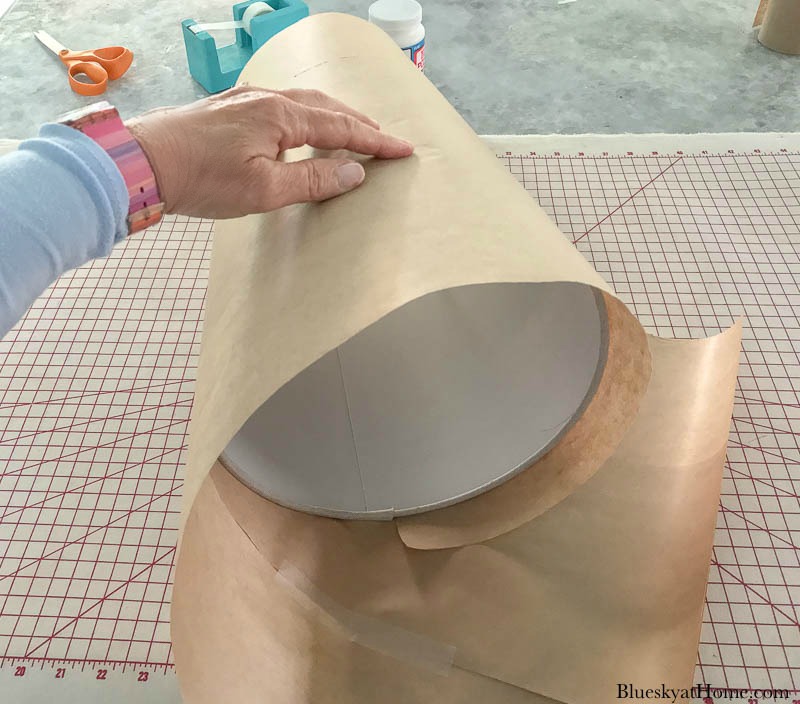
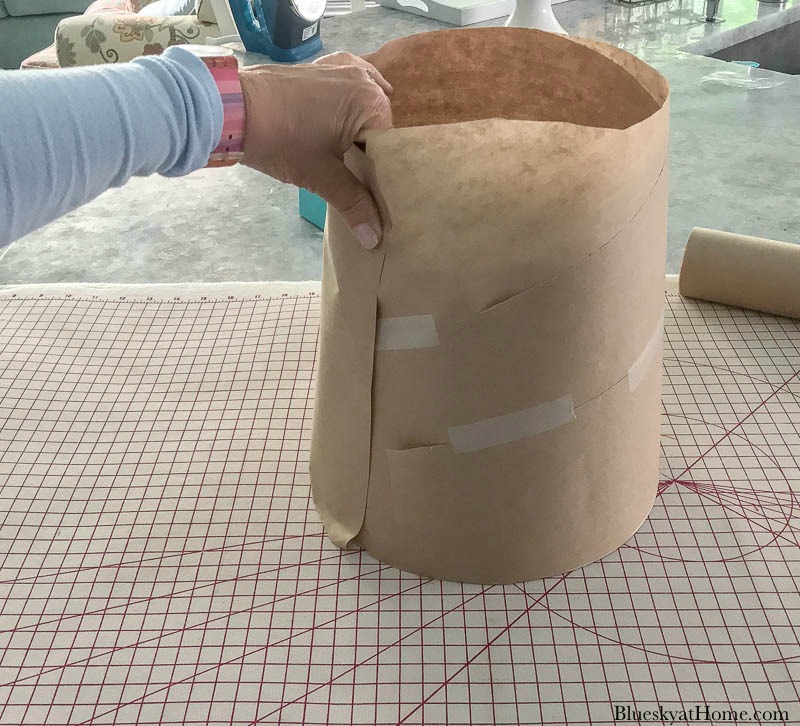
Wrap your paper around your lampshade to get an idea of where to cut the paper. Make room for at least a 1~inch allowance at the top and bottom of the shade.
Use your scissors to trim off the excess paper.
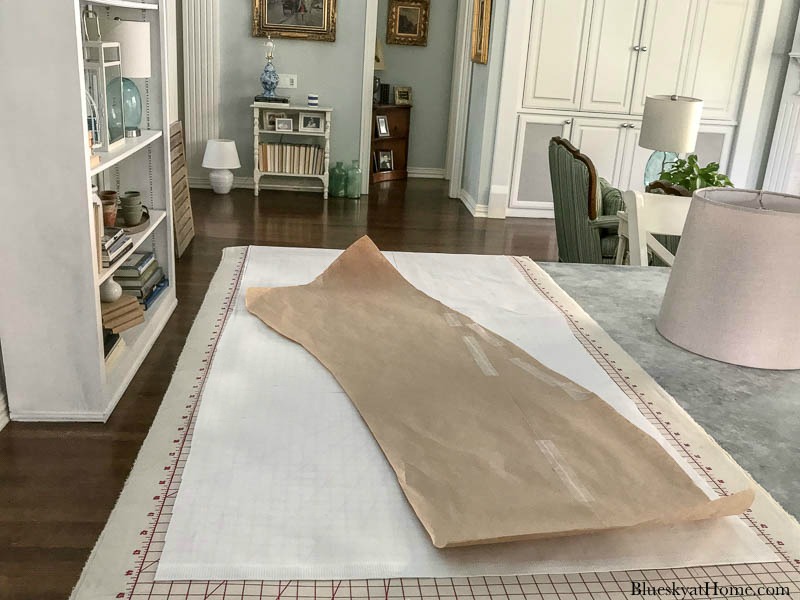
Because my lampshade was 1~inch larger at the bottom, my pattern was slightly curved.
NOTE: If your lampshade is the same width at the top and bottom, you don’t have to make a pattern. Just measure the height of the lampshade and add 2 inches. Figure your circumference (diameter X 3.14) and add 1 inch. Use a straight edge to measure and a pencil t draw your pattern on the fabric; then cut the fabric to fit the lampshade.
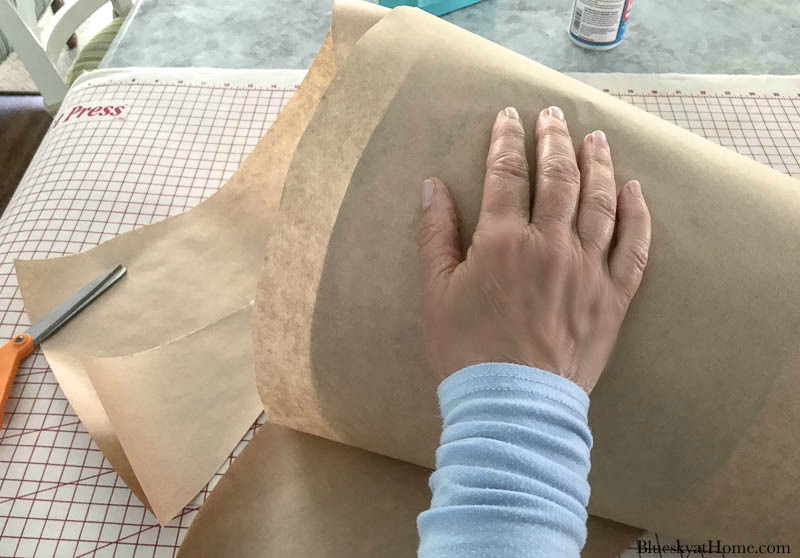
Wrap the paper pattern around the lampshade again. You can trim off any excess width.
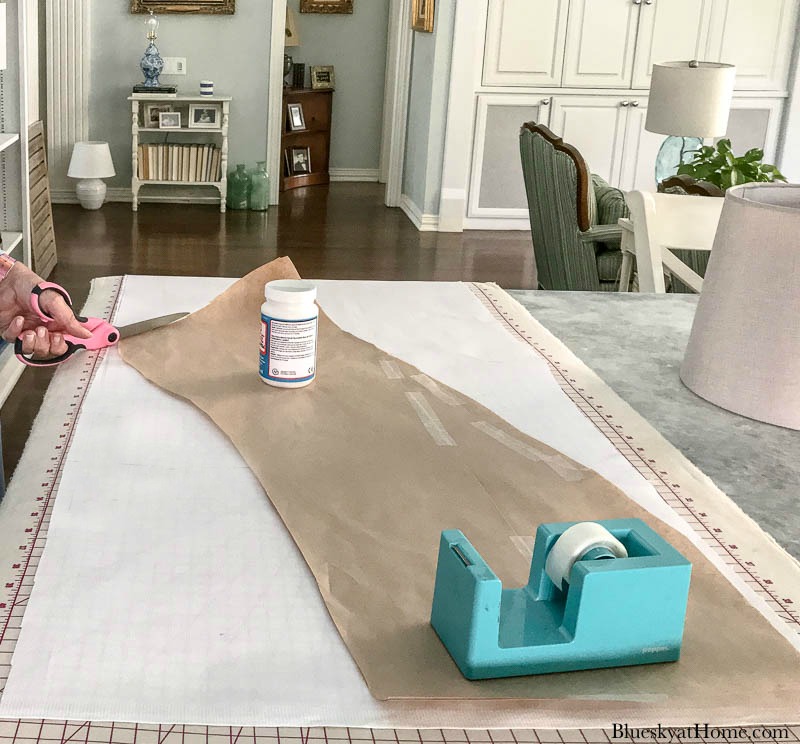
Step 3 ~ Cut Out your Fabric
Lay the paper pattern on top of your fabric.
You don’t have to pin the pattern to the fabric. Just place a few things that weight down the pattern. I used my tape dispenser and the jar of Mod Podge.
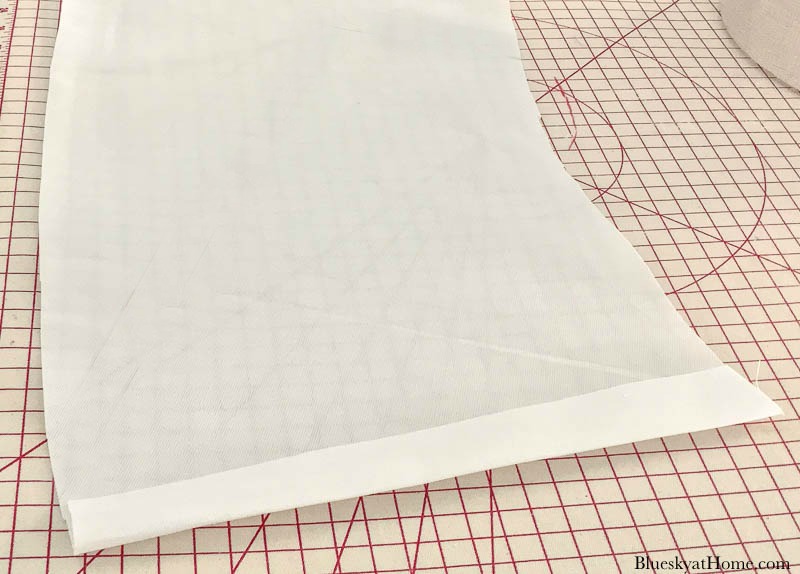
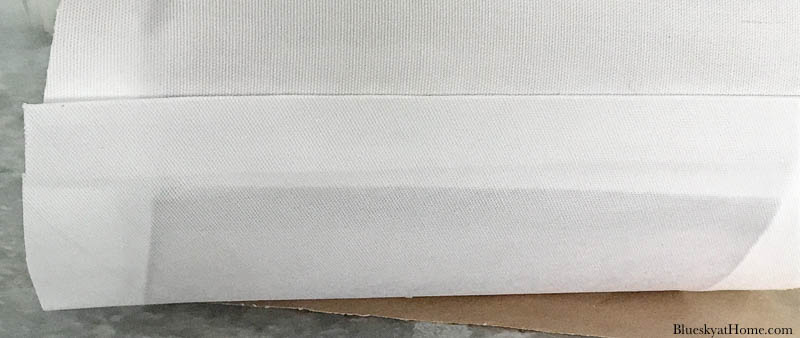
Fold one end of the fabric over 1/2~inch to make a fold and iron down. I used 1 inch, but next time 1/2 inch is plenty.
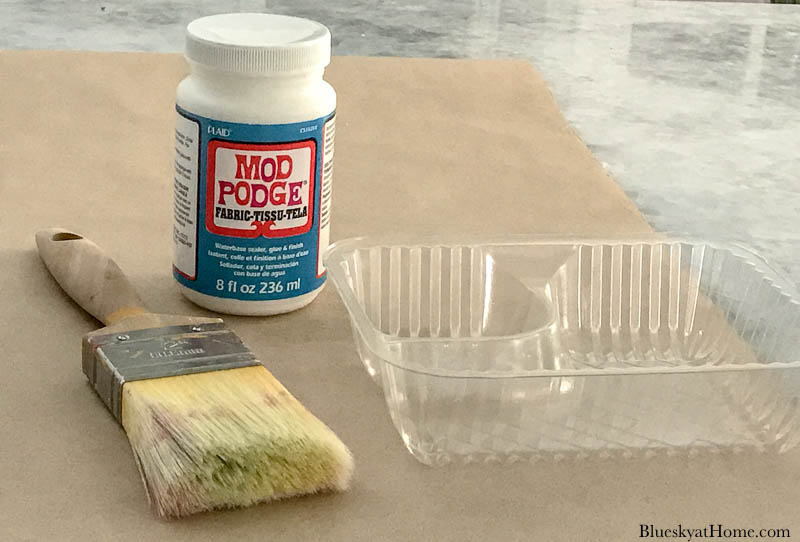
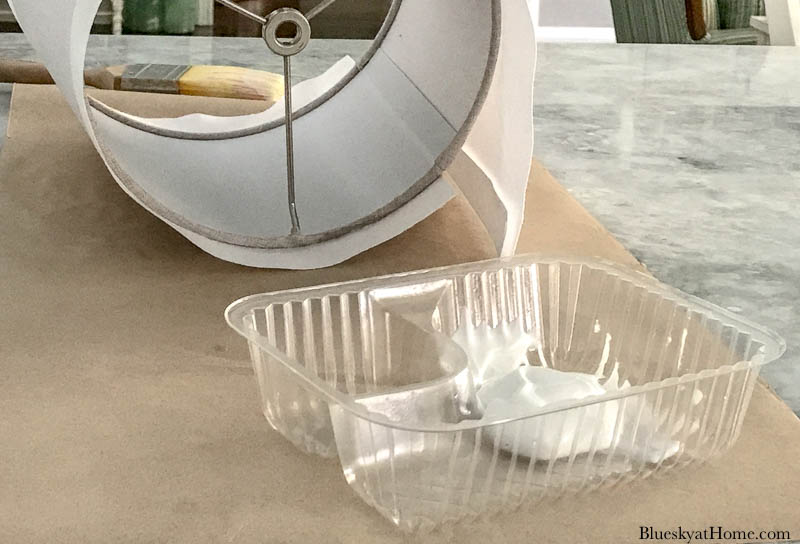
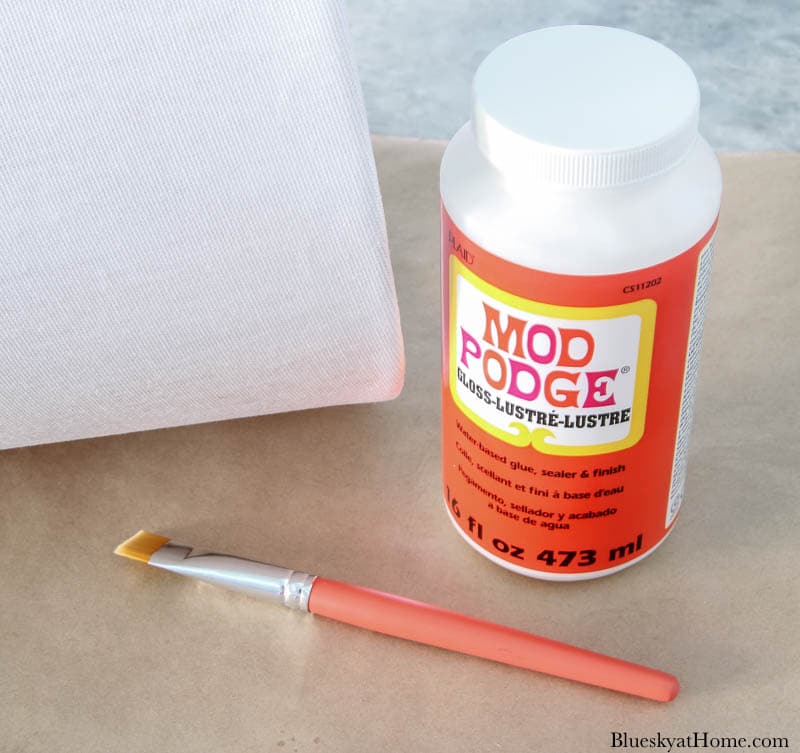
In the past, I’ve used a lampshade that comes with an adhesive backing, but those are not available any longer. I’ve also used Spray Adhesive, which works O.K., but it is so sticky and messy. To glue my fabric to the lampshade, I decided to try Fabric Mod Podge. This was a new product for me.
Step 4 ~ Apply Your Fabric to the Lampshade
I used a chip brush to apply the Mod Podge to both the lampshade and the fabric. You do have to press the fabric down to adhere to the lampshade.
Place the raw edge of the fabric at the seam of your lampshade. Make sure that you have an equal amount of allowance at the top and the bottom of the lampshade.
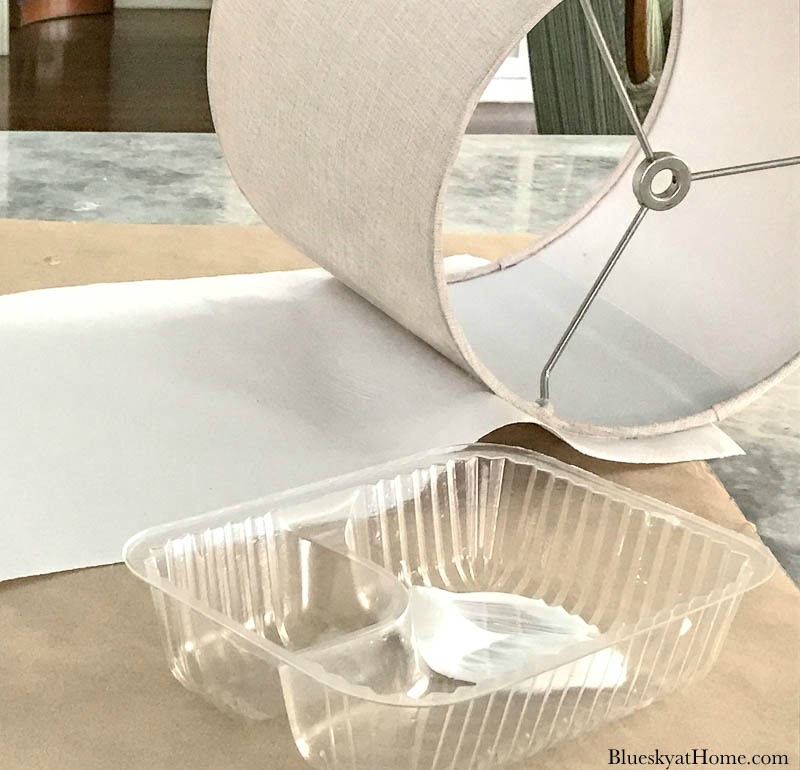
Roll the fabric around the lampshade, adding more Mod Podge as needed. Smooth fabric down across the lampshade as you go. I found that you had to apply the Mod Podge to both the lampshade and the fabric.
When the fabric covers the entire lampshade, add Modpodge to the raw edge from top to bottom and press down on the folded edge. Trim any excess fabric.
With scissors, clip a slit where the metal frame connects to the shade.
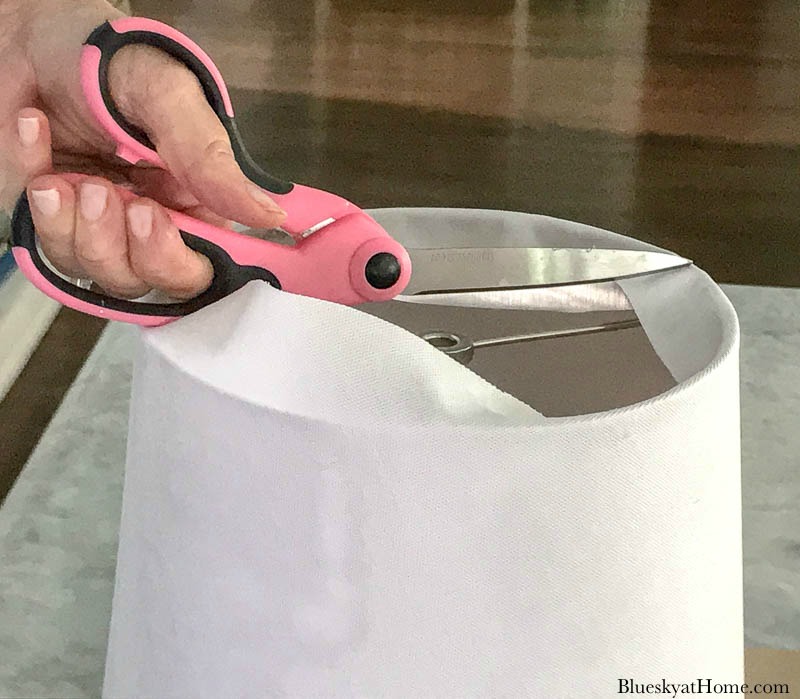
Use a smaller brush to apply Mod Podge to the allowance. Fold the fabric allowance down to the inside of the lampshade. Press down to adhere the fabric to the inside of the lampshade.

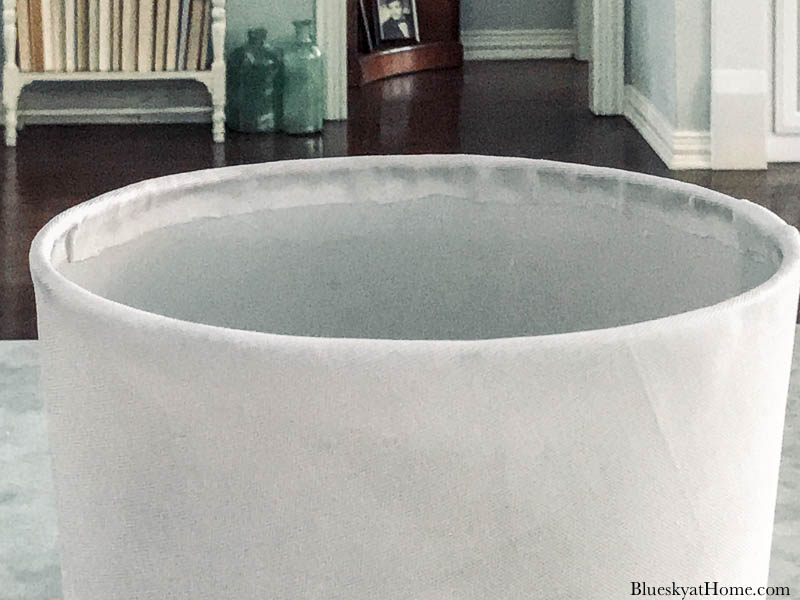
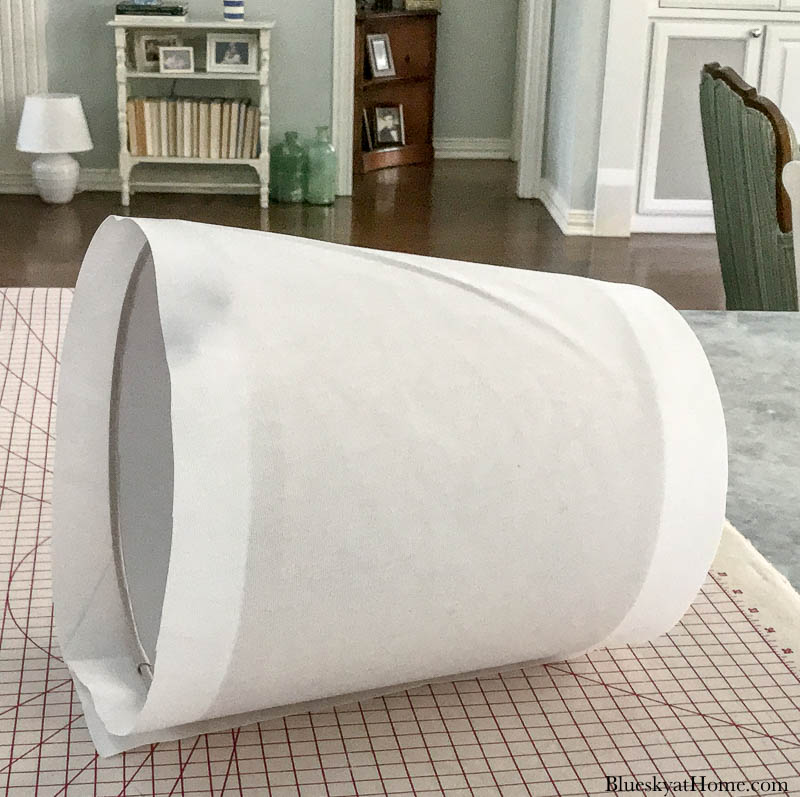
My fabric lampshade was done. I had covered the beige and now had a white shade. I let it dry overnight.
But I wasn’t happy with the result. It was just too plain.
I needed something to tie the blues of the lamp to the shade. It called for a trim of some sort in blue.
Finishing the Lampshape with Trim and Ribbon
Before I added decorative trim, I decided to finish off the inside of the lampshade. Adding bias tape would give the lampshade a more professional look and cover the raw fabric edge.
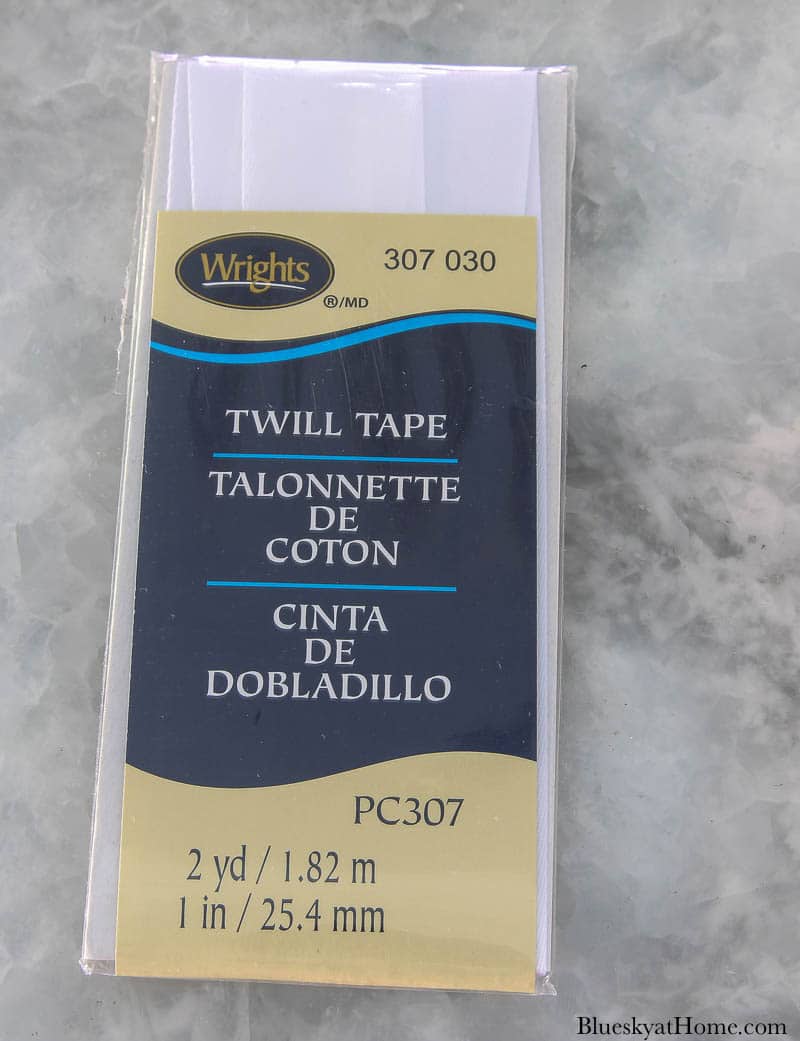
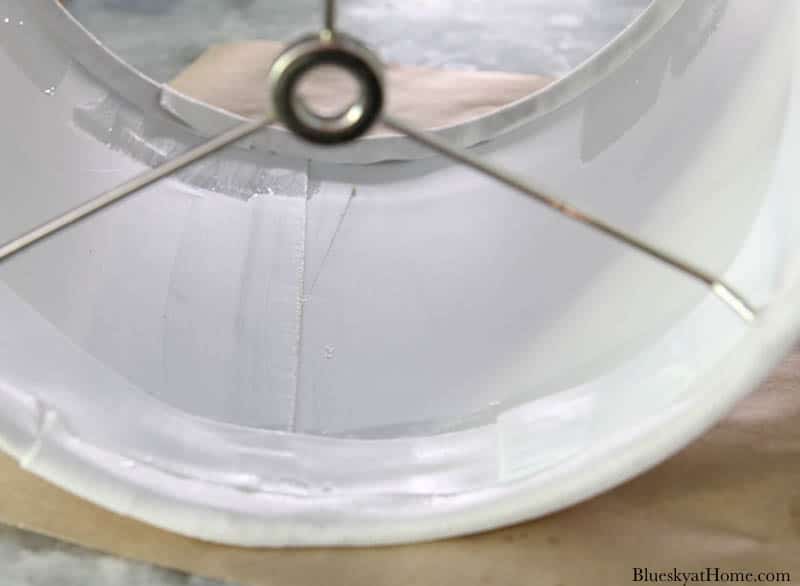
Step 5 ~ Finish the Inside Fabric with Bias Tape
I bought a package of white twill tape at Joann ~ which was the only white available. Regular wide bias tape would probably work better.
I also used the Mod Podge to apply the trim on the inside of the lampshade. This step covers the raw edges of the fabric. You may need to clip the trim to lay flat ~ like the inside of an armhole or cuff if you are a seamstress.

Step 6 ~ Add Your Decorative Ribbon or Trim
NOTE: By the time I was ready to add the ribbon to my lampshade, my brand new Canon Rebel T7 arrived! I was one happy blogger. All these photos were taken with the new camera.
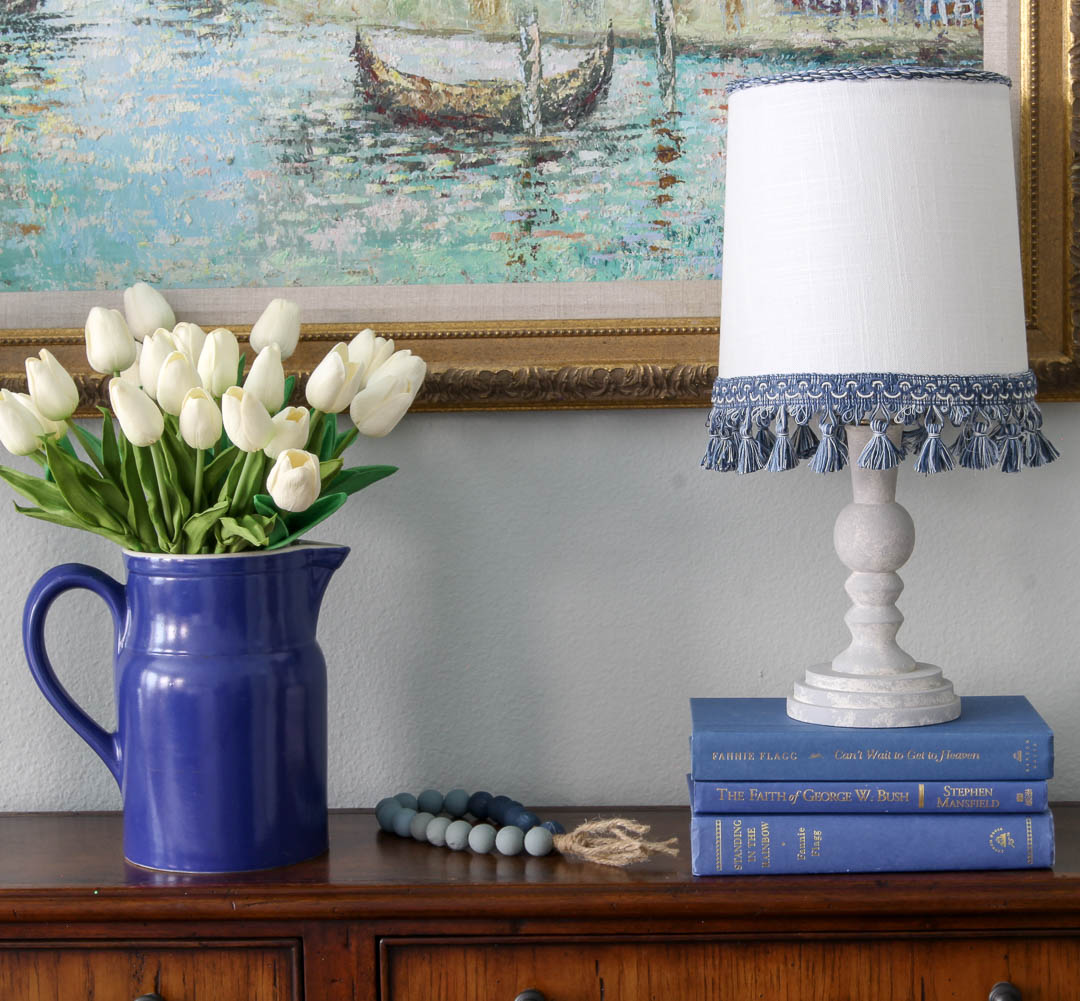
I have added trim, ribbon, and fringe to lampshades before. You may remember this custom lampshade with trim that I made for our winter bedroom.
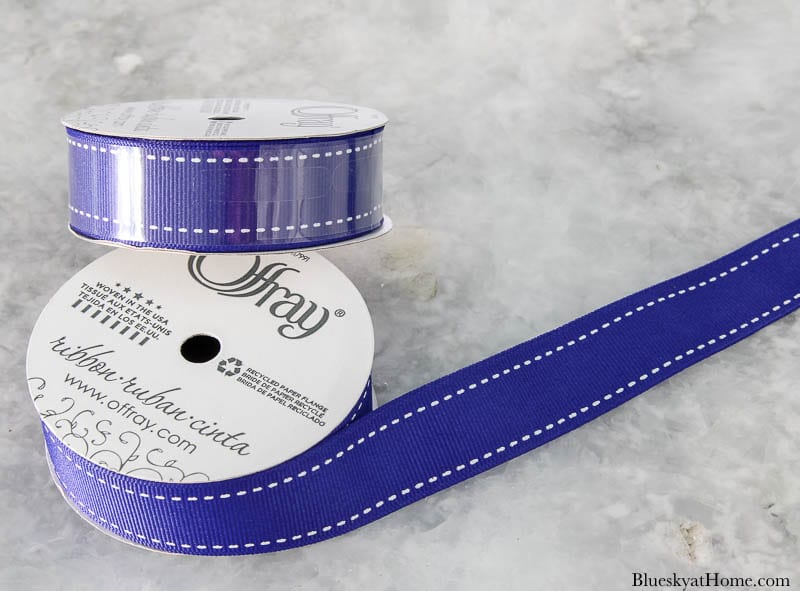
I took a piece of the blue chinoiserie napkin with me to Joann to search for ribbon or trim. As you know, there are a million shades of blue. Ideally, I would have loved to find a blue ribbon with a Greek key pattern. No such luck. After searching every aisle and shelf, I finally chose this shade of blue with a little bit of white as the best option.
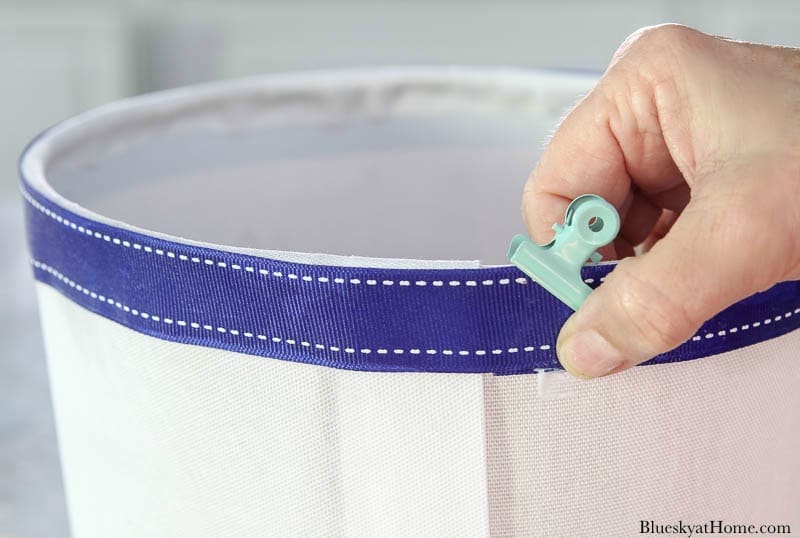
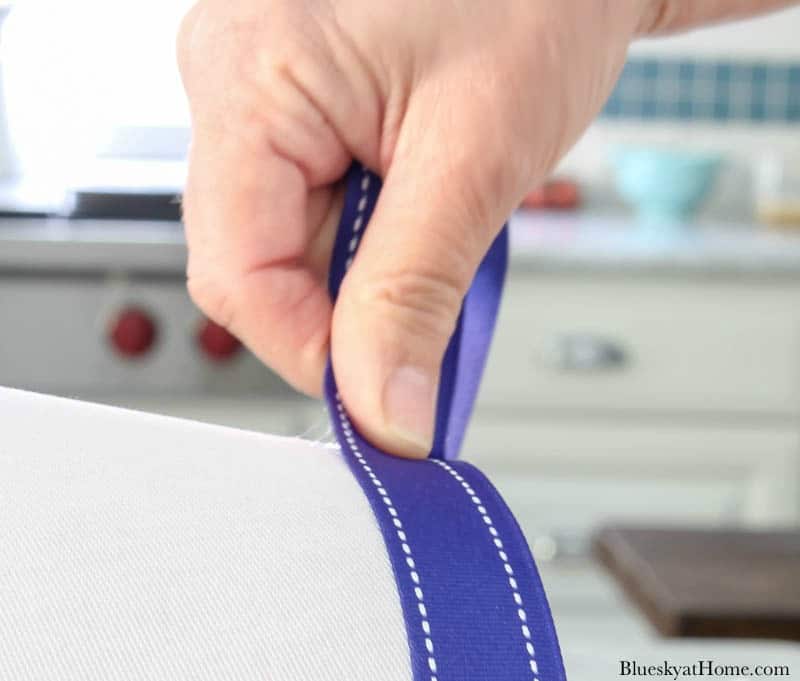
I used the fabric Mod podge to apply the ribbon to the bottom of the lampshade first.
Once again, you have to apply the Mod Podge to both the lampshade and the ribbon and then press down.
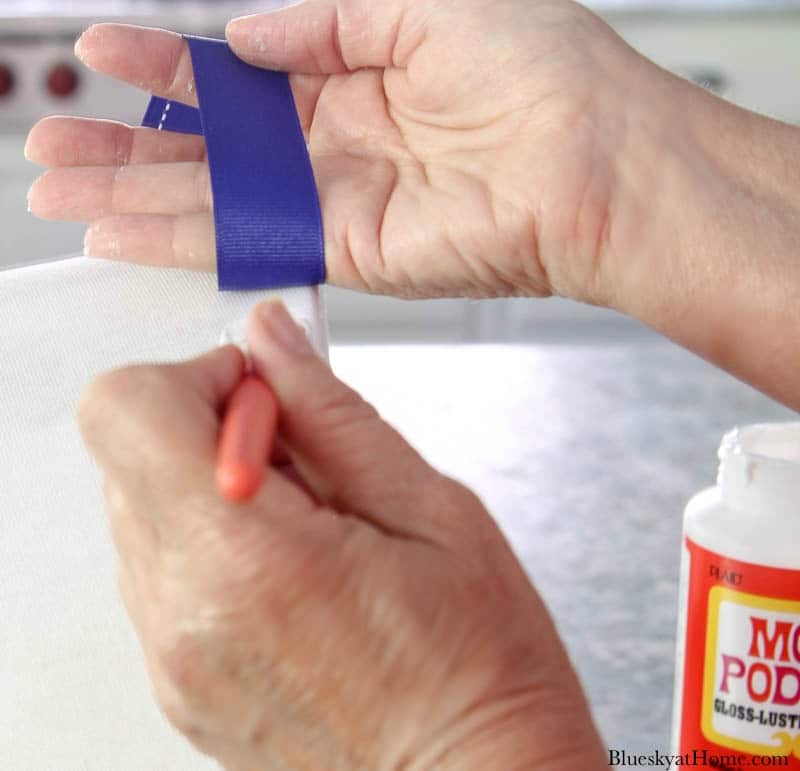
Fold over the end of the ribbon and use a bit of Mod Podge to hold that together. A small clip helps to hold the ribbon until the Mod Podge dries.
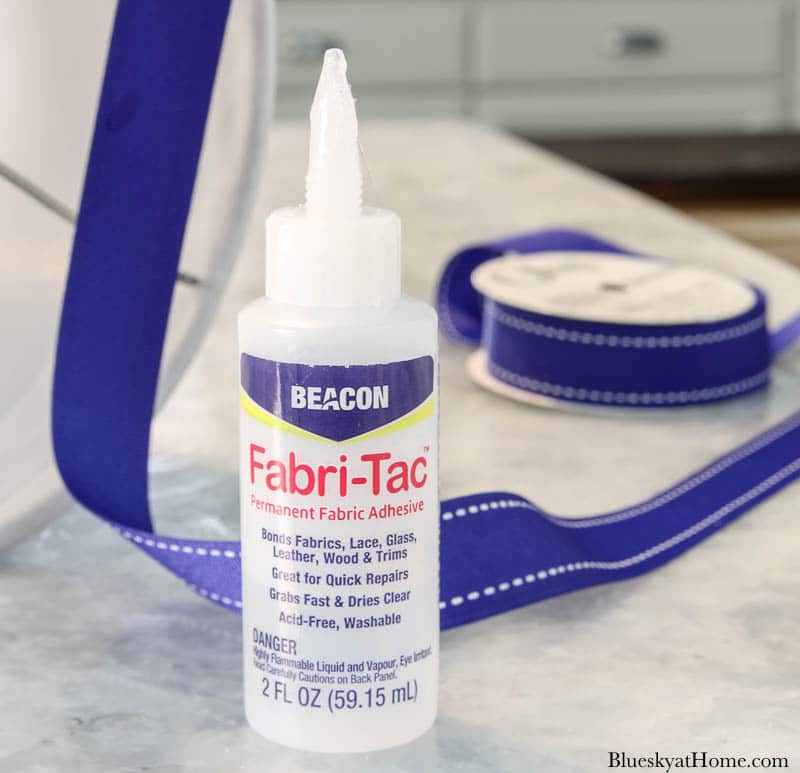
I’ll have to admit that using the Fabric Mod Podge to apply the ribbon didn’t work as well as I liked. I had just enough Fabric~Tac in my sewing desk to use on the final ribbon trim. That worked much better.
NOTE: I like to buy the smallest bottle of fabric glue because it always seems to dry out before I can use it up.
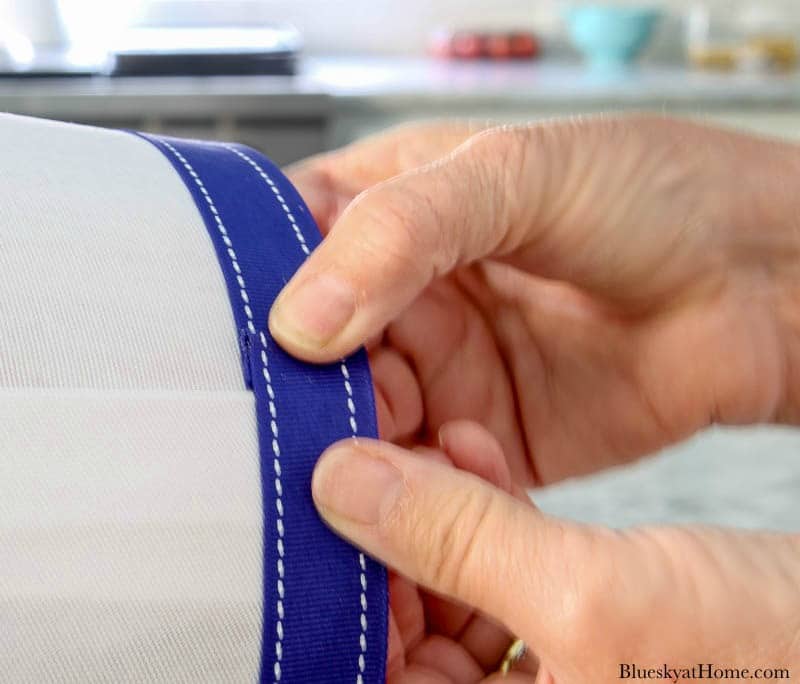
All it took was applying a bead of fabric glue to the ribbon.
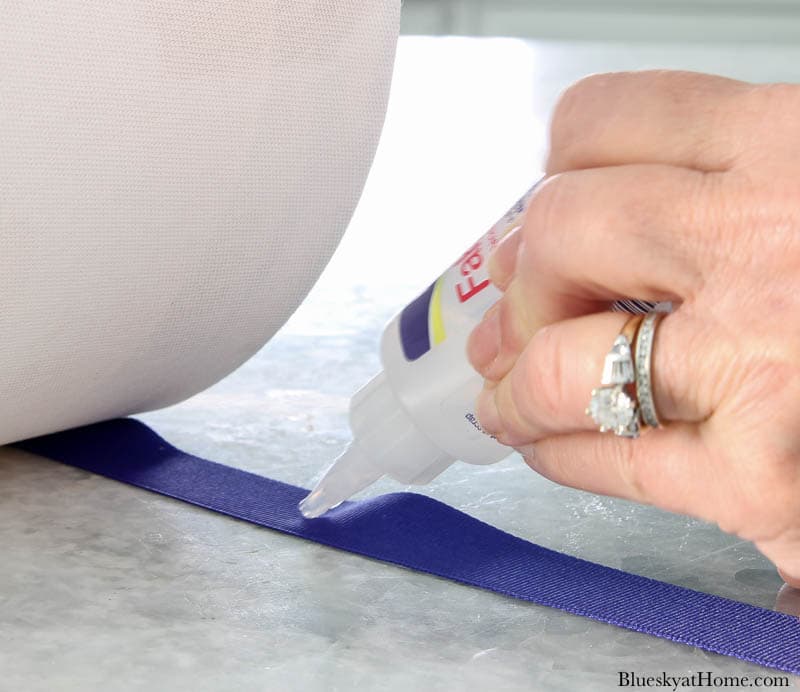
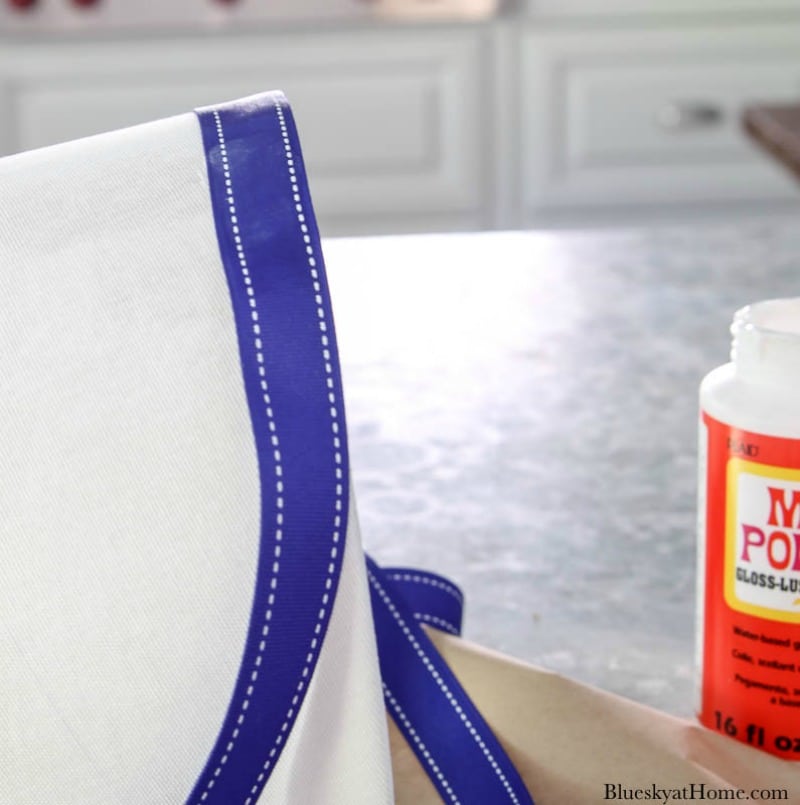
Then, you wrap and press the ribbon down to the lampshade. Again, start at the seam of the lampshade.
Fold the end over and press down for a minute or use the clip again.
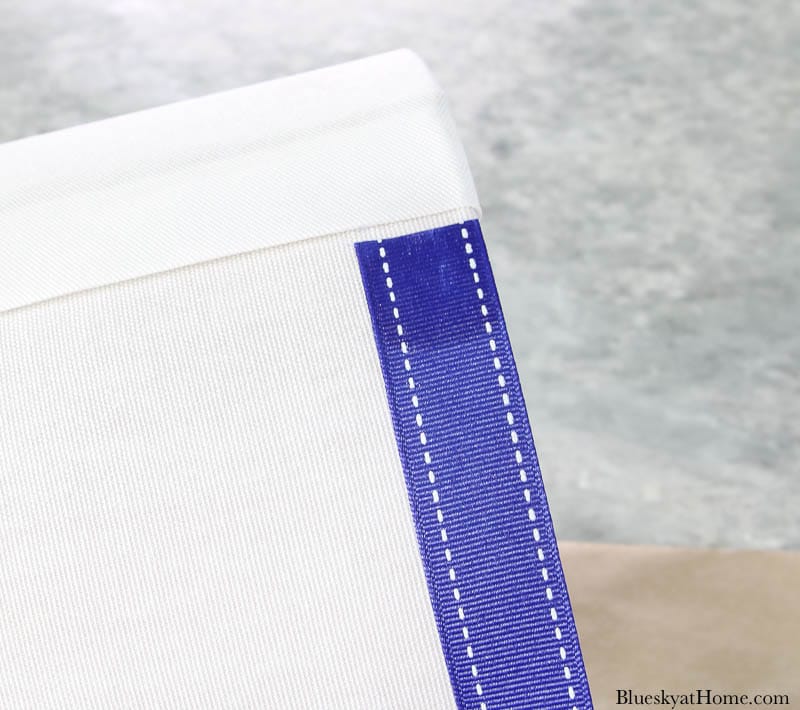
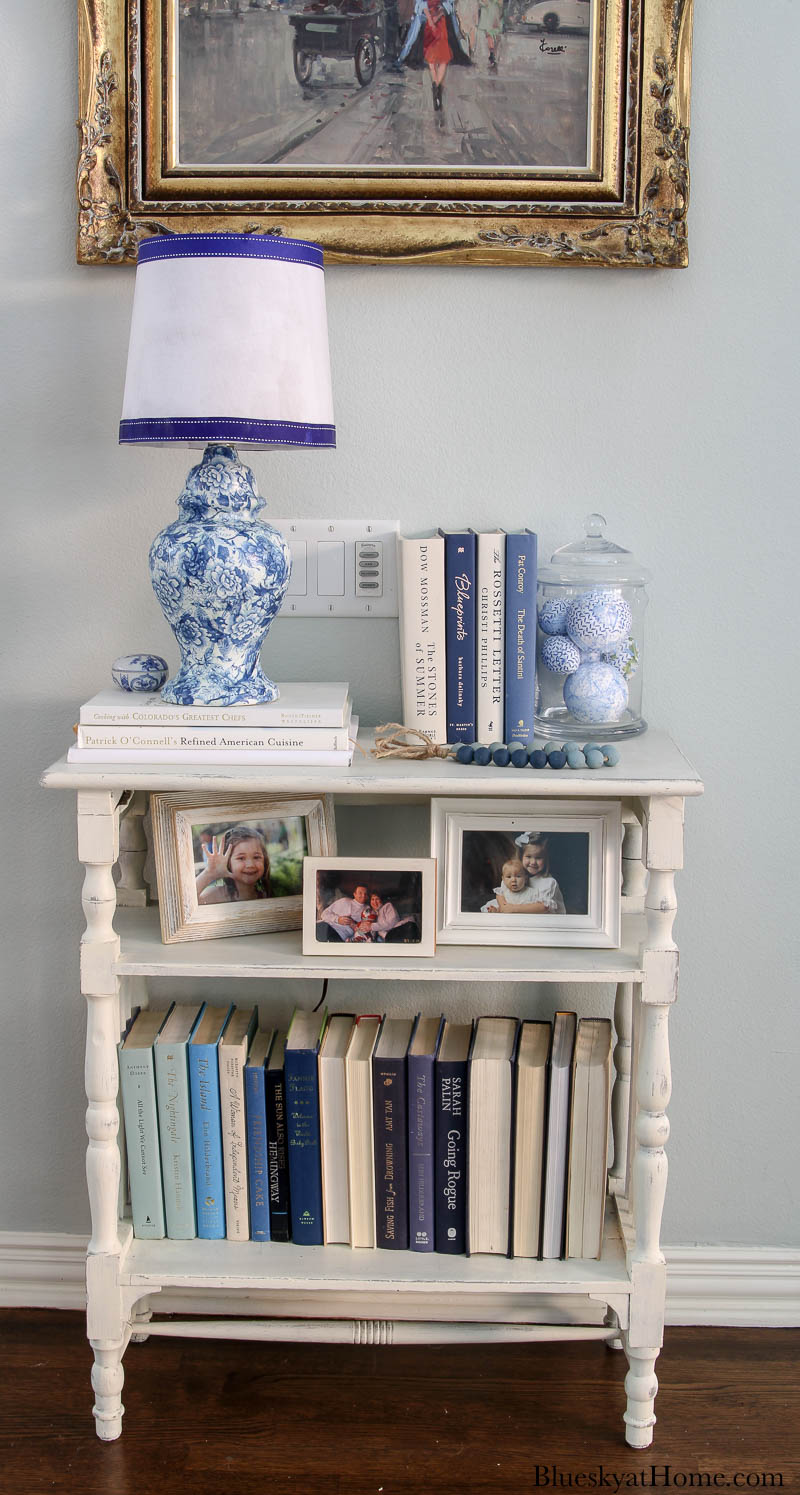
The Lampshade Reveal
Here is my finished chinoiserie style lamp with my customize lampshade. Do you notice that the top trim (applied with fabric glue) is much straighter than the bottom (applied with Mod Podge)?
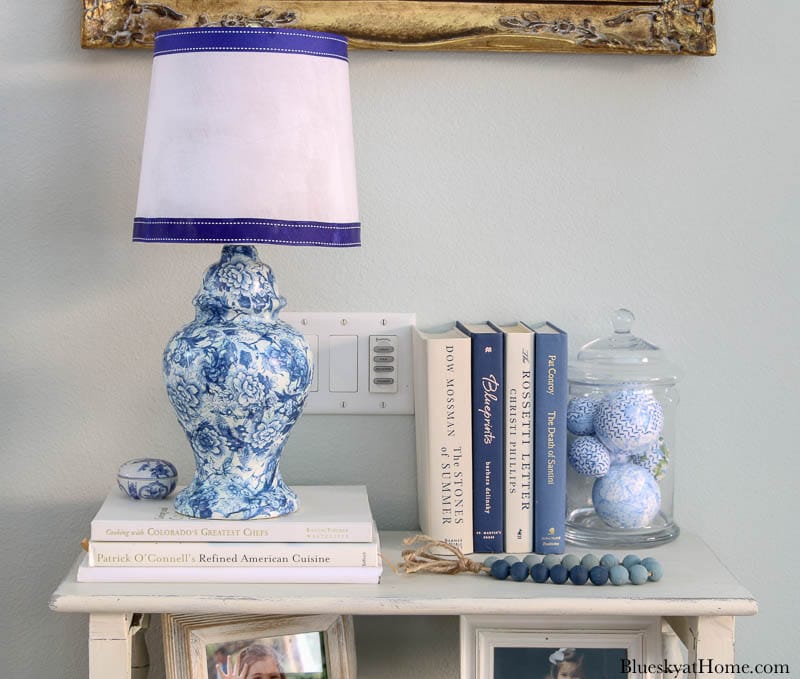
Here’s my Suggestion: use the Fabric Mod Podge to apply the fabric to your lampshade and the Fabric ~Tac to apply your trim.
What did this customized lampshade with fabric and trim cot me?
Lampshade (At Home) $12.99
Harp (At Home) $3.99
Fabric (Joann) 1/2 yard @$8.99/yard $4.50
Twill Tape (Joann) $2.99
Ribbon 3 yards on sale $2.99
That’s a total of $27.46 + tax. I know that is 1/2 to 1/3 of what I would pay in a home decor or lamp store for a plain lampshade. I checked online too.
Although I bought the Fabric Mod Podge at Joann ($7.99 – 60% off) $4.79, I usually don’t count those items because I used a tiny fraction of the 8~ounce jar.
I do love the vignette on this table in our living room. I used books in shades of blue. Remember how to decoupage styrofoam balls and eggs?
Examples of Other Custom Lamp Shades
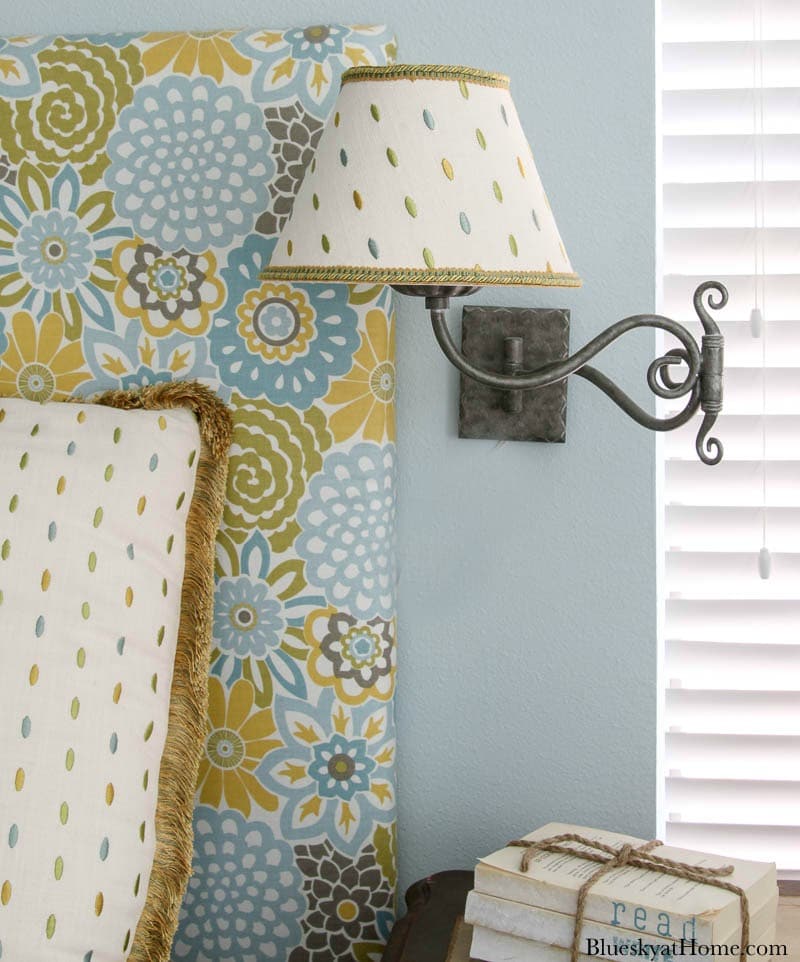
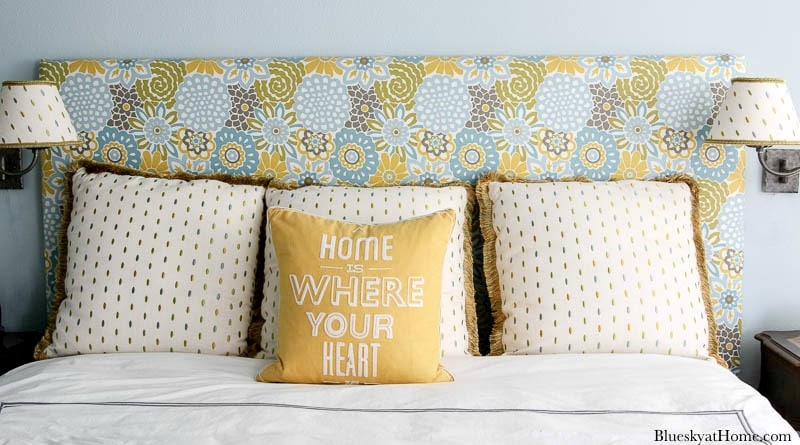
I made these custom lampshades for our “king” guest room. The sconces were originally in our bedroom at our previous home.
NOTE: When we moved in our house in 2013, I made a fabric~covered headboard and a matching bed skirt. Then I found the coordinating fabric to make 3 Euro shams. I had plenty of fabric left to make new shades for the sconces.
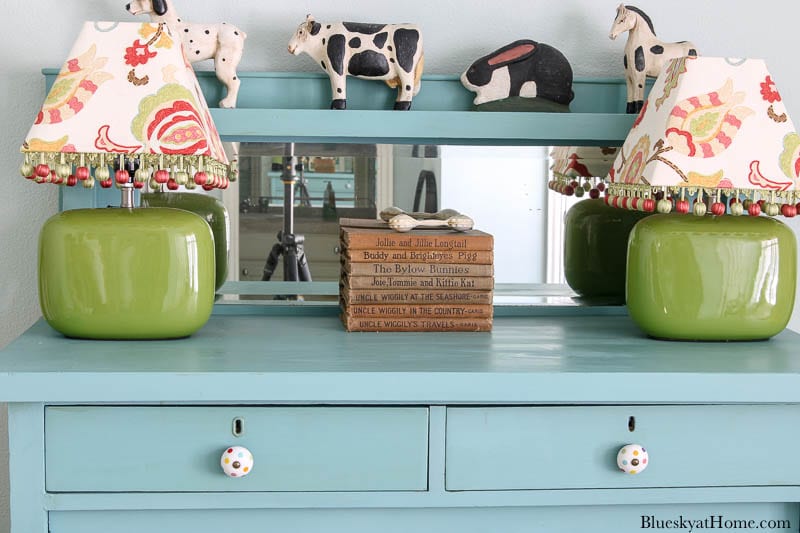
These fabric~covered shades are in the little kids’ guest room. I found the lamps on sale at Target before we moved to our present home. Although this green isn’t my favorite shade, I knew they would be perfect with the fabric I already bought for this room. This fabric is on the pillow shams and valences.
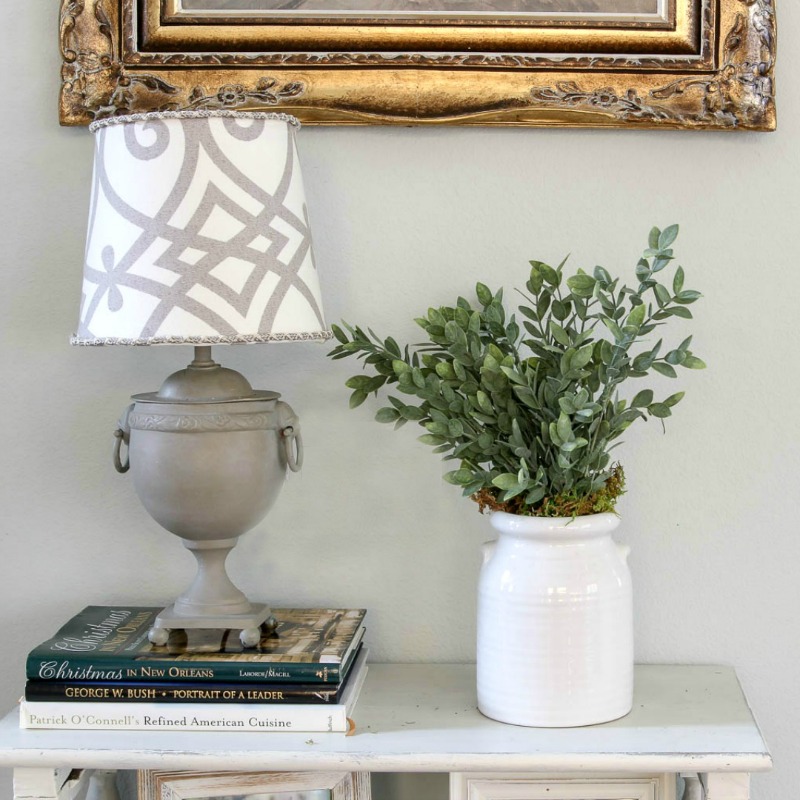
I also made this fabric~covered lampshade for a brass lamp that I painted grey. This was the lamp that I replaced the new chinoiserie lamp with. I’ve got plans to remake this lamp soon.
This project to customize a lampshade with fabric should give you plenty of incentive and ideas for taking your existing lampshades to a higher level of decor. Start looking for ways to add decorative fabric and trim to an old or new lampshade.
Be sure to PIN this tutorial so you have the steps to follow.

Love your lampshade, Carol! It’s so pretty with your chinoiserie lamp. Thanks for the great tutorial!
You are the lampshade queen! My late m-i-law loved recovering shades; I have 2. One is crushed pumpkin gold velvet with sequins on the top and a tassel fringe on the bottom. The shade always had to be kept one side out as she ran out of fringe by about 4″ but used it anyway! Sounds hideous but it was perfect for the lamp (green, white, and gold Capidamonte (sp?) with naked cherubs running across it–also rather hideous but loved! I haven’t tried it–yet!
Goodness gracious, I think you are the customizing lamp shade queen! So many pretty shades. Great tutorial. Love how they turned out. Pinned
HI Carol,
Two things. I love the lampshades and I need to reread how you get the trim around the shade. I always struggle with keeping it straight or aligned.
Second, I love your wedding ring! ;0)
My sister is coming for a visit to Colorado from Knoxville. So excited!
Oh I meant to ask you are you attending the virtual Haven this year?
laura
Hi Laura. Using the fabric glue was so much easier to get the trim straight. I love my wedding ring too! Yes, I’m doing the virtual Haven because I’m a mentor this year! So excited about that. Are you coming?