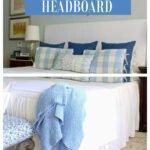
How to Make a Fabric-Covered Headboard
Your bed is the focal point of the room. A headboard is the star of the bed and completes the look of it. Headboards come in all shapes, materials, and styles. Have you ever thought about making a fabric headboard? Let me show you how to make a fabric-covered headboard.
Can you learn how to make a fabric-covered headboard? Of course, you can. It’s much easier than you think.
A plain mattress on a frame is just functional. We want a bed that gives us a comfortable night’s sleep. We also want our beds to be not just practical, but pretty. Pretty linens dress up your bed. But a headboard? It becomes a statement piece.
I especially love the rich look and comfort of an upholstered headboard. If you like to read in bed, a fabric-covered headboard is so comfortable to sit against when you are reading.
For aesthetic reasons, I wanted a new fabric-covered headboard for our master bedroom. This time, I knew we could make it ourselves.

In my most recent Monday Memo (It’s the newsletter I send out every Monday to my community. I always include valuable Home Decor Tips.), my home decor tip was about 10 ways to make your bedroom more comfortable.
That made me think about our DIY headboard that we made a couple of years ago. I love it so much that I wanted to share the project again.
Easy Steps to Make a Fabric-Covered Headboard
We have had a fabric-covered headboard for over 20 years. Our original fabric-covered headboard was custom-made 24 years ago when Sweet Shark moved into our first home together. It was in a plaid silky fabric in shades of taupe, brown, cream, green, and rose. (My color choices have definitely changed over the years.)
Then ten years ago, when we moved to our present home, we had the headboard re-upholstered.
Here is the re-upholstered headboard and bedding when we first moved to our new home. As you can tell, our color scheme was now soft blues, creams and yellow.
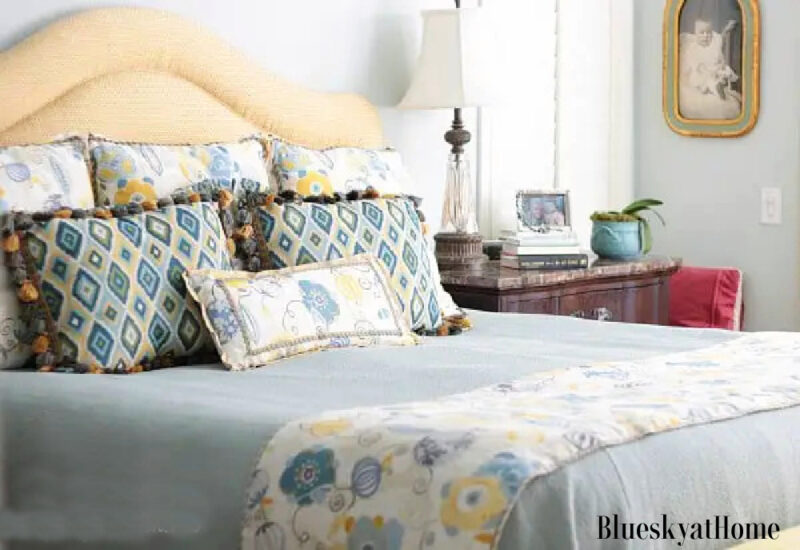
Although I loved the pretty curve on the headboard, the muted yellow designer fabric made it hard to change the color scheme for the seasons and holidays. I did find a way to overcome that challenge.
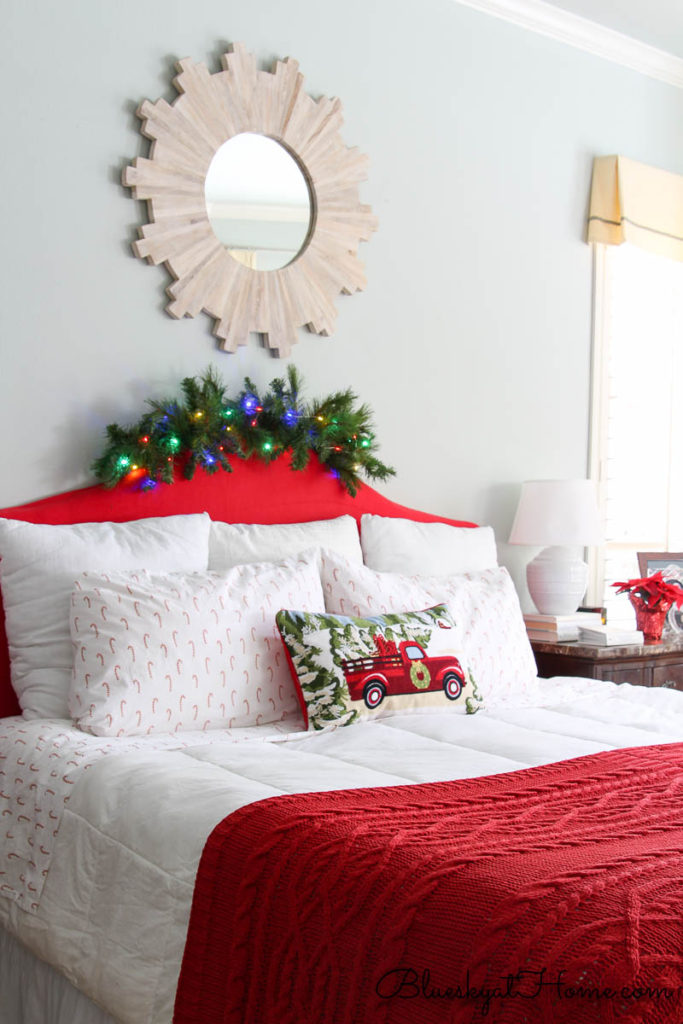
I bought flannel fabric, which is very wide and requires no hemming. I covered the existing headboard for spring and summer and Christmas.
For easier decorating, I wanted a white headboard. I also wanted a more simple shape that was more modern – just a simple rectangle.
Is it hard to make a fabric-covered headboard? Not at all. It’s also very affordable. This is the second fabric-covered headboard I’ve made. When we first moved into our present house, I made a king-size fabric covered headboard for one of our guest bedrooms.
Let’s get started.
Decisions Before You Start the DIY Headboard
A few considerations before you start:
- The first step to making this headboard is to identify which size bed(s) you want to make the headboard for. That determines the size of some of your supplies. We are making a king-size headboard. King beds are 76 inches wide.
- The second decision is if you want a shape other than a straight-edge headboard. Our original headboard had a curved shape. If you want a curved headboard, you will need a jigsaw.
For this new headboard, I wanted a more modern look with straight lines. This makes it much easier to construct the headboard and requires less equipment and skills.
Supplies You Need to Make an Upholstered Headboard
We are making this new headboard for our king-size bed. This is a general list for any size headboard. Some of the supplies will make more sense as I show you how to make the fabric-covered headboard.
- 4 X 8 3/4-inch finished plywood – available at Lowe’s or Home Depot; this is a standard size.
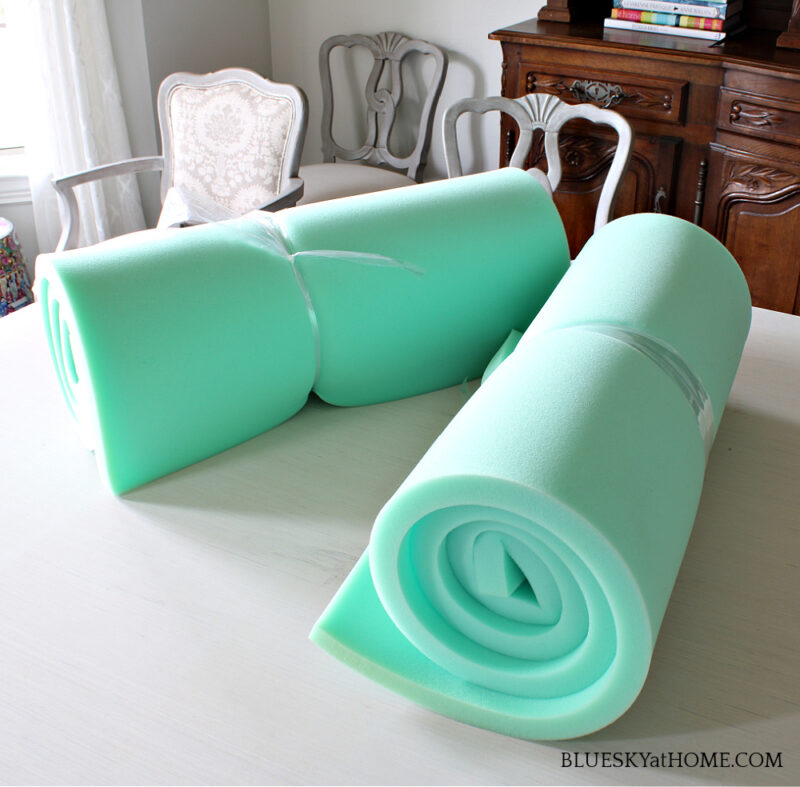
- foam batting – 2 pieces that are a minimum of 2 inches thick; foam batting usually comes in 2-foot wide sheets – I bought mine at Joann.
- sandpaper
- large roll of cotton batting – I already had a 4-foot wide roll.
- heavy-duty staple gun
- adhesive spray
- fabric in your choice of design; I would select a designer fabric that is 54 – 60 wide. You will need enough fabric to cover the width of the headboard plus 8 inches for turning over the sides of the headboard. You’ll see below that I had another idea in mind.
- wood pieces also 3/4-inch thick and 4 inches wide; at least 2 for a twin or double bed; 3 for a queen or king bed. (optional) – available at Lowe’s or Home Depot
- metal brackets for attaching legs to plywood (optional) – available at Lowe’s or Home Depot
Wood Base for the Headboard
All upholstered headboards start with a wood base. We bought our 4 x 8 plywood at Lowe’s. Plywood comes in different grades. Plywood can be really rough, but I bought a piece with a smooth finish.
The width of the plywood (4 feet) will be the minimum height of your headboard.
Even for a king headboard, you will need to cut the 8-foot long plywood (96 inches) down to your required inches. Remember, a king bed is 76 inches wide.
I wanted the headboard to be a bit wider on both sides. I needed 80 inches wide. The nice lumber people at Lowe’s will cut the wood down for you.
If you need to know the sizes of standard beds in the US, here is a chart for you.

TIP: Be sure to take home the excess wood for other projects.
Now that we have our wood base, let’s start making this fabric-covered headboard.
Making the Fabric-Covered Headboard
I wish that I had taken more pictures. I hope the explanations will work for you.
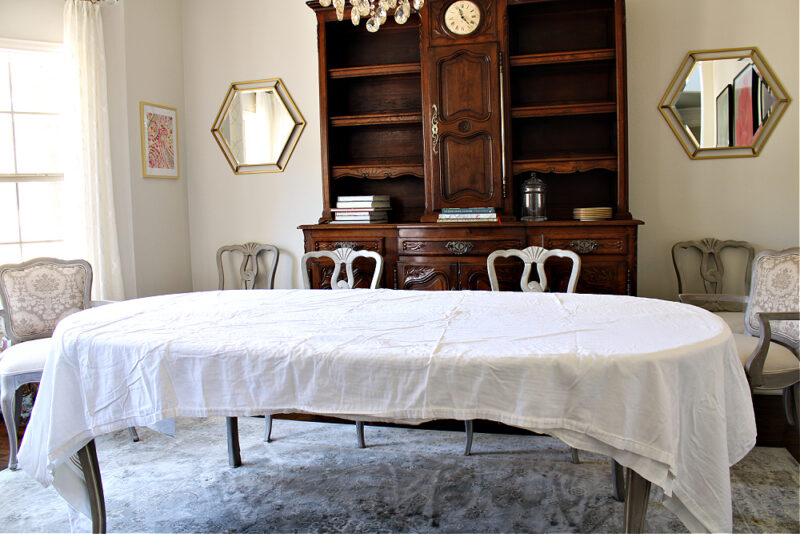
The headboard is easiest to make if you set the wood on a table. We used our dining room table.
Also, this is a two-person job. It helps to have someone help you staple and pull the cotton batting and fabric.
Step 1
To protect the table and to more easily move the wood around, I placed a sheet on the table.
Step 2
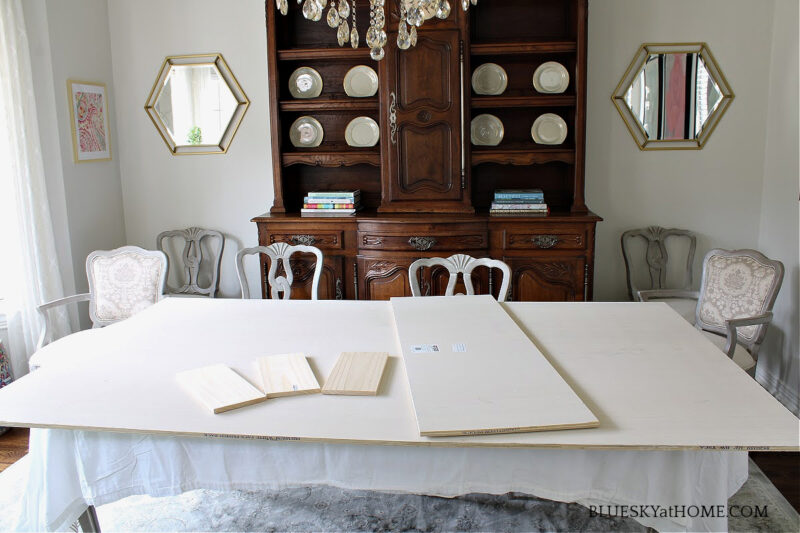
Place the wood board on the table and sand all the edges until smooth.
TIP: As you go around the plywood with the sandpaper, hold up the sheet to catch the wood “dust”.
Here you can see the wood legs (I’ll tell you about them later.) and the excess piece of wood.
Step 3
Unroll your foam batting. Place the two pieces on the wood board and adjust to fit over the board, lining up the edges of the batting with the edges of the wood.
If you have excess batting, cut it off. I used my sewing scissors. Save the excess for other projects.
Step 4
Turn back the foam batting in sections and spray the adhesive on the wood. Press that area down with your hand. Repeat until all the foam batting is adhered to the wood board.
Step 5
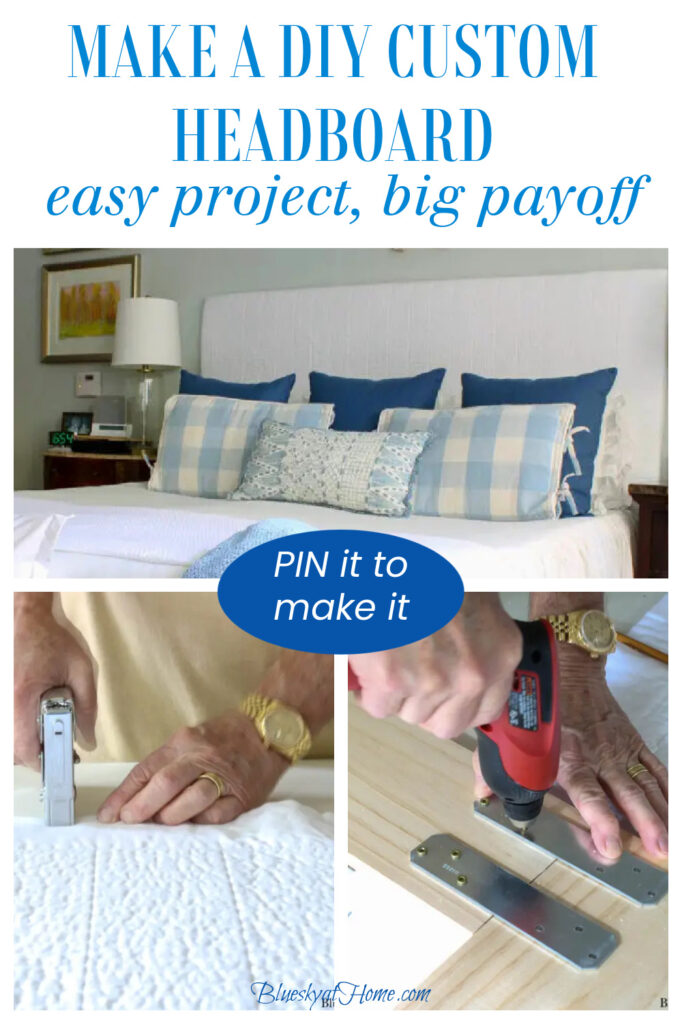
Lay the cotton batting on top of the foam batting and smooth it out. You will need at least 4 inches of overhang on the top of the headboard and 4 inches on each side to turn back over the wood.
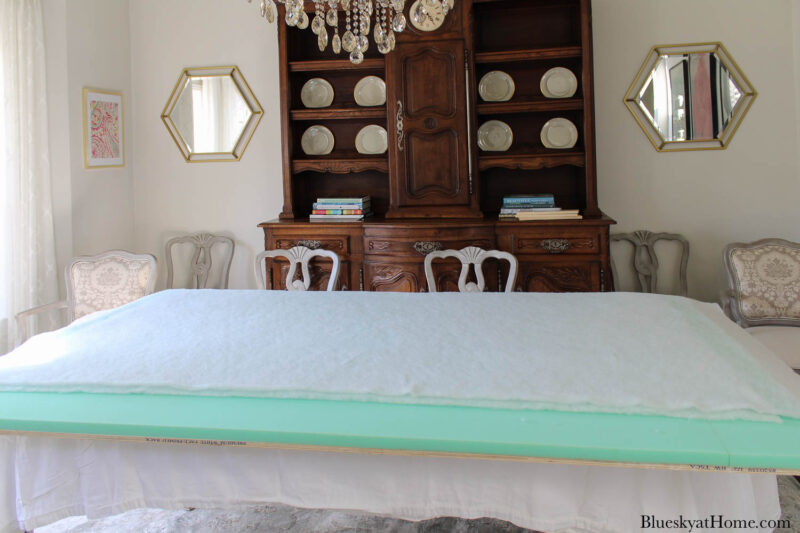
Fold over the cotton batting on the top and sides of the headboard and pull tightly. Sweet Shark thought it would be easier to lay on his back on the floor and staple the batting that way. It worked just fine.
If you prefer, you can hold the cotton batting to the foam batting (It actually sticks a bit.), and flip over the board. Then you would be stapling from the top.
Step 6
Remove the wood board with the battings from the table. Now you are ready to add the fabric.
Beside designer fabric, you could also use a cotton or linen tablecloth.
TIP: If you are using fabric or a tablecloth, be sure to iron it first to remove any wrinkles.
I used something entirely different.
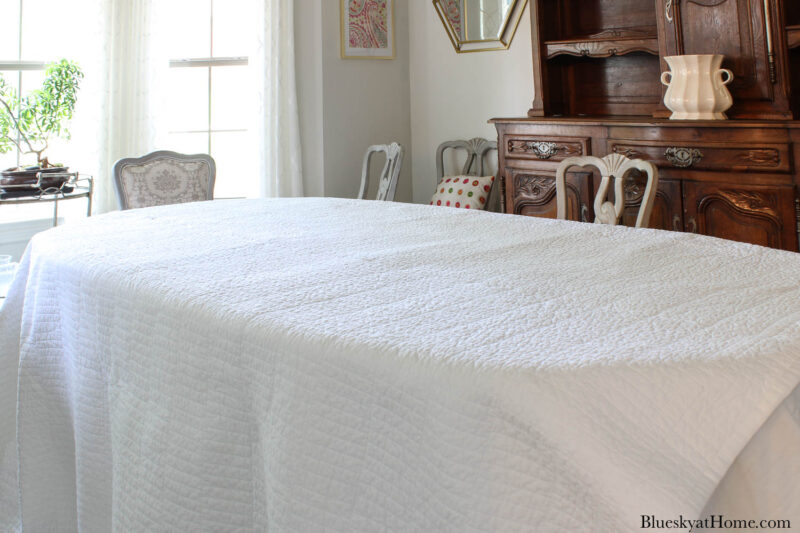
For a couple of years, we used a white quilted coverlet from Real Simple on our bed. I loved the look and feel of it. It was so soft and the quilt had a bit of a farmhouse look. I searched for another similar quilt and couldn’t find one. So I used the one that we already had.
This was actually a very affordable option.
I washed the quilt and removed it from the dryer while still slightly damp. Then, I shook it out and laid it on our bed to completely dry. It looked great.
Remove the wood from your table top. Place your fabric (or quilt/coverlet/tablecloth) on the table, making sure that it is smooth.
Step 7
Carefully set the wood headboard on top of the fabric. This will definitely take two people.
Try to set the board straight on the fabric. You want to have at least 4 – 8 inches to fold over the top of the headboard. You want at least 4 inches on each side to fold over.
TIP: I would turn over the raw edges of the fabric (like a hem) so you have a clean edge. Because we were using a quilt that had a ribbon edge, we didn’t need to turn the edge of the fabric over.
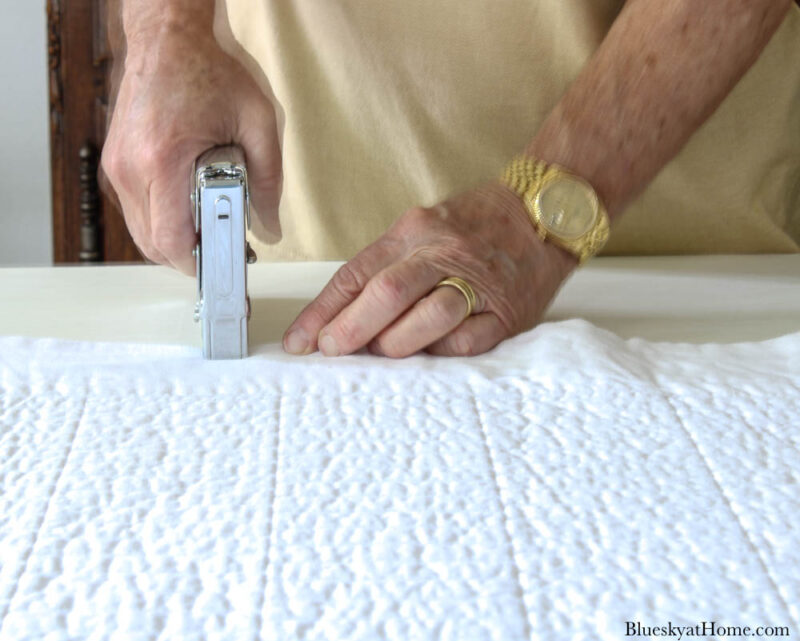
Step 8
For all sides, start at the center and staple the fabric to the board. The staples will go through the batting. We stapled the center, then about 6 inches from the corners, then the middle of all sides. Gently pull the fabric to get a tight fit.
At the corners, you will need to fold the fabric in and overlap it, like you would wrapping a present. If necessary to get a smooth, flat corner, cut any excess fabric.
We did not want to cut into the quilt. Who knows what we might want to do with it in the future? So what did we do?
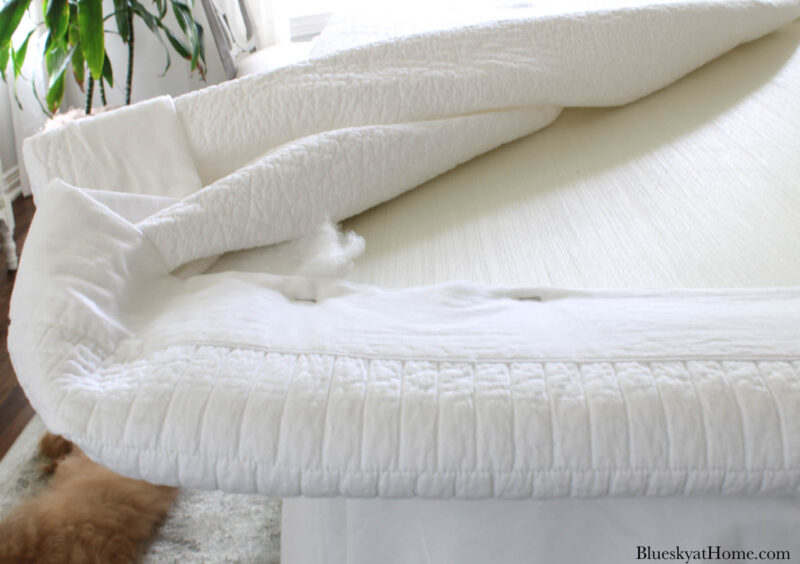
After stapling the sides of the headboard, we folded the quilt over the top of the headboard. We smoothed the quilt down and made sure the corners were flat and smooth.
Then we pulled the quilt down the back of the wood to get a tight fit.
Sweet Shark stapled the bottom of the quilt to the back of the wood. This way, if we wanted to change the headboard in the future, we could remove the staples and reuse the quilt.
The foam battling, the cotton batting, and the quilt combined to make a very soft back for the headboard.
Adding the Legs to the Headboard
Legs for your fabric-covered headboard are optional. Because the ceiling in our bedroom is 12 feet, we need a taller headboard. Also, legs keep the headboard from sitting directly on the floor.
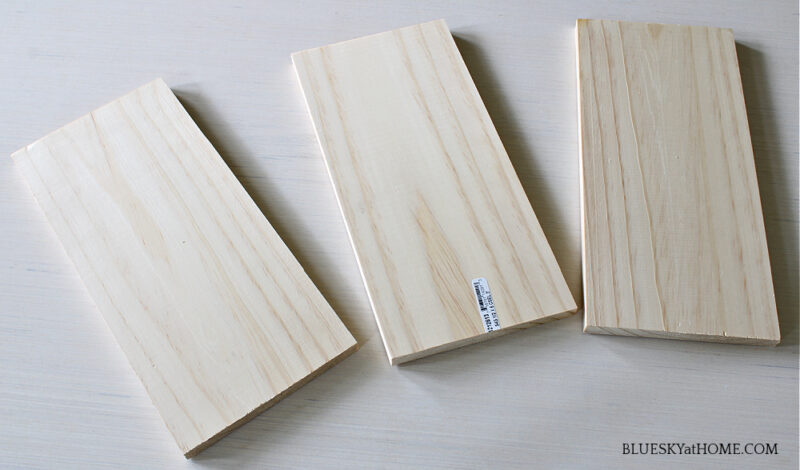
If you want your headboard taller than 4 feet and you want it off the ground, you can make the legs between 4 and 12 inches. We wanted our headboard to be 5 feet Off the floor, so our legs were 12 inches.
While I was waiting for the Lowe’s man to cut the plywood, I found a smaller piece of the same wood. This piece was 36 X 6 inches. I had the Lowe’s man cut it into 3 1-foot pieces.
Step 9
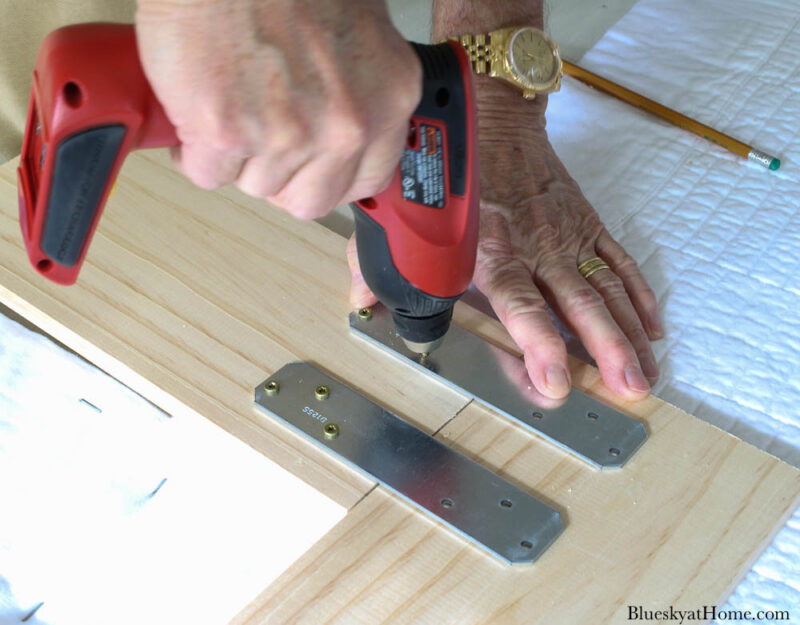
Over the years, the easiest way that I have found to attach 2 pieces of flat wood together is with metal brackets with predrilled holes. These come in different lengths and weights. We chose fairly lightweight 6-inch long ones.
For each leg, you will need 2 brackets. Make sure that you have plenty of the right size of screws. The packages of flat brackets at Lowe’s included screws.
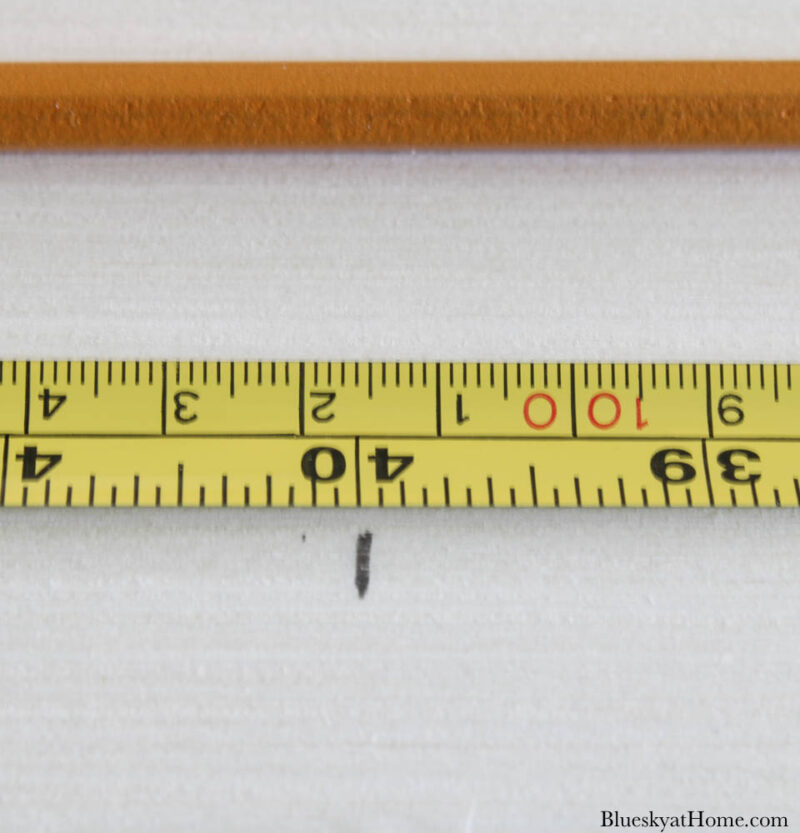
We determined that we would attach a leg at the end of the sides of the headboard and one leg in the center. The width of the headboard is 80 inches. Our center is at 40 inches. First, we measured the center of the width of the headboard at the bottom of the headboard and placed a pencil mark.
We lined up the legs with the base of the headboard and adjusted the brackets. Mark the placement of the screws with a pencil.
You can make a pilot hole first if you like.
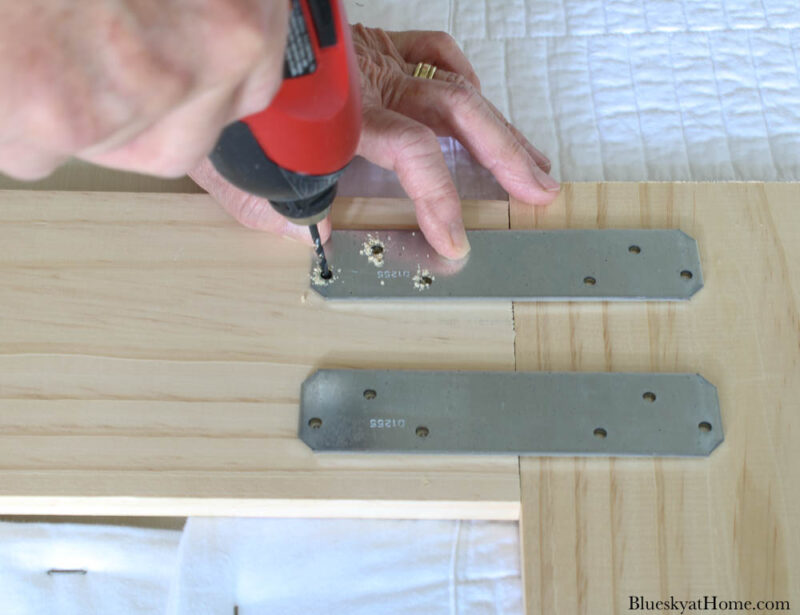
Sweet Shark now loves using my electric drill.
With that, you have completed your fabric-covered headboard. You could easily complete this headboard in a day. We actually took about 2 weeks to complete it, working thirty minutes here and there.
We covered the headboard with the sheet we used and stood it up against the dining room wall. And that’s where it stayed for about a month. Why?
Our existing headboard is very heavy. The bed has to be moved forward. Then the headboard has to be lifted up and over the bed on both sides. Sweet Shark and I couldn’t move our bed or lift the headboard.
(Sweet Shark had broken his right wrist about 3 weeks after we finished the headboard. He was climbing down the attic ladder in the garage and missed the last 5 steps. He is in a cast and can’t help me lift or move anything.)
Finally, I found a couple of guys who came to move out the headboard and put the new one in. (Since you pay them by the hour, I also had them move our patio table, Sweet Shark’s smoker and some pots.)
Another great thing about this DIY headboard is that it doesn’t attach to the bed. It sits between the wall and bed.
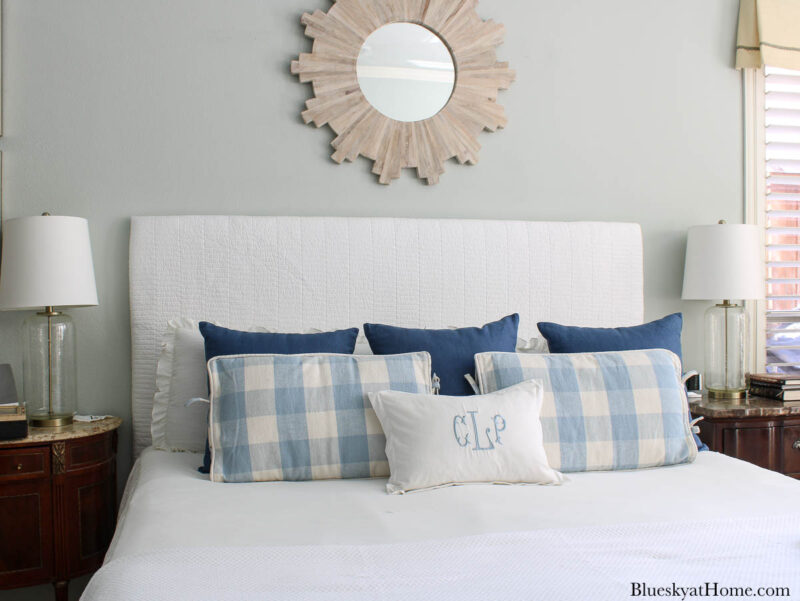
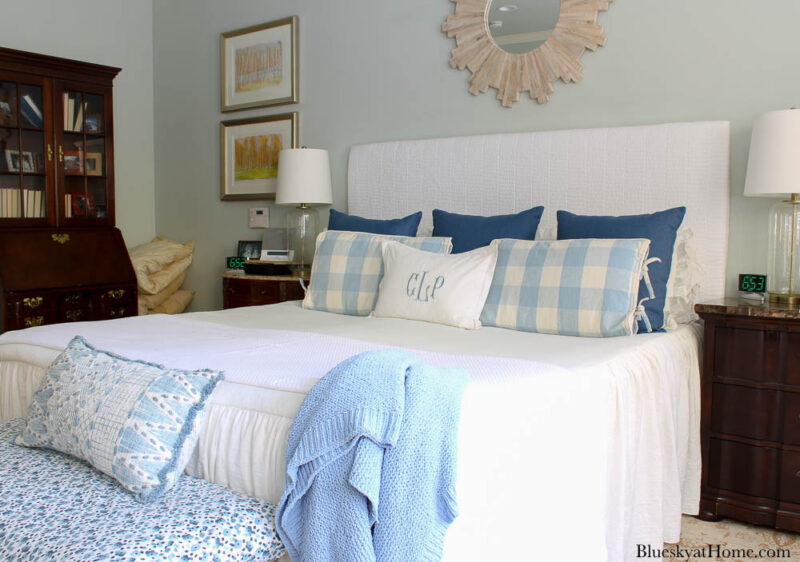
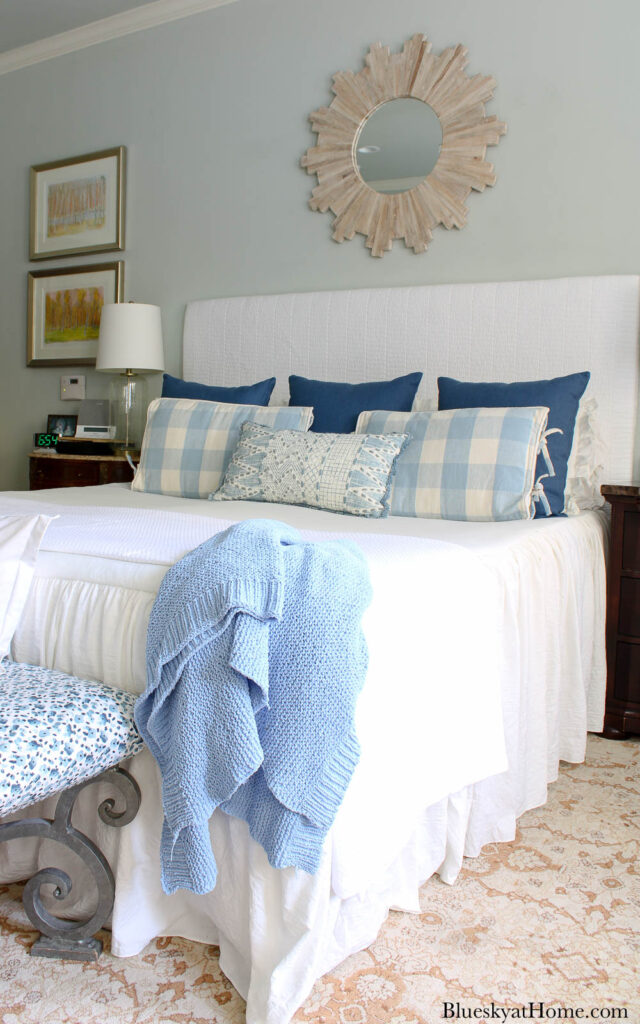
I’m so happy now to have my white, DIY simple fabric-covered headboard. I covered the bench cushion (which was yellow) with a piece of fabric that I bought a couple of years ago at IKEA.
I like that I can make a small change and have a new look. I bought the textured blue rectangle pillow in May in Atlanta.
You can see a bit of the DIY no-cushion bench cushion that I also redid for our new bedroom look.
If you want to see how to recover an outdoor bench cushion, then be sure to check out this project.
Cost of the DIY Fabric-Covered Headboard
The cost of making this fabric-covered headboard is so relatively inexpensive that it is well-worth your efforts for any size bed. Here’s the breakdown of how much I spent:
- 4 X 8 hardwood plywood panel and wood for legs ~ $58.36 (the cost of lumber of any kind has skyrocketed in the past few year!); I used 80 inches of the board so I still have a 4 foot X 16-inch piece to use for other projects.
- 3 sets of 2 metal brackets with screws – $17.23
- quilt for fabric cover – already on hand
- cotton batting, spray adhesive and all other supplies on hand
- foam batting – I could not for the life of me find my receipt, but even on sale, I think I spent at least $30 for the two rolls I bought. The price of foam batting has also gone way up.)
Bottom Line: I spent under $100 for our brand new fabric-covered headboard.
I love the clean, all-white look that the fabric-covered headboard gives to our bed. I now can add different color pillows and linens throughout the year. The textured pattern of the quilt adds a nice touch, too.
NOTE: I think old vintage quilts would look cute on twin beds in a child’s room.
Do you think you can learn how to make a fabric-covered headboard? I bet you can.
Here are some ideas of how to style your bedroom for the different seasons:

I hope you realize how doable this project is and will give it a try next time you want to update your bedrooms. PIN this post so you have all the instructions.


Thanks for sharing this tutorial Carol. I plan to have a fabric-covered headboard in the guest room when we renovate it but haven’t decided if I will build it or buy it. Your post helps to show how easy it can be. Pinned. This post will be a feature this week. #HomeMattersParty
Absolutely thorough and outstanding tutorial.
Thank you from your SSPS Team for sharing your links with us at #270 SSPS Linky. If you have not as yet shared your IG and FB URL and handles, please email me at [email protected] as I am creating a database as you share your links with SSPS.
Carol, this is a great project and yes, I think anyone could figure out how to make a headboard from your directions. 🙂 Happy to share your post at this week’s Share Your Style #309 for you. <3 And, yes, a headboard is on the agenda for me to make in the future. Right now, we don't have one and I miss my old queen cherry one but I am glad my daughter loves it!!
Enjoy your pretty bedroom,
Hugs,
Barb 🙂
Of course you can make a headboard, too, Barb. Thank you so much for featuring the project on your link party.
I love this Carol! I have been wanting to try one for years and you make it look so easy! I’ve always loved how you change the looks in the bedroom so I thought maybe I could do that too. This is a great tutorial and I think I’m inspired to finally do it. Thanks so much and have a wonderful Fourth. Pinned!
Thanks, Denise. I’m so glad that you liked the tutorial. I hope you will make your version of the headboard. It’s easy and the difference is huge.
So glad I could help with your inspiration, Denise. It’s really easy. You just need another pair of hands!