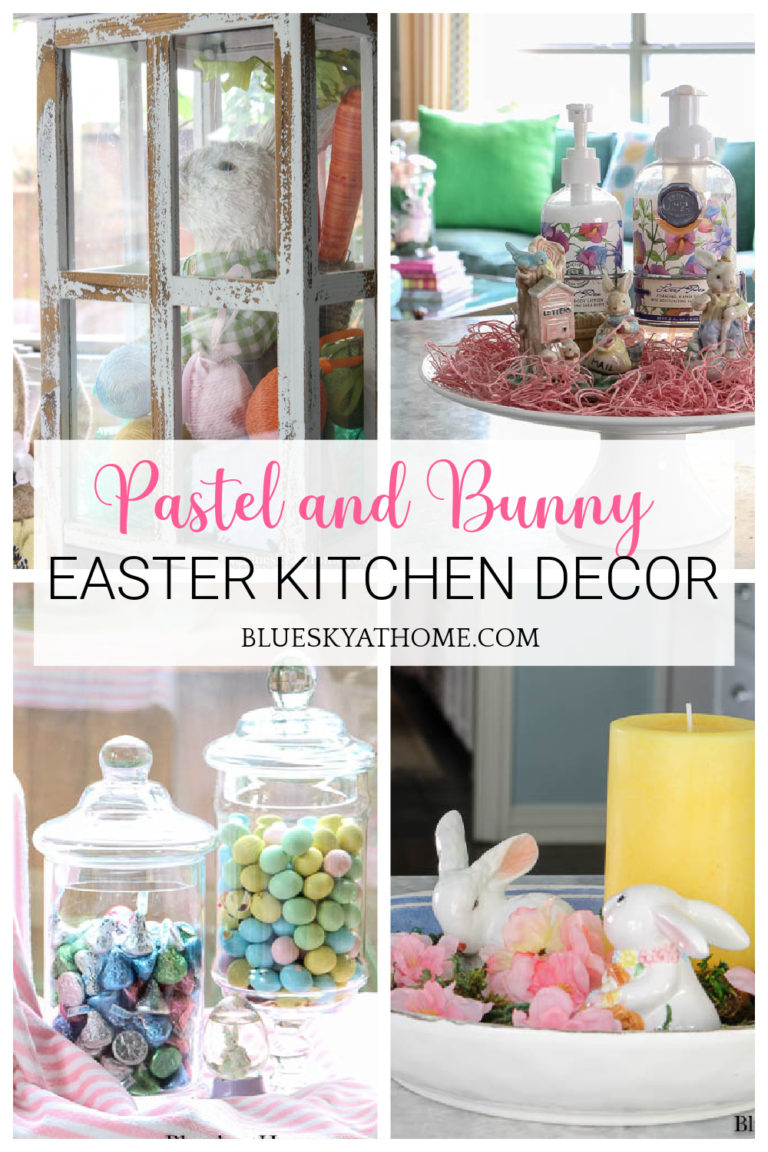
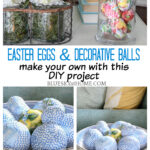
How to Decoupage Easter Eggs and Decorative Balls
If you love creating beautiful things for your home, decoupage Easter eggs and decorative balls might just become your new favorite spring craft. They’re elegant, budget-friendly, and easier to make than they look – which makes them absolutely perfect for this time of year. I wanted to share these pretty seasonal accessories, so here is my guide on how to decoupage Easter eggs and decorative balls.
Decoupage is one of those wonderfully versatile techniques that opens up a world of creative possibilities. Just about any surface can be decoupaged, and you can use a variety of materials – from pretty tissue paper and napkins to fabric and beyond. Once you learn the basics, you’ll find yourself looking at everything with fresh eyes.
Whether you’re decorating for Easter, refreshing your spring mantel, or simply adding a touch of handmade charm to your home, these decoupage eggs and balls deliver big impact with minimal effort. They look like something you’d find in a boutique shop – but you made them yourself, for a fraction of the cost.
The idea for the Easter eggs came from several sources on Pinterest, but mostly from my friend Yvonne at Stonegable. Her Chinoiserie eggs sparked my desire to make some floral Easter eggs.
I enjoyed her project so much that I decided to make some decorative balls for everyday accessories.
Spring is just around the corner, and Easter will be here before you know it. Why not get a head start so you can enjoy all those pretty pastels and patterns a little longer? Let’s dive in!

Fortunately, the supplies you need for this project are few. I was lucky to have everything I needed on hand.
Do you know how to decoupage? It’s so easy, it may become addictive.
How to Decoupage Easter Eggs
This post contains affiliate links to products used to create this project. If you should order any item from this site, I may receive compensation, but you do not pay a penny more. Your purchase is greatly appreciated as it helps support the continued publication of this site.
Yvonne used real eggs as the base for her eggs. I went a different route for four reasons.
- I didn’t think I had the patience to prick eggshells and blow out the egg inside.
- Honestly, I envisioned myself breaking more eggshells than not.
- I didn’t know how long the real decoupaged eggshells would last.
- We had fewer than a dozen eggs in our fridge and I hated to waste good eggs for a DIY project.
Supplies for Decoupage Easter Eggs and Balls
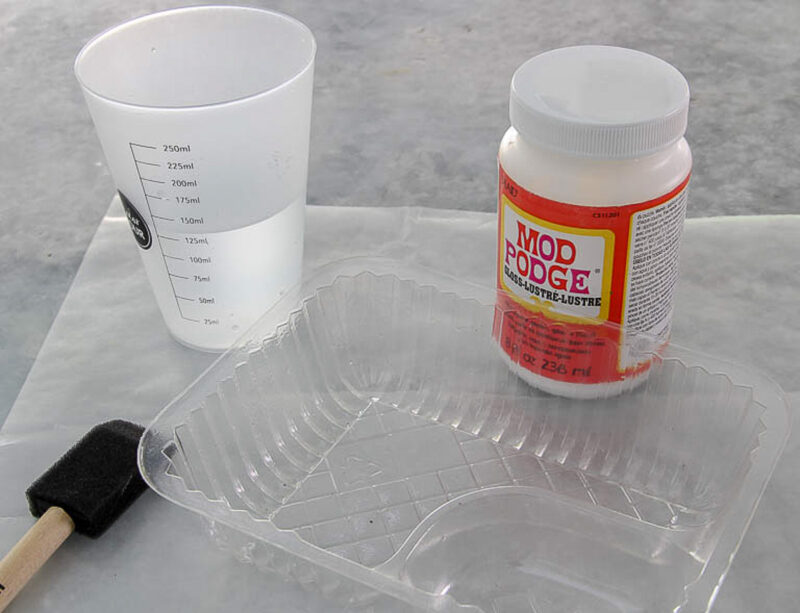
You only need a few supplies for both projects.
- White Mod Podge~ I used Gloss Luster, but matte would be fine.
- Small sponge brush
- Wax paper
- Cup for water
- Container for Mod Podge
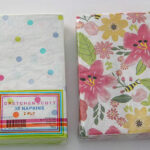
- Decorative napkins in your choice of color and pattern; I love this blue gingham check, this gorgeous tulip watercolor, this beautiful flower garden motif.
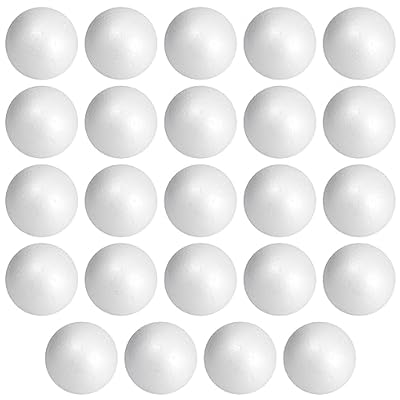
- Craft eggs and balls; I thought these white wooden eggs looked the best and were the best buy. This set of 12 3~inch styrofoam balls is what I use.


Fortunately, I found a package of 20 craft eggs at Joann (which, sadly, has closed all its stores). Although a little pricey at $19.99, I thought it was better to try them than waste real eggs. Fortunately, they were on sale for $11.99.

Unfortunately, these eggs are no longer available. the Joann website right now. They are not Styrofoam and not hard plastic, but somewhere in between. I’m sure that either Styrofoam or wooden eggs would also work fine for this project.

I love to buy pretty or funny napkins on our travels, and I had a dozen or so to choose from. For this decoupage project, I chose three pastel floral patterns to mix.

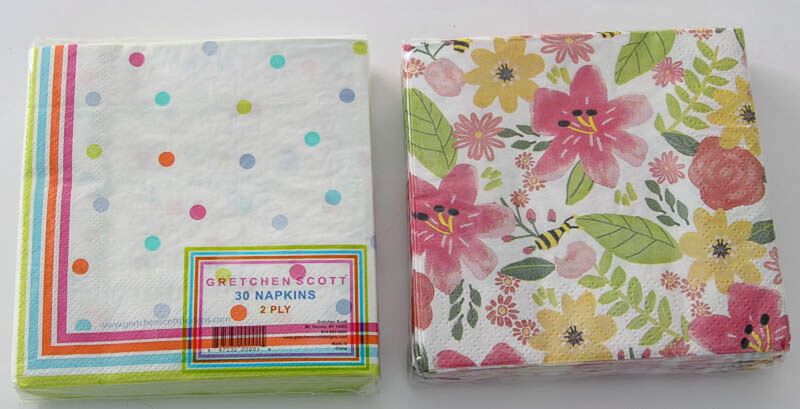

I also had this beautiful floral pattern.

How to Deoupage Eggs
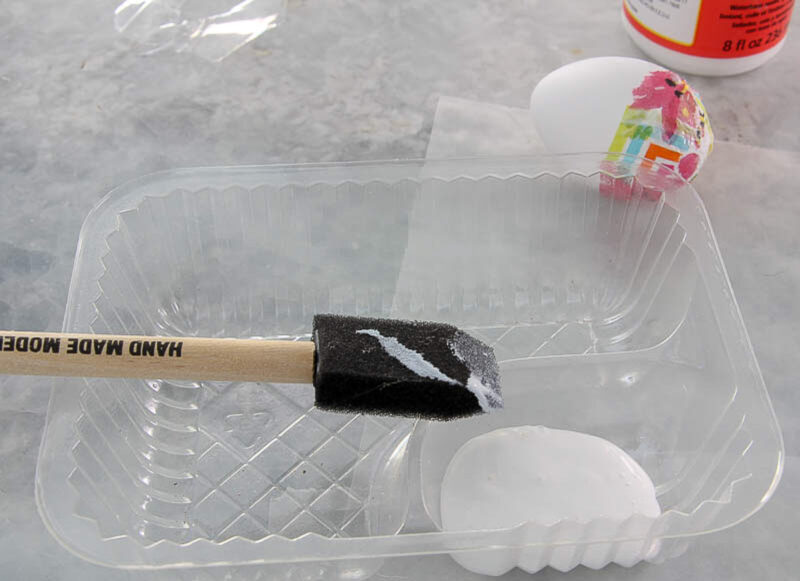
Step 1 – Place a sheet of wax paper on your work surface. You want a material that the Mod Podge and the eggs won’t stick to.
Step 2 – Fill a cup with water. This is for your sponge brush when not in use, so it won’t dry with the Mod Podge and get stiff.
Step 3 – Pour a small amount of ModPodge into a plaster container. I used the same plastic containers that I use for paint projects. They are actually nacho containers.
Step 4 -The next thing you do is gently separate the front pattern layer of the napkin from the back layers. Napkins may have either two or three layers. The layers “usually” easily come apart. Here’s an example of when I separated one of my blue napkins.
Discard the blank layer(s).

Step 5 – Tear your napkins into small pieces.

Step 6 – Pour a small amount of Mod Podge into your container.
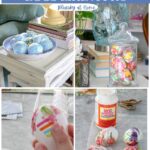
Step 7 – Holding the egg at one end, brush a small area with ModPodge and apply a piece of napkin.

Step 8 – Gently press down with the tip of your finger to apply the napkin. Continue applying the napkin pieces for about 1/2 of the egg. Set the egg on the wax paper and allow to dry. Repeat with your eggs, letting each section dry before applying the napkin to the other side of the egg. Use more ModPodge to brush over the napkin and glue stray parts down.
Let your eye help you decide where to place napkin pieces, mixing up the patterns as you like.

Step 9 – Work about 1/2 to 1/3 of your egg at a time, letting it dry as you go. Repeat with each egg.


Step 10 – Add more ModPodge over the napkins to smooth down any loose pieces of paper. Let the eggs dry completely before using them in your decor.
TIP: Wash your hands occasionally to remove any ModPodge buildup.
Using the Deoupage Eggs as an Easter Accessory
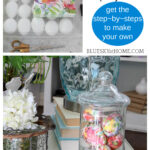
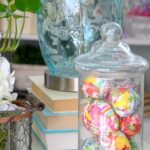
I filled a medium-sized glass apothecary jar with most of my Easter eggs for display. I love the pretty colors.

You could also place your eggs in a basket, a nest, a bowl, or a lantern.
Want to see some other decoupage projects for spring?
- 3 Ways to Decorate Terra Cotta Pots with Decoupage
- Rescued Tray Gets a Decoupage Makeover
- How to Make a Chinoiserie Style Lamp with Decoupage
How to Decoupage Decorative Balls
Now that you know how to decoupage Easter eggs, let’s decoupage some blue eggs and blue balls.
For this project, I chose these napkins. We bought the Cape Cod ones on our trip to Chatham, MA.

No, not this side of the napkin.

This is the pattern I would use.

Since I liked the decoupaged Easter eggs so much, I wanted to repeat the process for something to use now and after Easter while I had the supplies out.
I remembered the Styrofoam balls that I had covered with strips of fabric a few years ago. The fabric was leftover from some outfits I made for my older granddaughter when she was a toddler.
NOTE: The fabric is not glued to the ball. I used tiny dressmaker pins to adhere them.
I removed the fabric strips – I’ll save them for another use at some time. One ball was about 2 1/2 inches in diameter and the rest were about 3 inches in diameter.

For the decorative balls, I used the 3 napkin patterns with blue.

I tore larger pieces of napkins for the Styrofoam balls.

Then I applied the napkins to the balls with the ModPodge in the same way as the Easter eggs. The balls are easier because they are larger.
On some of the balls, I mixed the patterns.

On a few, I used one pattern on a ball.

I liked the bit of yellow on one ball to contrast with all the blue.

Displaying the Blue Decoupaged Balls
After all the blue Easter eggs and decorative balls were dry, I placed them, along with my blue eggs, in a pretty blue-and-white shallow bowl.
I love the mix of color and pattern. The small amount of yellow picks up the yellow in our lamp and the large pillow on the sofa.


After Easter, I will probably move the bowl to our coffee table for spring display.

I hope you’ve enjoyed learning how to decoupage Easter eggs and decorative balls. I imagine I’ll be making more decorative items with ModPodge. It’s easy and lends itself to many surfaces and projects. PIN it so you don’t forget.
I hope that you will make some decoupage Easter eggs for yourself.