Rescued Tray Gets Easy DIY Makeover
Have you ever found a tray on the curbside? I did. You feel like you hit the trash to treasure jackpot. Here’s how this rescued tray gets a DIY makeover.
I’ve always been a little jealous of people who find fabulous castoffs on the side of the road. When a neighbor up the street decluttered, it was rescue/restore heaven. I found the perfect project: a rescued tray gets a DIY makeover using the decoupage method.
I’ve always loved blue and white. Lately, I’ve become gaga over the chinoiserie pattern.
Easy DIY Makeover: Rescued Tray with Decoupage
Every DIY makeover has an inspiration piece, right?
DIY Makeover Inspiration
A few months ago I found these beautiful blue and white chinoiserie vase-patterned napkins. I ordered them faster than you can say chinoiserie.
These napkins at 5″ X 5″ would be perfect for a chinoiserie project.
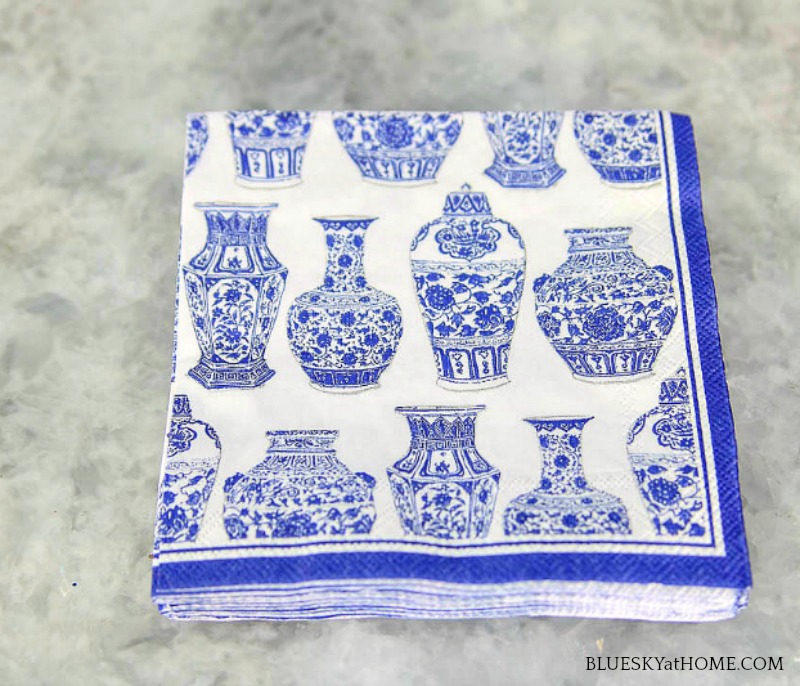
Now all I needed was a decorative accessory that would lend itself to being rescued and restored – using decoupage as my method.
A few weeks ago, on one of our morning walks, a neighbor had set out a ton of stuff for bulk pickup. Sweet Shark walked right on by, but this girl had to stop and explore.
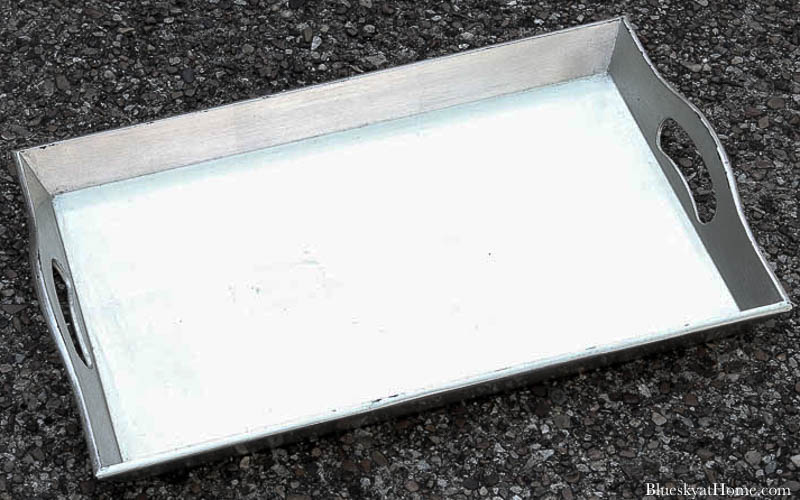
I found several great items, including this tray. It was in perfect condition, but it was painted black on the bottom and silver on the top and sides. The perfect candidate for a DIY makeover.
Painting My Curbside Tray
My vision did not include silver and black. My vision was white
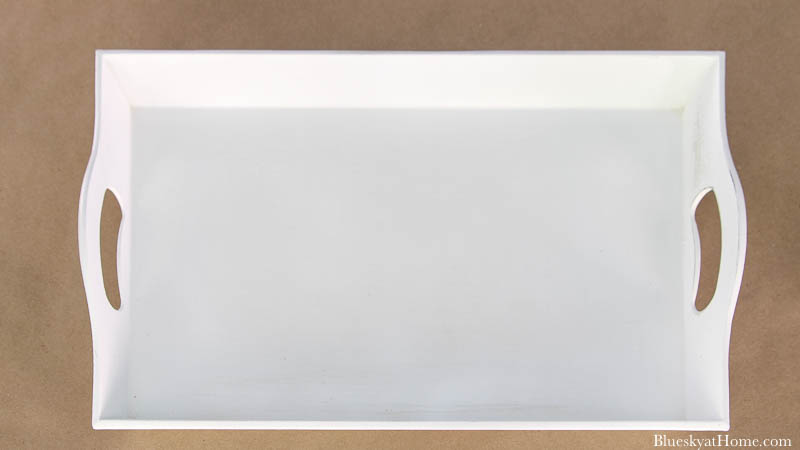
The first step was to spray paint the tray with Lacquer Paint in White Perfection from Amy Howard at Home. This paint gives a very smooth and shiny finish.
Adding a Blue and White Napkin Design to the Tray
For the decorative part of this rescued tray DIY makeover, I gathered my supplies:
- Gloss Mod Podge
- Chip brush
- Mod Podge brush – I love these brushes. I didn’t have them when I made this rescued tray project, but I use them now for all my decoupage projects.
- Scissors
- Napkin design of choice
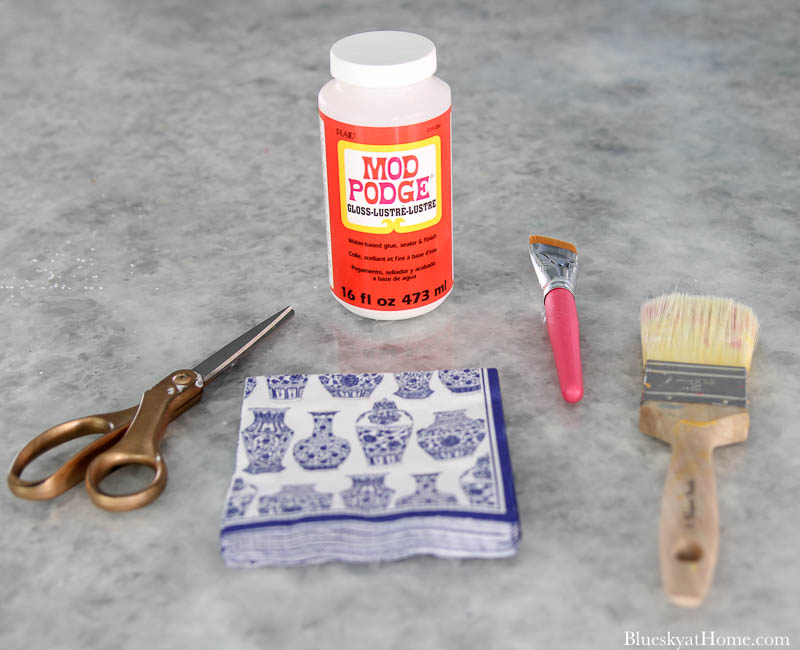
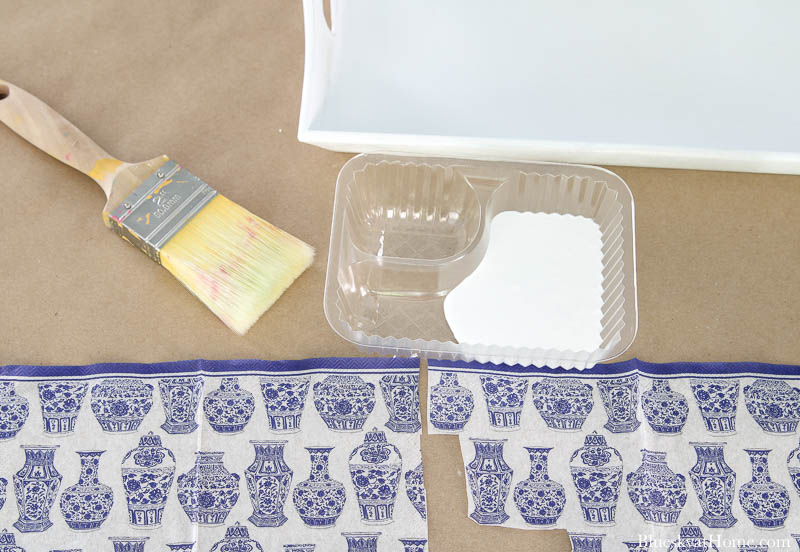
When I opened the napkins, I loved the vase design and the blue border. For this project, I would need 2 napkins.
In most decoupage projects, the napkins are either torn or cut into pieces. For this DIY project, I would use 2 napkins laid flat on the tray. This would be a different process.
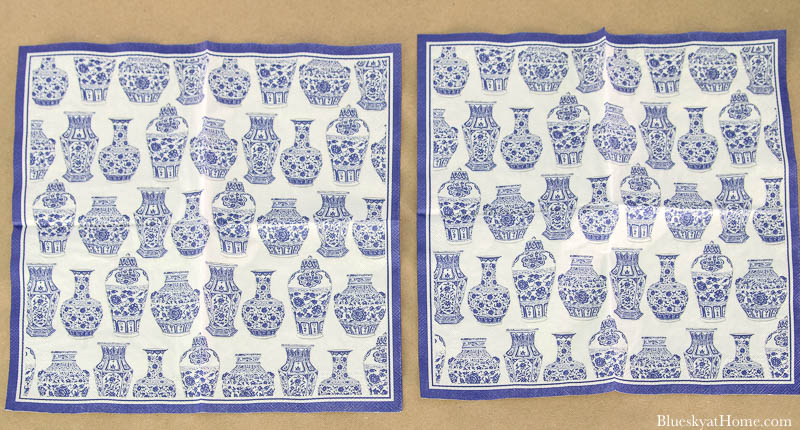
The napkins fit the tray from top to bottom. From side to side, I would have to adjust the width and the design.
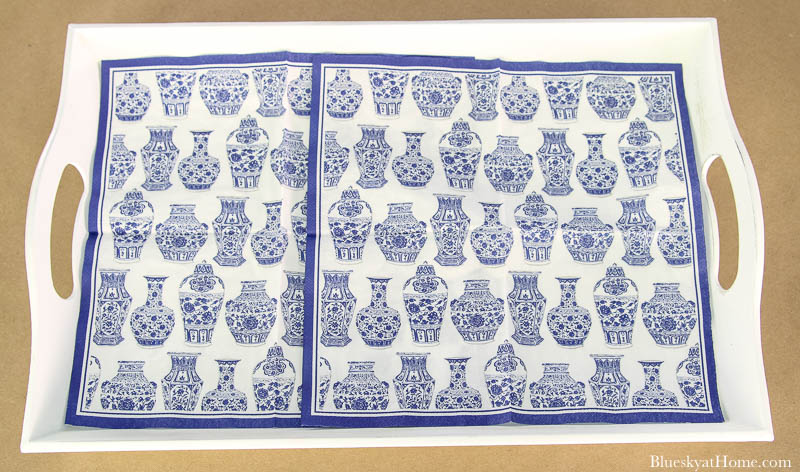
First, I cut off the horizontal blue border of one napkin so that it wouldn’t show through the top napkin.
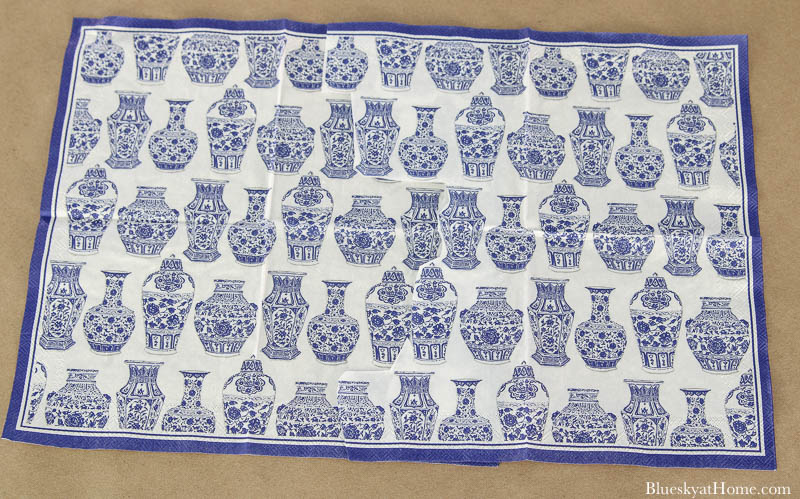
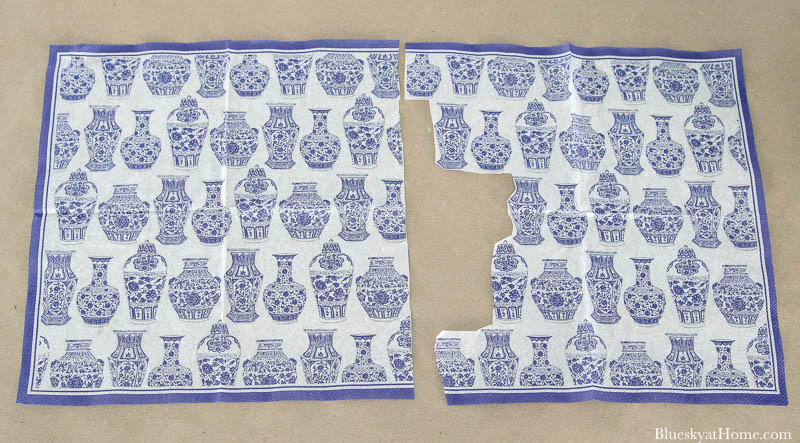
Laying one napkin on top of the other, I cut out some of the pattern from the other napkin.
Then I gently removed the back 2 layers of the napkin away, leaving just the front one with the design.
I poured some of the Mod Podge into a plastic tray.
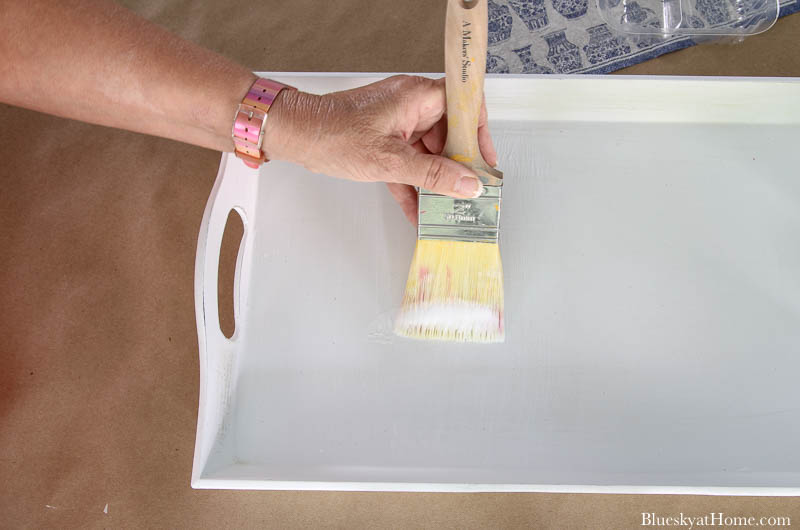
Next, I applied Mod Podge on one side of the tray with a large chip brush.
Then, I placed the first napkin on the tray, making sure the corners of the napkin fit in the corners of the tray. I tried to get the napkin as straight as possible.
Then also using the chip brush, I brushed more Mod Podge across the top of the napkin.
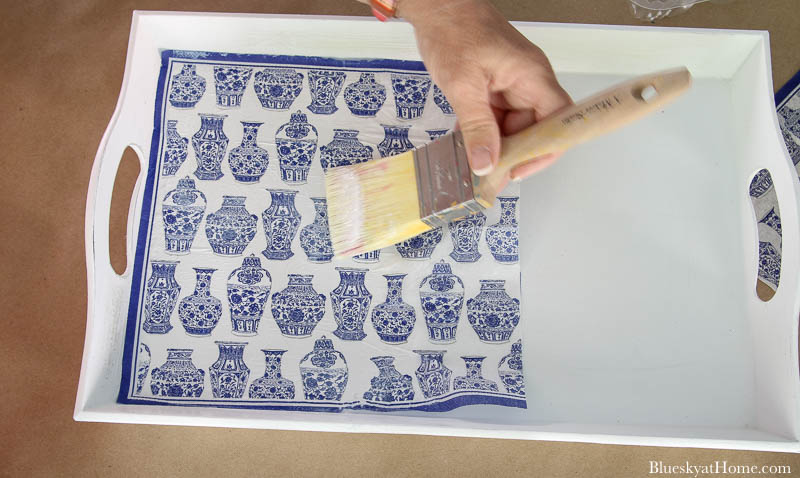
As you can see, in a couple of places the napkin tore. I could patch those later.
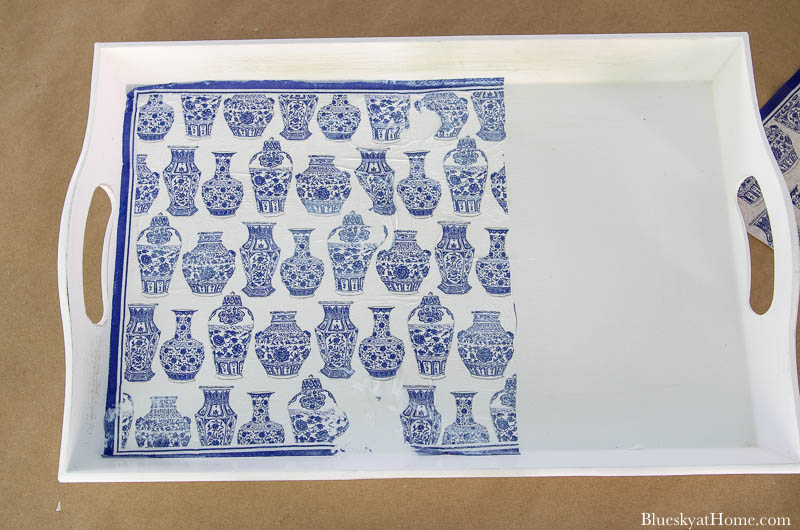
Next, I brushed Mod Podge on the other side of the tray. Then I laid the top napkin on the tray, trying to line up the pattern as best I could.
Fitting 2 large napkins on the Mod Podge was harder than laying down small pieces of torn or cut pieces.
Maybe I should have cut the center of the napkin into smaller pieces
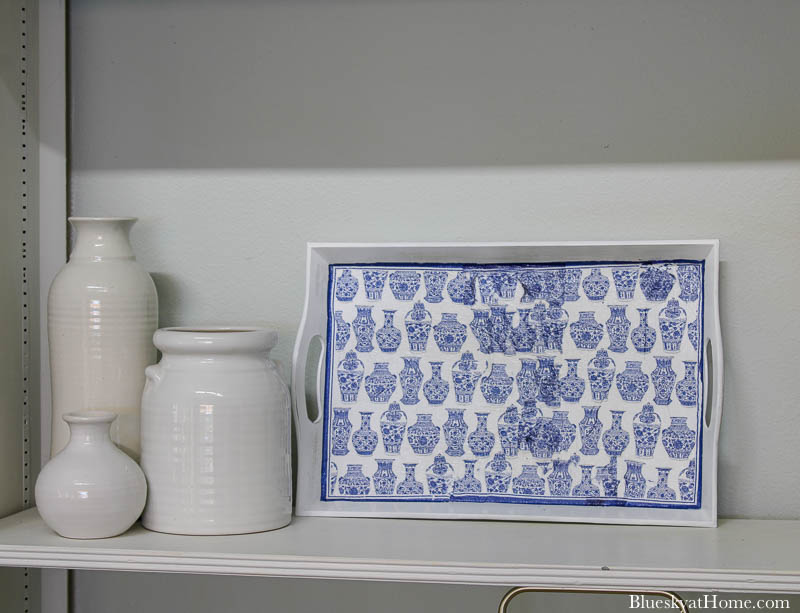
You can see how nicely the vase pattern looks on the sides, but it’s not lined up in the center.
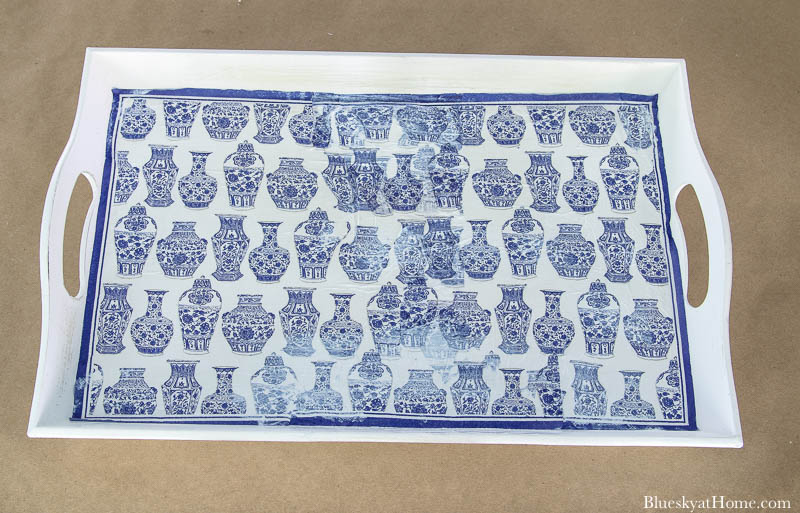
To patch the 2 places where the napkin tore, I cut small pieces of a napkin to patch it up and applied more Mod Podge.
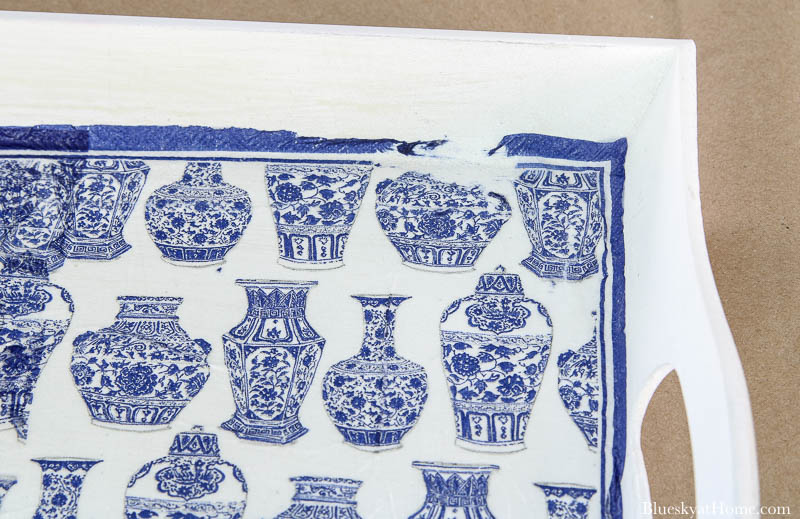
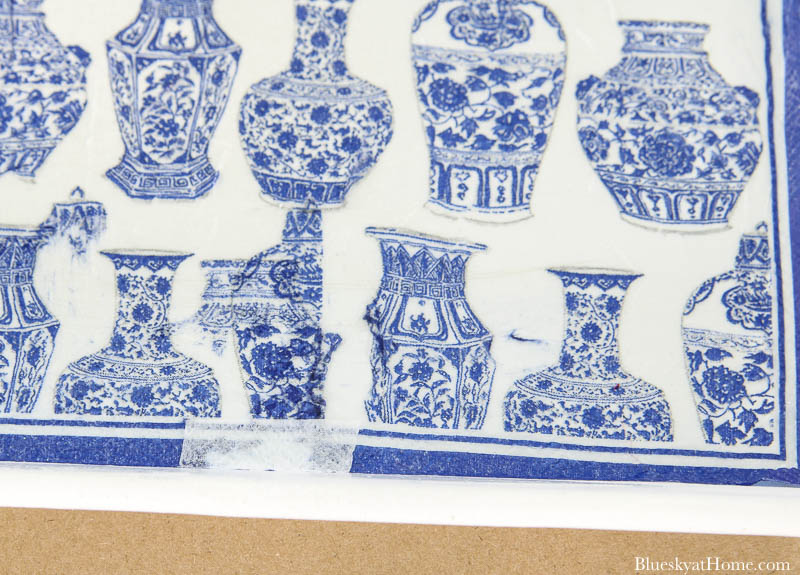
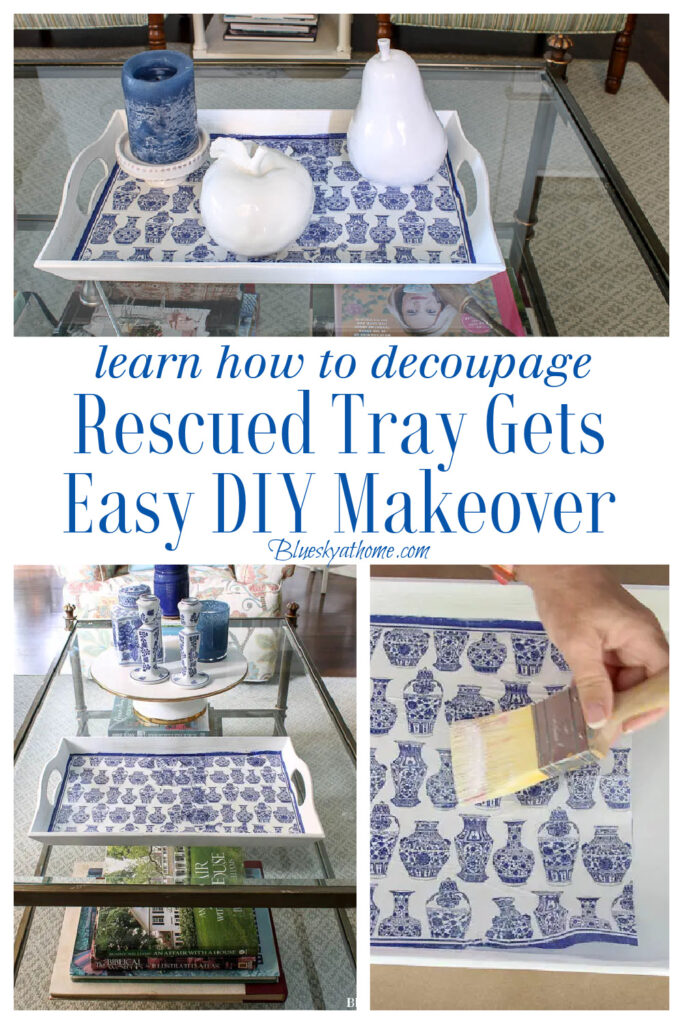
Since I planned to set decorative items on the tray, I used 2 coats of Mod Podge to seal the napkins. Here the tray looks white before the Mod Podge dries.
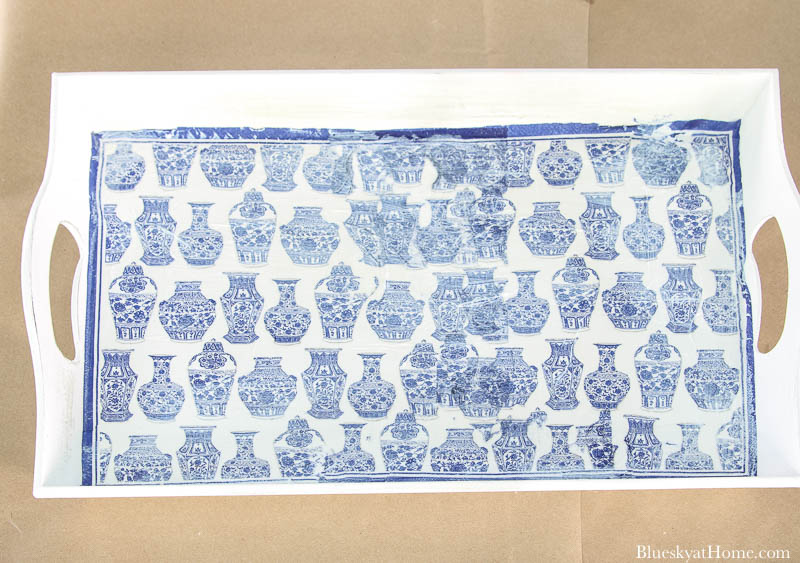
After I applied the 2nd sealer coat of Mod Podge, I allowed the tray to dry overnight. In the morning the blue color was bright and clear.
Displaying the Rescued Tray
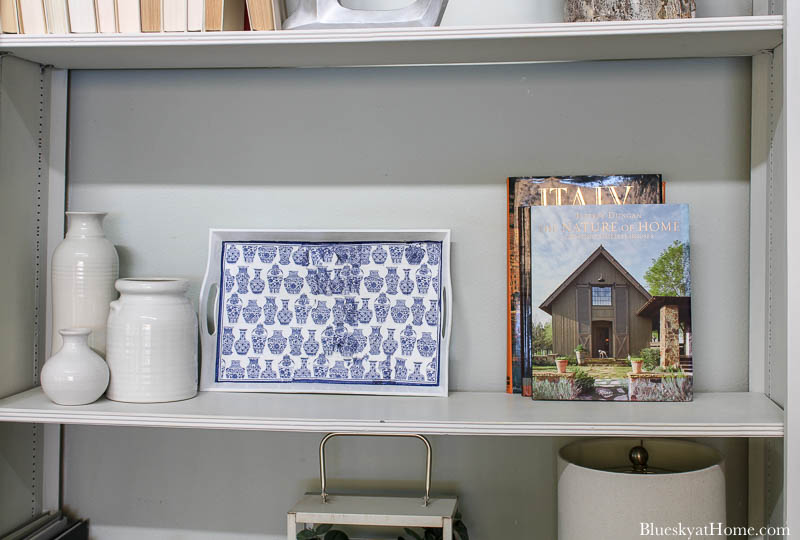
The first use for my rescued tray was as “art” on our bookcase. It’s just a tad too small for this area.
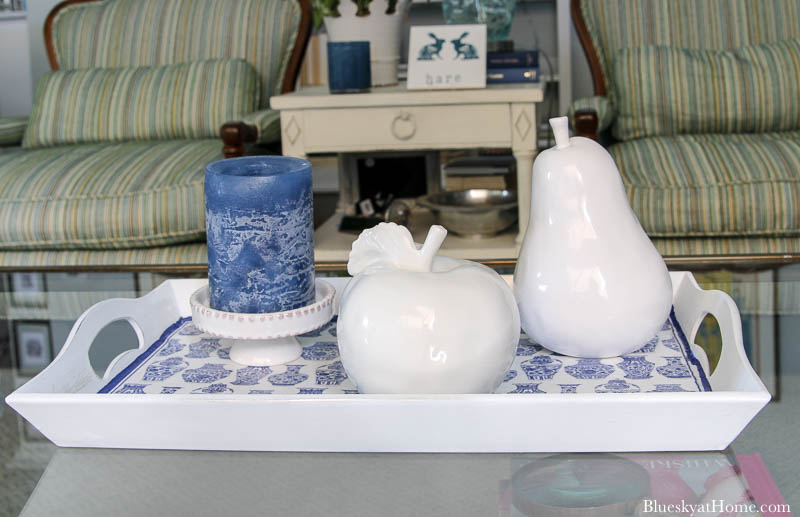
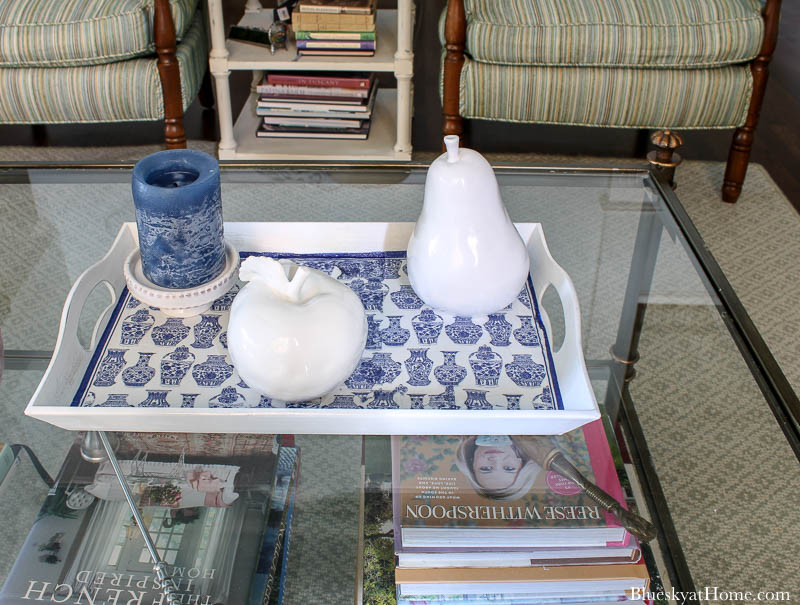
I really intended the rescued tray for our coffee table. A simple arrangement without an additional pattern was needed.
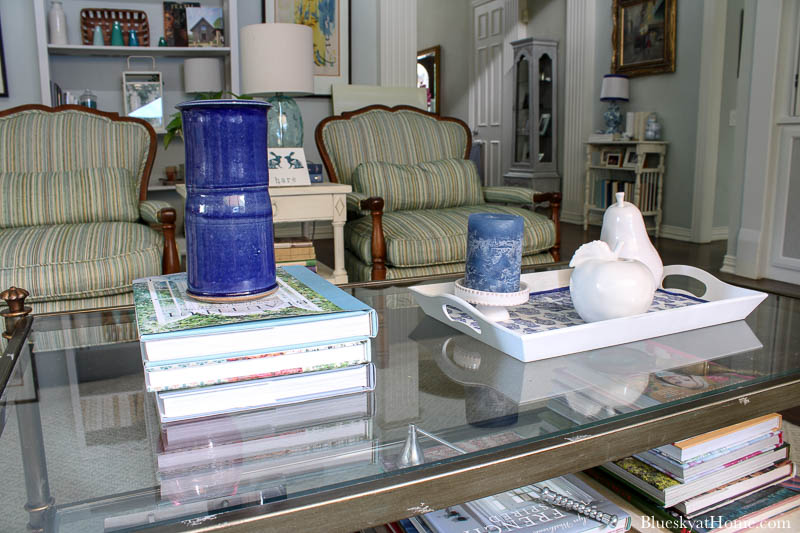
My ceramic apple and pear, along with a blue candle on a cupcake stand, were just enough to fill the tray and not cover the chinoiserie decoupage pattern.
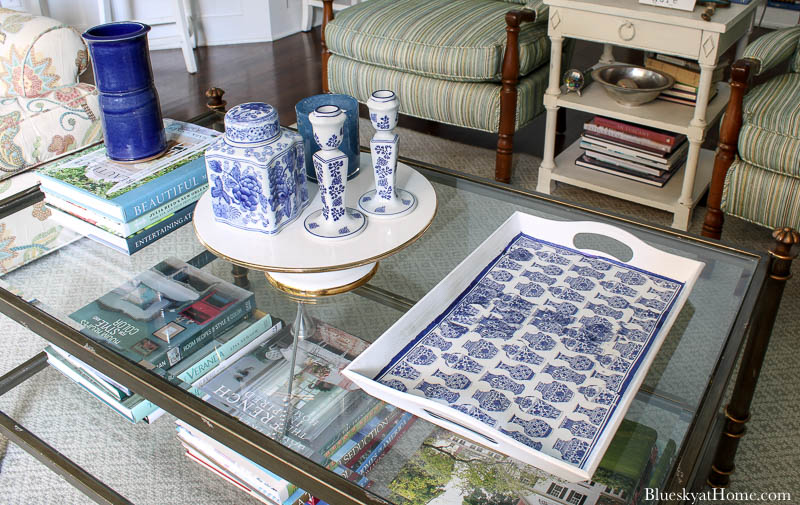
I recently purchased a beautiful chinoiserie-style ginger jar and a pair of candleholders online. I was anxious to use them in a display.
For this arrangement, I set them on a gold-rimmed cake stand and added a blue candle. The lovely blue and white pattern of the rescued tray speaks for itself.
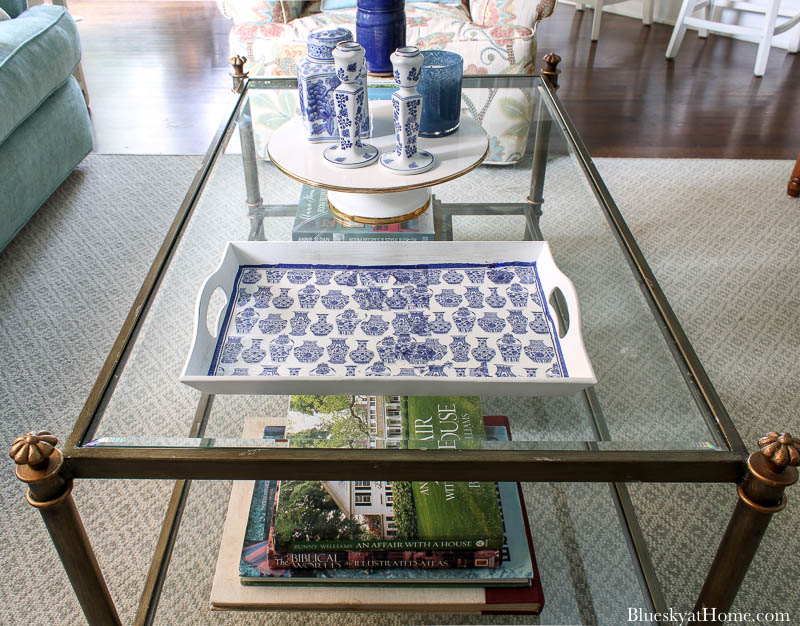
My impression of this project? I love the blue and white colors and the versatility of the tray for display.
I do wish that I had cut the center sections of the napkins into smaller sections so that there would be less overlap in the design.
I’m still happy with the results. Since I already had all the supplies and the tray was free, I can’t complain.
I hope you’ll SAVE this project and PIN IT
Here are some more decoupage projects:
- Chinoiserie Style Lamp DIY
- Terra Cotta Floral Pots
- Decorative Easter Eggs and Balls
- 4th of July Decorative Pots




I love what you did with this tray, and the colors are beautiful! I remember being introduced to Mod Podge at age 10. I created my first DIY, attaching patches of fabric on a Cool Whip container!
Kim, age 10!! That’s awesome to start with DIY at so young an age. And you made use of an item usually discarded.
What a great find. I can’t imagine why anyone would throw it out? Beautiful makeover and thanks for sharing it this week. #HomeMattersParty
I love your diy project. The tray came out so beautiful. I really love the blue and white. So fun hopping with you. Hope you’re well Sweet Friend.
Carol, I really need to get my hands on some pretty napkins! After seeing the gorgeous results from you and Mary’s crafting projects this month, I’m hooked. I love mod podge but have yet to try it with napkins. Your tray looks fantastic! It’s always fun to hop with you, my friend!
What a great find and you gave it a great new look that you can enjoy for decorating in any season.
Paula, thank you for your feedback. I’m so happy that you like the project.
It looks like decoupage is the word of the day! Interesting because I am starting a decoupage project today myself! I think this turned out lovely and would look perfect in my living room, too! Thanks for hopping with us dear friend!
There are so many beautiful napkins out there, it’s no wonder they’re so great to craft with. It’s almost a shame to just use them for dinner and toss. Your tray is beautiful!
That tray is a winner! If you had wanted to remove the napkin that tore and start over, how much trouble would it be? I want to decoupage the top of a silver flatware chest and know I will mess up at some point! Thanks for the tutorial!
I really like your collection of chinoiserie and those napkins made for a great project. I love milk glass and cobalt glass but, as yet, have very little chinoiserie.
Your tray was such fun find a perfect candidate for a makeover Carol! Happy to be hopping with you again ♥
Thank you, Mary. Can’t get enough of blue and white, chinoiserie or decoupage.
Beautiful tray, Carol! I always love blue and white and those napkins are perfect. By the way, I’m not one of those people who finds treasures on the side of the road…I wish! Maybe I need to pay more attention! Great to hop with you again!
Shelley
Shelley, I’ve never been lucky with finding castoffs. With stay~at~home, people in our neighborhood were cleaning out their homes. Lucky me!
Hi Carol, I’ve got a thing for mod podge, and pretty paper napkins. Add in a cast-off tray and you’ve got my attention! Love the way it turned out.
Hugs,
Rachelle
Rachelle, I really did luck out with the tray. Maybe I’m the only DIYer in the neighborhood.
I adore Mod Podge anything! And yours looks great with all of your blue and white beauties.
Thank you, Cindy. It was a fun project.
I love decoupage, too, Carol! Your tray looks exquisite in the lovely chinoiserie design napkins you added! And it looks awesome beside your other pieces! It’s certainly a beautiful addition to your decor!
Thank you, Gail. the more you have, the more you want. More looks better than less when it comes to blue and white.
This is so lovely, Carol–now, I am on the lookout for pretty napkins! Pinned and tweeted! Blessings, Cecilia @My Thrift Store Addiction
Cecilia, you can find pretty ones on Amazon and Michel Design Works.
Now we can be jealous of you Carol; great score! I just love blue and white decor; it looks awesome.
Lucky me, Sara. Blue and white decor is always a classic.
This is a great makeover Carol, and you have to love free! Those napkins are so cute, I love to decoupage, I need to shop my house to find a new project! Enjoy your pretty blue and white tray!
This turned out amazing. Love your color choices and isn’t Mod Podge so great?!!! Thanks for the shout out, you’re so sweet. Looks amazing, great tutorial, thanks for sharing, and wonderful crafting with you friend.
Love your napkin patterns. Blue is my favorite color. Love working with you on these hops!
I can’t pass up anything blue and white. Where did you find those napkins! They definitely made the tray. Thanks for being in the hop. I love to see all the ideas, since I’m not very crafty myself.
Looks great Carol! I love your projects with Mod Podge. I have pulled mine out of storage since seeing your projects! xo laura