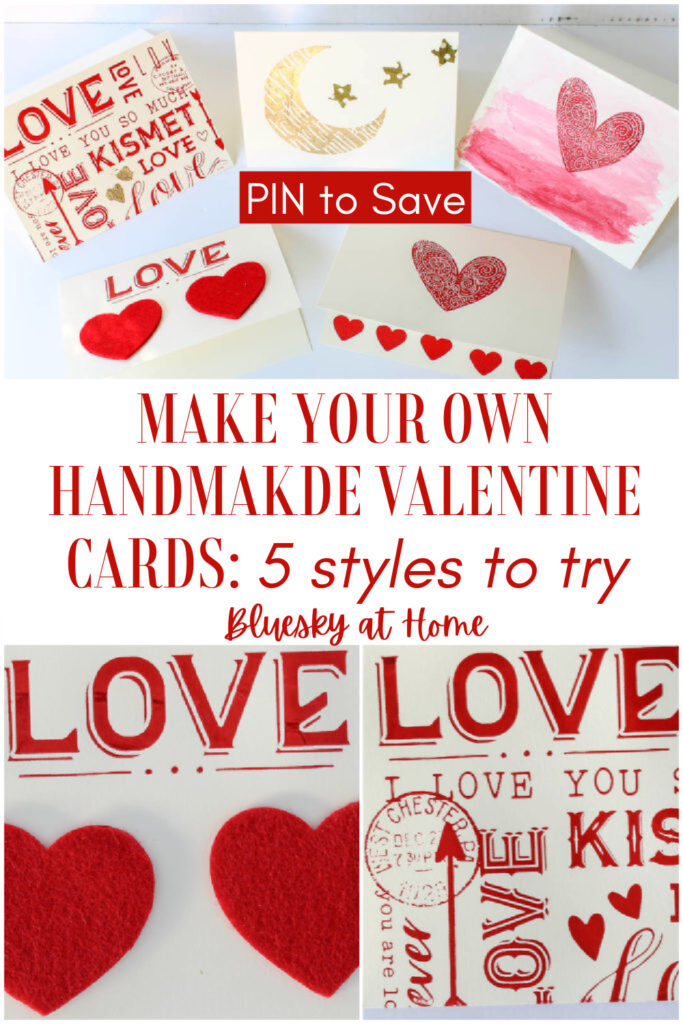
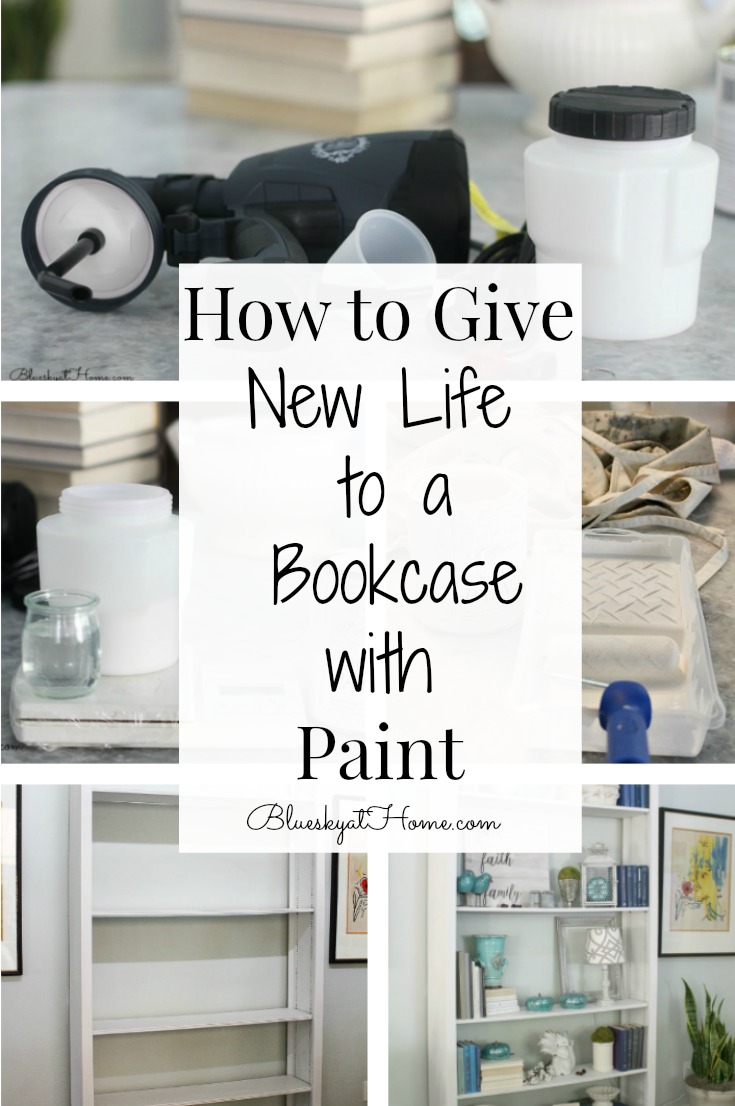
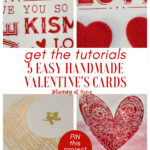
5 Ideas for Handmade Valentine’s Cards
Do you love sending a card to a family member or friend? A handmade Valentine’s card is an extra special way to express your affection for those you love. As we know, giving is better than receiving, so let me show you 5 ideas for homemade Valentine’s cards
Think it’s hard to make a DIY card? It’s not, it’s fun and satisfying.
Opening an envelope and seeing a pretty card that someone made just for you is a wonderful feeling. Valentine’s is an especially nice time to receive a handmade Valentine’s card.
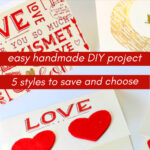
I’m giving you 5 ideas for making your own Valentine’s cards. Pick one style and duplicate it or make all five for different people in your life..
Handmade Valentine’s Cards: 5 Styles to Choose From
I will give you the complete list of supplies for all the cards at the end of the post.
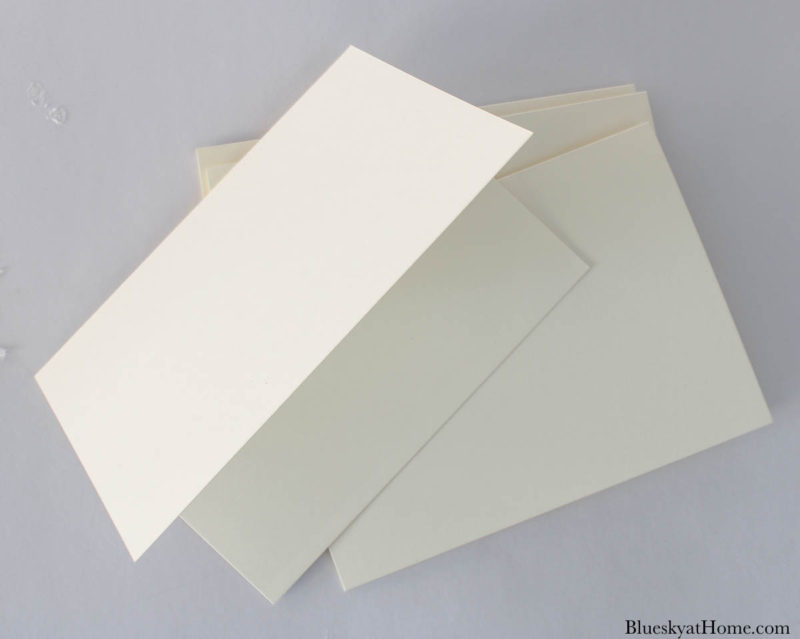
The first thing you need to make these Valentine’s cards is a folded card with good quality paper. When A Makers’ Studio came out with a set of lovely cards and envelopes, I started thinking about making my own Valentine’s cards for Sweet Shark and our grown kids.
These cards are 5 X 7 inches in a pack of eight.
I would also use GetArt Ink as my paint medium. This paint was designed to be used on fabric and paper. I am using three colors:
- Pink – Pretty as a Picture
- Red – Bless His Heart
- White – Well, I Declare.

Although I made all 5 handmade Valentine’s cards using an assembly-style process, I’m showing each one from beginning to end.
Valentine’s Card Number 1
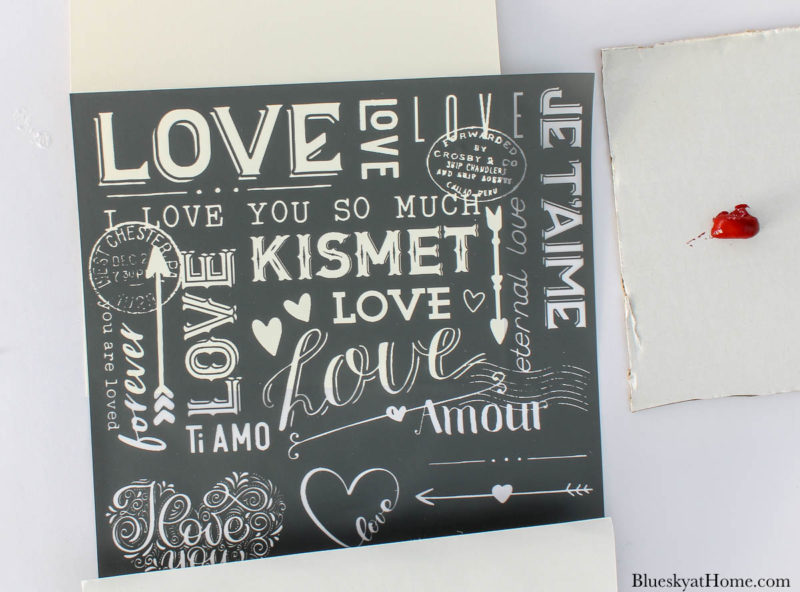
For my first card, I used one of my favorite Valentine’s stencil, called “Love Love Love”. With this stencil, you can make multiple designs. I used this stencil last year to make my Valentine’s plates.
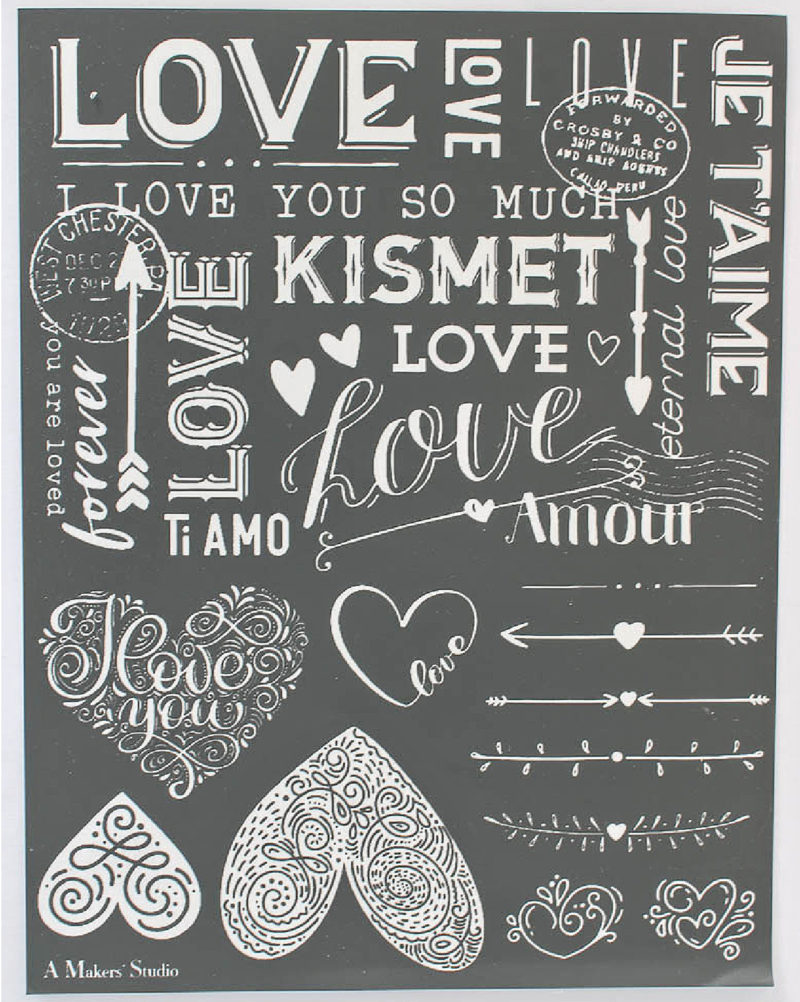
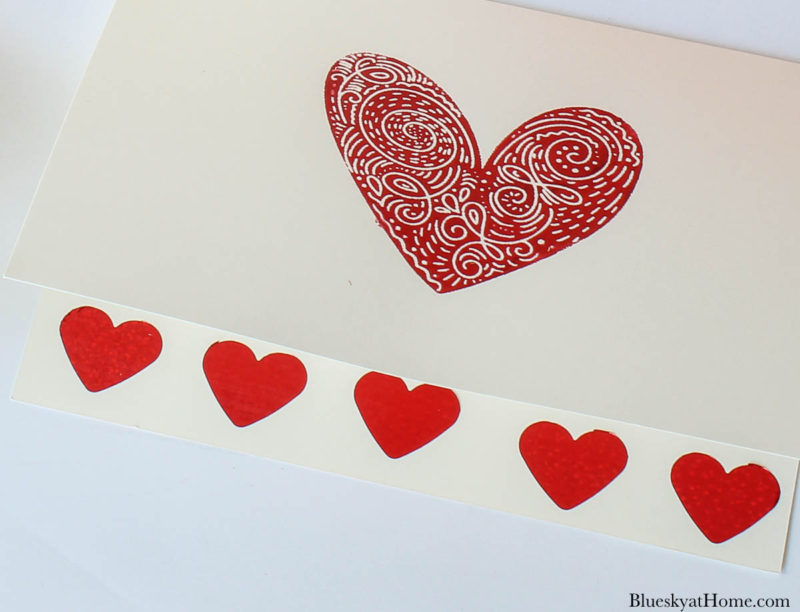
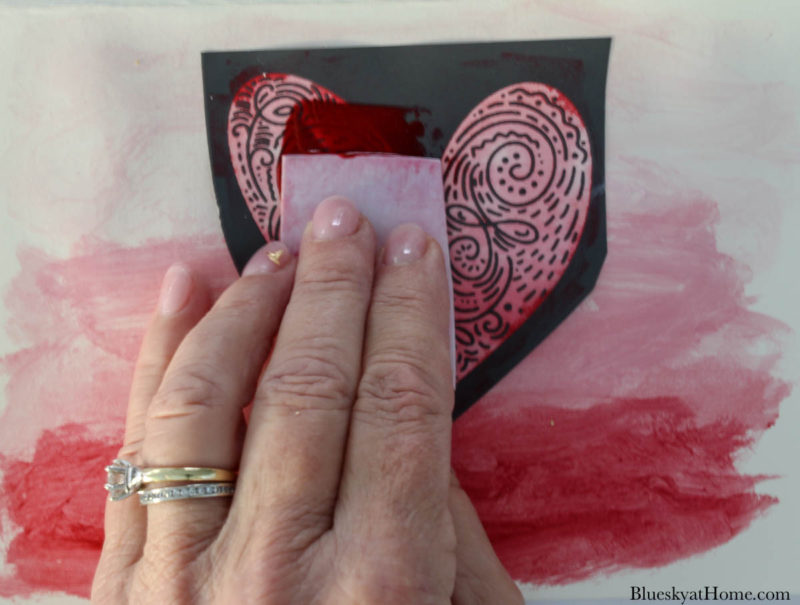
For this card, I used the large heart-shaped design at the bottom of the stencil. I cut out the stencil and applied it to the center of the front of the card.
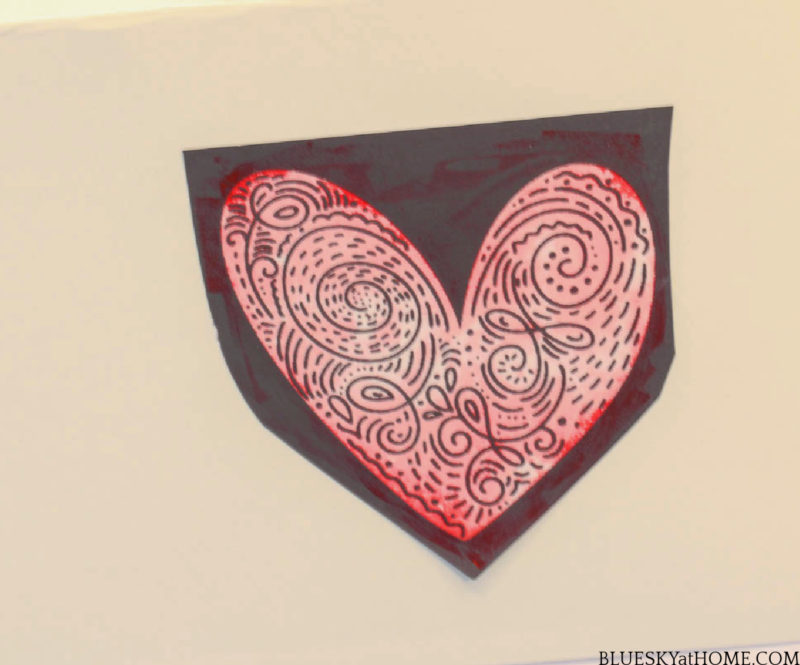
I used the plastic scraper to apply the red GelArt Ink.
For an introduction to using stencils, see this post: 9 Great Tips for Make Signs with Stencils.
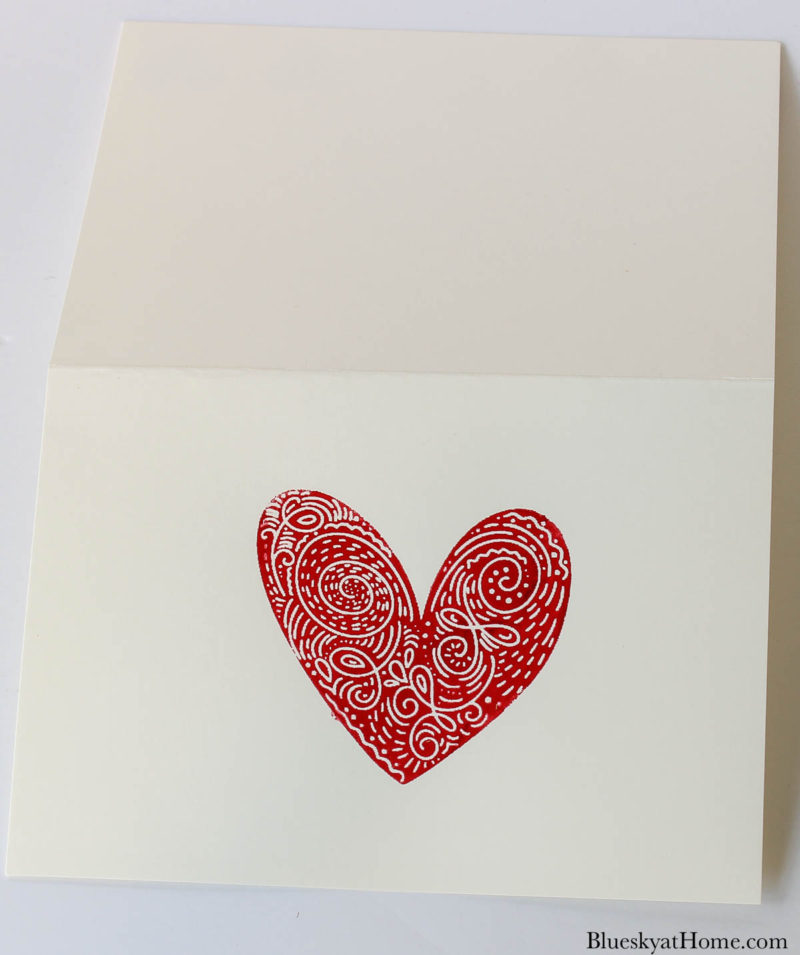
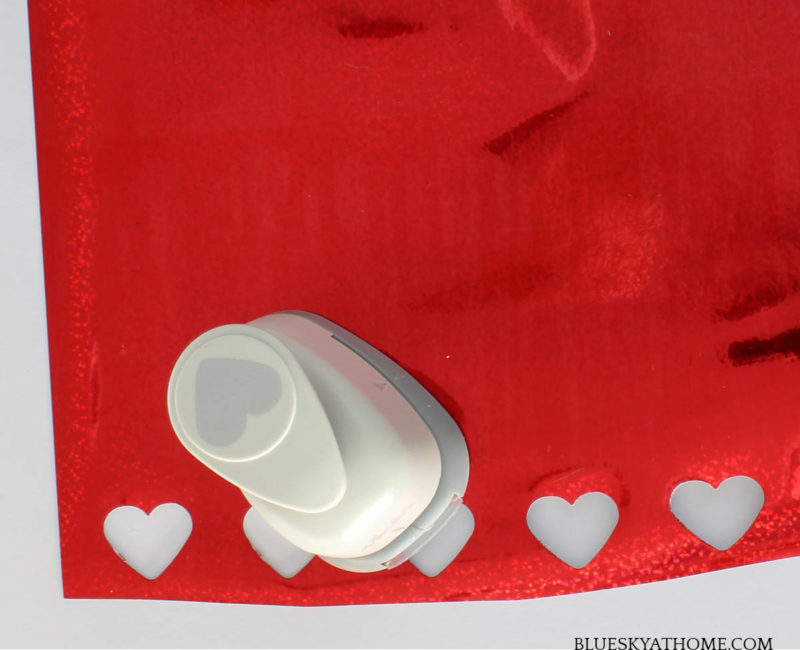
On the inside of the card, I used my heart punch and metallic red vinyl from Cricut to add some small cute hearts.
Ombre Painted Card Number 2
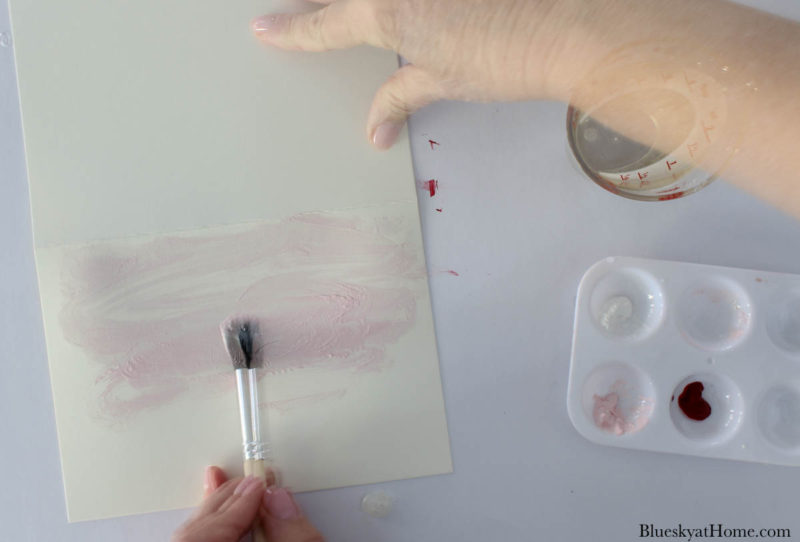
Did you know that GelArt Ink can be diluted to make watercolor? I am not an artist, but I decided to try this approach for the first time.
I decided to try a slightly ombre effect. You need some brushes, a container for the GelArt Ink, and a small container of water.
I squeezed each of the GelArt Ink colors into the paint holder. (My granddaughters let me have one of theirs.) You dip the brush into the water and add enough to get a watercolor consistency. You can easily mix colors.
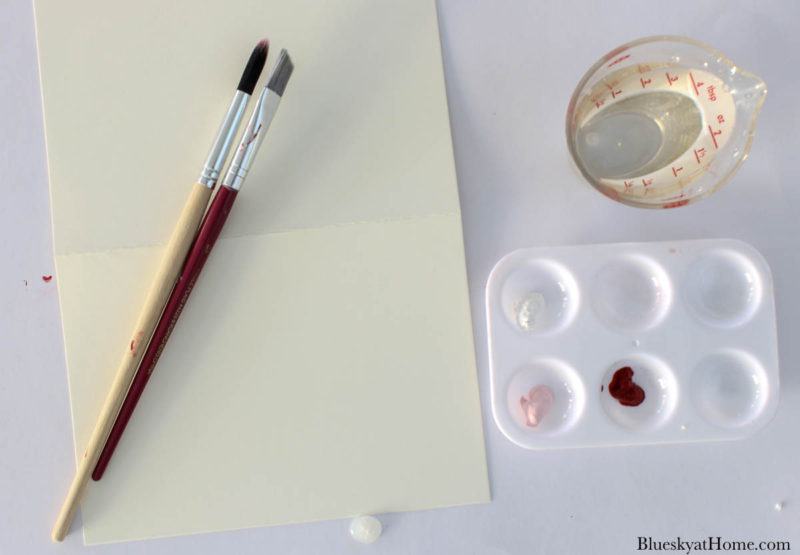
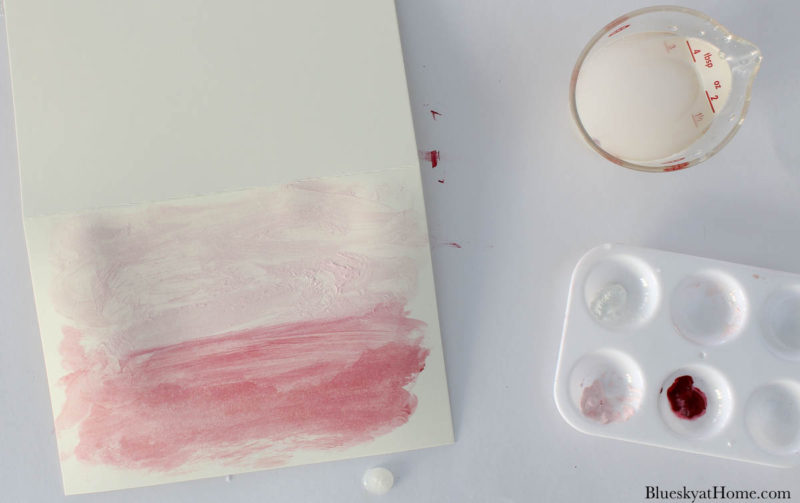
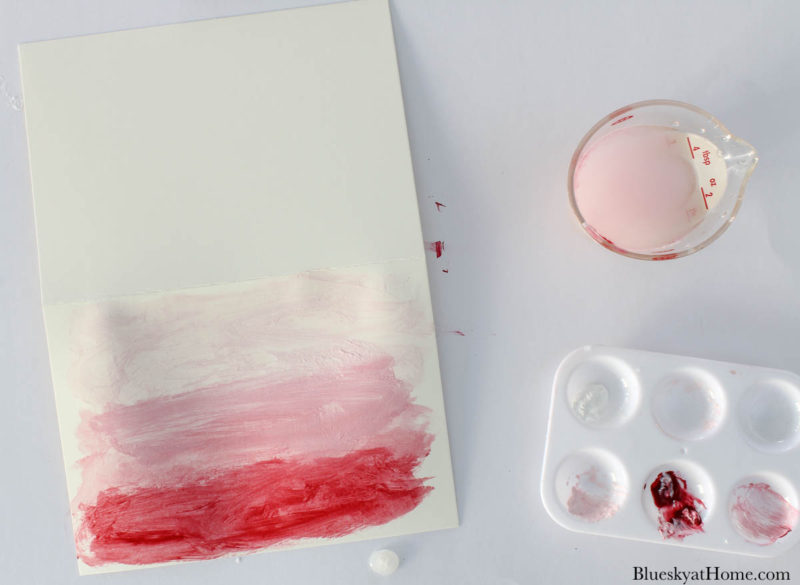
I started at the top of the card with a mix of white and pink. Then I added more pink, and then a mix of pink and red.
I allowed the GelArt Ink to dry for several minutes. Then I added the same heart design (from the Love Love Love stencil) that I used for the first card. Again, I used the red GelArt Ink.
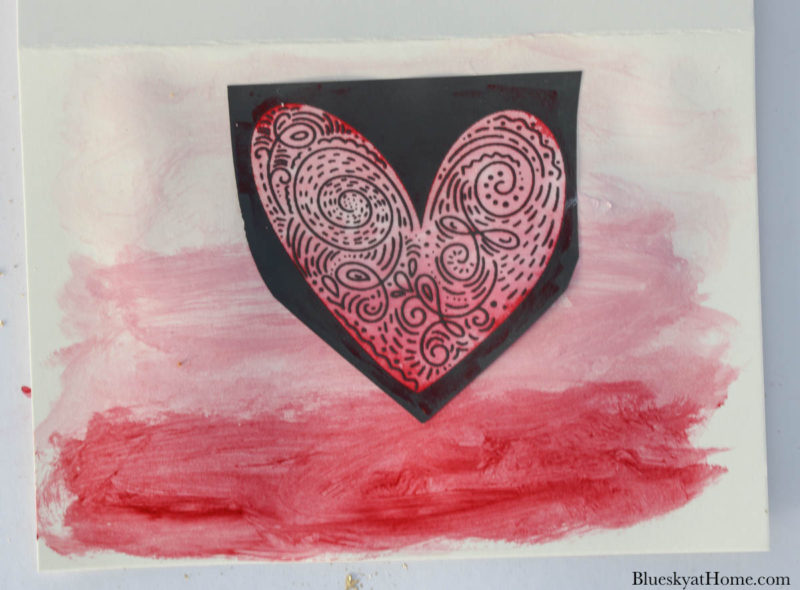
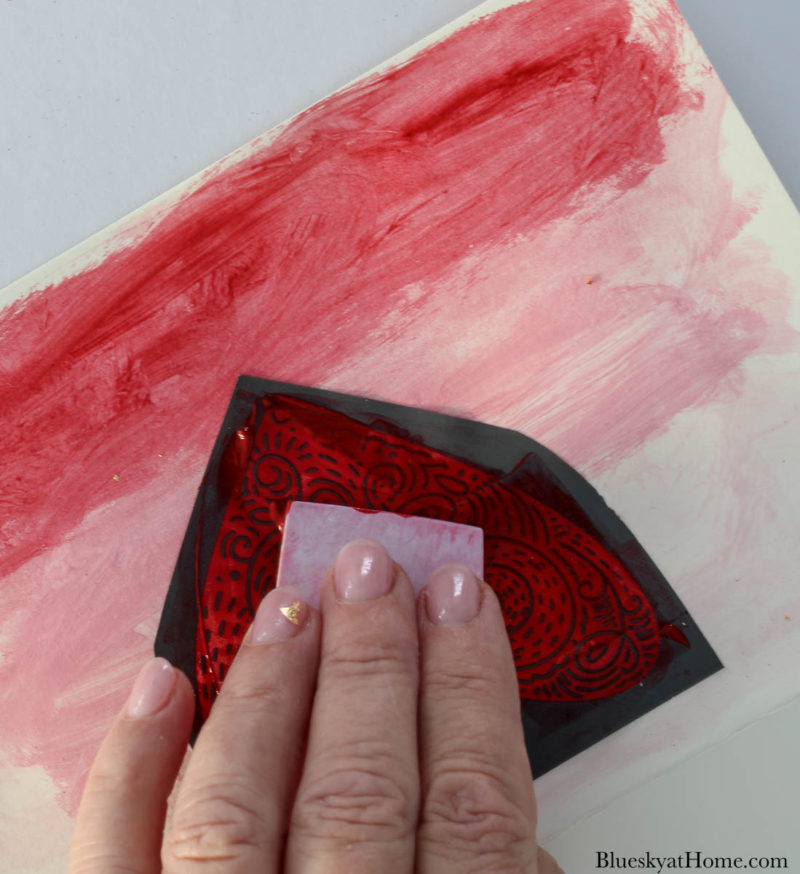

This approach produced a unique style. Not bad for someone who’s never painted an ombre design.
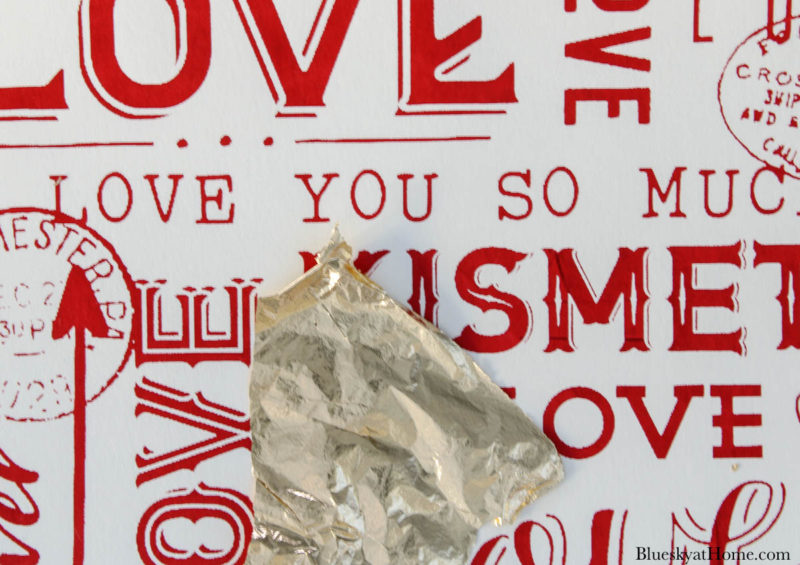
Gold Leaf Moon Number 3
For my next card, I used a different technique and different tools: Gold Leaf and Gilding Size.
I’ve used Gold Leaf many times and love the medium.
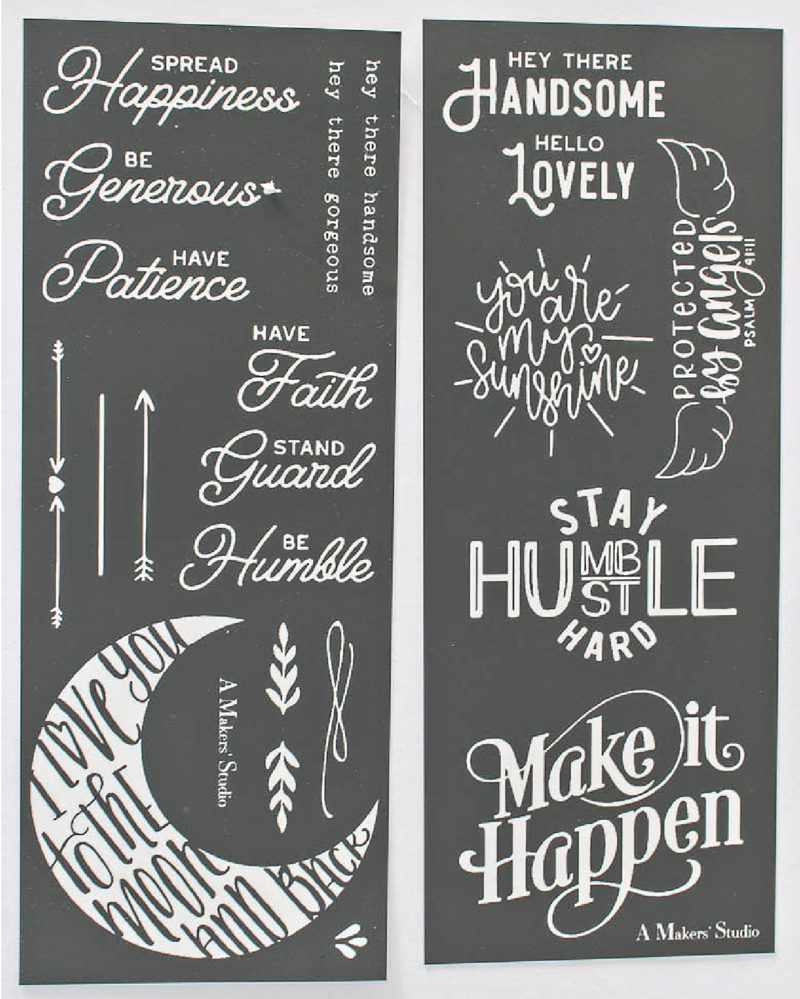
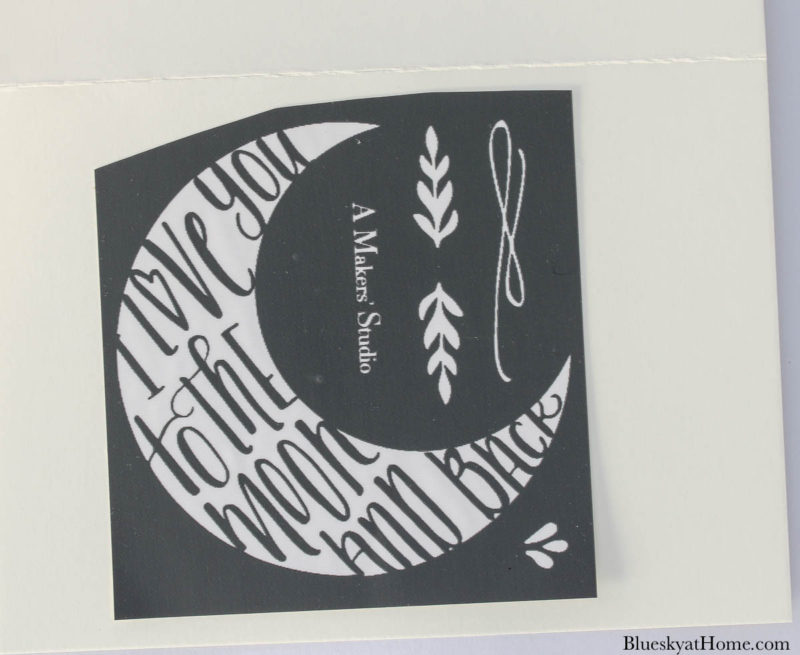
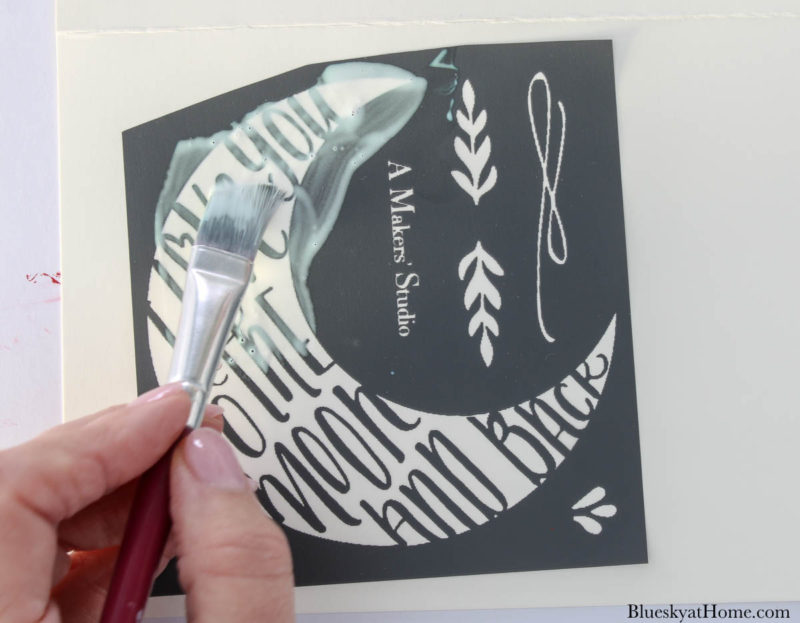
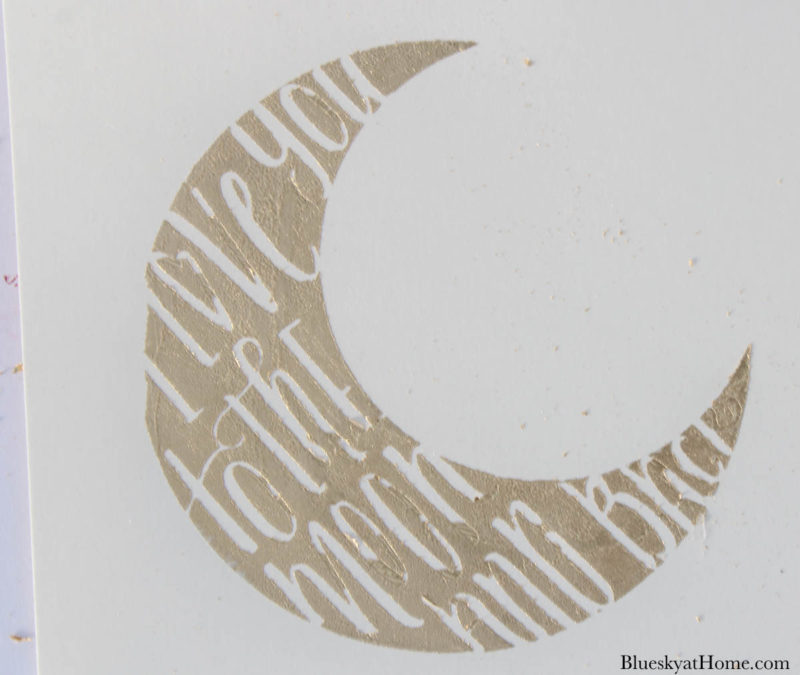
For this card, I used a different stencil: Angels and Moon. It contains multiple designs. I’m using the “I Love You to the Moon and Back”.
I cut out the stencil and placed it a little off-center on the card.
I applied the Gilding Size using a small paintbrush all over the stencil. The Gilding Size will be white when you apply it.
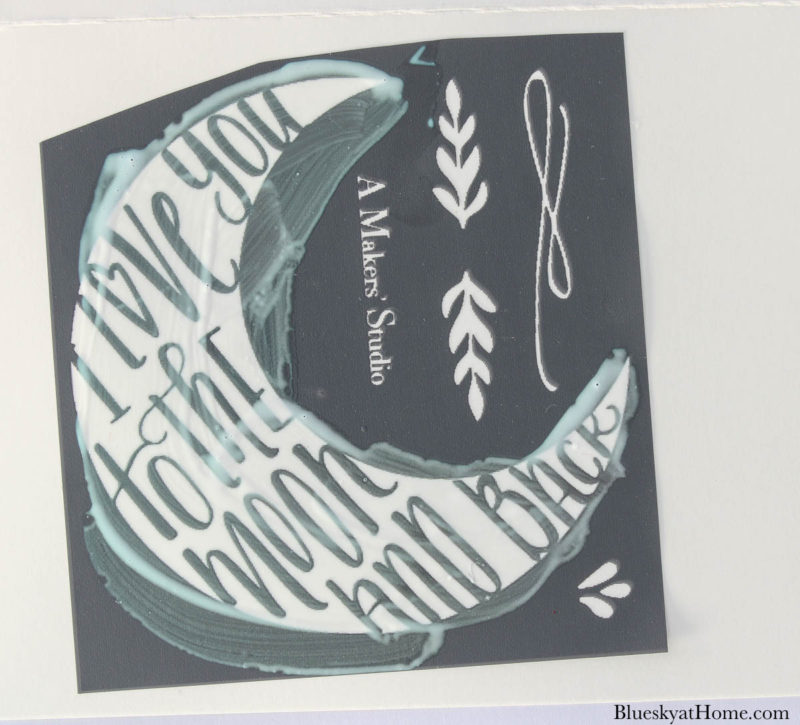
Remove the stencil from the card.
TIP: Immediately wash the Gilding Size from the stencil.

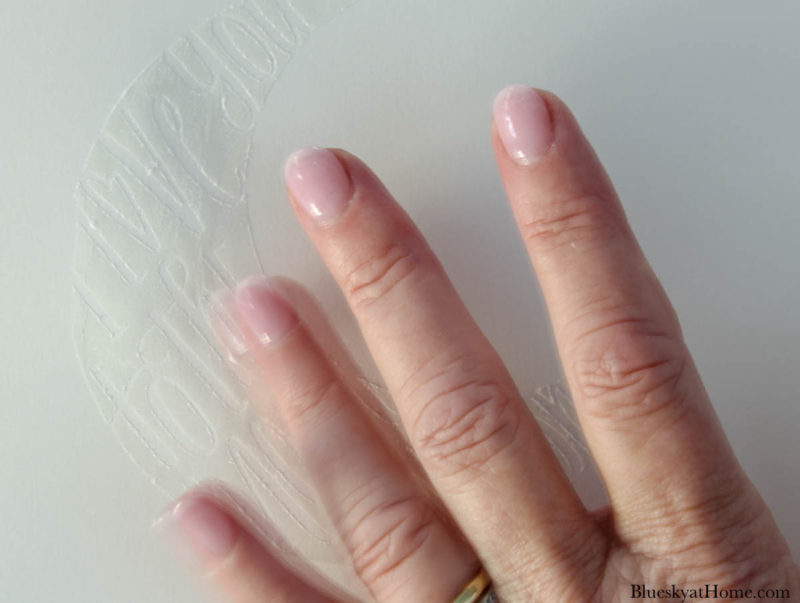
You want to let it dry for about 10 minutes. As the Gilding Size dries, it will turn clear. Let it sit until it becomes “tacky”. Check by touching your ring finger to the Size. If it feels slightly tacky, it’s ready to add your Gold Leaf.
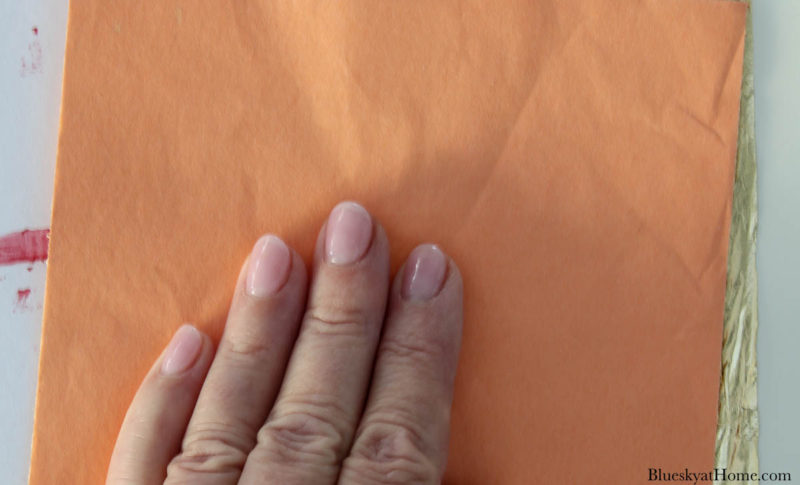
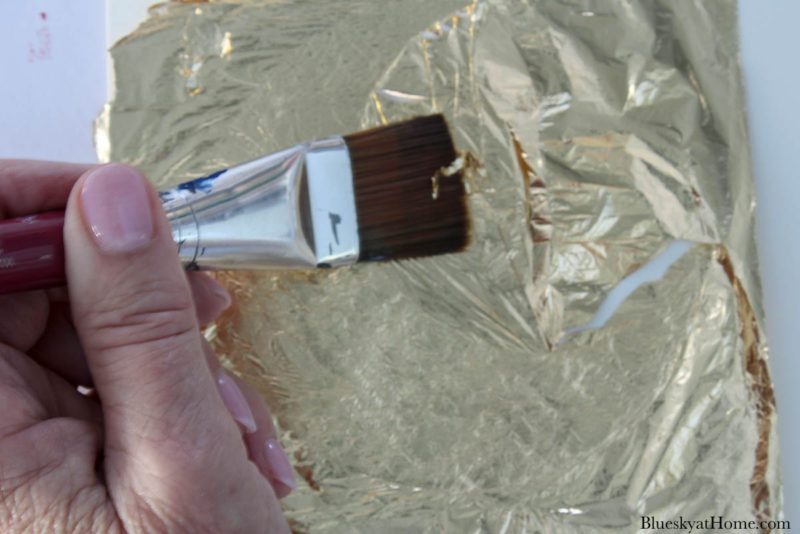
Now, you can place a sheet of Gold Leaf over the stencil. Rub over the Gold Leaf with a sheet of the orange tissue paper to burnish the Gold Leaf.
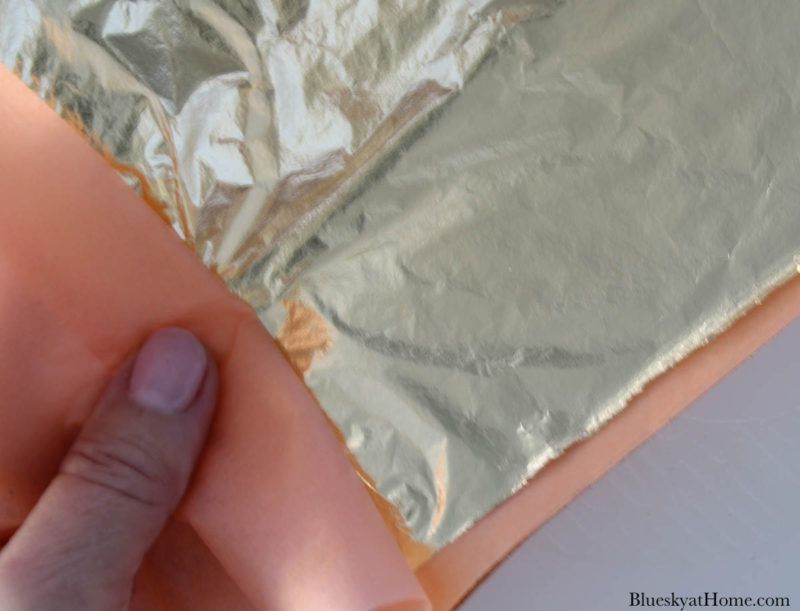
Use a paintbrush to brush across the Gold Leaf in one direction, pressing down on the Gold Leaf. Then go across the Gold Leaf in the opposite direction, removing the excess until the design is clearly visible.
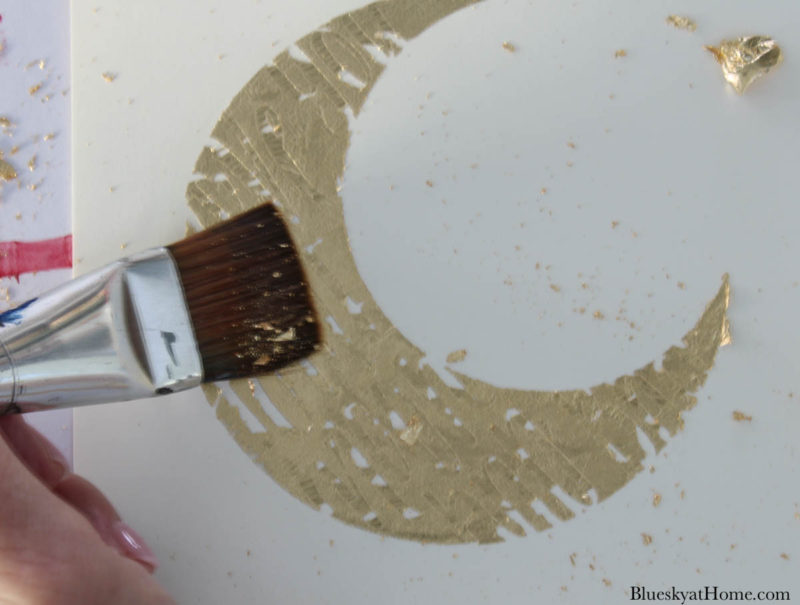
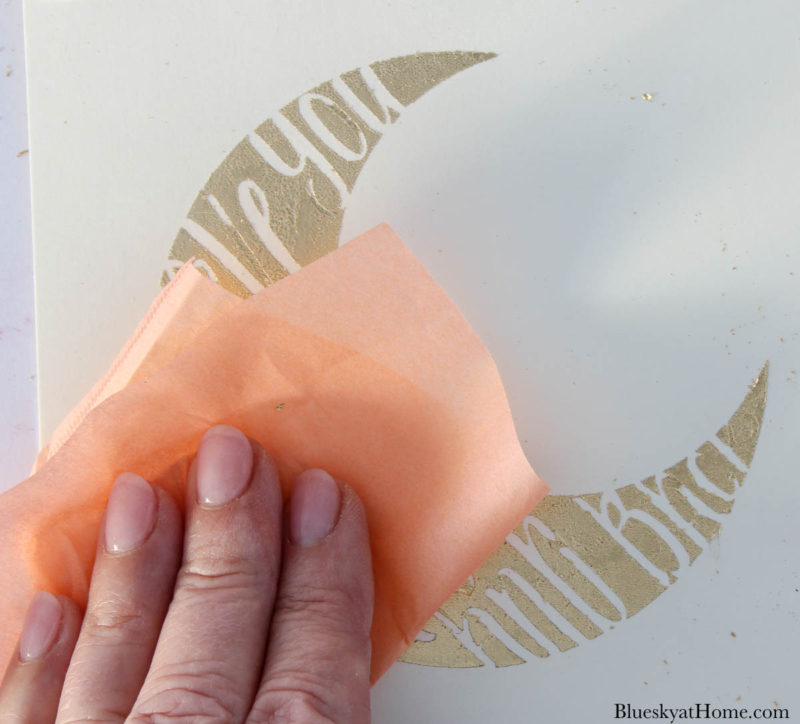
When you have removed all the excess Gold Leaf, you burnish the Gold Leaf with another piece of tissue. You are done!
Here’s more instructions on Gold Leaf and Gilding.
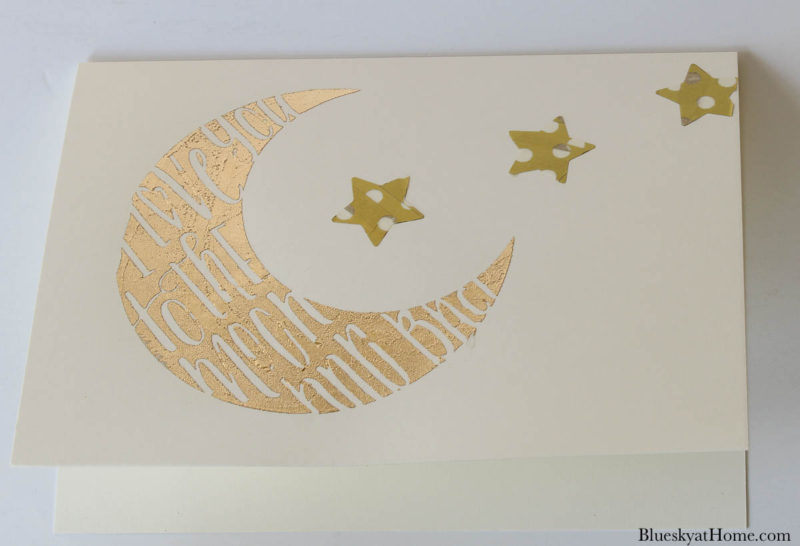
Since I had a moon, I decided to add some stars, using one of the gold washi tape rolls I had handy.
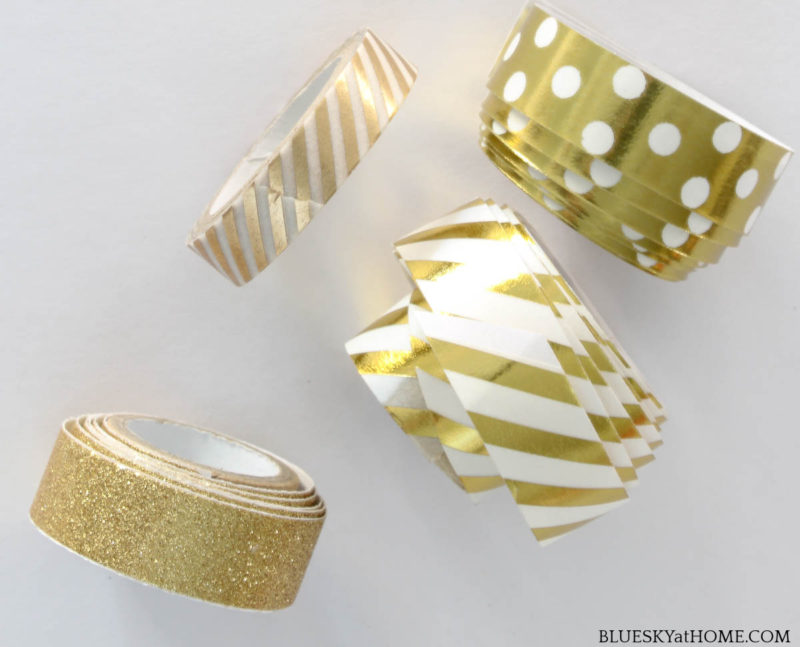
I taped three 2-inch strips of washi tape together. Then I used my small star hole punch to make 3 stars.
I think this Valentine’s card will be for Sweet Shark.
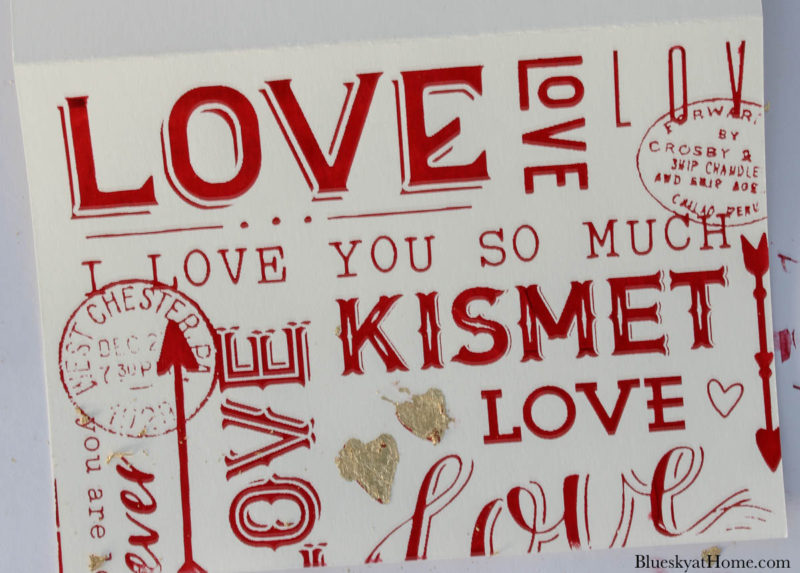
Valentine’s Card Number 4
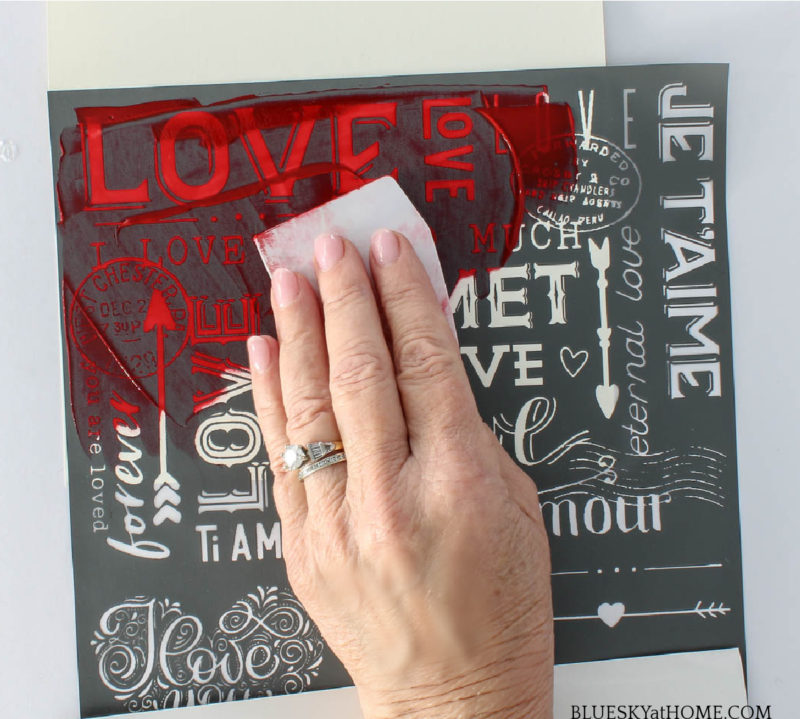
For this card, I used the top of the “Love Love Love” stencil to cover the entire front of a card. I squeezed out a little red GelArt Ink on a piece of cardboard.
Again, using the same technique, I applied the GelArt Ink to the entire surface.
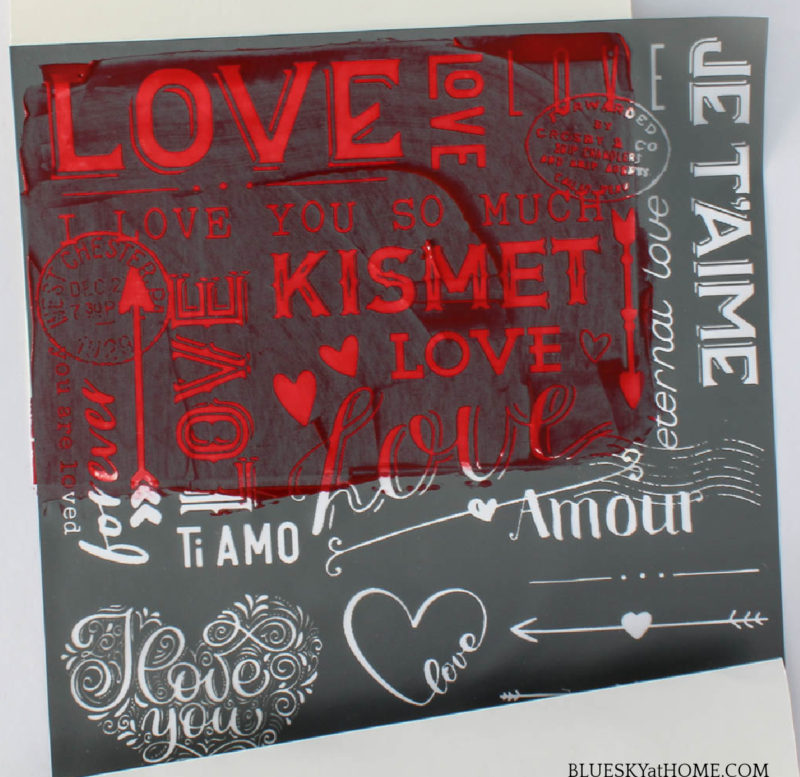
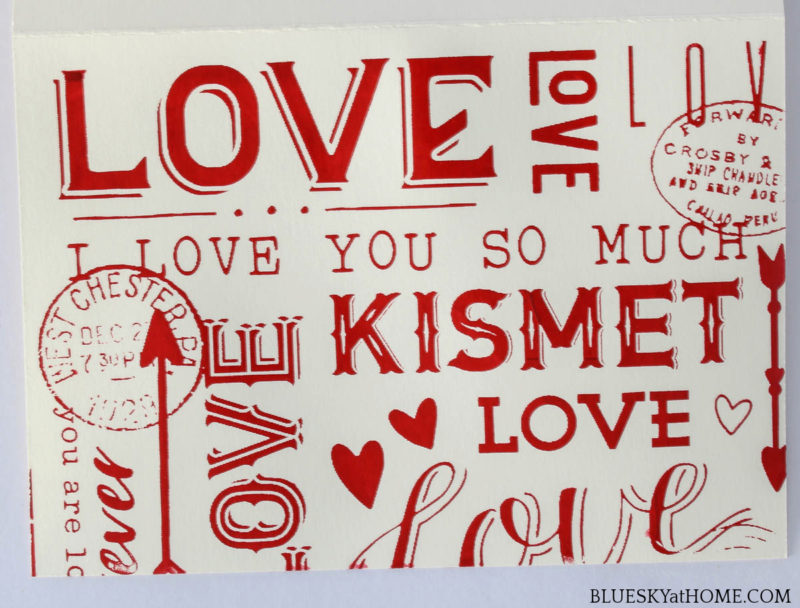
Here’s how this card turned out. I let the card dry for a few minutes. See the two small red hearts in the bottom center? I decided to add a little bling to them using Gold Leaf.
I cut out the stencil for two hearts and placed it over the red hearts on the card. Then using an artist’s brush, I applied Gilding Size.
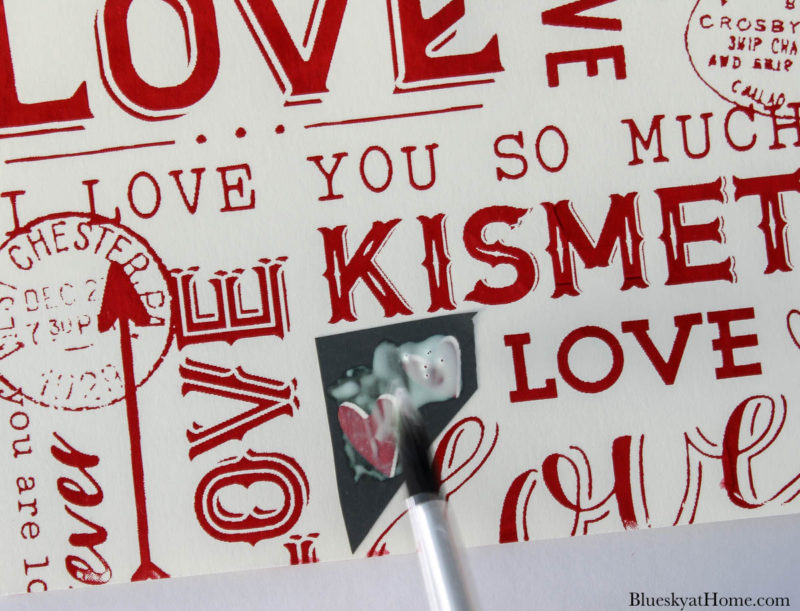
I removed the stencil and let the Gilding Size sit for about 10 minutes until it came to “tack” – just slightly tacky.
Then I placed a small piece of Gold Leaf on the heart. Again, you want to use a piece of orange tissue to burnish the Gold Leaf.
Finally, use a dry paintbrush to remove the excess Gold Leaf. Now you have a little sparkle on your handmade Valentine’s card.
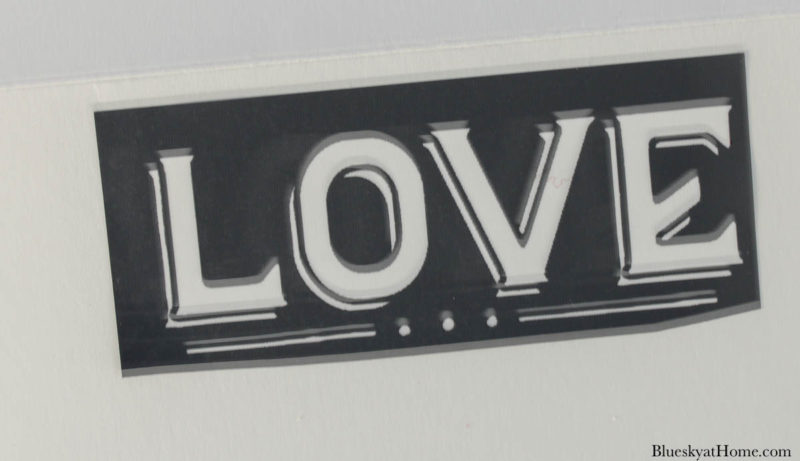
Valentine’s Card Number 5
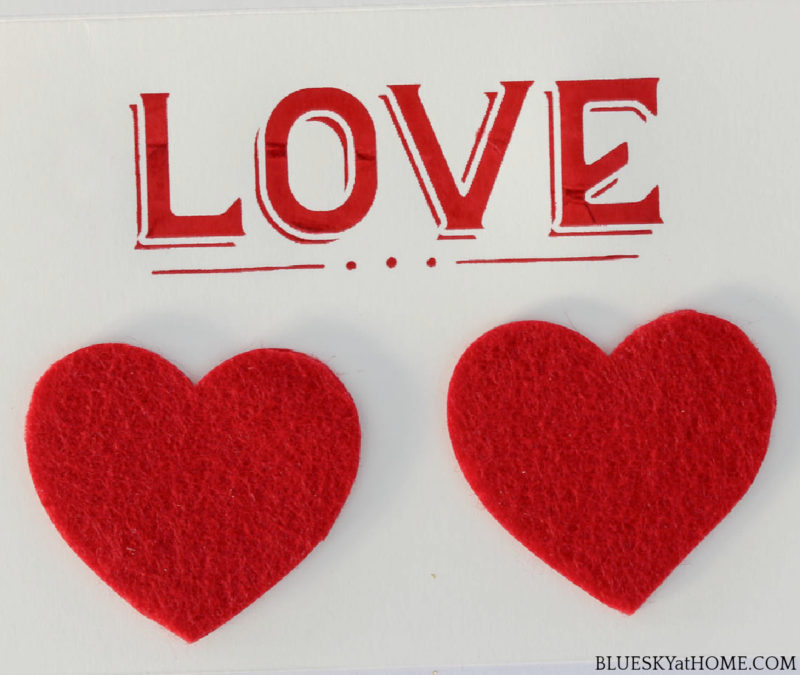
I had one more stencil I wanted to use – this LOVE design from the same stencil.
After adding the GelArt Ink, I thought some embellishment was in order. I had some red felt hearts from making a recent Valentine’s wreath.
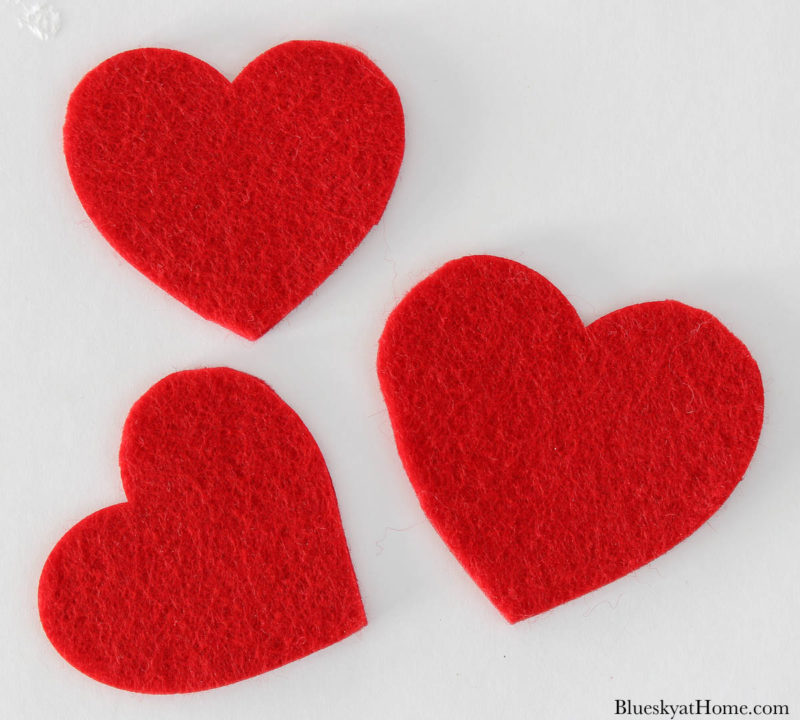
I used double-stick tape to attach the felt hearts.
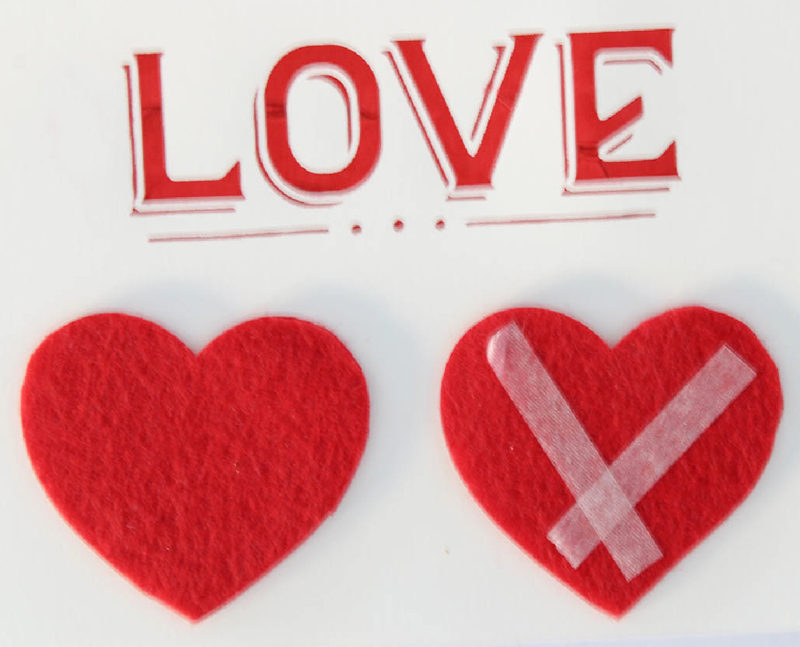
This final handmade Valentine’s card was super easy.
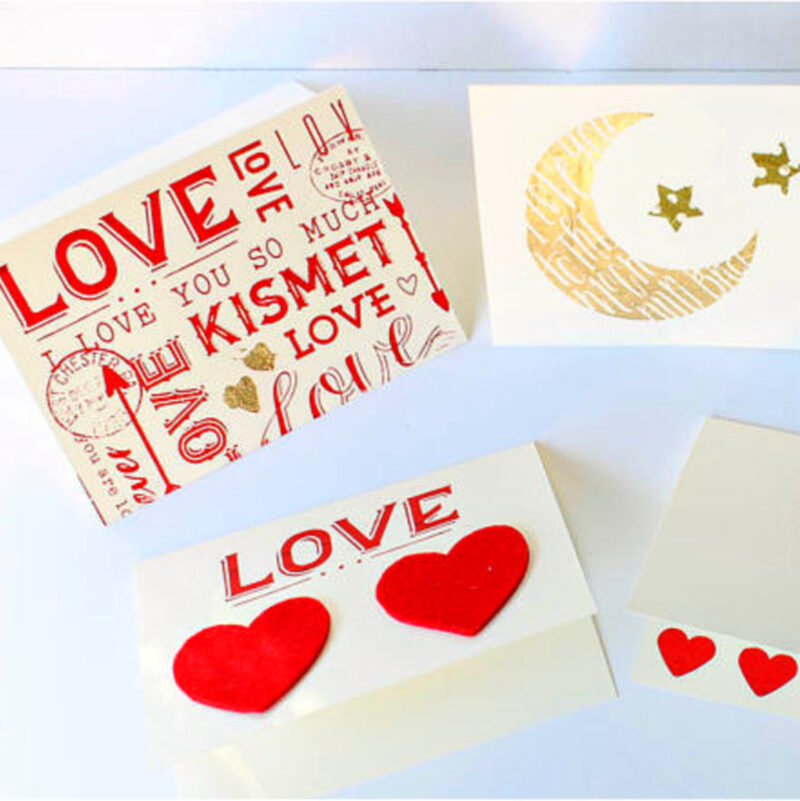
Here’s the reveal of all 5 handmade Valentine’s Cards.
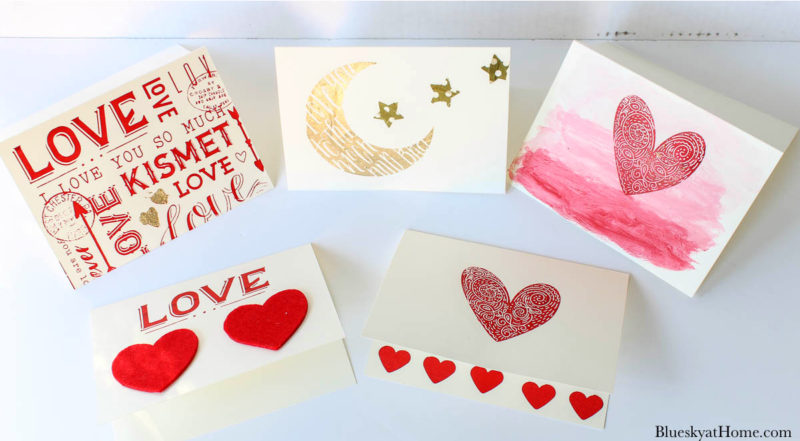
Do you have a favorite?
Supply List to Make Valentine Cards
Here is the total list of supplies for all 5 cards.
- 8-count package of 5 X 7-inch cards and envelopes
- Well, I Declare White GelArt Ink
- Pretty as a Picture GelArt Ink
- Bless His Heart GelArt Ink
- Love Love Love Tri-Mesh Stencil
- Angel and Moon Tri-Mesh Stencil
- Gilding Size
- Gold Leaf
- Artist’s Brush
- Plastic Scraper
- Cricut Vinyl
- Heart Punch
- Red Felt Hearts
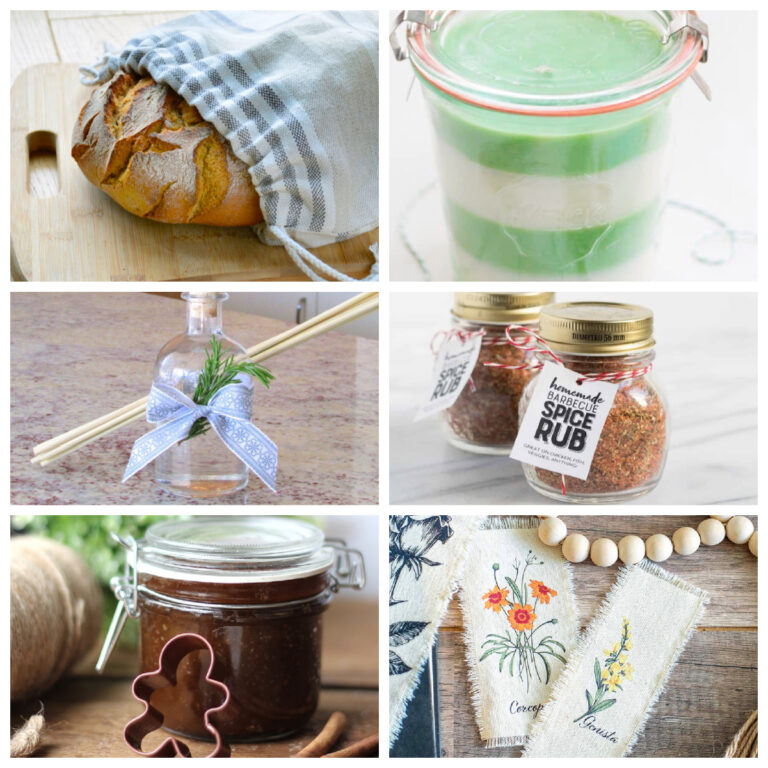
If you want more Valentine’s DIY Projects, check out this Pinterest Board.
But, first, be sure to PIN this post so you’ll have the idea, tutorial and supply list at your fingertips.


I haven’t made cards in years but you have got me thinking about pulling out some of my supplies and having fun with it. Your cards are beautiful! Thanks for sharing them. #HomeMattersParty
Thanks for the feedback, Donna, Making cards is a fun project with lots of benefits.
Handmade cards are the absolute best! And these are beautiful, I would love to make and receive any and all of them.
Sonja, glad you liked the project.
Those are all so cute! I have been staring at my card making supplies all week hoping that I’ll get motivated to make my cards.
Carol, all of your cards are so pretty! I am a big fan of handmade cards. I used to make them with my kids and have carried on the tradition with my Grand! 😊
Your cards turned out great. What a great way to make a truly personal valentine. Your nails look amazing making them too! I can never manage to get mine even painted. Thanks for being in the hop today.
Cards are pretty but your nails are beautiful.
Thank you, Jean. A nice manicure makes DIY projects look better!
Carol, I feel like cards are more important than ever right now when we can’t be with all of those we love in person. These handmade cards are true pieces of art and I feel like I just got a wonderful little art lesson from reading through this! I am sure each of these will be received with all of the love that you put into making them! HUGS!!
What cute valentines Carol! I love the moon and star one the best (but that is because that was our nursery theme when the kids were little). Thanks for sharing.
These are all super cute Carol! I am really impressed with the gold leaf moon, wow that looks amazing! Gold leaf is tricky to work with, I can’t believe you were able to coax it into place on the stencil, wow! Handmade cards are the best! ❤️
What lovely cards, Carol! I’ve never used gold leaf. I’ve pinned these.
I know that I would love to receive a handmade card like these.
Pinning, and clicking over to the cute plate project.
RR
You cards look lovely, Carol! I enjoy making homemade cards, too! I’m pinning this and putting your cardmaking ideas on my to-do list!
Cute, cute!! I love making cards, and this year we need to send more love through the mail than ever before. Thank you for sharing your ideas.
Beautiful cards made from the heart Carol! I love the name of the paint colors too ‘-) Happy to be hopping with you again ♥