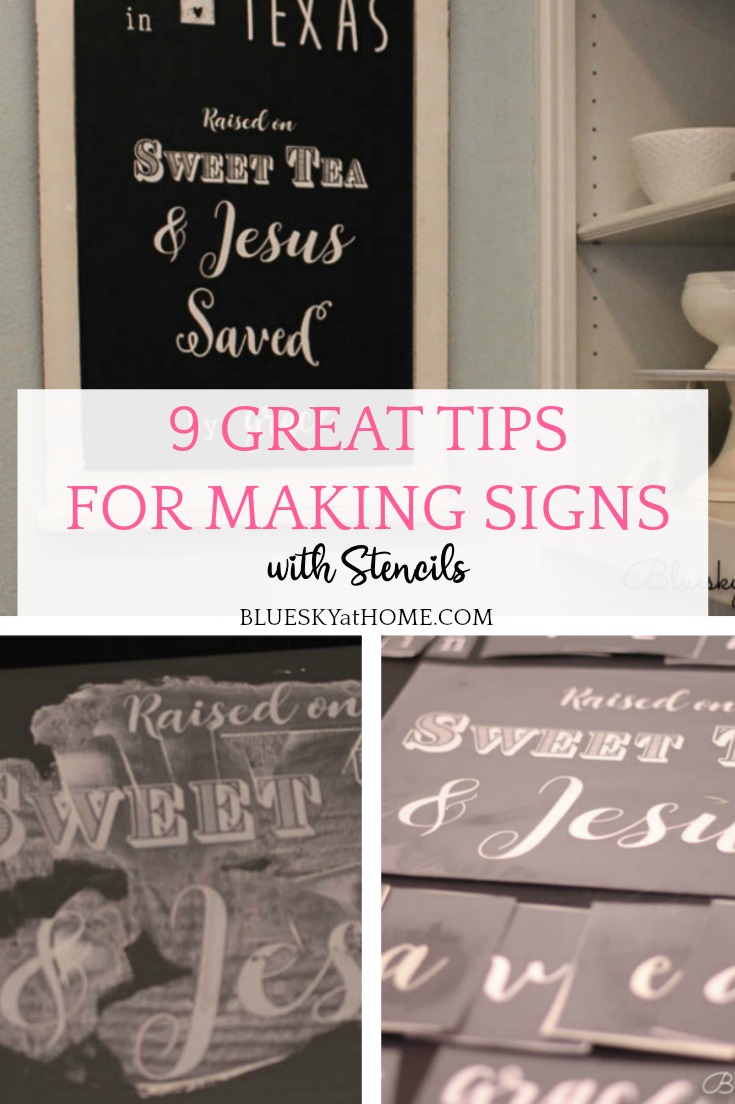
9 Great Tips to Make Signs with Stencils
Making signs with stencils is a fun way to satisfy your DIY passion and decorate your home on a budget. To help you, I have 9 great tips to make signs with stencils.
I love to make signs. Especially signs with stencils. If you want to learn some great tips to make signs with stencils, I’m your girl.
Have you seen how many stenciled signs for home decor are on the market? You can’t walk through craft stores, like Hobby Lobby or Joann or Michael’s, without seeing signs everywhere.
If you shop any home decor store, from name brands like Home Goods, Target, Pottery Barn or At Home, signs of all sizes, shapes, and styles tempt you to take them home.
Just as some people knit or quilt or scrapbook as a stress reliever, making signs with stencils can be a relaxing pastime too. Knowing some tricks will give you more success at making signs with stencils.

So, to help you make signs with stencils more easily or you want to learn how to make signs with stencils, I have 9 great tips to make signs with stencils. I want you to have better results and more fun.
9 Great Tips to Make Signs with Stencils
This post contains affiliate links to products I used, love and highly recommend. If you should purchase any product from this site, I may receive compensation.
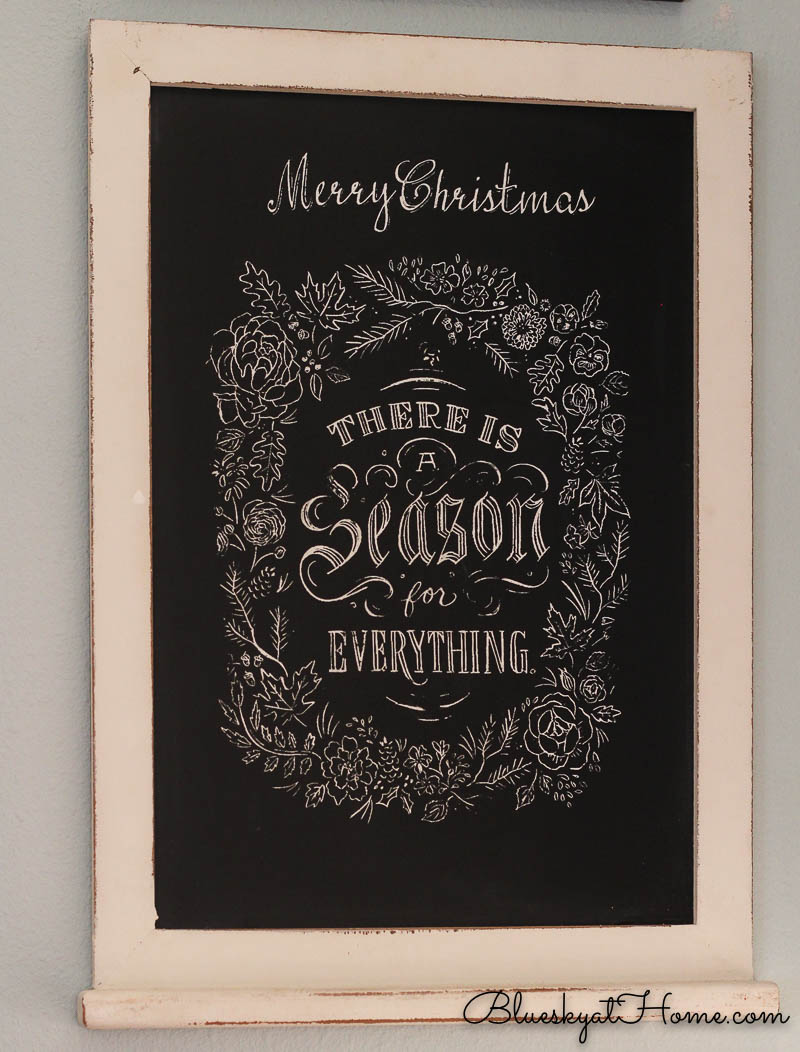
As our subject to show you these great tips to make signs with stencils, I’m going to use a chalkboard that I’ve had for a few years. I bought this chalkboard at Joann at a super sale price.
Originally, I used chalk pens to write on the chalkboard. I soon realized that handwriting pretty script on the chalkboard was not my forte. I tried to use a stencil on the board which was a disaster for a couple of reasons:
- The stencil wouldn’t stay put and moved around on the board. I had to use spray adhesive on the back of the stencil which was messy and sticky to use.
- Using acrylic paint and “pouncing” it on the stencil resulted in a ton of bleed~through, even when I offloaded most of the paint. The design wasn’t sharp and when I tried to clean the mess~ups, I made a bigger mess.
- Because this chalkboard was in our kitchen and I wanted the ability to change the design up. Using acrylic/stencil paint meant I couldn’t erase and use another design. I was stuck forever with the same design. I ended up covering up the original board with chalkboard vinyl.
I’ve heard other people bemoan the bleed~through challenge with plastic stencils. I have several stencils that I’ve bought over the years and tried them with mixed results. But I didn’t want to give up because I love signs made with stencils.
Fast forward to 2 summers ago when I discovered and joined A Maker’s Studio. Since then using the tri~mesh adhesive~backed stencils paired with ChalkArt or Gel Ink has totally changed my opinion of using stencils. Recently I’ve shared other stencil projects, such as my flea market cutting boards and a Valentine sign. I’ve used all these 9 great tips to make signs with stencils and I know they will help you improve your stencil sign efforts whether or not you use stencils from A Maker’s Studio.
Tip 1: Don’t Limit Yourself Just to Wood Surfaces for Signs
You don’t have to create stencil signs only using wood, although that surface is the most common. Look for other surfaces that can be stenciled.
- ceramic
- glass
- metal
- fabric
- laminate
- canvas
- paper
Tip 2: Use a Paint Product that is Washable
Finding a chalk product that is washable and removable will allow you to clean up any boo~boo’s and then remove the stencil when you want a new design. This is a game~changer in the stencil world.
Before Christmas, I used my first A Maker’s Studio stencil on the chalkboard. I love this stencil design and was proud to display it in our kitchen.
In mid~February, it was time for a new design. Using a spray bottle of water and paper towels, I easily “washed” off the old design. My chalkboard was ready for a new design. I created a video on how I did this and it’s on my Facebook page.
Now, your chalk paint should be removable ~ but only with water. When dry, it should stay in place, until you intentionally remove it.
Tip 3: Don’t Be Afraid to Mix Stencil Designs
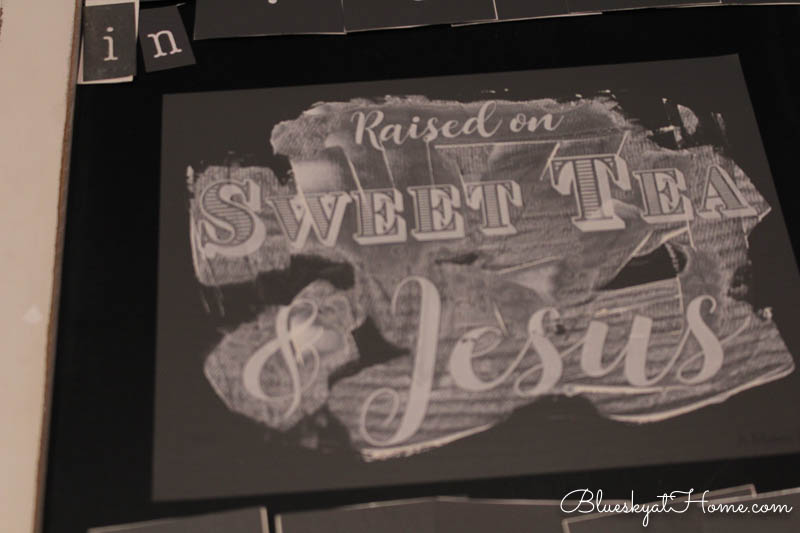
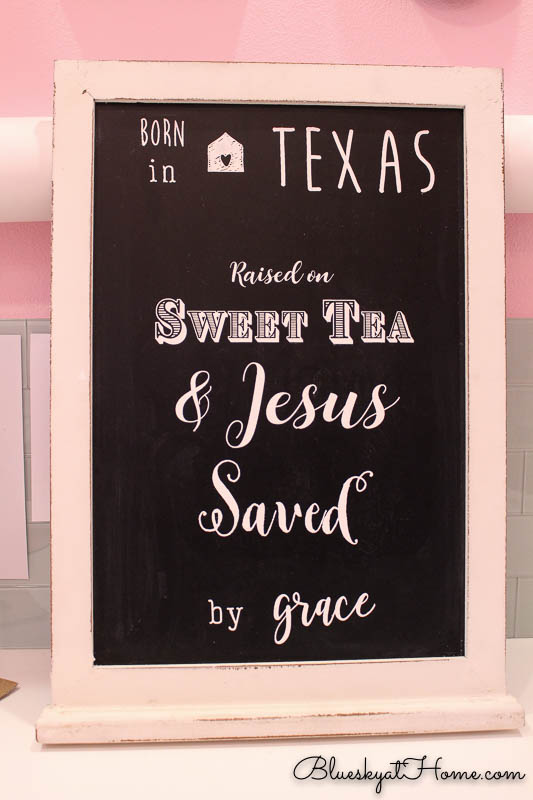
Especially on a large surface, mix a few fonts adds more interest and flexibility. For this design, I used several stencils to create a more interesting design. Since this sign was text~heavy, the different fonts and sizes made the project more attractive. Adding a graphic design also adds appeal.
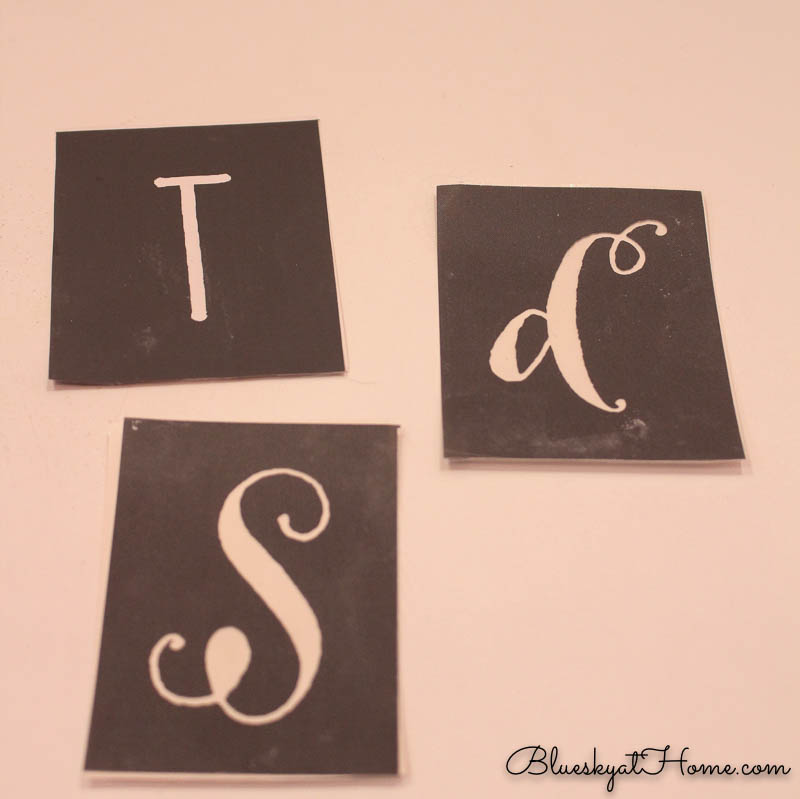
Here’s a list of the different stencils I used for this sign. I know that you may not want to use this many different designs, but 5 of these I already had and have used for different previous projects and I will use them many times again for future projects :
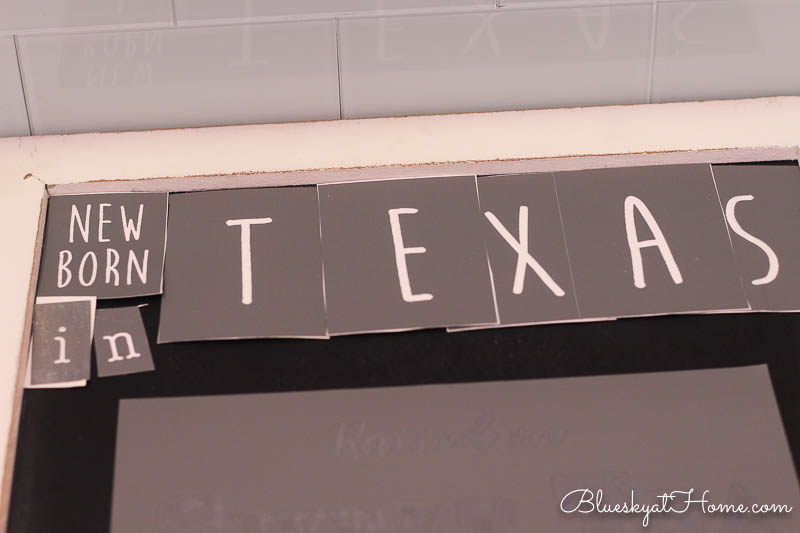
- Alphabet 1 ~ T,E,X,A,S
- Alphabet 2 ~ lower case letters “aved”
- Alphabet 3 ~ upper case “S”
- Alphabet 4 ~ b,i,n,y
- New Baby ~ New Born design
- Nest ~ house graphic
- Sweet Tea
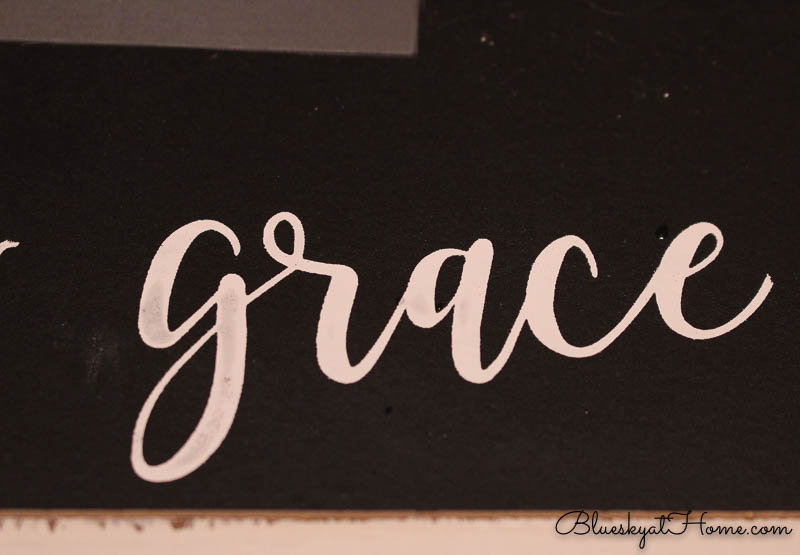
- Grace Gather Grateful ~ grace
Tip 4: Lay Your Design Out before Beginning Your Project
Laying out the stencil design where you want it before you begin stenciling is best. You can adjust for centering and spacing before you apply your chalk paint.
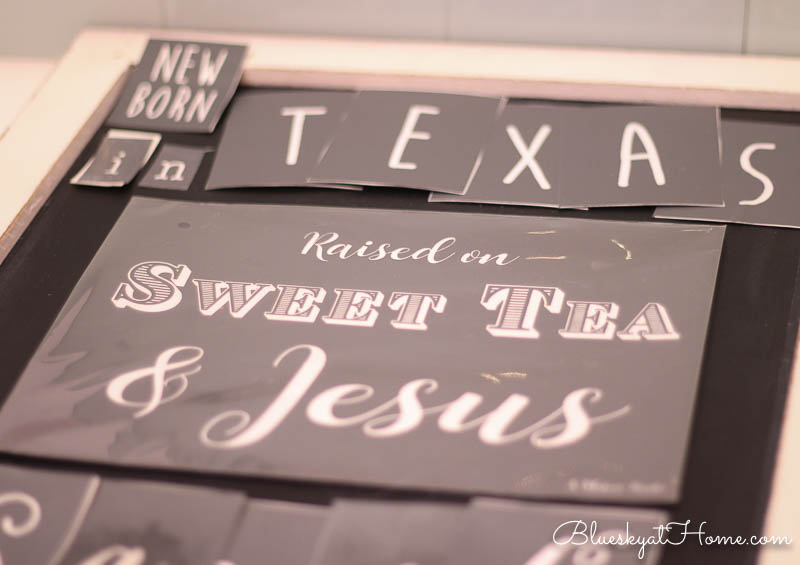
Now you can determine whether to start in the center or at the top or bottom, whichever works best for you.
For this project, I started with my largest stencil, the focal point of the chalkboard first.
NOTE: Because these stencils have an adhesive backing, they stay in place. Once you have the stencil where you want it, just rub over the stencil design with your fingers to adhere it. If you are using plastic stencils, you will need either spray adhesive or painter’s tape to hold them in place. (See my problems with that above.)
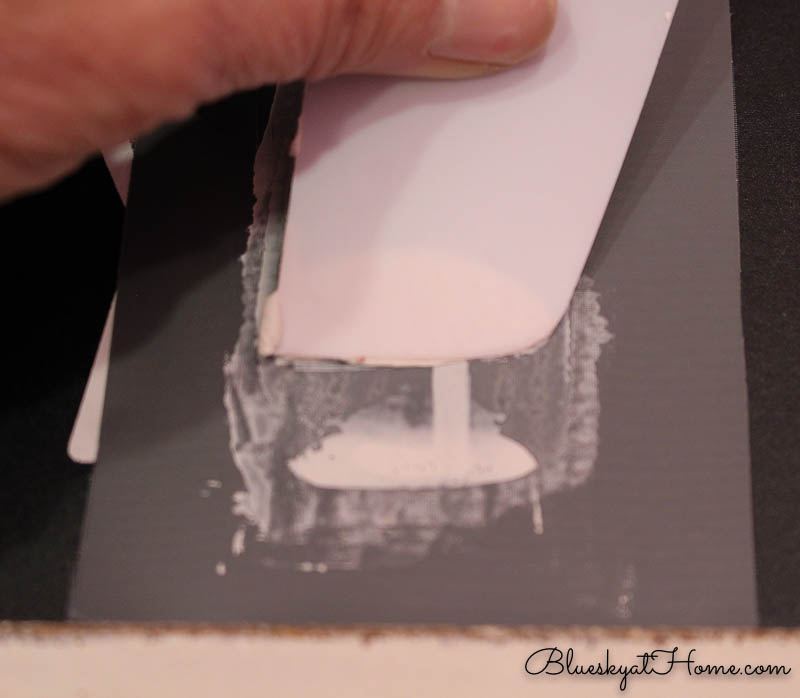
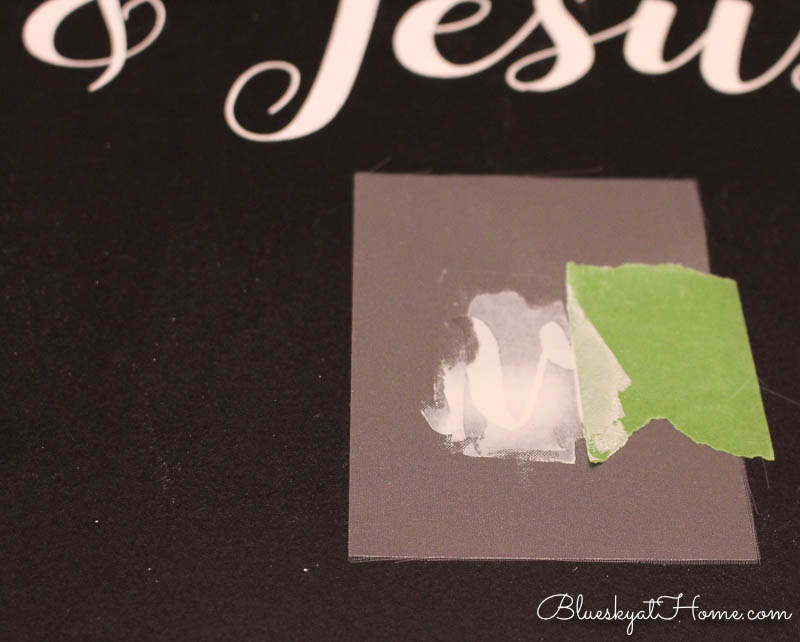
Apply your chalk paint of choice. Of course, I applied ChalkArt with a ChalkArt spreader because it is so easy to apply and won’t bleed through the stencil. I used the color Peace & Joy.
NOTE: If you are using an acrylic or stencil paint with a plastic stencil, you will need a sponge brush and need to be very careful about bleed through under the stencil.
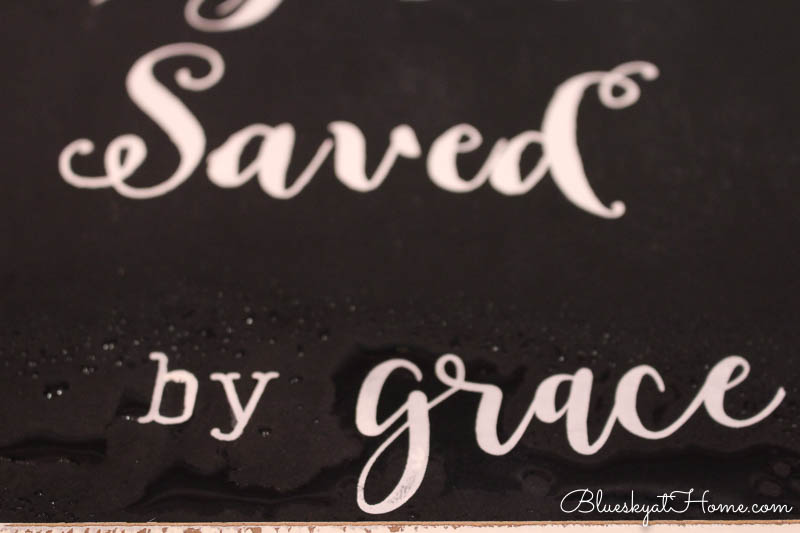
Then I added the bottom line.
Last, I turned the chalkboard around so the top line would be closest to me and I didn’t have to reach.
Tip 5: Keep a Spray Bottle of Water and Paper Towels Handy
These 2 items will serve several purposes:
- Help you clean your workspace.
- Help you quickly clean up any stray chalk paint on your project ~ if the chalk paint is removable. If you are using a regular acrylic paint, the more quickly you apply water with the paper towel, the more chance you will have of rescuing your project before it’s a lost cause.
- Spray your stencils with water as soon as you remove them and wipe off the paint with a paper towel. This step keeps your chalk paint from building up and allows you to reuse the stencil more quickly. Have a paper towel ready to lay the clean stencils on with the design face down.
- You can also have a container of water to put your stencils in while you continue with the rest of your stencil sign.
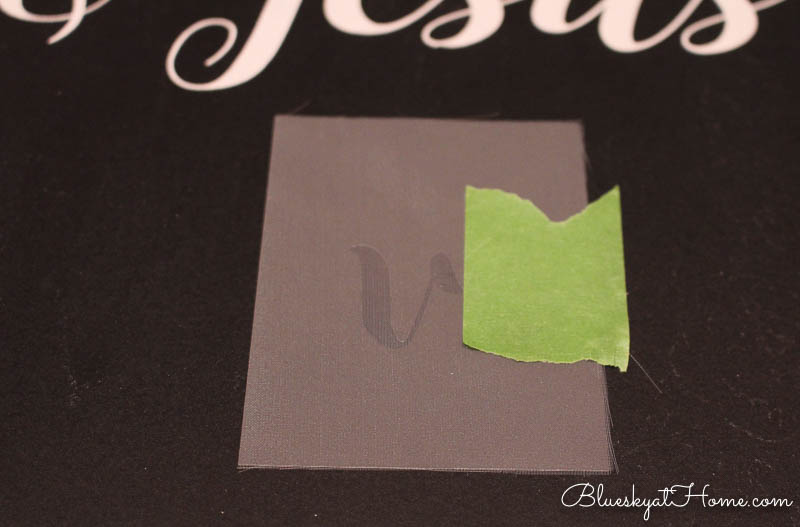
Tip 6: Keep Painter’s Tape Handy
If you are using a plastic stencil and you don’t want to use spray adhesive to hold your stencil down, then painter’s tape is a must. I use Frog Tape for my projects.
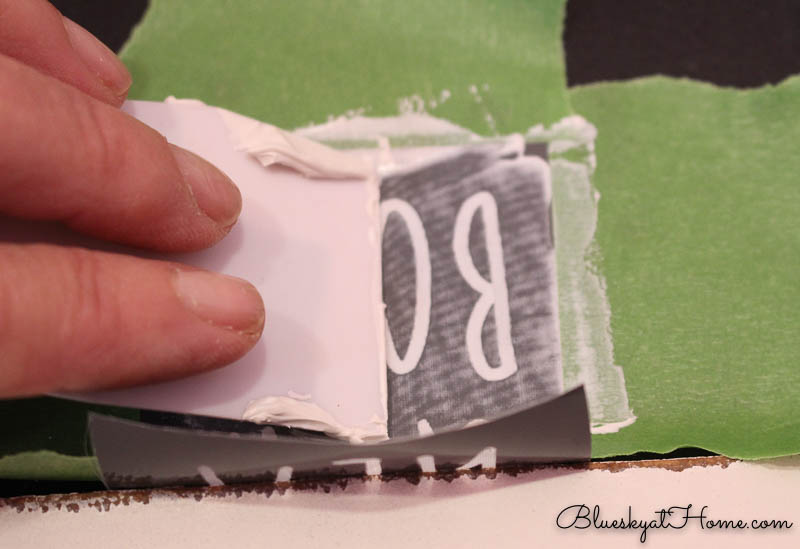
Even if you are using an adhesive~backed stencils, painter’s tape is an excellent way to increase the area around the stencil. Small stencils have less area around them.
Placing painter’s tape around the stencil will keep you from painting on your surface. You will be able to stencil more freely, making the project proceed more quickly and cleanly.
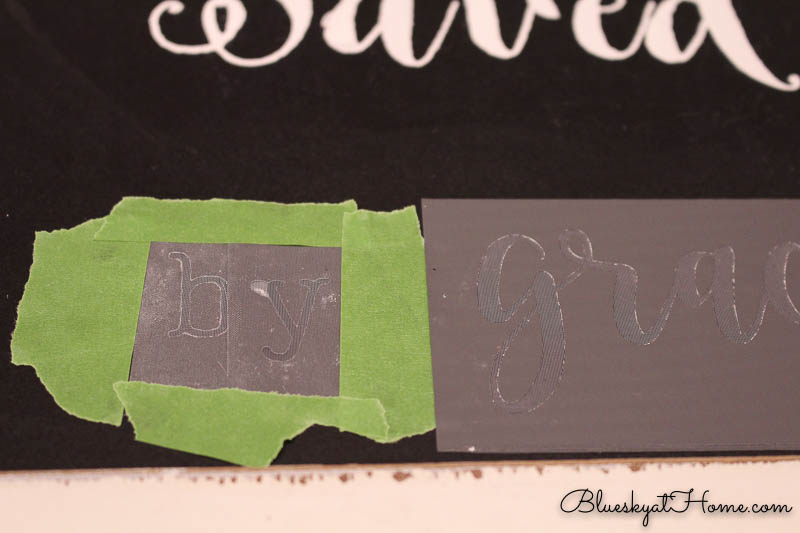
You can also use painter’s tape to cover any unwanted part of your stencil design.
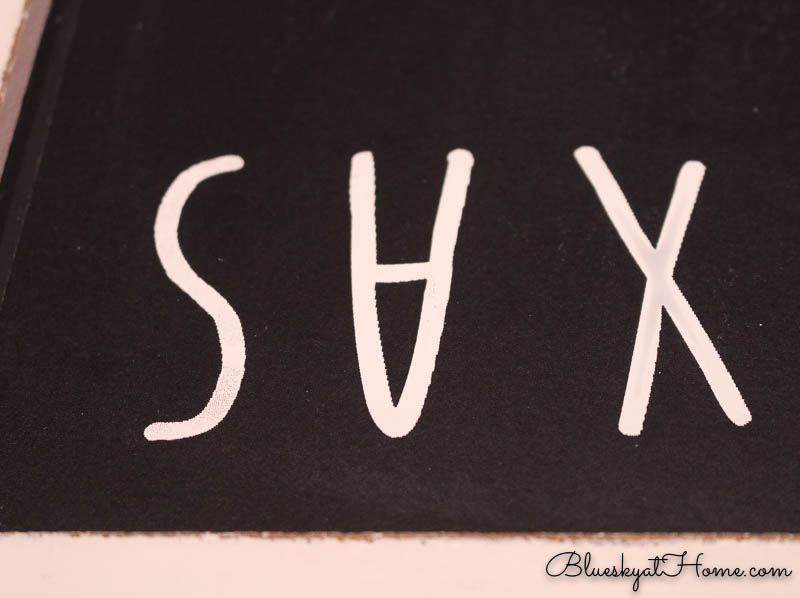
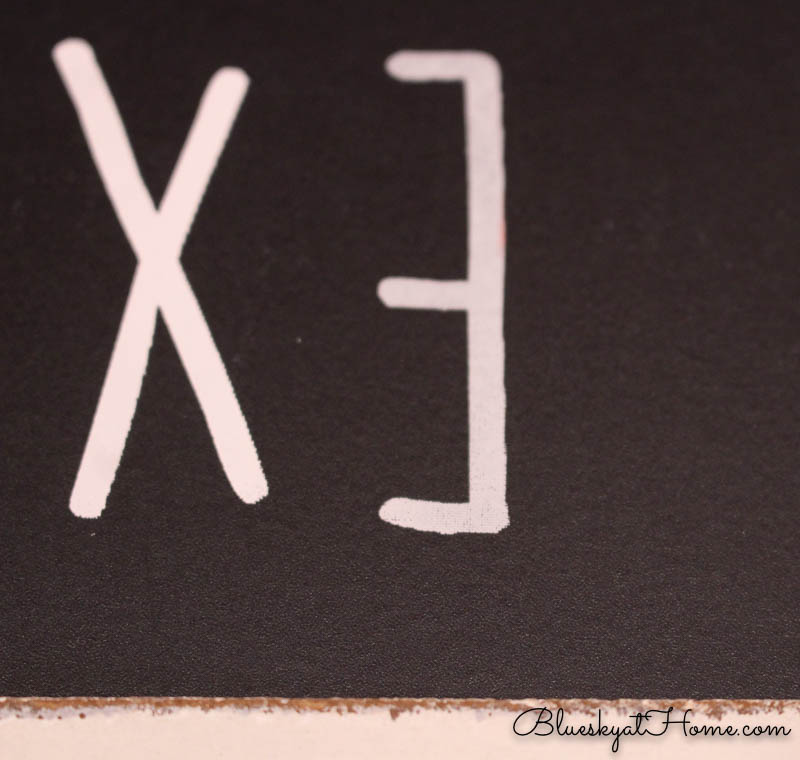
Tip 7: Stencil Right to Left or Left to Right
Depending on whether you are left~handed (like me) or right~handed, you want to work away from existing stencils so you don’t smudge over a design you have already done. This may mean turning the stencil and the surface upside down. Following this tip will save you a ton of frustration.
Tip 8: Use Q~Tips to Remove Any Unwanted Paint Spots
When you have small spots of chalk paint that are blurring your design, a barely damp Q~Tip is a great way to gently rub out the spot. Use your spray water bottle to dampen the Q~Tip. Then I flatten the fibers. A small stiff brush with a flat edge is also helpful.
Tip 9: Don’t Expect Your Stencil Project to be Perfect
You are a creative, a do~it~yourself creative person. You aren’t about perfection; you are about finding enjoyment in a project and using it in your home decor or giving it as a gift.
Remember that the stencil signs and home decor that you find in the stores are mostly machine~made. Yes, it’s wonderful to buy an item for instant home decor gratification, but making it yourself brings so much satisfaction and a sense of pride in your handmade creation.
And you will get better the more you practice.
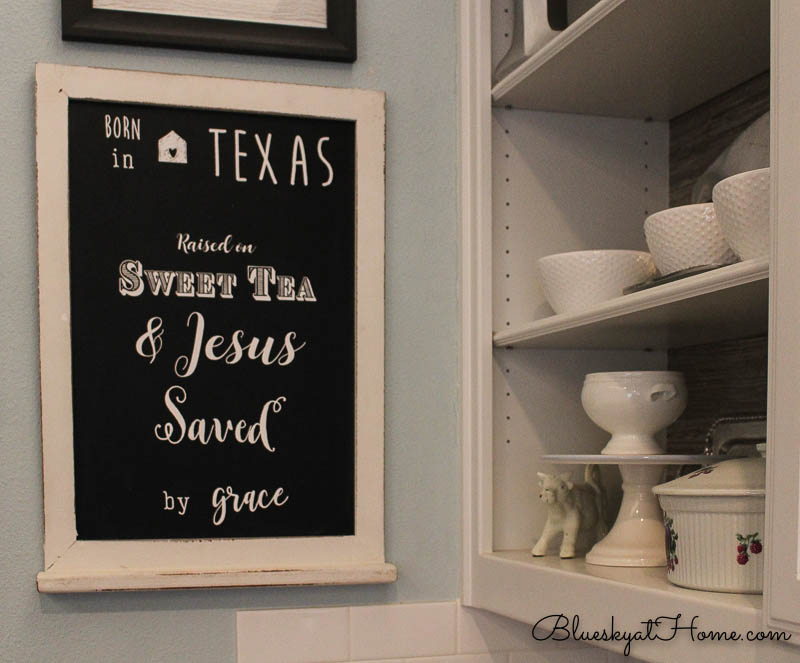
After I finished stenciling the top line of my chalkboard, I realized the very bottom line was off~center.
I simply removed the bottom line, repositioned the stencils and chalk painted them again.
I then decided that the design would benefit from a graphic element on the top line. Since Texas is home and I love it, this little design was a perfect choice.

Display your stencil sign, large or small, and enjoy the bragging rights. No, it’s not perfect, but it’s my creation and I’m proud of it. And if I want to make it a little “more perfect”, I can wipe the stencil off and start again.
I hope that these 9 tips will encourage you to try stenciling. If you have tried before and become frustrated, change your products and see how much better the results will be. It’s a wonderful DIY skill that is so easy ~ when you have the right supplies and know some great tips to help you make signs with stencils.
Now I have some questions for you and I sincerely hope that you will respond in the comments or you can email me. Because I really want to deliver the content that you want, I want your honest opinion.
- Do you like to stencil?
- Do you like these tutorials? Why or why not?
- What other DIY projects for your home would you like to learn?
Thanks so much. You’re the best.
How about PINNING this post so you will have the tips close by?


I love that you are working A Maker’s Studio into your blog so well! I truly admire you, Carol. I love the projects you are creating too! Thanks for sharing at Homestyle Gathering!
Thank you so much Julie. I hope that you will share your posts at Happiness is Homemade on Sundays.
Love the finished product. Good tips. I had never heard of chalk vinyl. I have one that I’ve written on in the wrong type of ink and it will not budge so I am going to paint over it with new chalk paint. Thanks for the stencil tips.
Clearissa, you can buy chalkboard vinyl at the craft store or on Amazon. I had to cover the original chalkboard because the chalk pens and the stencil paint wouldn’t come off!The chalkboard vinyl is super easy to apply. Let me know what you do.