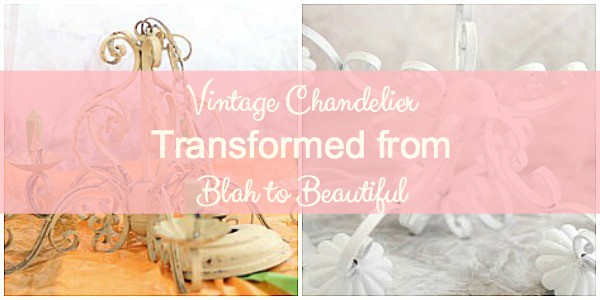
Vintage Chandelier Transformed from Blah to Beautiful
It’s Wednesday and we are 3 days into the Holiday Recipe Blog Hop that I am sharing with 18 wonderful bloggers. Be sure to check out today’s contributions as well as those from Monday and Tuesday. All the links are at the end of this post. In the meantime, if you’ve been following the construction of my new office space, then so far you’ve seen the space layout. Important yes, but not necessarily exciting. Last week we took some giant steps: sheetrock was hung, tape, bed and texture was applied, the electric outlets went in just where I needed them, and task lighting was installed ~ another crucial feature in an office. But the most exciting thing, the most fun thing? It was that my flea market vintage chandelier transformed from blah to beautiful.
I’ve been trying to decide what type of light fixture I wanted for a few weeks. It had to give off a ton of light, but also had to be really special. Did I want a chandelier with crystals, maybe like the ones in my laundry room, our master bath or dining room? Or did I want something with color? Did I want lamp shades or just bulbs?


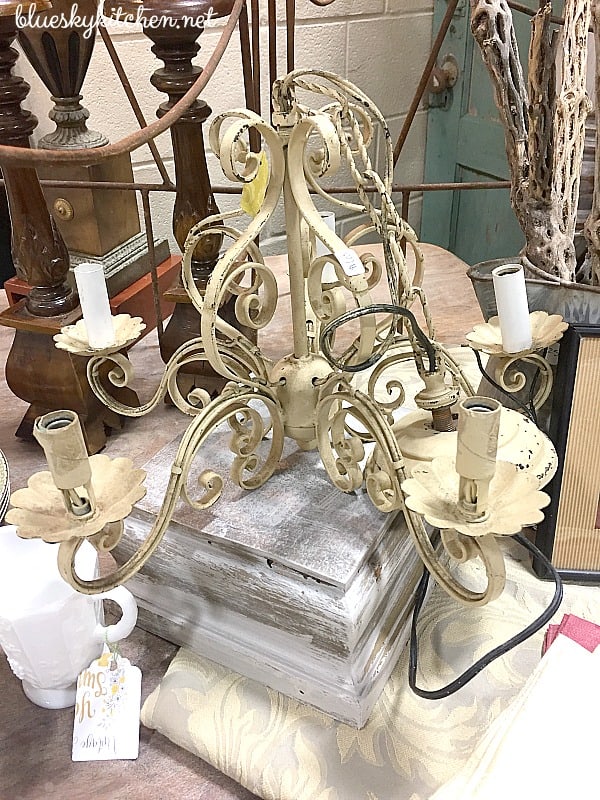
I still hadn’t decided when over a week ago my friend Susie and I went to the Vintage Market Days in Nacogdoches, Texas (that’s 3 hours southeast of Dallas, the oldest town in Texas ~another trivia question, friends). In the first booth we stopped at I spied this drab colored chandelier. No crystals, but great character and sweet lines. The vendor swore that it worked, the price was awesome, and Susie said I would be a fool not to get it ~ so I did. And I’m so happy.
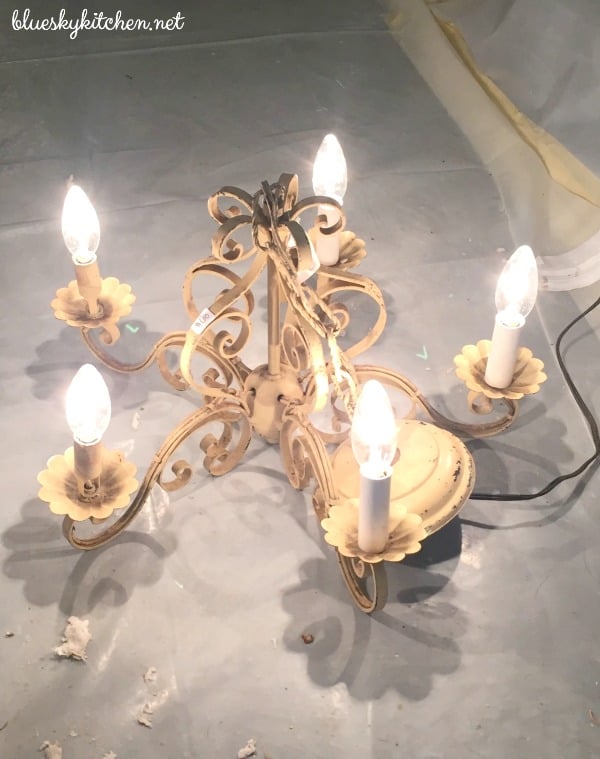
The first question was, did it work? Last week the electricians came to do the rough out for the electrical outlets and the overhead task lighting. They hooked up the chandelier to see if it worked. Let there be light! Yea, yippee, clap your hands and stomp your feet.
Transforming the Chandelier from Blah to Beautiful
This post contains affiliate links to products that I love, use and recommend. If you purchase any product throught this site, I may receive compensation, but you don’t pay one penny more.
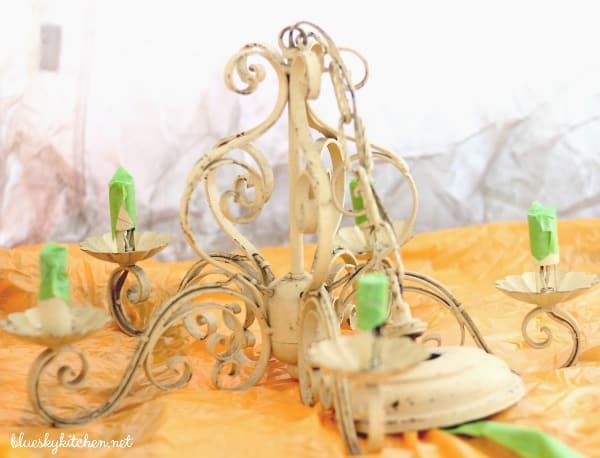
Out came my HomeRight Tabletop Spray Shelter. Gosh, how did I get along without this tool for spray paint projects? (If you missed earlier projects using this great tool, they are here and here.) First, I removed the old light sleeves and covered the 5 light sockets with duck tape.
I wanted shiny white on the chandelier and I just happened to have Rust~Oleum Glossy White on hand.
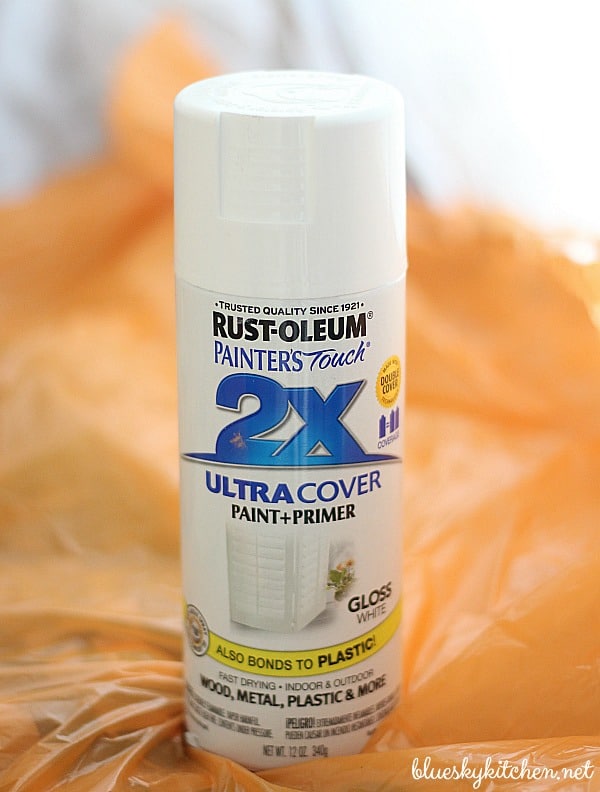
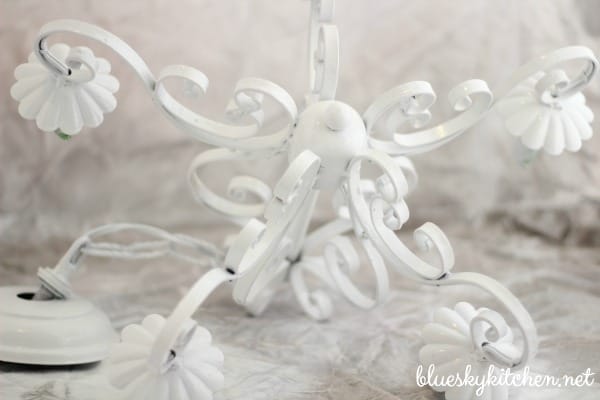
I used 2 coats of paint, moving the can around the light fixture, trying to cover every little nook and cranny. If you’ve ever painted a piece like this, you know that it can be a bit of a challenge to get into all the curves and niches. The painting would have been easier if I could have hung the chandelier up, but I had no place to do that. This process took place over 2 hours because I really wanted the paint to thoroughly dry. I just ran errands in between painting.
Next I worked on the new light sleeves. I bought new ones at Lowe’s. These are soft plastic, 4 inches long, and come in packs of 2.
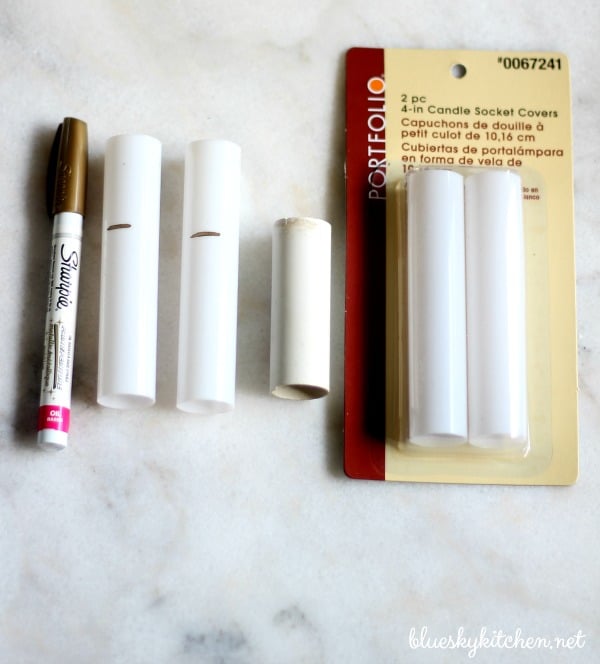
First, I marked off where to cut the sleeves to the correct length of 2 1/2 inches. I used a mat knife (box cutter) to easily cut them to the correct size.
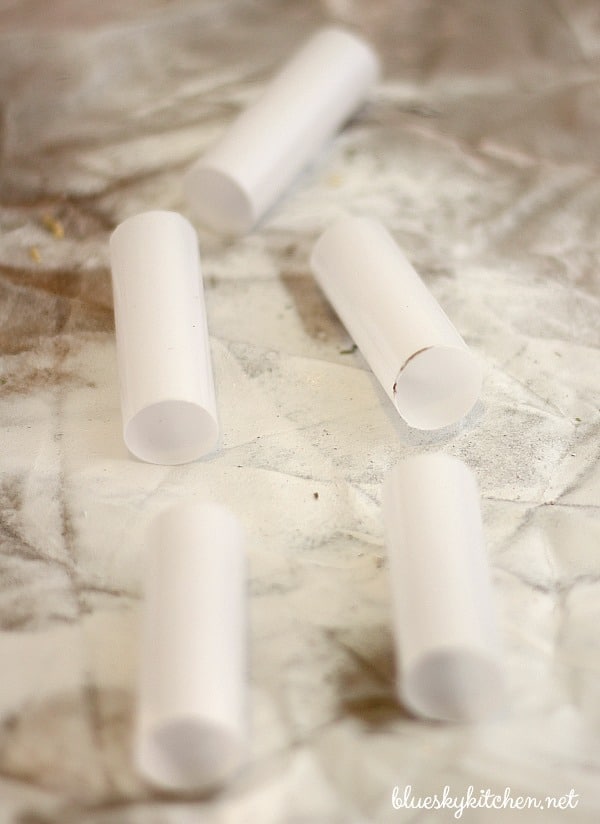
I decided to add a little metallic accent and spray painted them gold with Krylon Metallic Gold spray paint. This was a quick DIY, painting on side and rolling them over and painting the other side.
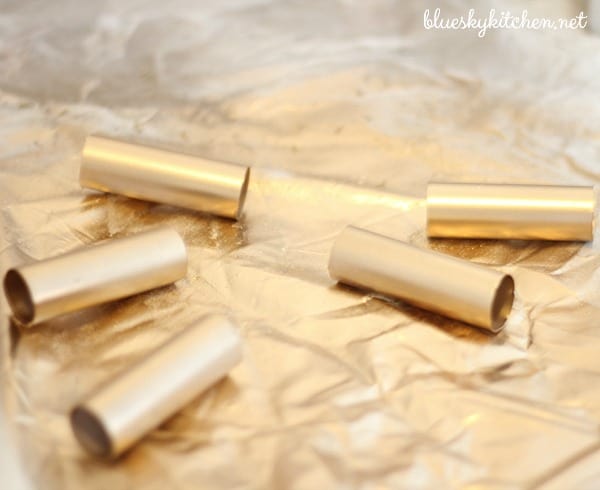
The next day the electricians returned to add the outlets and finish the can lights. They also wanted to hang the chandelier. I decided that we needed more chain on the chandelier to hang it a bit lower. Fortunately, I remembered that I had saved a few feet of chain from our breakfast room chandelier (how smart am I!). Although a little bigger in size, it was a good enough match to work. The electricians attached the extra chain and hung the chandelier to the right height .
Standing on a ladder, I added another coat of spray paint to the “new” chain and any areas that were not covered well enough. Boy, painting the chandelier while it was hanging was so easy. After letting it dry completely, I put on the painted sleeves over the light sockets, screwed in the light bulbs, and “let there be light!” You can see the space cut out for the window in the background and one of the can lights.
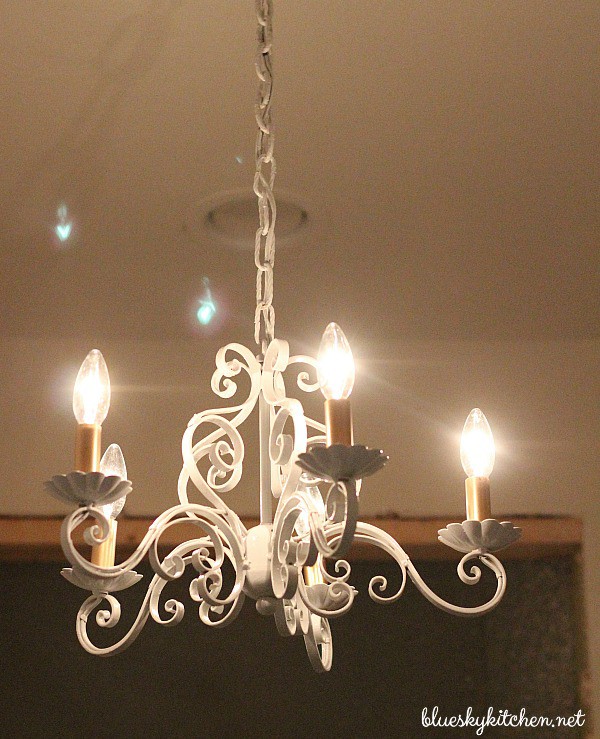
I was amazed at how much light I had in the office (remember, the window space has not been cut out yet). The 3 new can lights and the light from the chandelier are very bright ~ plenty for computer work and crafting.
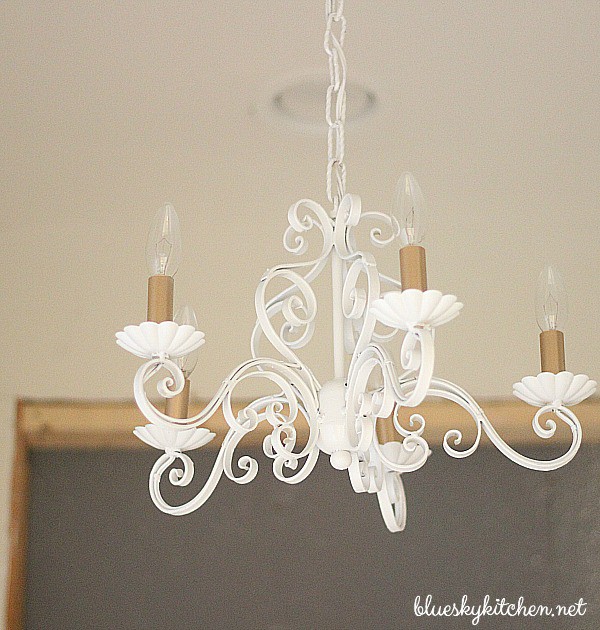
I am so happy about my vintage chandelier. It has a French, farmhouse look, not too fancy, but a bit whimsical. If I want a little bling later, I’ll add some crystal drops. What do you think of how this vintage chandelier transformed from blah to beautiful? Now I just have to wait for the floors and the window to arrive and be installed. Then trim work, paint, and shelving. And the fun of decorating and organizing. This won’t happen before Thanksgiving, but that’s O.K. Until then, I’m going to enjoy these wonderful recipes from my blogger friends. I hope you do, too.

Holiday Recipe Blog Hop November 14 ~ 18
Monday
Bluesky Kitchen Belle Bleu Interiors White Spray Paint Southern DayDreams
Tuesday
Ash Tree Cottage The Painted Apron My Midlife Kitchen Starfish Cottage
Wednesday
Ramblings of a Southern Girl At Home with Jemma My Thrift Store Addiction Let’s Add Sprinkles
Thursday
JennsFarmTable Botanic Blue Celebrate and Decorate
Friday
Kitty’s Kozy Kitchen Intentionally Eat The Dedicated House Opulent Cottage



Super cute. Lighting makes it all come together.
You’re so right. LIghting provides such a finishing touch.
What a fabulous find. And of course, the makeover you did is wonderful. It adds such charm to your space.
Way to go Carol! There’s nothing like an old chandelier to add charm to a space.
My mom bought a chandelier for a dollar or something like that when she and my dad first married. It moved to every house we ever had and was many different colors. 🙂
Stacy, good for your mom. I paid a bit more than $1.00, but it was well worth it.