How to Make Pumpkin Place Cards for a Holiday Table
I love to use place cards for sit-down dinner parties. They add a touch of sophisticated to a table and the occasion. For a recent fall tablescape, I created some cute and easy place cards that I think are just too cool not to feature again. So here, without further ado, I want to show you How to Make Pumpkin Place Cards for Your Holiday Table.
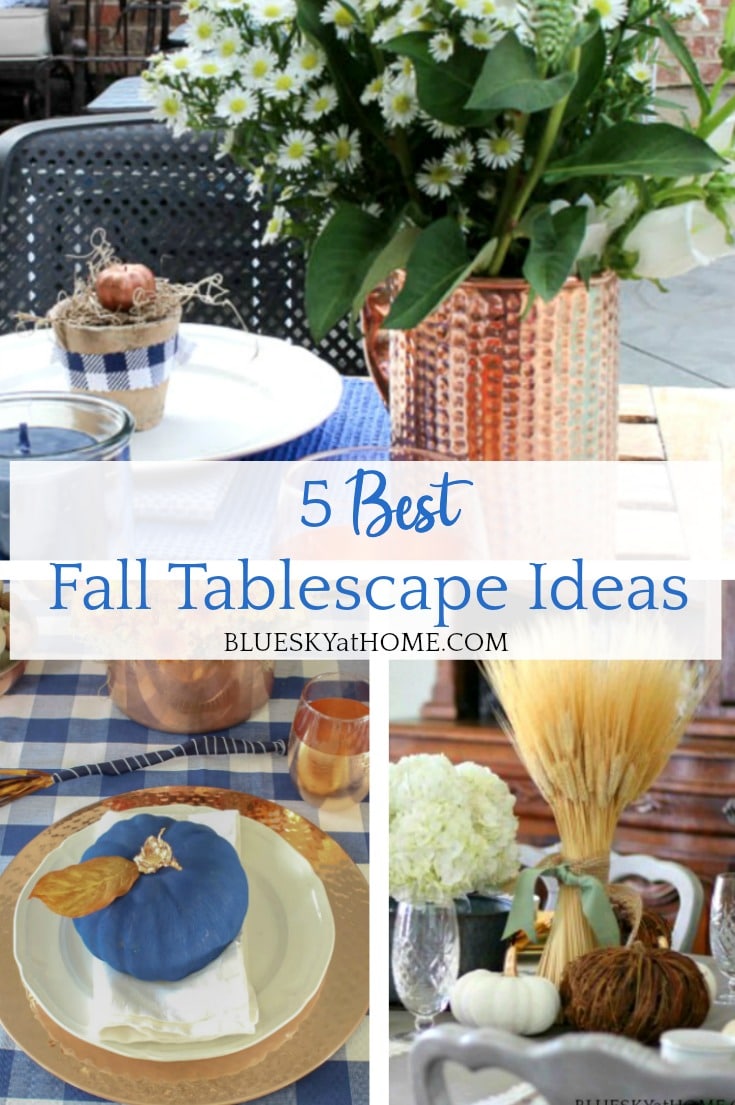
I shared How to Decorate Your Table for a Fall Party. At last week’s Autumn Tablescape Blog Hop, I shared how a Fall Dinner Party Celebrates an Autumn Tablescape: 27 different and original tablescapes to impress and get your creative juices stirring.
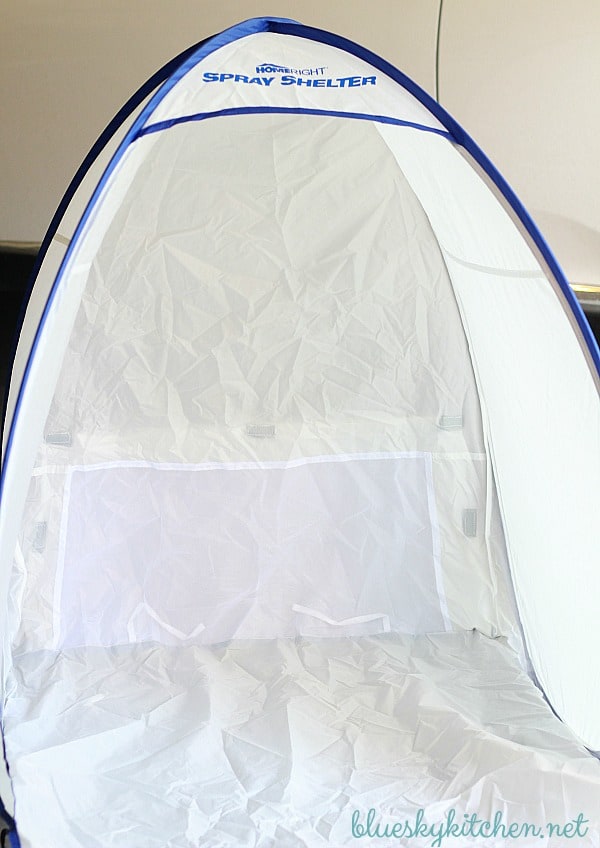
For these pumpkin placecards, I used my new favorite toy, the HomeRight Tabletop Spray Shelter.

This post is sponsored by HomeRight.com. All the opinions are my own. Can you tell I love this product?
This post contains affiliate links to products used to create this project. If you should order any item from this site, I may receive compensation, but you do not pay a penny more. Your purchase is greatly appreciated as it helps support the continued publication of this site.
I didn’t start out intending to make these pumpkin place cards. As I was designing my autumn tablescape, I realized I was 1 white faux pumpkin short. Last year I painted 3 faux orange pumpkins using chalk paint to make this arrangement.

This year I needed 4 white pumpkins and I found 1 more unpainted pumpkin in our fall decoration boxes. Fortunately, my HomeRight Tabletop Spray Shelter was still up in the garage (This is how it looked all pretty and new before I started using it.), so it didn’t take long to transform the pumpkin.

I wrapped the stem with 3-M Command Tape.

I always start bottoms up. Good-bye orange, hello white. Of course, I used my Rust-Oleum Spray Can Grip.

I used the Rust-Oleum White Spray Paint in a matte finish, which actually came out a little glossy.

Once the pumpkin was painted, I could see that the brownish stems just wouldn’t do. I decided that a little gold on the stems would be just thing to bring out a little bling on the table. To cover the pumpkin, I folded a piece of card stock in half

Then I cut a small hole in the center to fit over and around the stem. The first hole was a little too big so I used the 3~M tape to make it more snug around the stem. Spraying the stem with Rust~Oleum Gold Spray Paint took a few seconds.


How to Make Pumpkin Place Cards for a Holiday Table
At this point, the idea for the place cards came to me. I had 8 mini-pumpkins that needed gold stems.

Then the idea for adding a little gold embellishment came to me. I grabbed a small brush and sprayed some more gold paint directly on the card stock. It took me a couple of tries to get a light hand for the lines in the grooves. I think the gold lines add the finishing touch.

I found these wooden tags in my craft box form an earlier project. I picked out 8 of the larger ones.

And spray painted them with the same white spray paint on both sides.

For our fall dinner party, I used a gold leaf pen to write the names on the tags. I then glued the tags to wooden sticks that I found at Joann’s.
Now, how to get the sticks attached to the pumpkin? I used my cordless Skil Drill to drill small holes in the pumpkins and poked the sticks in the holes. (I have had this drill for years and it has come in handy for hundreds of projects.) Then the last step was to tie some twine around the base of the tag.

I wanted a little more embellishment, so I tied this gold and white ribbon around the stick.

But you could use a more traditional color. Any cute ribbon or twine you like will do.

I love how the place cards turned out. I can’t wait to share them with company. How do you think? This entire project took about 2 hours, including drying time.
Thanks again to HomeRight for sponsoring this post.