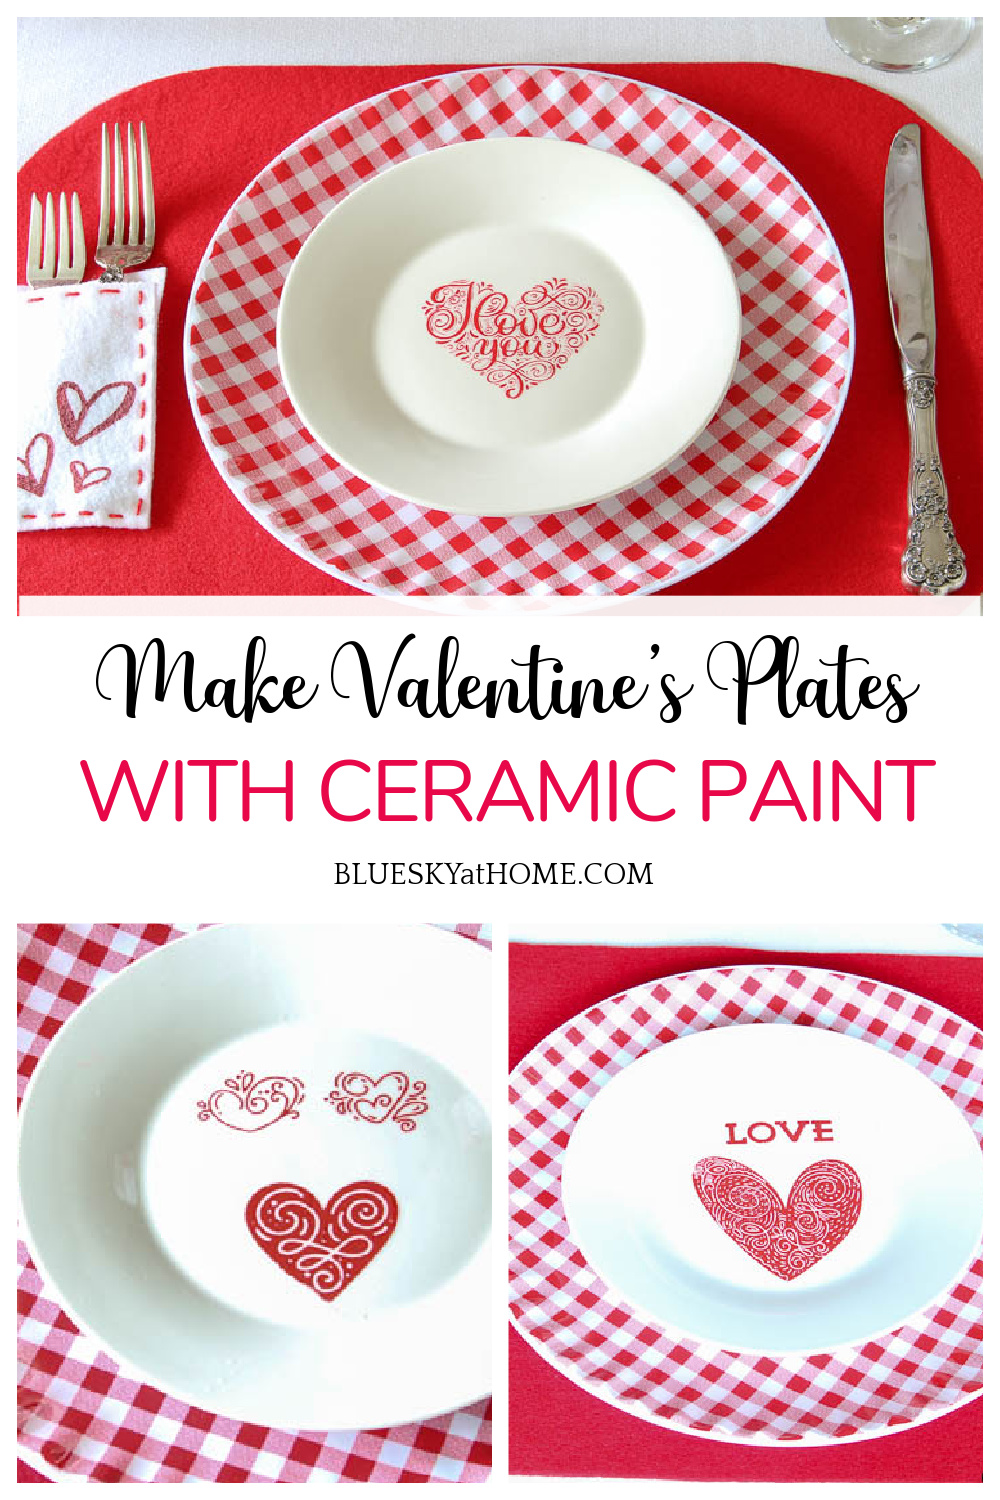
How to Use Ceramic Paint for Awesome Accessories
If you are a DIYer, a craft lover, or a home decor lover, (which I assume you are if you visit Bluesky at Home), you are always on the lookout for new products for new projects. I’m going to show you how to use Ceramic Paint for awesome accessories for your home.
I just used this new product and I’m in love with it. Knowing how to use ceramic paint to create amazing accessories for your home will open so many doors for you.
You may have seen projects I created using ChalkArt or GelArt Ink and stencils from A Makers’ Studio. Now we have a brand new product that will allow you to really customize all sorts of accessories using ceramics, pottery, and glass.

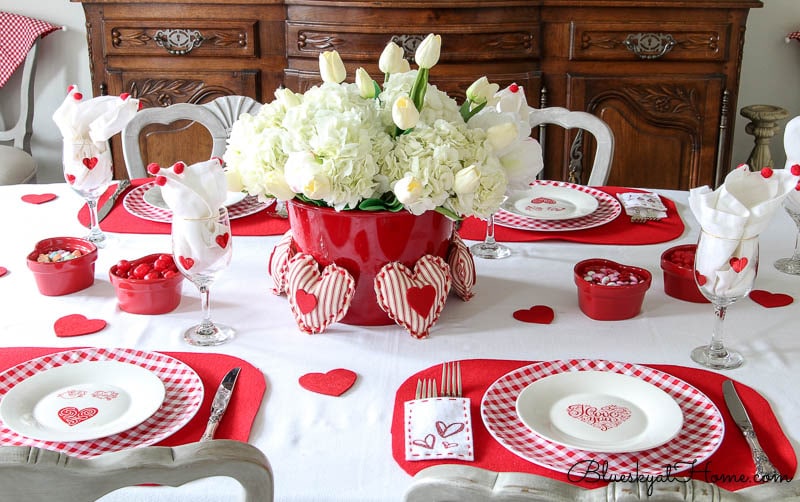
For a recent Valentine tablescape, I made some darling Valentine plates for my place settings ~ many of you commented on them. Well, now it’s time to walk you through how to use Ceramic Paint to create an endless number of accessories for your home.
How to Use Ceramic Paint for Awesome Accessories
This post contains links to products used in this project that I love, use and highly recommend. If you should order any product from this site, I may receive compensation, but you don’t pay a penny more.
I had heard of ceramic paint before, but I never thought to try it. After seeing the product in action on video, I had to give it a shot. I’m so glad I did. I feel certain that you will love it as much as I do.
Great Features of this Ceramic Paint
- It is designed to be used with any stencil from A Makers’ Studio. So any stencil that you already have on hand or any new stencils can be used to create hundreds of designs on dishes, platters, glassware, trays, mugs ~ or anything made of ceramic, pottery, metal or glass.
- You can use it in free form to create your own designs. (I painted an entire ceramic flower pot with it.)
- It is permanent. Only hand washing is recommended. Surfaces can be put in the microwave.
- And, of course, it is totally food safe!
- It is super easy and safe to use, water~based and washable.
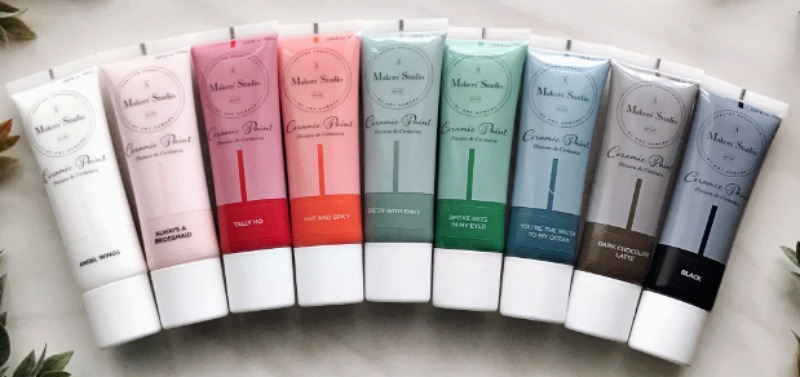
- It comes in 9 great colors to give you a wonderful range of choices to match or enhance your home decor palette.
I knew that I had to try the Ceramic Paint to make some super cute plates for my Valentine’s table settings.
First Steps to Use Ceramic Paint
Before actually starting your project, you have 3 things to choose for your project.
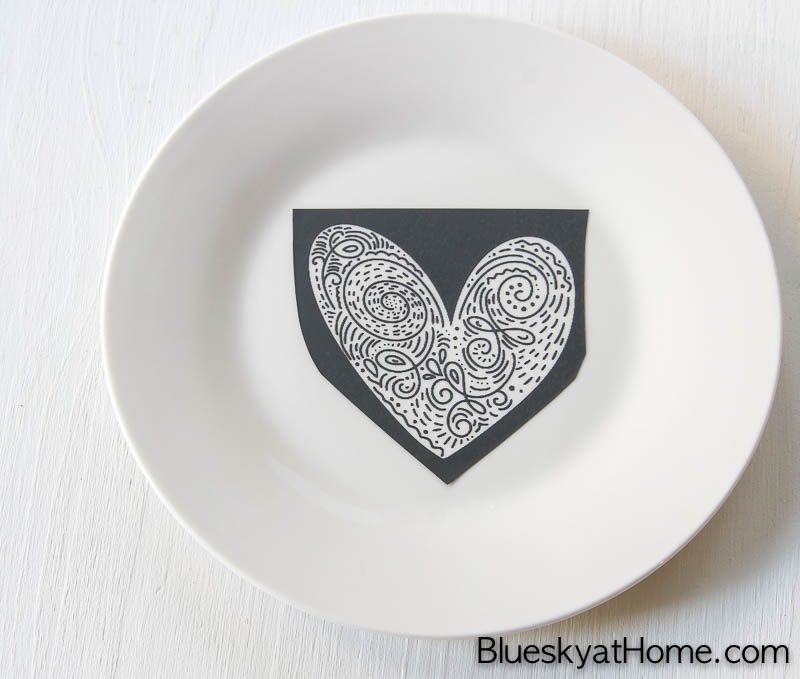
- One ~select the surface ~ for example, a plate, a platter, glasses, mugs, cake stands ~ for your project. I used 6 salad plates from Dollar Tree.
- Two ~ select the stencils that you want to use for your project. This is a Valentine project, so I used the new LOVE LOVE LOVE stencil from A Makers’ Studio.
- Three ~ select the color of Ceramic Paint you want for your project. Since this was a Valentine’s Day project, I used Tally Ho, which is bright red.

Making Your Ceramic Paint Project
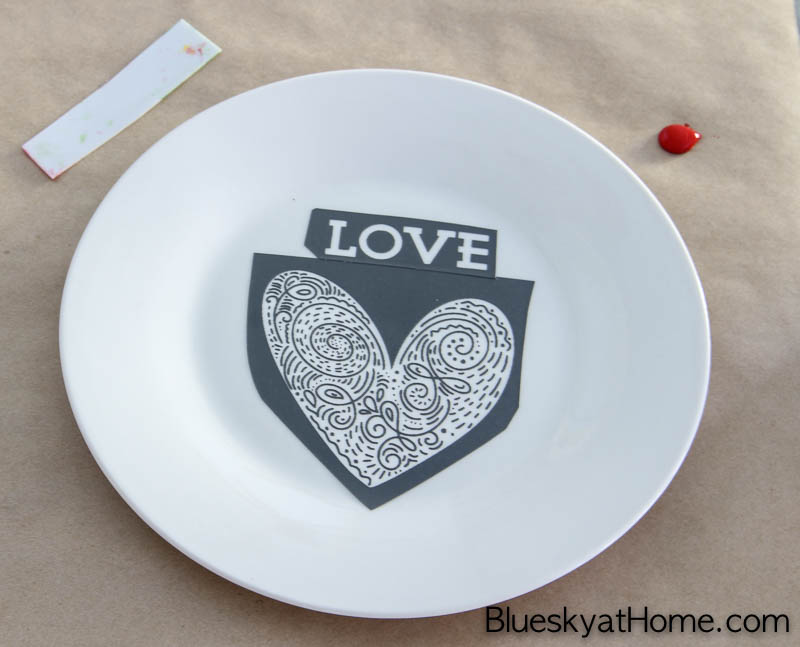
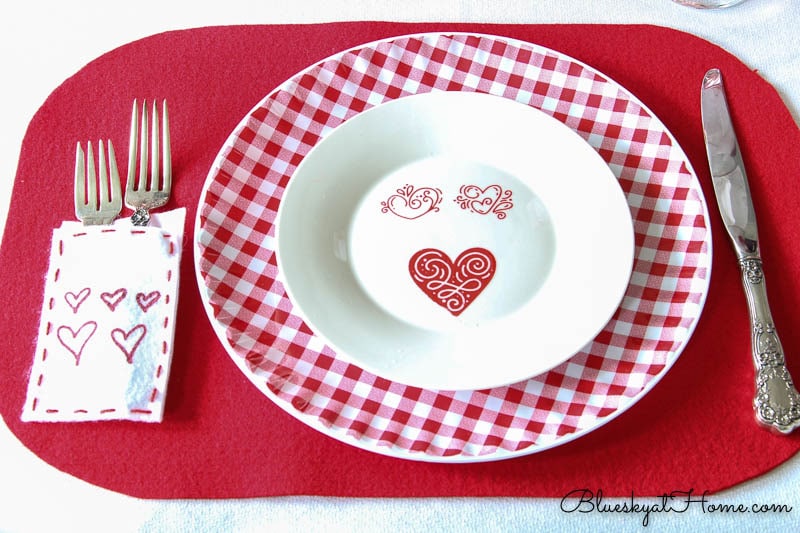
- Step 1 ~ Cut out the stencils that you have chosen. (I took this picture after I had completed my project. I’ve washed the stencils and returned them to the paper backing. You may have some “staining” from the paint, but this will not affect any future projects.)
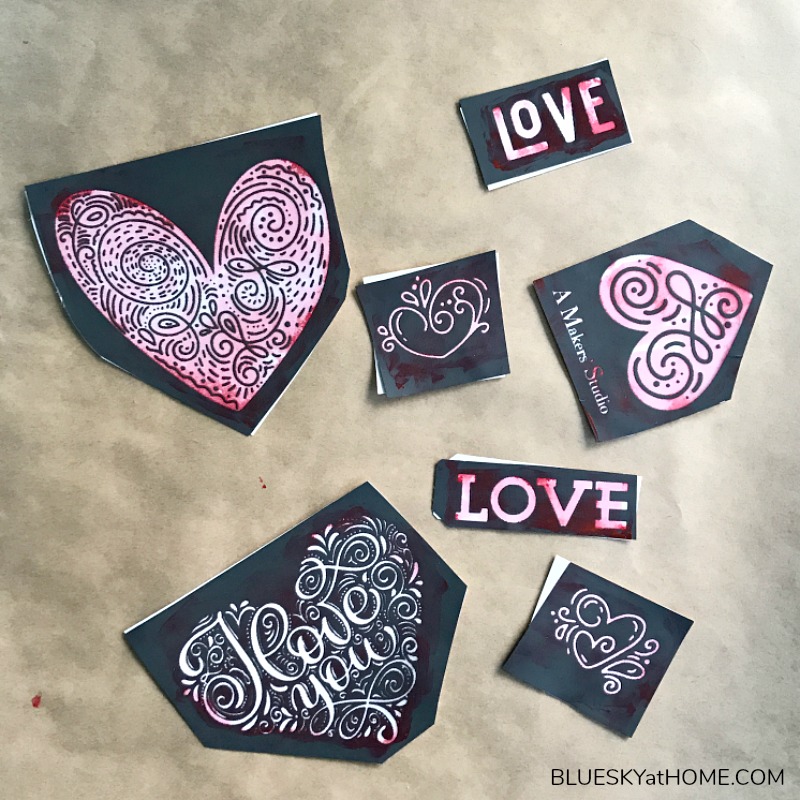
- Step 2 ~ Place the stencils on your surface. Remember: all stencils have an adhesive backing, so they won’t move around once you have them in place. You can use 1 stencil or a combination of designs.
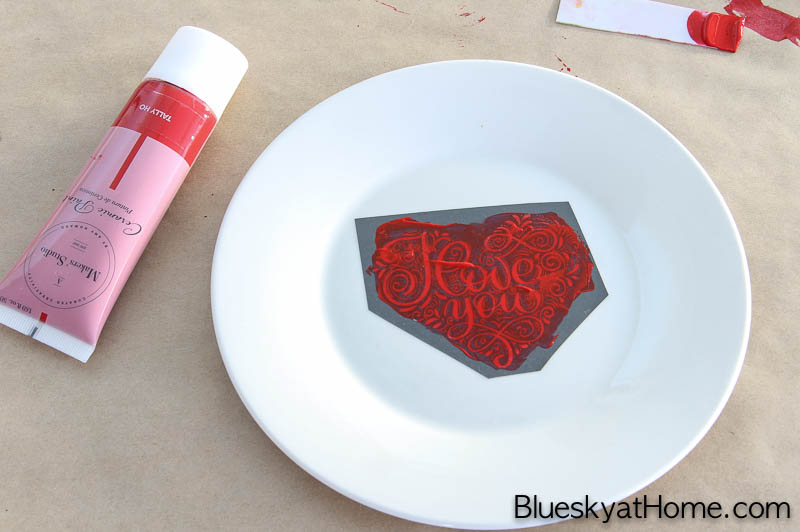
- Step 3 ~ Place your surface on paper to protect your work surface. I used craft paper. Squeeze out a little “dollop” of Ceramic Paint. You can do this on your craft paper or on a small plate or piece or cardboard. *You will need one of the plastic scrapers to apply the Ceramic Paint. I’ve cut one down to a small piece.
- Step 4 ~ Use the scraper to apply the Ceramic Paint to the stencil, working it into and across the stencil.
The Ceramic Paint goes on very easily. It has a consistency similar to GelArt Ink. It doesn’t take much.
TIP: keep the top on the tube while you are working.
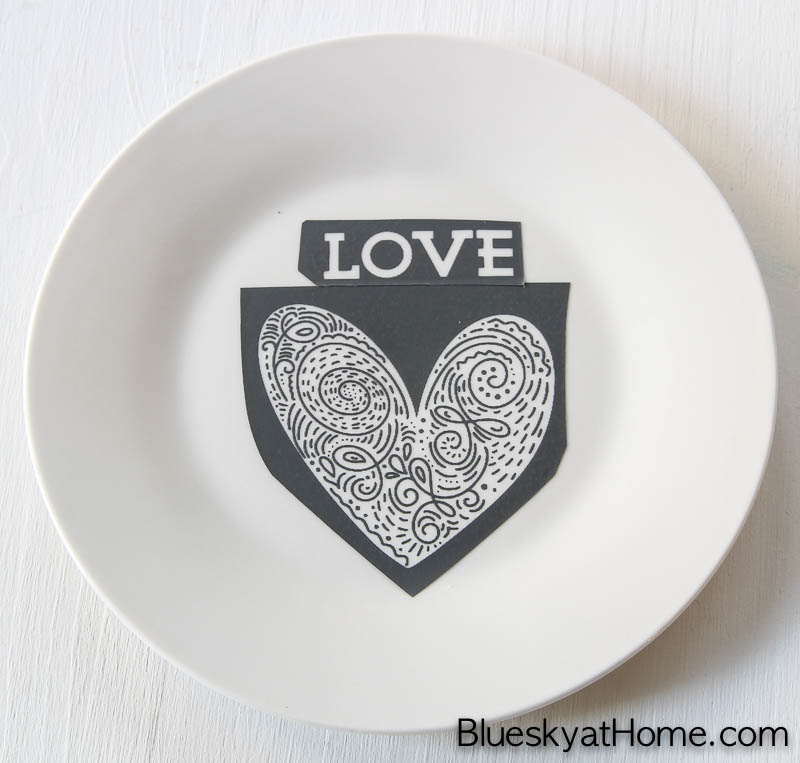
- Step 5 ~ Gently remove the stencil from the surface. Repeat with additional stencils until all your designs are completed.
NOTE: It helps to have a small container of water nearby to wash your stencils after use. Then lay them on a paper towel to dry with the adhesive side UP.
- Step 6 ~ Set your project aside for 12 ~ 14 hours to set.
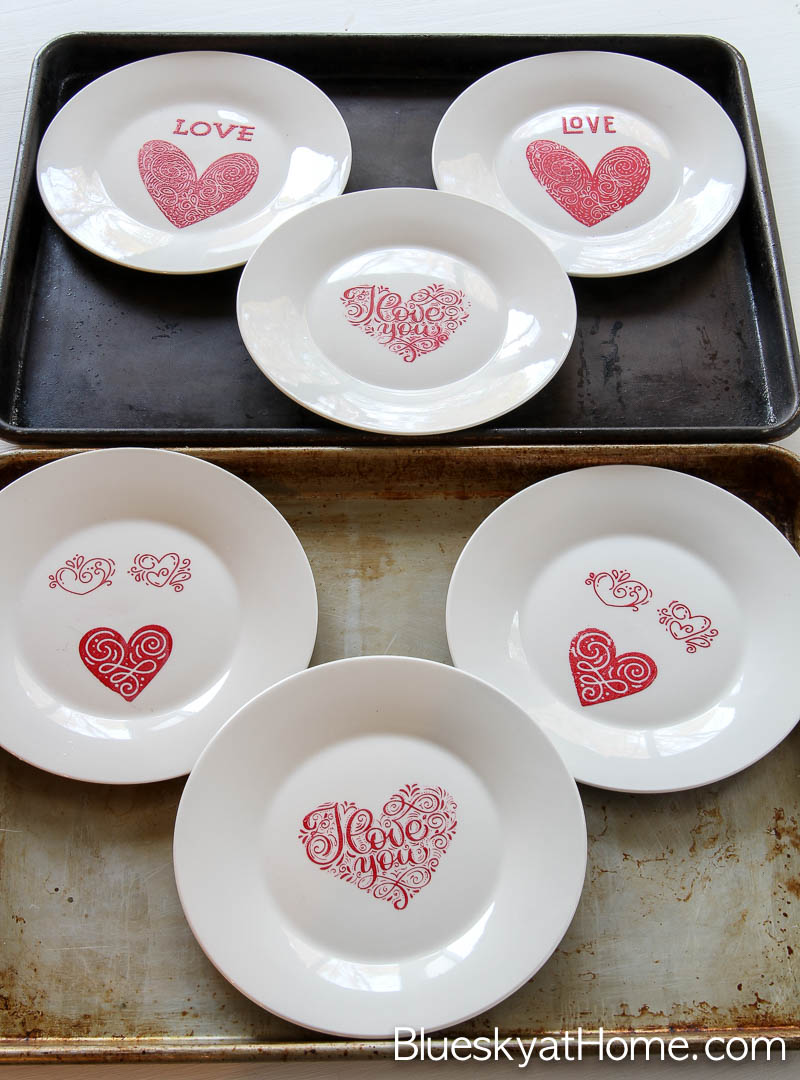
That’s it. You now have created your customized accessory or dishes or glassware to use, display and brag on! Using Ceramic Paint to create awesome accessories is so easy!
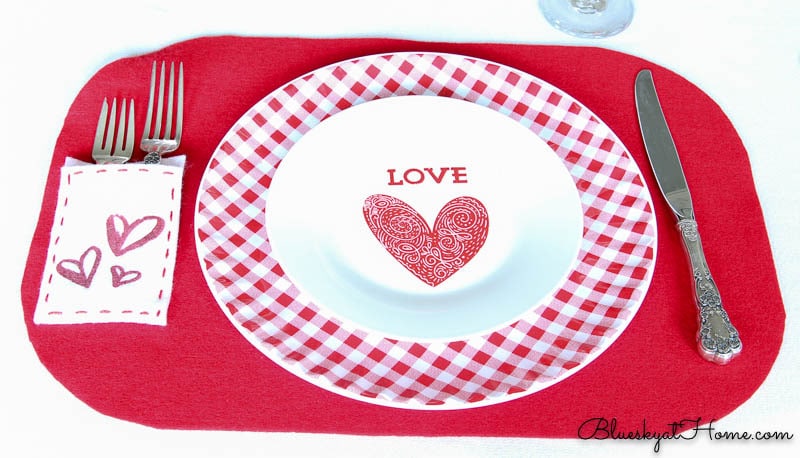
Here are 3 of my plates on my Valentine’s table.

Examples of Ceramic Paint Projects
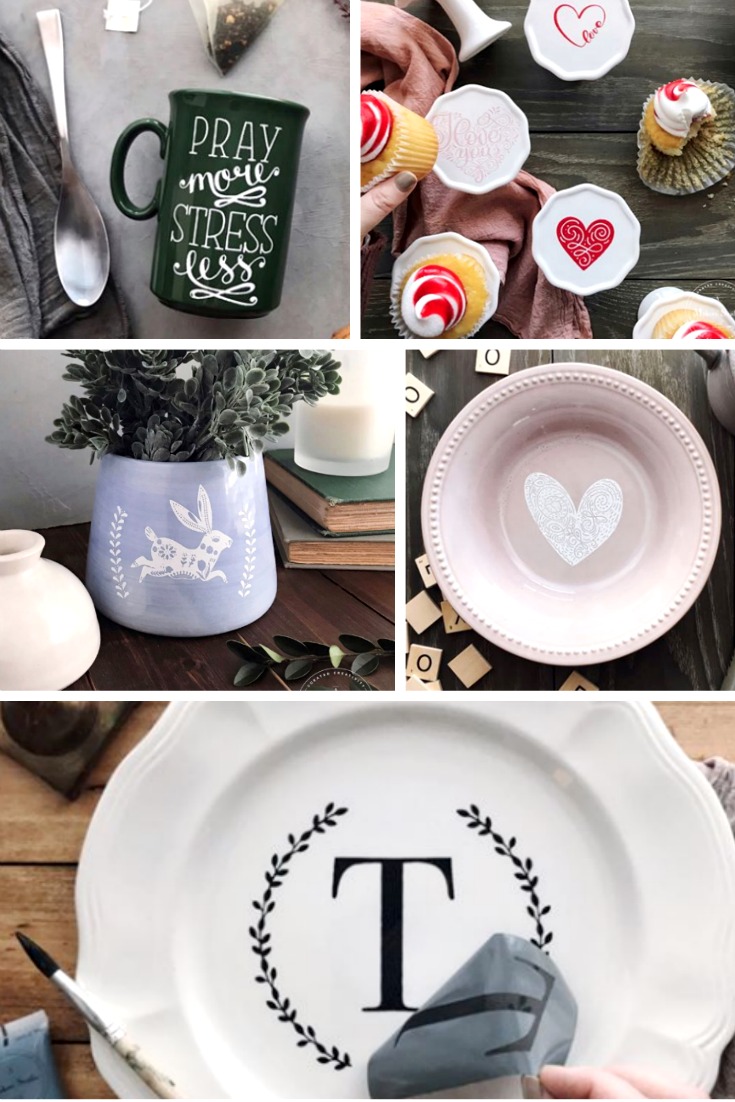
I loved the Ceramic Paint so much, I also have used it for these projects:
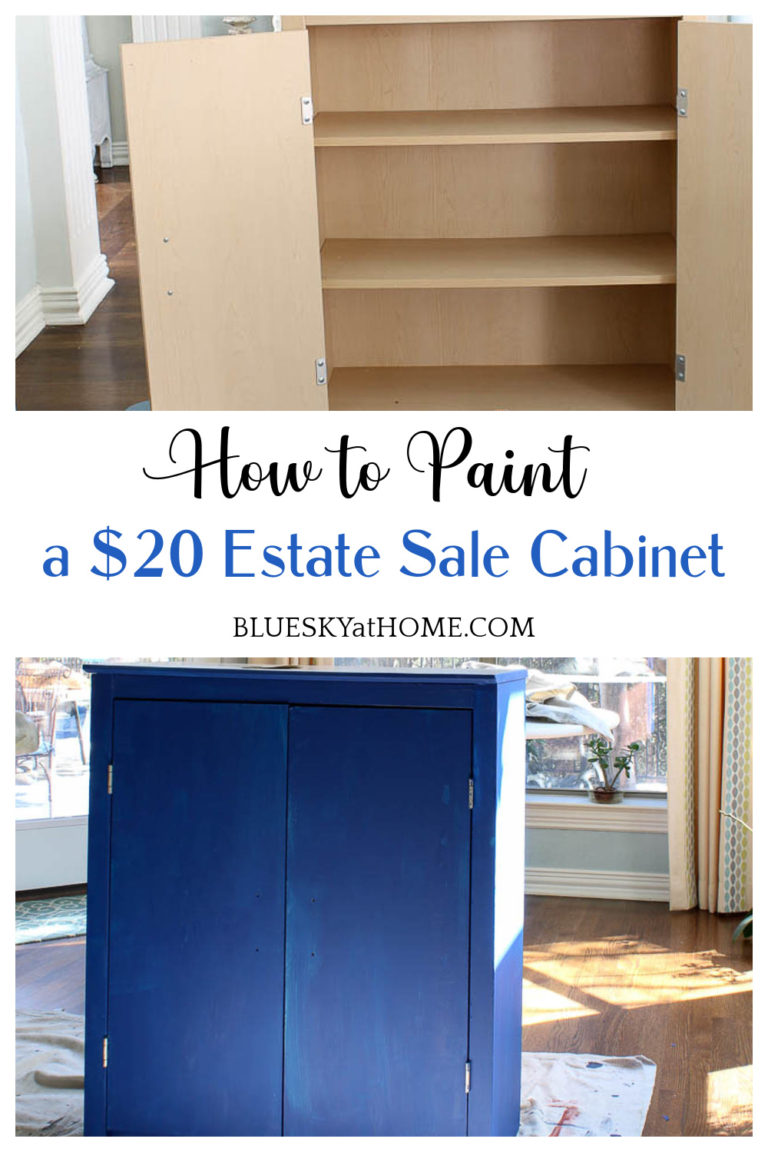
Try to imagine all the amazing accessories you can make for your home, for gifts, for entertaining with Ceramic Paints. I already have bought more plates from Dollar Tree and a platter at an estate sale for $5.00 that I plan to use for projects using Ceramic Paint.
If you would like to see some other projects using our stencils for more in~depth tutorials, visit these and PIN them:
- How to Stencil a Flea Market Bowl
- 9 Great Tips to Make Signs with Stencils
- How to Stencil Books Your Home Decor
- 3 Cute DIY Projects for Christmas
I hope you loved this project and will try your hand at using Ceramic Paint. As I complete other projects, I will be sure to share them. Until then, please let me know what you think of this new product. What ideas do you have?
Don’t forget to PIN this post for future reference.


WOW! These turned out so awesome!! Thanks for introducing a new way to craft!
My pleasure, Pamela. Let me know if you have any questions.
Wow – I LOVE this Carol! It’s been quite a while since I’ve done much crafting, but this has totally inspired me! ❤️❤️ Thanks a million!
I love inspiring others and glad you liked this Barbara. Thanks for the feedback.
This is great! The heart stencils are adorable, and I am a complete sap for ANYTHING monogrammed….I’ve never tried ceramic paint, but you’ve inspired me!
TFS this great information. I generally stick to three types of paint. Will have to give this a try.
Thanks Carol, that’s a great tutorial!