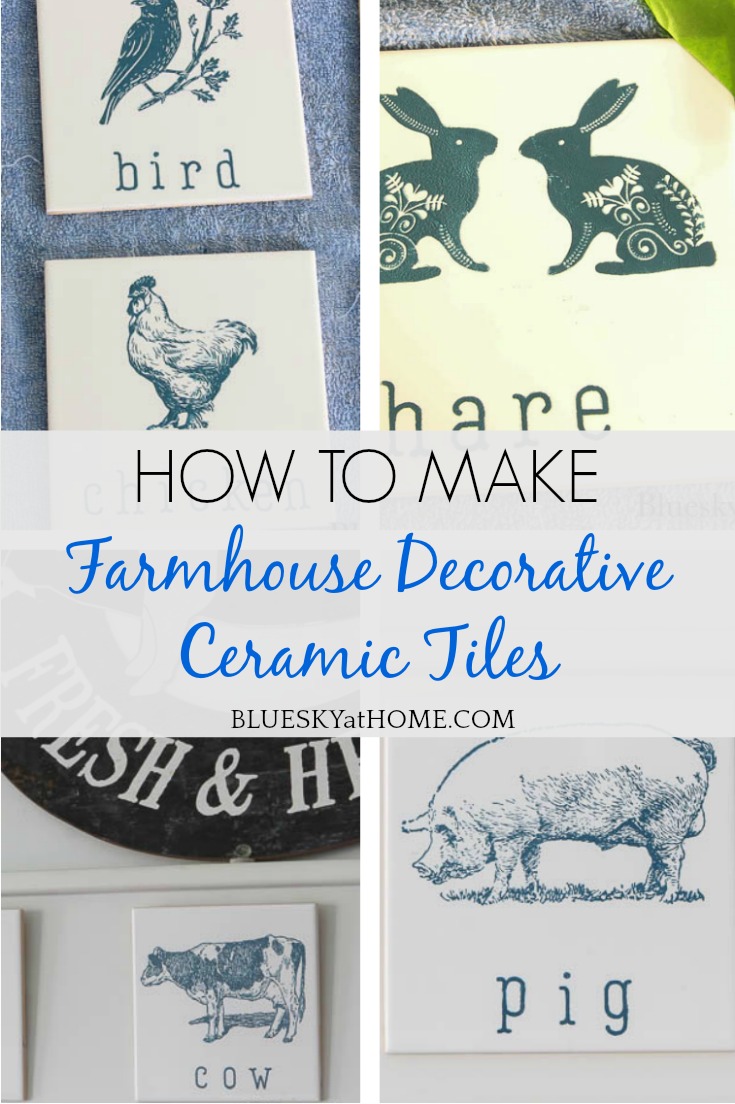
How to Make Farmhouse Decorative Ceramic Tiles
What do a pig, a cow, a chicken, and a sheep have in common? My latest DIY project – one that I have been wanting to do for a few months. Now that it’s complete, I couldn’t be happier with the results and I can’t wait to show you how to make farmhouse decorative ceramic tiles.
Decorative tiles for floors, backsplashes and accessories were really popular. As you might know, they can be expensive, depending on the materials, the source, and the design. It’s so easy to make farmhouse decorative tiles. I’ll show you how.
I’ve had a project in my mind for decorative ceramic tiles for a while to add a little more farmhouse flair to our kitchen. With the holidays, then Valentine’s projects, and getting settled into the new year (Since it’s now the 3rd month of the year, I think I’m ready.), I finally had the time to devote to this new project.

Once I started making these decorative ceramic tiles, I don’t know why I waited so long. The process was easy and the result was exactly what I wanted. Ready for the tutorial and the reveal? I hope so. These farmhouse decorative tiles are pretty darn cute.
How to Make Farmhouse Decorative Ceramic Tiles
This post contains links to products used in this project. If you should purchase any product from this blog, I may receive compensation, but you will not pay a penny more.
My Decorative Tile Inspiration
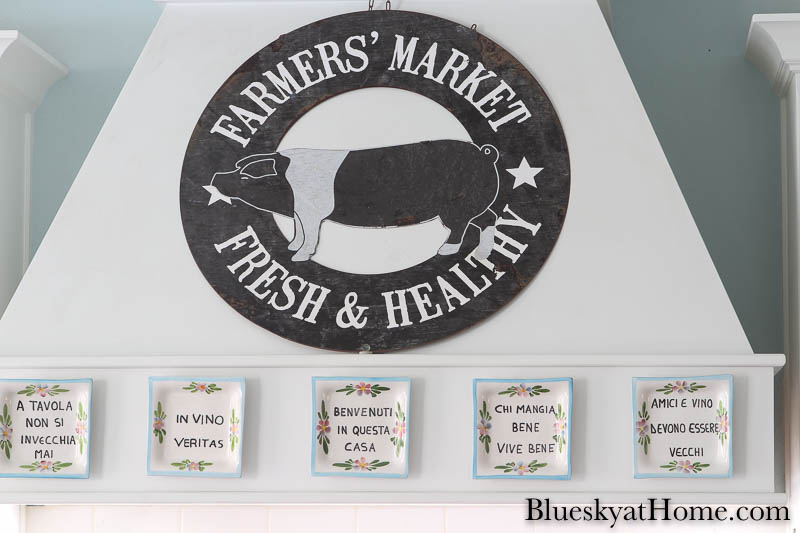
Here’s where the inspiration for the decorative ceramic tiles started. On our stove hood, I have decorative ceramic tiles from Italy. We actually bought them almost 6 years ago on a visit to Vineyard Haven on Martha’s Vineyard. Knowing exactly, where I would put them, I bought 3 at the time. When we arrived home, I realized 3 was not enough and ordered 2 more.
We love them and get lots of nice comments from guests. About 3 times a year, I take them down for a good wash as they do get greasy from the stovetop.
However, lately, I’ve been thinking that I wanted something more farmhouse, something that would better complement my Farmers’ Market Pig sign. I looked for a while, but then gave up when I couldn’t find the right look or the right size.
Then A Makers’ Studio came out with the cutest farmhouse animal stencils that I loved. So I really started thinking about using those in some way. As one possibility, I could use ChalkArt on a wood background, but I was afraid the wood would absorb grease and would be impossible to keep clean.
Then, amazingly at the beginning of the year, A Makers’ Studio developed a fantastic ceramic paint product that could be baked on permanently. I first used ceramic paint for my Valentine’s salad plates. Now I was ready to create my farmhouse decorative ceramic tiles.
Supplies for the Farmhouse Ceramic Tiles
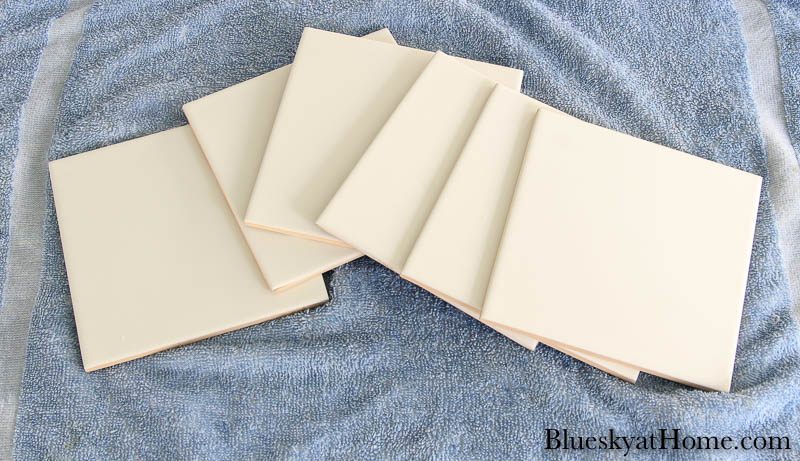
The tiles were 6~inches square. For my decorative tiles, I needed smooth, white tiles. A trip to Lowe’s delivered exactly what I needed. These tiles were 46¢ each. With my 5% discount, each tile was 43¢!! every penny counts. I bought 6 because that’s how many tiles I thought I needed to make.
First, I wiped the tiles with a clean cloth just to make sure there was no dust on them.
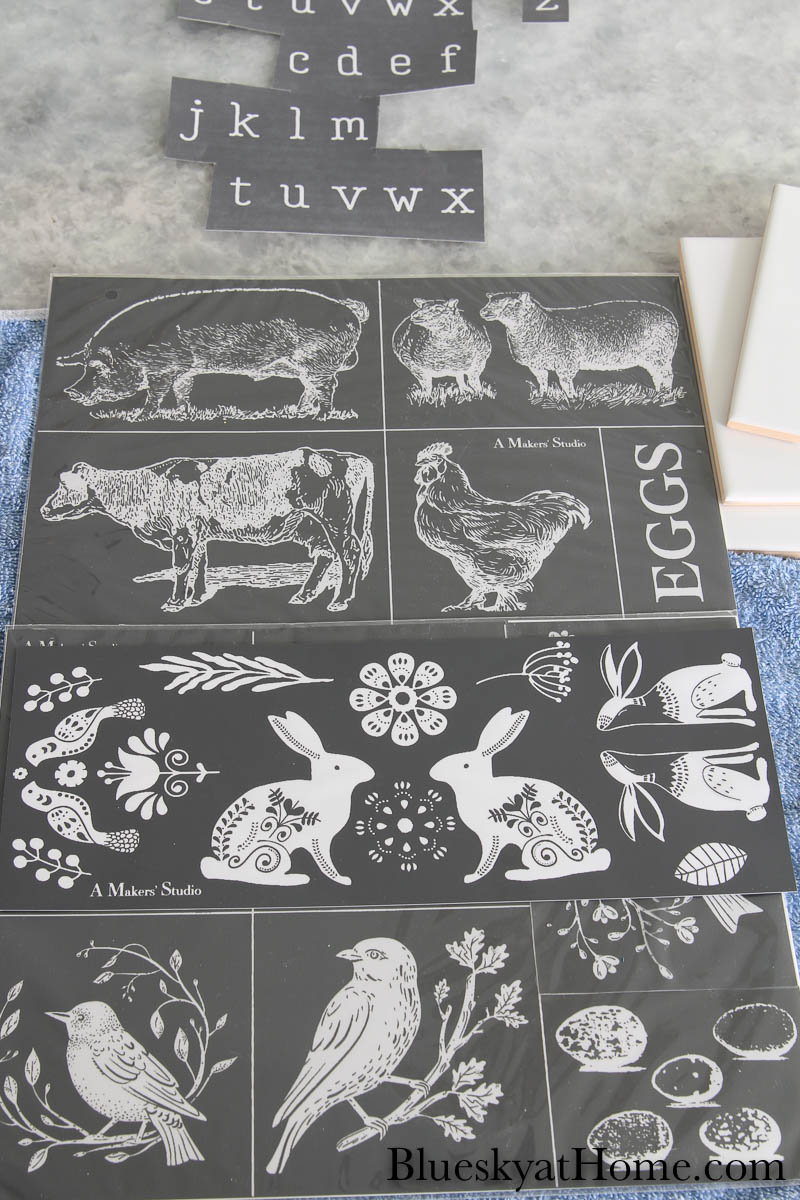
For my decorative tiles, I would be using 3 different stencil packages:
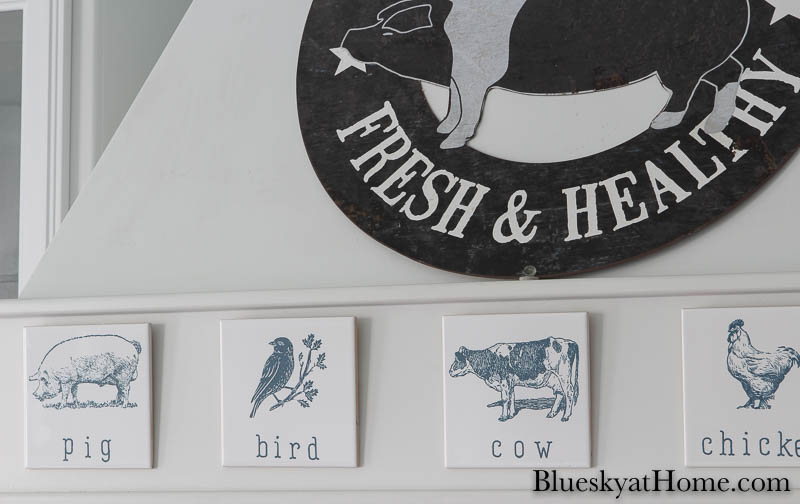
- Farmhouse ~ with pig, cow, rooster, sheep
- Birds ~ with 4 different bird designs and nest and eggs
- FolkArt ~ Scandanavian~inspired designs
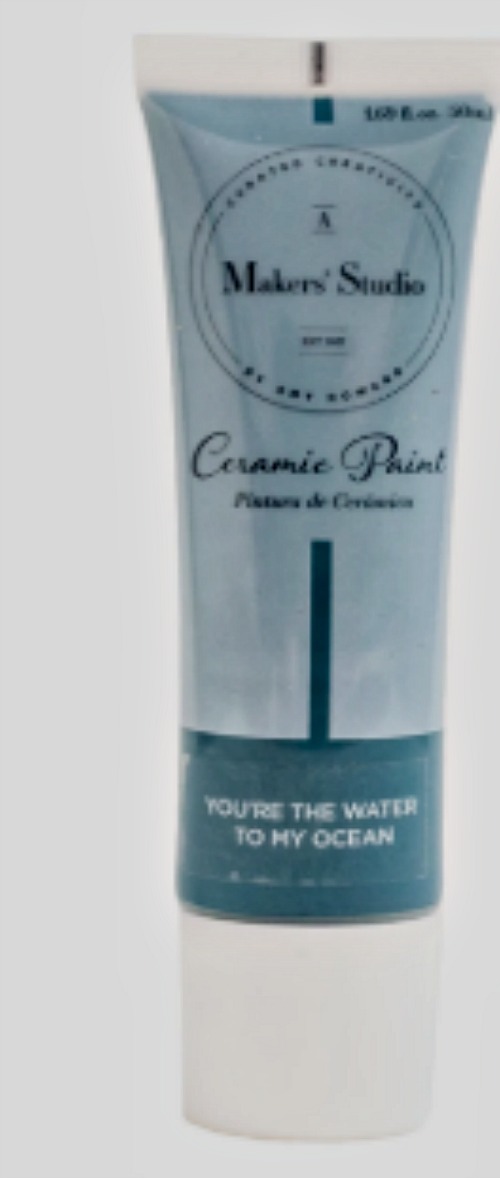
Although there are currently 9 colors of ceramic paint, I currently have just 2 colors, Black and You’re Water to My Ocean, which is a pretty mid-blue color. I asked Sweet Shark’s opinion and he chose blue since we already have blue accents in our backsplash and our wall color.
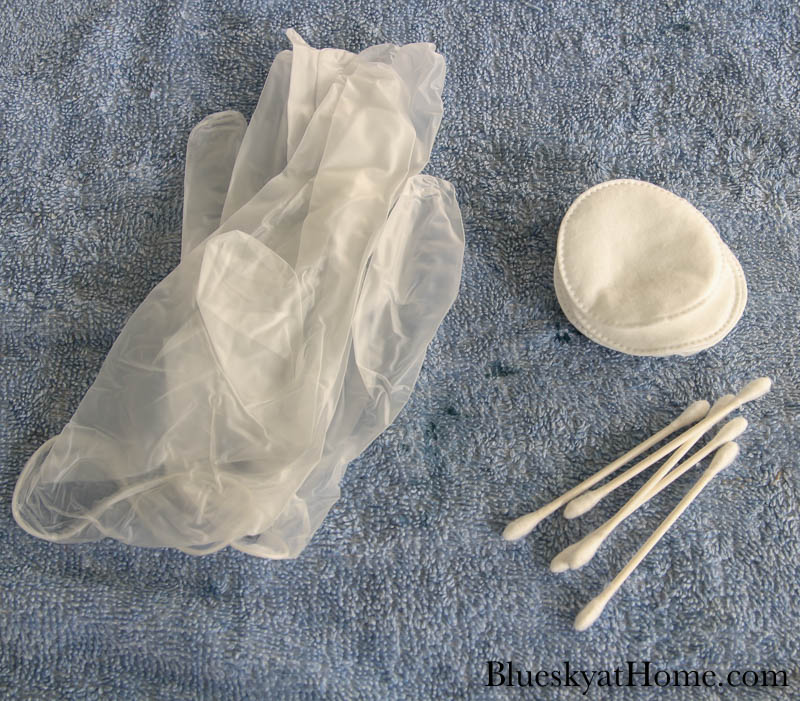
I like to have a few other supplies on hand when I’m doing stencil projects; you may have all these around the house.
- plastic gloves to keep your hands clean and to apply your paint
- cotton pads ~ for cleaning up around your stencil
- Q~tips ~ for cleaning in small areas around stencils
Making your Decorative Ceramic Tiles
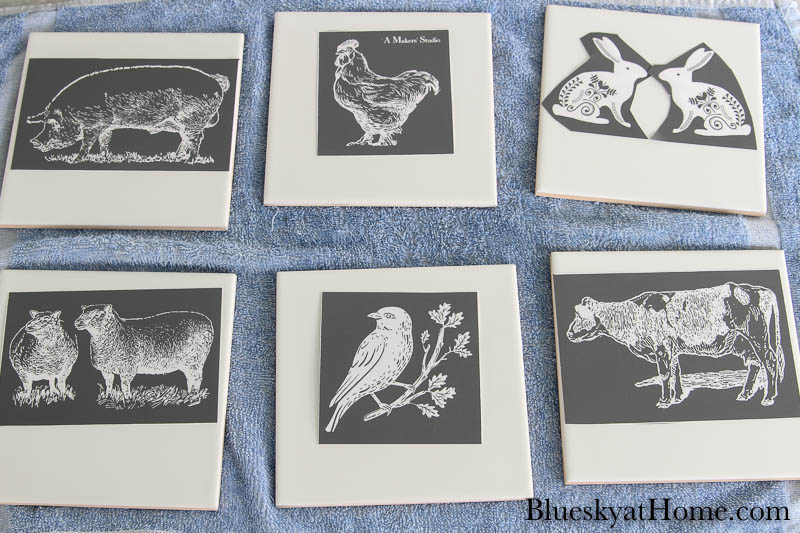
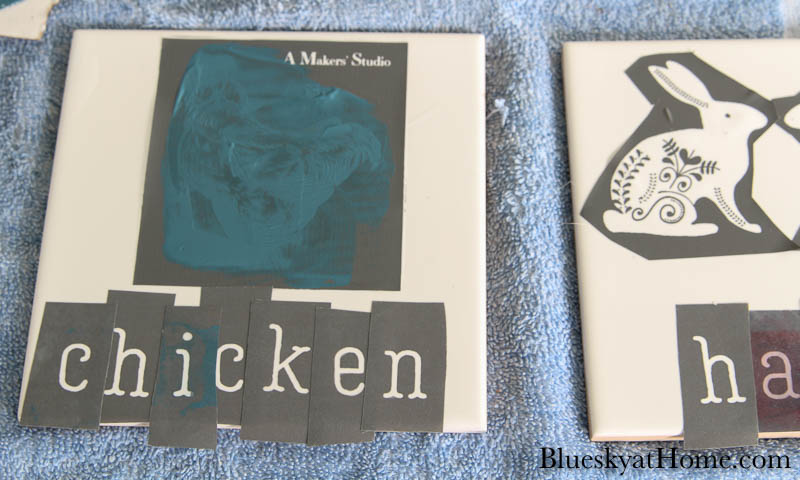
Cut out your design stencils of choice. I placed my animal stencils closer to the top of the tile. I didn’t measure, but just eyeballed them. since the stencils have an adhesive back, they stay in place while you apply the ceramic paint.
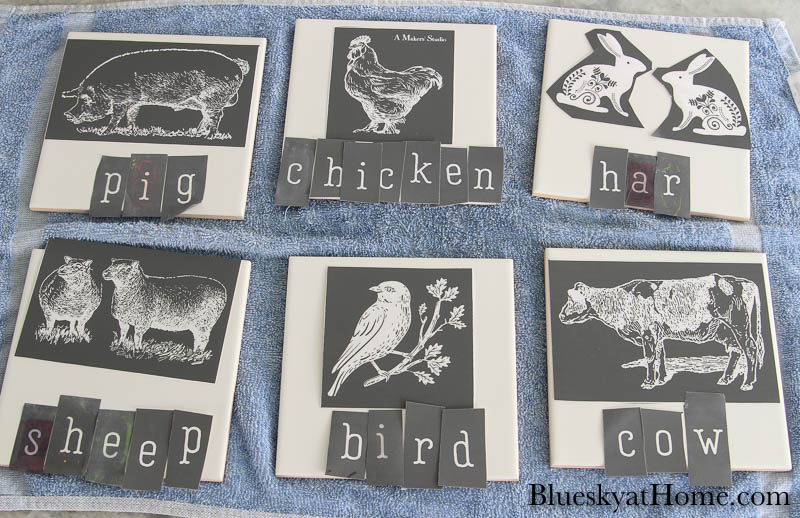
Because the farmhouse design is partial to lettering, I decided to add the name of the animal below the design. I used the Alphabet 4 stencil, which I have used many times in previous projects. The only one I had trouble deciding was the rabbit ~ bunny ~ or hare. I went with a hare because it was a shorter word.
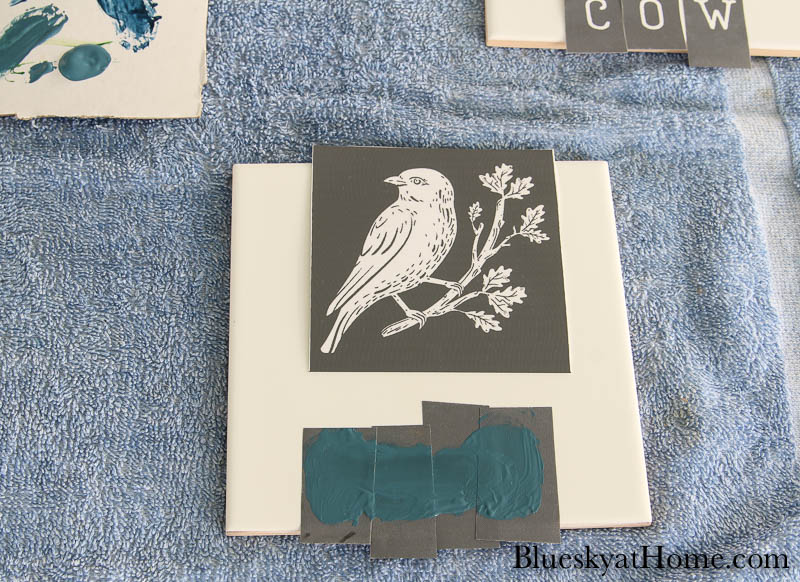
I started with the bird tile. The easiest method is to squeeze out a small amount of ceramic paint ~ a little goes a long way. For small spaces, such as the word “bird”, I like to wear a plastic glove and spread out and rub the ceramic paint into and across the letters. Carefully peel back the stencil to remove it from the tile surface.
Then I used both my finger and a plastic scraper to apply the ceramic paint across the surface of the animal stencils. Again, carefully peel back the stencil, checking that all areas of the design have been covered before you completely remove the stencil.
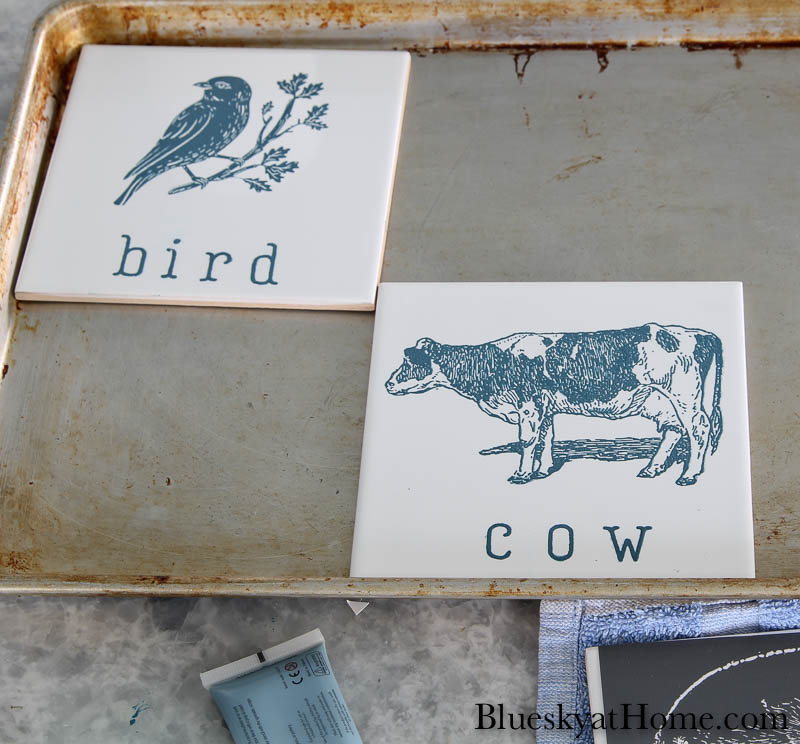
As I finished 2 tiles, I placed them on a half~sheet pan. Only 2 tiles would fit on the pan at once.
Now you are ready to bake on the ceramic tile:
- place the sheet pan in a cold oven
- turn the oven to 325˚F.
- set the timer for 35 minutes
- when the timer goes off, turn off the oven and leave the tiles (dishes, glasses, jars) in the oven.
- wait until the pan and oven are completely cool before removing the tiles from the oven.
Repeat with your other tiles/glasses or dishes.
The directions advise you to place the tiles in the oven immediately after applying the stencil. I waited until I had 4 tiles done and put 2 pans in the oven at once. Since I have a double oven, I put the last set of 2 tiles in the top oven while the bottom oven was still baking the first 4 tiles.
NOTE: I did this project over 2 days because I stenciled the tiles and put them in the oven on Saturday; we stopped for dinner on Saturday night and I let the tiles sit in the oven until Sunday morning.
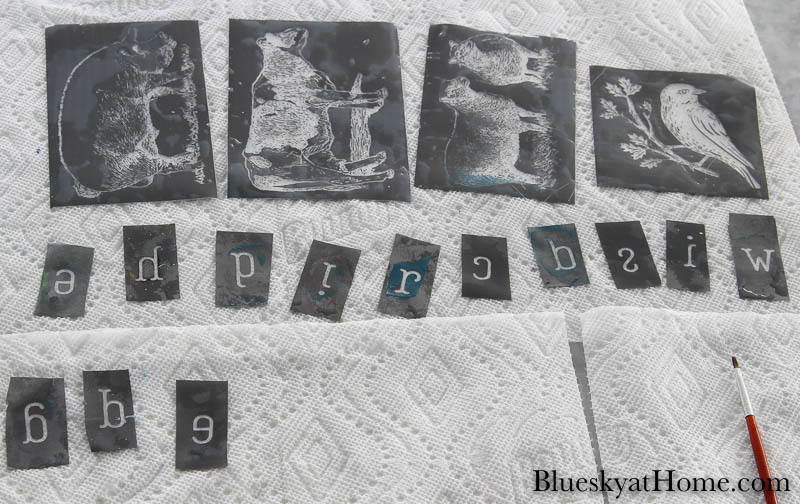
As you removed the stencils, you can place them in a shallow container of water, then rub off any paint from the non~adhesive side. You can also rub the paint off the stencils under running water. Place them on a paper towel with the adhesive side up to dry. Then the stencils are dry re~apply them back on the paper backing and return them to the plastic holders until you want to use them again.
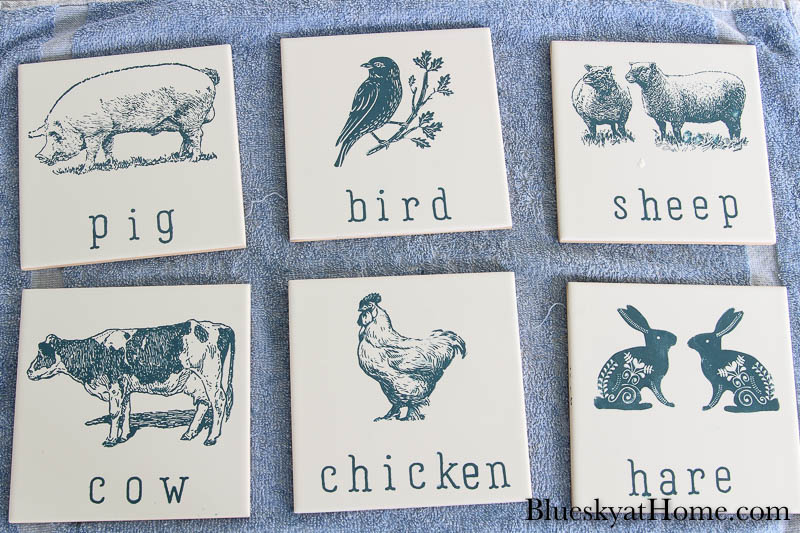
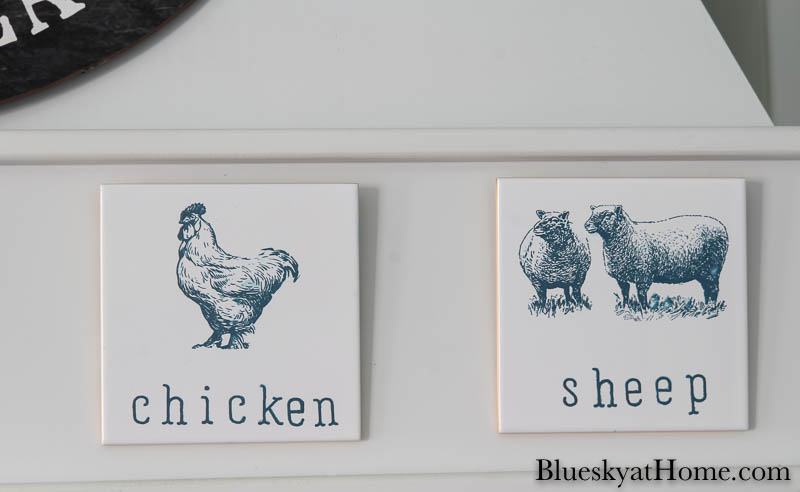
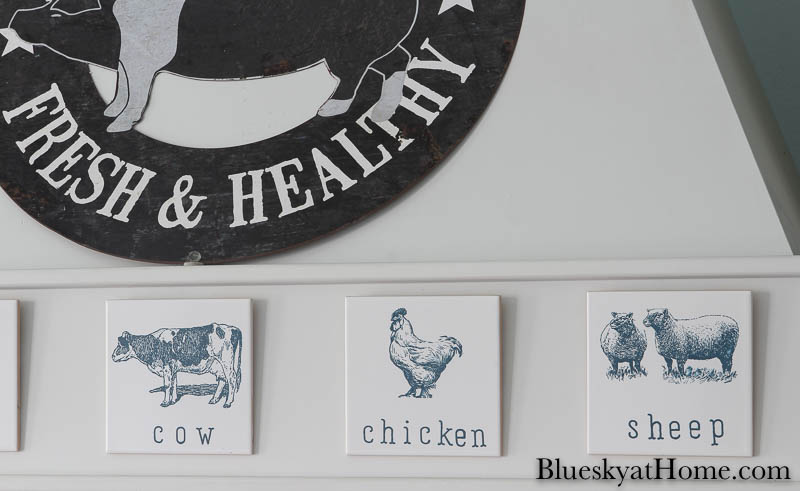
Here are my completed tiles. I loved how they turned and I’m so glad that I used the blue ceramic paint.
Hanging the Decorative Ceramic Tiles
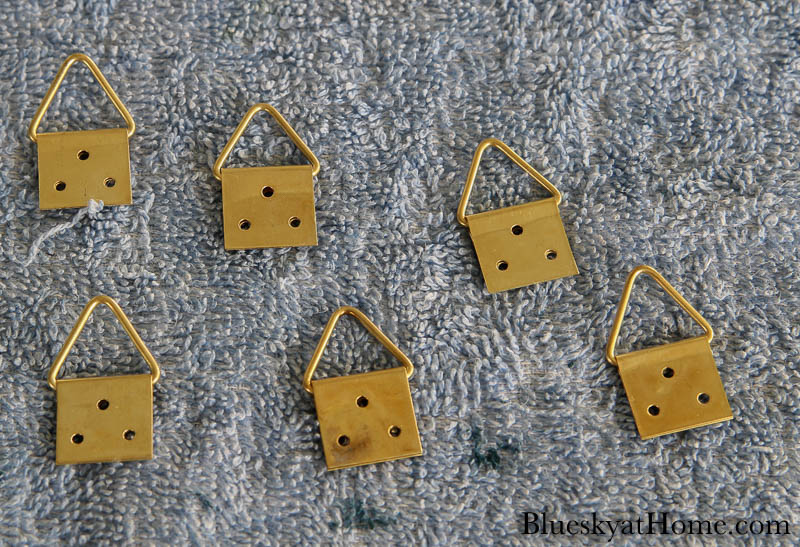
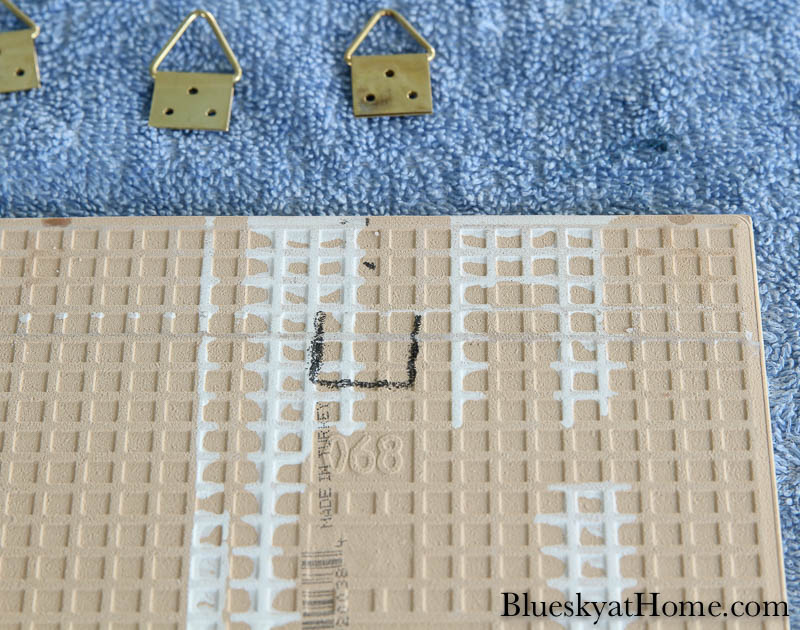
We already had nails for the tiles in the stovetop hood, I just had to figure out how to hang them. Rummaging through my desk drawer, I had a box of picture hooks including these “D” hangers.
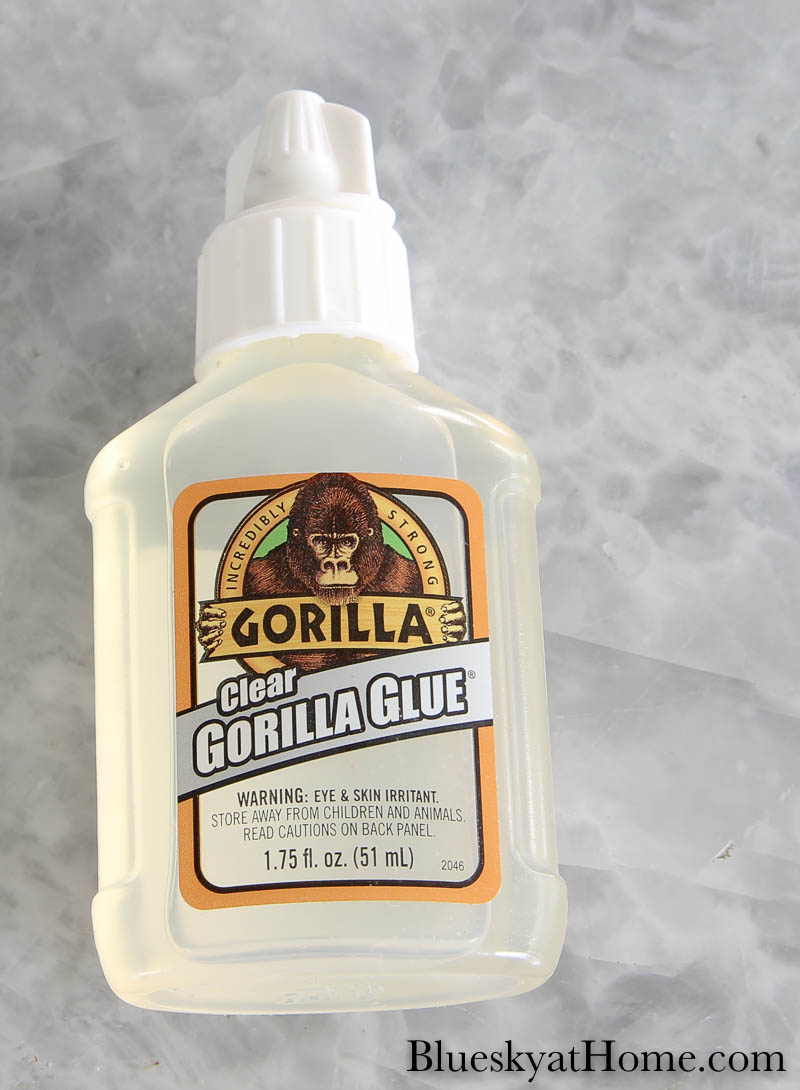
I also had a few containers of Gorilla Glue (a freebie from Haven).
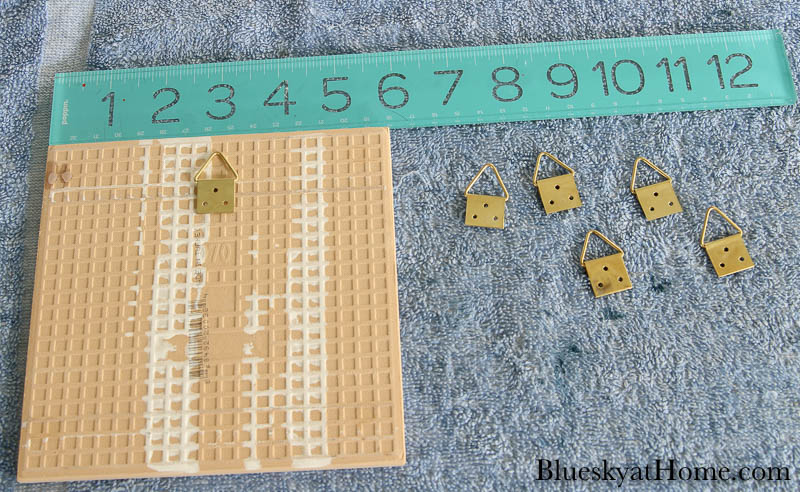
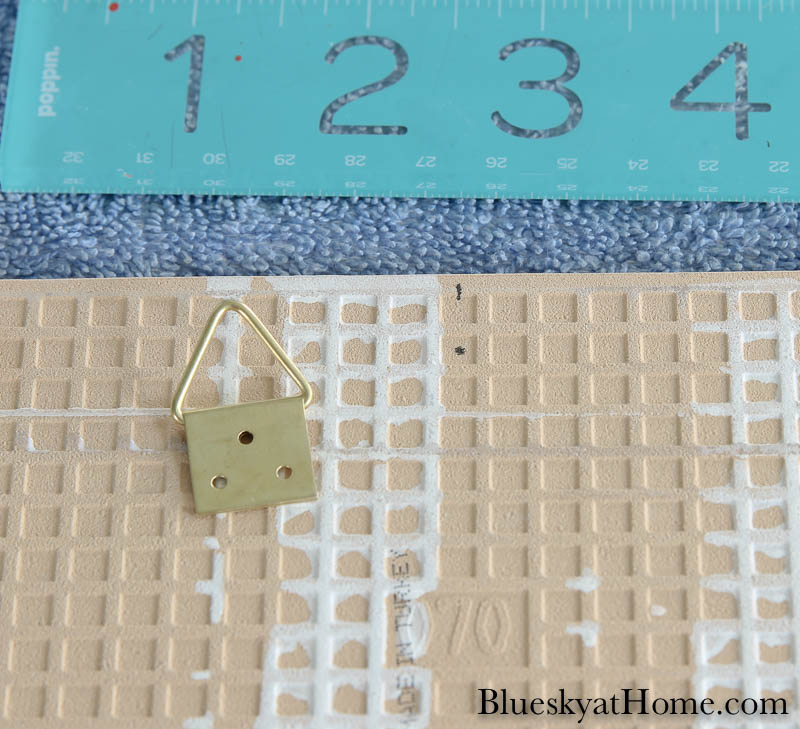
I measured the back of the tiles and determined where to place the “D” hanger, using the existing tiles from Martha’s Vineyard as my guide.
A pencil marked the spot.
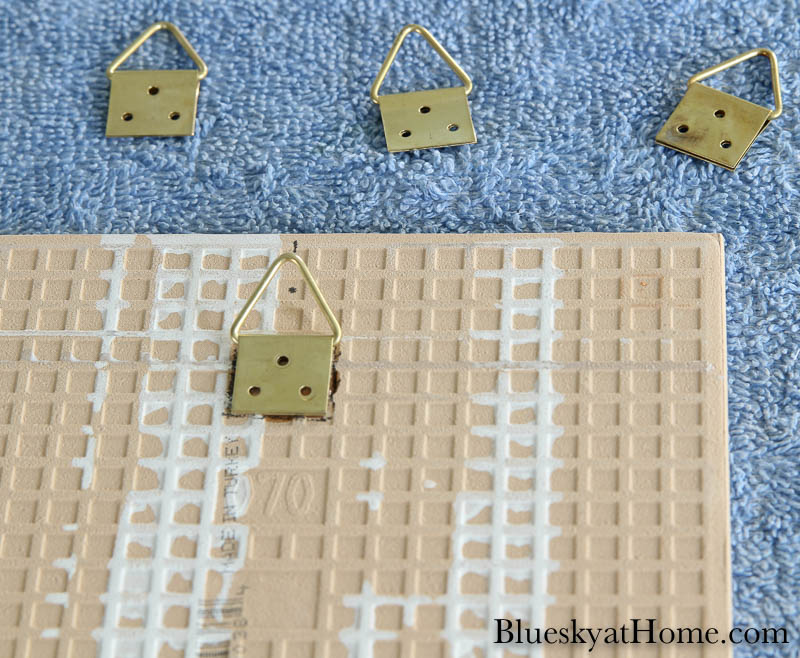
Then I drew around the bottom of the hanger as a guide on where to put my glue.
Finally, I applied the glue and pressed the hanger on the tile.
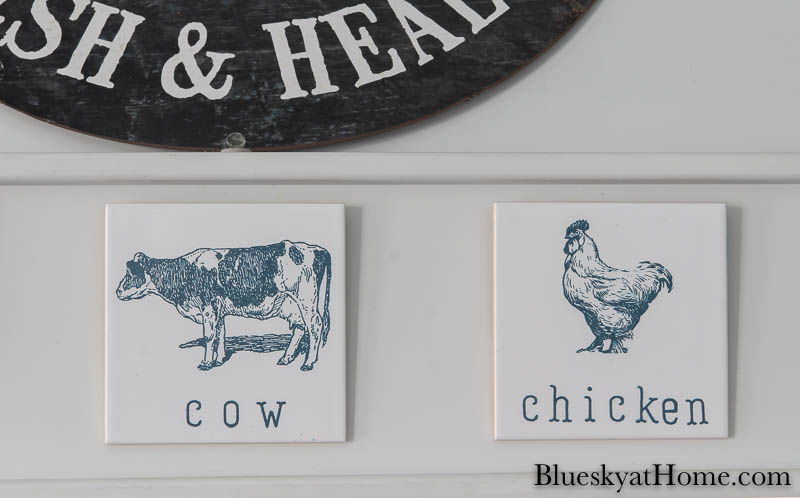
The Farmhouse Decorative Ceramic Tile Reveal
Next, all that was left was to remove the old tiles and hang the new ones. This is when I realized that I only needed 5 tiles. I chose to not use the “Hare” tile and save it for Easter.
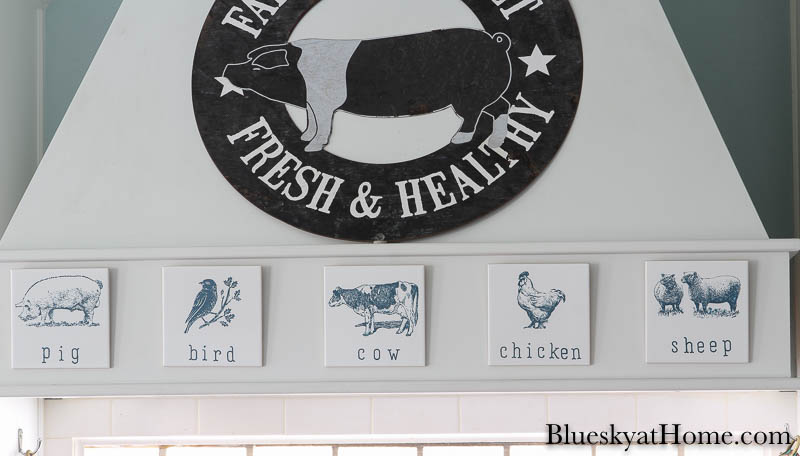
I love the simplicity of the tiles and the continuation of the farmhouse vibe.
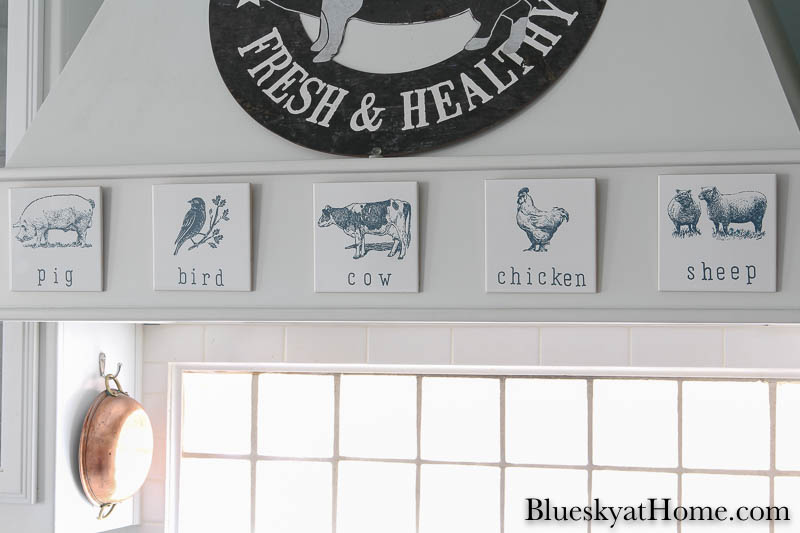
One of the many reasons that I love the stencils from A Makers’ Studio is the depth of the design.

Unlike most stencils which are flat, these stencils have great detail and really look as if you hand~painted them
More Tile Projects
You could make this same project using any stencils you like that fit your home decor style or use a different color of ceramic paint. Let me know if you like this farmhouse decorative ceramic tile project. I’m ready to do some more. Please PIN too.


Carol, I love this project. Great tutorial. They look wonderful. Pinned.
Carol,
I love these Farmhouse tiles. Congratulations, you are being featured on Happiness Is Homemade. I hope you will stop by.
https://www.eclecticredbarn.com/2020/03/happiness-is-homemade_21.html
Hugs,
Bev
Wonderful tutorial! I think the blue is just perfect for this! Thank you for sharing!
Thank you, Kristi, Normally, I would use black, but the blue was indeed perfect; it’s a little softer and picks up the blue in our backsplash.
You’re not kidding, these look totally hand painted! So professional:) I love the blue color as well. Thanks for sharing at Vintage Charm. Pinned! xo Kathleen
Never boring! Your tutorials are on point and very thorough. Love them all. Love A Maker’s Studio and Amy Howard at Home products. She, as well as you, are very talented. Glad I found you.
Laurie, thank you so much, sweetie. Your comments have made my day. I’m so glad you found me too. Keep coming back.
You sure made stenciling look easier than I have found it to be! Your results are so professional looking! I love blue and white in my kitchen, too!
Kathy A, stenciling is easy when you use the right products, like the adhesive stencils from A Makers’ Studio and either ChalkArt, Gel Art Ink or Ceramic Paint. Thank you for your nice compliment.
HI Carol,
These are so pretty! Sharing on the weekend edit! Just found out our youngest has mandatory “evacuation” from his university in Ohio. Will likely be out the rest of semester!
laura
Hang in there, Laura. It’s happening everywhere. Thanks for sharing and commenting.
Brilliant, and you make it look so easy!
Well, I may not be brilliant, but I am pretty good at DIY. Thanks, Carole.