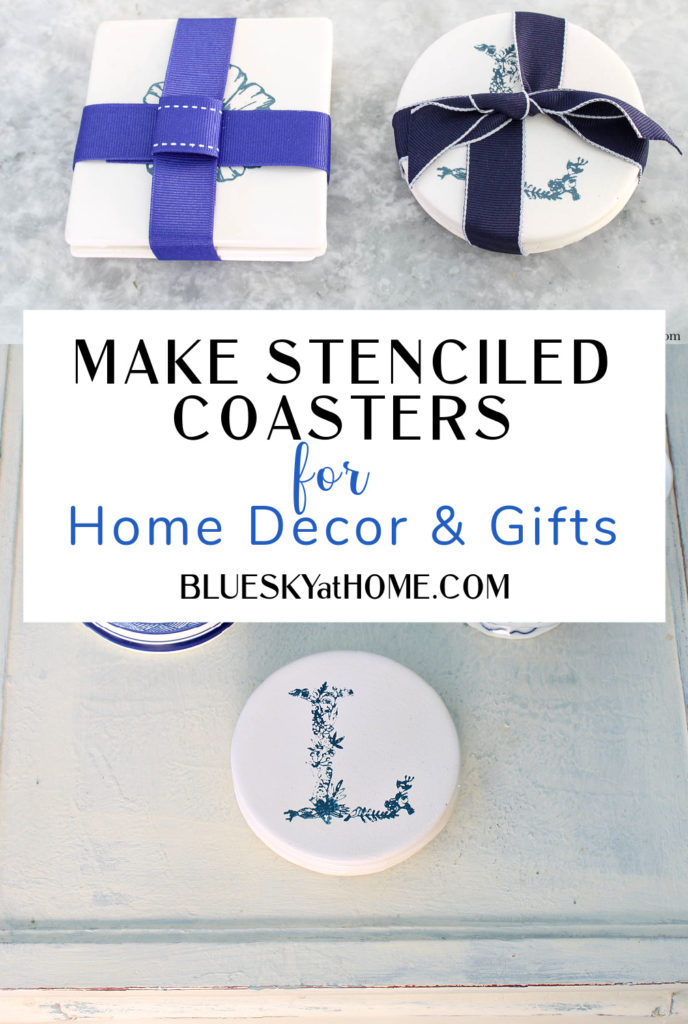
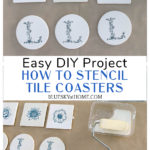
How to Stencil Tile Coasters for Home Decor
Have you ever thought that coasters can be pretty as well as decorative items? Would you like coasters that are prettier than a napkin? I would. Here’s how to stencil tile coasters for home decor.
Sweet Shark loves to collect cardboard-type coasters from bars as souvenirs. In our home, I like to have something nicer for guests. Maybe with a pretty design. Or a monogram.
This brings me to learning how to stencil tile coasters. It’s really easy.
A couple of weeks ago, as I strolled through the Dollar Spot at Target, I spied some matte cream-colored coasters. Immediately, I knew I could give these plain tile coasters a pretty design that would be practical and add to our home decor.
Speaking of the Dollar Spot at Target. Do you ever walk past it to what you came to Target for in the first place? Me neither. I just wanted to make sure we were in the same club. Whoever the person was at Target who thought of the Dollar Spot, thank you. You are probably a billionaire. From my wallet to your bank account.
Anyway, I love the Dollar Spot. I love all the creative projects that I’ve been inspired to make. I love that I found these tile coasters. I love the pretty tile coasters I made. You’ll love them, too.

Do You Know How to Stencil Tile Coasters for Home Decor?
If you have never stenciled tile coasters, then no worries. It’s easy and I’m here to show you how.
What Supplies Do You Need for this Tile Coaster Project?
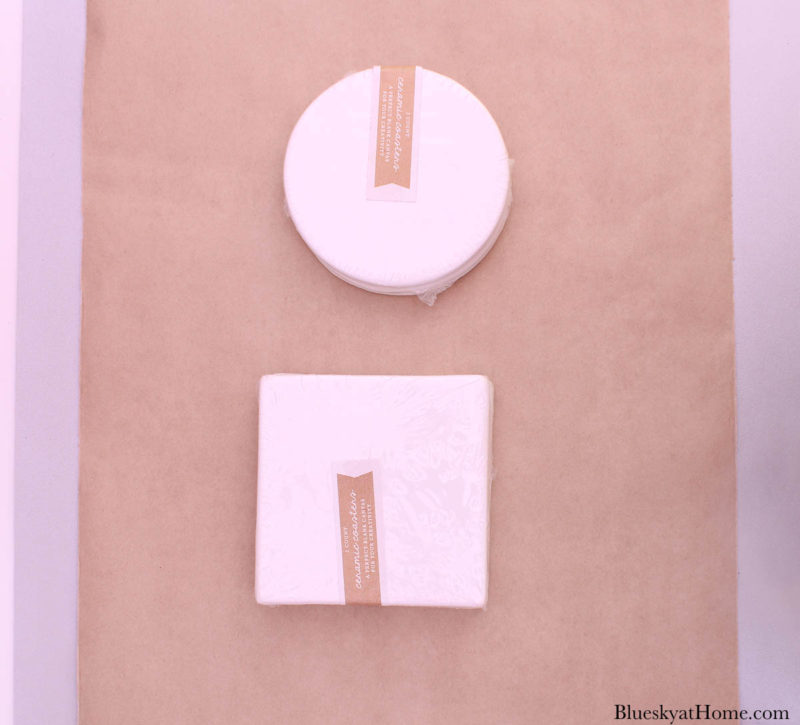
These tile coasters came in two shapes, round and square. The color was just shy of white. I decided to buy one package of each. They came in a package of three for $3.00. So each tile was $1.00.
I knew that I had all the supplies I needed on hand:
- Set of tile coasters – The Dollar Spot at Target – $3.00 for a package of 3; you could also pick up tiles at Lowe’s or Home Depot.
- What kind of stencils are best for tile coasters? Stencils from A Makers’ Studio – these are the only stencils I use; the designs and usability are first-rate. Their adhesive quality makes them stay in place with no bleeding.
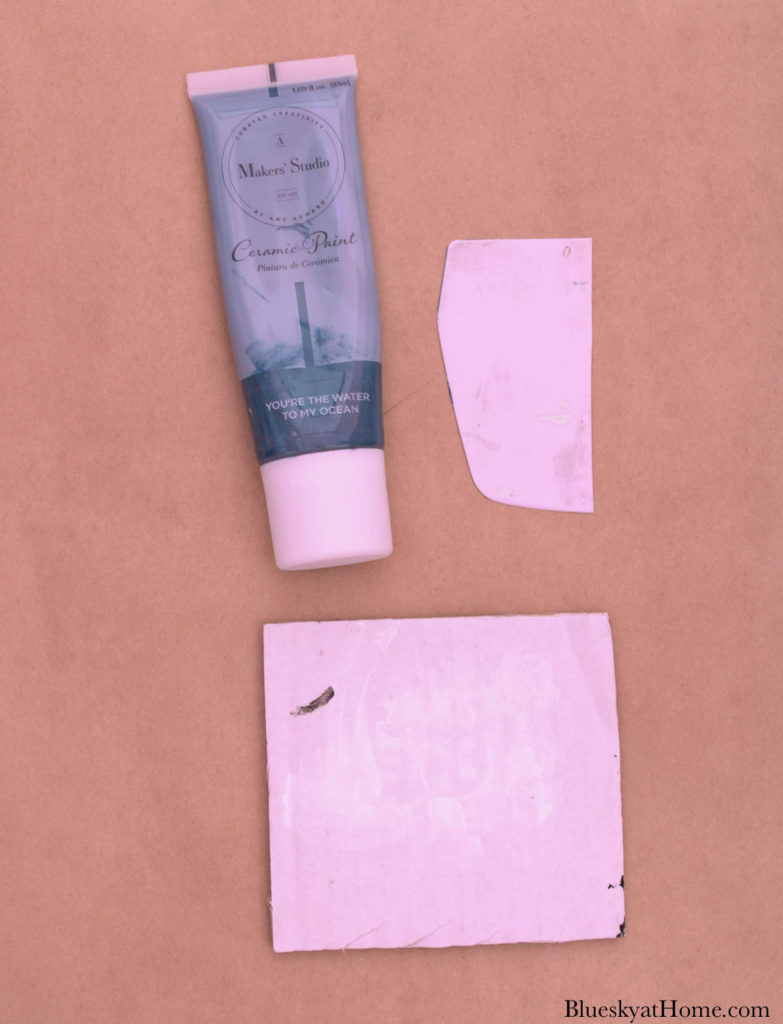
- What kind of paint do you use for stenciling tile coasters? Ceramic Paint from A Makers’ Studio – yes, the only Ceramic Paint I use. This paint is so easy to apply. It comes in beautiful colors, and a little goes a long way. For this project, I chose You’re the Water to my Ocean, a pretty blue.
- Plastic Scraper or even a credit card
- Bowl of water for cleaning stencils
I had a good idea of the designs I wanted for the tile coasters. I just had to see which stencil design would work best on the size of the tiles.
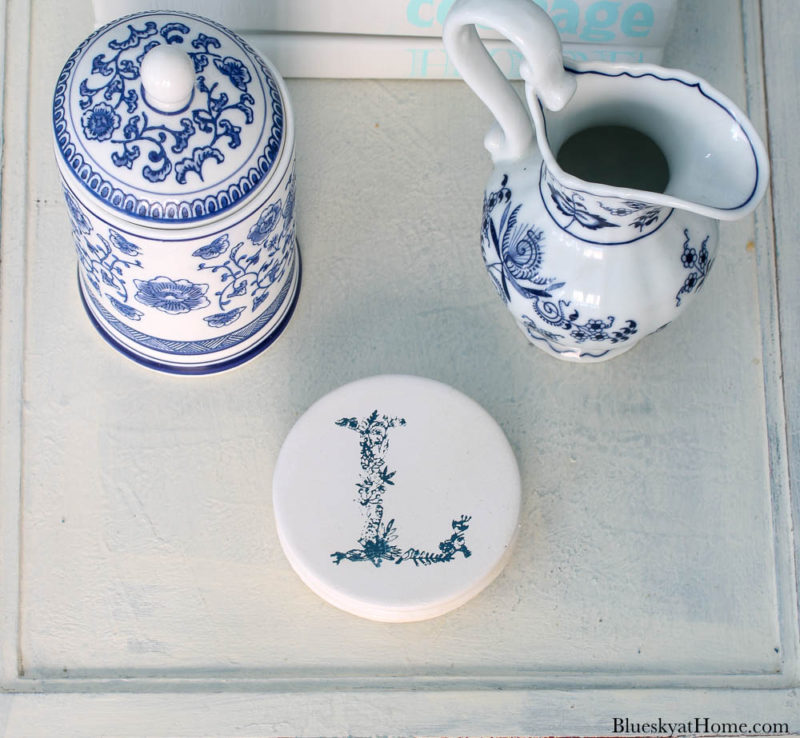
Picking a Monogram for the Round Tile Coasters
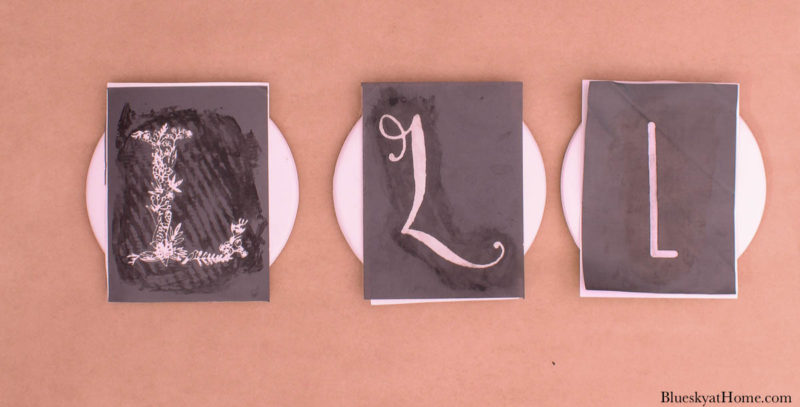
I decided that a monogram would be very nice for one of the sets of tiles. I had four different monogram styles to choose from. As you can see, I have used three of the four stencils on earlier projects.
From left to right, the stencils:
- Alphabet Monogram
- Alphabet 5
- Alphabet 3 – no longer available
- Alphabet 1

I tried out each stencil on the round tile coaster. I immediately deleted the Alphabet Monogram as too small.
Which one did I choose?
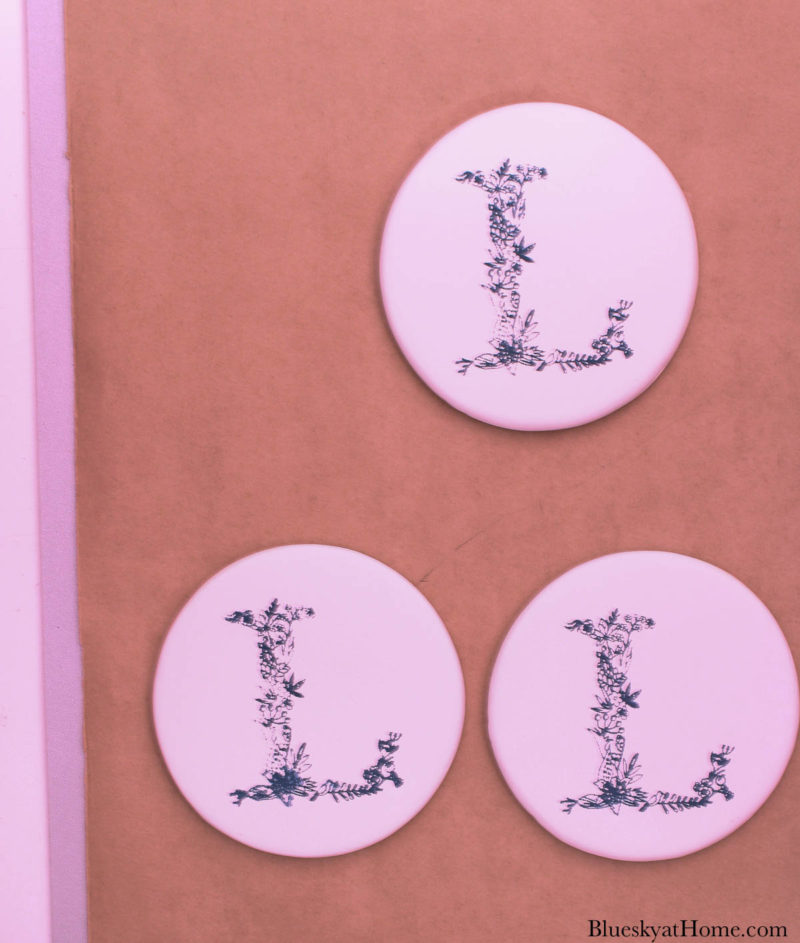
I chose Alphabet 5. It filled the round space and I loved the pretty floral design. The stencils from A Makers’ Studio have a depth you can’t get with vinyl stencils.
Adding the Stencils to the Tile Coasters
This project is so easy. It took me five minutes to stencil all three tile coasters with the Alphabet 5 stencil.
Here are the steps to applying any stencil:
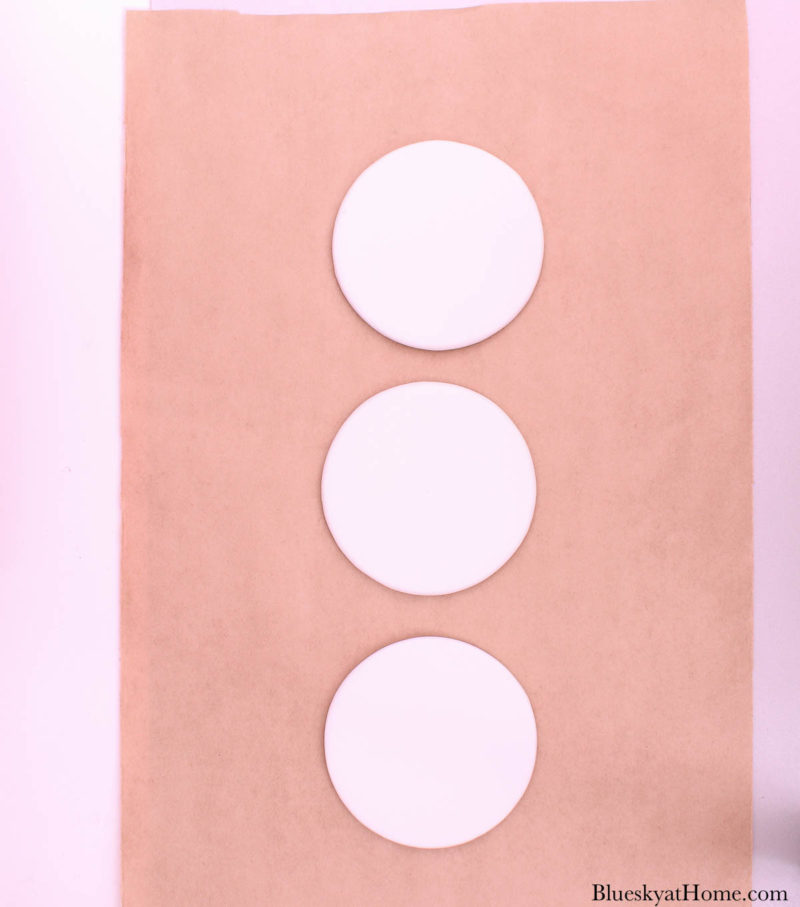
STEP 1
Open the package and lay out the tile coasters on a work surface. I used craft paper.
STEP 2
If you haven’t already, cut out your stencil from the sheet of stencils. The alphabet stencils have lines to cut on.
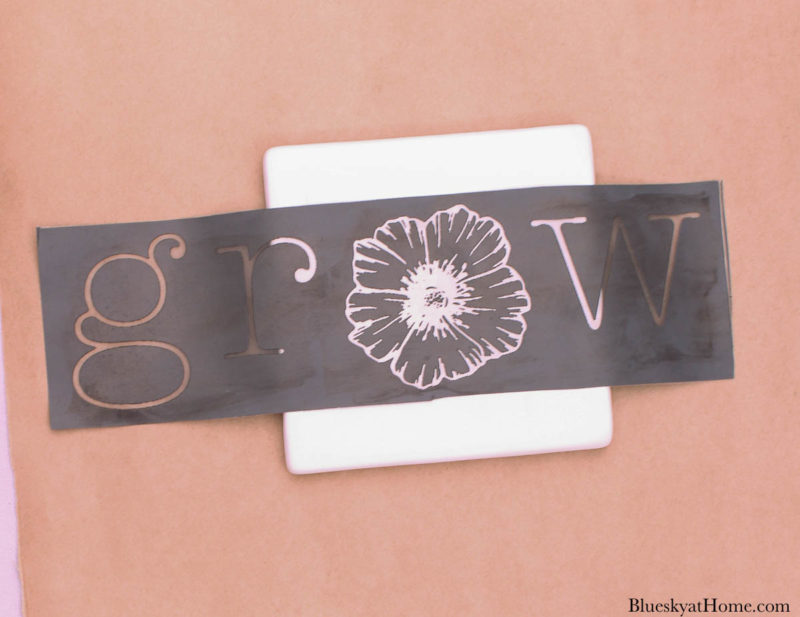
First, lay your stencil on the coaster, centering the design. Smooth out the stencil on the tile. The adhesive stencils are adjustable, but will “stick” to the surface.
Squeeze a small dollop of Ceramic Paint on a piece of cardboard. That small dollop is more than enough for each stencil.
TIP: Save pieces of cardboard packaging or boxes to use as surfaces to offload paint.
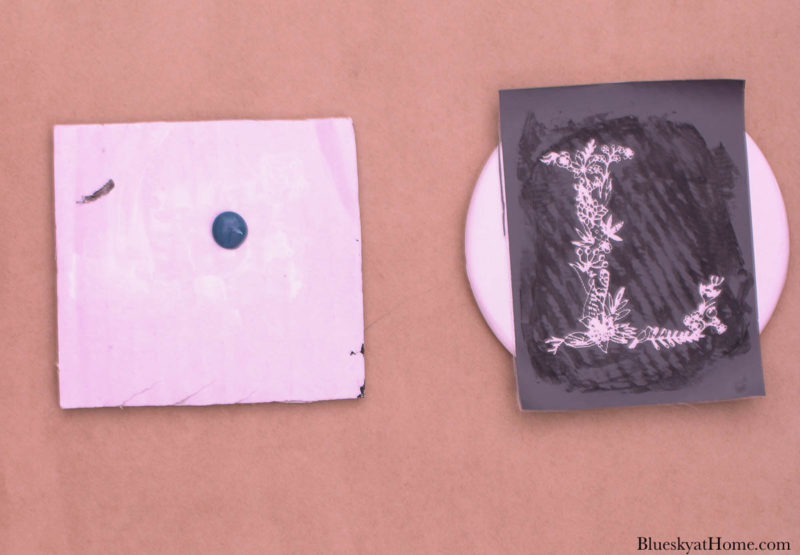
STEP 3
Use the plastic scraper (an old credit card will work, too) to spread and scrape the Ceramic Paint across the stencil. The design will reveal itself.
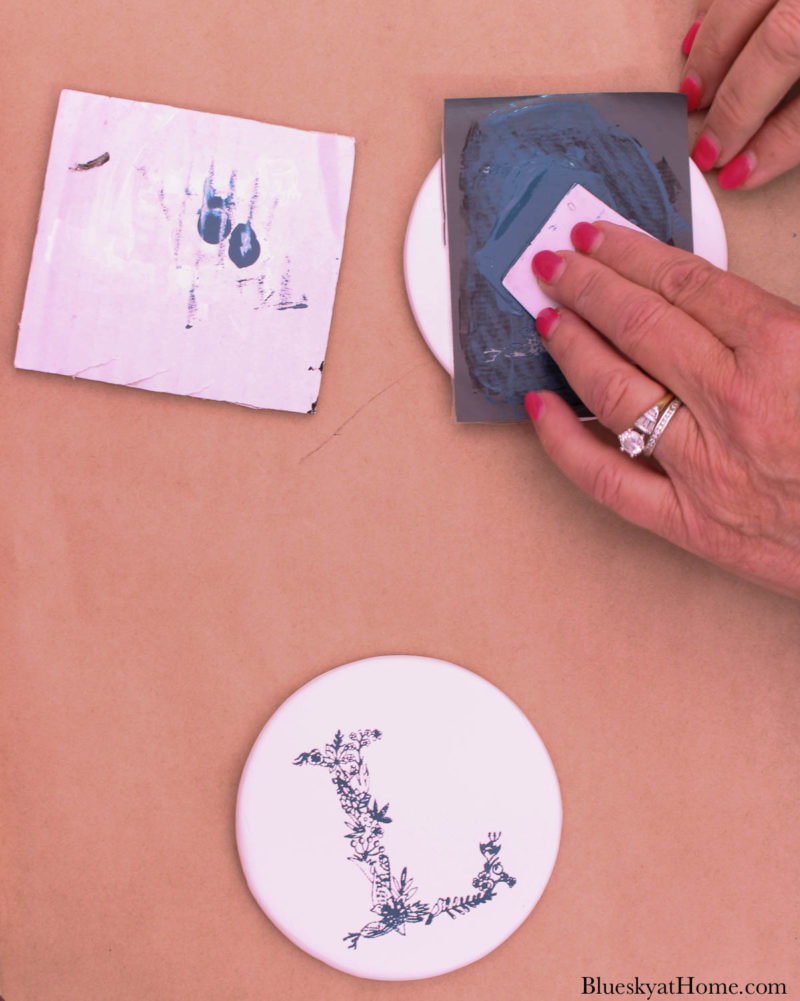
STEP 4
As soon as you have covered the stencil with the Ceramic Paint, carefully remove the stencil. Grab a corner and pull the stencil away from the surface. You can carefully place the stencil on the second tile coaster and repeat the process. That is what I did.
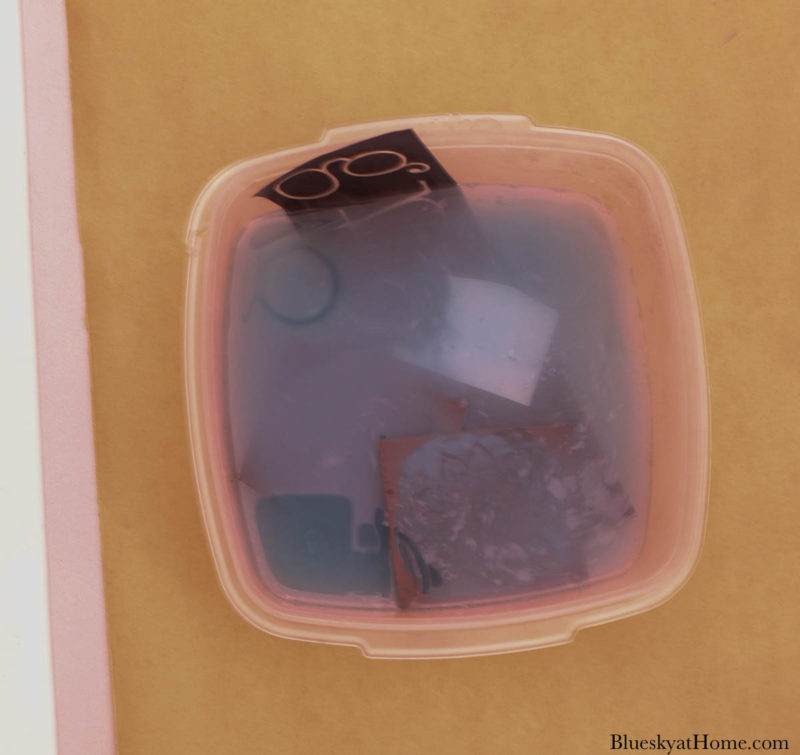
When you are finished, drop the stencil in a bowl of water. Then you can clean the stencils by running them under running water and rubbing the pain off with your fingers. Lay the stencils, adhesive side up, on a paper or cloth towel.
STEP 5
Allow the Ceramic Paint to set overnight. That’s it. The Ceramic Paint is now permanent.
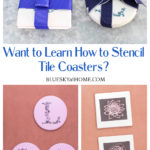
Using Floral Stencils on Square Tile Coasters
The steps for the floral stencils are exactly the same. Let’s take a quick walkthrough.
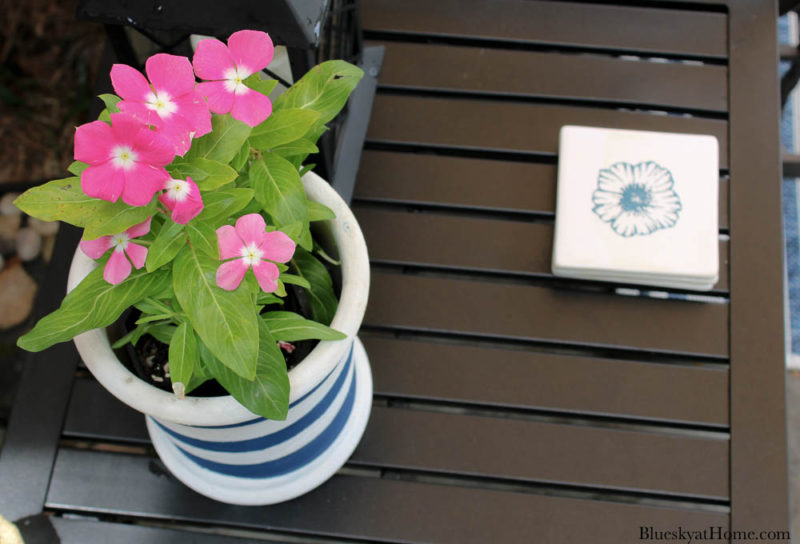
For these coasters, I used the Welcome Spring Stencil. I picked three flower designs.
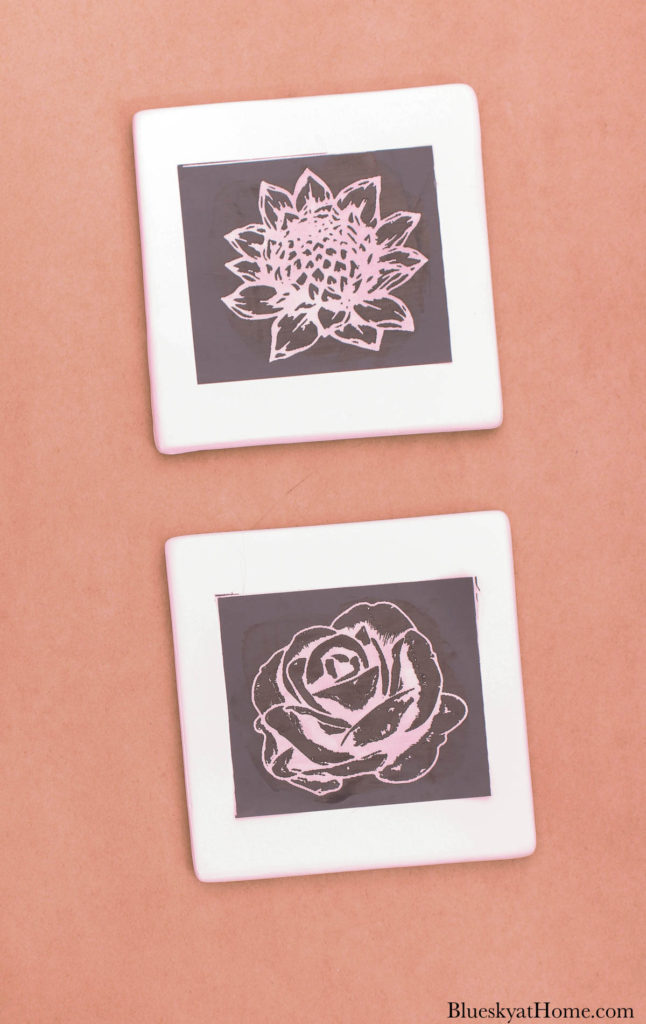
That’s all there is to stenciling the tile coasters.
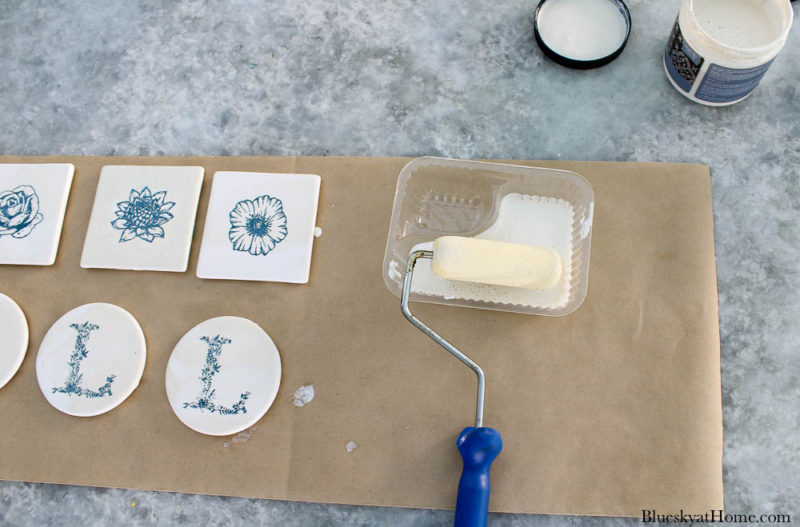
Final Step
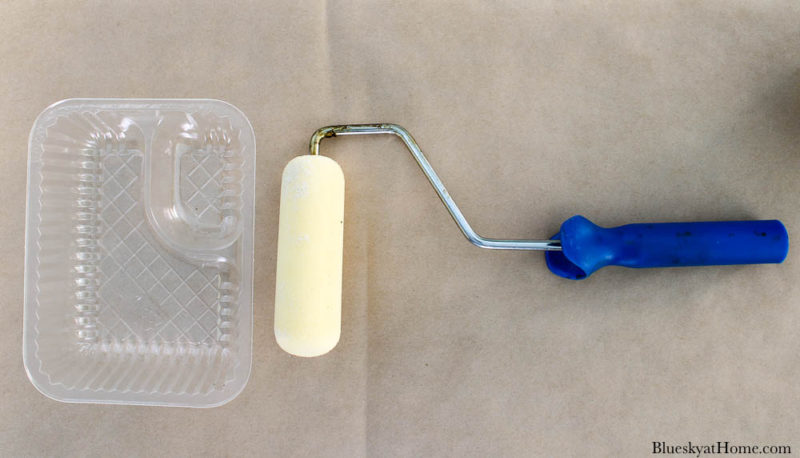
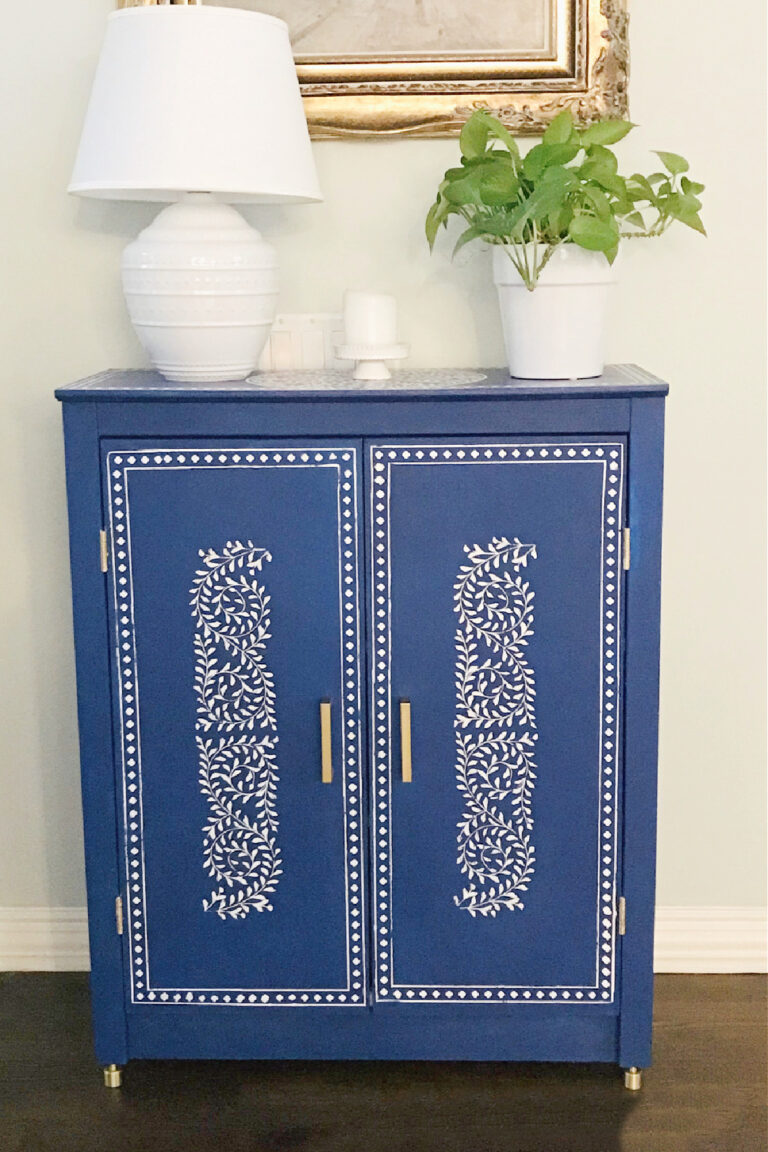
Since tile coasters would have glasses set on them, I thought it wouldn’t hurt to seal the coasters. I used Matte Sealer from A Makers’ Studio. I’ve used this sealer on our front door, for our outside patio table, and the cabinet in the living room that I painted and stenciled.
The best way to apply the sealer on stencils is with a paint roller. After shaking the jar of sealer, I poured a bit of sealer into the plastic nacho containers I bought years ago.
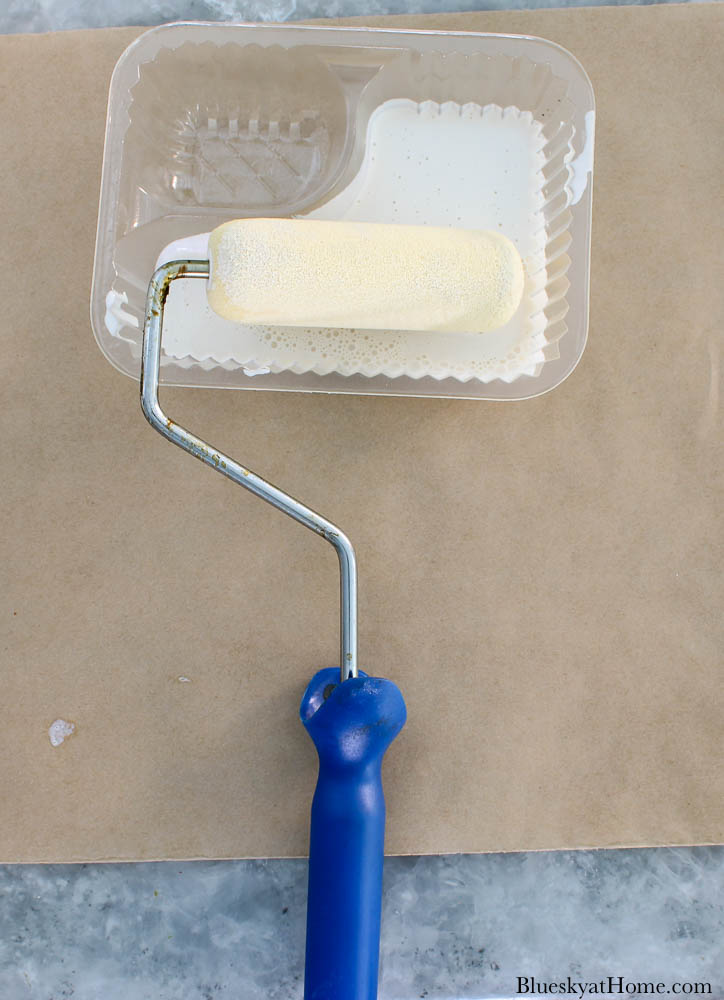
Next, roll the paint roller in the sealer. You can literally roll the sealer across all six tile coasters at one time.
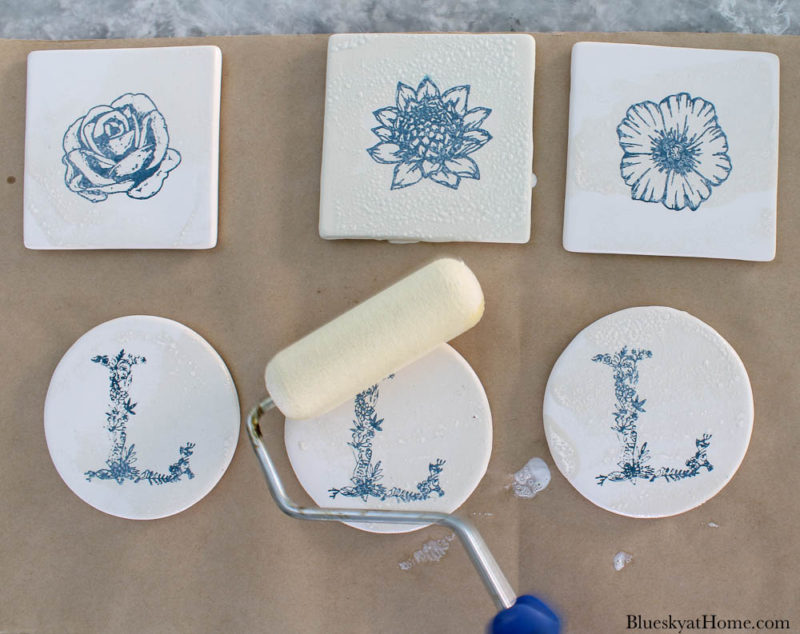
I let the sealer dry for about 35 minutes and then applied a second coat.

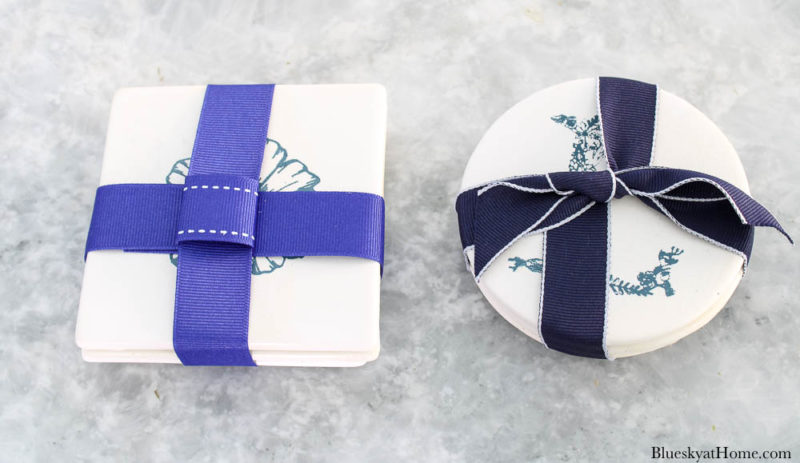
I loved the coasters so much, especially the monogram ones. On my next trip to Target, there was one package of round coasters left. There was also one package of 5-sided coasters. I just bought the round package.

Now, I have six monogrammed tile coasters. They would be used in the living room. The floral ones would be outside for the seating area on the patio.
The stenciled tile coasters would also make a great hostess or housewarming gift. Just tie a ribbon around them and put them in a pretty bag.
Stenciling tile coasters is a super easy DIY project. They are so useful and add an extra touch of prettiness to your home decor.
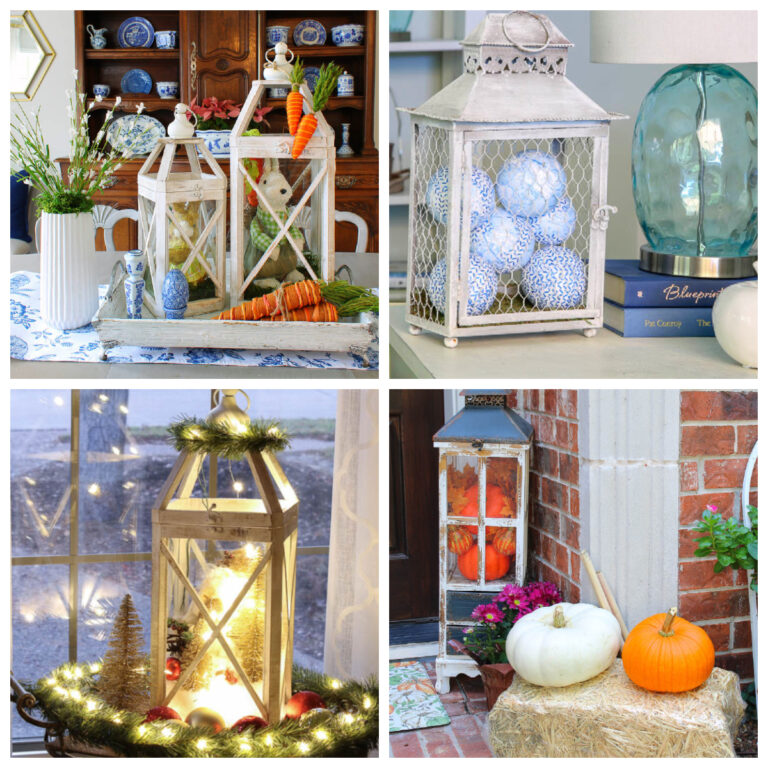
Other Tile Projects to Try:
I hope you liked this project and will try it yourself. Be sure to PIN so you have the step-by-step instructions when you are ready to make them yourself.


Love your project. I agree that these would make great housewarming or birthday gifts. Thanks for sharing the tips on the best stencils and paint. #HomeMattersParty
This project is right up my alley! They really turned out great. Love the blue and white color combo. Thanks for sharing at Vintage Charm! xo Kathleen
Glad you liked it, Kathleen. Let me know if you make them.
Beautiful Carol! I love Target Dollar Spot and your stenciled coasters would make a lovely and affordable hostess or housewarming gift!
These are so pretty, Carol! I also love Target Dollar Spot and am always inspired by all of the treasures I find there. Your stenciled coasters came out beautifully. The stencil and color you chose is just perfect. It was so much fun to hop with you! Pinned!
They turned out so pretty and there is nothing like the dollar spot. So happy to be on the hop with you. Pinning for later.
What a fun craft, Carol. Love them and pinned it!
These coasters turned out beautifully, Carol. The blue color is so pretty!
Jen, thanks so much for visiting. Glad you liked the tile coasters. GIve them a try!
Your coasters look fabulous, Carol! Thanks for introducing me to A Maker’s Studio! I have always been leery of stenciling – never knowing if it will bleed or not. I love that they have adhesive on the back! Thanks for sharing!
Carol you are the Stenciling Queen! These coasters look great, what a fun craft, and think of all the gifts you can make! And yes, I always check the Target Dollar Spot, a treasure trove of ideas and bargains!
Wish we still had a Target in Canada with a dollar spot; looks like it’s full of inspiration.
Blue and white is such a classic look and these are beautiful Carol! What a great way to customize a coaster and I think these make a wonderful gift!
Love your coasters. These will come in handy during the warmer weather. Great job, Carol.