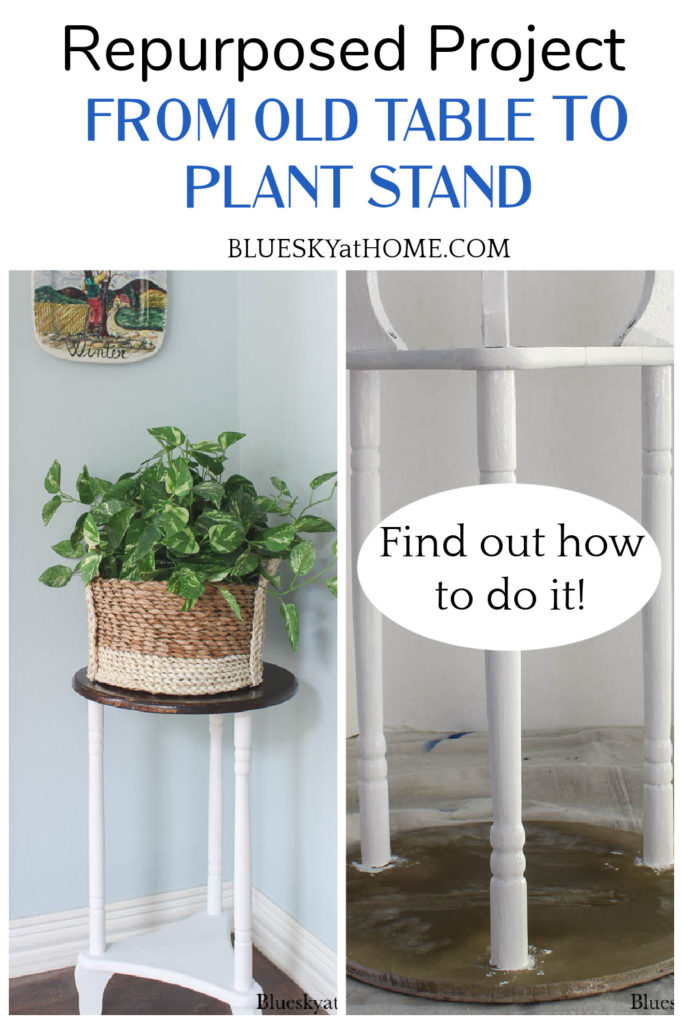
How to Repurpose an Old Table as a Plant Stand
Who doesn’t love to find that diamond in the rough? That old discarded, it’s- only-a-few-dollars-at-the-garage-sale thing? I do and I’m going to show you how to repurpose an old table as a plant stand.
Now, this little old table isn’t big and fancy. It’s small, but mighty. You could make it into anything your little heart desires. I chose to repurpose this old table as a plant stand.
Why a plant stand? Because I needed a plant stand for our breakfast room. And this old table was discarded and forgotten, not once, but twice. When I rediscovered it, I knew it would be the perfect plant stand.

How to Repurpose an Old Table as a Plant Stand
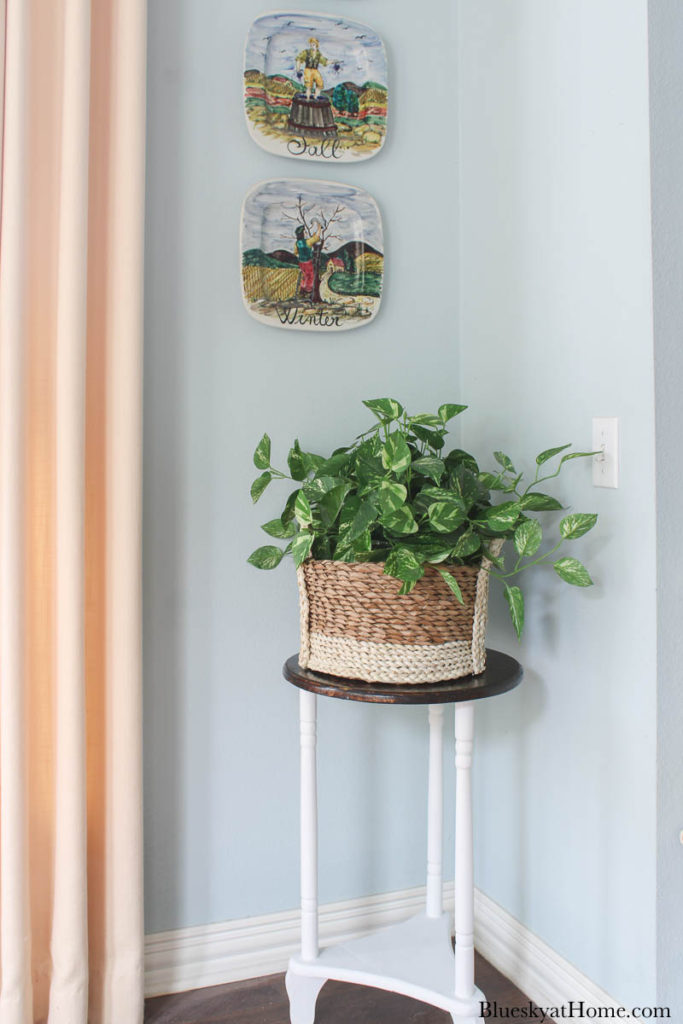
Why did I need a plant stand? We have a little corner in our breakfast room that needed to be filled. It needed something interesting. It needed something pretty. I thought it was the perfect place for a plant.
We have several plants in nice planters in our home. For this space, I wanted something not sitting on the floor, but something higher ~ like on a plant stand.
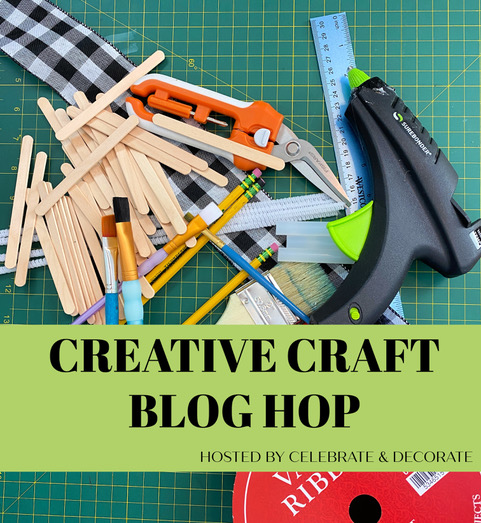
Since this week is Creativity Craft Week, now was the perfect time to finally do this plant stand project. So, thank you to Andrea of Design Morsels for giving this group of bloggers the push to get some projects done.
THE VISION FOR THE PLANT STAND
While browsing the Internet several weeks ago, I came across this plant stand, basket, plant combination on the Pier 1 website. I thought this would be perfect for the small corner in our breakfast room.
To recreate this item, all I needed was a small table, a basket, and a plant.
How easy is that?
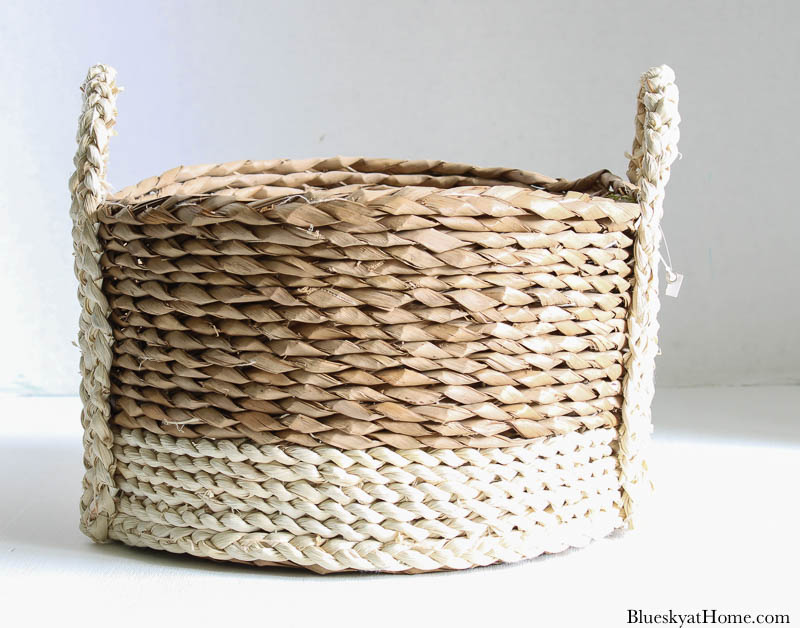
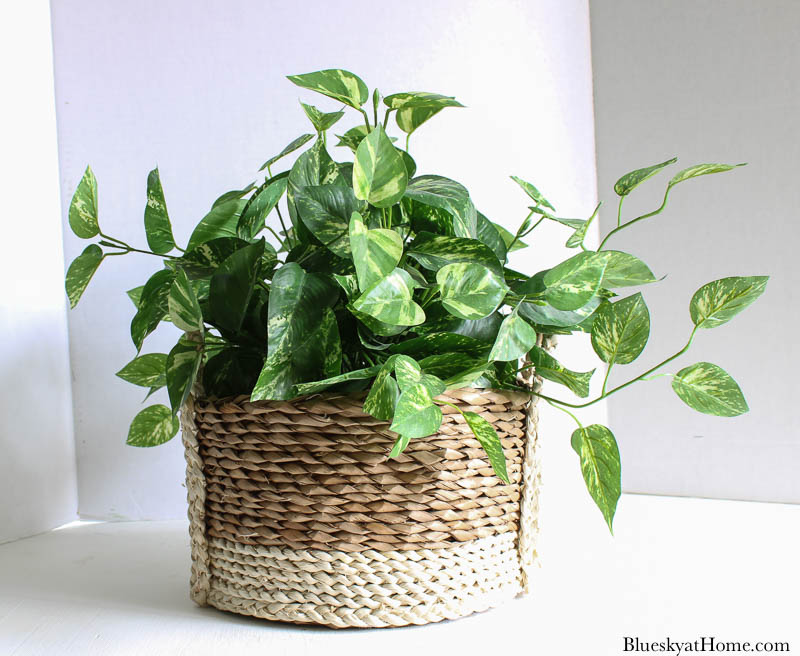
First, I found a great basket at Hobby Lobby on sale. It’s been sitting in the butler’s pantry for weeks and weeks, waiting and waiting for a plant stand to sit on.
I love the woven design and the two~tone look and the handles.
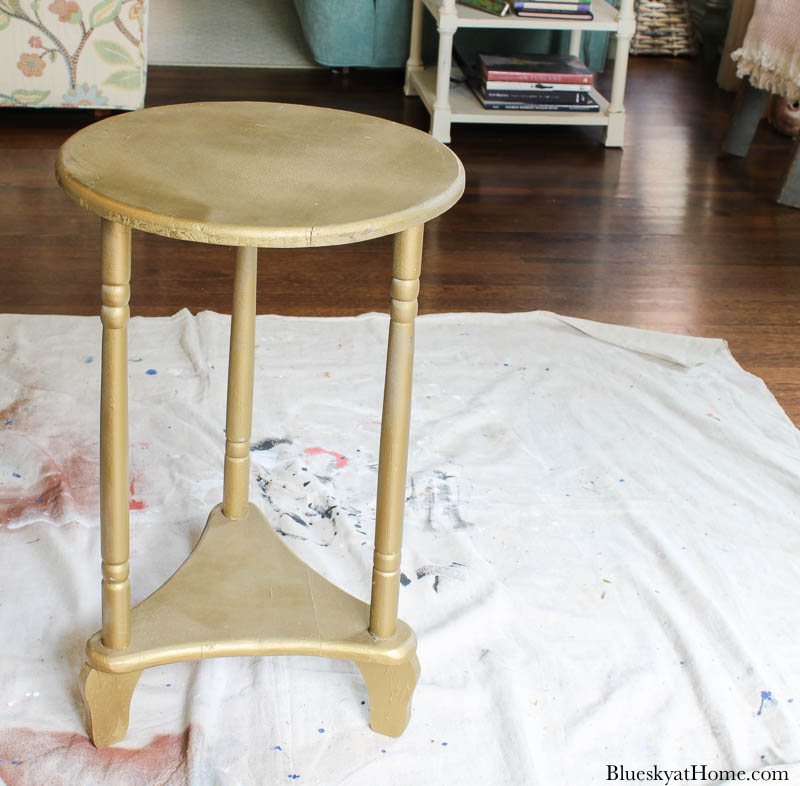
Then, I started thinking about the small table. I remembered the small round table that I bought several years ago at a flea market. I think I might have paid $5 or $10 for it.
First I painted it blue with Chalk Paint and used it as an end table in our living room. It was really too small for a lamp and other stuff.
Then I set it outside and it got rained on. Bad idea.
Then I painted it gold. Not sure why I did that. For a few years, we used it at Christmas in Sweet Shark’s bar. I covered it with a tree skirt and placed a 3~foot tree on it.
Then it disappeared. Literally. When I couldn’t find it a couple of years ago, I thought maybe I threw it away. And then I forgot about it.
Until I saw the picture of the plant stand on the Pier 1 website. I thought about it all through January and into February. I racked my brain trying to remember what happened to the little old table that would be a perfect plant stand.
Then guess what? We found the table ~ or rather my son found it. (He flew home in late February to pack up all his stuff left in our attic and empty his storage unit. He has been a traveling ICU nurse and has now decided the Denver will be his foreseeable home.)
While going through his stuff in the attic, he yelled down that there was a table in the very back. When he brought it to the top of the attic stairs, I couldn’t believe my eyes. There was my forgotten, discarded and abandoned little old table.
BRING IT DOWN!
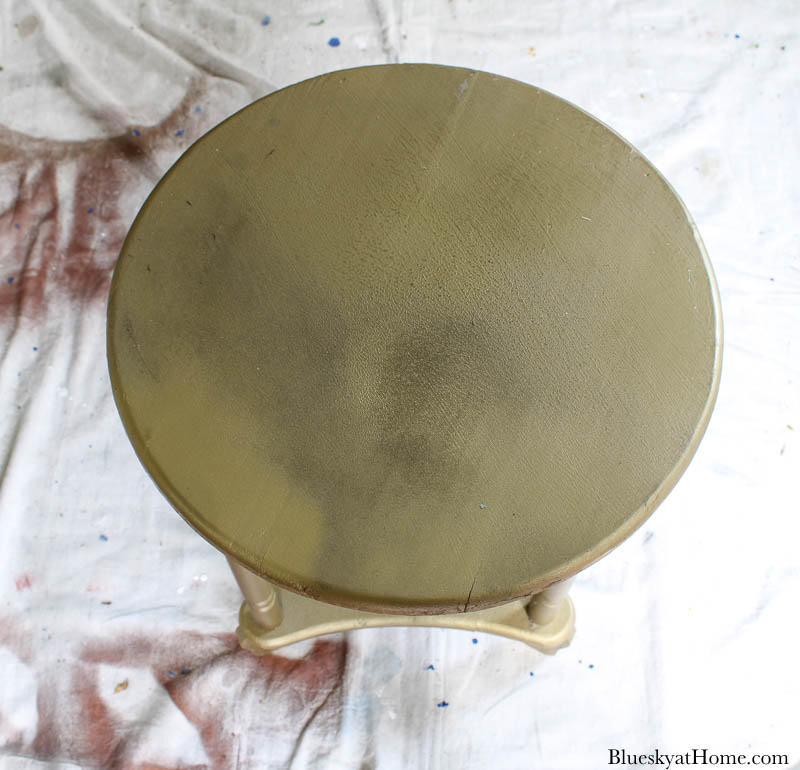
I remembered that the table had been very rough on the top.
So now I had my table to repurpose and my basket and I knew I could find a plant.
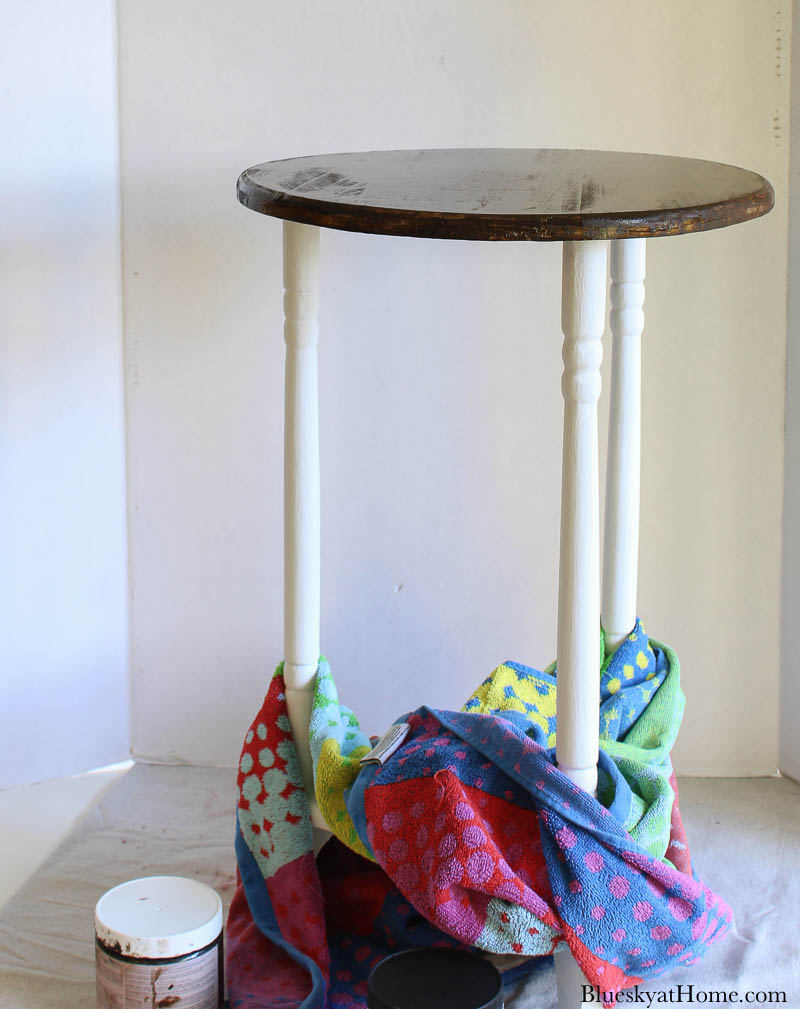
LET’S SAND AN OLD TABLE
I usually don’t sand old furniture ~ unless it is really rough. For this repurpose project, I really wanted to get rid of the gold paint and anything underneath it. I honestly don’t remember what the table looked like when I first bought it.
Plus, I used my Black & Decker mouse sander for the first time last summer when I redid my sofa table. I loved what that sander can do.
Like last summer’s project, I set up a drop cloth in the breakfast room. The sander has an attachment that catches most ~ but not all ~ of the dust.
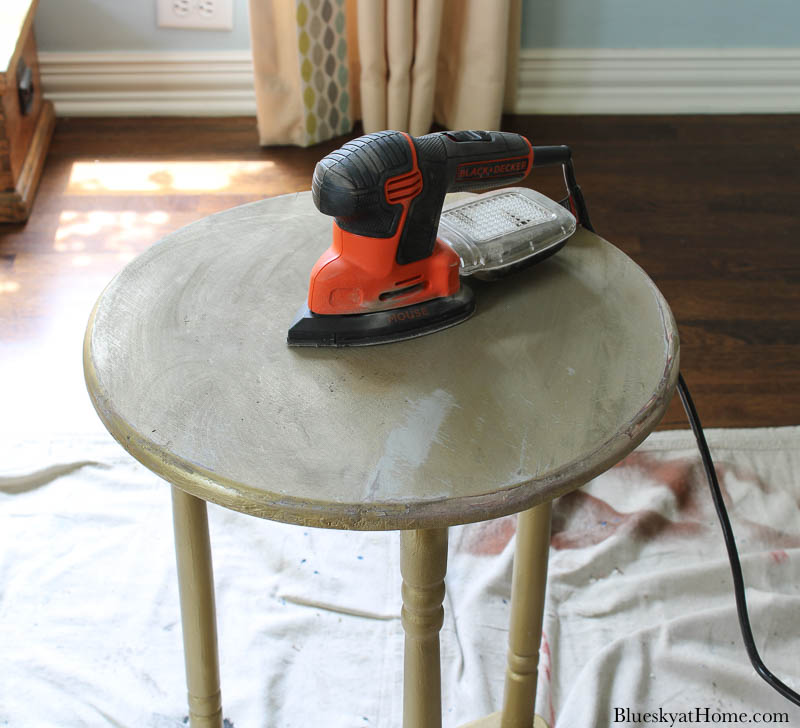
And I started to stand. First went the layer of gold paint. It revealed the layer of blue paint. I was having so much fun, I kept going.
Then I found a layer of greenish paint. And then, a layer of stain. Then, I got to the raw wood in small places.
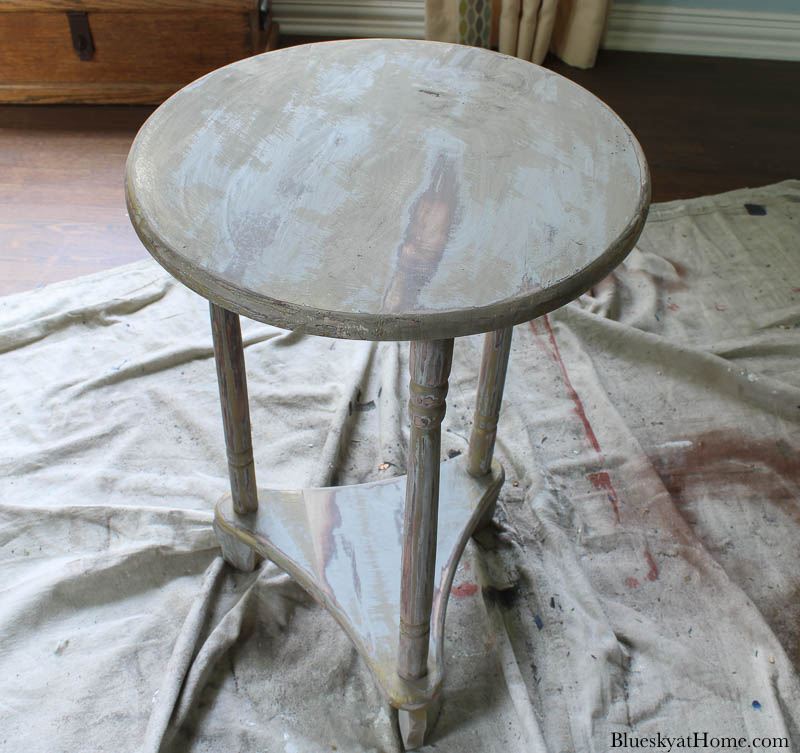
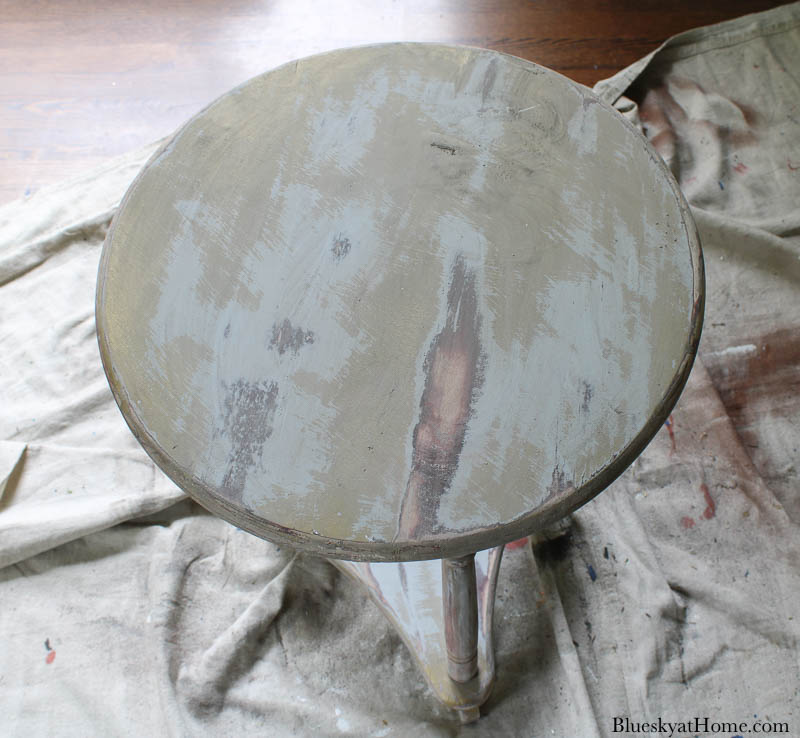
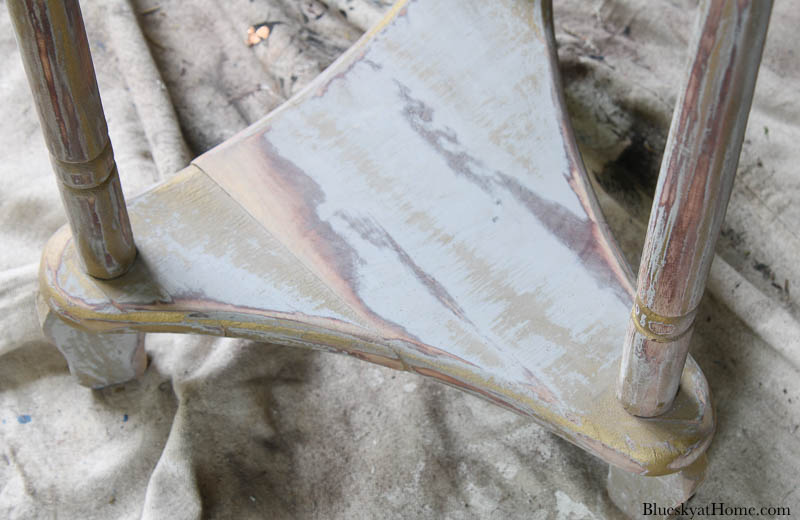
I was really having fun sanding and kept going and going.
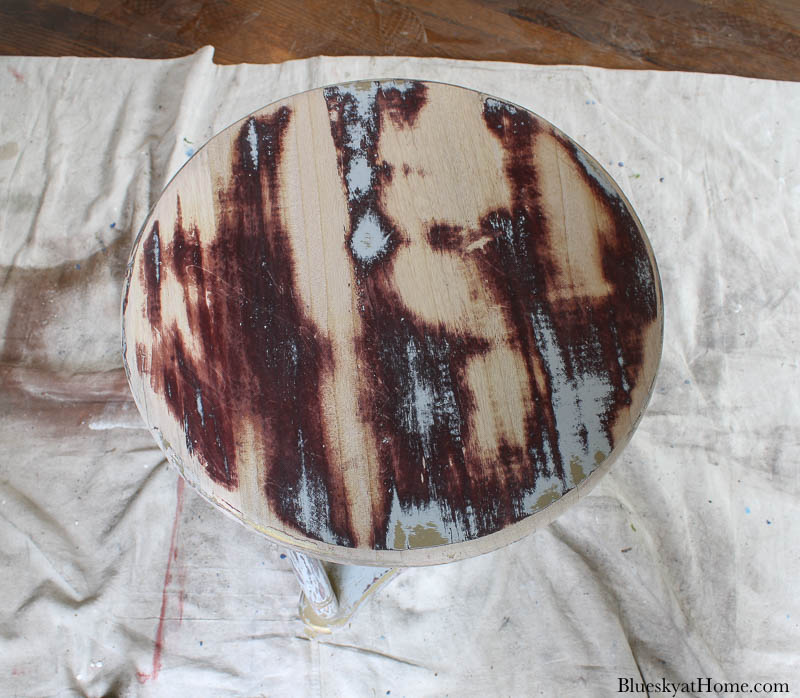
I wiped down the table all over to remove all the dust. Now I was ready to paint.
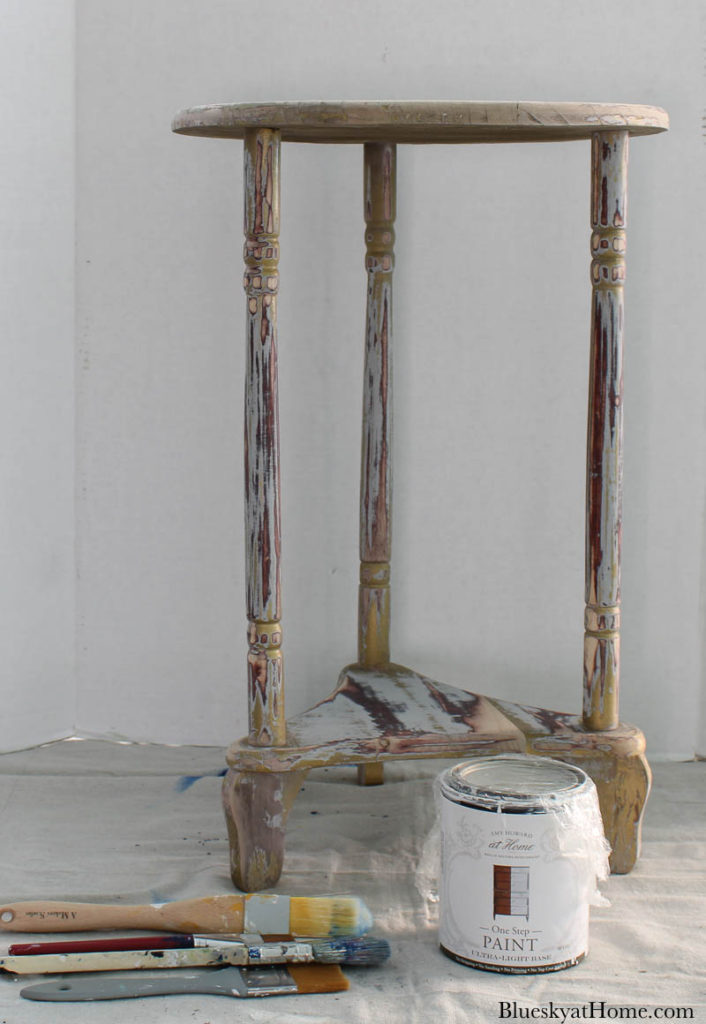
PAINTING THE BASE OF THE TABLE
I decided to get my old table a fresh look with a two~tone style.
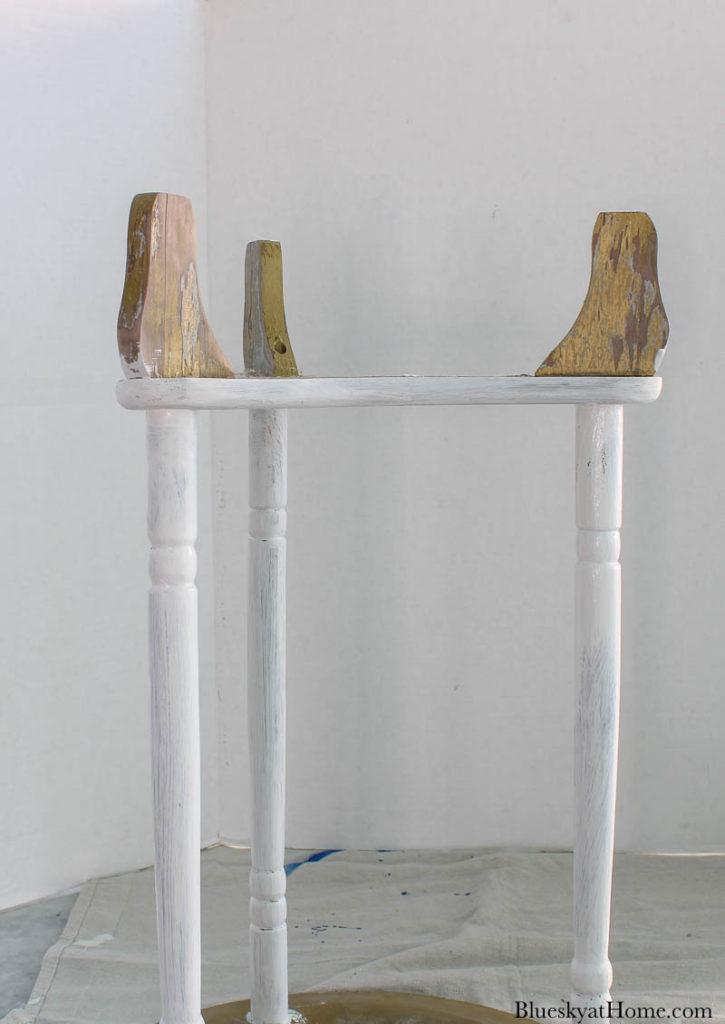
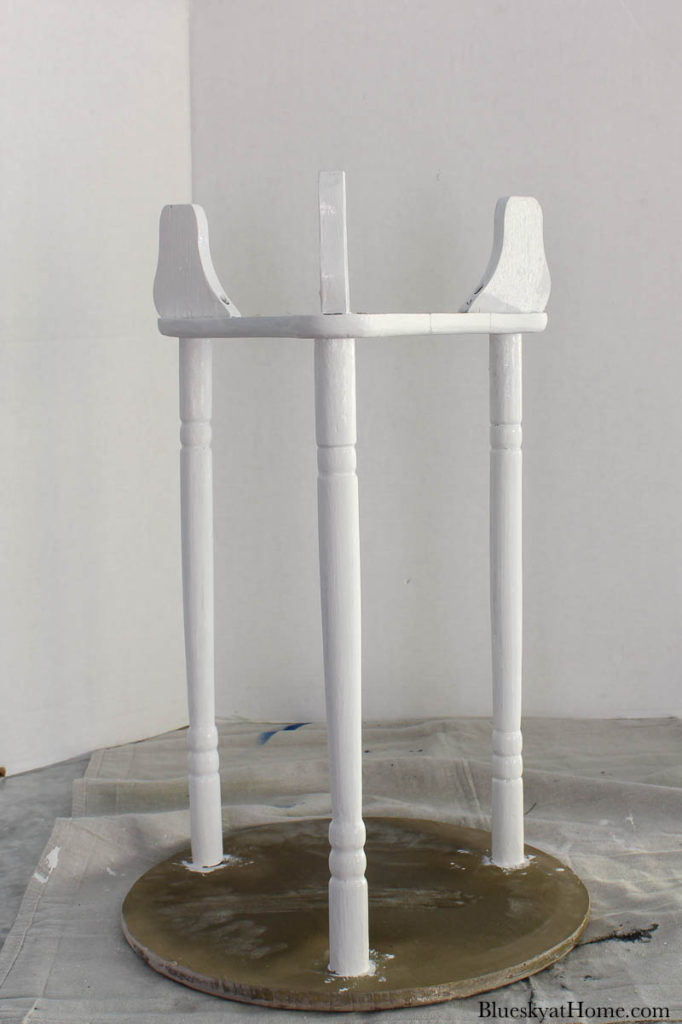
I first painted the base and the legs with One Step Paint from Amy Howard at Home. This is my go~to furniture repurposing paint.
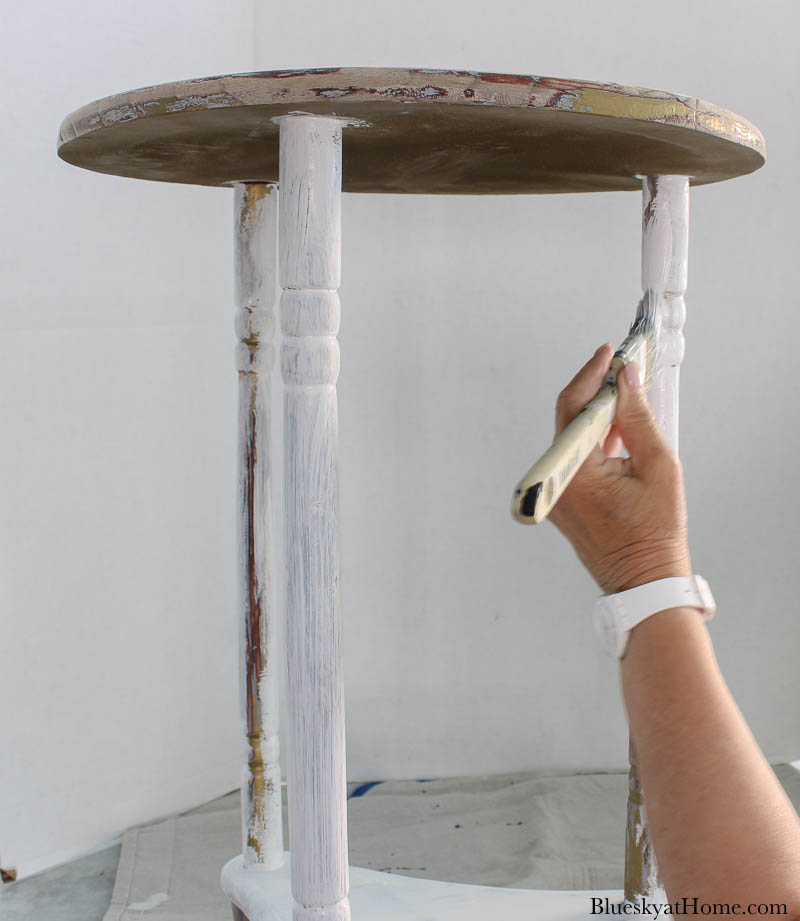
To mimic the look of our kitchen console table that I did last summer, I again used Bauhaus Buff, a beautiful white.
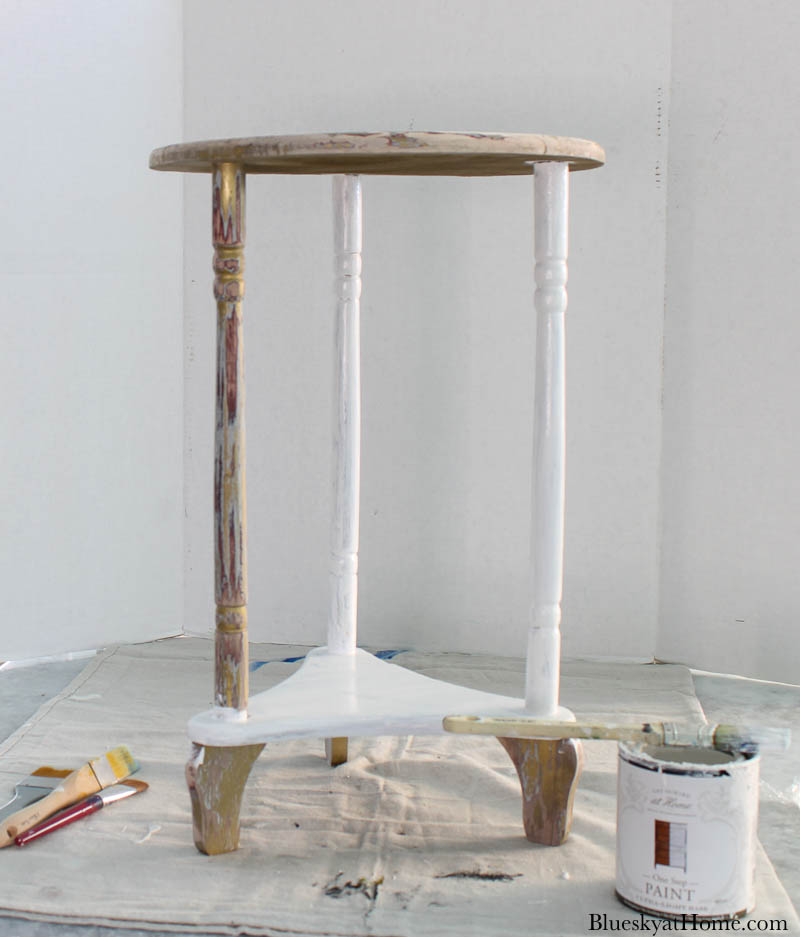
First, I applied one coat of the Bauhaus Buff and allowed it to dry about 30 minutes. Then I applied the second coat and allowed it to dry.
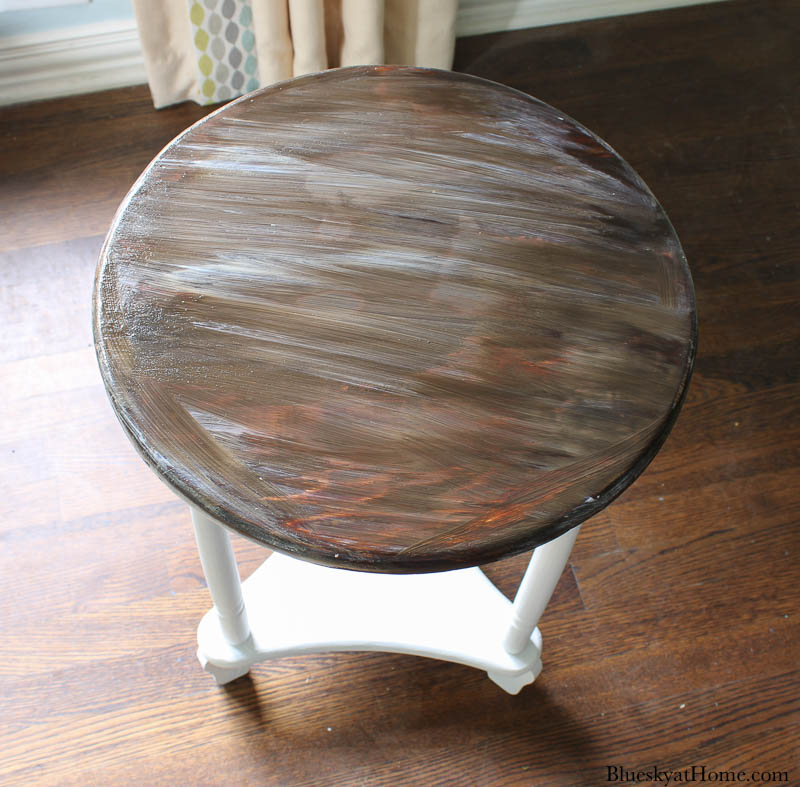
STAINING THE TOP OF THE TABLE
To get the same look as the kitchen console table, I stained the top of the table. I really love the contrast of the white paint and the dark stain.
Once again, I used Gel Stain from A Makers’ Studio. This water~based stain is so easy to use, it has no odor, and gives great coverage. I love that you can easily wash your brushes with soap and water.
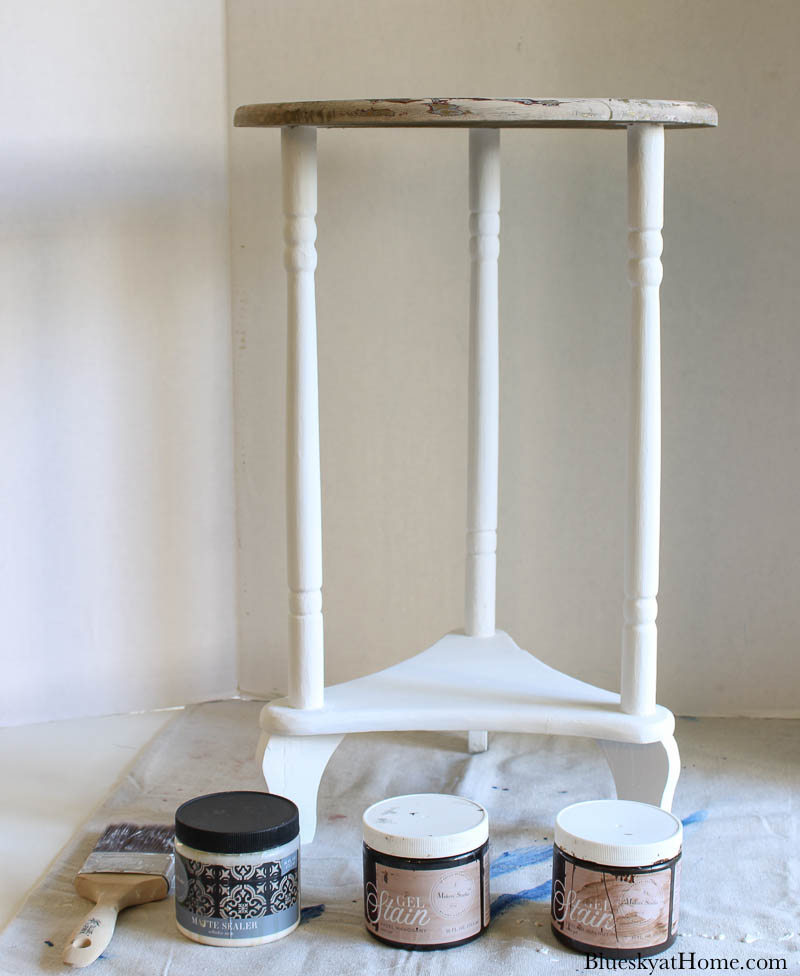
The color I chose is English Walnut, a rich dark brown. I previously used this stain on my patio tables a few years ago.
I used Hazel Mahogany to stain our front door last year. It is still holding up beautifully.
Just like the paint, I applied two coats of the Gel Stain.
Remember that saying? You can paint over stain, but you can’t stain over paint.
Although I removed 90% of the previous coats of paint, in a few places on the edge of the tabletop, some of the gold paint remained. It actually gave the edge some character.
To make sure I didn’t dribble any stain on the table base, I covered it with an old beach towel.
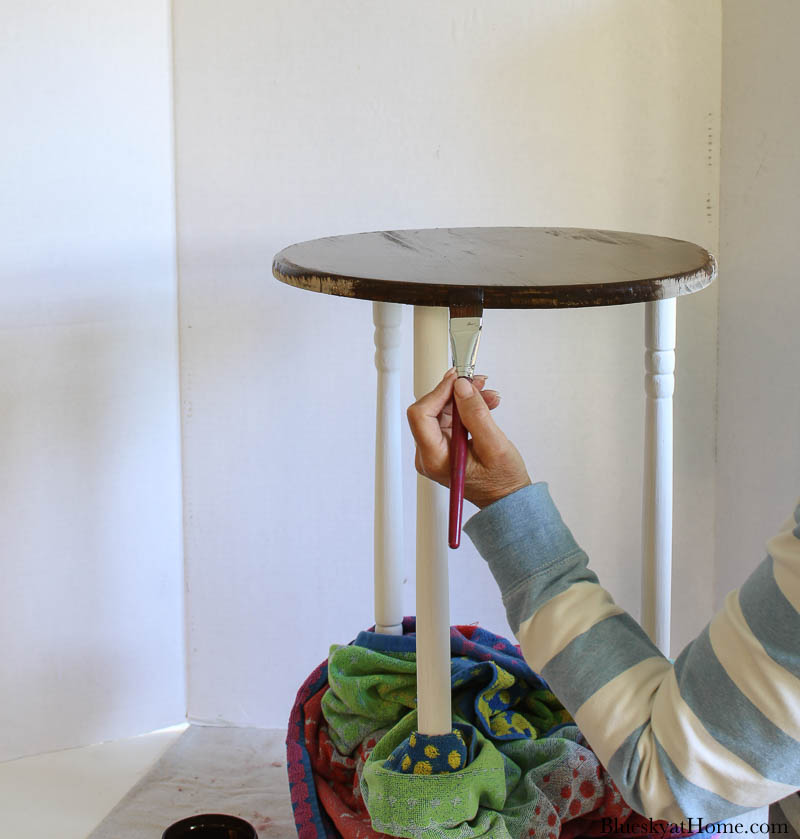
Gel stain takes longer to dry than paint, depending on the weather and what you are staining. I let both coats of Gel Stain dry for a few hours.
The very last step of repurposing this old table was adding a coat of Matte Sealer. I love this sealer because it is water~based, has no odor and is easy to apply.
As you brush it on with a paint brush, it goes on white. As it dries, it turns clear.
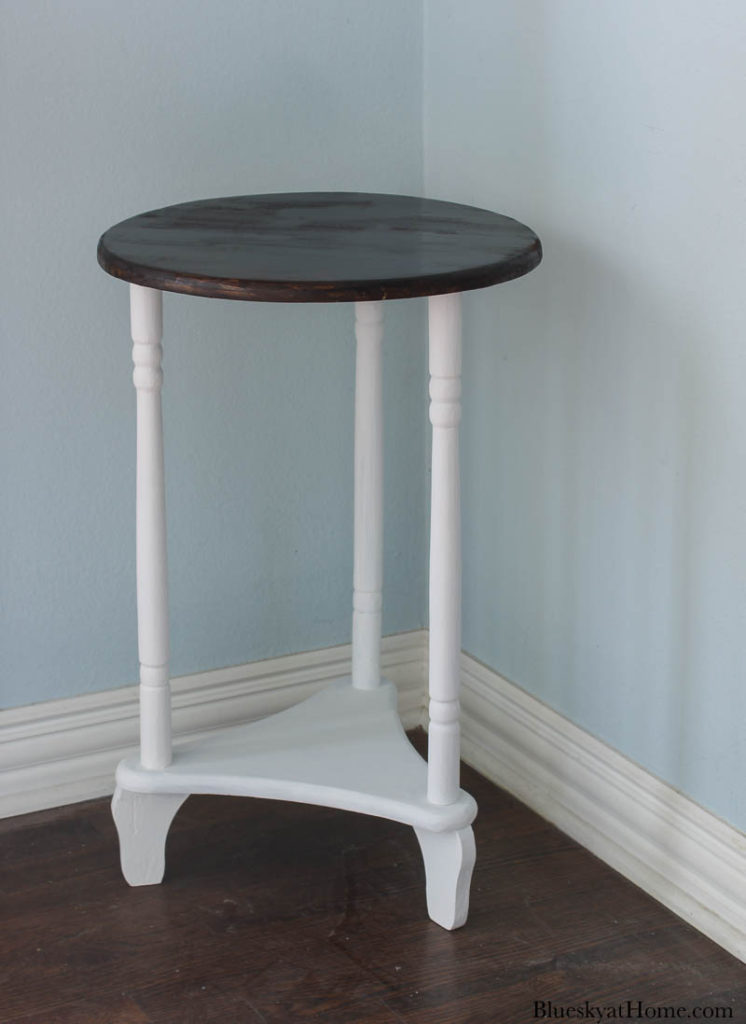
DISPLAYING THE FINISHED REPURPOSED OLD TABLE
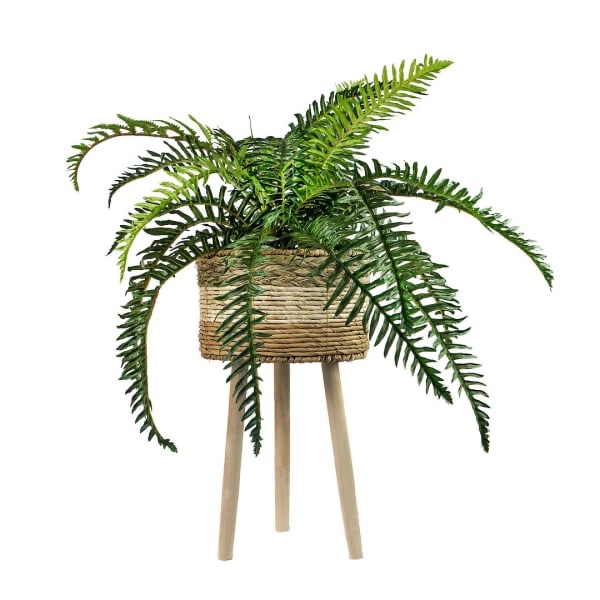
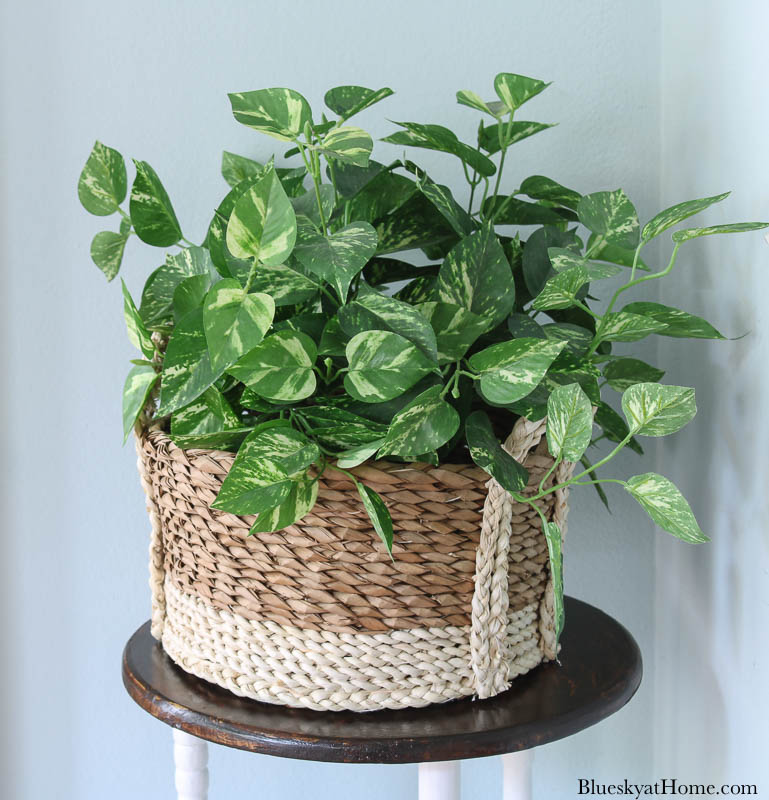
I love how this old table turned out. It looks fresh, crisp, and goes well with our floors and trim. It fits the corner perfectly.
In addition to the woven basket, it obviously needs a plant to become a plant stand.
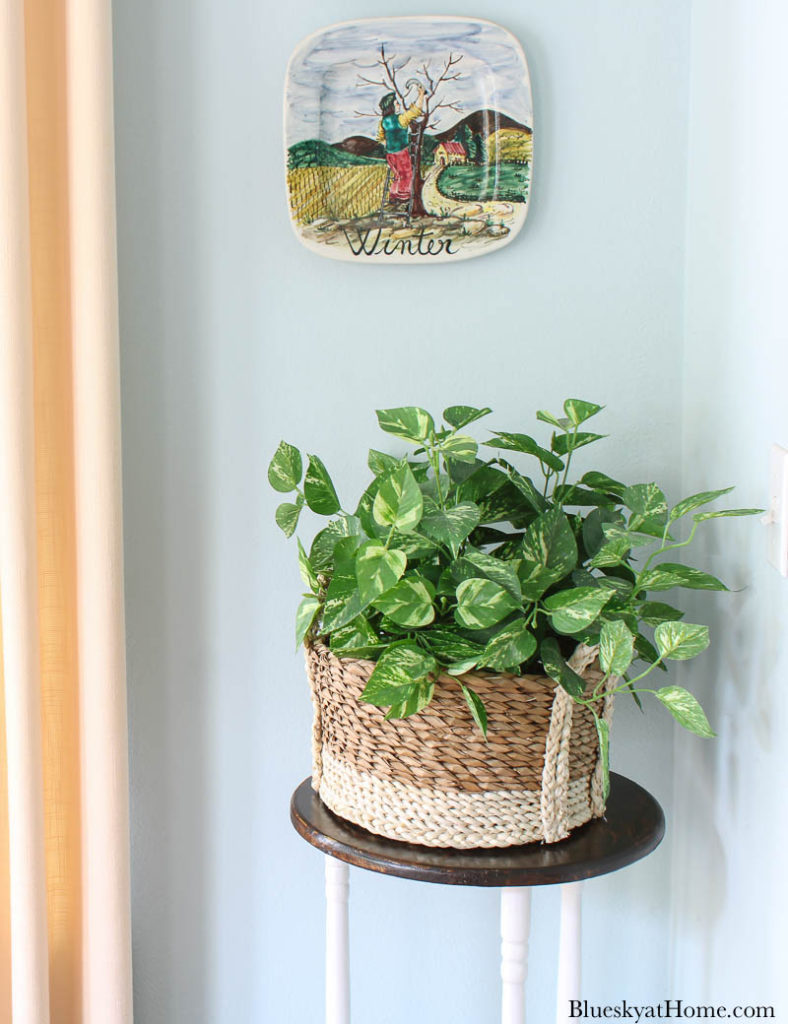
Eventually, we would like to have a real plant in this corner. For now, I’m using this large pot of faux pothos that I bought last February (right before Covid) at an estate sale in our neighborhood. I’ve used it in several places.
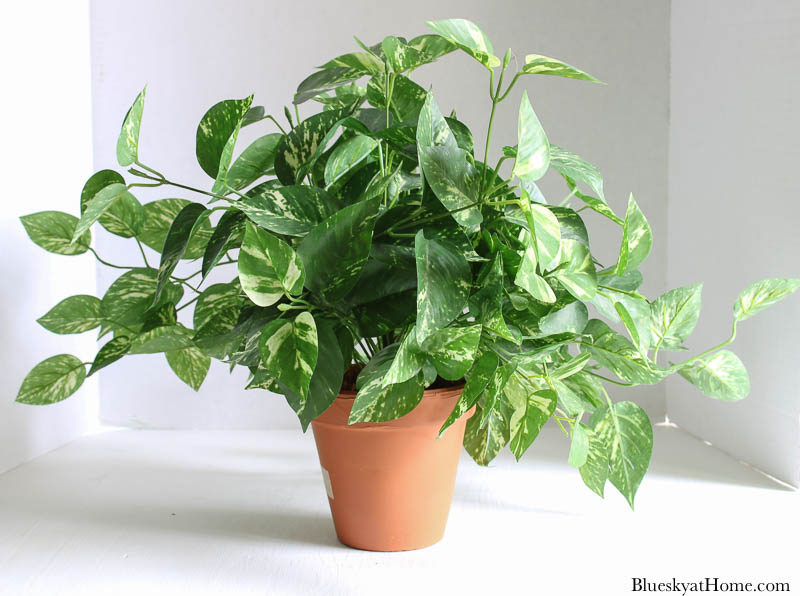
It nicely fills the basket and gives the corner the pop of natural green color it needed.
The basket fits the repurposed old table ~ plant stand ~ just right.
Why am I so pleased with this repurposing project?
- We were able to fill an empty spot in our breakfast room.
- I was able to reuse and repurpose an old table ~ one that had been lost and now was found!
- All the supplies and tools I needed were on hand ~ sander, brushes, rags, paint, stain, and sealer
- I found a great basket in shape, size and finish that fit the table; even better it was on sale for 50% off ~ $24.99 for $12.50.
I can’t decide whether or not I should add something on the bottom shelf of the table. What do you think? Any ideas?
Whether you just happen to have an old table on hand or you search for one at a flea market or garage sale, I hope that I have shown you how easy it is to repurpose an old table. If you use yours as a plant stand, that’s great. But a little table like this one can be used in so many different settings.
Inspiration is everywhere. Let’s use our imaginations to make the old new again.
I hope you will PIN this idea for yourself and others.

Now it’s time to take a look at the other great DIY projects my friends have to share today. I can’t wait to see all the ideas.

DIY Abstract Art
Needle Felted Duck
Creating a Customized Pillow Cover With the Cricut
Creations Flowering Tea Cup Centerpiece
Easy and Beautiful Bottle Painting
Wood Art Gift Cards For Mother’s Day
Upcycled Spring Door Basket
Repurposed Old Table
DIY Mother’s Day Plaque
DIY Bee Happy Wreath
Making a Tissue Paper Garland with Tassels
Painting a Vintage Hutch
Pottery Barn Inspired Faux Textured Clay Vase DIY


Great job!! At first I thought you were going to keep the table upside down and use the legs as an insert to place the basket in. Thanks for the ideas you share!!
Oh, that’s funny Mona. Maybe I’ll try that next time. Happy to give you ideas that you can you.
You did a great job on this sweet little table Carol!! It’s the perfect plant stand! Thanks for sharing!
Thanks, Cindy. Wish I had found the table sooner. Love it when a project is so easy, but provides a lot of value. Happy painting.
Beautiful upcycle. I am kicking myself for not picking up a similar table at a thrift store last week for the same purpose. Thanks for sharing such great inspiration and the motivation to go back and get it. #HomeMattersParty
Donna, thanks for the positive feedback. I’ve kicked myself too for not buying something at an estate sale or flea market.
Carol, your table came out great! I love how you rediscovered your cute little table and were able to repurpose it into a beautiful plant stand. It was so much fun to hop with you! Pinned!
Carol, your table is the perfect fit for that space. It’s so wonderful when you finally find something you’ve been looking for! I love your paint and stain makeover. It looks like a new table! Even better than Pottery Barn 😉 The faux plants look authentic, too. No need for a real plant! It’s always fun hopping with you!
Enjoyed your upcycle! The two-tone adds a lot of character to it. I would put a tall, thin plant or bottle on the bottom shelf to fill in the “space.”
Kathy A, I like your idea. Right now the bottom shelf has to stay empty. I don’t trust our new puppy not to grab and chew!
These are always my kind of projects, Carol! Diamond in the rough for sure. You’ve done a great job! Love it. Thanks for sharing at Vintage Charm. xo Kathleen
Carol, Your table looks great! You really did a great job with the painting and staining, it looks perfect! Isn’t it great to be able to change something out and get great new piece from it?
It’s great to reuse something old and make it new and useful again. Hope you are doing well. Have you got your new puppy yet?
I like how it turned out– but I do not like sanding! Glad you stayed with it. All pinned.
Liberty, I don’t like sanding either, but this electric sander is amazing. I just need to not use it in the house!!
What a great idea to turn it into a plant stand. I love how it turned out and I could see one of these in my home too. Thanks for sharing.
Great repurpose, Carol! Love that basket, too! Blessings, Cecilia @My Thrift Store Addiction
Love how you gave new life your table Carol! The basket and plant and the perfect finishing touch. Happy to be hopping with you again ♥
Thank you, Mary. For being such an easy project, it turned out great.
This is a cute corner table. The new paint makes a simple table special. I really appreciate it when a blogger shares a craft that gives me fresh inspiration. I have a small table like this that I was going to give to Good Will. Now I think I will wait, and repaint it like you did.
Rachelle, yes, keep and reuse your table.
Your table turned out great. I really like the mixed finish. I have a table that is too small to be useful but this post tells me exactly what to do with it. Thanks for being in the hop.
Andrea, as I said, little table, big impact. I hope you do reuse yours and show it off!
Your plant stand looks beautiful, Carol! You did a fabulous job refinishing it! I like it better than the Pier1 stand that was your inspiration!
It looks great Carol! Isn’t is such a great feeling to repurpose something you already have, glad you finally found the table! Love the cute basket too…
Love this transformation (I’ve never been a huge fan of gold) and It fills out the corner beautifully Carol! Why don’t you add some succulents on the bottom to keep with the planter theme?