Vintage Console Table Makeover
Do you have a piece of furniture that could be reused in a new way? Here’s how a vintage console table makeover became a kitchen island with paint.
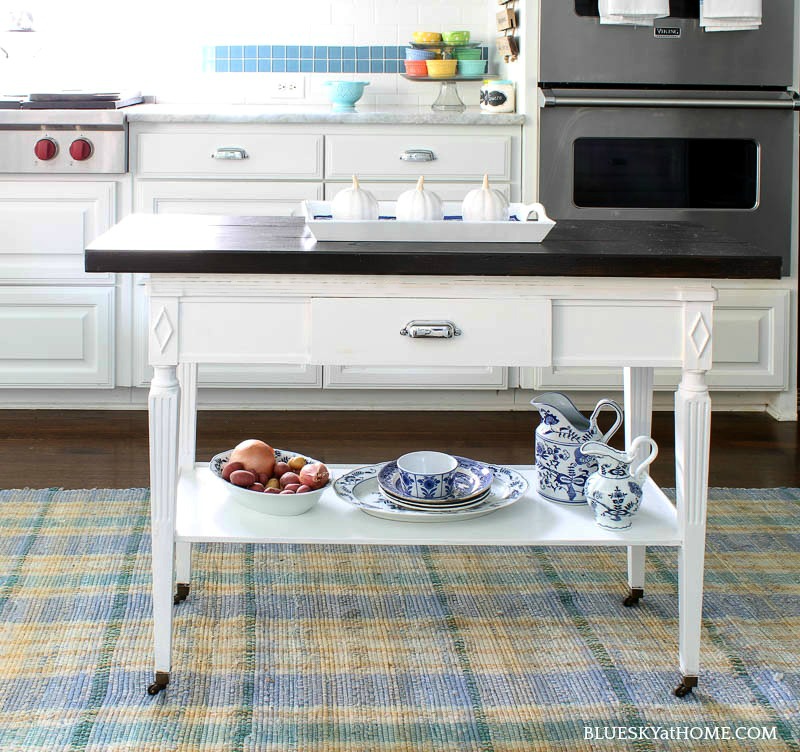
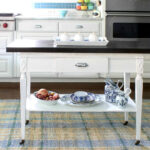
This vintage console table makeover filled a need for a small kitchen island.
At flea markets, garage sales and estate sales, or in your own home old unused furniture can be found. This furniture is ripe to be rescued and restored to a new use.
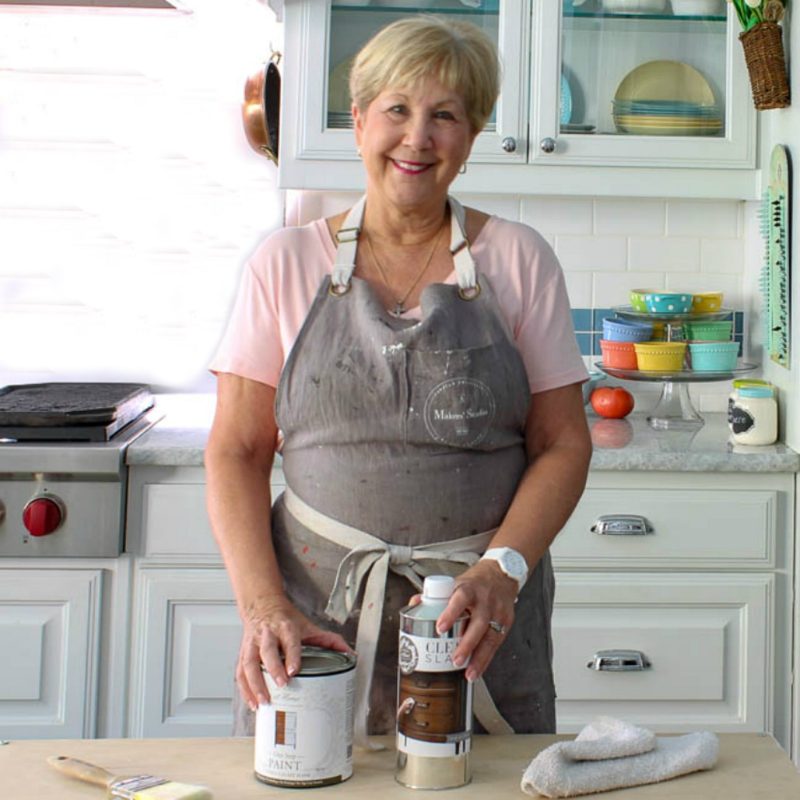
Paint is the easiest and most affordable way to transform furniture from outdated and unused to beautiful and usable. Let me show you how I used paint to makeover a vintage console table into a kitchen console that we can proudly use.

Vintage Console Table Makeover with Paint
Every piece of furniture has a story. Especially if it is a piece that you inherited from a family member.
I will be sharing my vintage console table makeover video on my Facebook page.
The Story Behind the Vintage Console Table
For a little background, this vintage console table belonged to Sweet Shark’s mother and sat unnoticed in her living room for years. When she was moving from her home to an apartment 8 years ago, we claimed this table. I knew it had potential.
For 2 years it stayed in an extra bedroom. When we moved to our present home, I decided to paint it and use it in our breakfast room.
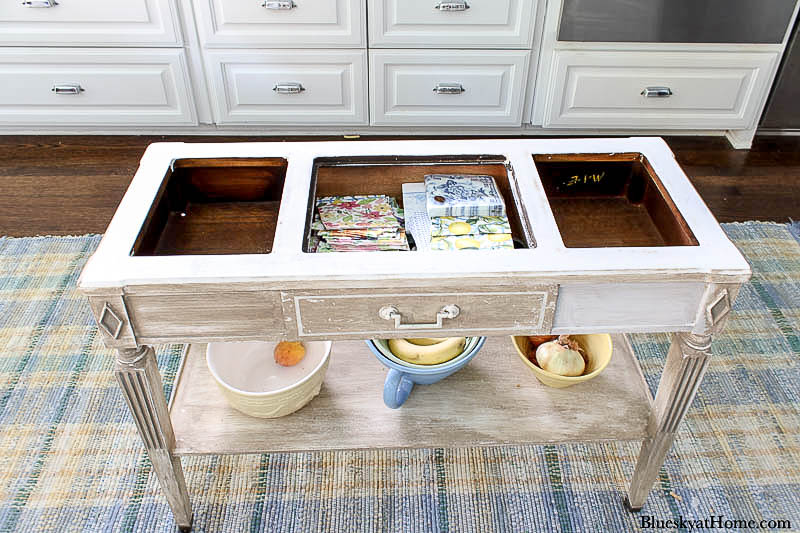
This vintage console table was originally stained a dark brown with some orange undertones. It had good style and could be a practical piece. I thought it would make a nice addition to our kitchen for extra storage and a place for accessories.
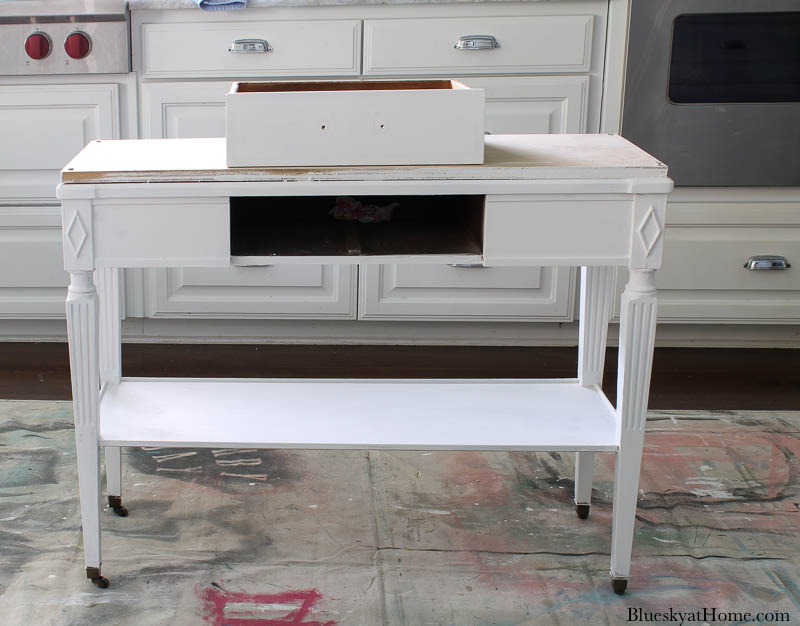
As you can see, the table had 3 sections: the center one had a piece of marble in it and the outer 2 had metal containers for faux flowers. We wanted to remove those.
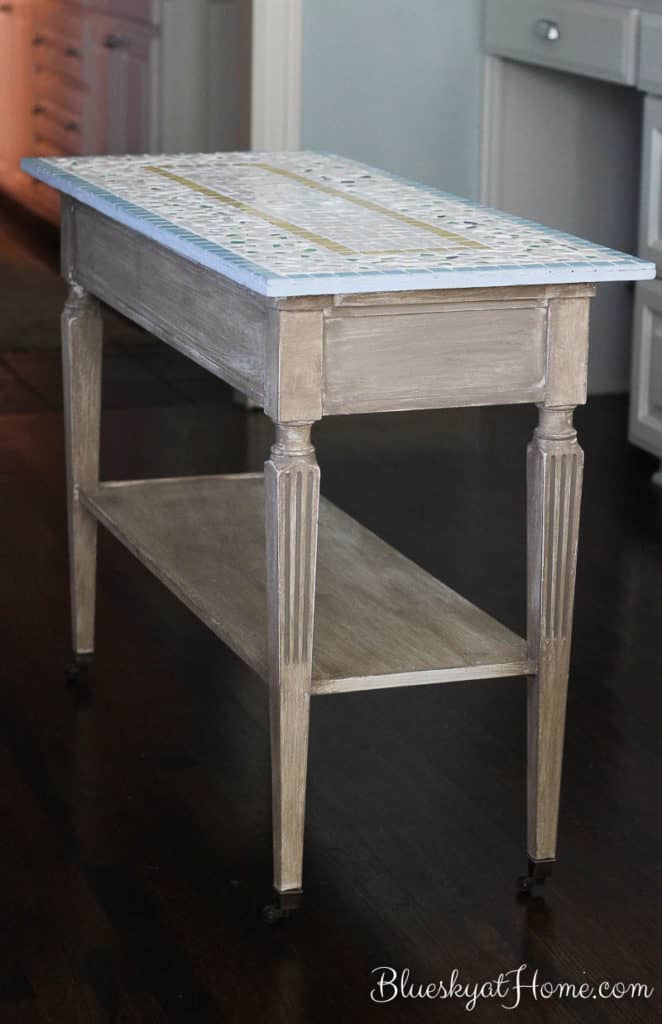
Originally, I used chalk paint in a light brown color to paint the table. I even made a mosaic top for it. I knew that look wasn’t the best for our kitchen.
New Look for the Vintage Console Table Makeover
Two years ago, I knew it was time to give this table a makeover that would reflect the style of our kitchen. I even asked readers for help on the blog.
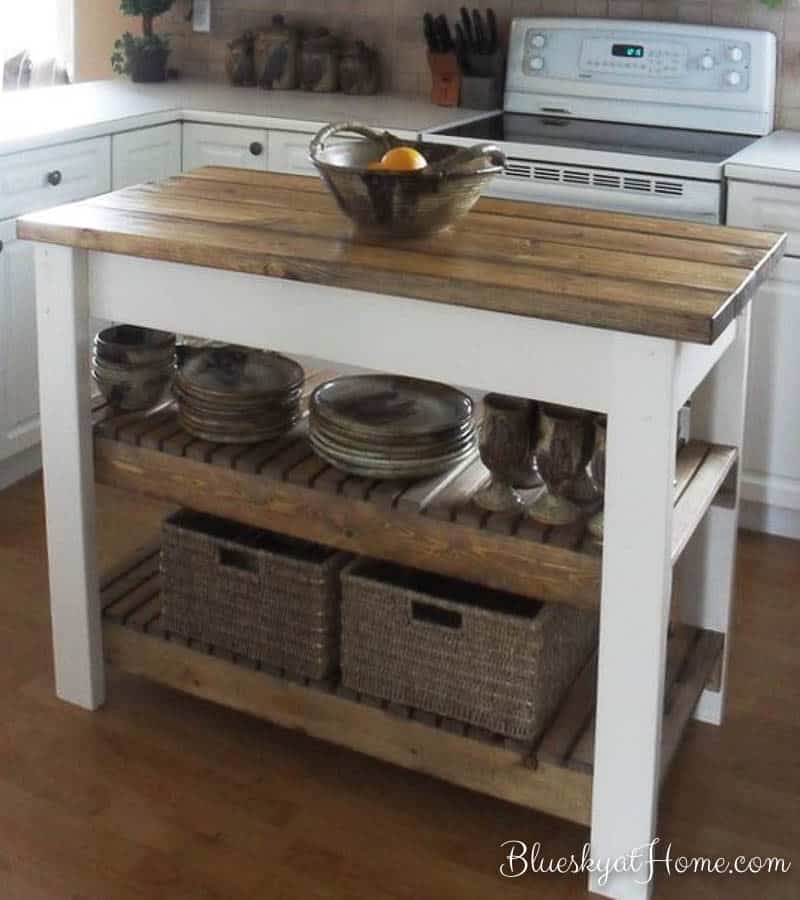
Because our kitchen cabinets are white, I wanted the table to have that same look. A dark stained wood top would reflect our hardwood floors. This was the inspiration piece I decided on.
Preparing the Console Table for a Makeover
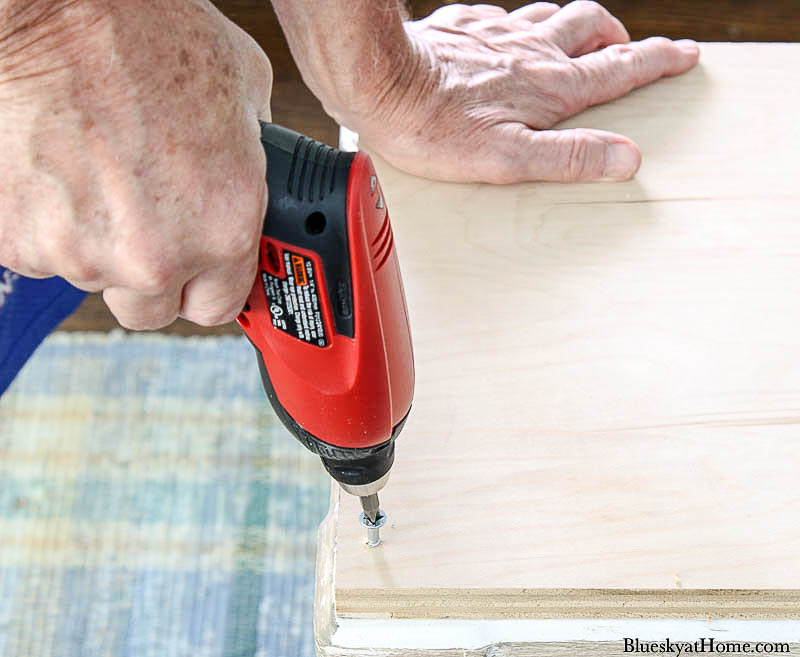
Before beginning to makeover our table, we added a piece of plywood cut to cover the 3 openings. Sweet Shark used screws to connect the new top. This also raised the height of the table by 3/4~inch.
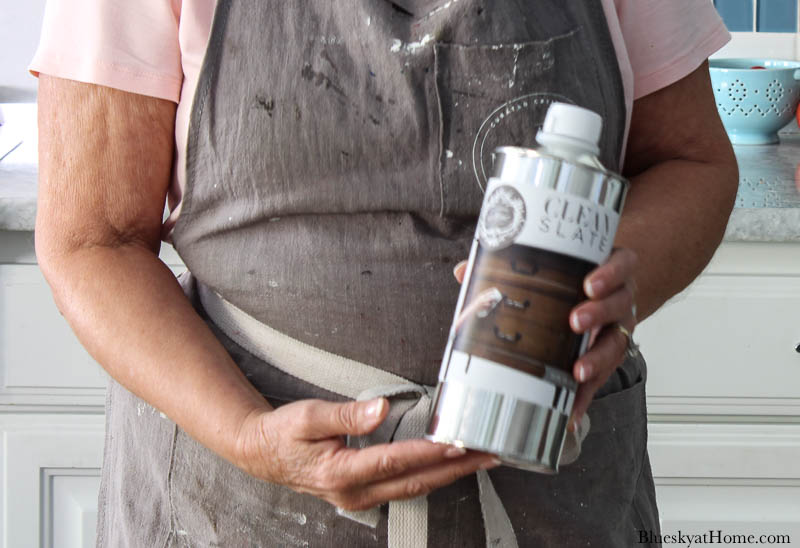
Before painting any piece of painted or stained furniture, it needs to be cleaned of all existing wax, grease, grime and dust. Otherwise, the paint will not adhere.
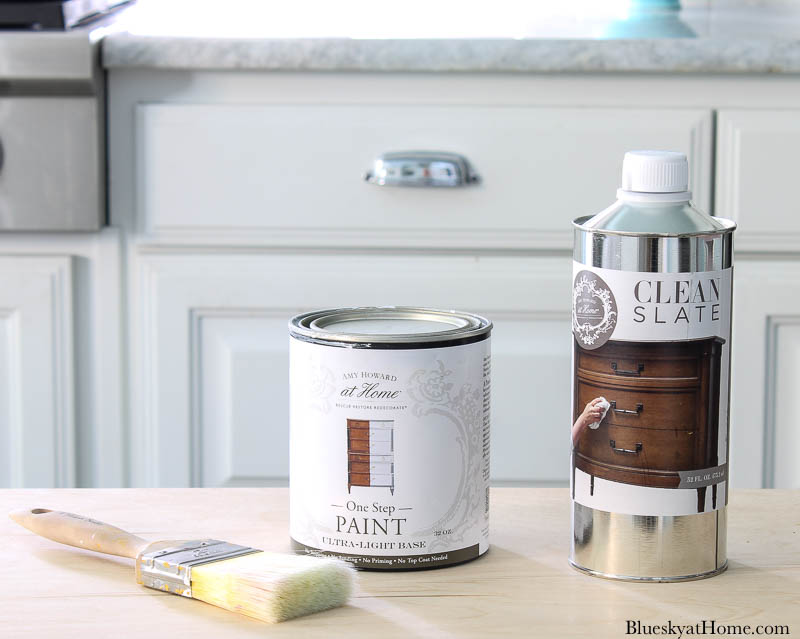
I knew the best product I could use was Clean Slate from Amy Howard at Home.
Clean Slate is applied with a clean rag in a circular motion. Turn the rag over to adsorb the grease and grime.
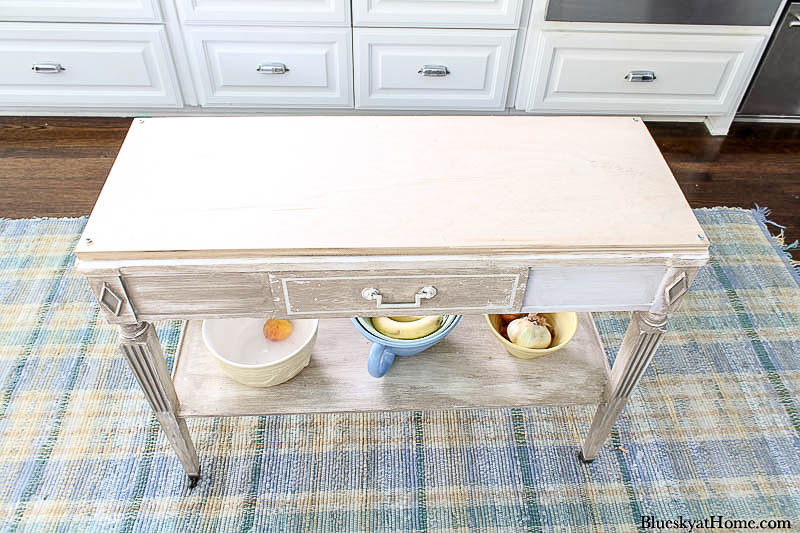
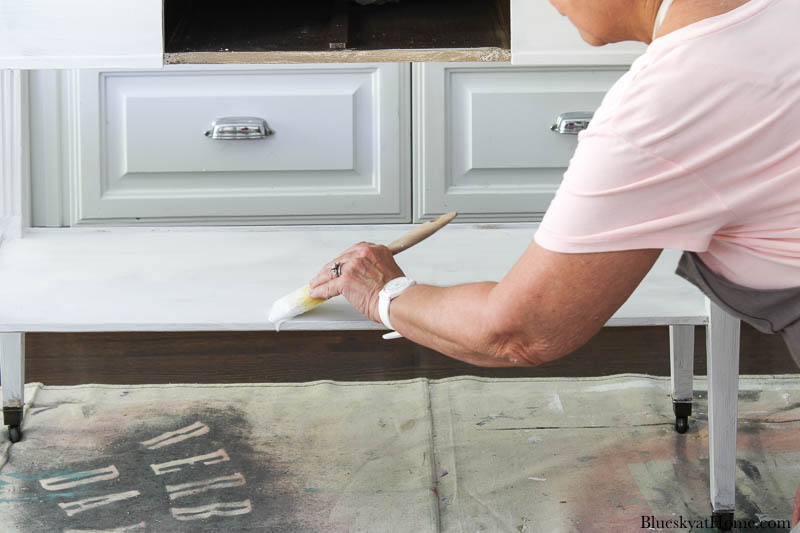
Painting the Table Base
I wanted a paint that would give the table a clean, crisp smooth finish. I used One Step Paint from Amy Howard at Home. The color is Bauhaus Buff, which I have used before. It has no odor, VOCs and cleans easily with soap and water.
This paint goes on so easily and has wonderful coverage. I applied 2 coats, allowing the first coat to dry about 30 minutes.
Waxing the Table
The shelf and drawer front of the console table get daily use, so I wanted to protect it. The best way is to apply a wax sealer. I love Mind Your Own Beeswax from Amy Howard at Home.
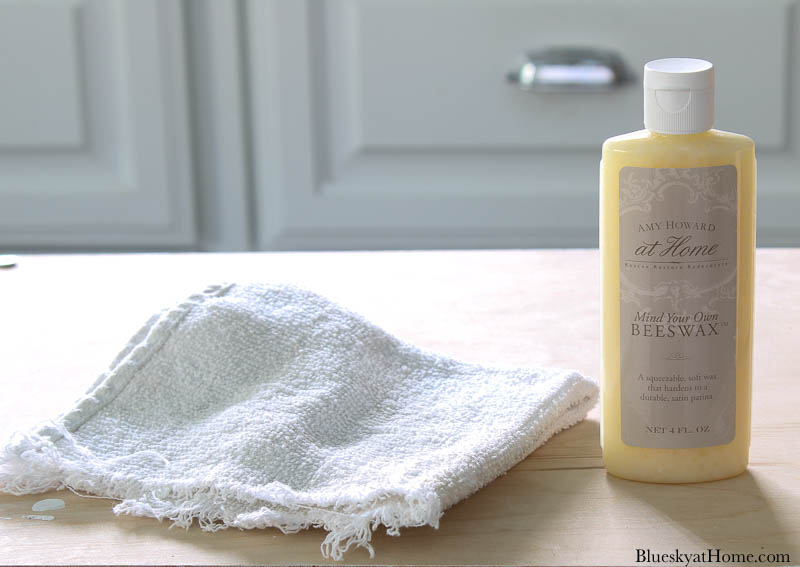
This wax is so easy to apply. It squeezes out and has the consistency of very soft butter. You apply it with a clean lint-free rag in a circular motion.
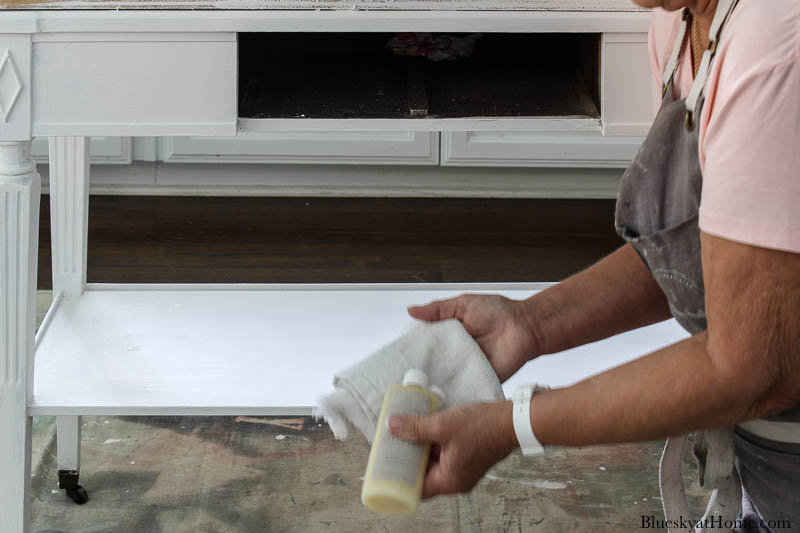
After you apply the wax, allow the wax to dry for a few hours. Then you can buff the furniture. You will have a beautiful satin patina.
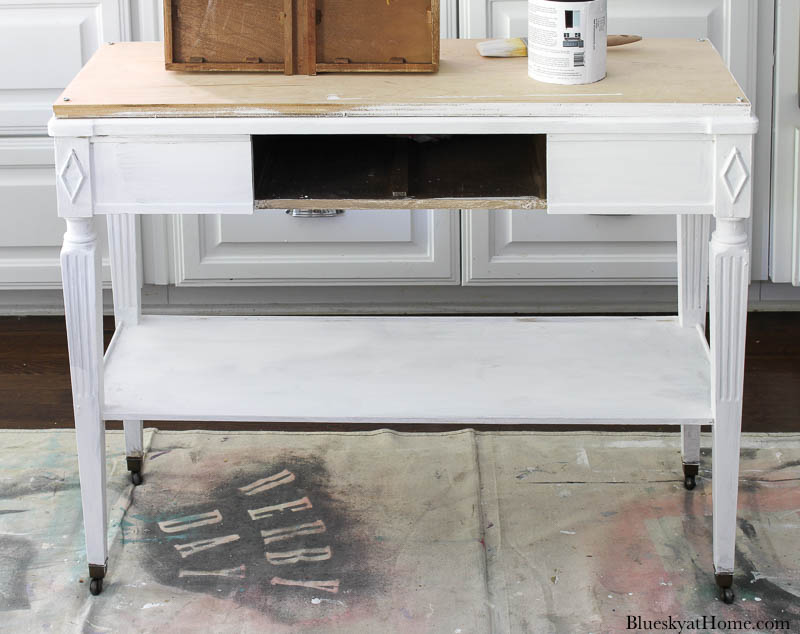
The New Top for the Console Table
This step started 2 years ago. To get the same dark-stained wood look of the inspiration island, I first measured the length I wanted for the tabletop. I wanted the top to be longer than the table for more surface area so the length was 44 inches.
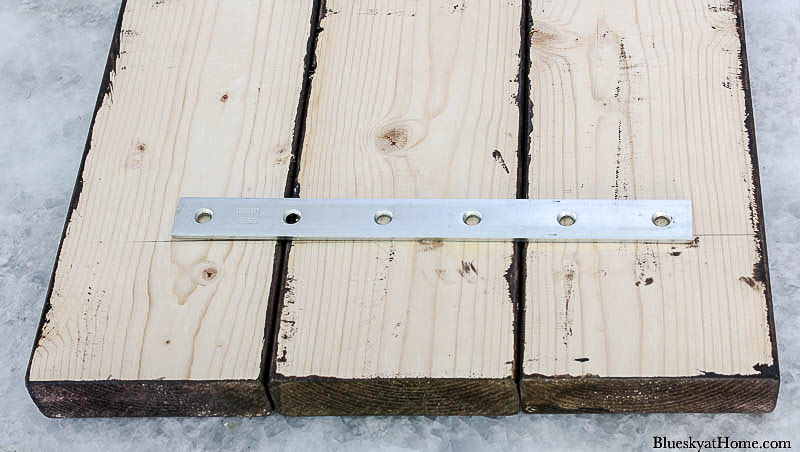
I purchased 2-inch by 6-inch finished pine at Lowe’s. The nice people at Lowe’s cut the wood for me. The 3 pieces of pine would give me a width of 16 inches for the top.
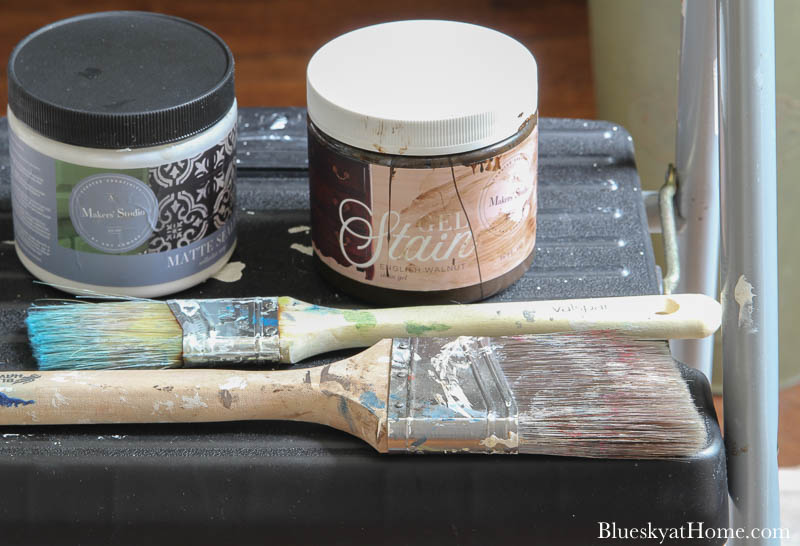
To stain the top, I used Gel Stain in Hazel Mahogany from A Makers’ Studio. I’ve used this product several times – on our patio tables and on our front door. It has held up beautifully even outside in the elements.
I love the fact that it is water-based, has no VOCs, and is so easy to apply.
Gel Stain is applied easily with a paintbrush. I used one coat. For two years, the three pieces of pine just sat on the top of the table. In July, we attached the 3 pieces of pine together.
We marked the ends of the pine to fit the table with a pencil. Then we attached them using 12-inch pieces of metal.
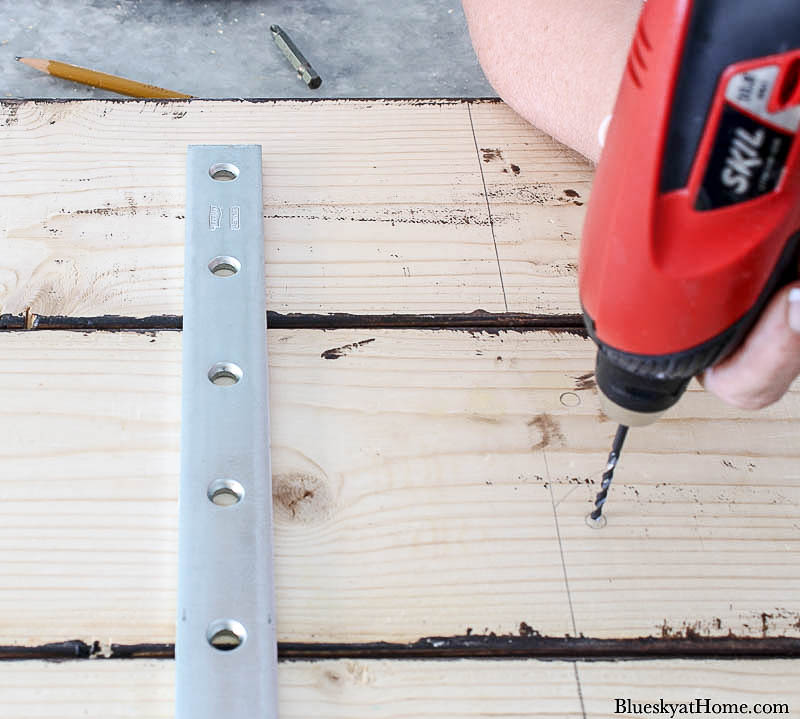
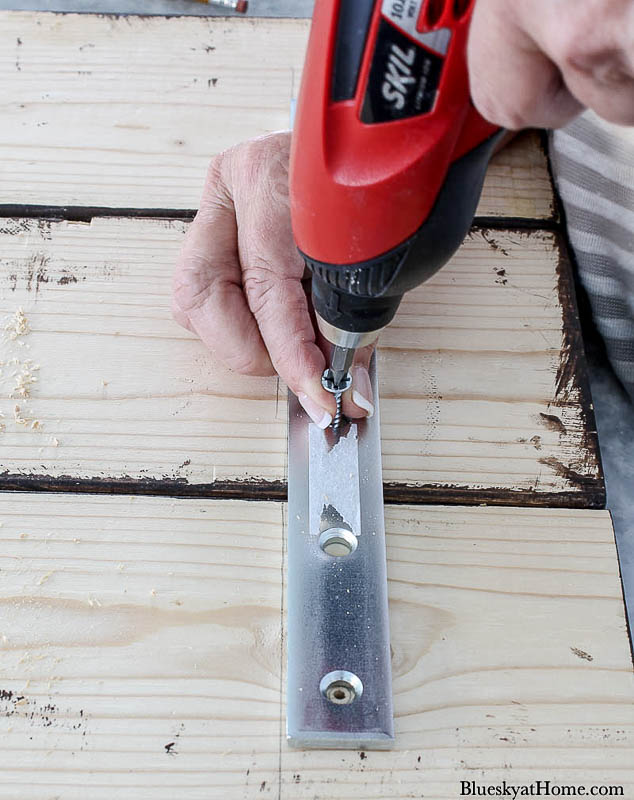
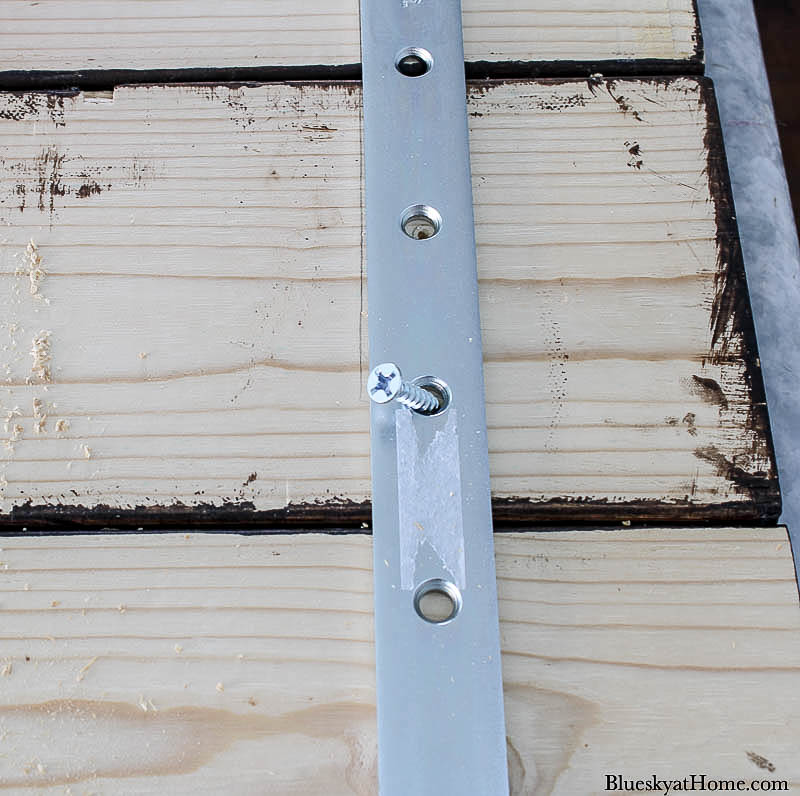

All we had to do was turn the table top over and set it on the table base. It fit perfectly and was very secure.
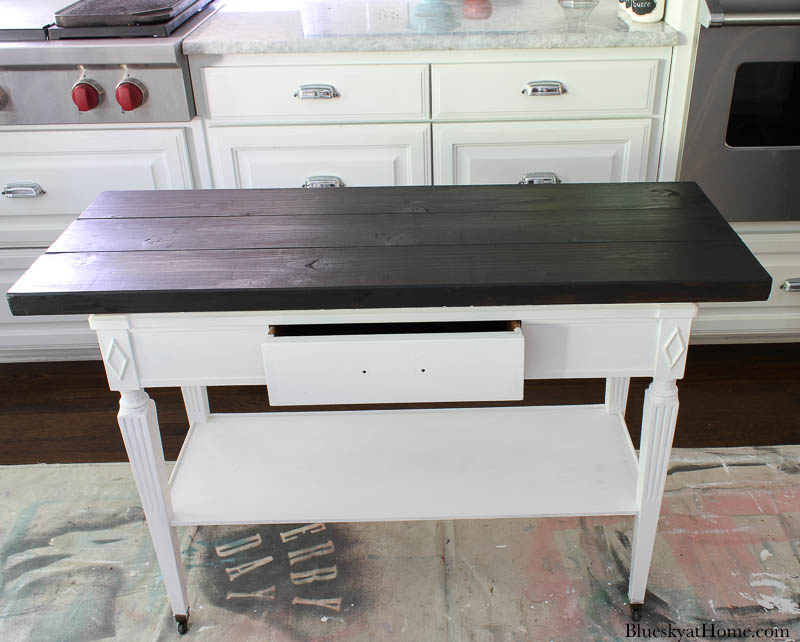
Now I could give the tabletop a second coat of Gel Stain – 2 years after the first coat! Once the Gel Stain was dry – a few hours – I added the finishing touch for this vintage console take makeover.
To seal and protect the stained tabletop, I applied two coats of Matte Sealer by A Makers’ Studio. This water-based sealer goes on with a milky look but dries clear. It provides a durable water seal. (Our patio tables get rained on and still look beautiful.)
Finishing the Kitchen Island Makeover
Our vintage console table is now a kitchen island. On the shelf I placed several pieces of the chinoiserie I have collected.
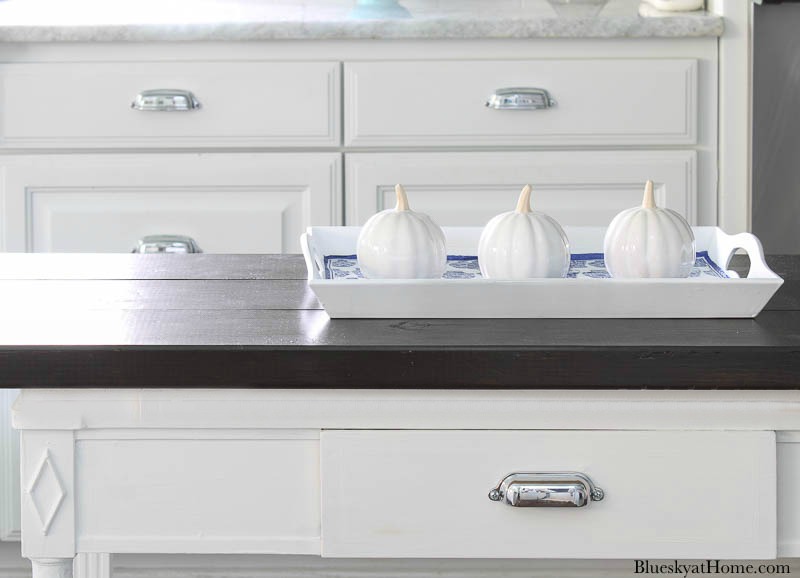
On the top, I placed the chinoiserie–design decoupage tray that I made this summer. It’s fall now so white pumpkins were the perfect accessory.
What do you think of the finished kitchen island? I love it.
The table base looks like it was custom-made to go with the kitchen cabinets. The tabletop pairs beautifully with our hardwood floors.
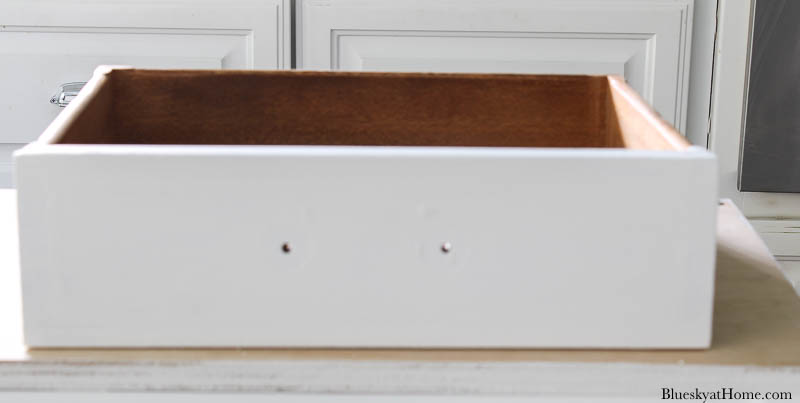
The final touch for this makeover? A new pull for the drawer to match our existing cabinet hardware. The original hardware is from Restoration Hardware, but they didn’t have the right size for the kitchen island.
I found almost the exact same cup pull in the right width ~ 3 1/2 inches – at MyKnobs.com.
To say that I am happy with this vintage console table transformation into a kitchen island is an understatement.
And then please PIN this project for your paint toolbox.


I LOVE this project…thanks for joining the Linky Party! Please be sure and join us again this Wednesday (9/23) for our next Linky Party https://bellacraftspublishing.com/creative-crafts-linky-party-8/
Thank you, Ann. I’ll definitely be back to share.
This is such a fabulous idea!!!! I love it!!! Can’t wait to hopefully find a table and do this myself!
The console table is perfect as a handy kitchen island. Love the new wood top too! Pinned
Thanks, Marie. We are loving it.
Beautiful
Hi Carol!!
I had to comment on this post because it wouldn’t allow me to comment on the one you posted about your dining room table! I have my grandmothers Queen Anne style table and I am planning to do the exact same thing you did! I LOVE your table! I just have a question about the wax…I took an Annie Sloan chalk painting class years ago. I remember waxing was the hardest part. Do you apply a thin layer? Do you not buff right afterwards? Do you wax in sections? All at once? Please advise! Your table is just amazing!! ☺️