How to Use Gel Stain to Refresh Your Furniture
Do you need to give your outdoor spaces? Have you ever used Gel Stain? I’m going to show you how to use Gel Stain to refresh your furniture and your front door.
I do love updating furniture with paint. I love updating frames and containers and planters with paint. But sometimes, paint isn’t the right look or finish for a piece of furniture, such as tables, buffets, or even a front door. I recently used Gel Stain to refresh our front door and our patio tables a refresh. The process was easy and the results turned out beautifully.
Our front door was showing the effects of the sun and weather. Parts were very faded and a few spots were almost showing raw wood. This look was not a very warm and welcoming entrance to our home. The front door looked shabby ~ not a good impression for guests or the FED EX delivery person. I decided it needed a refresh. Sweet Shark suggested calling a painter, but I knew I could do a great job myself with the right product.

I hope you like the results and will be inspired to use Gel Stain to refresh your furniture, tables, or your front door.
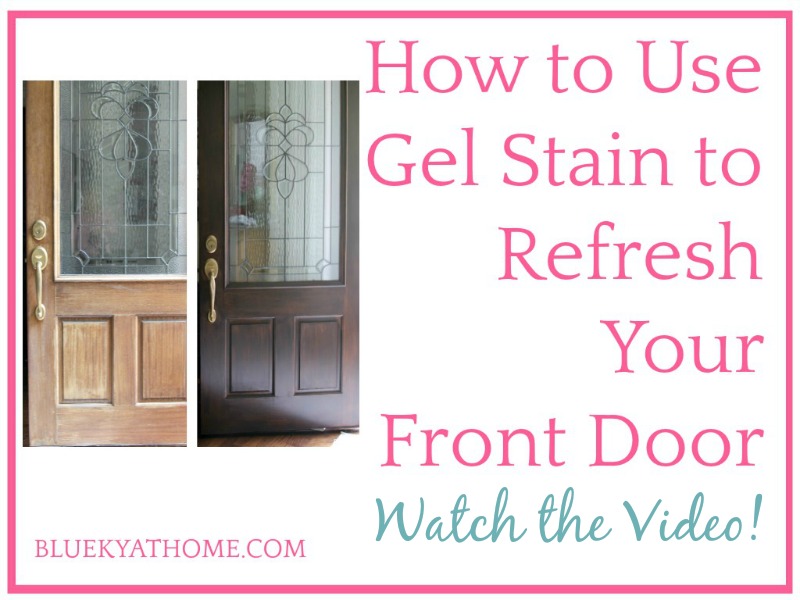
I have a new VIDEO below of the process of using Gel Stain to refresh our front door. Be sure to take a look
How to Use Gel Stain to Refresh Your Furniture
Even though I ordered the Gel Stain specifically to refresh our front door, I actually stained the patio tables first. The first weekend in May was beautiful weather, Sweet Shark was working in the backyard, and I thought it would be nice to be there too. I finished them in one afternoon.
The process I’m going to share to easily use Gel Stain to refresh your furniture is the same for any surface, whether a front door, patio tables, or indoor furniture. There are basically 3 steps, with a little tweaking, depending on your exact piece.
A Little Gel Stain Background
The first experience I had using Gel Stain was August 2018 when I made these new tabletops for 2 metal bases that we already had. I’ve never been a fan of stain ~ it’s hard to clean up and it smells.
I had just been introduced to Gel Stain from A Makers’ Studio and I decided to try it. Happily, I loved the results: easy to apply, no smell, dries quickly and pretty colors. This stain color is Hazel Mahogany.
Earlier that summer, we bought a new wood and metal patio coffee table from Wayfair. We loved the style and finish on the wood and metal.
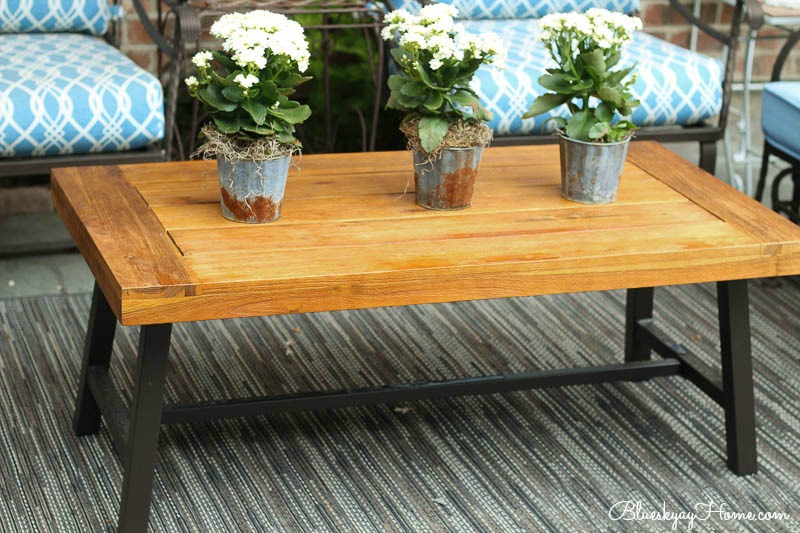
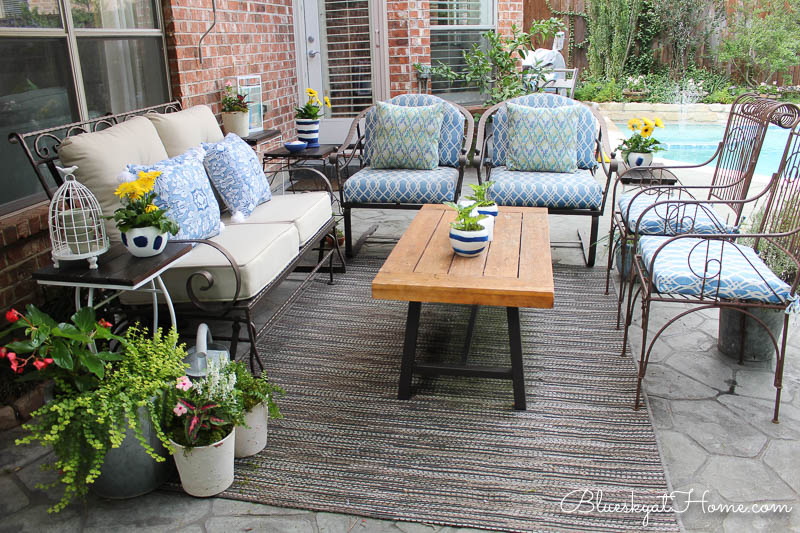
Although we have a retractable awning, our patio seating area is mostly open to the elements. By last summer, the finish on the table was definitely showing the effects of sun and rain. Here is what our patio seating area and the table looked like last year.
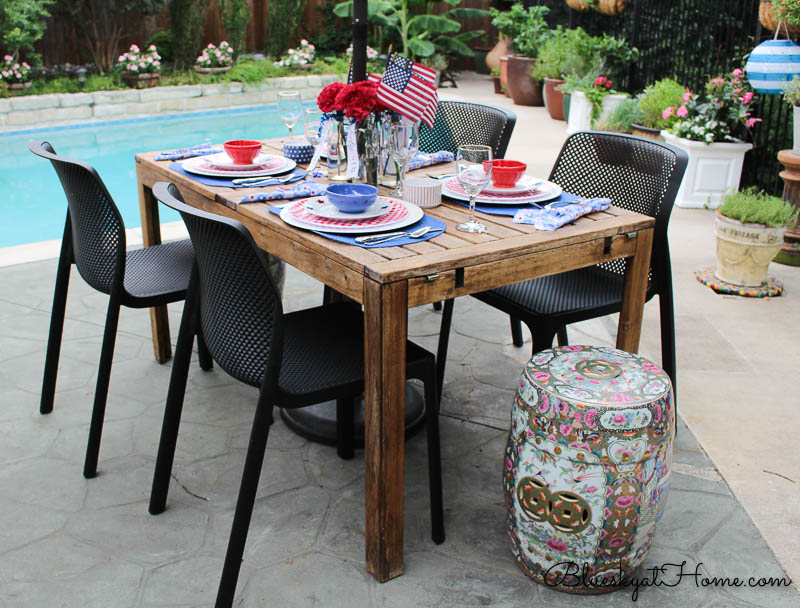
Last summer, we also found an old, dirty teak patio dining table at an estate sale. That table needed a lot of work to clean it up, but it was well worth the effort. You have to check out the post to see how awful this table was the first time I saw it.
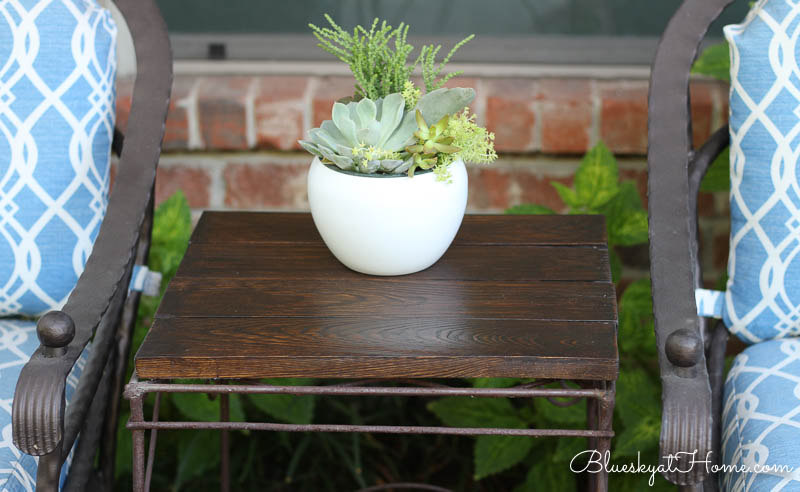
As a bonus in buying the teak table, we were able to reuse one of the leaves to make 2 new table tops for other table bases. This was one of the best rescues ever. Remaking the leftover teak into new tabletops was the second time that I used Gel Stain. Again, I was so impressed with how easy it was to apply and the great results.
Refreshing the Wood Patio Table Tops with Gel Stain
Fast forward a year. I had ordered a new Gel Stain for our front door. This color is called English Walnut. I was sure it would be as close to the original color of our front door as possible. Since I only planned to paint the outside of the door, it didn’t have to be exact.
As I said earlier, I was in the backyard with Sweet Shark and since the patio coffee table was looking really faded, I decided to try the English Walnut Gel Stain on it.
I said there were 3 steps to refreshing furniture with Gel Stain.
Step 1 ~ Clean the Surface
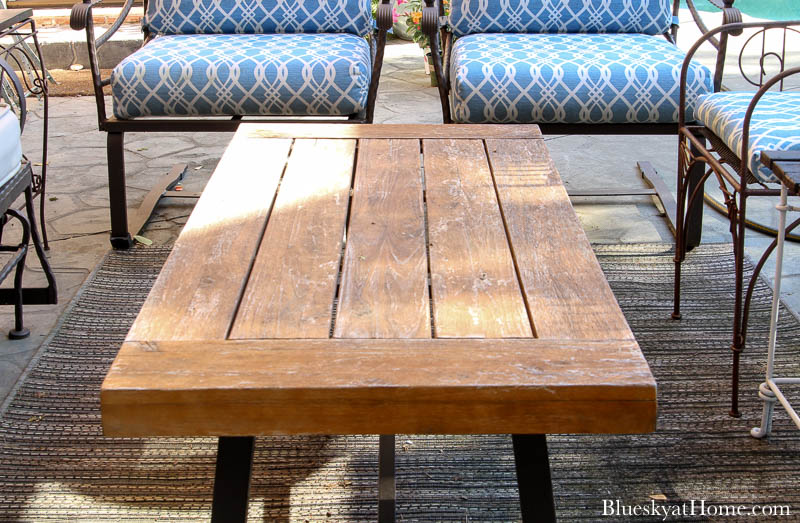
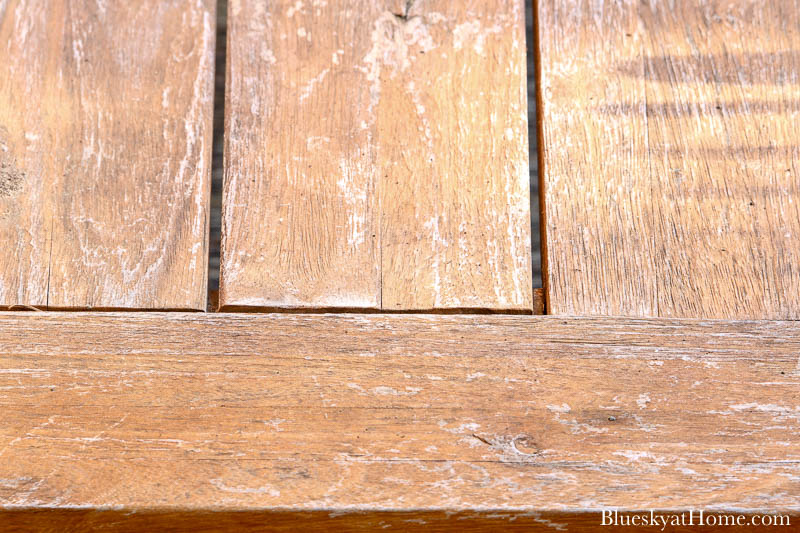
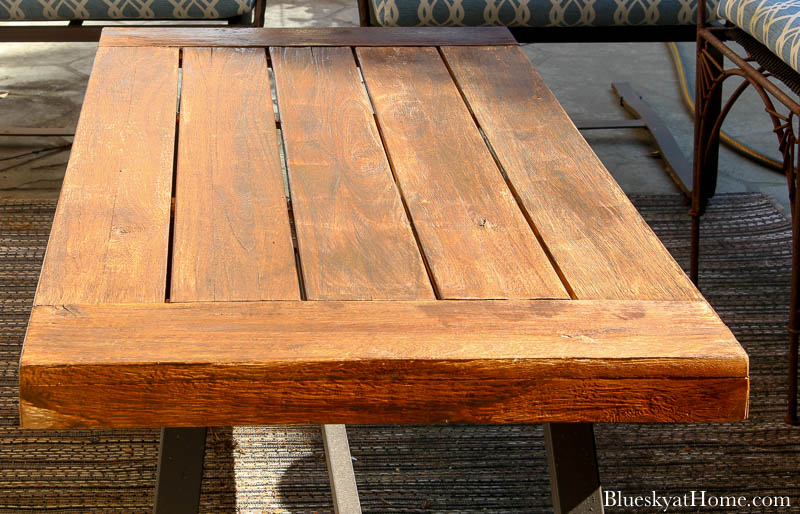
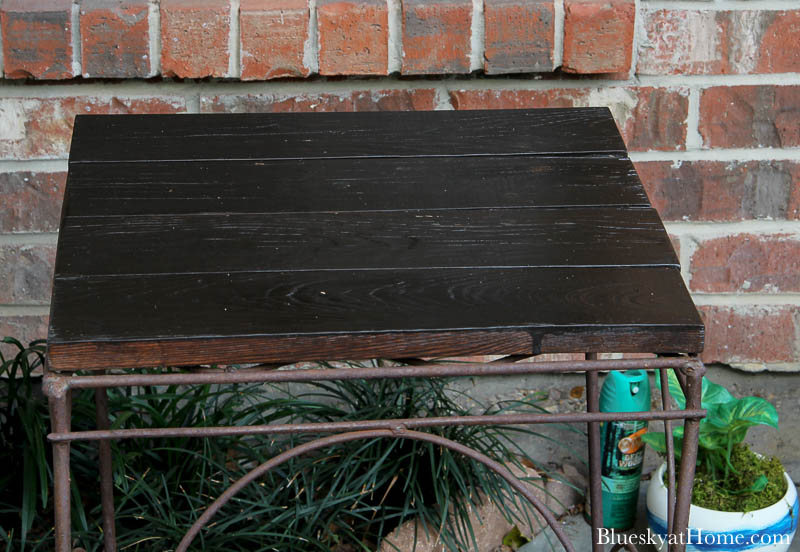
Here is the coffee table right before I started the process of using Gel Stain to refresh the table. I know the sun is making shadows, but I think you can see how weathered the surface was. Besides not looking good, the wood was not being protected from the elements.
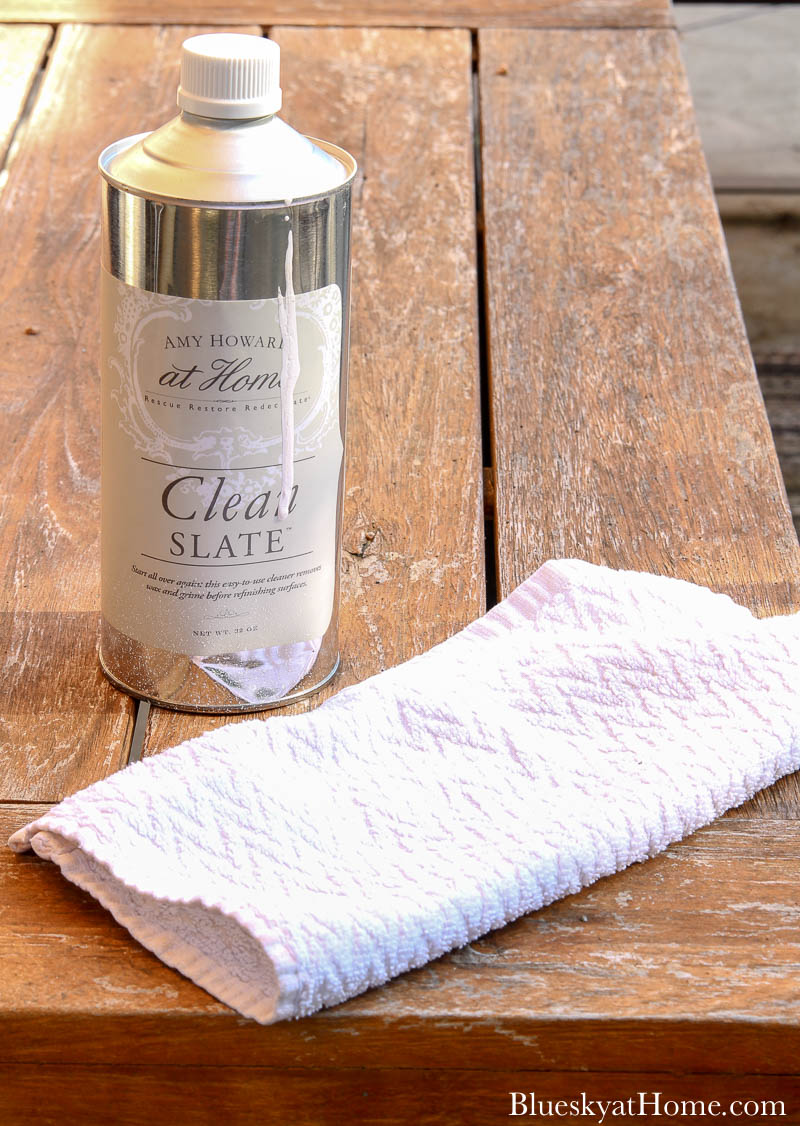
One of the best furniture cleaners I have found is Clean Slate from Amy Howard at Home. It removes dirt, grime, oils, and wax from furniture surfaces. It’s even great for cleaning your kitchen cabinets. Unlike regular furniture polishes, it doesn’t create a filmy residue that attracts dirt and dust.
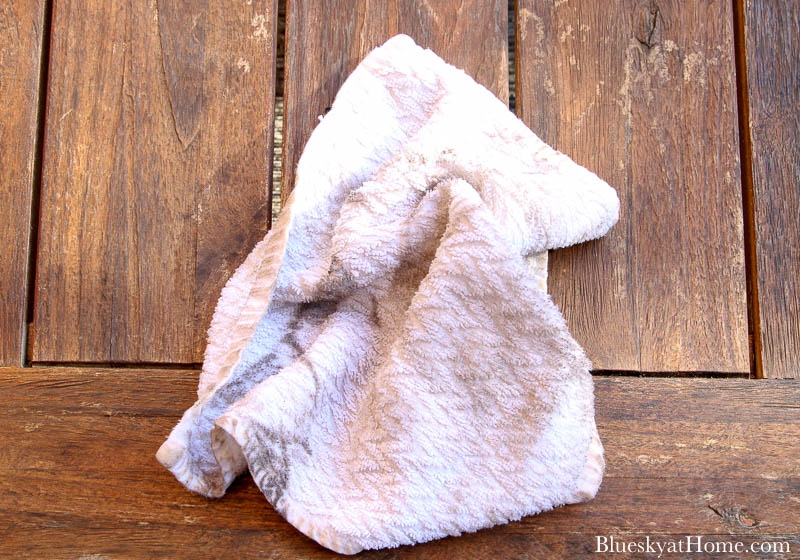
Saturate a cleaning rag with the Clean Slate and rub over the surface of the furniture, turning the side of the rag to pick up the grime.
The color of the furniture may darken temporarily from the Clean Slate. Let it dry for 15 minutes. Then you are ready to stain.
Step 2 ~ Apply the Gel Stain
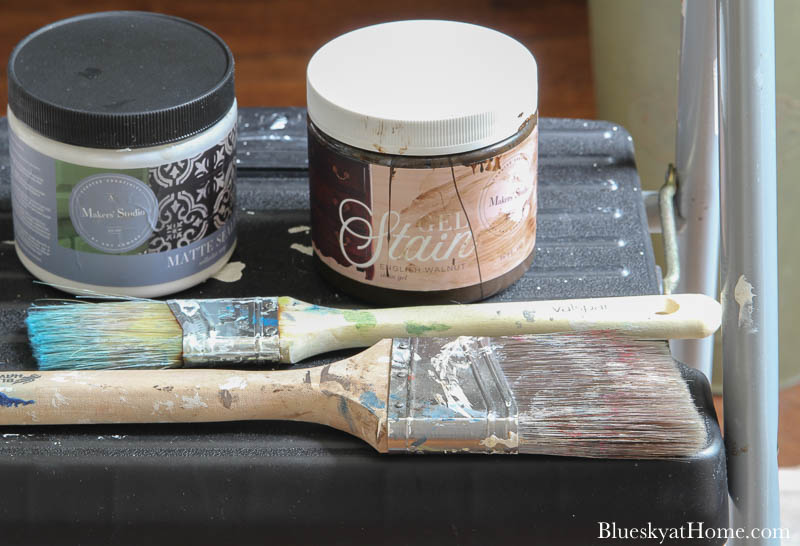
English Walnut is a beautiful deep brown. It reminds me of chocolate sauce. You should gently stir it.
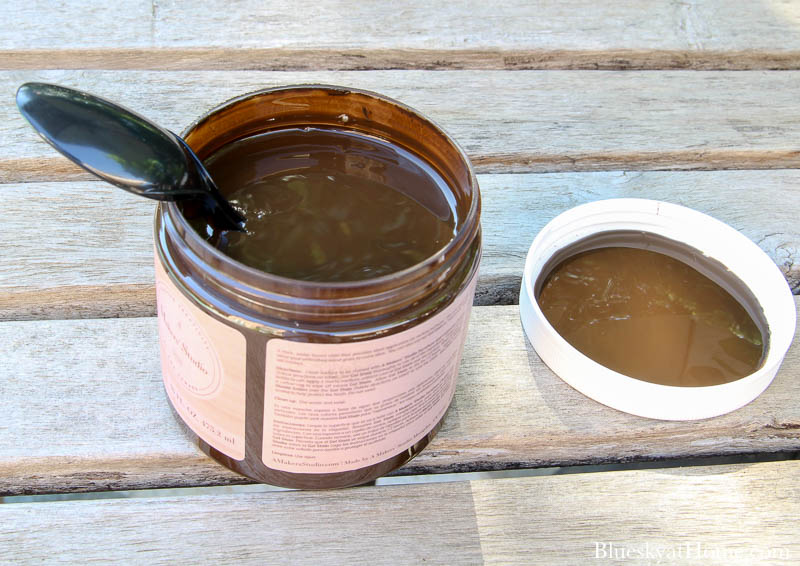
I used a wide chip brush to apply the Gel Stain. You will find that it goes on smoothly and evenly.
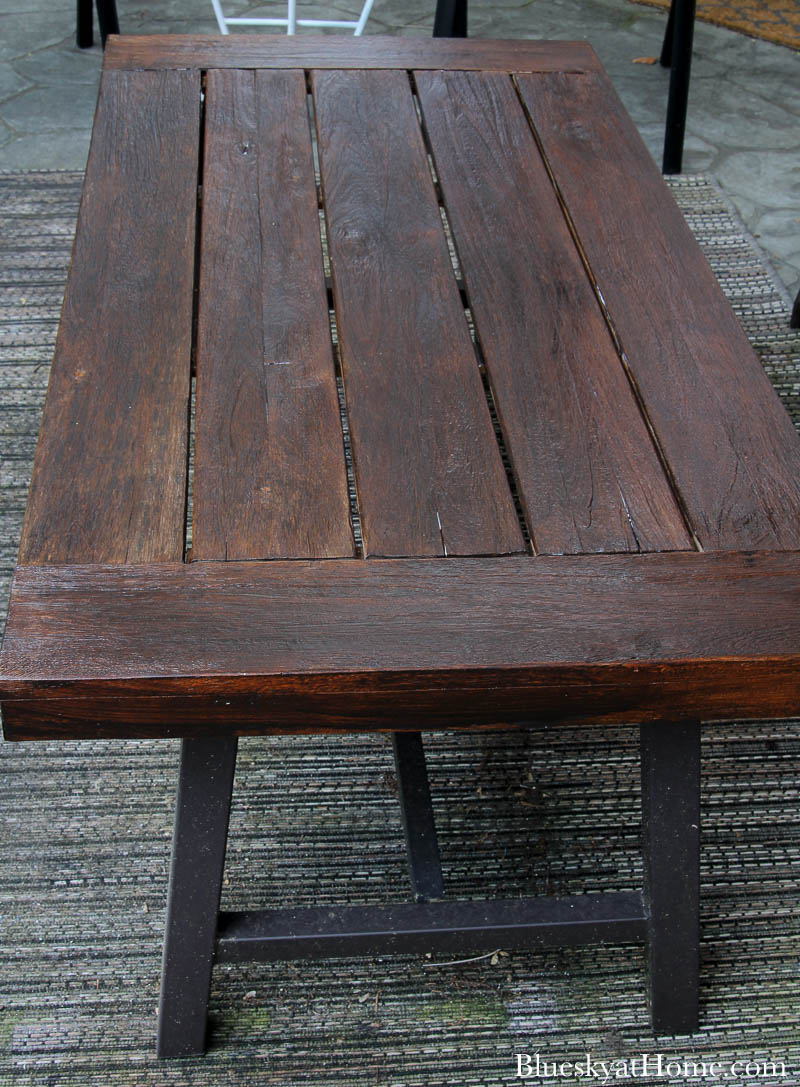
While the Gel Stain was drying on the coffee table, I decided to use the Gel Stain to refresh all the other tables on the patio.
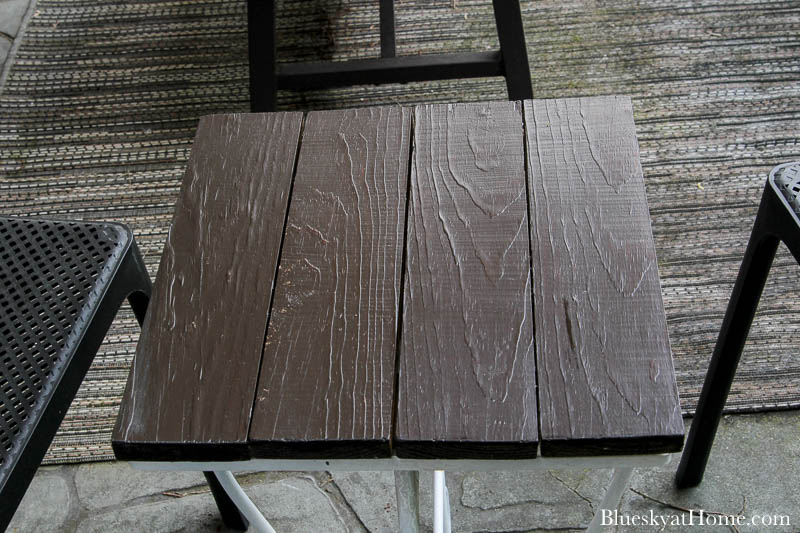
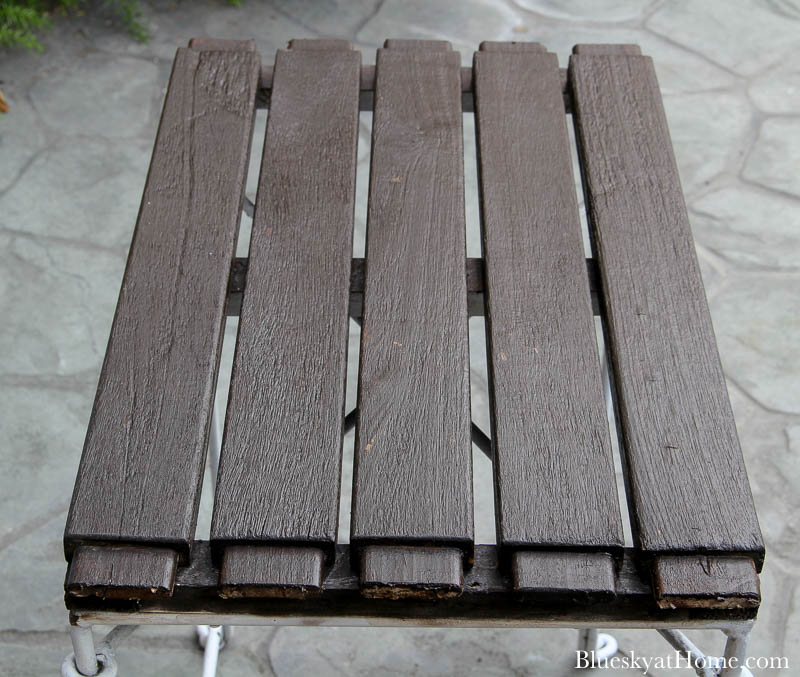
Although the color was beautiful, because this is patio furniture, I gave everything a second coat.
Step 3 ~ Apply the Matte Sealer
Every piece should receive a coat or 2 Matte Sealer, especially these outdoor pieces. The Matte Sealer is also free of VOC, has little or no odor, and is very easy to apply. Like the Gel Stain, use a brush to apply it. You will notice that it goes on with a milky color. As it dries, it will dry clear.

Before Refreshing the Front Door with Gel Stain
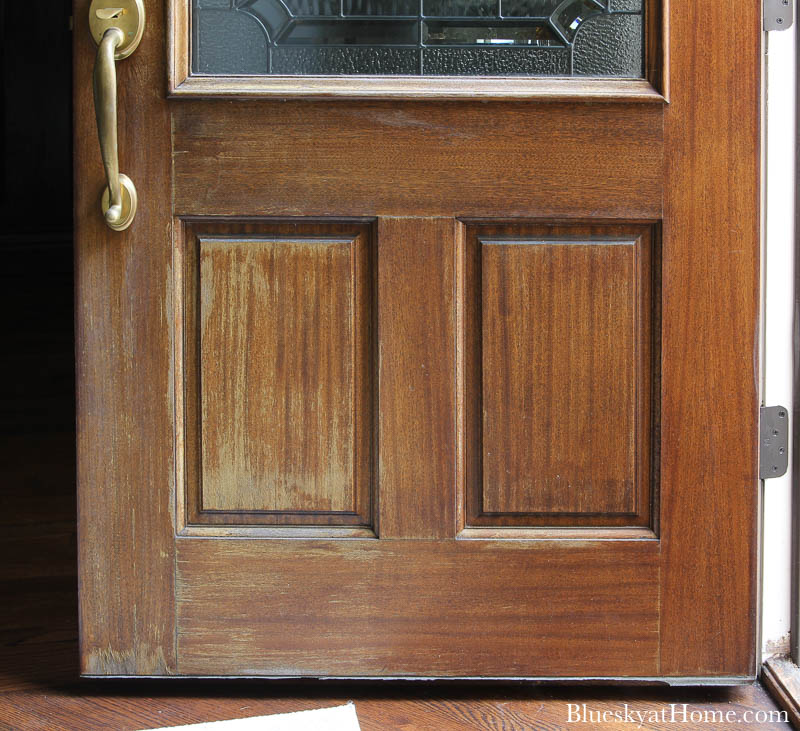
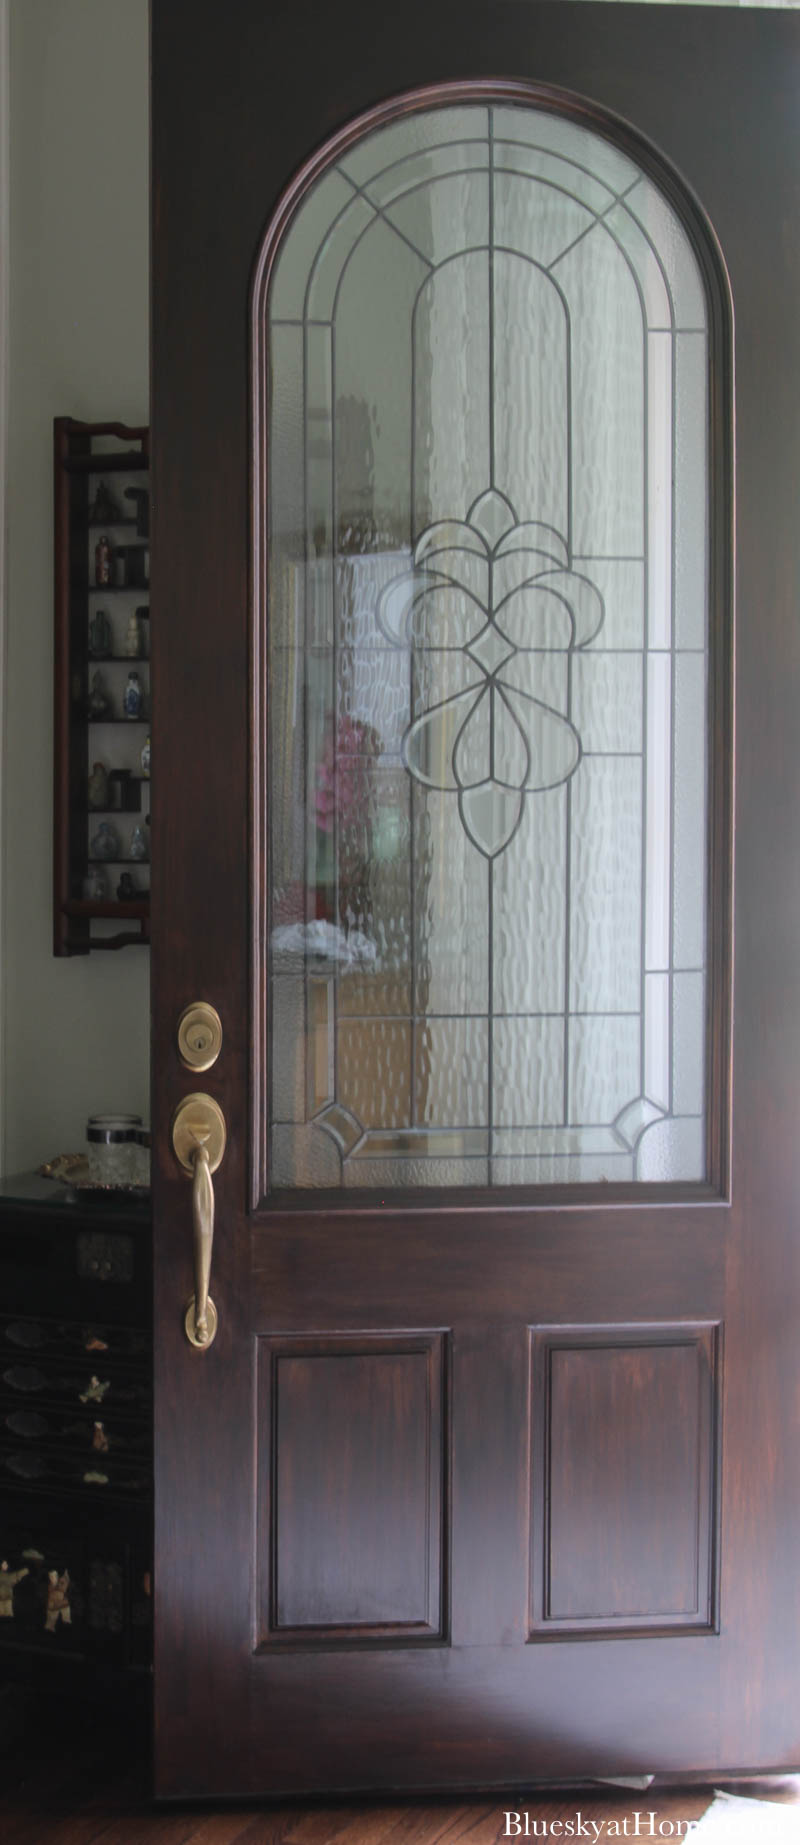
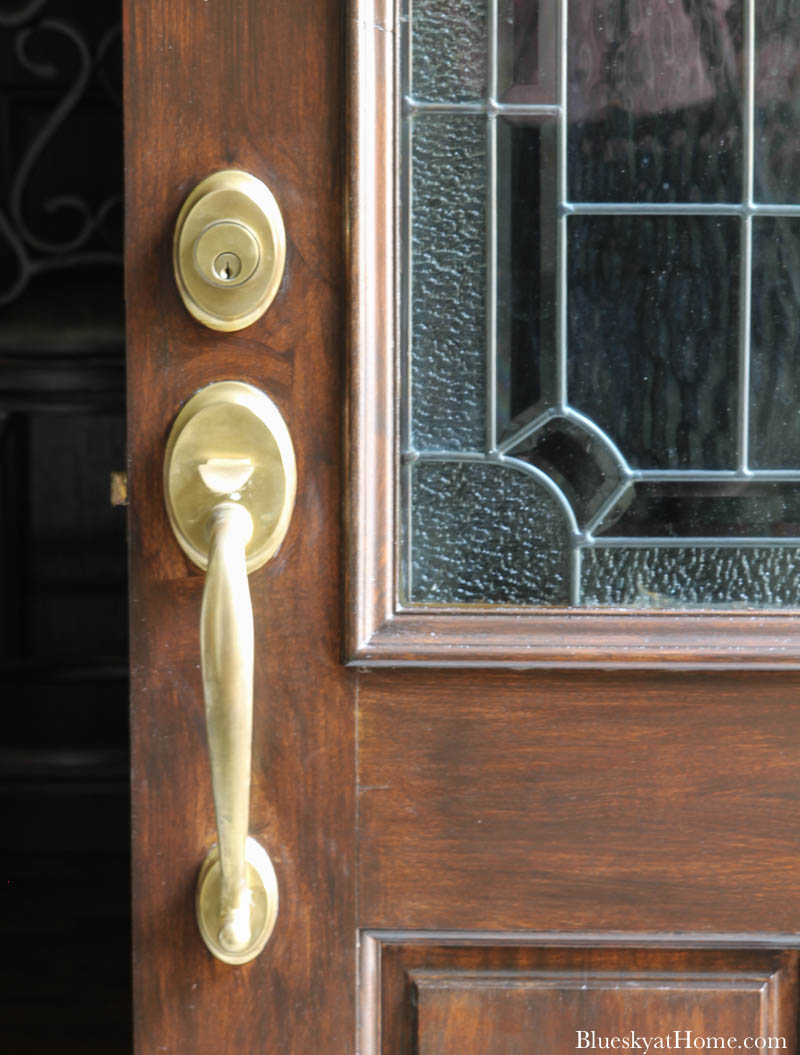
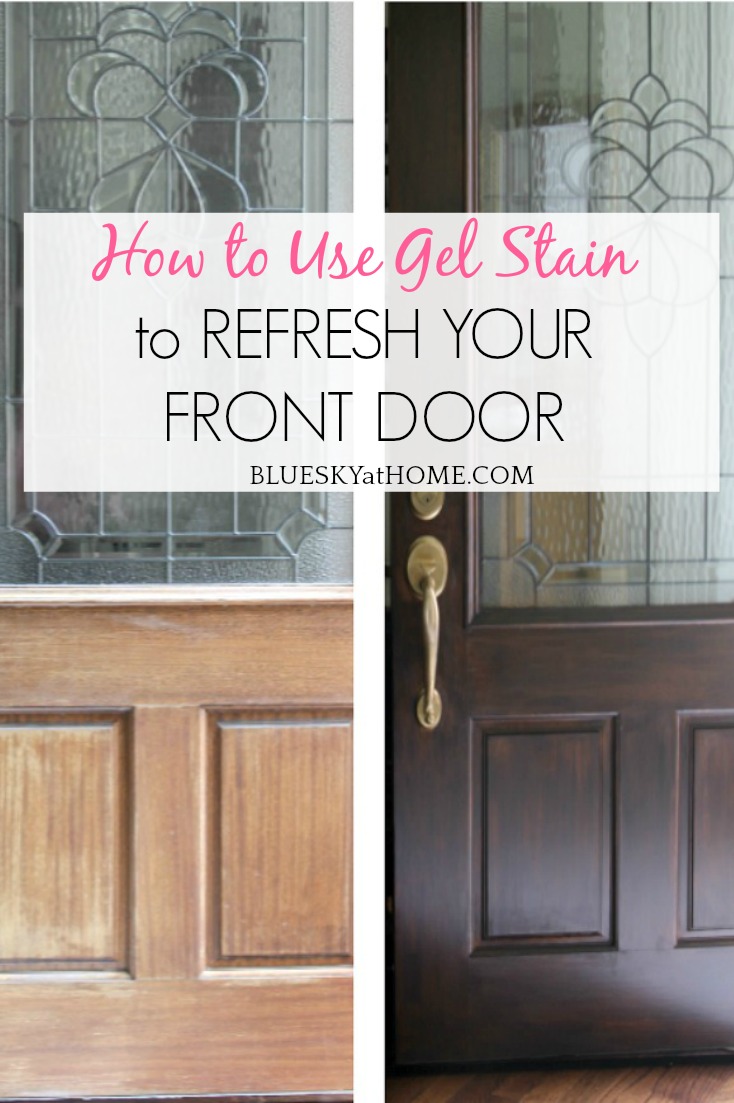
Now to tackle the front door. Our front door is really pretty ~ or was before the wood stain faded. It is about 9 feet tall and as an oval leaded glass insert. The hardware is brass, but that needs to be polished! Here’s what it looked before the refresh. You can see where the stain has faded on the trim and the bottom left panel.
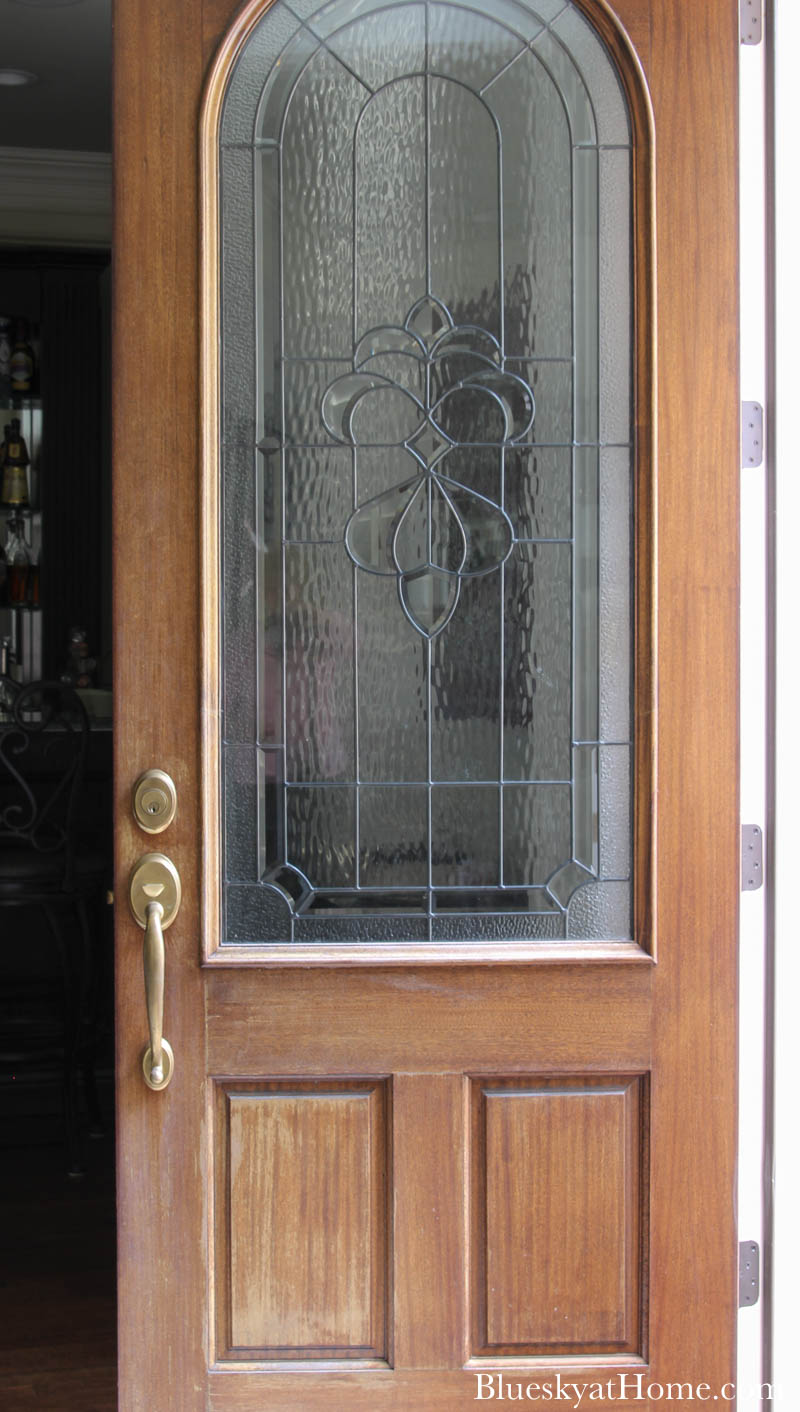
The left side is more faded, we assume because the sun hits it more on that side.
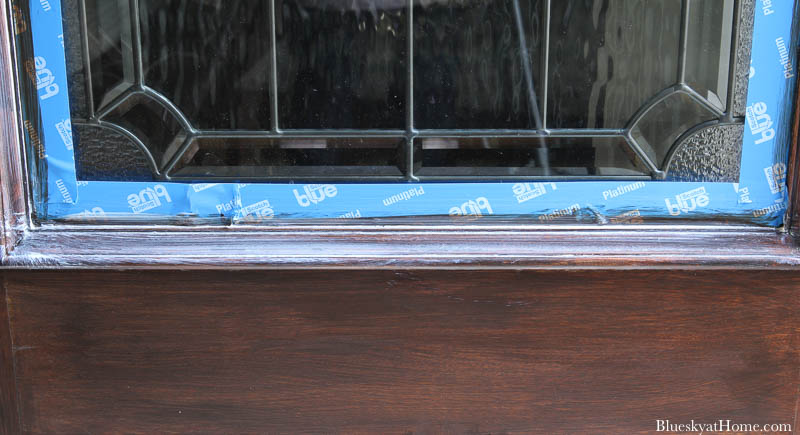
TIP: If there are any areas that are rough, lightly sand them to smooth them out. The only place I sanded was the bottom horizontal trim.
Refreshing the Front Door with Gel Stain
When I used the Gel Stain to refresh our patio tables, the air was crisp, dry, and sunny. A week later, after 5 more days of beautiful weather, the weather turned cloudy and muggy. But I was determined to get the front door done. I knew that the stain would take longer to dry because of the humidity.
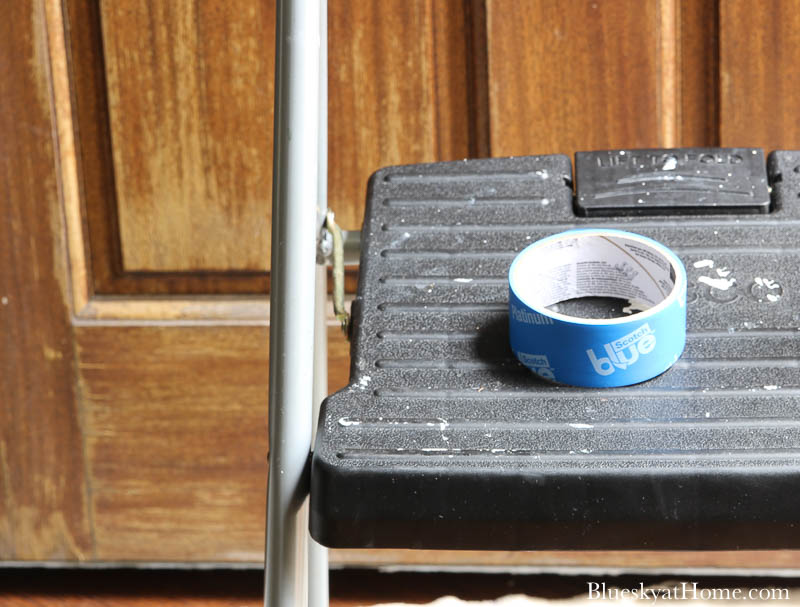
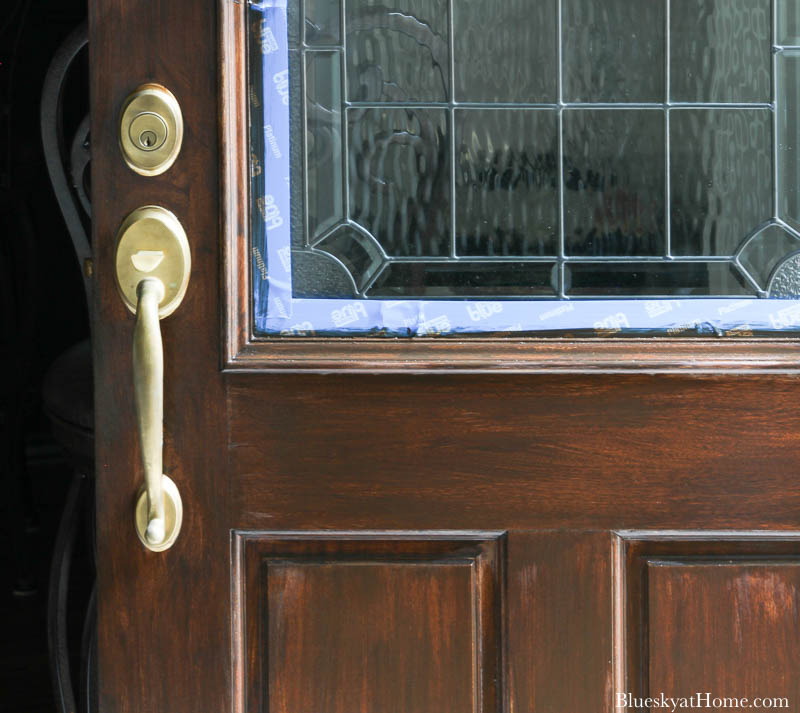
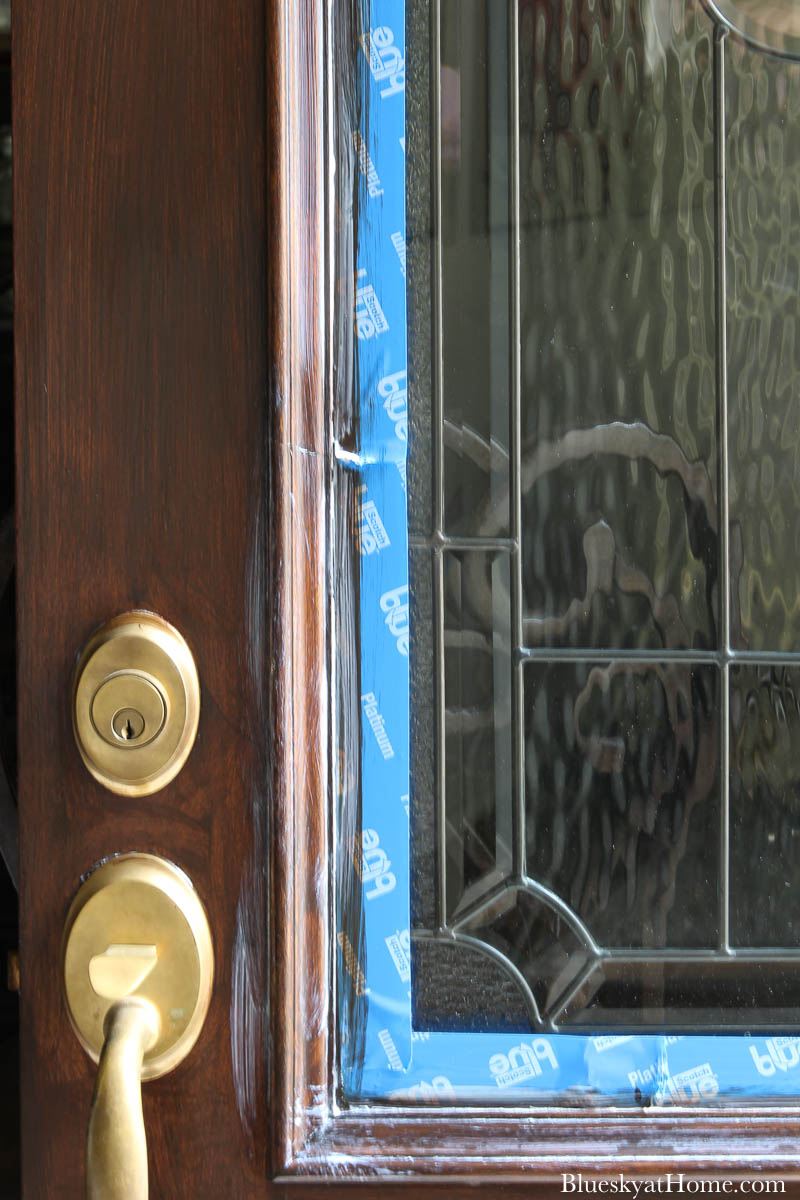
Step 1 ~ Apply Painter’s Tape around Any Glass
For this project, I used Scotch Platinum Blue Painter’s Tape. I like to use this one around rounded areas since it gives and stretches. Our front door glass is oval at the top. I also cleaned the glass to make sure that no dust could blow onto the Gel Stain.
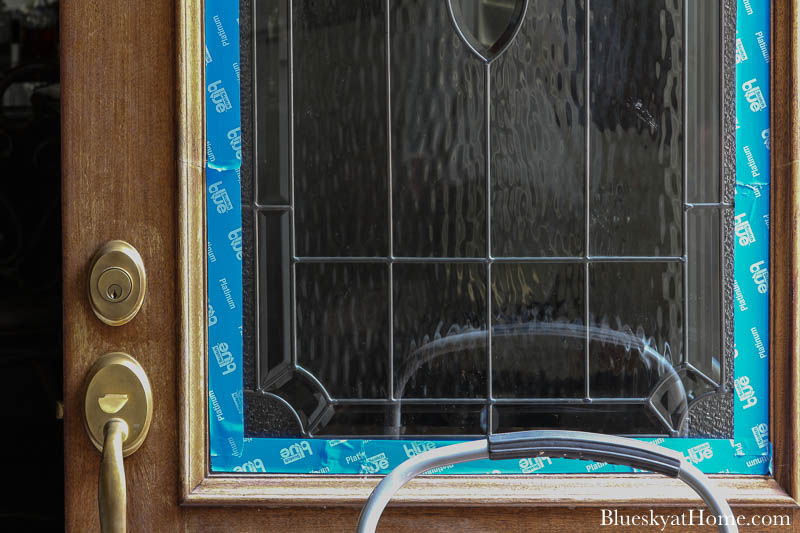
I would also lay down a drop cloth to protect your floor or work surface. Ooh, the door really looks bad from here.

Step 2 ~ Clean Your Front Door
An exterior door will attract dirt, grime, oils, dust. Use a cleaner, just as Clean Slate to remove all these things. This step will ensure that the stain (or paint) adheres properly. You can see how I used Clean slate in the attached Video.
Step 3 ~ Brush on the Gel Stain
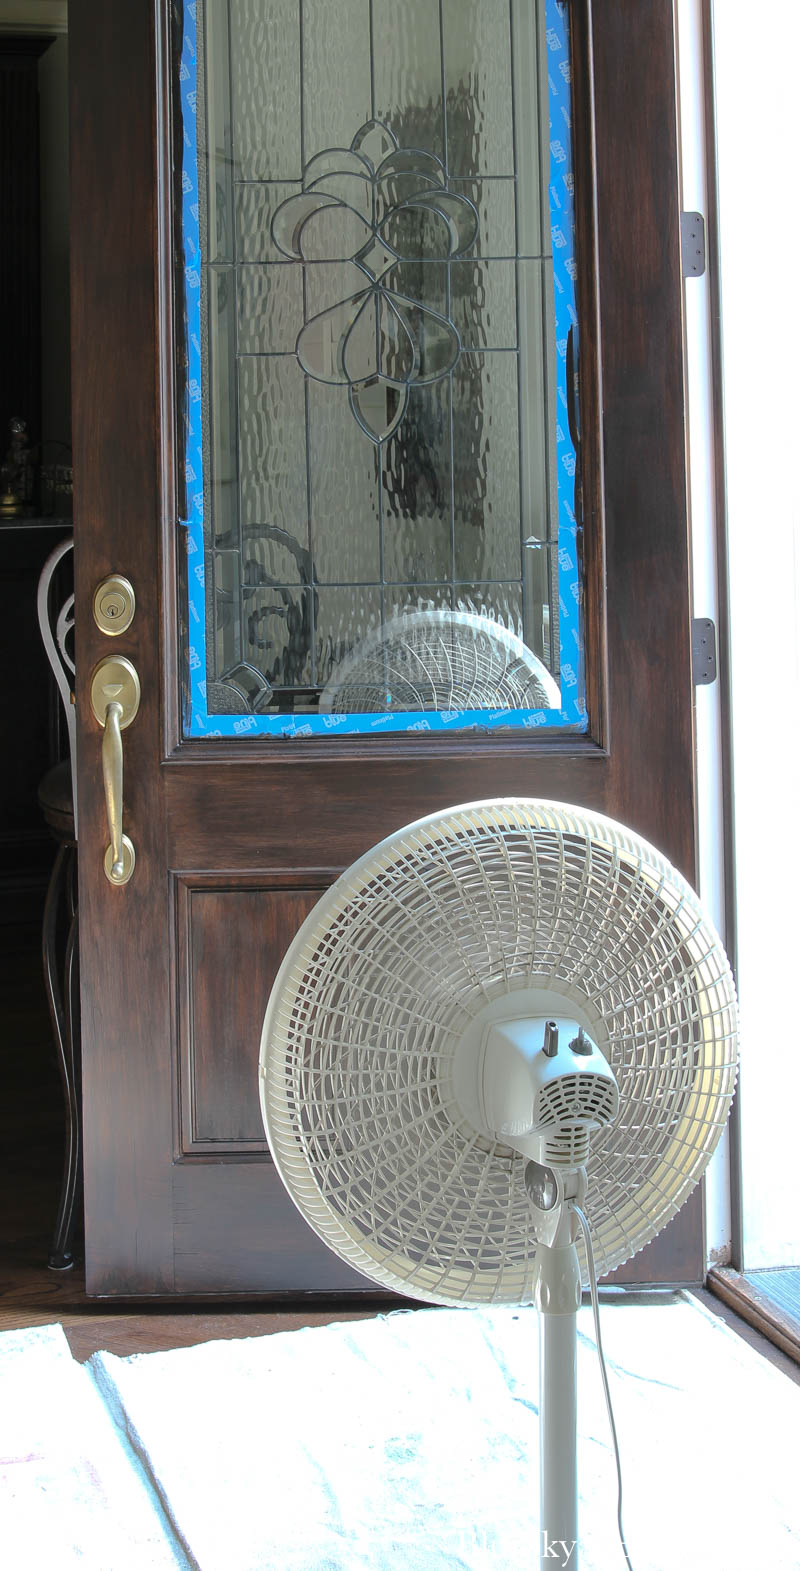
Although it was cloudy and humid, there was no wind, which is a good thing when you are staining or painting outside. This entire project was done with the front door open.
I absolutely love the Gel Stain from A Makers’ Studio; I’m gushing, but it is a wonderful product.
For the trim and around the door hardware, I used a 2 1/2-inch brush. For the rest of the door, I used a 3-inch brush.
After one coat, we could definitely see a huge improvement in the door. Since it was humid outside, I brought in our floor fan to speed up the drying process.
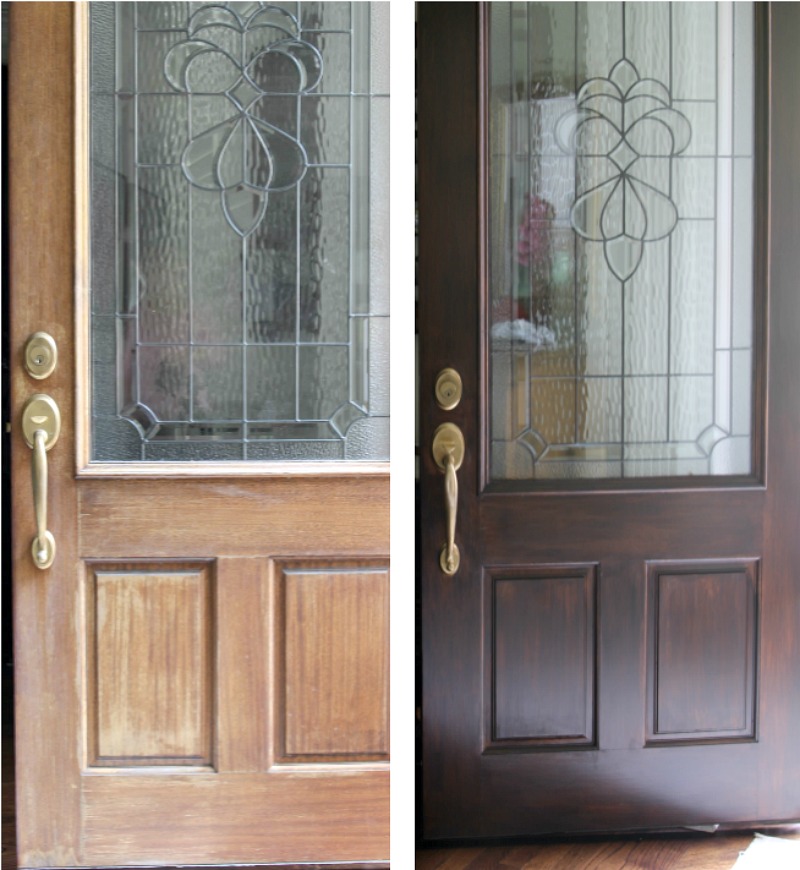
After the second coat of Gel Stain, the front door looked even better. The rich dark color of English Walnut totally erased the tired, weathered look of the door.
Step 4 ~ Apply the Matte Sealer
Sealing your stained furniture will provide protection for your project. Matte Sealer is a water-based, no VOC product that gives a low sheen. You brush it on in the same way that you apply the stain.
When you first apply the sealer, it will be a milky white. When dry, it will turn clear and be smooth to the touch.
Depending on how much use your piece of furniture receives, you may decide to do 2 coats of sealer for added protection. Just like our patio tables, I gave the front door 2 coats of sealer. Let the first coat of sealer dry for at least 1 hour before applying the 2nd coat. If you are refreshing a piece of furniture, let the 2nd coat of sealer dry and sit for 24 hours before placing anything on it.
Step 5 ~ Finishing Touches for our Refreshed Front Door
As soon as I applied the 2nd coat of sealer, I removed the painter’s tape. I always love this step.
The final step was to polish our brass door handle with a brass cleaner and polish. That gave the front door the pretty touch that it needed to shine again.
With the sun shining in, some bright spots and shadows fell on the front door. We are so pleased with the outcome. Here’s a before and after view.
Want to see the entire process? Check out my latest Video. Click on the graphic below.
As I was working on the door, a few neighbors out walking stopped to say how nice the refreshed front door looked. Being polite, they didn’t say that the front door really needed an update.

I hope you learned a new way to refresh your furniture with Gel Stain. Whatever type of furniture you have, indoor or outdoor, or even a front door, if painting isn’t an option or preference, try staining. It’s a beautiful, rich look.
Don’t want to forget this project? Be sure to PIN IT.


You refinished wood looks wonderful, Carol! I’m glad to learn about gel stain – and about the Clean Slate product too!
Carol, you did a great job of your patio tables and your door! Looks so nice! You always do such a great job of your DIY’s and your instructions are so easy to follow! Thanks! Have a great week!
This looks beautiful, Carol!! Great job!
I’ve been wondering about gel stain. Your door and other woods look great! Pinned
Your front door and the furniture pieces that you refreshed with gel stain look amazing!