How to Easily Paint a Flea Market Bowl
Do you love finding treasures at flea markets, garage sales, or estate sales.? I recently found an old bowl with potential. Here’s how to easily paint a flea market bowl.
Fortunately, I have found quite a few flea market treasures lately. Recently I changed, painted or made over 3 different flea market purchases. Since showing you 3 DIY projects in one post would be a bit much. So I divided them into 3 separate projects. Today is how you can restore a flea market bowl.
It just occurred to me that all 3 of my flea market finds are containers. I didn’t plan it that way. All 3 were bought at different times in different places. I didn’t pay much for them; I know all 3 were under $10.
Besides being containers, my 3 flea market finds had something else in common. All 3 were just sitting doing nothing. They weren’t fulfilling their calling as containers; they weren’t containing anything. I decided to change that.
The first container was a can; this one is a bowl ~ an old bowl, a neglected bowl, a sad bowl. Could I give it a makeover? Could I make it look new and pretty and not neglected? I thought so.

As is so often the case, paint is the magic wand for transforming home decor ~ whether a wall, a piece of furniture, or a bowl. I knew how to easily paint a flea market bowl and then I could add a pretty stencil.
How to Easily Paint a Flea Market Bowl
This post contains links to products used in making this project. If you should purchase any product from this site, I may receive compensation, but you don’t pay one penny more. Let’s both win.
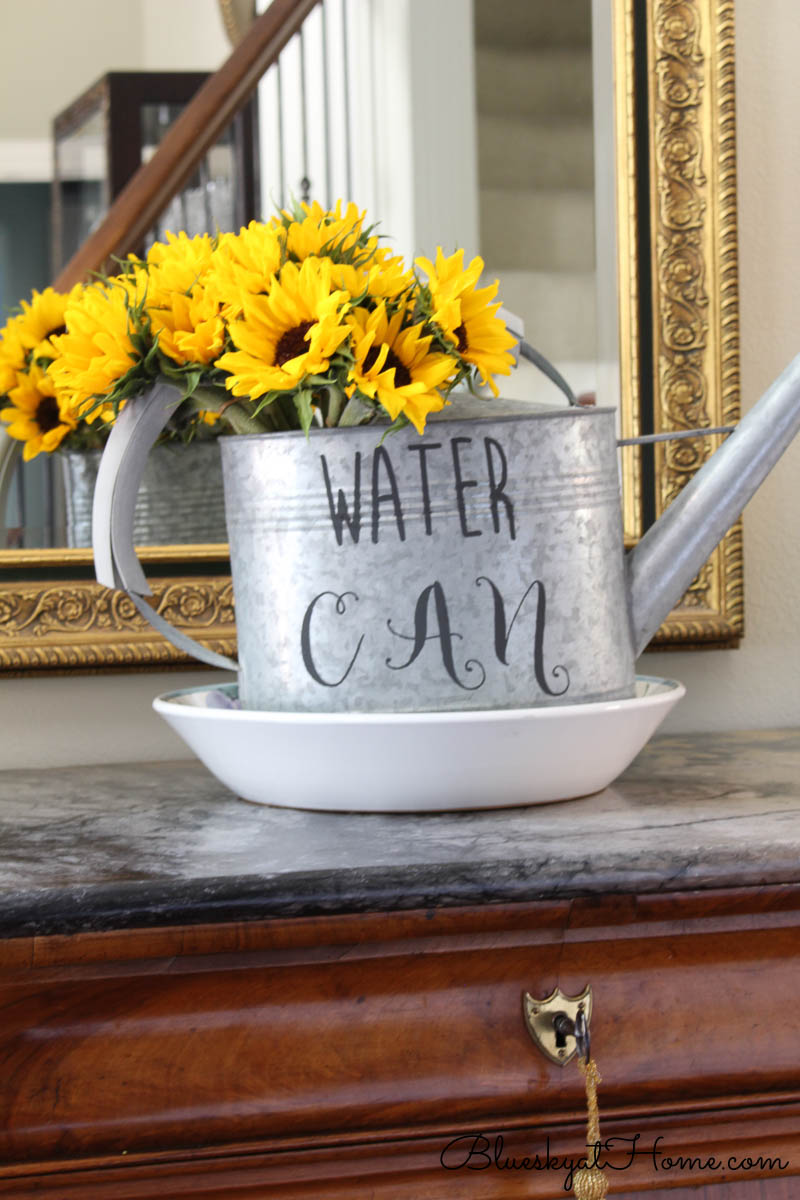
In case you missed my first flea market update from last week, it was a galvanized watering can. It needed a little something to dress it up. It is now a container with a purpose.
My Flea Market Bowl ~ Before
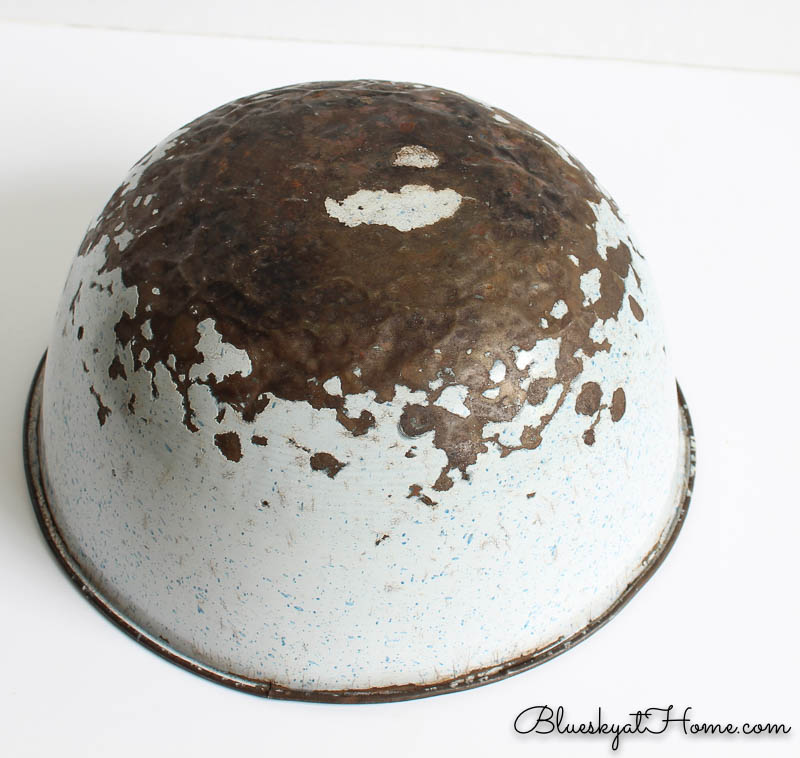
I’ve had this bowl for a while and it has just sat on the floor in the breakfast room under our console table because I didn’t quite know what to do with it. Metal with a slightly blue speckled finish, it originally had an enamel finish, maybe used as a mixing bowl. I think it definitely has a farmhouse feel to it. And it obviously has seen better days. You can see that at one time it had a red~painted rim.
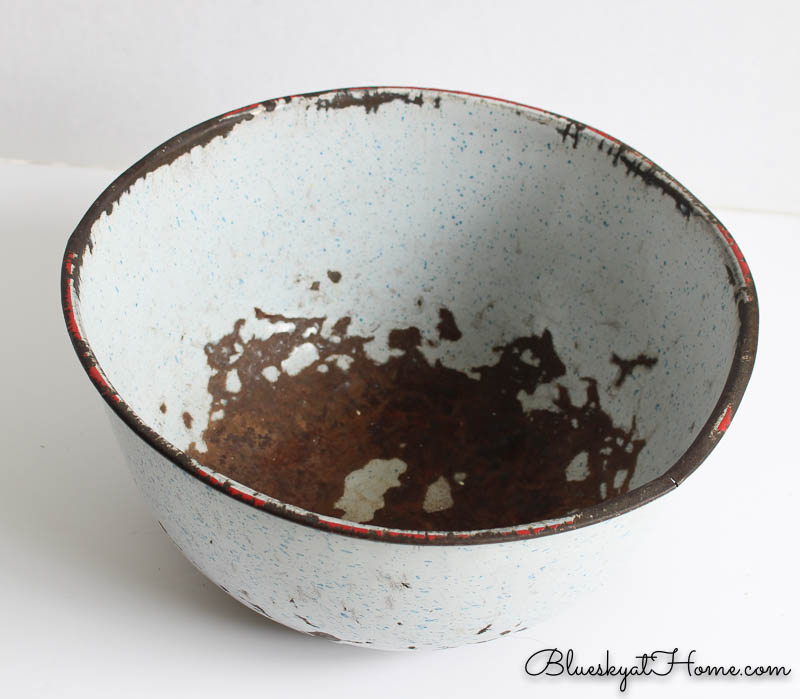
You see how much of the enamel has chipped off. I don’t know if was left outside or how it became so weathered. I was beginning to wonder why I bought it.
Using Paint and Stencils to Transform the Flea Market Bowl
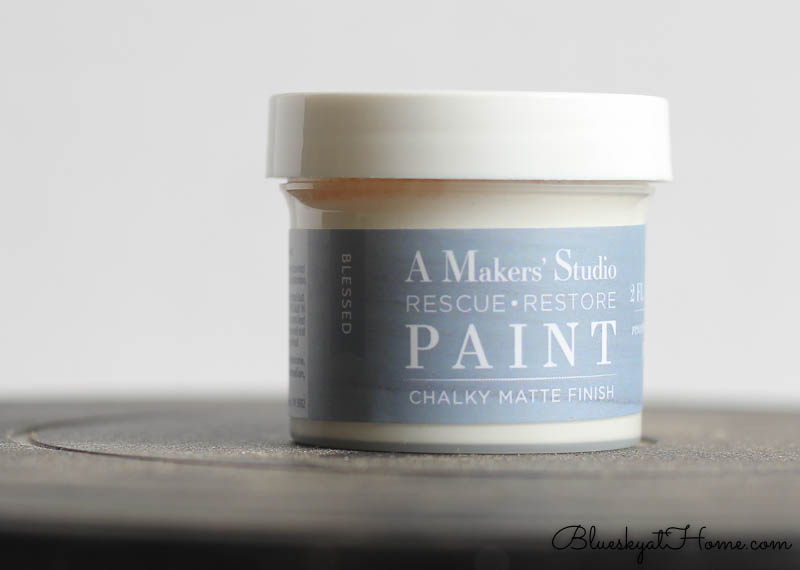
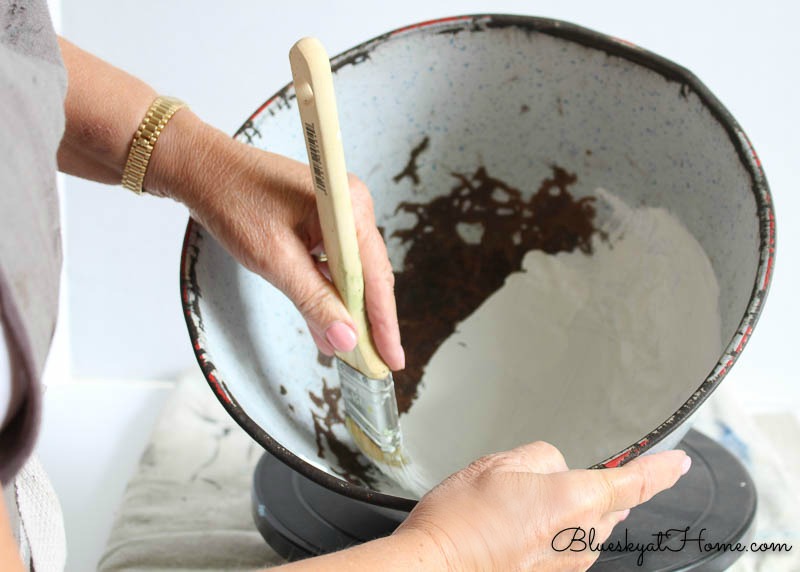
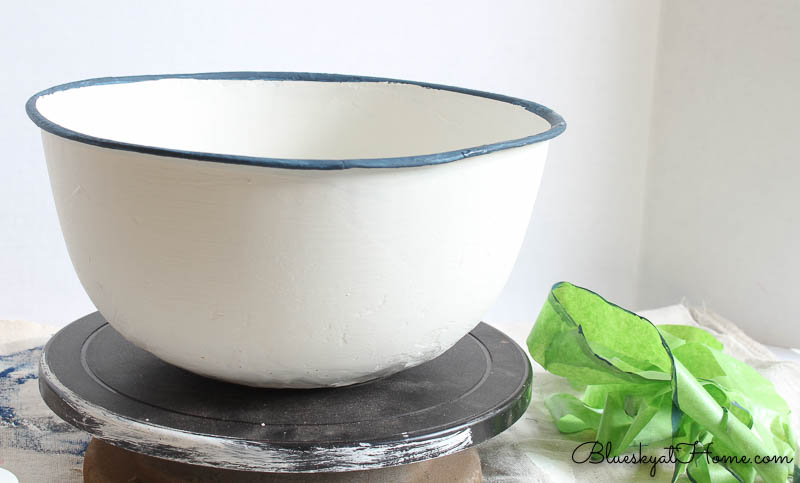
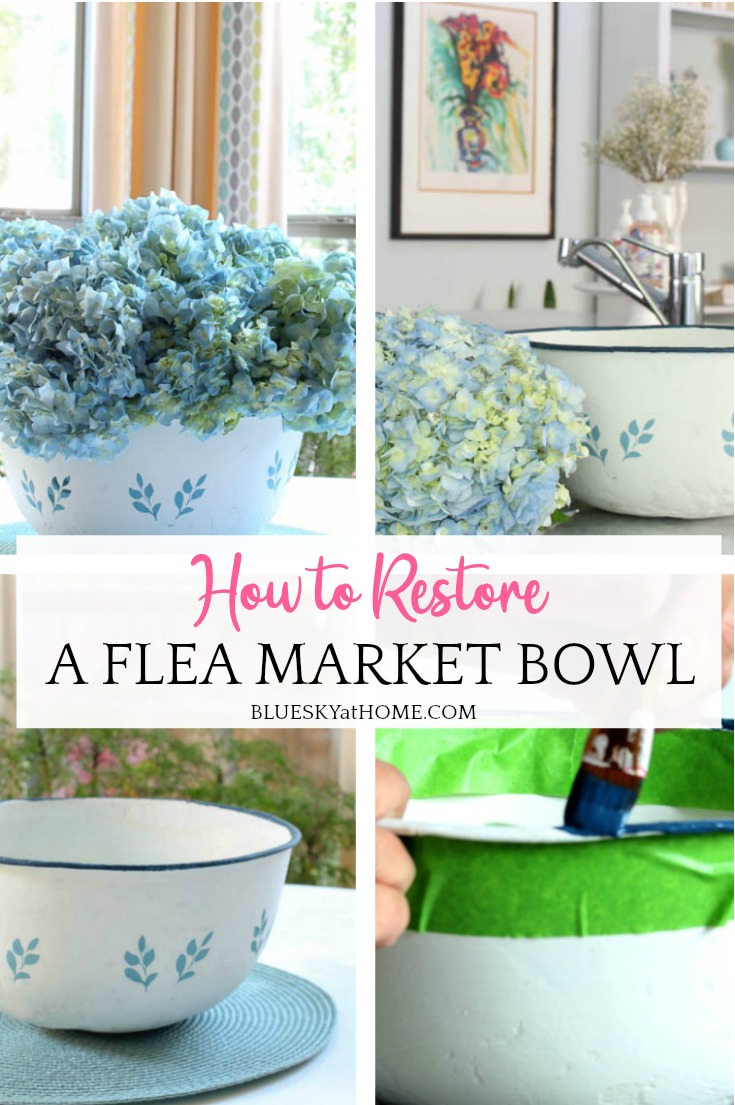
I knew that the bowl had to be painted to cover the original finish. I wanted it to look fresh and bright, but still have a farmhouse feel. White would be its new color. To give it good coverage that would last, I used Rescue Restore paint from A Makers’ Studio. This chalk paint has no odor, has great coverage and goes on easily on. Blessed is my favorite white. It will provide a permanent finish.
I started painting the inside with a chip brush from A Makers’ Studio. This paint goes on so easily.
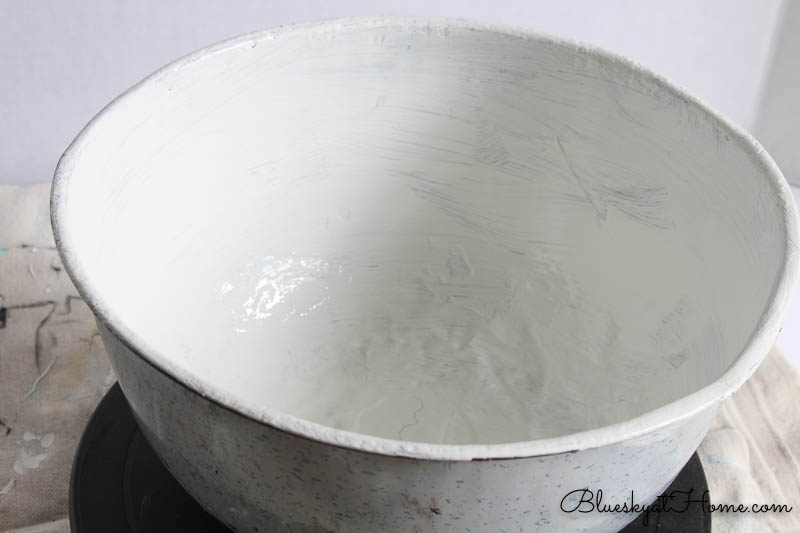
This is after one coat.

Then I turned it over and painted the outside.
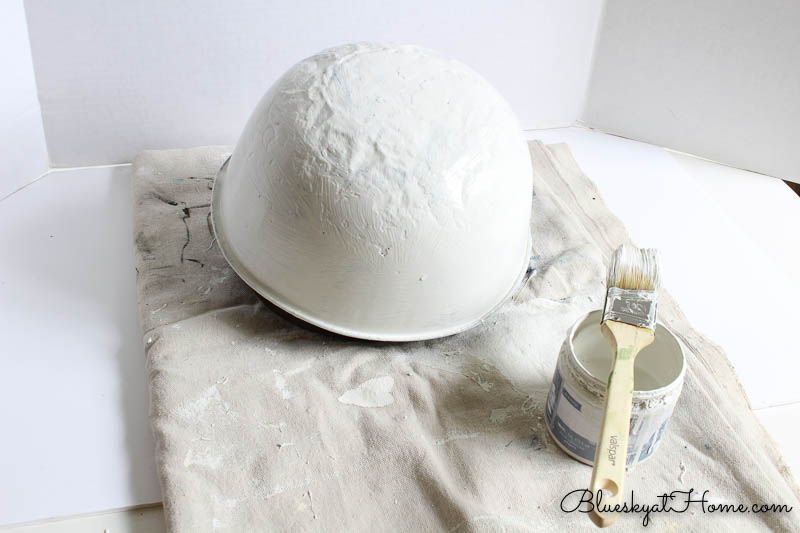

I did give the outside 2 coats of Blessed.
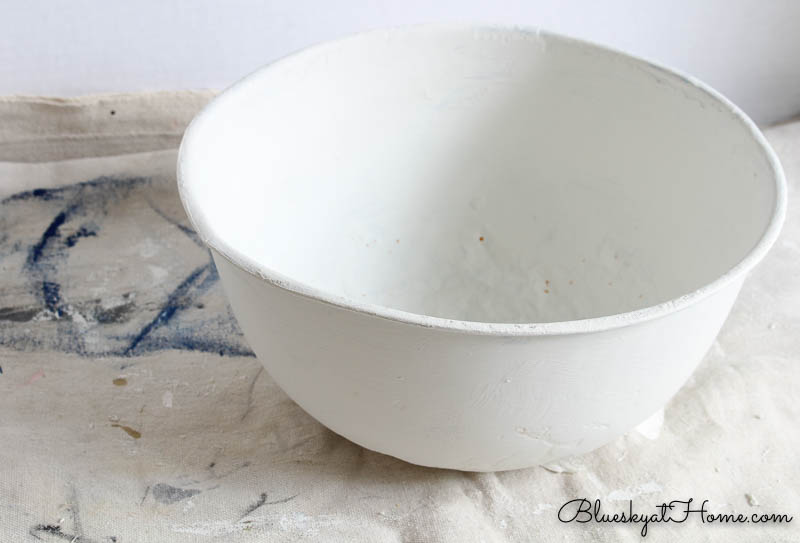
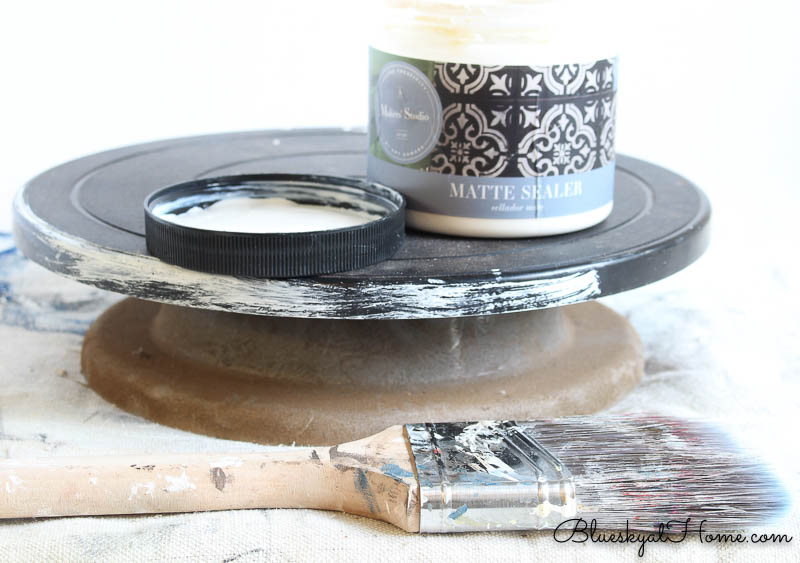
On the inside, I sealed the bowl with Matte Sealer since I want to be able to use the bowl for flowers. I have used this no~VOC sealer on all the wood table tops on our patio and it has protected them beautifully from rain. The sealer is white but dries clear.
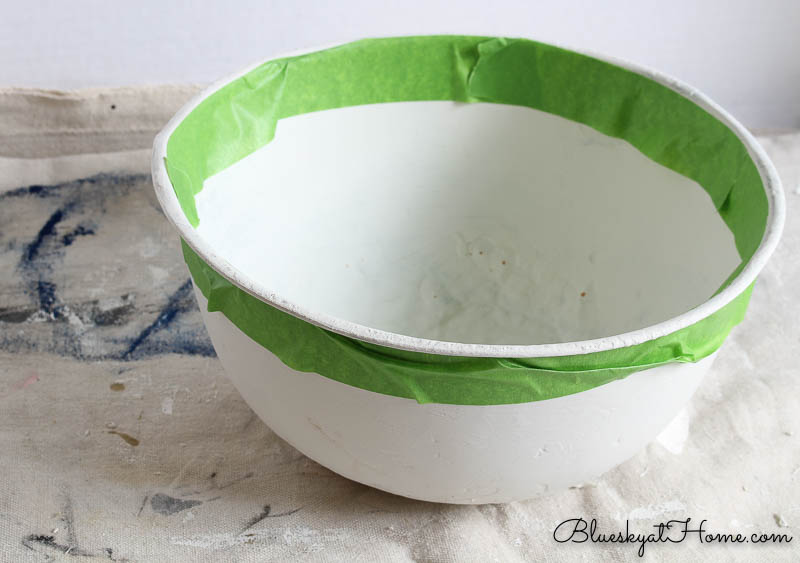
After the sealer dried, I was ready to paint the rim of the bowl. I used Frog Tape around the inside and outside of the rim.
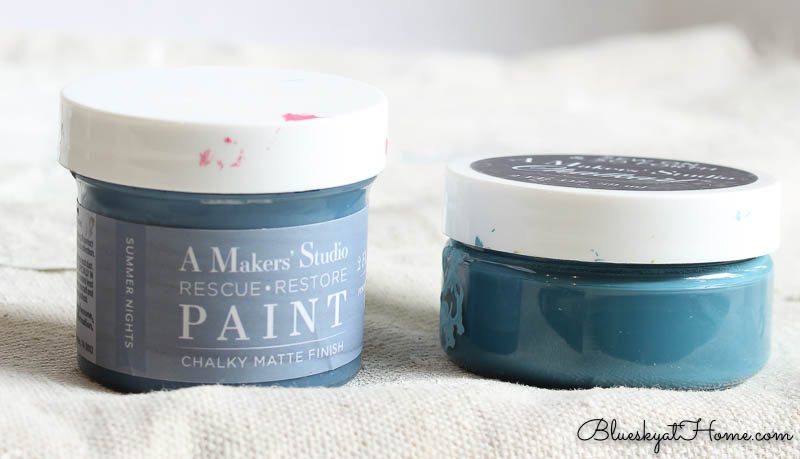
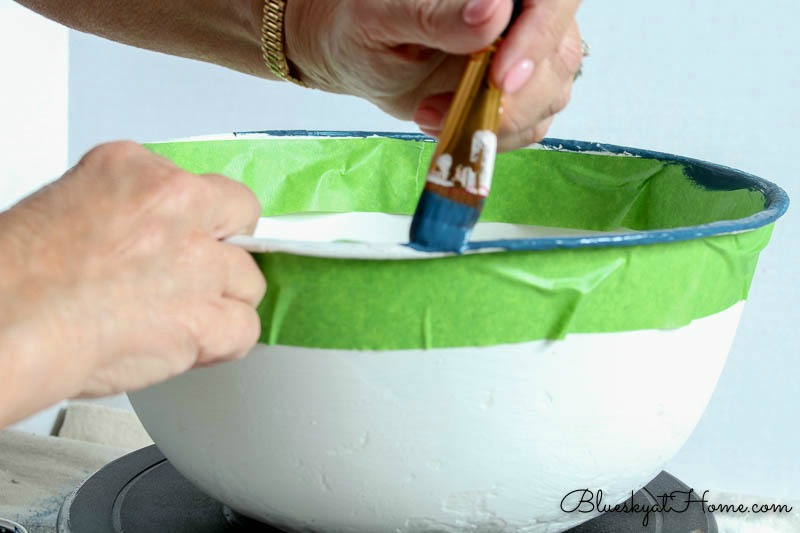
Red doesn’t fit our kitchen, but blue does. For a dark blue rim, I used Rescue Restore paint in Summer Nights, a deep, almost midnight blue.
I wasn’t going for perfection. I wanted the rim to look hand~painted rather than manufactured.
After removing the Frog Tape, I let the rim dry for about 20 minutes. While it was drying, I browsed through my stencil collection for the right design. I wanted something floral, something that looked sweet and a little farmhouse.
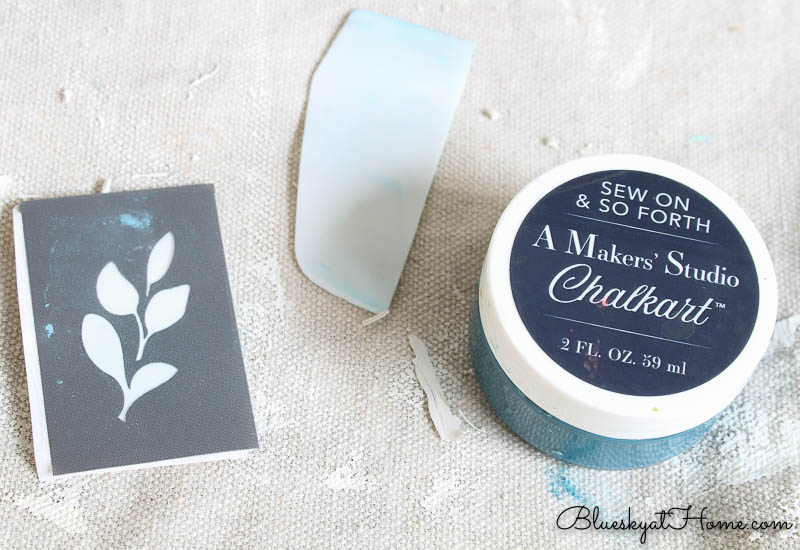
I found the right size, shape, and design in this little stencil which is found in both our Wreath Trio Country and our Wreath Trio Grateful stencil designs.
For the color, I used ChalkArt in Sew On & So Forth, a beautiful medium blue. I deliberately used ChalkArt in case I want to change the design in the future. I can easily remove the painted stencil with a damp paper towel and apply a different stencil design.
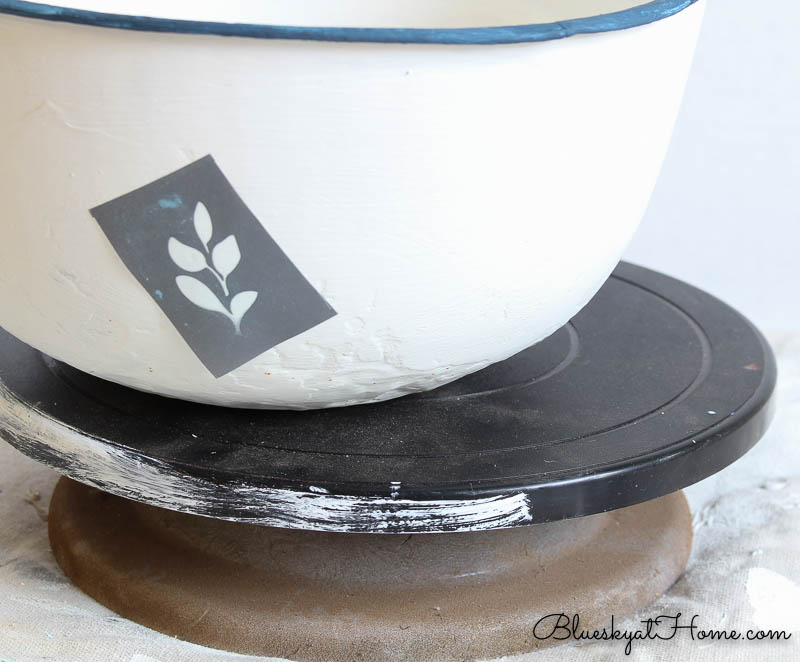
The tri~mesh stencils easily stick to the side of the bowl. My turntable made stenciling easy to turn the bowl.
Then, I applied 2 florals together for my design.
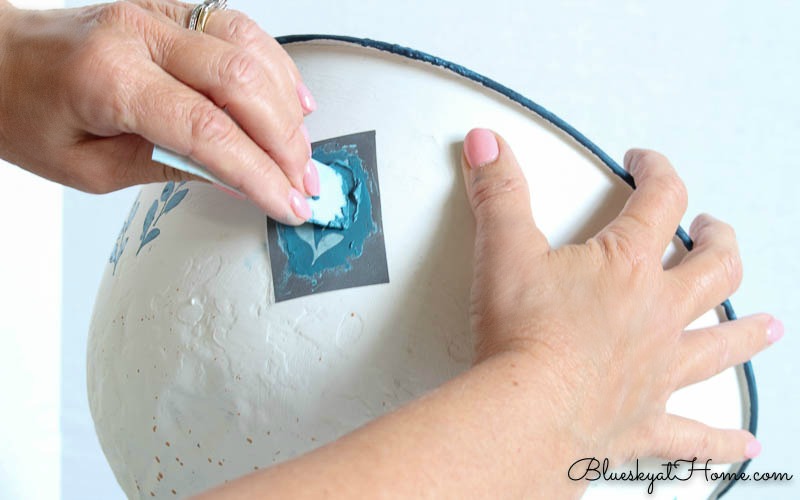
I didn’t measure, but just worked my way around the bowl, spacing each pair of designs about 5 inches apart.
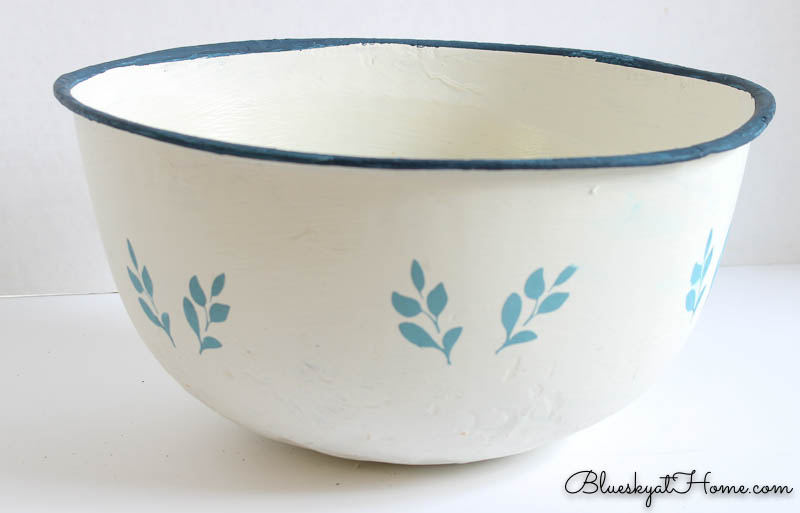
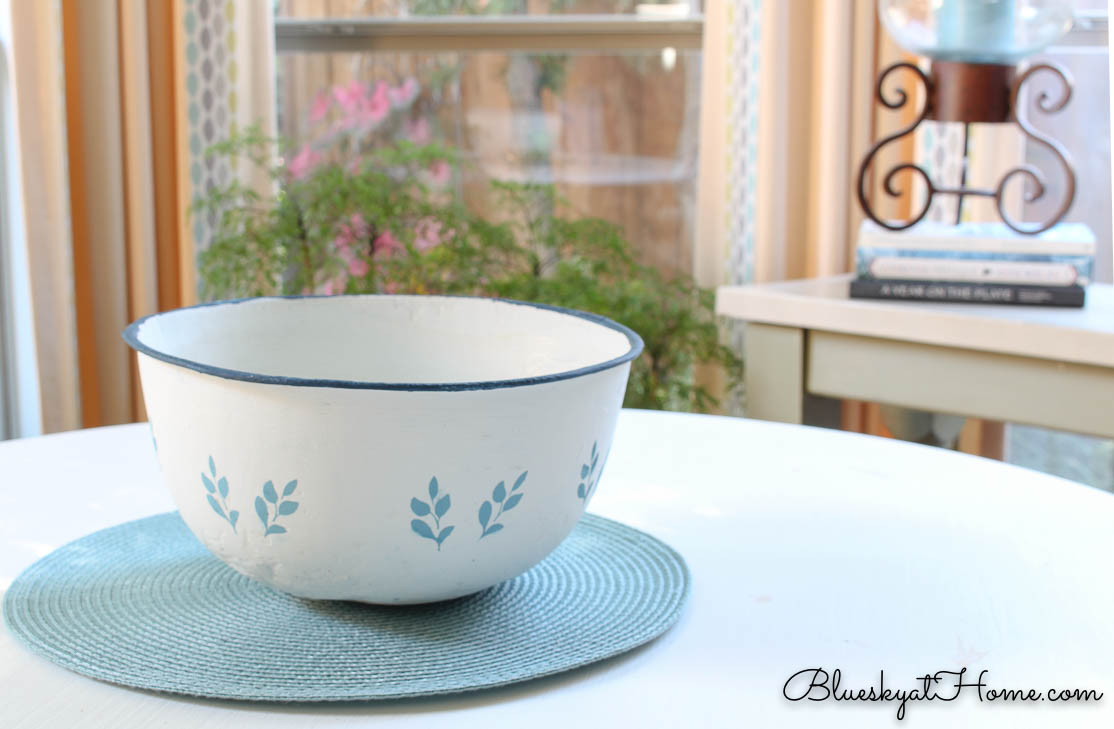
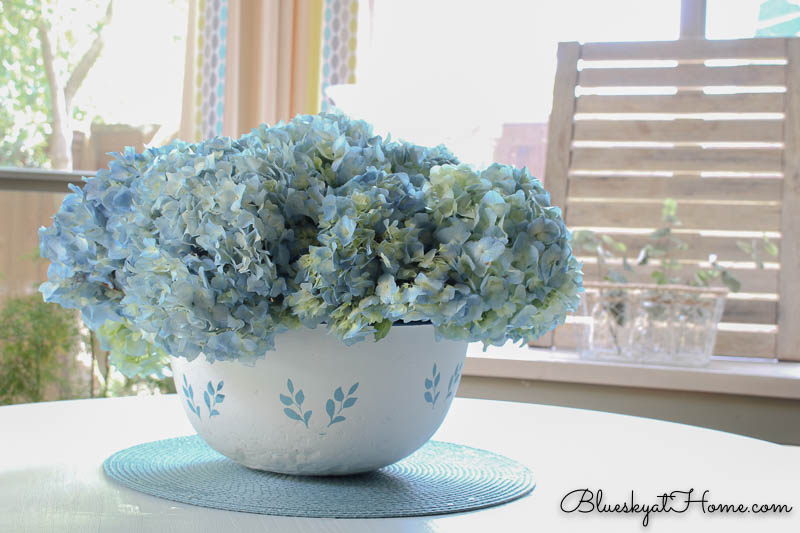
I love how my flea market bowl turned out. It took about an hour and a half. The blue and white look so much better on our breakfast room table. It has the farmhouse feel I wanted, works with our wall color and the blue of the trim in our drapes. I set it on a woven placemat from Pier 1, which I already had.
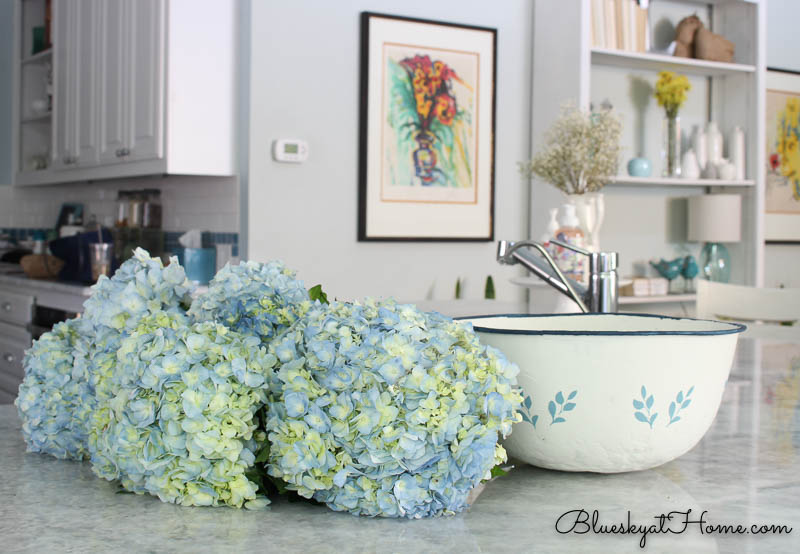
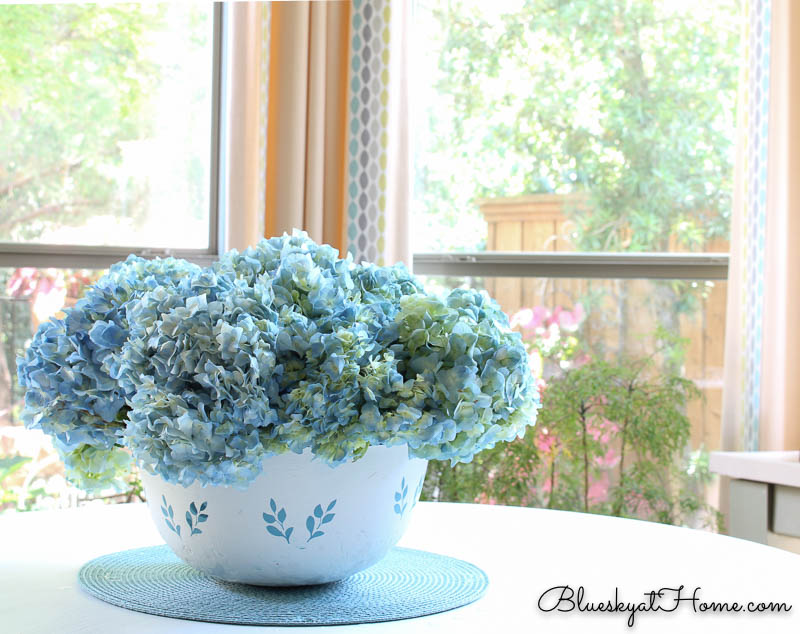
But, of course, I wanted my flea market painted bowl to have flowers and I couldn’t think of anything more perfect than blue hydrangeas from Trader Joe’s.
Much better.
I hope this post inspires you not to pass up that chipped-off enamel bowl at the next flea market or garage sale you visit. Make it your own with paint and stencil the design that speaks to you. Let me know if you have any questions about this project. I loved it.
Here’s how to repurpose an old watering can.


Great project, Well done. pinned
Thank you so much Anita. I appreciate your feedback.
What an amazing job, Carol! Love the colors you chose, and I love Rescue and Restore paints! They are the best! I have a thrifted Crate and Barrel bowl that I’m hoping to revive soon, too! I hope you link up at Tuesday Turn About with this project!
OMGoodness!! Such an adorable project! The florals looks perfect with your reinvented bowl! Pinned!
I don’t know how I missed this earlier when I was playing catch up earlier today. You did an excellent job of taking trash to treasure Carol. I love the stencil. I have never heard of your brand of chalk paint. but it appears to have great coverage. And the paint color Blessed is really pretty. It is not that stark white. I love this project. TFS