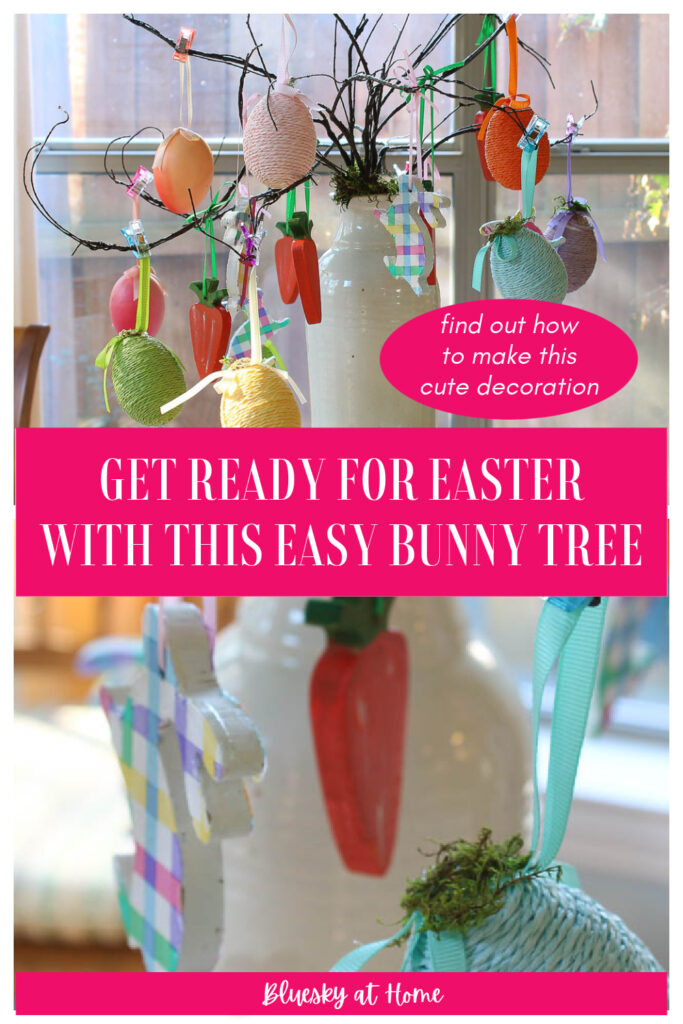
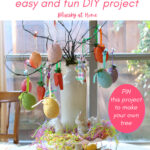
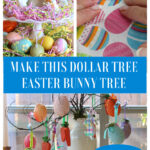
How to Make an Easy DIY Easter Bunny Tree
Have you ever thought about making an Easter tree? It’s a great decoration for the holiday. Here’s how to make an easy DIY Dollar Tree Easter bunny tree that can be the center of your Easter decor this year.
Easter bunnies may be the most iconic Easter symbol. Bunnies come in all sizes, colors, and looks. They are perfect for adorning an Easter tree – especially when you find cute ones at the dollar store.
How do you use Dollar Tree bunnies to make an Easter tree?
You decorate them with pretty paper.
I’m going to show you the steps to make an easy DIY Easter bunny tree and decorate it.

Want a basket of Easter bunny ideas? I’m sharing my Easter bunny tree because it’s so easy and fun to do.
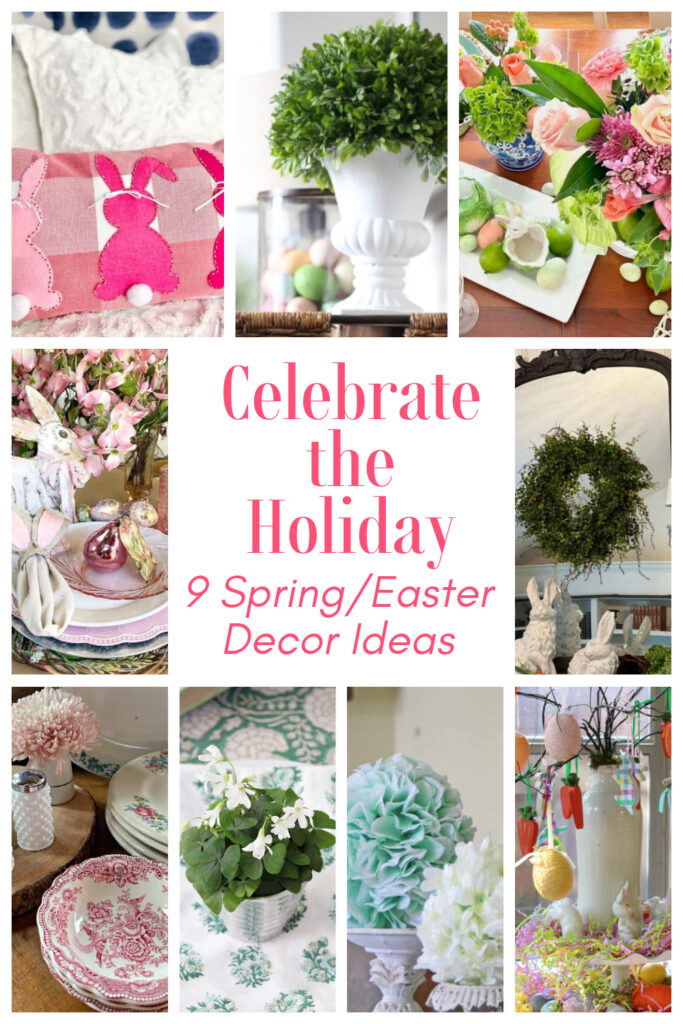
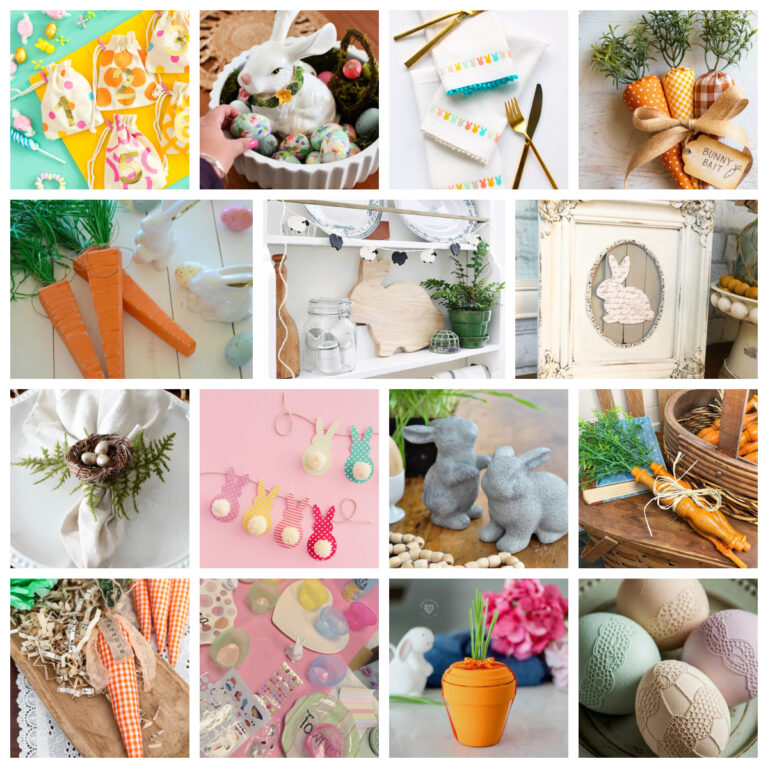
Even better than an Easter bunny tree is a bunch of spring and Easter decorating ideas. Today is Celebrate the Holiday. Some of my blogger friends are sharing their ideas for spring and Easter decor that you will love hopping over to see.
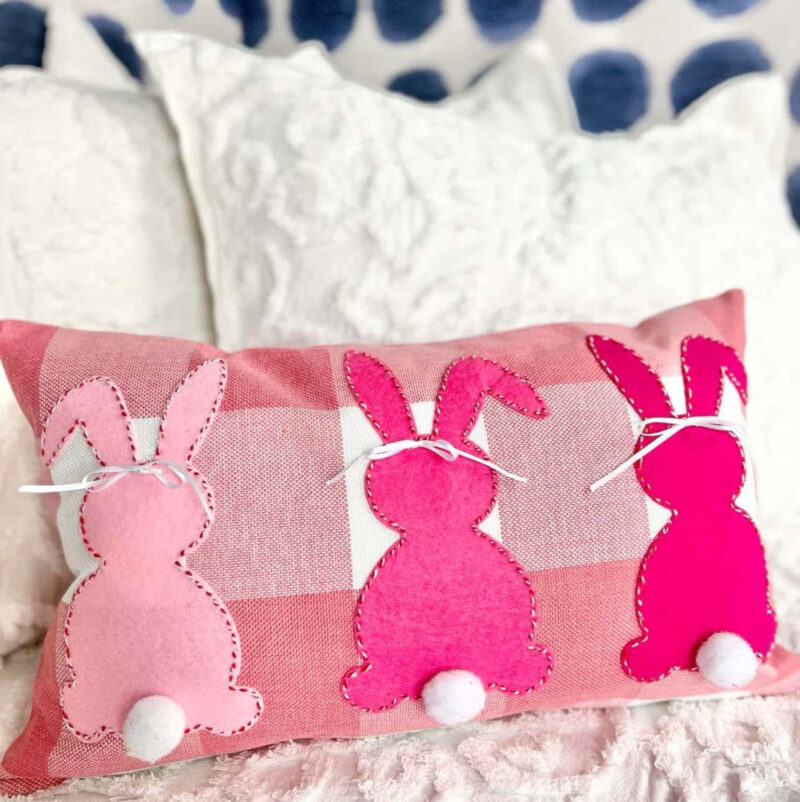
Did you hop over from the talented Missy of Sonata Home Design? Isn’t her bunny pillow the cutest thing?
Easter Bunny Tree Inspiration
This is not the first time that I’ve made an Easter tree. This one has been a favorite for a few years. Most recently, I used it as a centerpiece for an Easter tablescape.
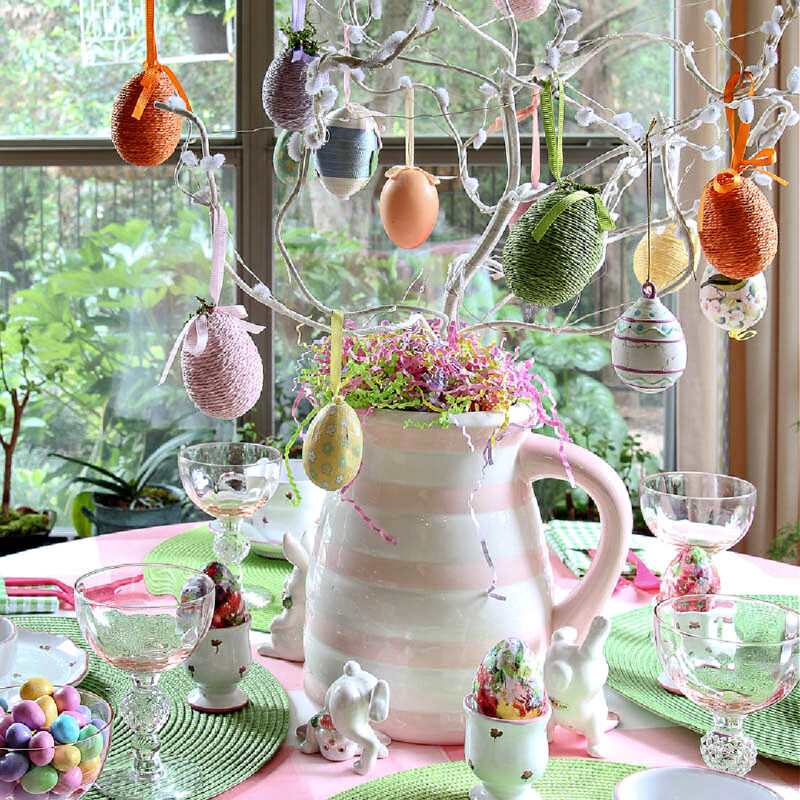
This Easter bunny tree is brand new. The inspiration came on a trip to the Dollar Tree.
I found this tray with bunnies and carrots. I believe that it is meant to be a tic-tac-toe game.
The bunnies and the carrots would be perfect for the project I had in mind. The divided tray could be saved for another use.
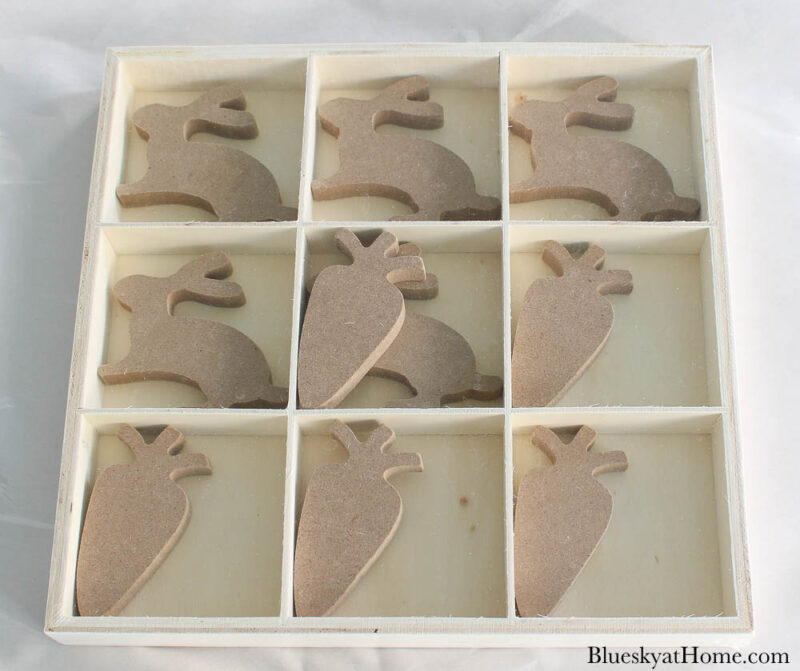
There were five bunnies and five carrots. Another product that I already had on hand would be perfect to create an Easter tree using these wood bunnies and carrots.
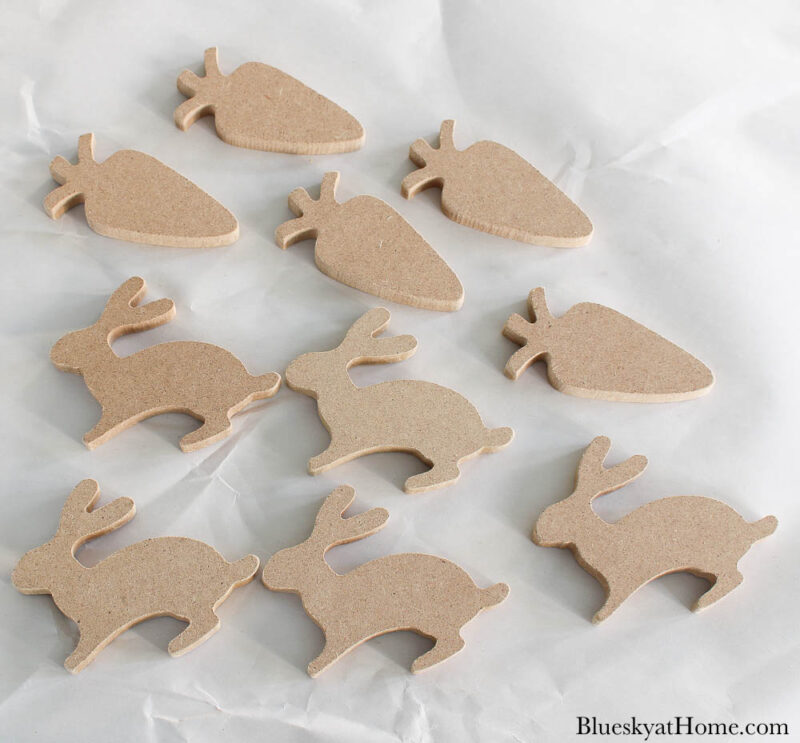
I did find these small wood bunnies and these small wood carrots that would work great for this project.
Decoupaging Easter Bunnies
I started with the bunnies.
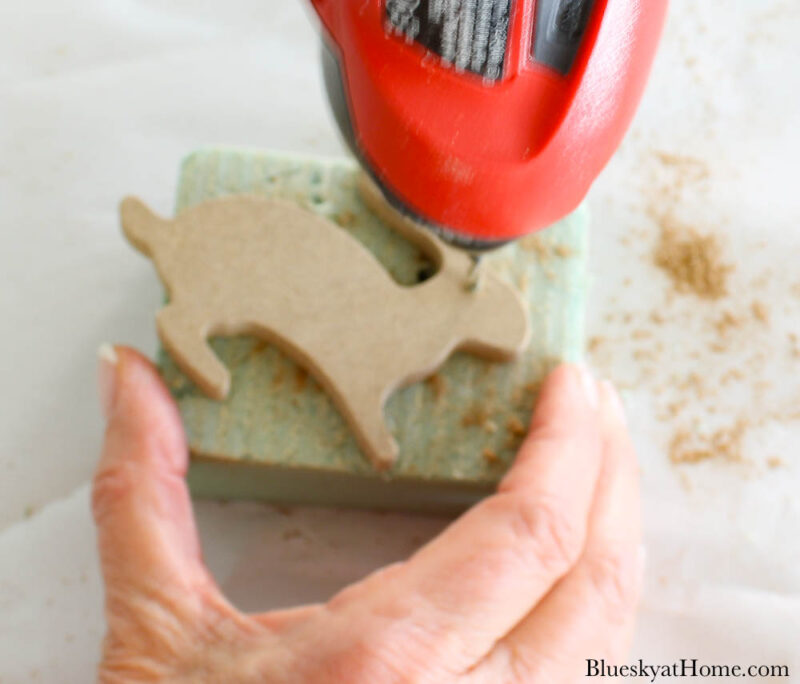
Step 1 – Drill a hole in the bunnies and the carrots so that they can be hung. Set the carrots aside. I set then on a piece of florist foam to project my work surface.
I used the pilot drill on my cordless Black and Decker electric drill – one of my favorite tools. A piece of florist foam worked very well to help me drill without damaging my countertop.
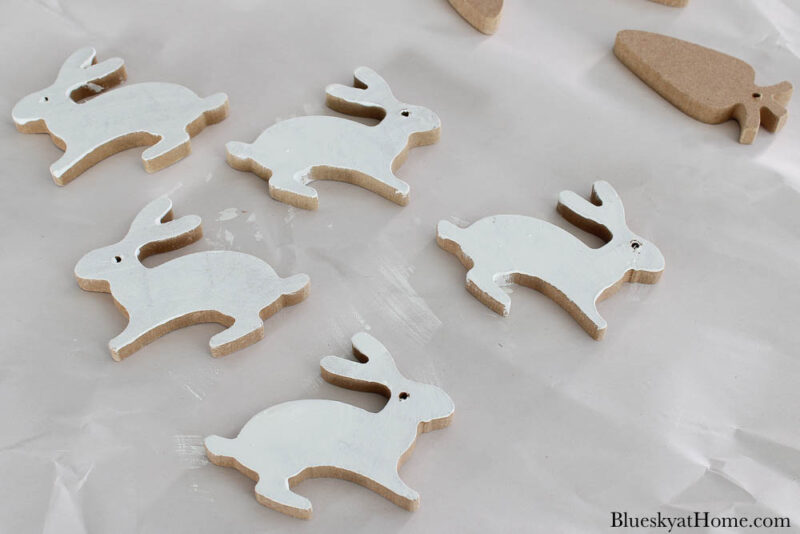
Step 2 – Paint the bunnies white. This way the decorative pattern on your napkin will show up better.

I used One Step paint from A Makers’ Studio, but any acrylic paint will do for this project. Apply the paint to both sides of the bunny and to the edge. Let dry completely.
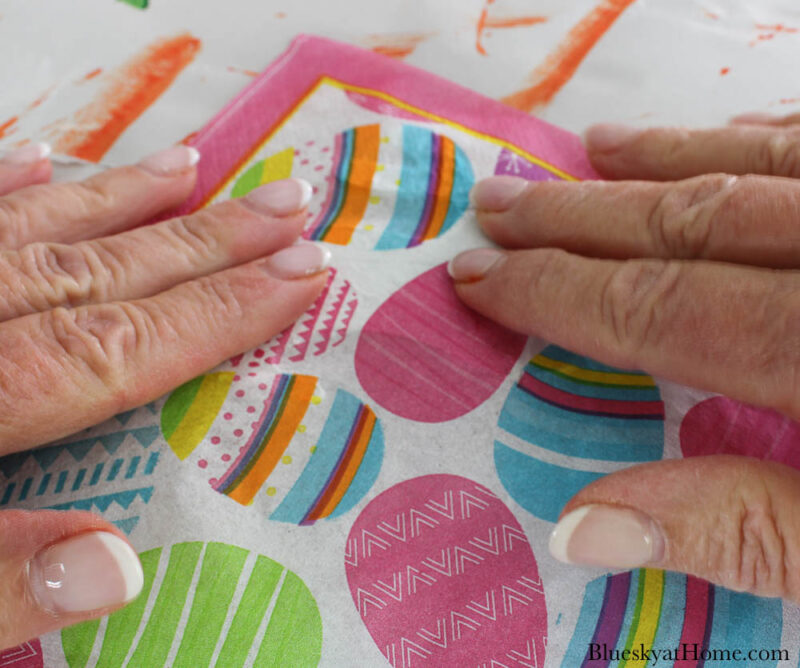
Step 3 – Open your napkins of choice. Fortunately, I already had these napkins on hand.

Remove the back layers of the paper napkin, keeping only the decorative layer; there will either be 1 or 2 extra layers.
Step 4 – Apply the Mod Podge to the bunny with a small brush ~ I used Gloss. (I love the Mod Podge brushes.)
Step 5 – I found it easiest to lay the napkin on top of the bunny, smooth and press down. Allow the Mod Podge to dry.
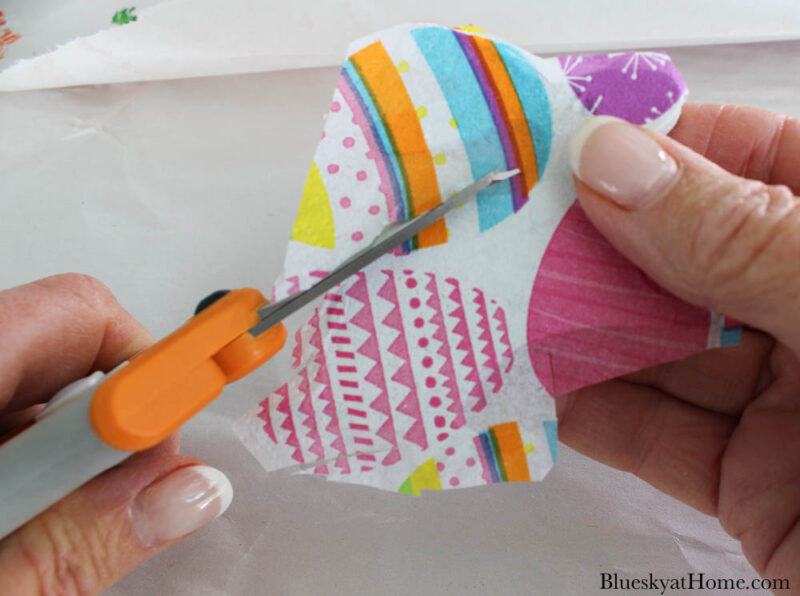
Step 6 – Using small, sharp scissors, cut away as much of the paper napkin as you can. These small sharp scissors are perfect for detailed projects where you have to get into small spaces.
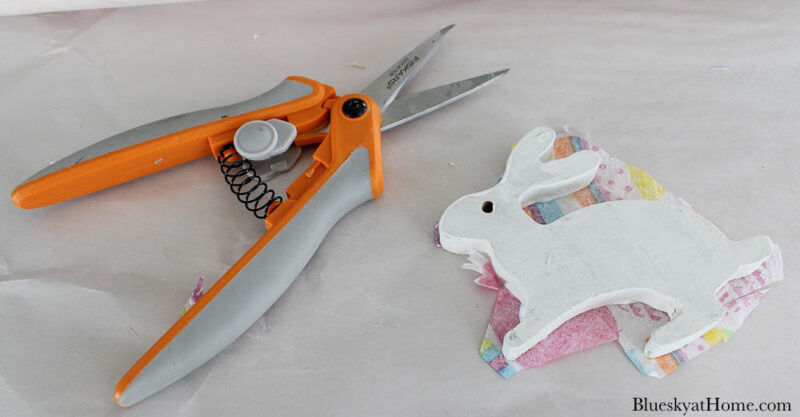
I found that it was easiest to remove all the excess paper napkin from the front side of the bunny. Lay the scissors up against the bunny and cut away the paper.
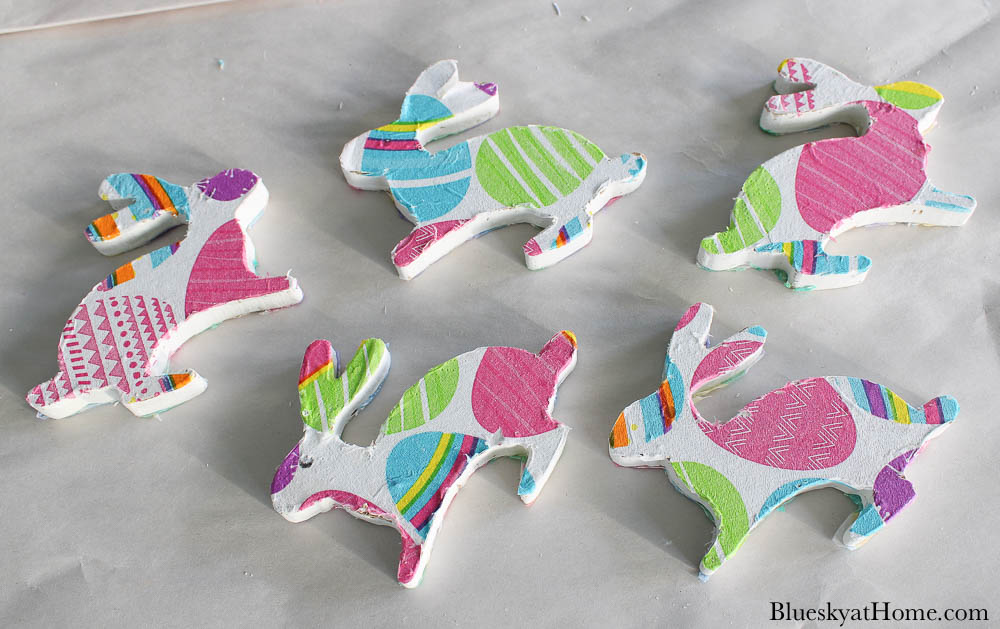
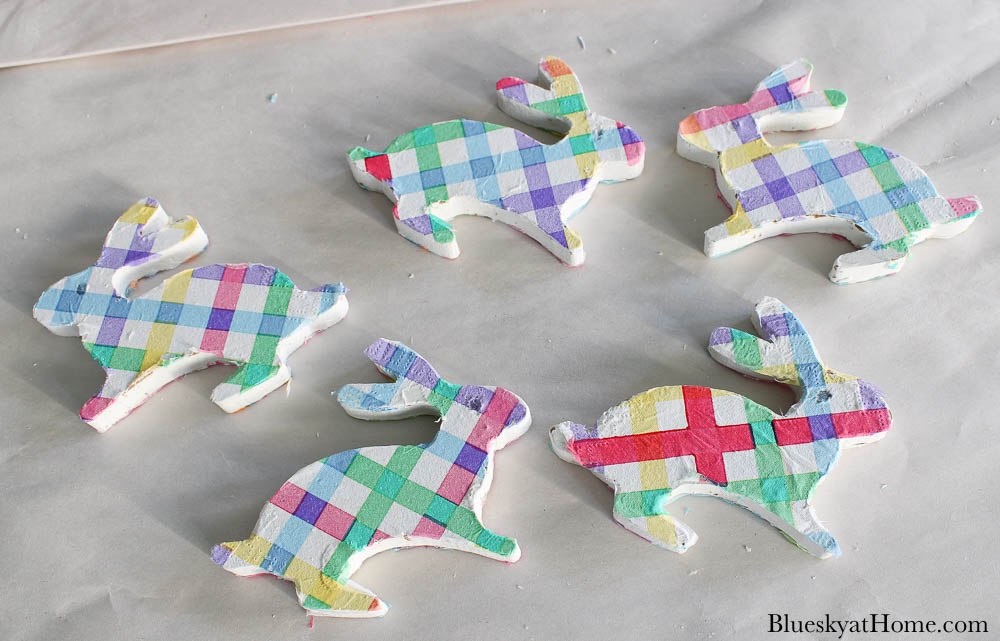
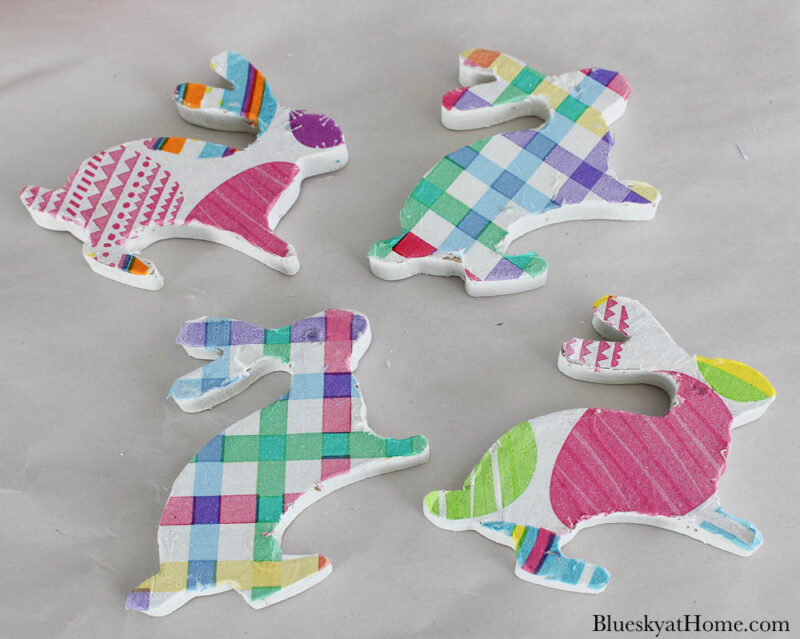
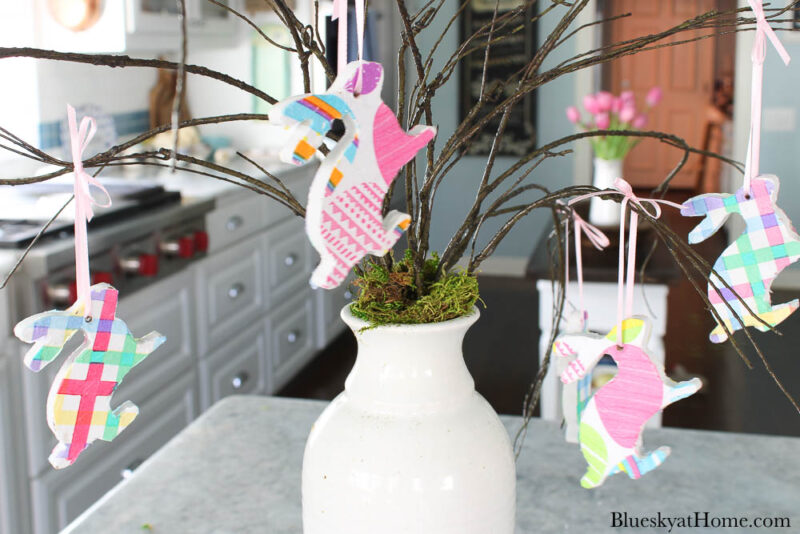
Repeat the decoupage on the second side of the bunny. I used one pattern on one side of the bunny and a contrasting pattern on the opposite side.
Apply a second coat of Mod Podge on top of the napkins. Let dry and then repeat on the second side. Set the bunnies aside.
Here are some other decoupage projects you may like to PIN and save:
- How to Decoupage Easter Eggs
- 3 Ways to Decoupage Terra Cotta Pots
- How to Make a Chinoiserie Lamp
- Rescued Tray Gets a DIY Makeover
Painting the Carrots
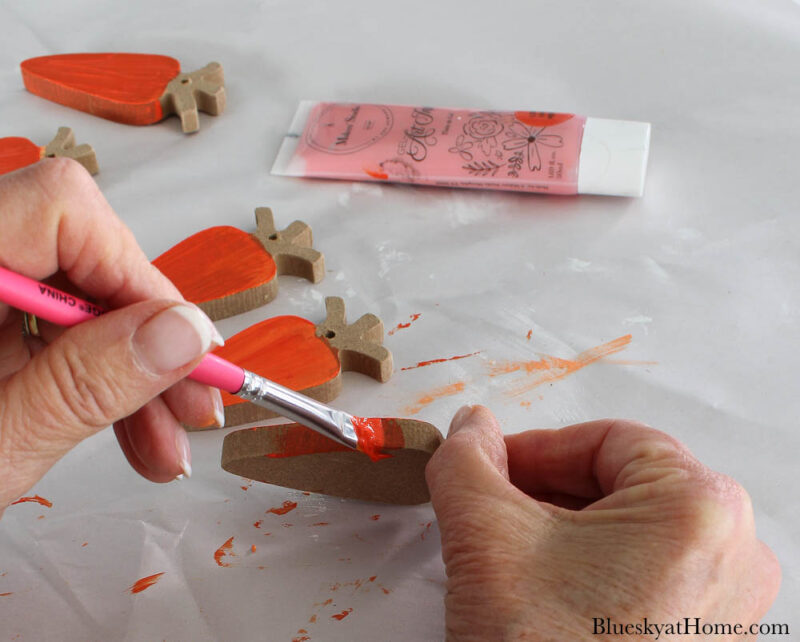
Step 7 – Paint the carrots with your favorite shade of orange. I started out using ChalkArt.
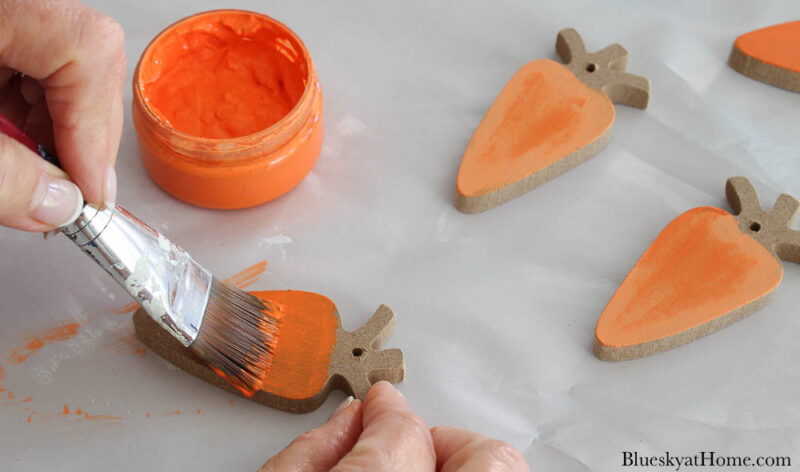
I decided I wanted a darker orange, but so I switched to Gel Ink Art in Lord Have Mercy. It was much better.
Again, paint both sides and the edges with two coats.
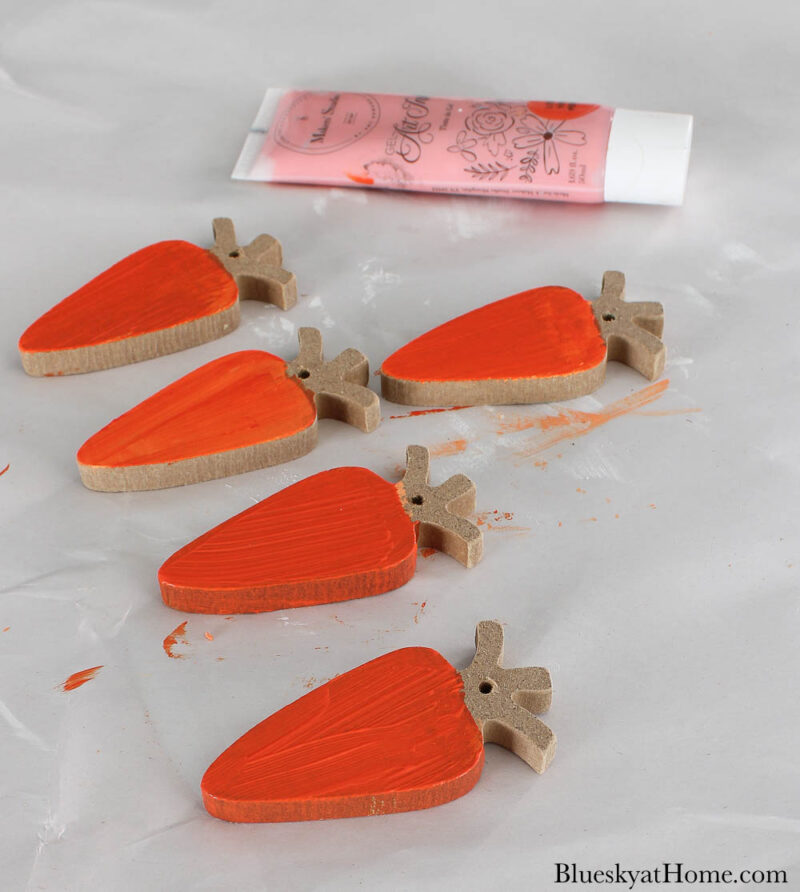
Step 8 – Paint the tops of the carrots with your choice of green. I used Gel Ink Art in Grass is Always Greener.

Preparing the Easter Tree
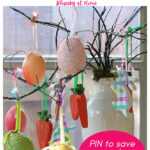
Once your bunnies and carrots are done, you are ready to make the Easter tree.
I had bought this grapevine branch several weeks ago. It is wrapped tightly.
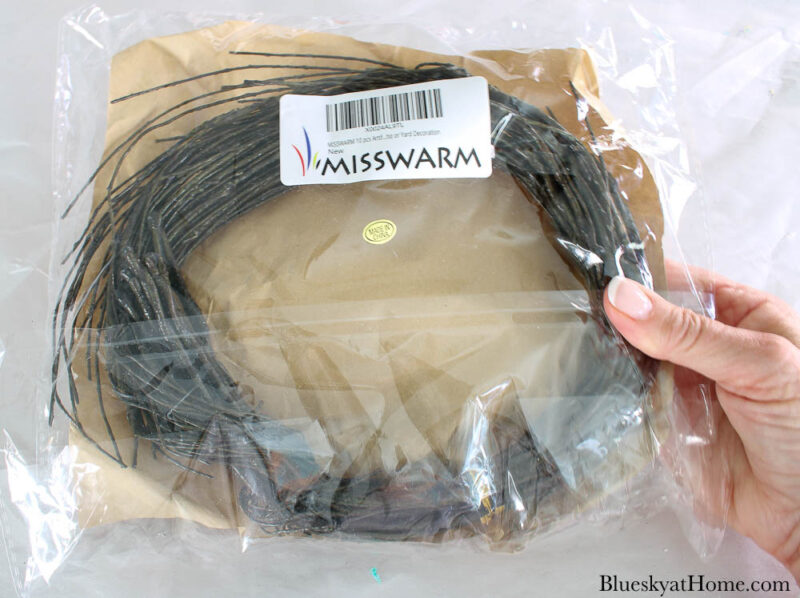
There are 10 stems that can be bent in different ways.

Step 9 – Unwrap and straighten or bend the branches,

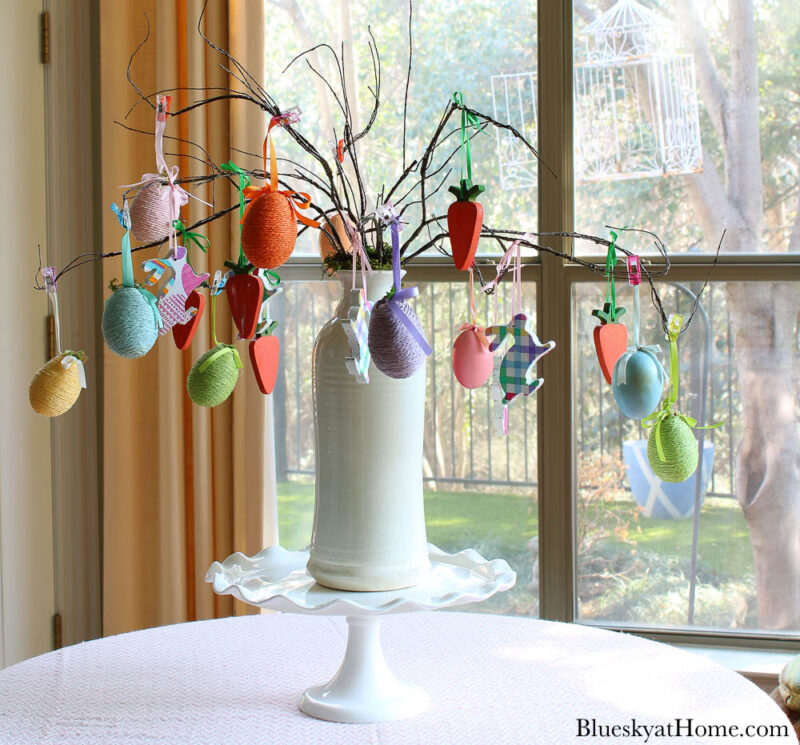
Step 10 – Choose your container. Taller is best to securely hold the branches. I’ve had this white flea market vase for years.
Step 11 – Place as many of your branch stems in the vase as you like. I used 6 stems. Arrange and bend the branches.
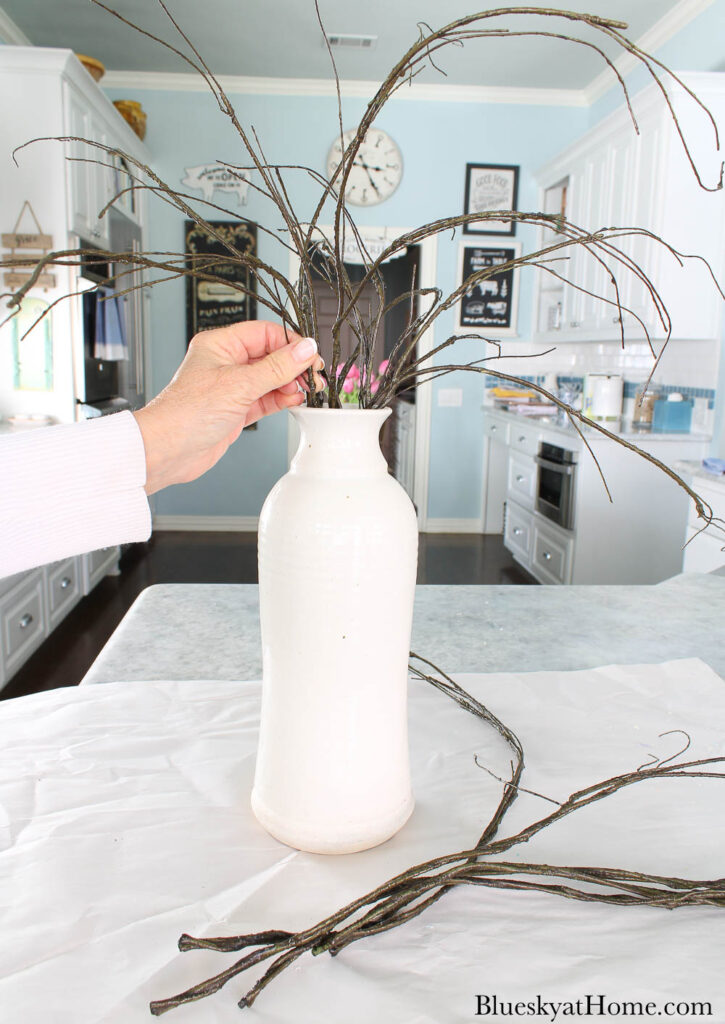
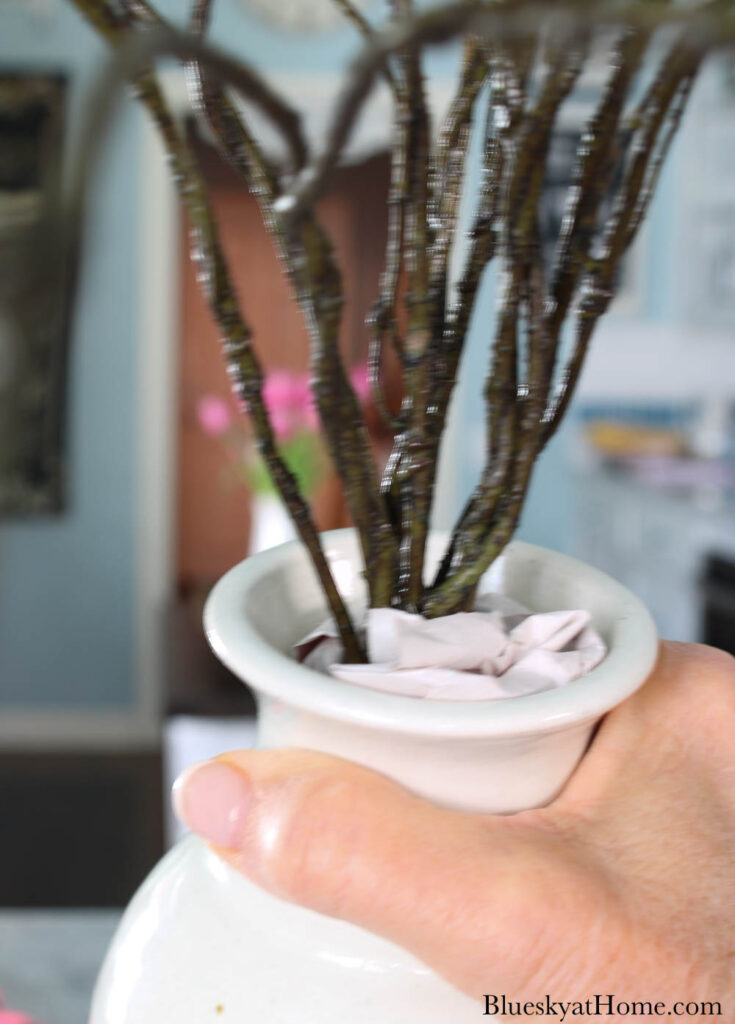
To raise up the branches and secure them, I stuffed a small piece of plain paper around the branches.
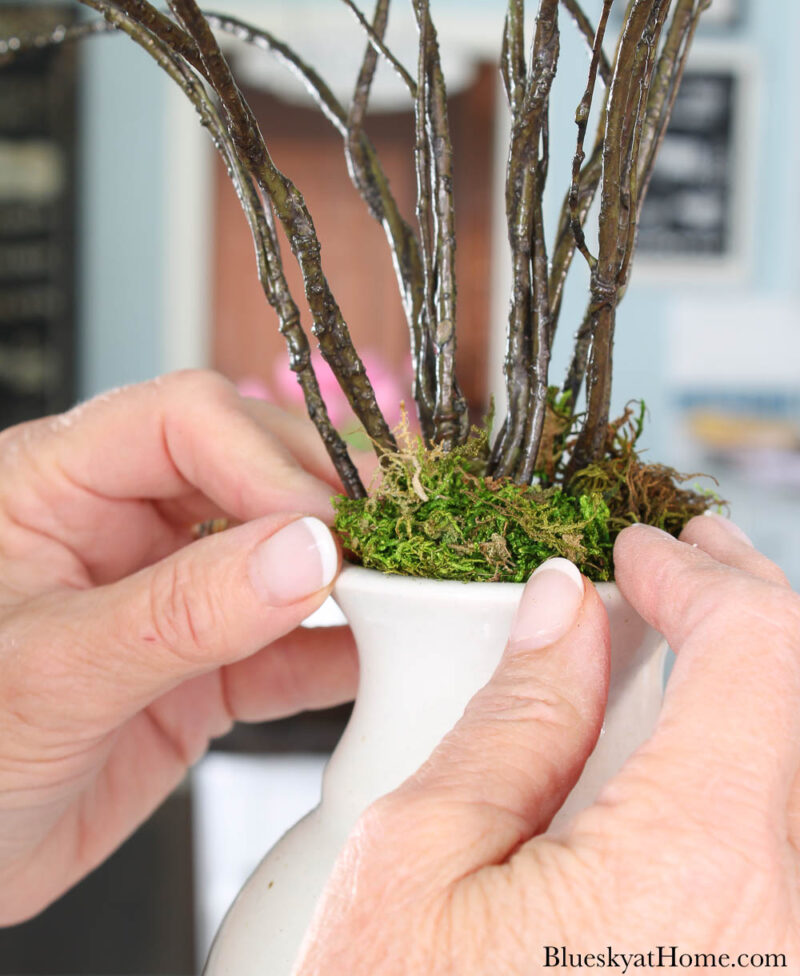
Then I used my favorite Super moss to cover the paper. This moss goes a long way. I think I have had this box for 3 years.
Add the Bunnies, Carrots, and Eggs to the Easter Tree
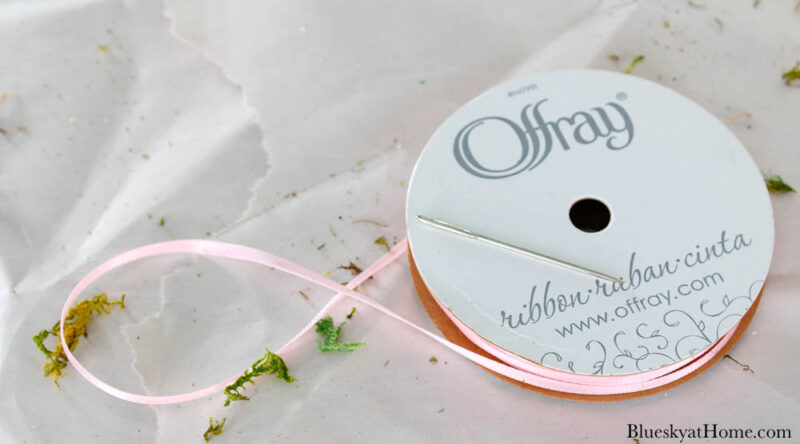
Step 12 – Use skinny 1/4-inch ribbon in your choice of colors. I had the pink on hand for the bunnies, but I did buy some green for the carrots.
Step 13 – Use a large yarn or darning needle to push the ribbon through the hole you made. Then make a bow with a loop of about 3 inches long.

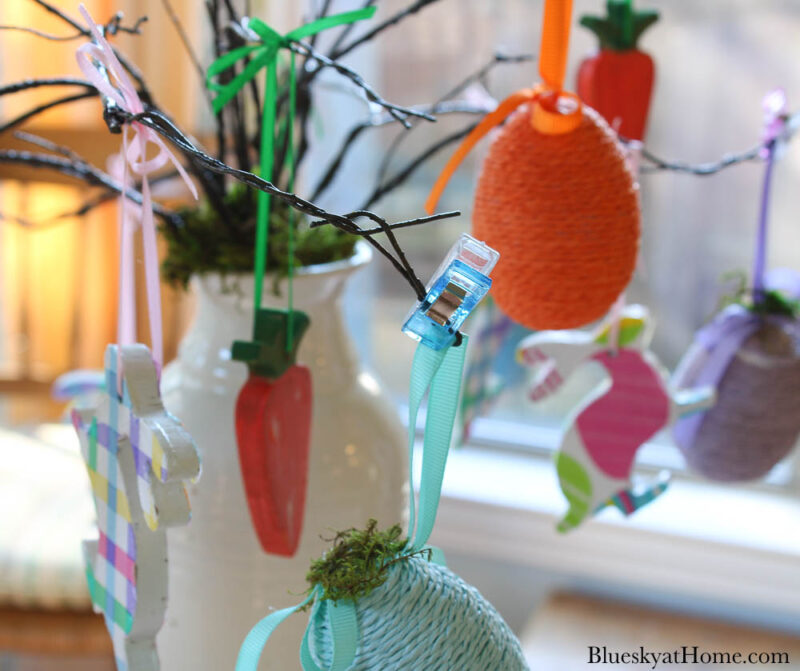
Step 14 – Thread the branches (bending the branches, if necessary) through the ribbon. Spread the bunnies around the tree.
Next, add the carrots to the tree.
Here is more super cute Ester Bunny Decor.
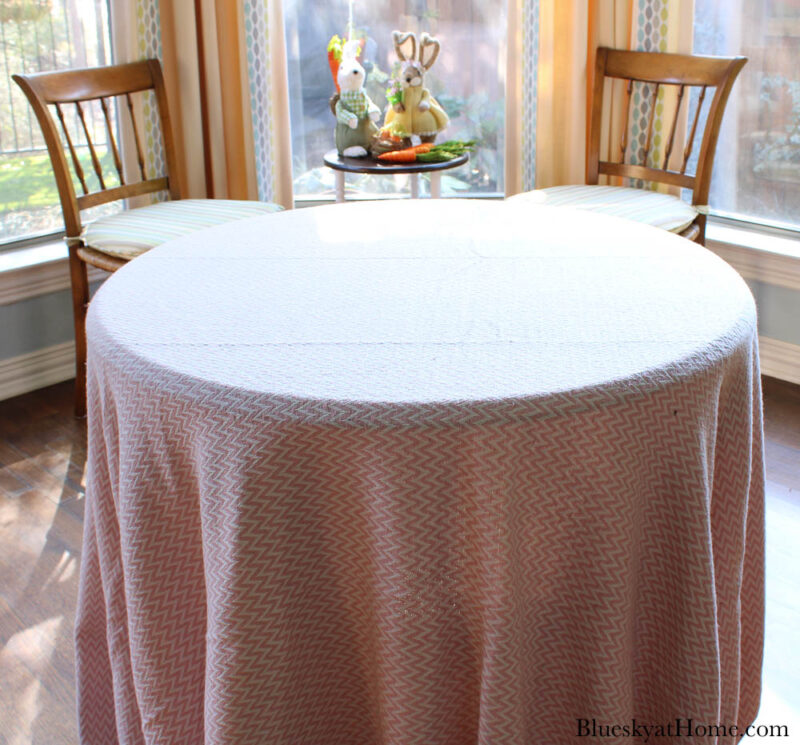
Prep the Table for the Tree
I planned to place this easy DIY Easter bunny tree on our breakfast room table. First, I used a pink textured throw on the glass-top table.
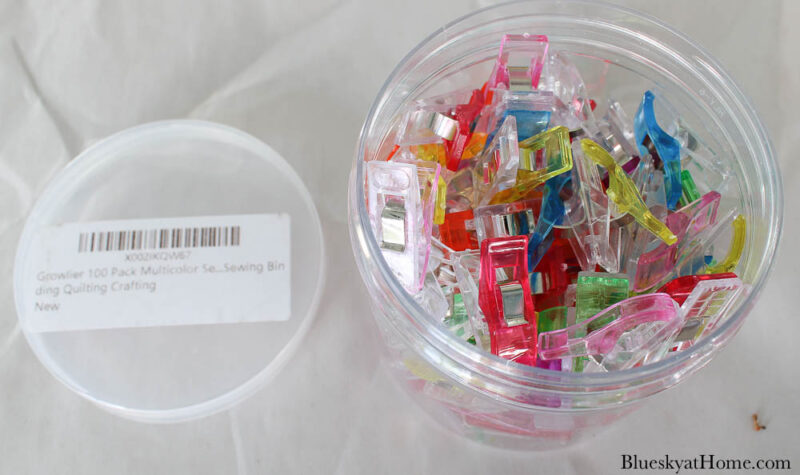
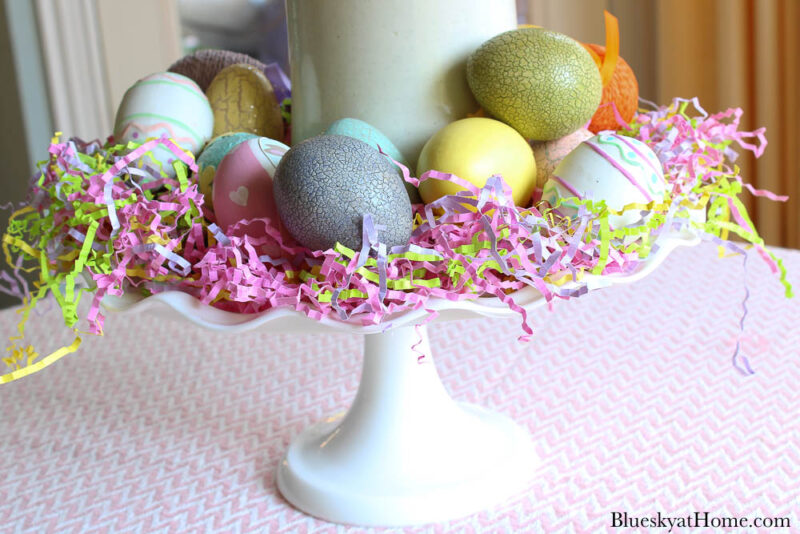
At this point, I decided to add some of our Easter eggs (We bought down all our Easter decorations last weekend.)
Some were not staying in place. I remembered that I had bought a can of these cute colored plastic clips to hold fabric or papers. This is certainly an optional step.
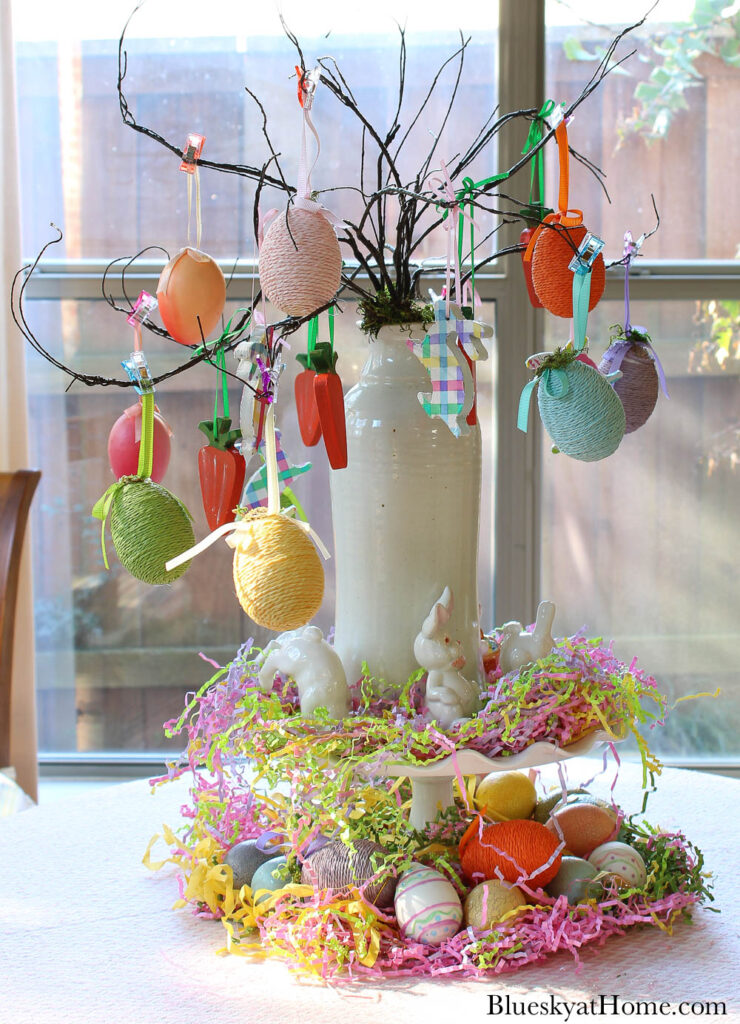
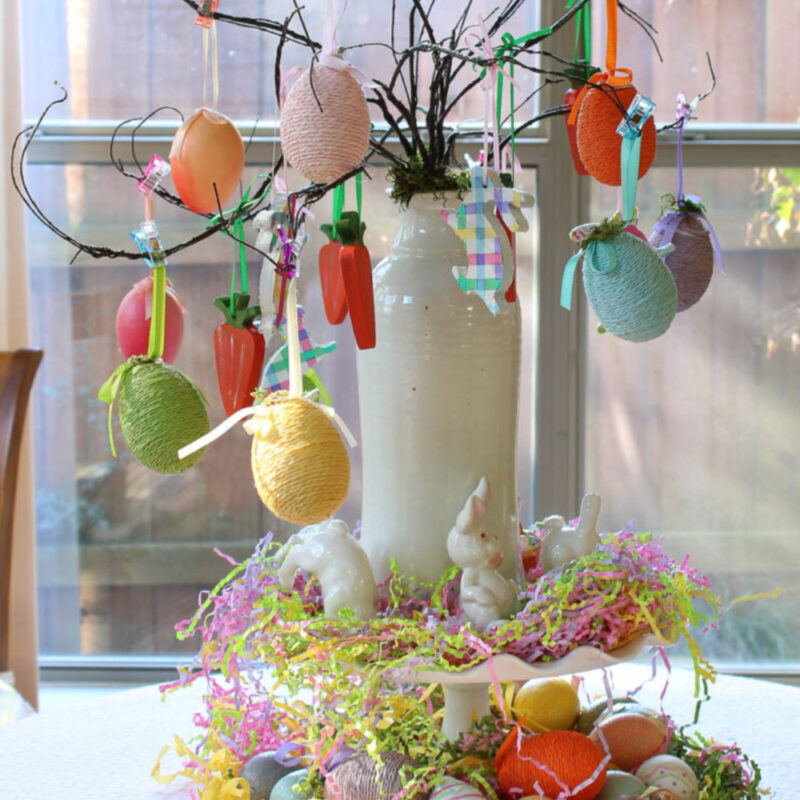
To give the Easter bunny tree more height, I set it on a ruffled-edge cake stand.
With my easy DIY Easter bunny tree complete, it was now time to decorate around it.
Finish the Table with More Bunnies and Eggs
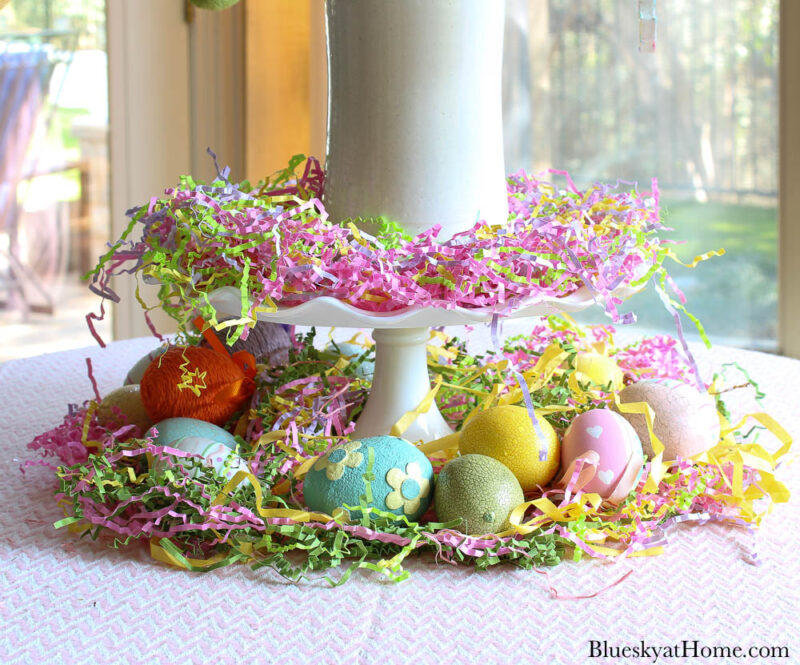
I pulled out my bag of multi-colored pastel shred and arranged it around the cake stand.
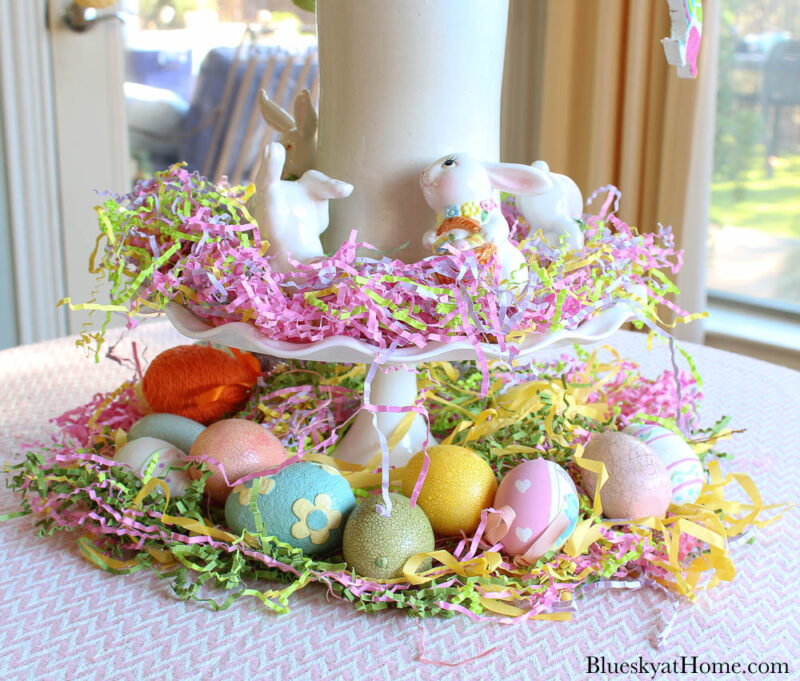
I thought the eggs were too crowded, so I added more shred to the table around the cake stand.
After moving the eggs, I added a collection of ceramic acrobat bunnies that were my son’s (He told me years ago that I could keep them.) to the cake stand.
Supplies to Make this Easter Bunny Tree
You may have some of these supplies on hand, but if you don’t, here’s your supply list:
- electric drill (optional)
- wood craft bunnies ~ these are larger than the ones I had, but I like them because the holes are already drilled.
- wood craft carrots ~ there are several styles and sizes, but I liked this one.
- package of bunnies and carrots ~ this is a great option; the bunnies and carrots are thicker, but I don’t think that matters. You may like to order just one option.
- skinny satin ribbon 1/4~inch wide~ I used pink for the bunnies and green for the carrots.
- white acrylic or chalk paint ~ it takes very little.
- paint brush
- decorative Easter napkins: like this egg one or this package of polka~dots, chevron and stripes would be great.
- Mod Podge in your choice of glossy or matte. ( I used glossy.)
- orange paint
- green paint
- green moss
- pastel shred – this is a great product to know about.
Did you like this Easter bunny tree project? It was fun to make. All the elements – the decoupage bunnies and painted carrots – can be reused in other ways.
I used an Easter tree as a centerpiece for an Easter tablescape for an Easter tea party. It’s styled a bit differently than this one.
I hope that you will PIN this project to your Easter Boards. Here is my Easter DIY Project Board and my Easter Decorating Board if you want more ideas.
Ready to see the other great Easter and spring ideas my friend have to share? Scroll down just a little to see the list. Kim of Perfecting Places is next on the bunny trail with her beautiful ideas for an Easter tablescape.

Bluesky at Home – How to Make a Easter Bunny Tree
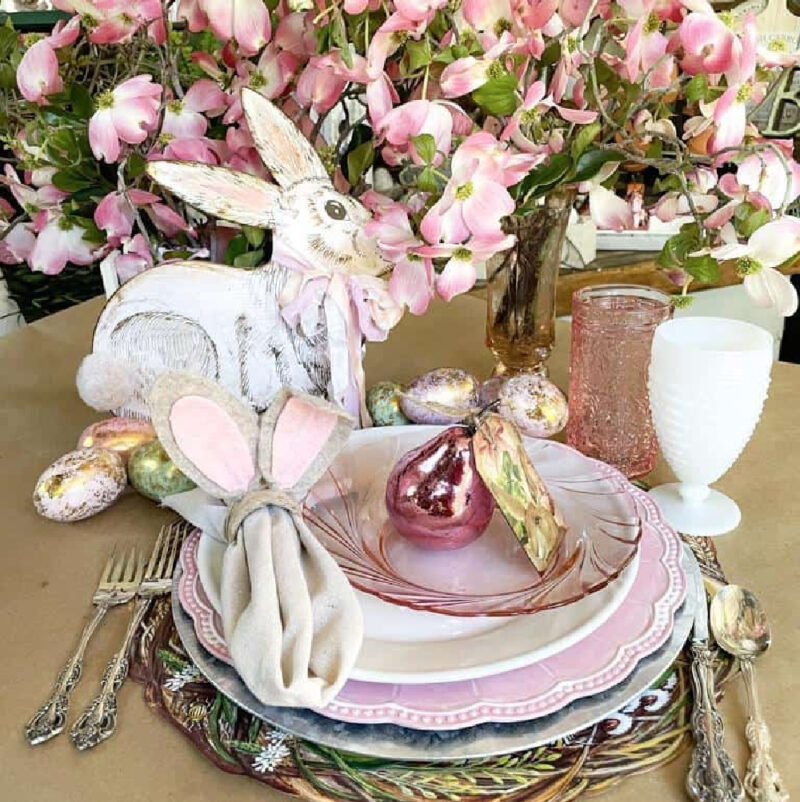
Perfecting Places – Easter Tablescape Decor
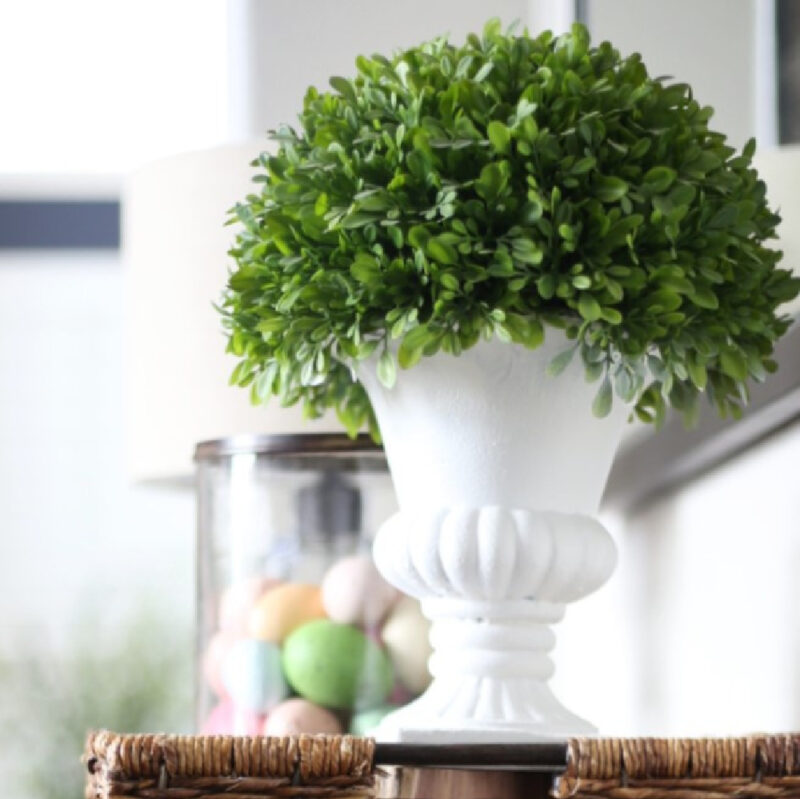
Everyday Edits – Spring Console Table
WM Home Design – Easter Bunny Napkin Rings
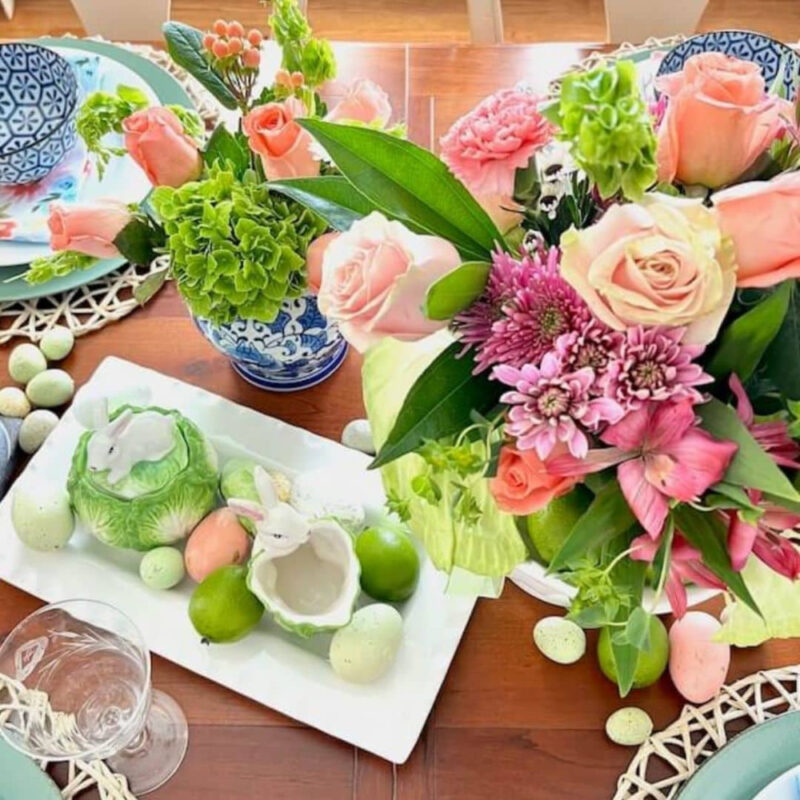
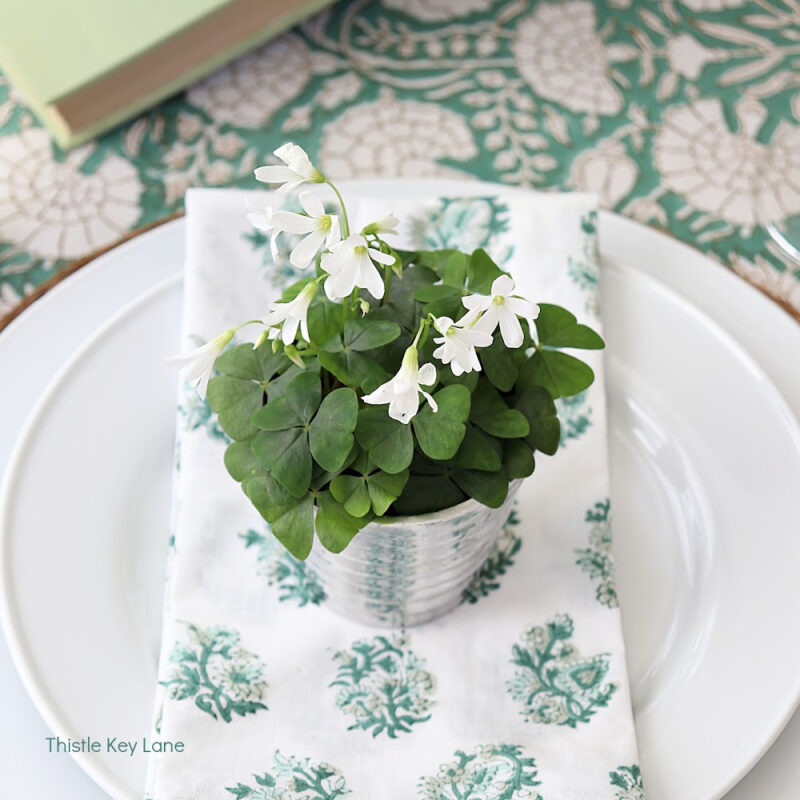
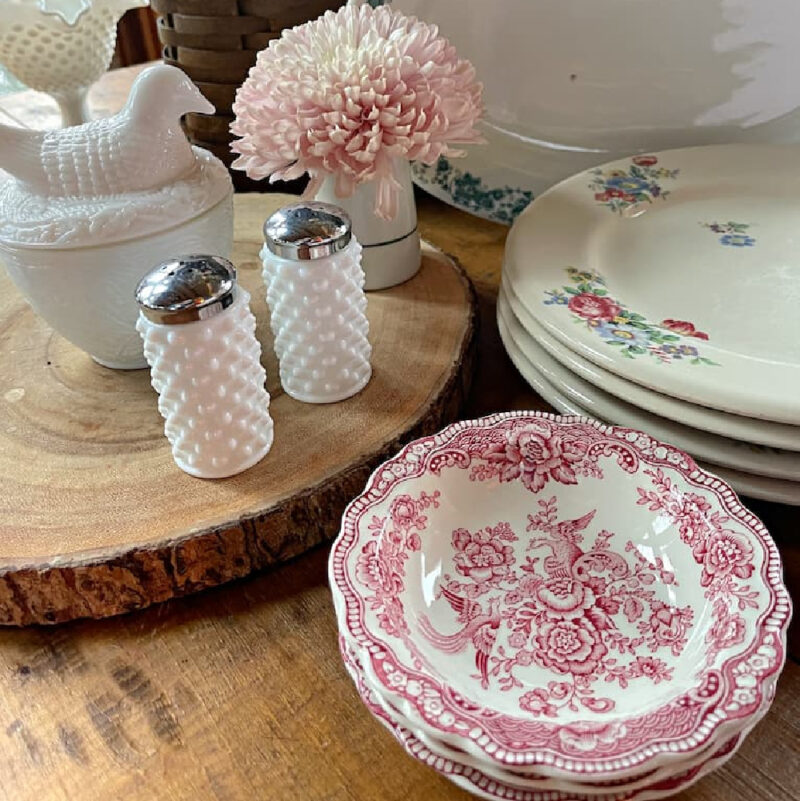
Thistle Key Lane – Green and White Spring Tablescape
White Arrows Home – Reusing Holiday Decor for Easter
Peacock Ridge Farm – Adding Beautiful Spring Touches
Masterpieces of My Life – 7 Ways to DIY Easter Eggs
Sonata Home Design – DIY Pink Bunny Pillow

Oh Carol, I love the colors! Those bunnies and carrots look perfect hanging from your tree. Gotta love that Dollar Tree. They have so many unique holiday items and with a little imagination you’ve turned a simple game into festive holiday decor. Well done! Thanks for sharing, now I think I need a little shopping trip!
Kim, I’m so glad you liked the bunny tree. I love spring pastels so the color scheme was an easy choice. Thanks for the comment and the feedback.
This is such a cute idea for an Easter centerpiece, Carol! My favorite are the little plaid bunnies! Great project and a great blog hop!
Hi Carol! This is super duper cute! What a great way to recreate the use for tic tac toe pieces. It looks lovely on your table and, I love how you styled it. Always fun to share at Celebrate the Holiday. Wishing you a spring-y day! XO- MaryJo
So cute Carol. You know I love a good DIY project and this is perfection. Thanks for sharing.
What a fun idea with that tic tac toe! I love how it turned out!
Carol, your Bunny Tree is just so cute! I love it and I am going to make one! I love all the spring colors. Thanks for the sharing this with us. The way you put the Easter grass and eggs at the bottom of the pedestal plate just adds so much to the cuteness. Have a great day!
I love your colorful Easter tree, Carol! What a happy centerpiece for your table! Thanks so much for organizing our blog hop! I appreciate you, sweet friend!
Such a cute idea! I love it. Happy Spring!
I love this Easter bunny tree so much Carol! Such a delightful centerpiece with your cheerful mix of colors, textures and figures. You have me grinning from ear to ear! 😃
hi Carol! What a fun idea and it looks great on the table! Love those carrots!
Thank you for hosting this holiday hop!
laura
Just popping back in to say thank you for sharing this on Farmhouse Friday! I love it and will be featuring it tomorrow. Hope you link up again soon. pinned
So pretty, what lovely ideas your incorporated. Thank you for sharing with us at Handmade Monday
So darn adorable Carol! Pinned!
Love how you layered your tree on top of a cake plate. Your table looks so pretty!
How cute! So many ideas this gives me with those bunnies!
This turned out amazing. I like the shape of the bunnies.
Fun project
Love this idea. And the taller the better with the vase is an important tip. The final display is pretty and cheerful. Thanks for sharing at Funtastic Friday.
You are such a talented crafter! I love this tree and you made it your own. So much style and charm.
Everything came out so adorable! I’ll have to keep an eye out for that little tic tac toe at my Dollar Tree.
Your bunnies are so cute, Carol! Happiest hopping!
Your tree is so stinkin’ cute! I bet you have the best time doing crafts. Love the colors and how they hang. Great idea. Pinned!
Carol this project is fantastic! I would never have thought to make a little tree with all the Easter bunnies hanging from it. Your tablescape is gorgeous! So fun to hop along with you!
I love your cute bunnies! Thanks for hopping with us.