Easy Easter Wreath Made with Pastel Curly Ribbon
When you don’t have the supplies necessary at home for a project and you can’t go to the craft store and the things you ordered online won’t arrive in time, you have to just figure it out. That’s what I did for this easy Easter wreath.
To be perfectly honest, I loved using supplies I already have to create accessories and decorations for our home. This easy Easter wreath not only turned out so cute, it gave me a great sense of accomplishment. We like that feeling, right.
If there is one thing I learned as we are confined to our homes, it’s how resourceful I can be. Under normal circumstances, my easy Easter wreath might have looked completely different.
It might have been decked out with the most beautiful faux flowers.
It might have included big gorgeous bows made from wired French ribbon.
But since I had none of those things on hand, my Easter wreath is made by shopping my craft stash. And I love how it turned out. In fact, I love it a bunch.
Easy Easter Wreath Made with Pastel Curly Ribbon
This post contains links to products used in this project that I highly recommend. If you should order any product from this site, I may receive compensation, but you don’t pay a penny more.
Why did I have to shop my house for supplies to make this easy Easter wreath?
- I used up most of my faux flowers in other Easter decor in our home: in our living room and in our kitchen and breakfast room
- The coronavirus came to town, so no shopping
So, to plan B. I would have to order supplies online.
FINDING SUPPLIES TO MAKE MY EASTER WREATH
The first thing I did was search online for faux flowers and ribbon. I found what I wanted, but none of it would arrive by the time I needed to make my wreath. I guess everyone was shopping online.
Uh, to plan C.
This is when you get creative and use what you have on hand. Normally, I love to use items I already have, but, I had no faux flowers and no pretty ribbon.
Until. . . .
As we brought down our Easter decorations from the attic, Sweet Shark also brought down a box labeled “boxwood wreath”. This was a wreath that I bought a year ago at Lowe’s for a Christmas wreath. I couldn’t find it last December and forgot about it. Now I had a wreath to use.
Then I opened my ribbon box and searched for any ribbon that I thought I could use for this Easter wreath.
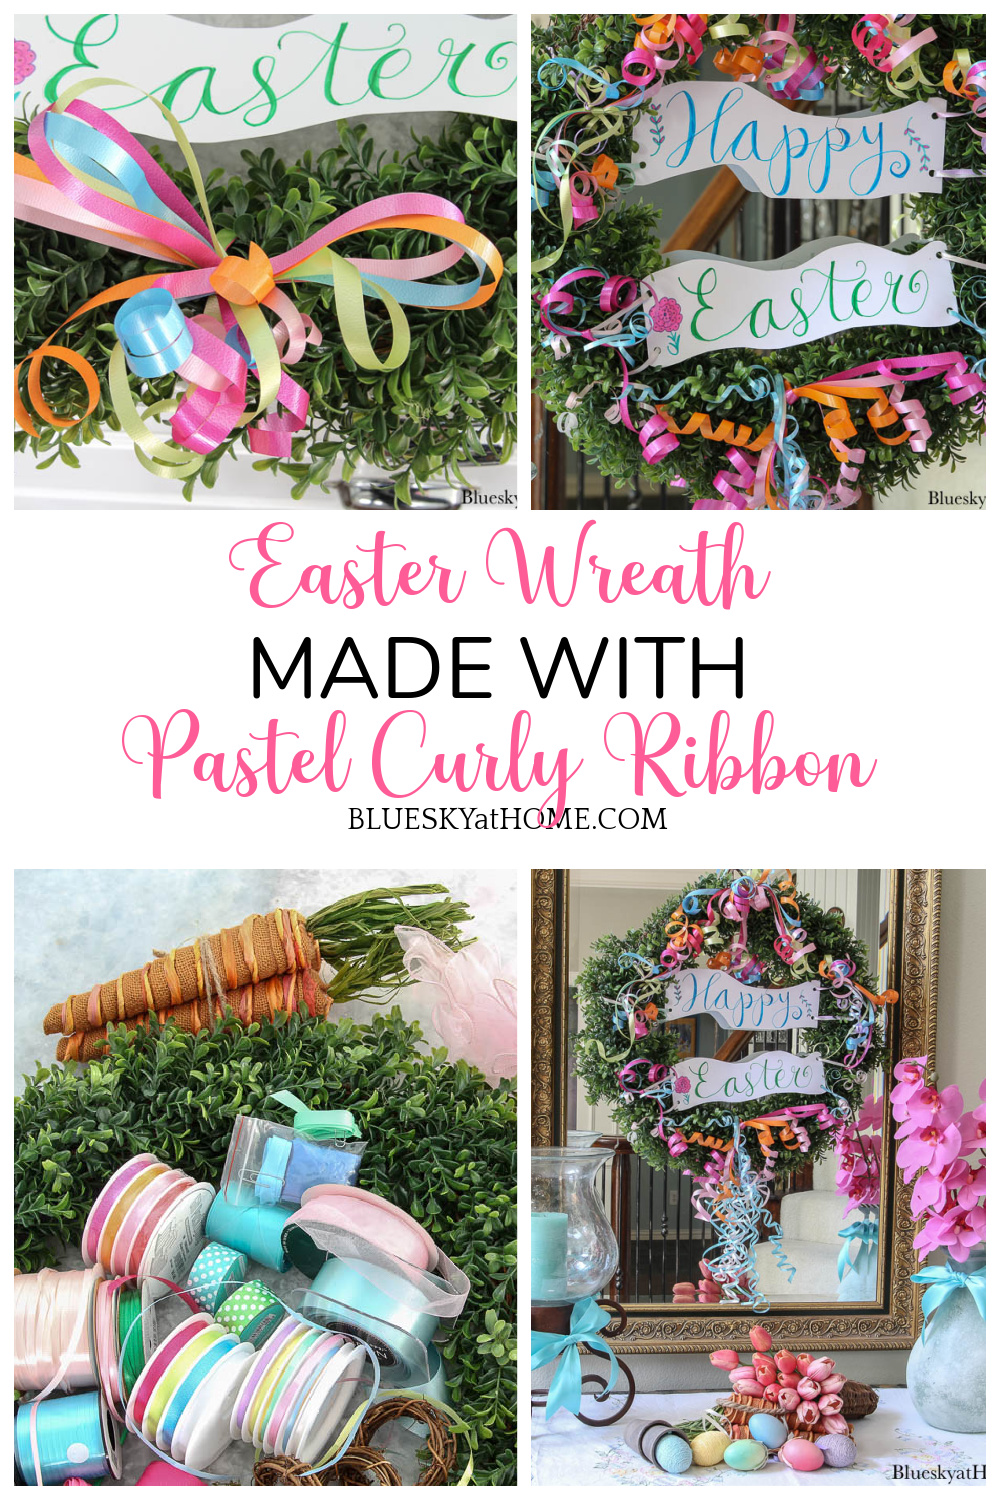
I also still had a carrot bunch and 4 little twig wreaths. And hand lettering pens.
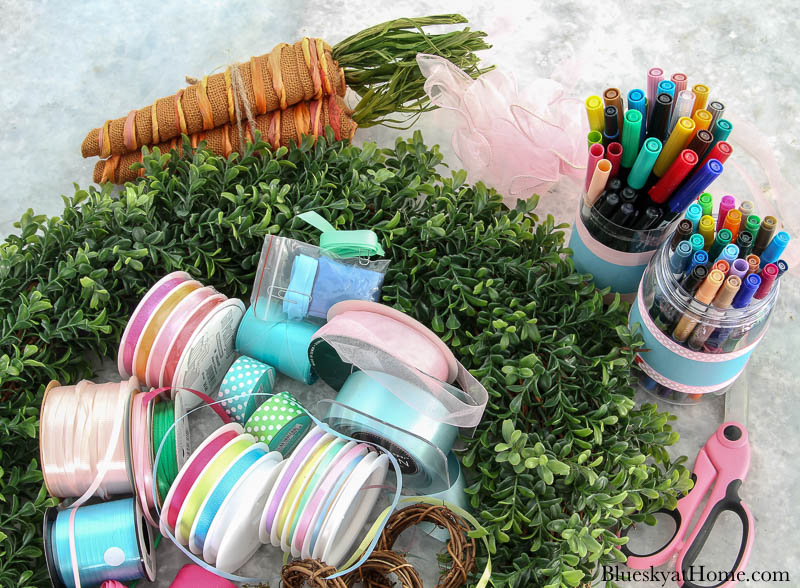
I realized I had a ton of curly ribbon, in two different widths in perfect Easter pastel colors. Some packages had never been opened.
I love working with curly ribbons for party decorations. It’s so easy to work with that it could become the main ingredient in my Easter wreath.
HOW TO MAKE MY EASTER WREATH
First, I cut off several colors of ribbon.
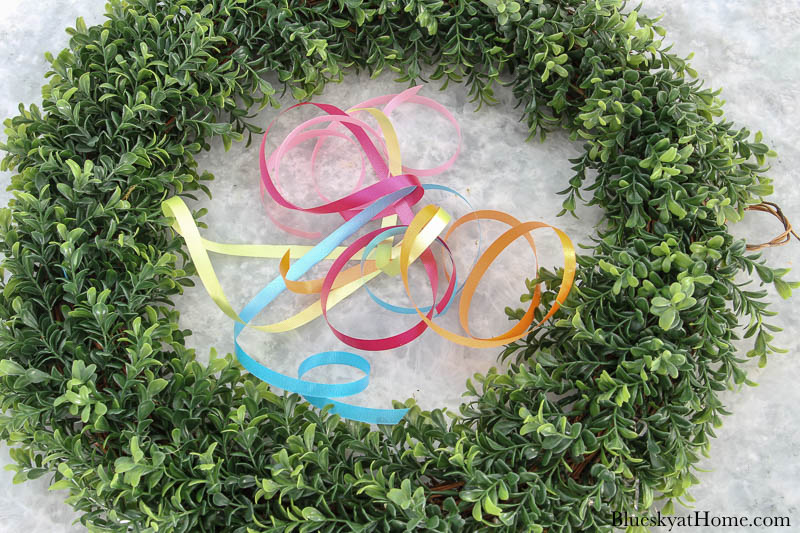
Then, I made a knot to combine this first group of ribbon for the wreath hanger at the top.
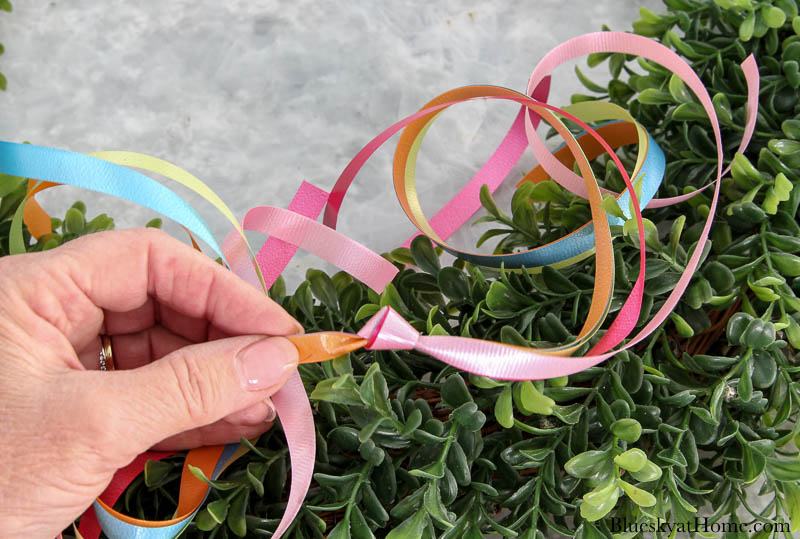
Third, using scissors, I began curling. This is my favorite part. I continued making groups of curly ribbon.
MAKING MY EASTER WREATH SIGNS
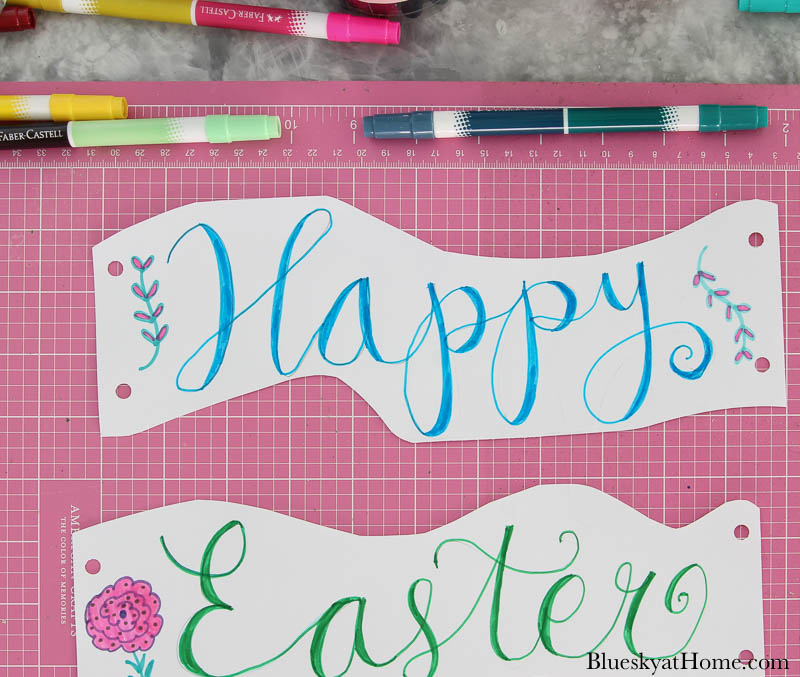
I have been working on my hand-lettering skills over the past few months. I had paper and pens, so I decided to make a “Happy Easter” sign to be the center of the Easter wreath.
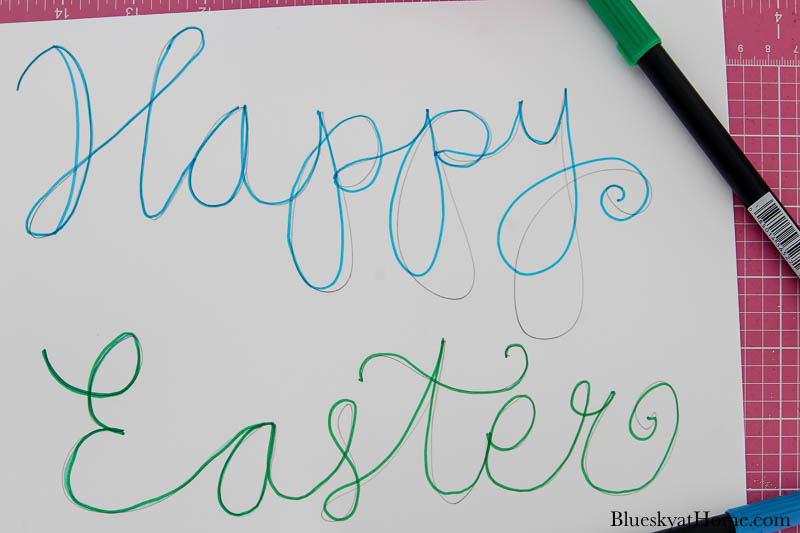
The first step is to write out my words in pencil with HP Premium 32~weight paper, then letter over in blue and green, using my Tombow Dual Tip Markers.
The next step is to add the line that will thicken the downstrokes in each letter.
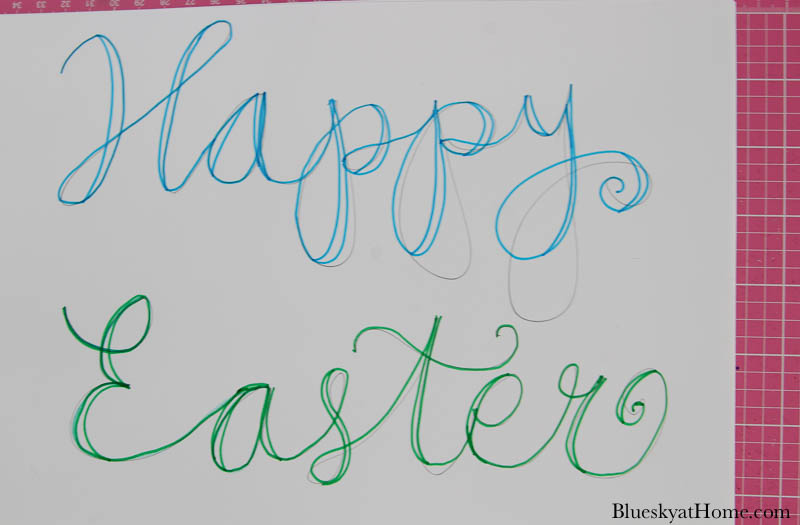
Finally, I filled in the lines for the downstrokes to create the hand lettering
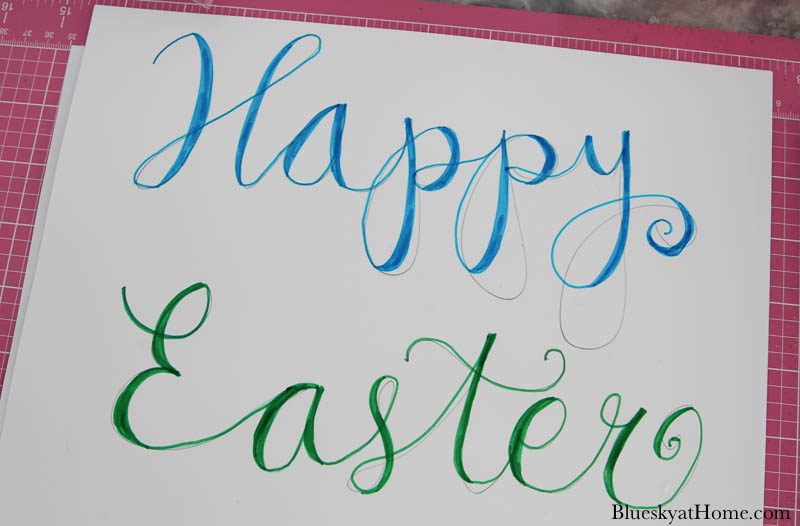
The last step is to erase all the pencil marks. I cut the two words out, curving the paper for more interest. Then I punched two holes into each side of both word signs.
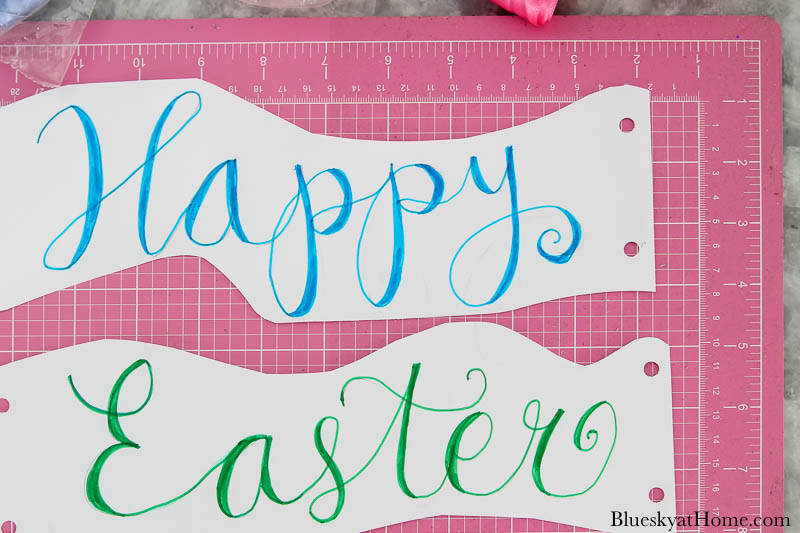
For more interest, I added a few small designs to both word signs.
ASSEMBLING SIGN AND RIBBON
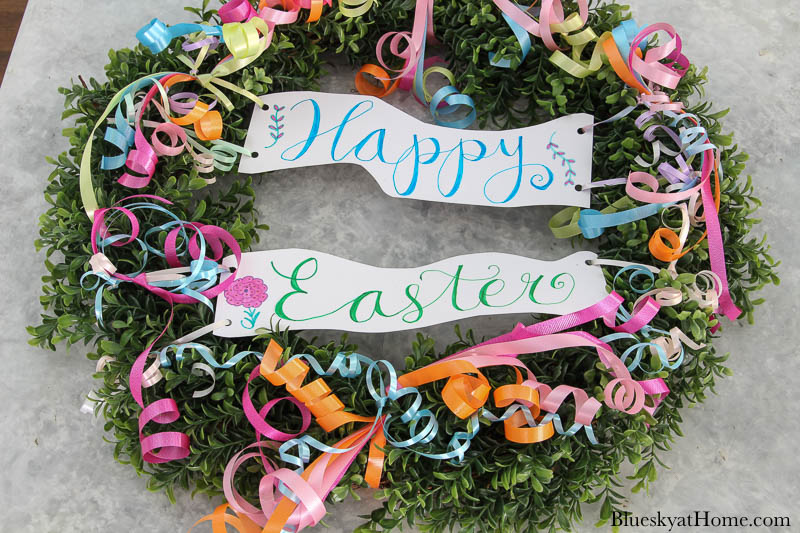
To attach the word signs to the wreath, I used the skinny curly ribbon. Threading the ribbon through the holes that I punched and tieing to the boxwood wreath was easy.
I tried to mix up the colors. Once I had both word signs attached, I curled the ribbon. This used up all of my skinny curly ribbons except for white and aqua.
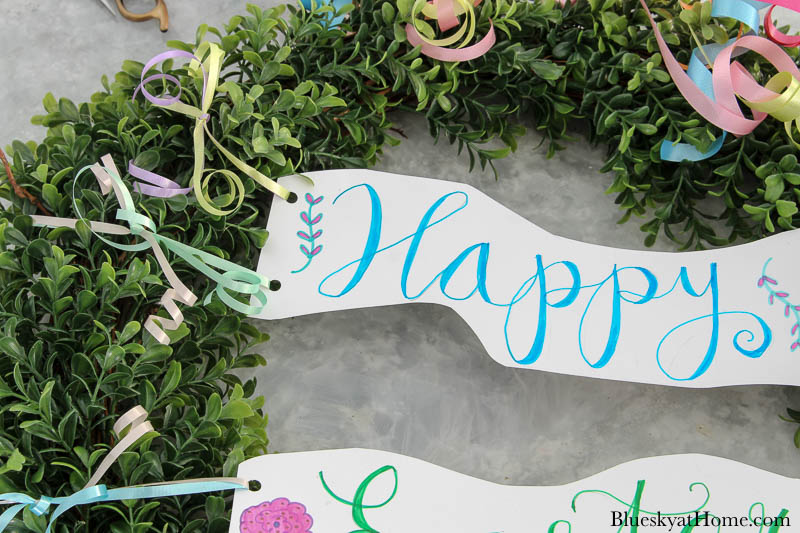
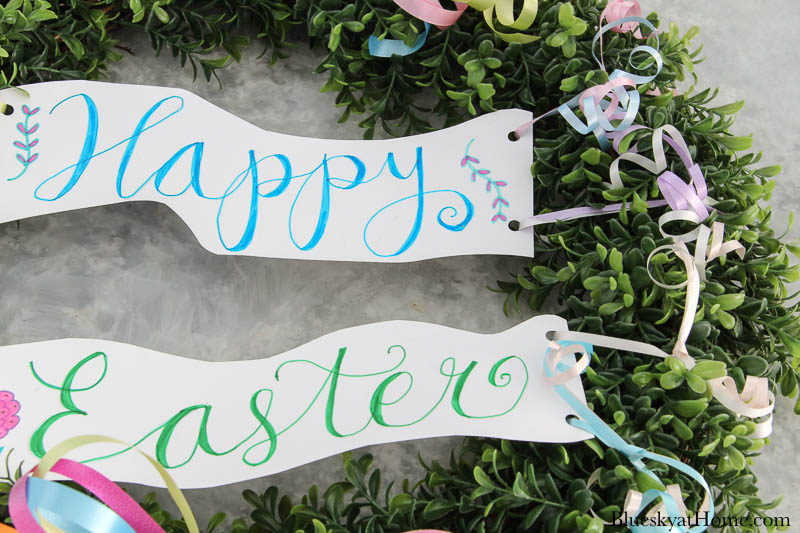
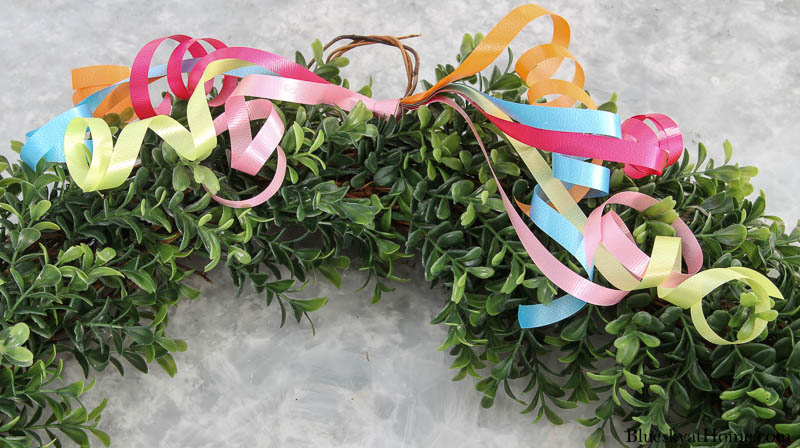
Now I was ready to add more of the wider curly ribbon in the bright pastels all around the wreath. I added one big bow at the bottom of the wreath.
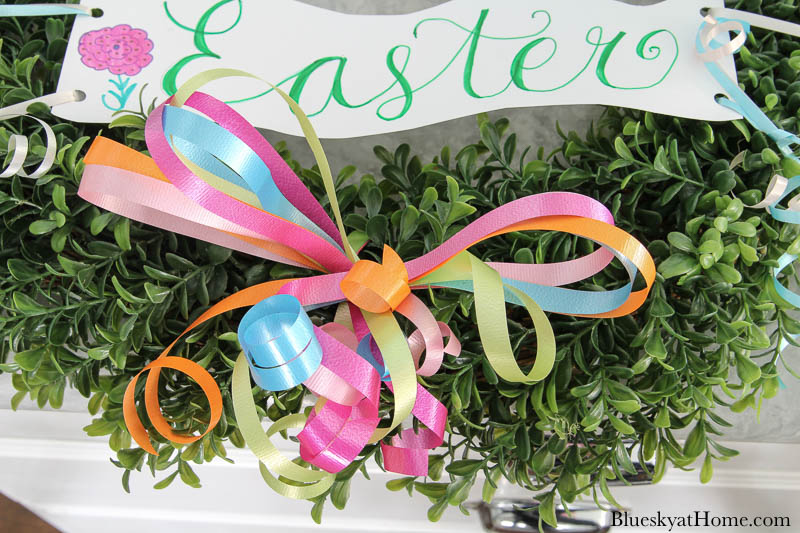
Lots of curling ribbon, but I love the bright pastels and the festive look.
HANGING MY EASTER WREATH
I couldn’t my Easter wreath on our front door for a couple of reasons:
- It’s been raining every day and rain was in the forecast; I knew that the curl would go out of my curly ribbon if it got damp.
- I also knew that any humidity would not be good for my paper signs.
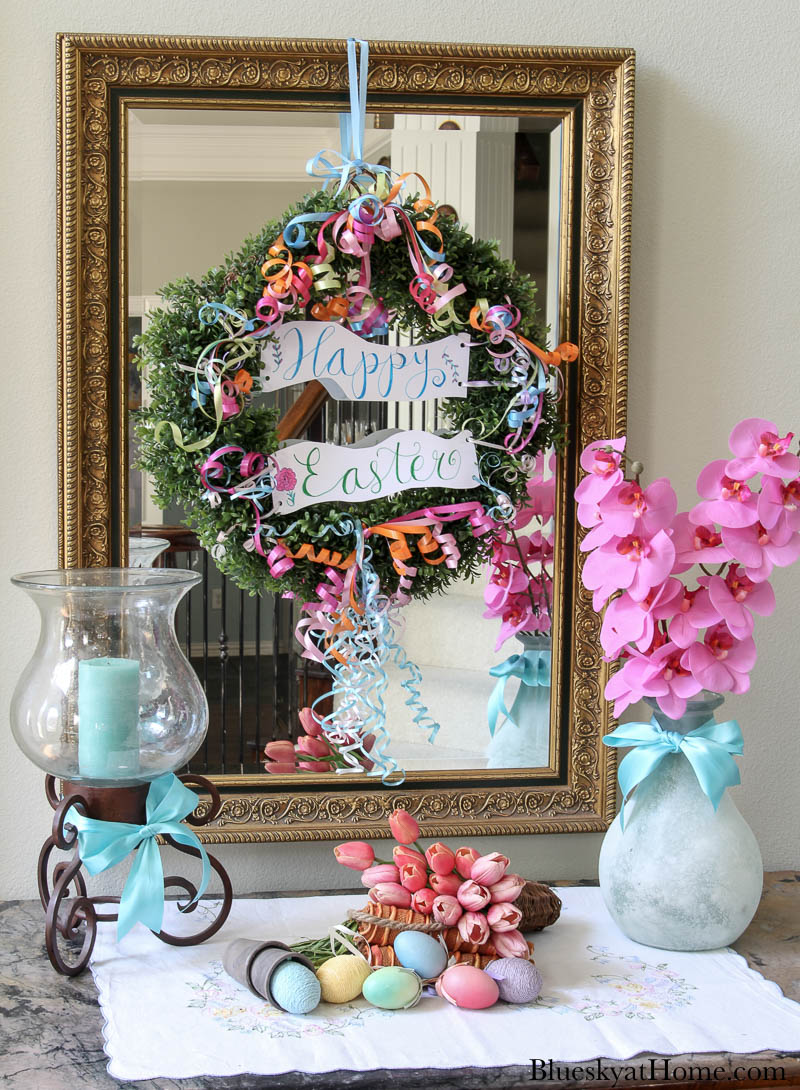
Since I had not yet decorated our entry for Easter, this would be the perfect place for my curly ribbon Easter wreath. I used one piece of blue ribbon to hang the wreath on the nail that always stays on the top of the mirror.
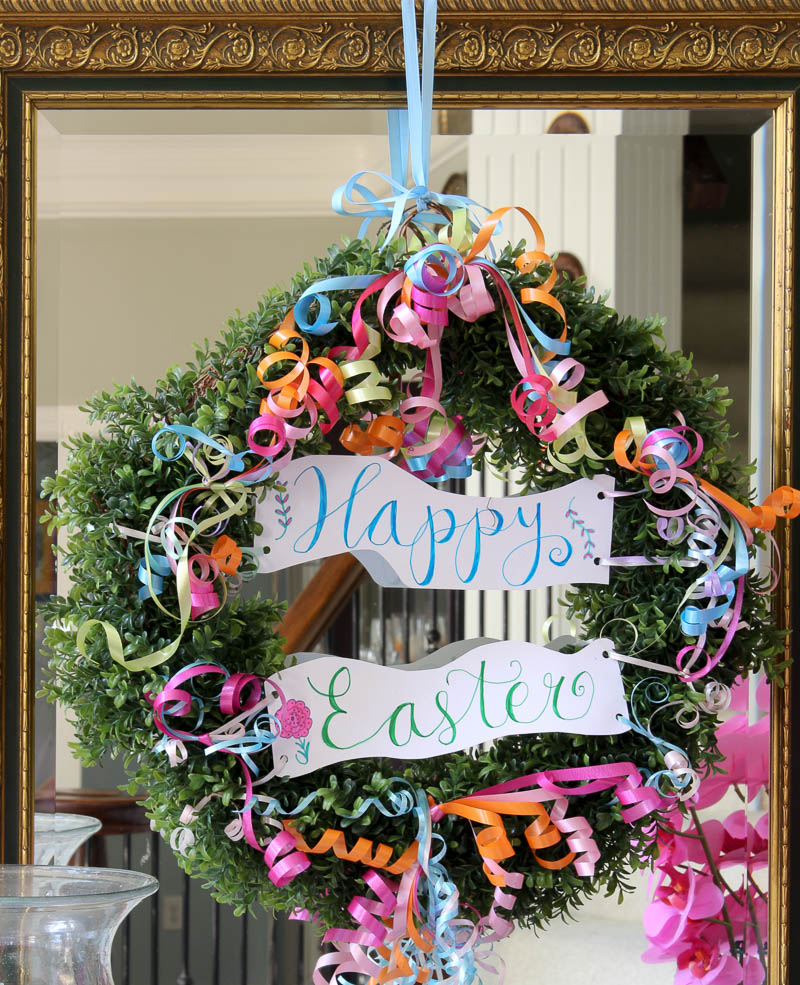
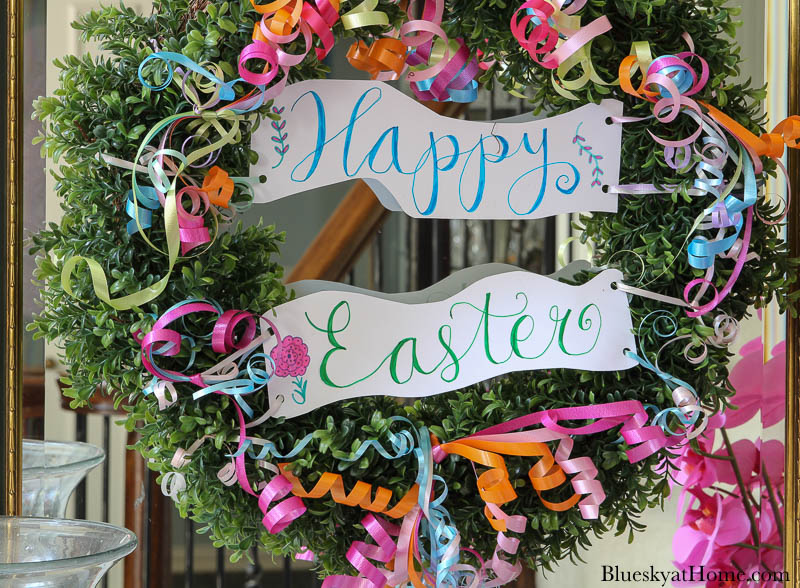
After I hung the wreath, I added the very last bit of white and aqua curly ribbon to the bottom of the wreath.
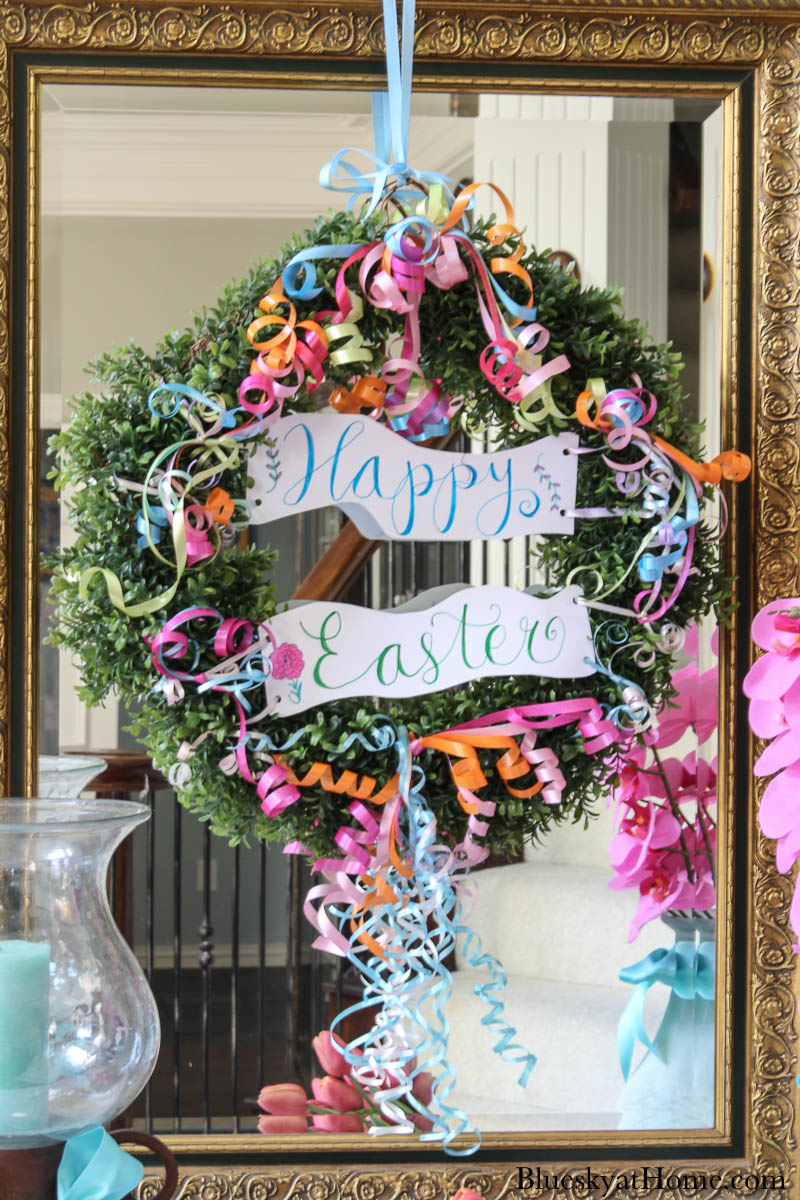
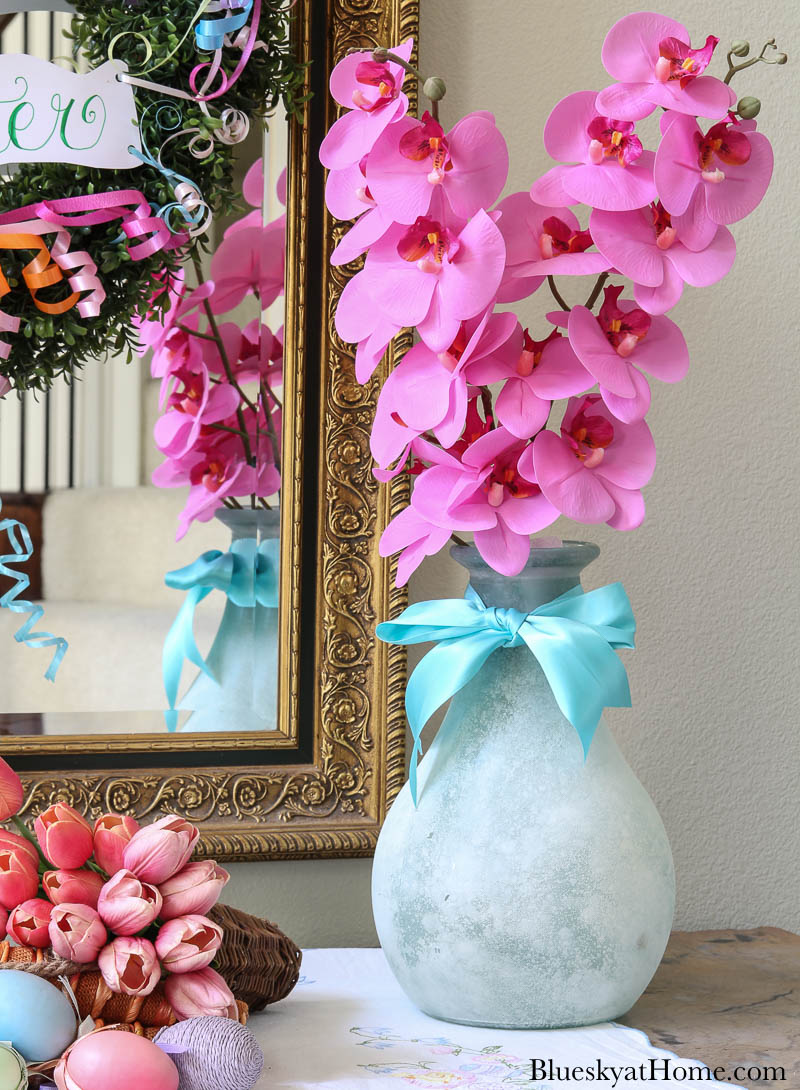
To finish off the entry scene, on the right side of our commode, I used a frosted blue vase that has been spending the winter in a closet.
Fortunately, I had picked up 2 stems of hot pink orchids at Tuesday Morning ($2.99 each) the week before the lockdown. I intended them for another project, but they were needed now. The color picked up the hot pink in the curly ribbon and gave the vignette more height.
A strand of aqua ribbon made a bow that matched the aqua curly ribbon.
I did have an aqua candle on hand for our large candle holder and just enough aqua ribbon left to make a bow on the left side of our entry commode.
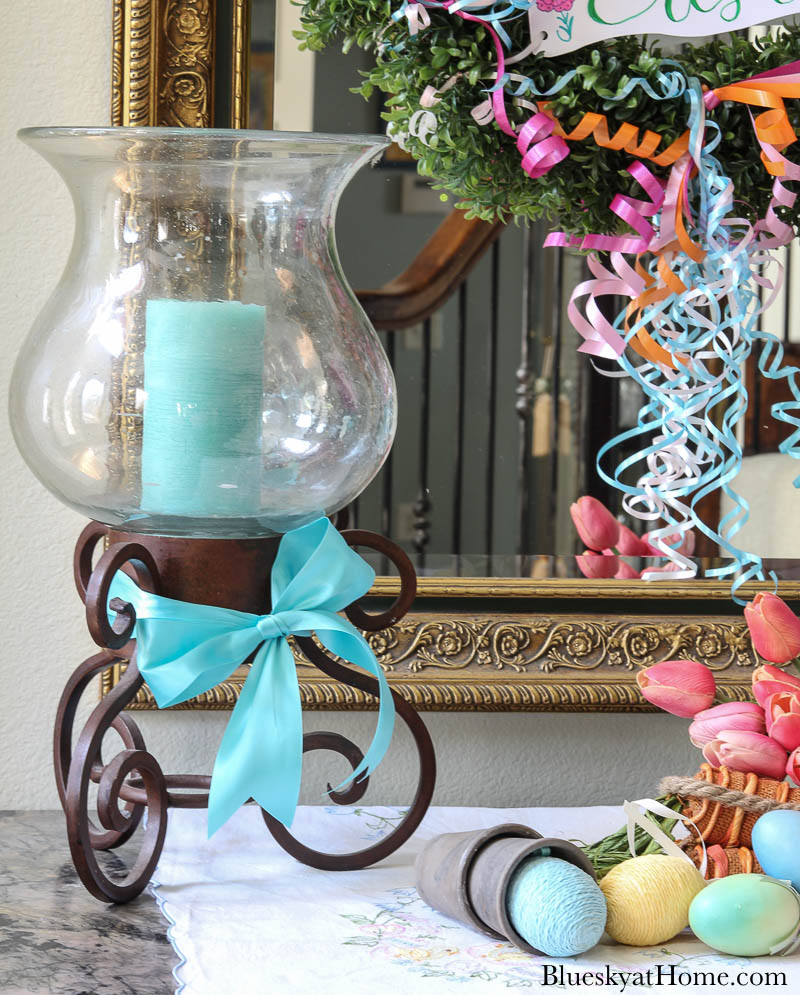
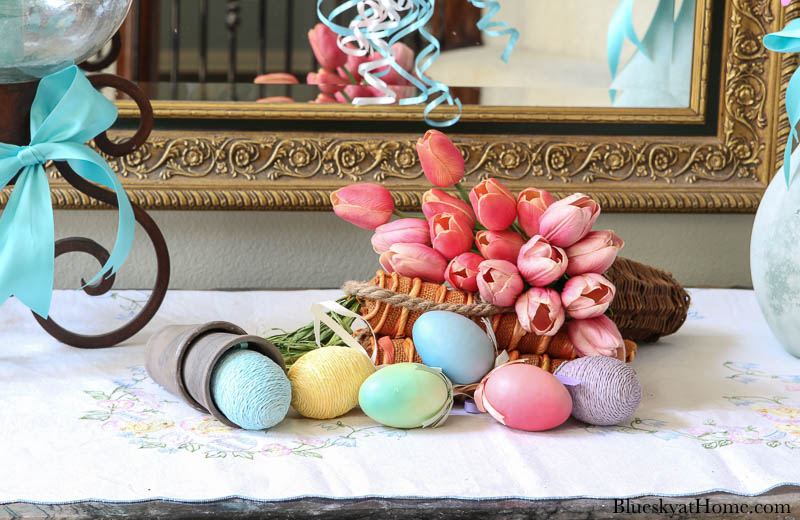
I used my square tablecloth embroidered with Easter scenes to bring in more white.
The carrots that I didn’t use on the wreath and Easter eggs that I confiscated from a few other areas in the house filled in the center of the commode. The pink tulips in the woven basket were hanging in my kitchen.
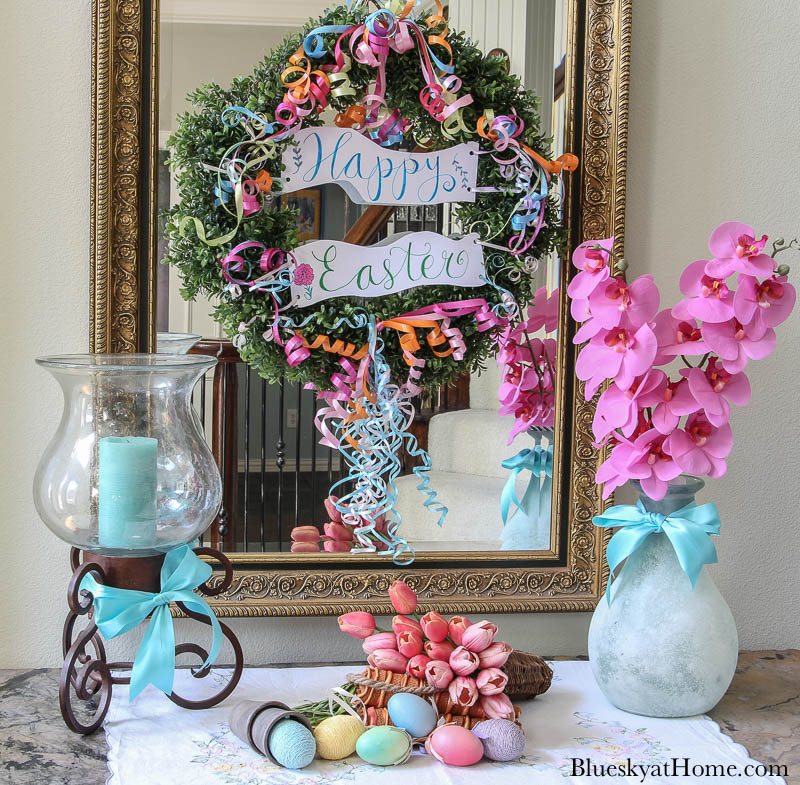
The wreath that I panicked about making turned out to be one I love. I have an easy Easter wreath that is bright and happy and works perfectly in our entry.
Don’t forget to PIN. This is an Easter wreath project to save.



So cute1 So clever!
Very creative, Carol. I think we’re all about to get more resourceful with what we have around the house. Thank you for sharing at Party In Your PJ’s!
I LOVE what you did, all of it! It’s a beautiful vignette and such a lovely vision for an entryway. Kudos on a job more than well done. Thanks for sharing at Vintage Charm. Pinned! xo Kathleen
Your lettering is fantastic! I love curling ribbon, you probably didn’t know that, but I LOVE using yards and yards and yards of it! It always expresses joy and happiness to me! HUGS! Chloe
Stunning, Carol!!! You turned this door decor project into one that is just beautiful!!! I love this as you can use it for Easter, for a birthday, Mother’s Day ~ just with a few changes. <3 Turned out great!!!
Sending you virtual hugs from up here in Denton. We just went on absolute stay-at-home last night.
Barb 🙂
This is so festive and fun, it could be used for a number of celebrations!!
hi carol, i love the ribbon! It looks so good! I love the challenge of finding stuff from home. I missed this party but wanted to say hi! Tuesdays are busy days for you with your party and this challenge! Stay Healthy + connected! laura
Good for you for being resourceful and using what you had on hand to create something beautiful for your home. I thought you used a store bought sign and was pleasantly surprised when you explained how you made
Way to be resourceful, Carol! Your wreath is as fun as opening a present! Great idea to use curly ribbon on it. What a fun greeting as you enter your home!
Using what you have! Smart and festive! Good job, Carol!
Wow this wreath has a ton of personality and reminds me of New Orleans this time of year. Love it Carol!
I love the wreath! The curly ribbon works perfectly with your curly handwriting! Very springy and looks fantastic with your super cute Easter decor. Thanks so much for joining in. I always appreciate you! Pinned!
Carol, what a beautiful array of colors you brought us. Your wreath is so pretty and I love how you have it styled in your home. I pinned to share with my friends!
Love your creative DIY. It is perfect for Spring.
Very creative Carol!
Cindy
Love, love, love how cheerful this is. The lettering is amazing. So cute.