How to Make a Christmas Pillow from A Dish Towel
Don’t you love all the cute Christmas dishtowels you see everywhere? They are almost too cute to use to dry dishes. Let me show you how to make a Christmas pillow from a dish towel.
It’s a sign, it’s a dish towel. No, it’s a pillow! When is a dish towel not a dish towel? When it’s a pillow! Want to see how to make a Christmas pillow from a dish towel?
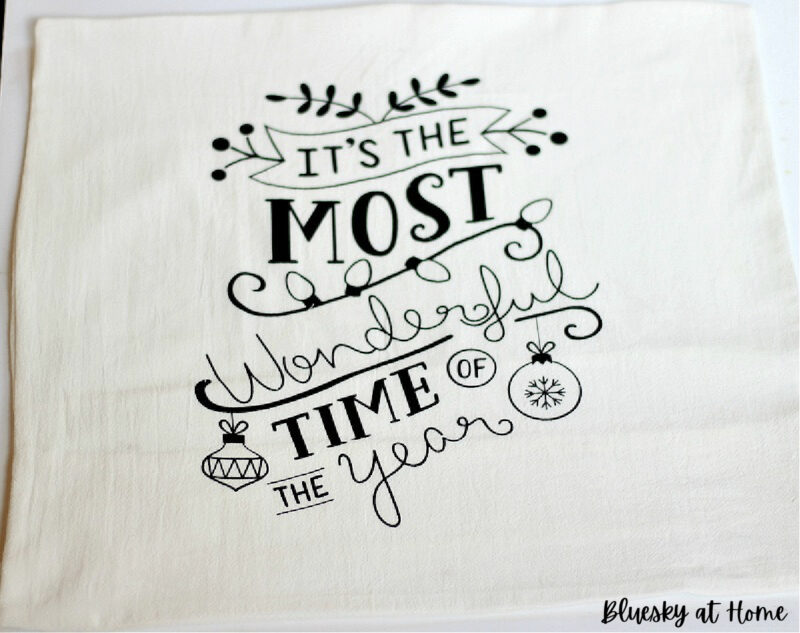
I knew that this dish towel would not stay a dish towel. It was just too cute to get dirty or wrinkled or shoved in the dish towel drawer.
No, this dish towel had to be given the star treatment, walk the red carpet, have a place of honor on the sofa for all to see and ooh and aah.
How to Use a Dish Towel to Make a Christmas Pillow
Several years ago, I shared my transformation of a dish towel from a company called North Detail, How to Make a Dishtowel into a Work of Art. (I can’t find that the company is still in business.) Now I’m going to show you how to make a Christmas pillow from a dish towel.
Not an expert sewer? That’s no problem. I can tell you that even the beginning sewer can make this pillow. All you have to do is sew straight lines. Because the edges of the dish towel are all hemmed, even that step is already done for you.
Because this is a pillow that will only be used for a short time each year – 4 – 6 weeks – I chose to make an envelope closure so there are no zippers, snaps or buttons involved. Easy peasy.
Supplies for your Dish Towel Pillow
You probably have all the supplies on hand.
- dish towel of choice
- pillow form – I chose 18 X 18-inch for my pillow
- sewing scissors
- thread
- straight pins
- seam ripper
- sewing machine

Making the Christmas Pillow
STEP 1: Iron the dish towel to remove any wrinkles.
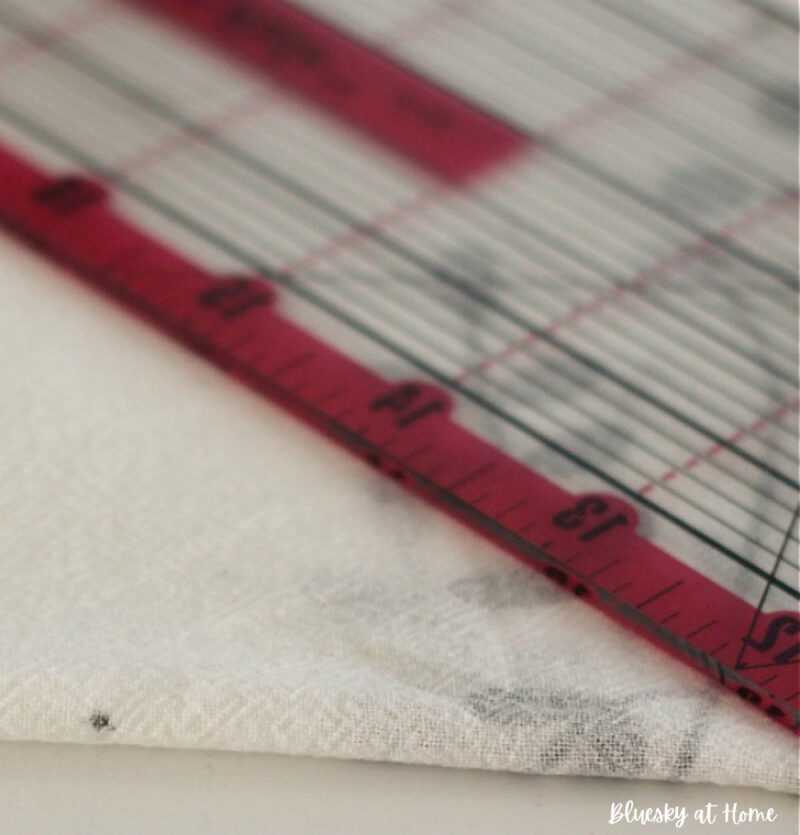
STEP 2: Measure the width and length of the “design” or “sign”.
In this case, since the design was so close to the bottom of the dish towel (about 1 1/2 inches), I used a seam ripper to take out the hem.
This gave me an extra 1 1/4 inches for a total length of 18 inches with the design centered from top to bottom; since I had an 18–inch pillow form on hand, this was perfect.
NOTE: Also, remove the hem from the top of the dish towel (You’ll see why in a minute.)

STEP 3: Fold the dish towel in half lengthwise to determine the center and mark with a pencil on the wrong side.
STEP 4: Measuring
First, fold the right side of the top (unprinted) of the dish towel down over the right side of the printed area, measuring the length of the pillow.
Your measurement should be the same as the size of the pillow form, in this case, 18 inches.
Next, measure the width of the pillow using the center mark you previously made (for me, that was 9 inches on each side of the mark).
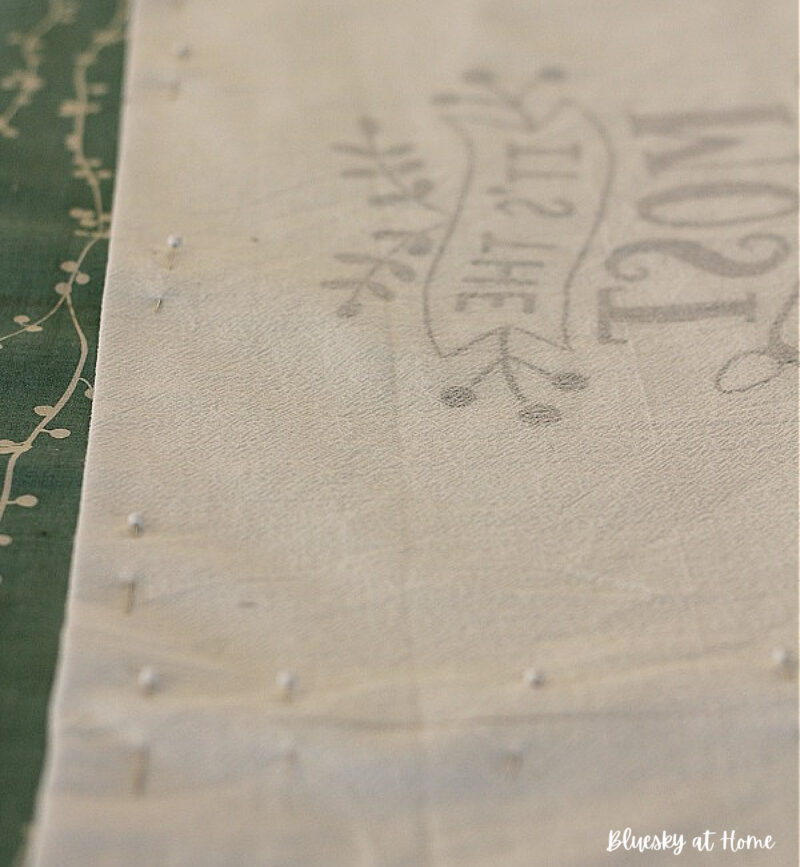
Using a ruler, draw a pencil line down both sides of the dishtowel. Pin the sides and the top of the dish towel.
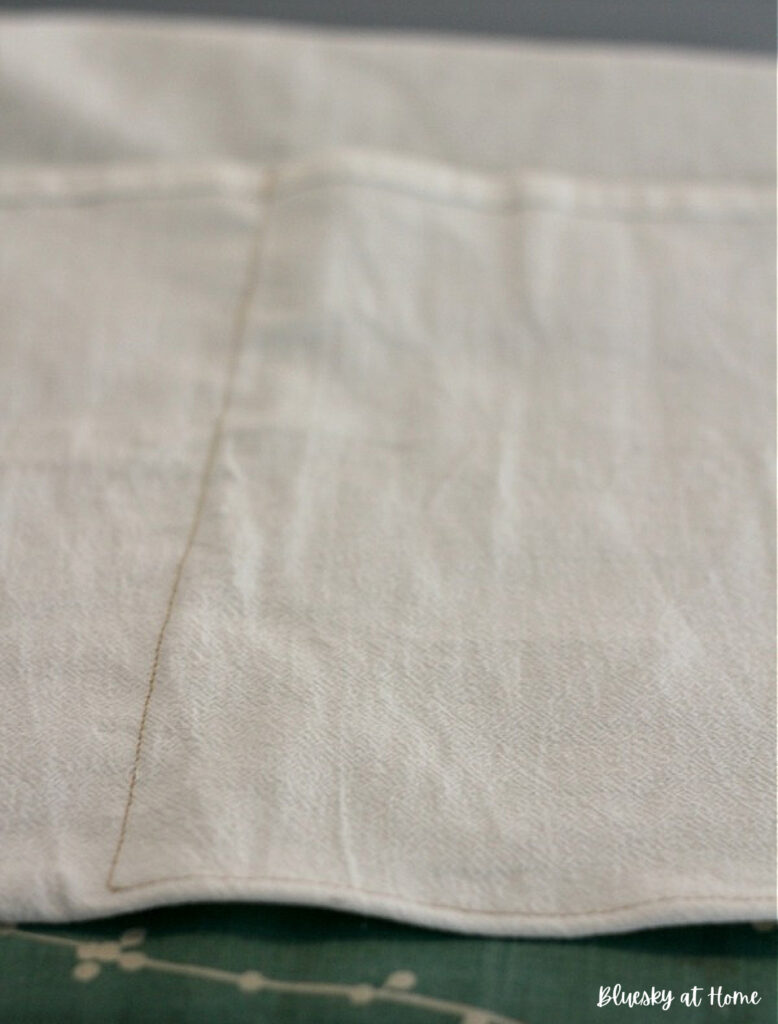
STEP 5: On the sewing machine, stitch directly on the penciled lines starting at one side. When you are 1 1/2-inches from the corners, start increasing the width of the seam.
When you reach the corner, turn the dish towel and stitch, decreasing the width of the seam until you get to 1 /4-inch from the folded edge. Continue to the other corner, stitching in the same manner and down the other side.
NOTE: Increasing the seam allowance at the corners gives the pillow a more snug look and tighter fit at the corners.
NOTE: Stitching 1/4-inch from the fold gives the pillow a stitched look on all four sides.
STEP 6: Cut the excess fabric of the dish towel on the sides 1/4-inch from the stitched sides. Set the excess fabric aside. These pieces will become the remaining backs of the pillow.
STEP 7: Pin one piece to the bottom of the pillow front, right sides together, hemmed side facing up and sides lined up.
Pin the second piece to the bottom of the folded back. Make sure that you pin the raw edges and the hemmed edge is at the top facing out.

STEP 7: Remove the pins and iron the top piece open. Fold it down on top of the bottom back piece. Pin and stitch the sides and corners to create the envelope closure on the backside. Stitch the corners as you did in STEP 5.
STEP 8: Turn the pillow right side out. Iron the seams flat from the outside of the pillow.
STEP 9: Fill the pillow with the pillow form. You may have to “pound the pillow” around to get a good fit, pushing the corners of the form into the corners of the pillow.
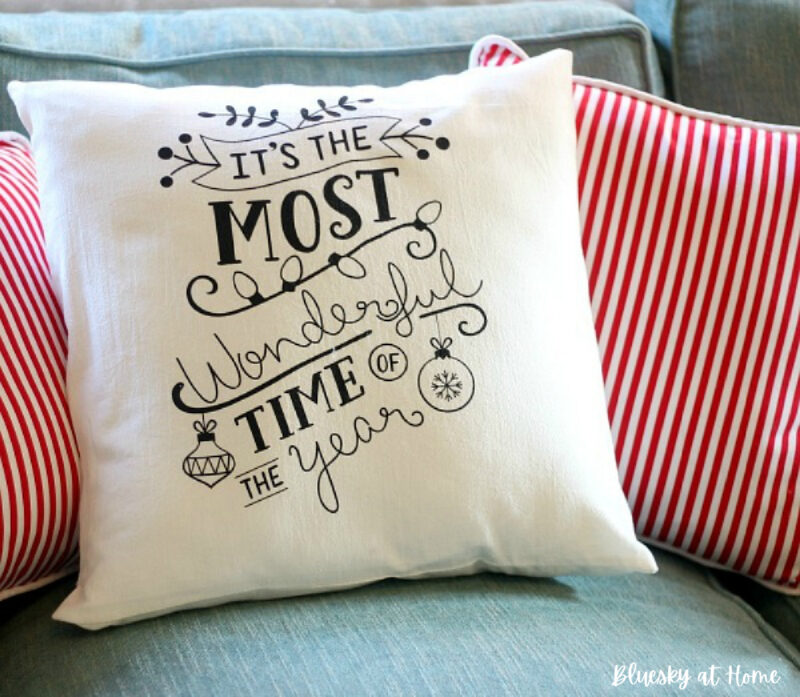
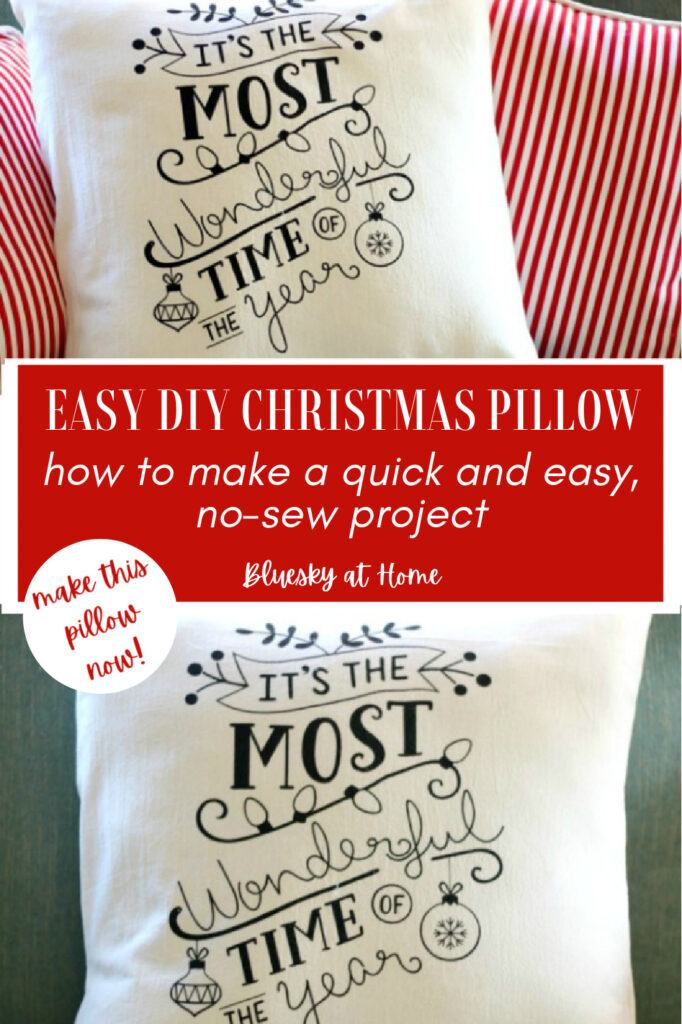
Finished Christmas Pillow from a Dish Towel
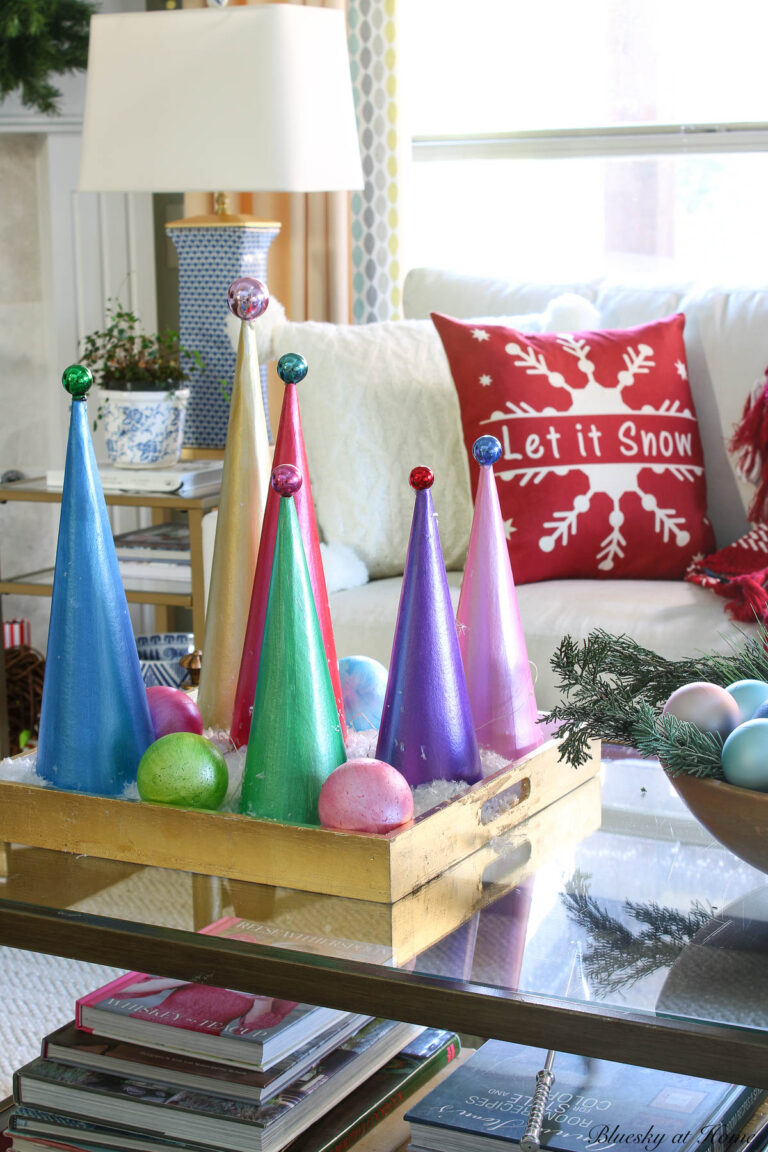
I placed the pillow on our sofa with a couple of “candy cane” pillows that I made. It’s my cheerful, red nod to traditional Christmas decor.
Now you know how to make a Christmas pillow from a dish towel. This whole DIY took about 1 hour, including a break for lunch.
Any cute dish towel would make a great candidate for this little sewing project.
You can even use two complimentary dish towels for a front and back. For example, use a dish towel with a cute saying on the front of the pillow and a coordinating color/pattern as the back of the pillow.
Here are some cute dish towels to choose from for your Christmas dish towel pillow:


What a great idea, Carol! I love how easy and versatile this project is! I am excited to feature your post at this week’s Tuesday Turn About Link Party. Thank you so much for sharing!
ADORABLE idea, Carol!!
We will be featuring you starting Wednesday at the Creative Crafts Linky Party! Pinned and shared!
Creatively, Beth
What a clever idea! I love this. Pinning. 🙂 Visiting from Tell it To Me Tuesday.
Carol, I’ve made pillows from placemats and even napkins, but not a dish towel. I really love yours–what a great design! Merry Christmas!
Cecilia, the possibilities are endless! Happy Christmas.
This is so pretty! 🙂
Thank you. Stay warm in Canada.
Super cute. Love the typography. Looks like one I have.
Thanks Jenn, You could make a pillow from the dish towel you have.