How to Make a Dish Towel into a Work of Art
Have you ever thought about how to make a dishtowel into a work of art? Well, let me show you how.
Dishtowels are so cute these days. They have the funniest sayings. I could read dishtowels and laugh all day long.
If you are a DIYer like me, then I’m sure we share this crazy quirk: we see one thing and think, “how can I make that into something else?” We can’t leave well enough alone; we have to paint it, glue it, transform it, give it the old switcher~roo. Others might see a chest and we see a sewing cabinet. New becomes old and old becomes new.
We live by the quote, “one person’s junk is another person’s treasure. We believe that a little paint is a girl’s best friend. We would never be without a glue gun, a chip brush, or a pair of scissors.
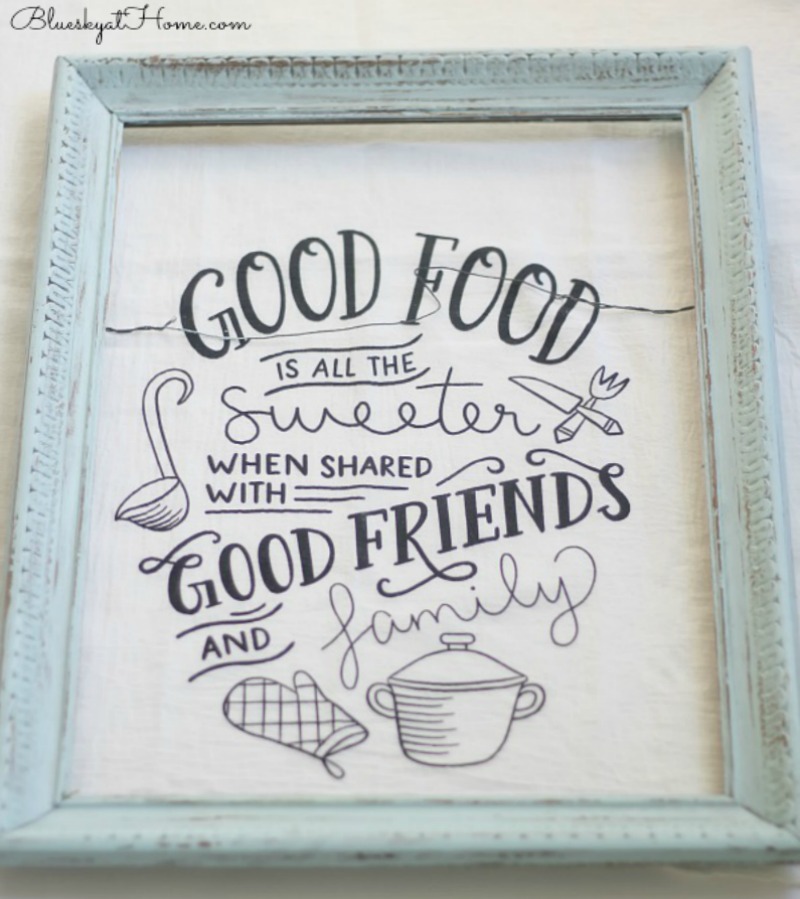
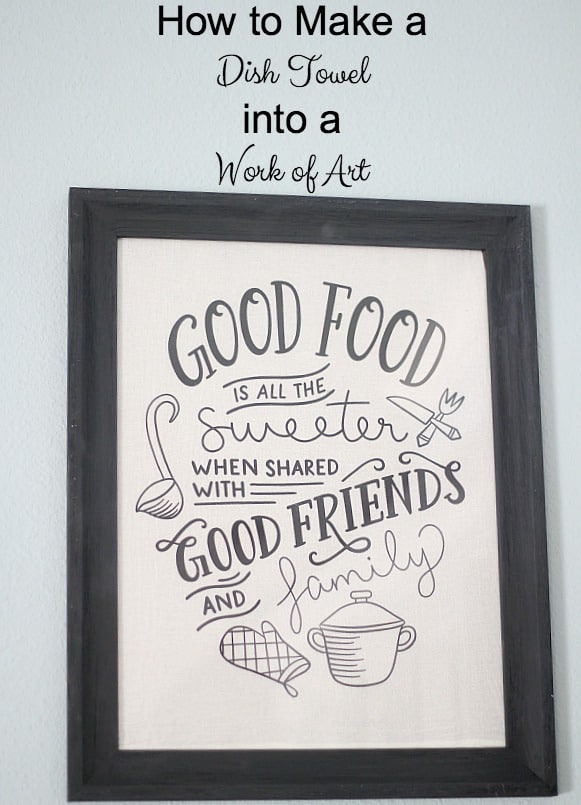
When I saw this precious dish towel from North Detail, I just had to have it. But do you think I meant to actually use it as a dishtowel? Nope, girlfriend, not for one second. It is just too darn cute to get dirty wiping up the kitchen counter.
As an avid cook and lover of entertaining, the saying just spoke to me. And the awesome typography and cute drawings? Well, I thought it was something that I wanted to see in my kitchen all the time. And, of course, I had to share with you how to make a dishtowel into a work of art.
How to Make a Dish Towel into a Work of Art
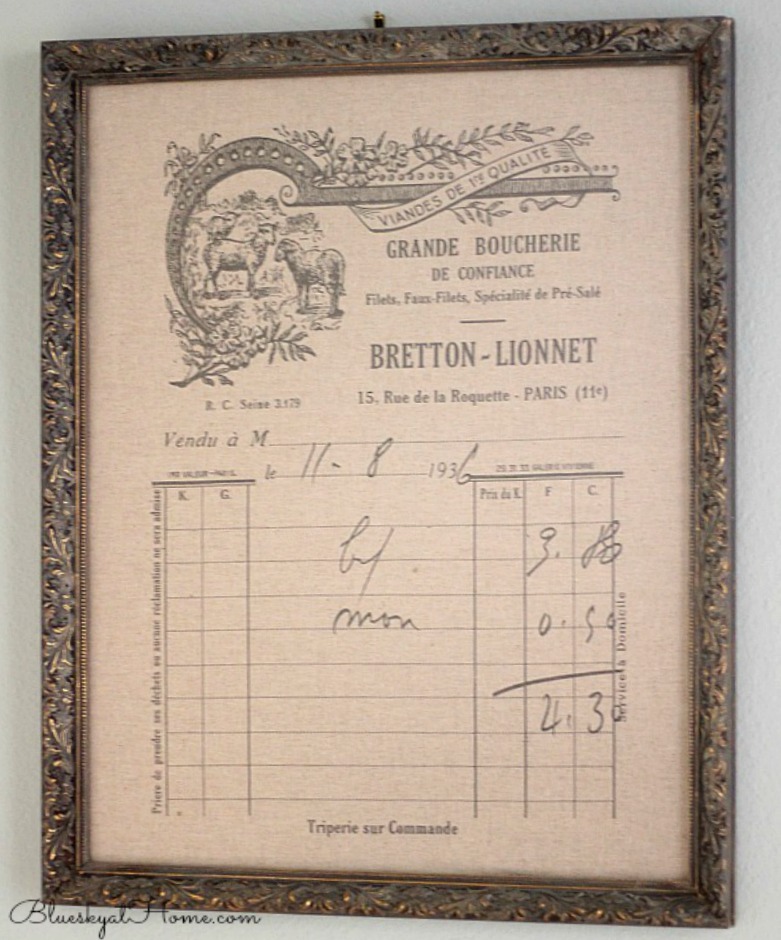
This is not the first time I’ve taken a dishtowel and framed it. I bought this piece at a flea market years ago and used it in a flea market frame. I took out the picture in the frame, painted the frame, and cut the fabric to fit.
Preparing the Frame
This project, although easy, took a little more effort.
I already had this frame. My plan was to paint it black and have a piece of glass cut to fit it. I took the frame to Joann, but the nice man in the frame department told me that the glass would cost more than a new frame.
So I browsed through the frame area looking for a 12 X 16~inch frame. There was only 1! Yes, just 1, so that is what I bought. Not exactly my favorite ~ shiny and plastic. I would have to do something about that.

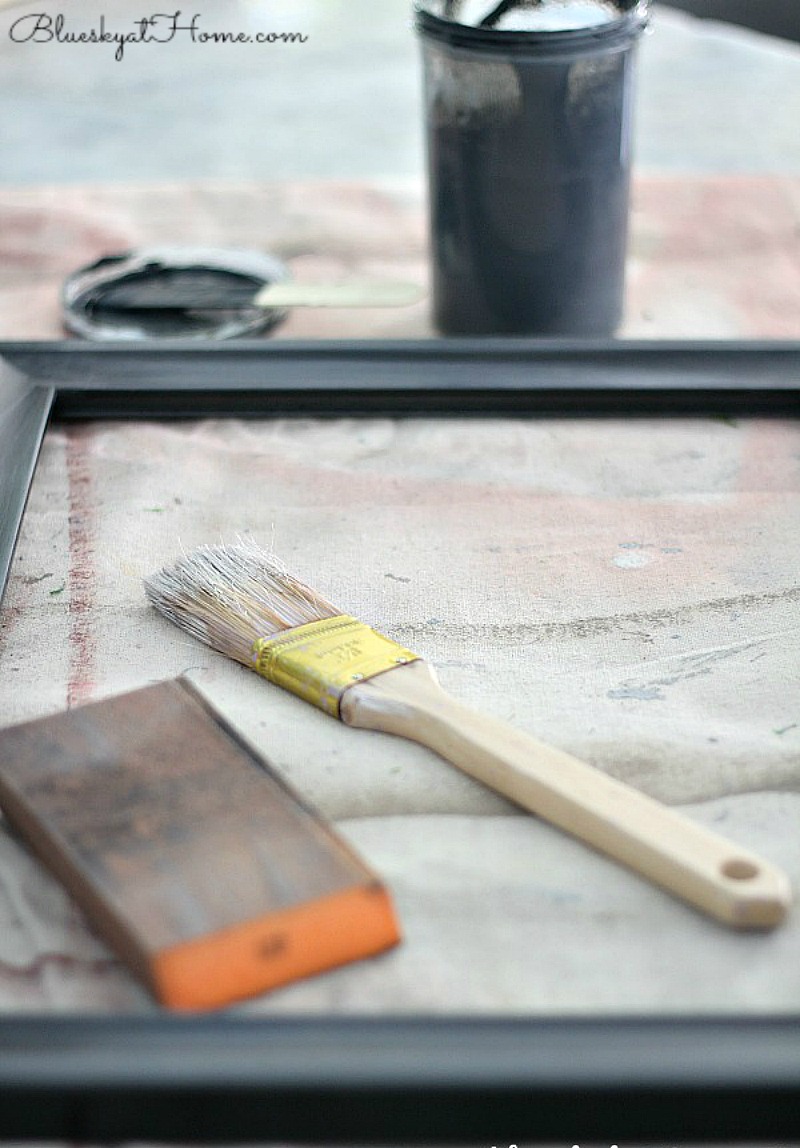
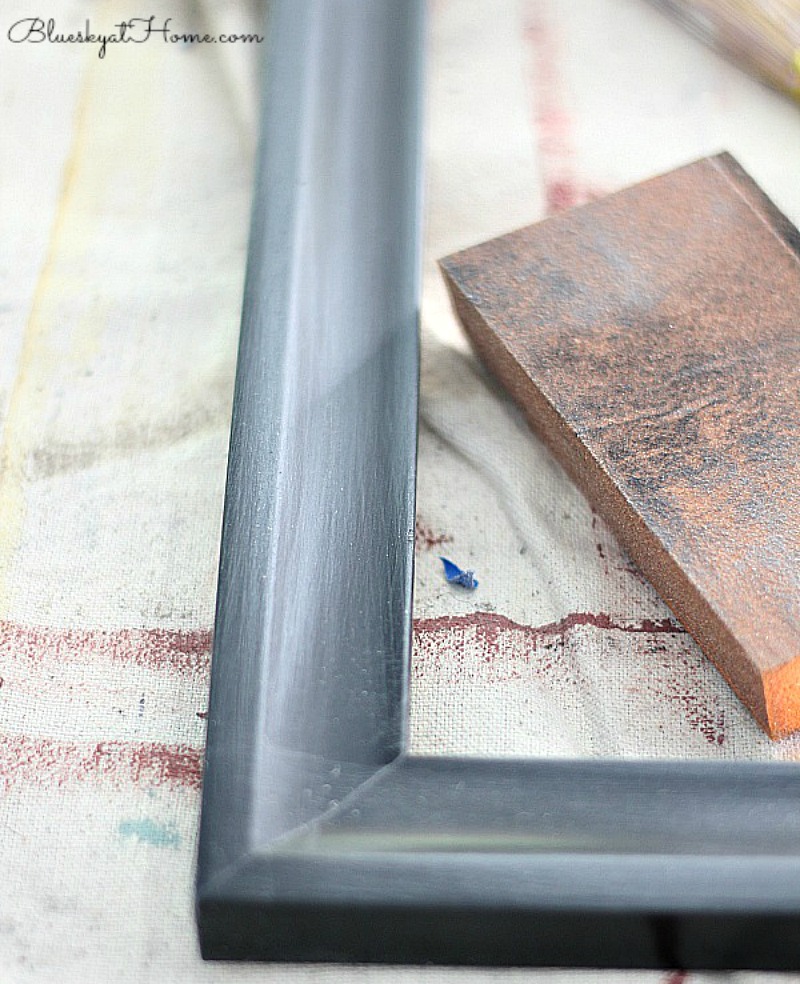
I decided I would sand the frame to get rid of the shiny black finish. I used a coarse sanding block, wiped it down, and then gave it one light coat of black acrylic paint. To keep it matte, I didn’t wax or seal it.
Preparing the Dish Towel
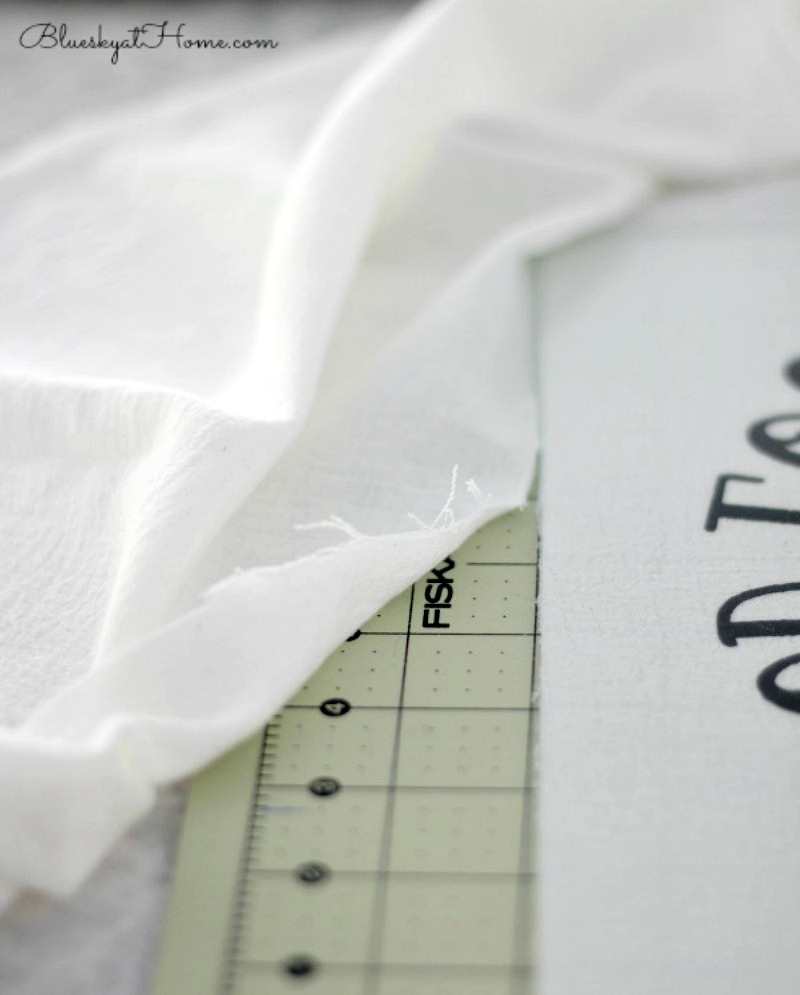
When the dishtowel arrived, I knew it would have to be cut down. While the paint was drying on the frame, I got out my Friskar’s cutting mat and rotary cutter. I lightly ironed the dish towel and placed it on the mat. Then I set the glass on top of the printed area, centering it top to bottom and left to right. Next, I used the rotary cutter to cut off the excess fabric.
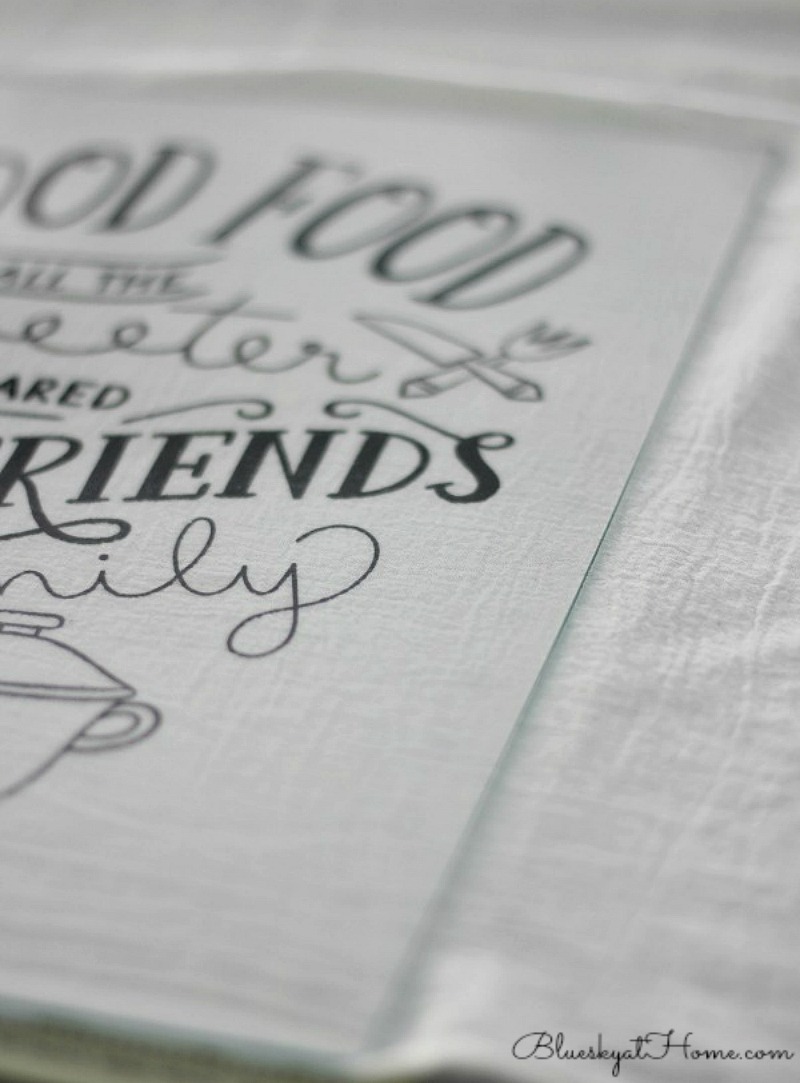
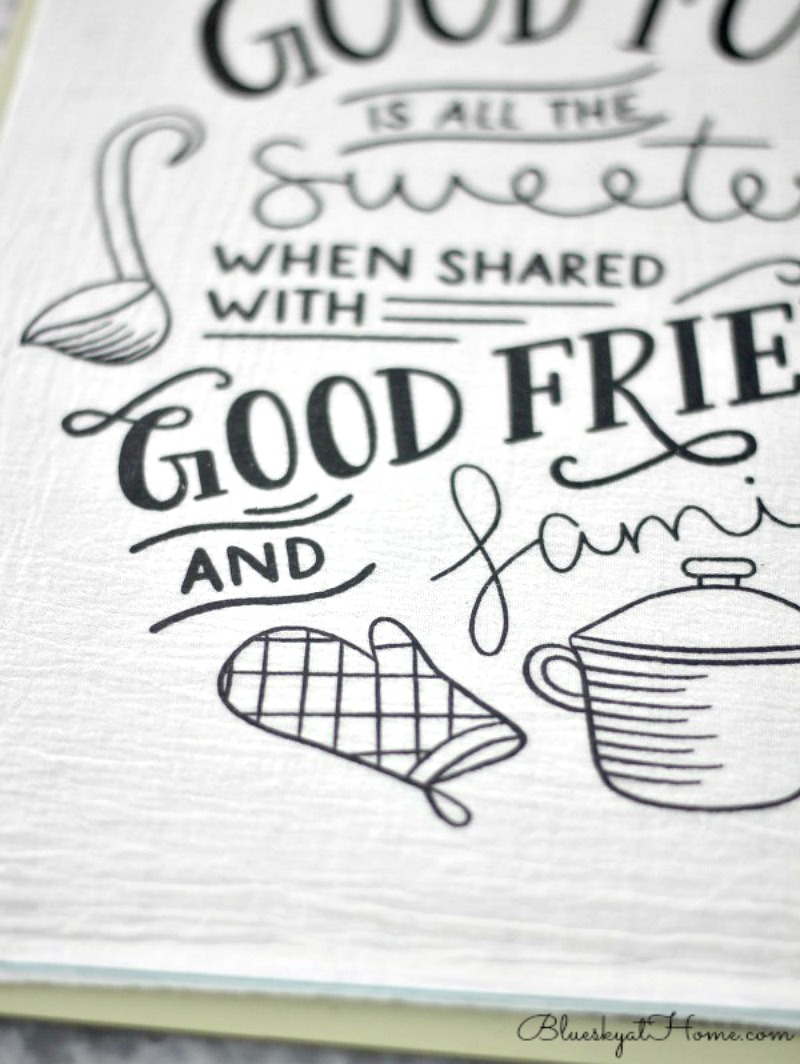
The last step was to reassemble the frame, glass, dish towel, and backing. I knew exactly where the picture would go ~ above my chalkboard in the kitchen.
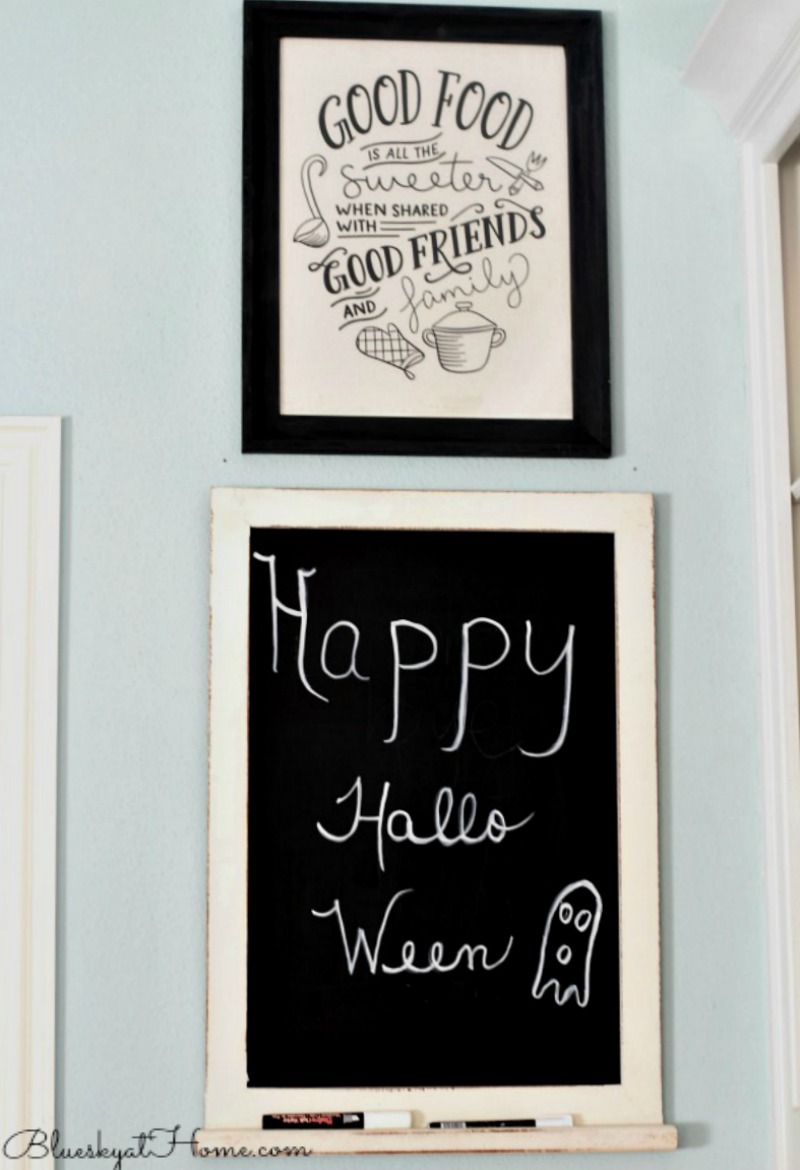
Sweet Shark still needs to fill in the holes dab with a little wall paint where I moved the chalkboard.
I love how it looks in the kitchen. This project turned out better than I expected. The moral of the story: don’t let a dish towel keep you from having great art in your home. If you love the saying, the artwork, or the colors of a dish towel, it can become your favorite work of art.
Total Cost: $31.99 Frame from Joann $17.99 (regularly $29.99, 40% off ); Dish Towel from North Detail $14.00, free shipping.
Want to keep this idea for your future DIY dishtowel project? PIN it!!




This is so pretty and a great idea!. Thank you for sharing with us this week at Celebrate Your Story, have a great weekend.
Sandra, thanks for your comments and hosting the party. This is one of my favorite projects and I love how it looks in my kitchen.