How to Make a DIY Spring Floral Wreath
Do you like to have a pretty wreath on your front door? It is such a welcoming touch. Here is an awesome DIY spring floral wreath you can easily make for your front door.
Not only is this spring floral wreath pretty, but it was so easy to make. I can’t wait to show you the process.
Do you like a quick DIY spring wreath project? You can make this DIY spring wreath in just an hour.
Spring wreath. Florals. Easy. Quick. I have a spring wreath that will check off all those boxes.

DIY Spring Floral Wreath – Easy and Quick
I didn’t have a specific vision in mind for this wreath. I was on a trip to Hobby Lobby for more faux flowers and the idea came to me as I walked the aisles.
Has that ever happened to you?
Walking the floral aisles yielded all the inspiration I needed. I decided to use a wire wreath as the base for a new spring wreath.
If you like to use grapevine wreaths as your base, then check out my newest floral garden-inspired spring wreath.

Step-by-Step Spring Wreath
This style of wreath is so easy to use. Here are the steps I took:
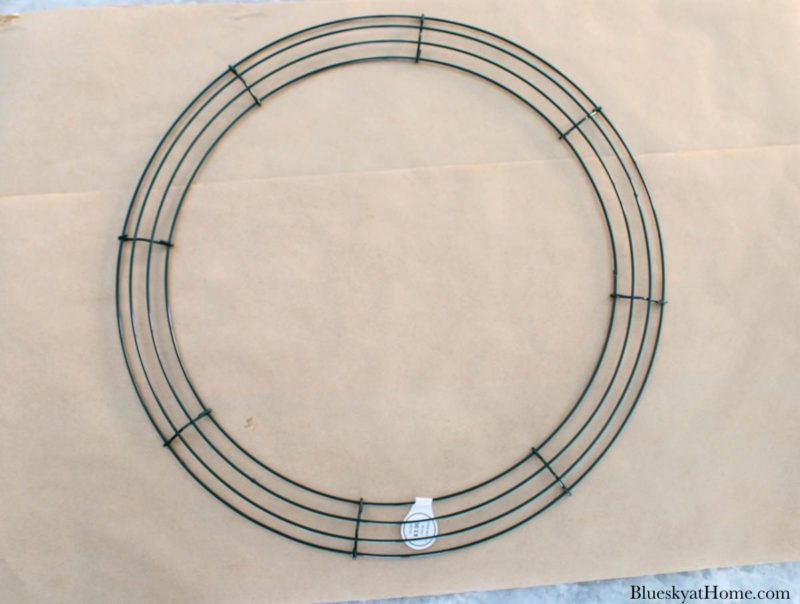
STEP 1 – Choose the size of wire wreath for your space – I used a 16-inch one. (This 2-pack is the best deal.)
STEP 2 – Choose your florals. Picking out some new types of faux flowers was the original purpose of my trip to Hobby Lobby. I picked out some pink and white hydrangeas and pink cherry blossom-type branches.
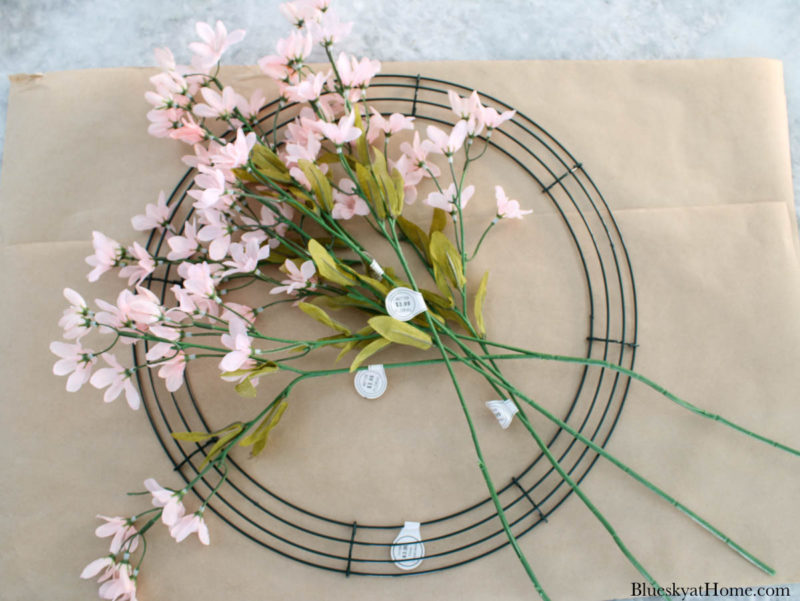
The hydrangeas are intended for another purpose. I used the branches for the spring floral wreath.
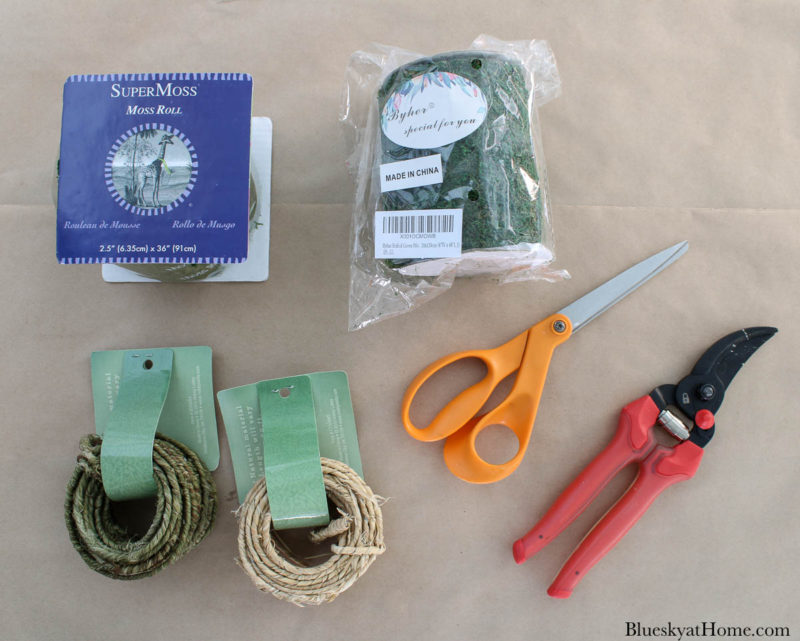
STEP 3 – Gather the rest of your supplies:
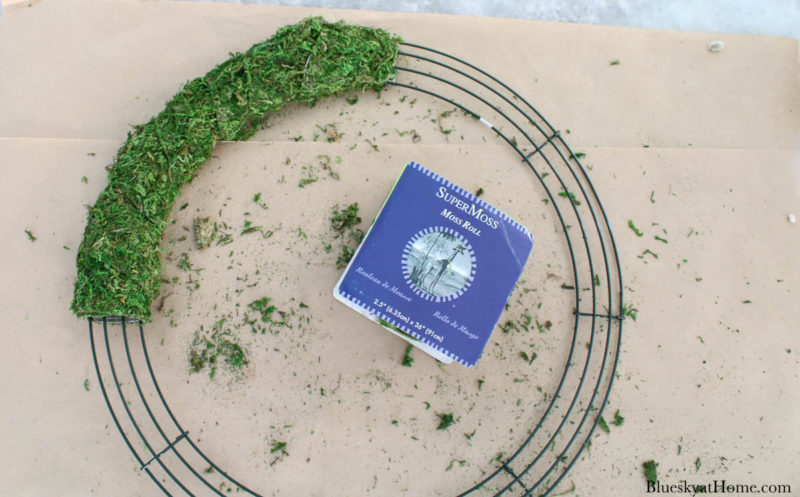
- A few weeks ago, I ordered some moss ribbon on Amazon. This ribbon was 4 inches wide by 4 feet long (on the right below). While at Hobby Lobby, I saw another style of moss ribbon. This version was 2 1/2 inches by 3 feet long. I decided to buy one roll (on the left). Here is a moss ribbon roll that is 2 inches wide.
- On an earlier trip to Hobby Lobby, I bought 2 rolls of wired twine, one in a natural and one in green. I had used this type of wire for an earlier blue and white wreath and loved working with it.
- wire or floral clippers
- scissors
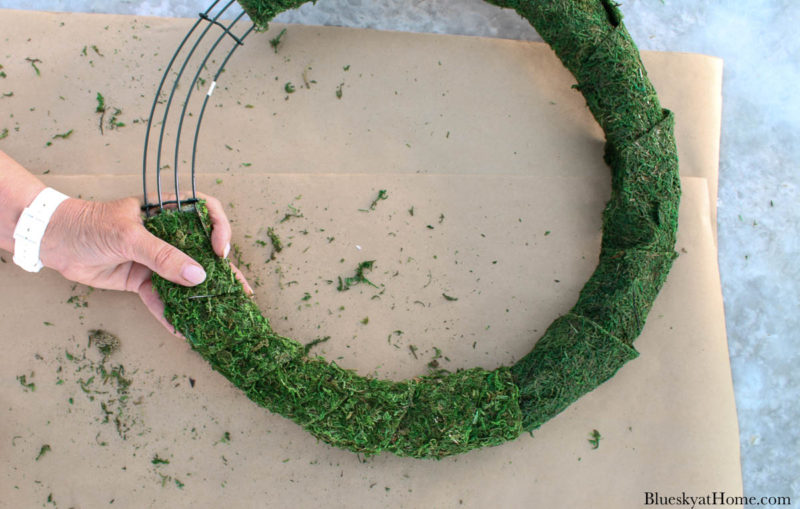
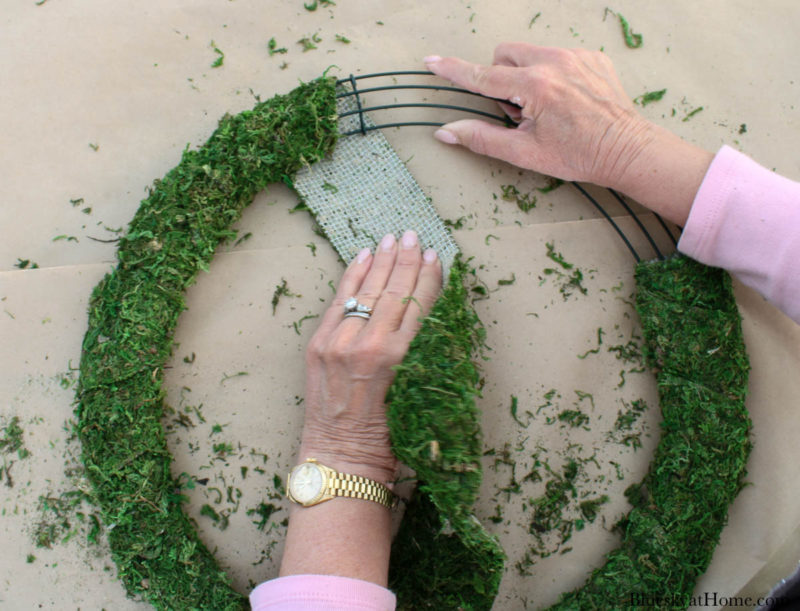
STEP 4 – I began by wrapping the 4-inch wide moss ribbon around the wired wreath.
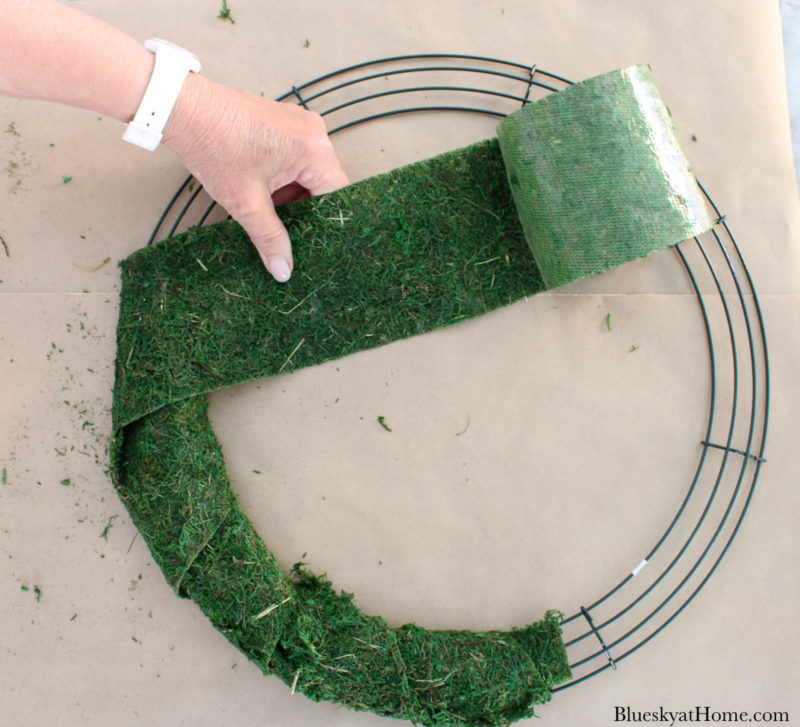
Obviously, the 4-foot length of moss ribbon didn’t cover the wreath. I opened the other roll of moss ribbon and wrapped it around the wire wreath.
You can see the difference between the two types of moss ribbon. I really liked the 2 1/2-inch wide moss ribbon better. It has a more “grassy” look and the narrower width was easier to wrap around the wreath form.
I didn’t have enough moss ribbon to cover the circumference of the ribbon, so I needed to make another trip to Hobby Lobby. Since Hobby Lobby is close to the tennis club where I have tennis drills, I shop at the store on the days I have a drill. So a couple of days went by before I made it back.
NOTE: Once I got home with the 2 new rolls of moss ribbon, I decided to remove the wide 4-inch ribbon and replace it with the narrow ribbon. I’ll use that moss ribbon for another project.
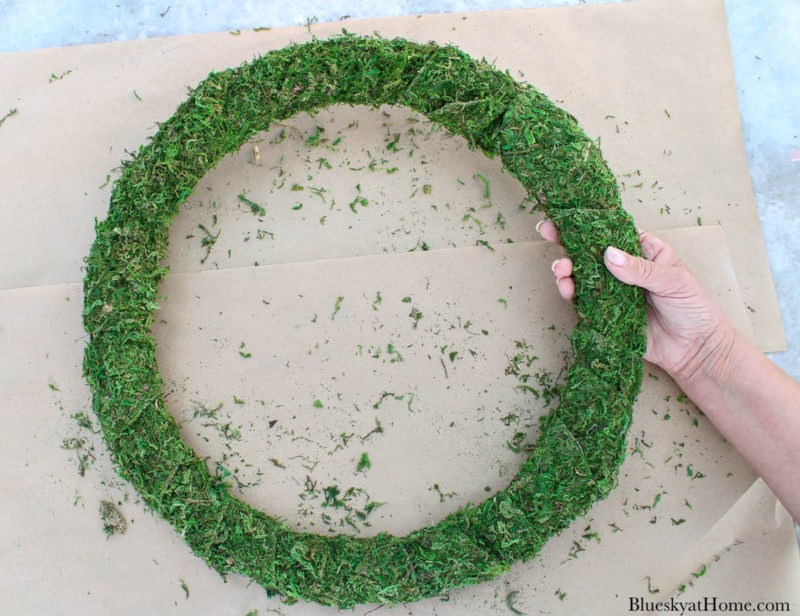
Now I finished wrapping the wreath. I used 3 total rolls to cover the 16-inch wreath.
That looks so much better.
STEP 5 – Arrange your faux flowers on the wreath to your liking.
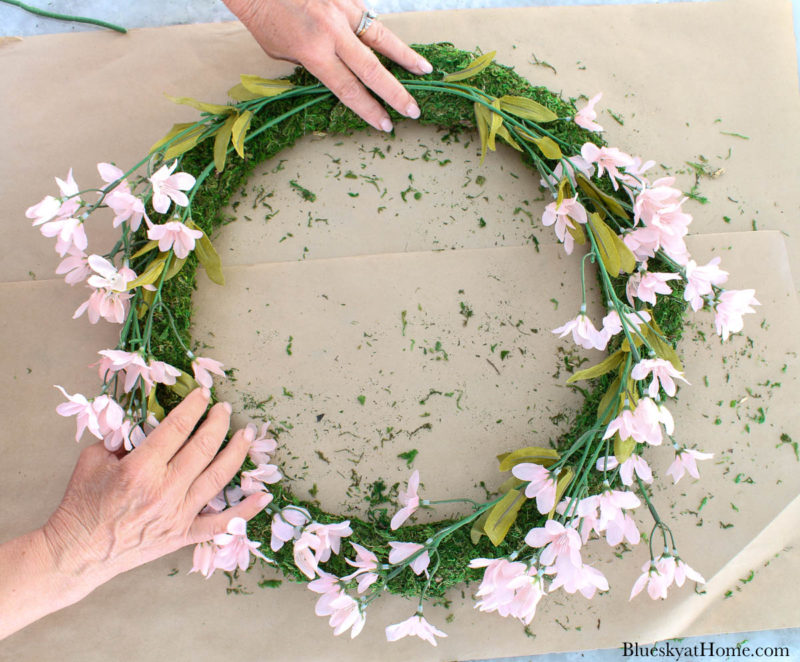
STEP 6 – Use the wired twine to attach the flowers to the wreath. I began by keeping about 6 inches at the top of the wreath. This would become part of the hangar.
I used just the wired twine to make the base of a wreath in this super cute wreath.
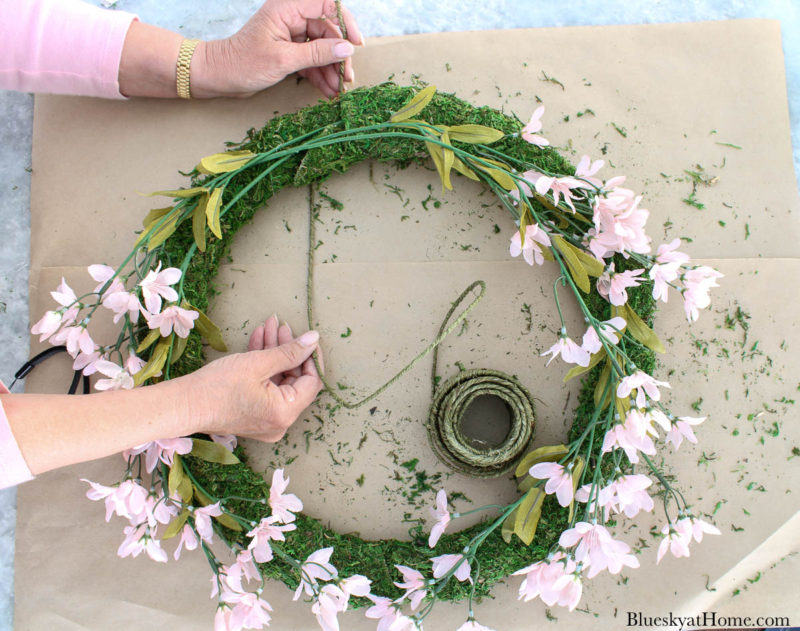
I started wrapping the wired twine around the wreath tightly. to hold the flowers. You don’t have to make a bunch of loops. I think I made five around the wreath.
I love using this method: look mom, no glue. It also means that you can unwrap the wire if you want to change the flowers.

STEP 7 – Once you have finished wrapping twine around the flowers and wreath, don’t cut off the extra wire. You’ll do that at the very end of the project.

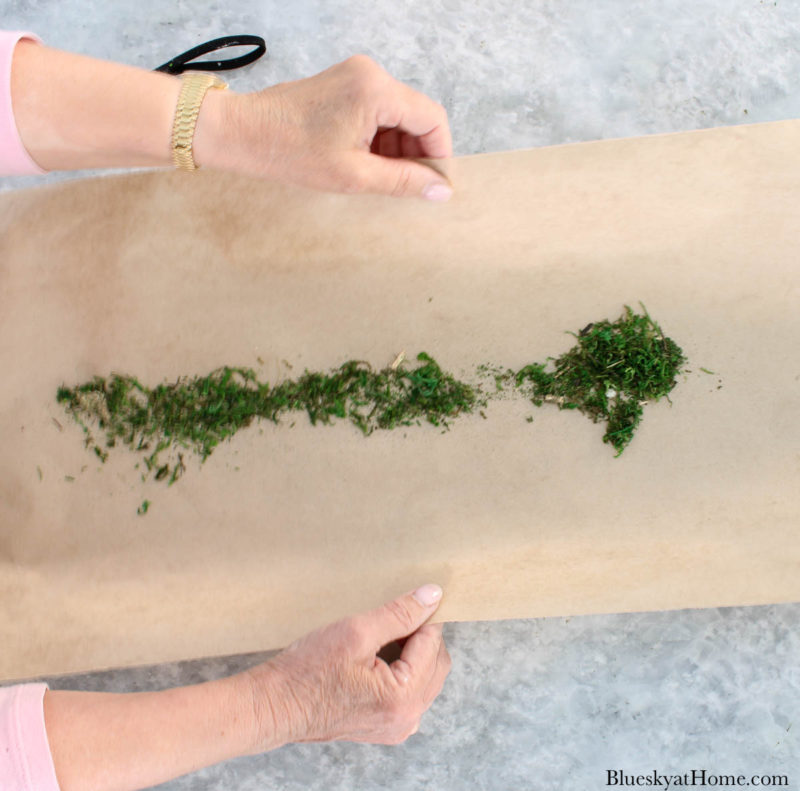
TIP: Place craft or newspaper under your wreath. The moss does tend to shed. This way you can pick up the paper and throw the excess moss out, keeping your surface clean.
Finish the Wreath with a Pretty Bow
I like to finish my wreaths with a pretty bow that adds color or pattern to my spring wreath. Since my flowers were pink, it made sense to use a pink bow.
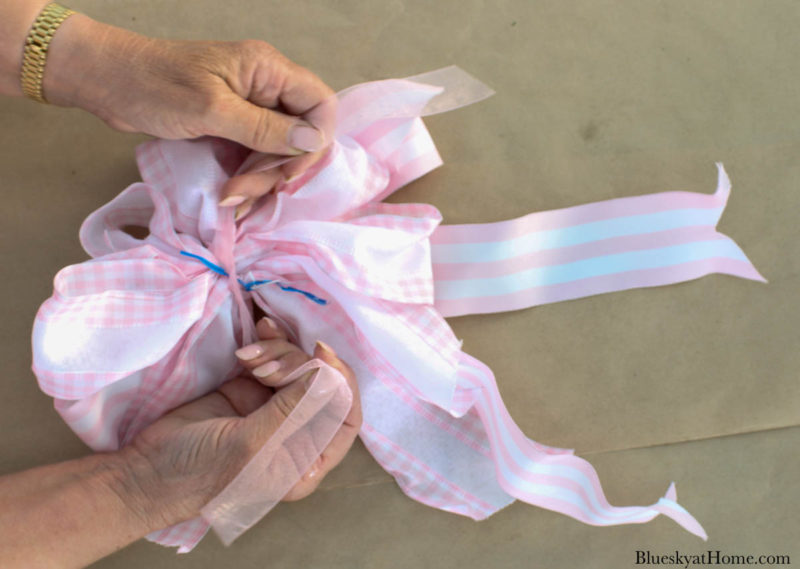
STEP 8 – I recommend first looking to see if you have a ribbon or bow on hand. Fortunately, I had not just ribbon, but two pink bows from a previous project. The stripe and plaid work well together.

STEP 9 – Using a sheer pink ribbon, I tied the two bows together. Then I used the tails of the sheer ribbon to attach the new bow to the wreath.

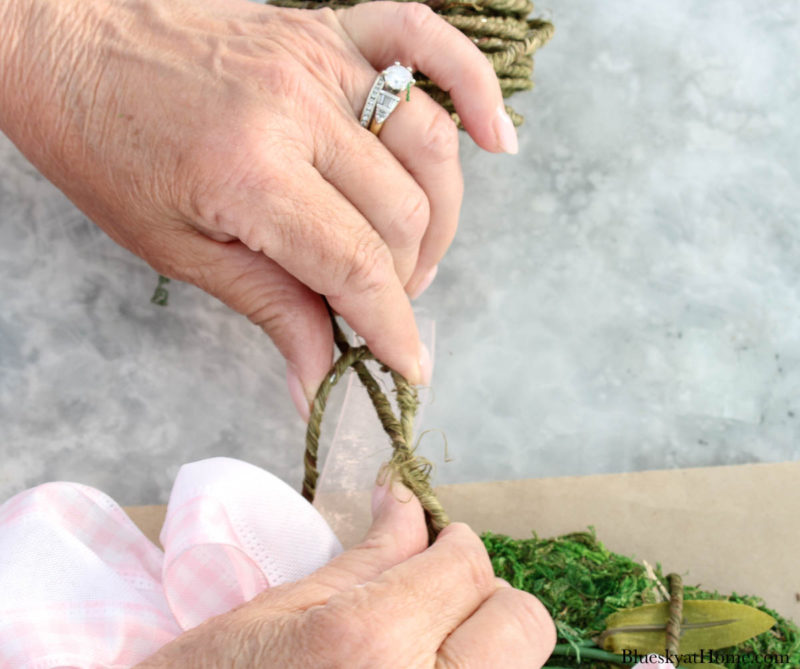
STEP 10 – Now cut off the end of the wired twine and loop it around the twine you started with to make a hanger.
The spring floral wreath is done and ready to hang!

Hanging the Spring Floral Wreath
This spring wreath can be hung anywhere in your home:
- the mantel
- on a mirror
- on the wall
- in a frame
- on a cabinet front
Of course, there is always the front door and that is where I’m hanging my DIY spring floral wreath.
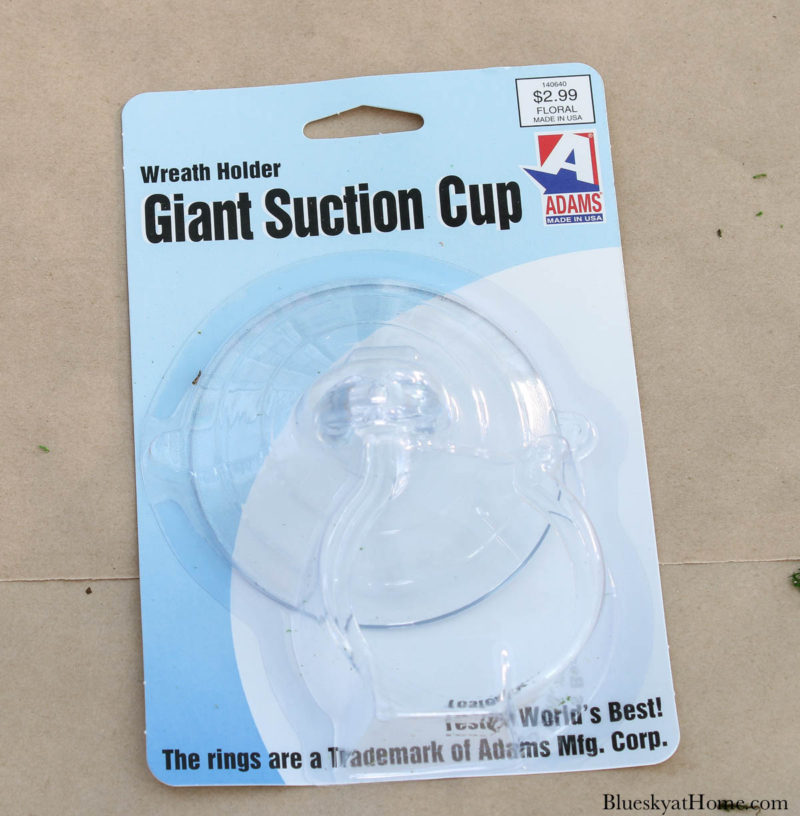
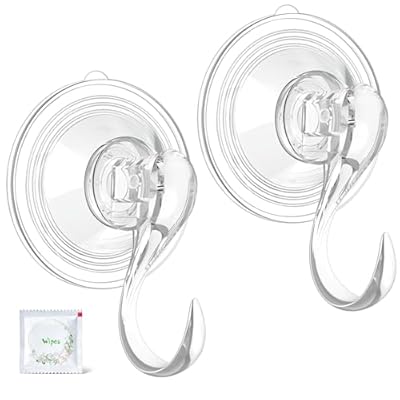
Usually, I hang my door wreaths with an over-the-door hanger. I happened to see a suction-cup wreath hanger and decided to try it.
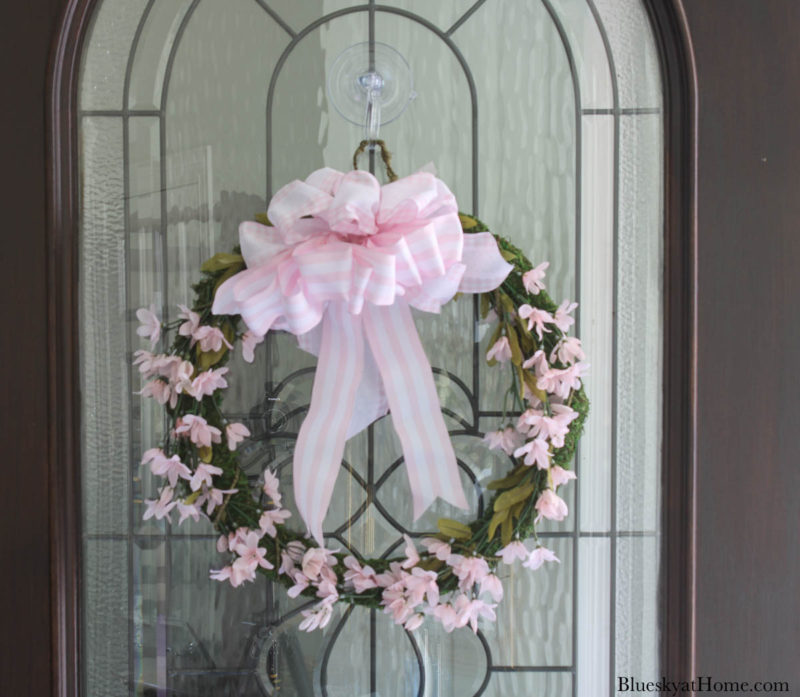
Next, I cleaned the glass on our front door first. Attaching the suction cup was so simple.
Finally, I hung the spring wreath. I was pretty sure I would love it and I did.
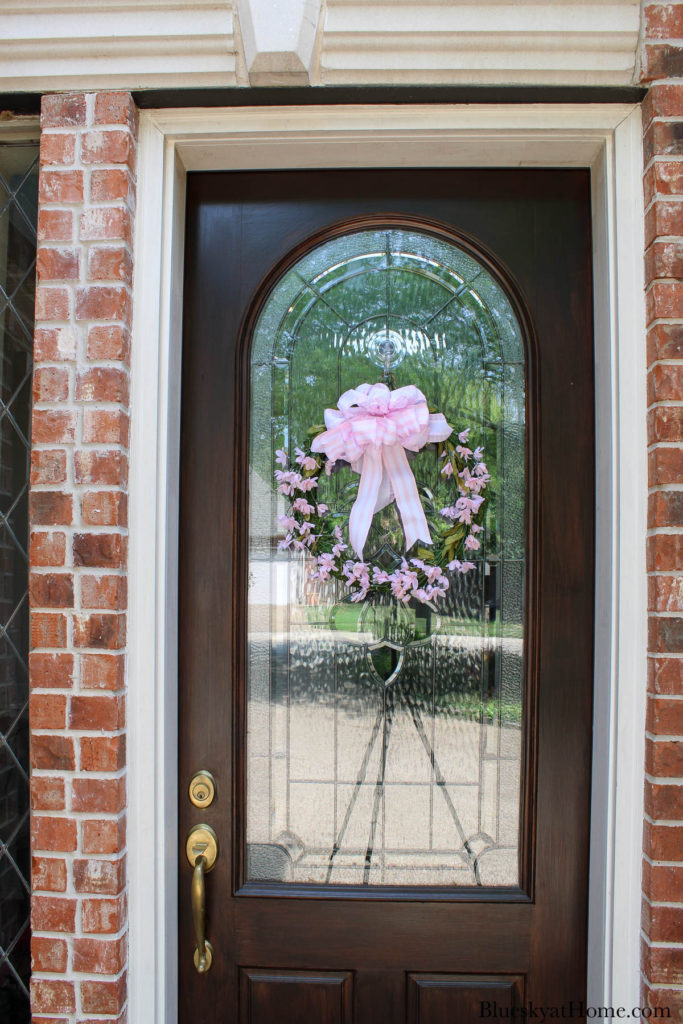
I love how it looks from the front of our house. You can see my tripod in the reflection!
Supplies for the DIY Spring Floral Wreath
There aren’t many supplies you need for this version of a spring floral wreath. I purchased all the new supplies at Hobby Lobby, but they are certainly available online.


I’m so excited about this spring floral wreath. It was easy to assemble without a glue gun or other adhesives. It’s pretty and perfect for the season.
Another thing I like is that it can be completely disassembled. Everything can be taken apart and reused for other projects. I can easily remove the pink bow and the pink flowers and replace them with summer colors or holiday festivities.
Oh, and it took less than an hour in total to make!
I hope you have the itch to create this DIY spring floral wreath. PIN it for NOW!


Thanks, Carol, for showing us how to make that beautiful pink wreath! It looks so pretty on your front door. I’m sure people just love looking at your home to see all the lovely touches you add for each season. I just love the way you used the two bows together. The stripe and the plaid bows just put the “perfect” finishing touch to your wreath. Your DIY’s are always so well done. Have a great day!
Hi Carol, Thanks so much for sharing with us at the Thursday Favorite Things party, I’m featuring you today on Shoestring Elegance! Congratulations! Love your wreath!
Therea
Hi Carol, Thanks so much for sharing with us at the Thursday Favorite Things party, I’m featuring you today on Shoestring Elegance! Congratulations!
Theresa
Thank you so much, Theresa. I appreciate the sharing.
Beautiful wreath! I haven’t seen the moss covered ribbon yet but will be looking for it. The wreath looks lovely on your front door. Thanks for sharing it with us this week. #HomeMattersParty
I loved your wreath; it is so springy. Your tutorials are always so clear, too. I have enjoyed pink more lately, don’t know why, but pink and yellow say “spring” to me! Can’t wait for the forsythia to bloom here; I have clumps of daffodils blooming; I smile every time I look at them!
Carol,
Such a pretty wreath. Thanks for sharing all the details.
You know I love pink! Looks great on your door. And such a great tutorial. 🙂