How to Paint a DIY American Flag for the 4th of July
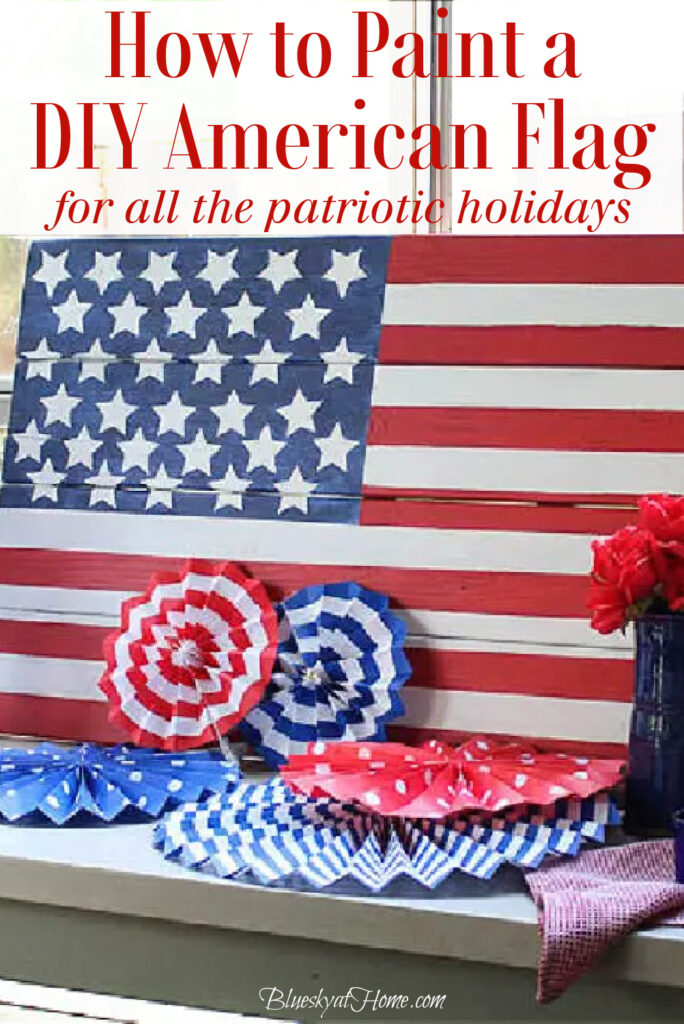
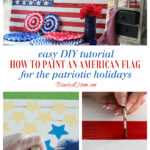
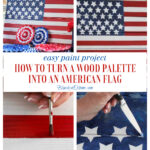
Our patriotic holidays are coming up. After Memorial Day, we honor the flag on Flag Day, June 14th. July 4th comes soon after that. To use for all the patriotic holidays, I’m sharing one of my favorite patriotic DIY projects – how to paint a DIY American flag.
Our American flag is so precious, and, in some form, is always part of our patriotic decorations.
This DIY American flag project dropped itself in my lap. I suddenly had a tabletop that seemed perfect for repurposing in some way.
It took me a day to realize that it be perfect to paint an American flag. It just needed a little paint in red, white, and blue.
Once I realized that my tabletop would make a great American flag, I got excited and got to work.
This DIY flag project could easily be a one-day project. If you don’t have time to make this flag before Memorial Day, you have plenty of time to prepare for Flag Day or the 4th of July. Just follow along as I show you how to paint an American flag.
You can also use this DIY American flag for Veterans Day.
DIY American Flag Inspiration
Obviously, American flags are all around us. We see them in all forms and sizes.
The inspiration for my flag is this image from Edith and Evelyn. I wanted a decorative flag design that was big and bold for our home or patio area.
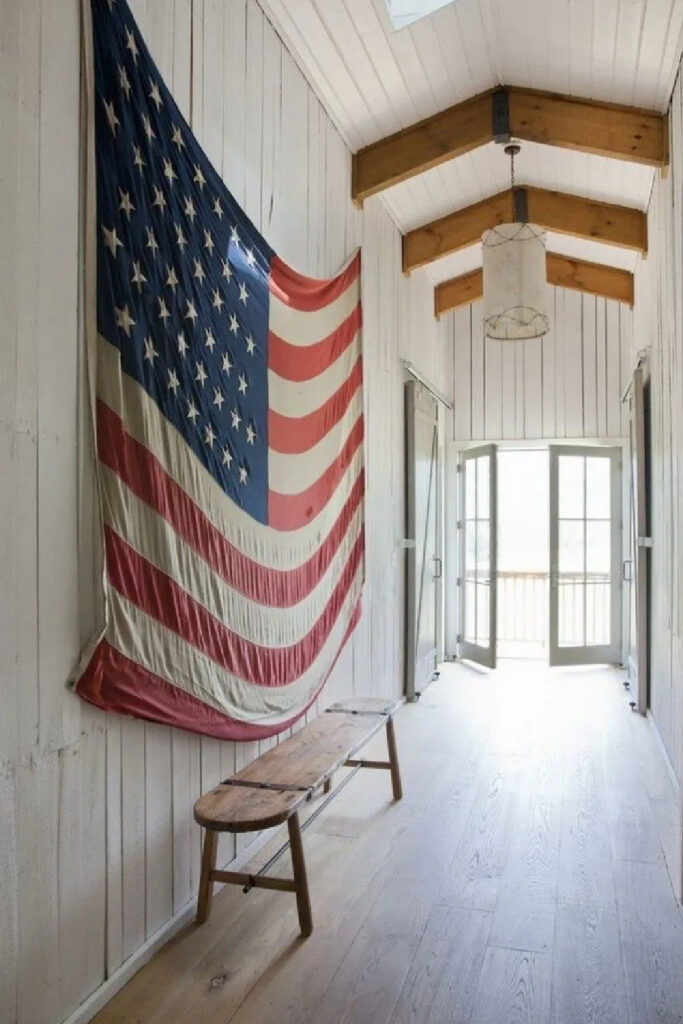
This flag is bold and definitely big. I didn’t have room for a flag this big, but I thought I could make one just as bold.
Here’s the beginning of this flag story. Years ago I made a mosaic top for a wrought iron table base. When we moved into our present home, I wanted a rustic look for the patio table so I made a top of cedar boards by screwing them together and painting the top, first pale blue and then white.
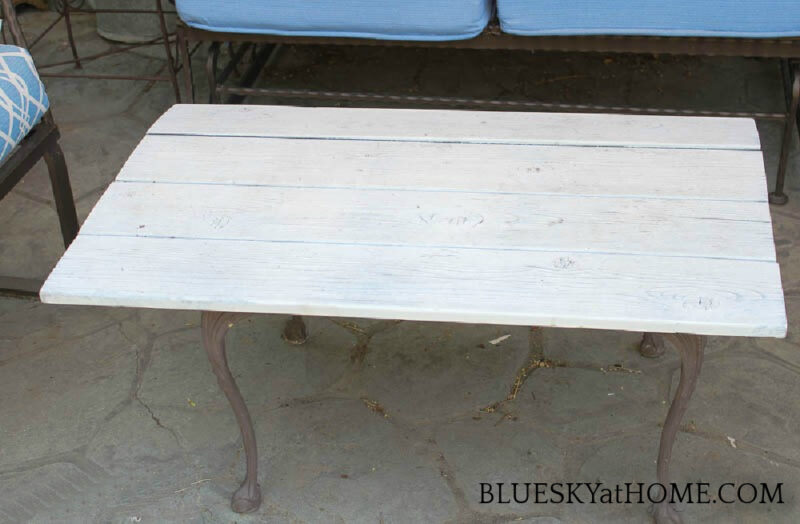
I had used metal and wood pieces to attach the boards, but one board was never quite secure. We really needed a table that was a little bigger and much sturdier.
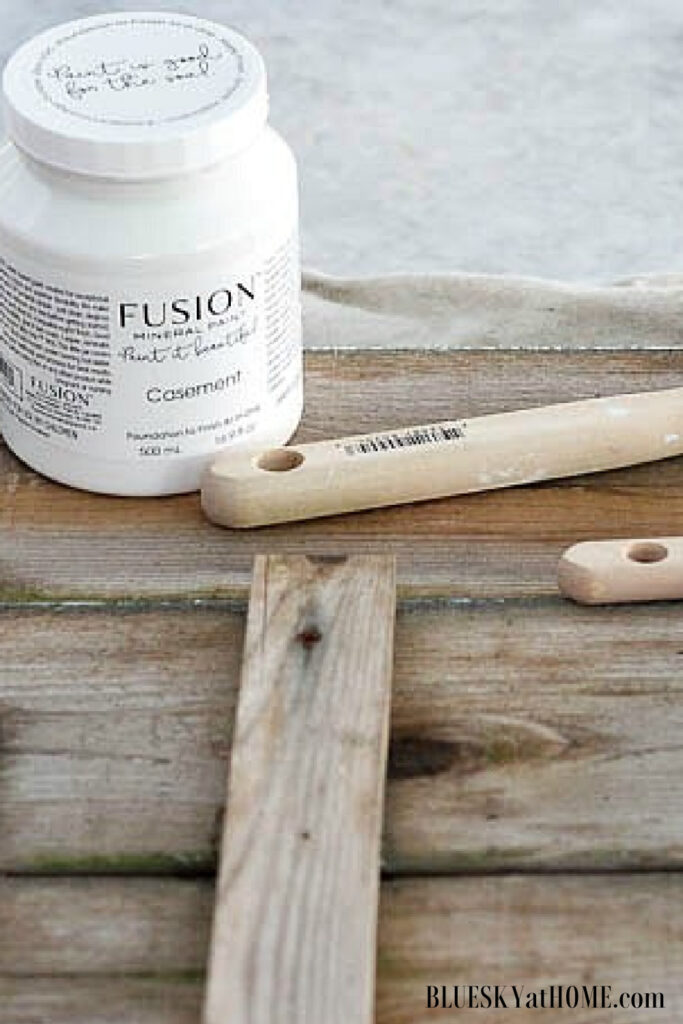
We ordered a new table from Wayfair, but I hated just throwing the old tabletop away.
Then the idea of painting it to look like an American flag came to me. The tabletop was 36 inches X 22 inches which was just about the perfect size for a flag.
Supplies for Painting an American Flag
- First, you need a large wood piece or a wooden palette. If you don’t have one hanging around, make your own with one piece of plywood or 1 X 4’s attached as I did with my original tabletop.
You want a rectangle! Or check your craft store for unpainted wooden boards or lath slats. I did that a few years ago when I made my fall-faith-family sign.
- painter’s tape – I used Frog Tape for this project.
- tape measure, yardstick or straight-edge
- pencil
- paint – chalk paint, mineral paint, or acrylic paint. I think any will work, especially if you have some on hand. It doesn’t take much of any of the colors.
- brushes – small for touch-ups and medium for everything else. You can use a sponge brush or a chip brush.
- star stencil or vinyl and Cricut Machine to make stars
- drop cloth or newspaper to protect your work surface
Painting Your DIY Wooden American Flag
Step 1 – Measuring for the Stars and Stripes
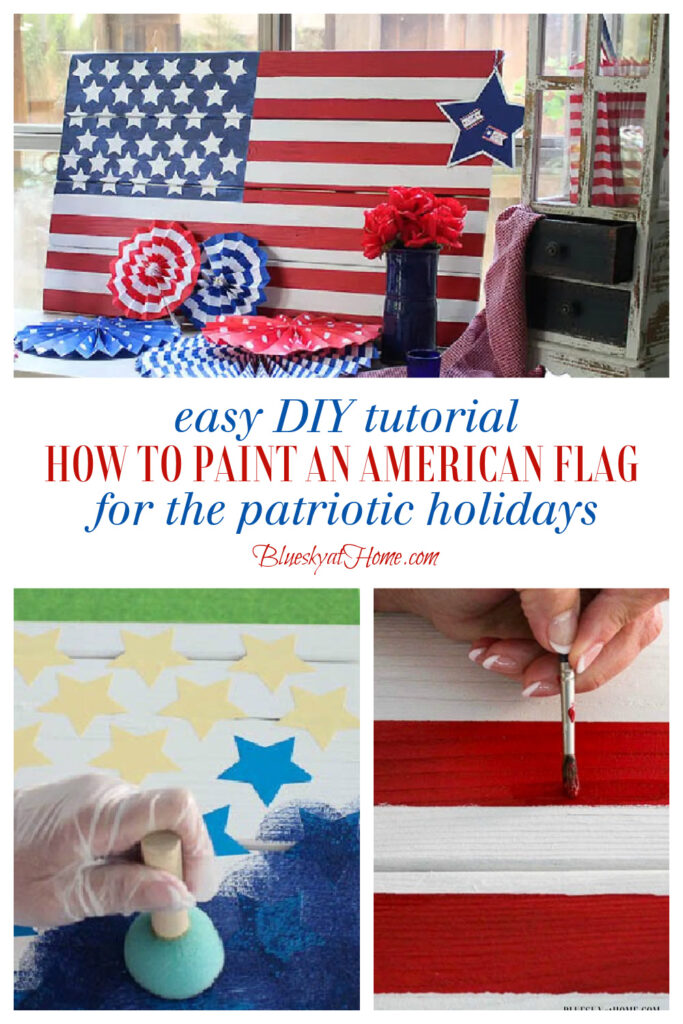
I Googled an image of the American flag so that I could see exactly where the 13 stripes are placed.
The top and bottom ones are red. My tabletop was 22 inches tall which meant my stripes could be just about 1 3/8 inches wide.
The length of the board was 36 inches so the blue background for the stars could be about 17 inches long. The bottom would meet the 6th stripe from the bottom. So the blue background is 12 X 17 inches. I know these measurements may be hard to figure out but trust me, this is what worked. This really is an easy DIY project.
It doesn’t have to be perfect, but I wanted it to look sensible.
I cut a piece of cardboard 1 3/8 inches wide to act as a guide for spacing the painter’s tape.
Then I measured up 1 3/8 inches from the bottom of the board and made a pencil line. Then I started laying down my Frog Tape. You really should use masking tape to paint the stripes. It makes the process very easy.
I made 6 stripes and then measured the 12 X 17-inch rectangle for the blue background, using a pencil to draw the border. I continued to lay down the Frog Tape until I got to the top of the board.
Then I used one vertical piece of Frog Tape to outline the rectangle blue area.
Step 2 – Painting the Stripes
When I knew that I was going to paint a flag, all I needed were paint colors in red, white, and blue. Even though the tabletop had been painted with white chalk paint, it needed a fresh coat of paint. I already had a jar of Fusion Mineral Paint in Casement from my breakfast room table makeover.
I started by painting the star area white with the Casement.
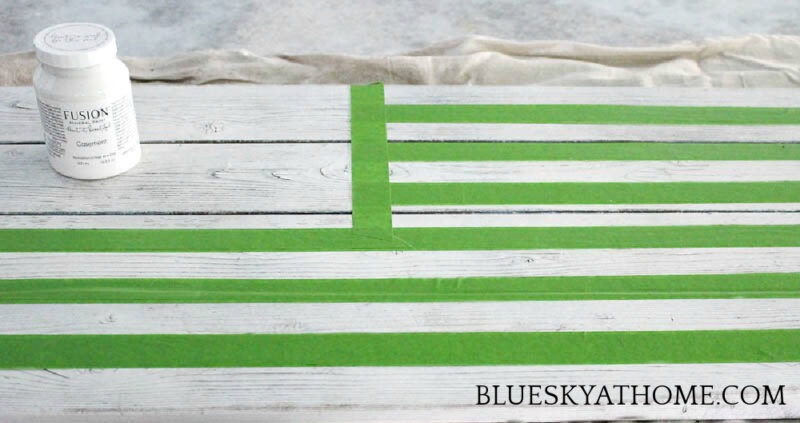
Ideally, next, I would paint the white stripes, but I had taped off the area for the red stripes, so that’s what I painted next.
When I knew that I would repurpose my tabletop into a flag, I searched Joann, but just could not find the right colors of red and blue.
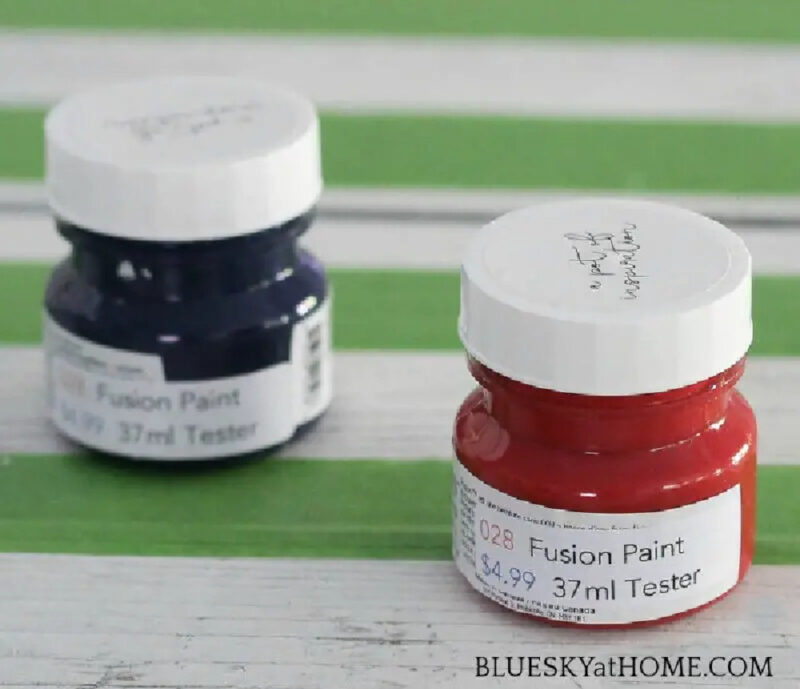
Then on a trip to McKinney for lunch with some of my blogger friends, I stopped in the booth at an antique mall that carries Fusion paint and found the perfect red and blue.
The red is called Fort York Red and the blue is Liberty Blue – perfect names. (These jars are almost 17 ounces.) I bought sample jars that were 1 1/4 ounces. I would definitely purchase the larger jars. It’s a much better deal, and I wish I had more of this paint.
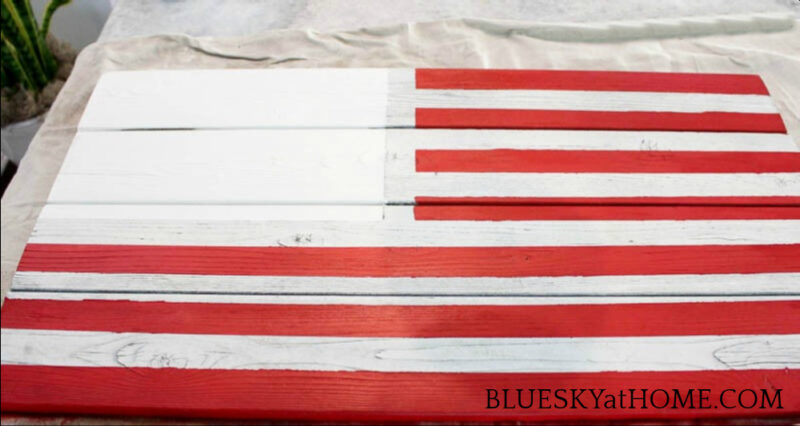
I painted the red stripes and realized that I placed the horizontal tape in the wrong place, but I could fix that when I painted the white stripes. You can see that there are a few places where the red paint bled through, but that’s easily fixed.
You can see that when I removed the painter’s tape, I need to fill in with more white paint for the star area.
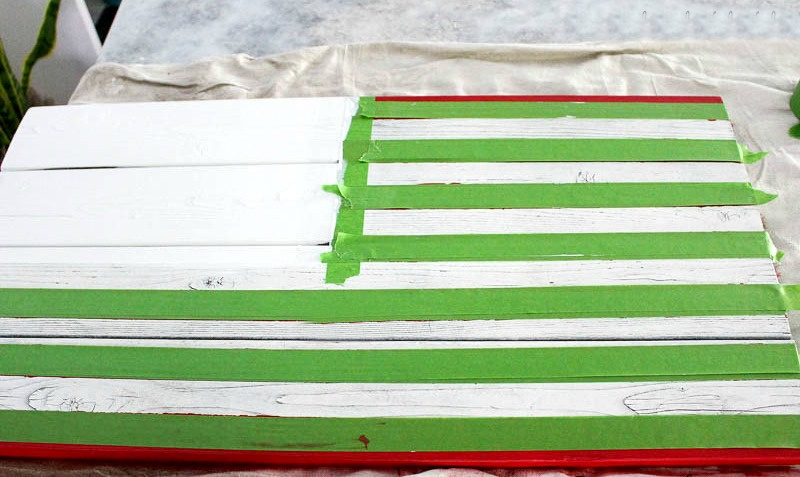
Reusing the painter’s tape, I moved it to cover the red stripes while I painted the white stripes.
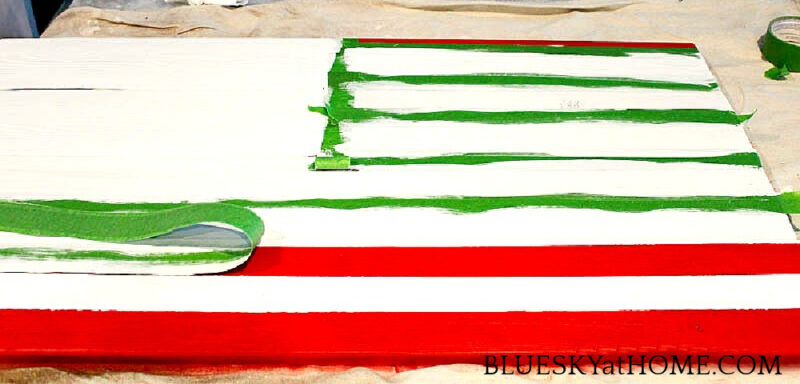
I love removing the Frog Tape to reveal your painted project.
Using a small brush, I made my corrections. I used both red and white paint to “erase” and even out the stripes. The roughness of the wood prevented super smooth lines, but I thought that would just add to the charm of the flag.
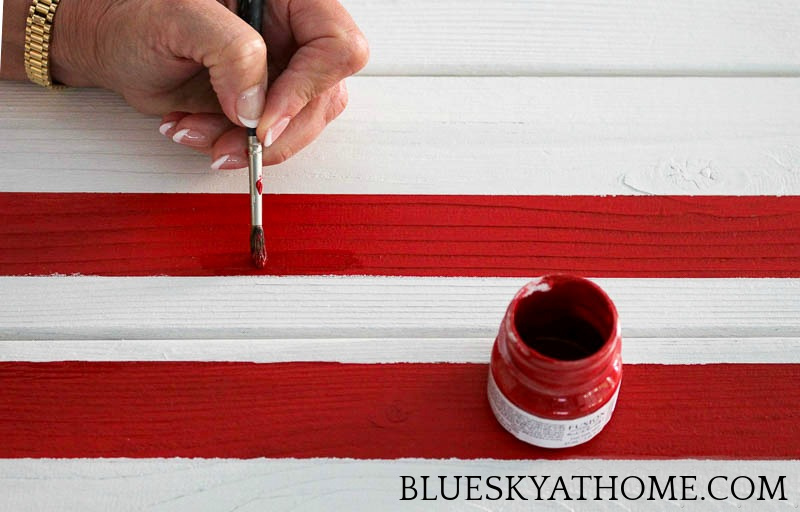
TIP: Let each section of stripes dry thoroughly before painting the opposite color.
Step 3 – Making the Star Stickers
When I completed the corrections, I started on the star section and blue background.
I knew that I was not going to have room for 50 stars – that would be too many for the space. Either I could make 50 very small stars or make fewer stars. I thought that 2-inch stars would show up best.
To create a pattern for my white stars, I needed a star stencil.
I created mine using my Cricut Machine. In Design Space, I went to Images, then clicked on the ★ and sized it to 2 inches.
Then I duplicated it, using a piece of leftover blue vinyl. The color of the vinyl doesn’t matter as it will be removed. (This post shows you how to make a stencil with a Cricut.) I was able to get 20 stars.
I laid them out on the white background like the real flag in alternating lines of 6 and 5 stars. It was clear that I needed to make another sheet of stars. This time I used some leftover yellow vinyl.
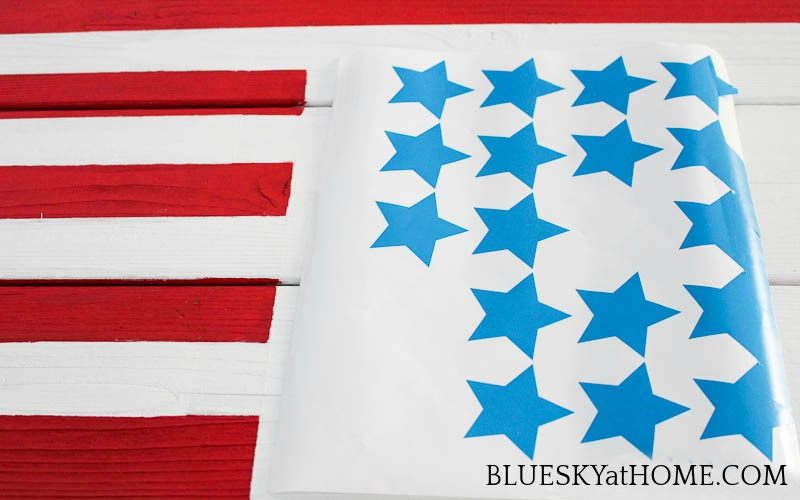
In total, I got 33 stars.
I placed all 33 stars on the white background
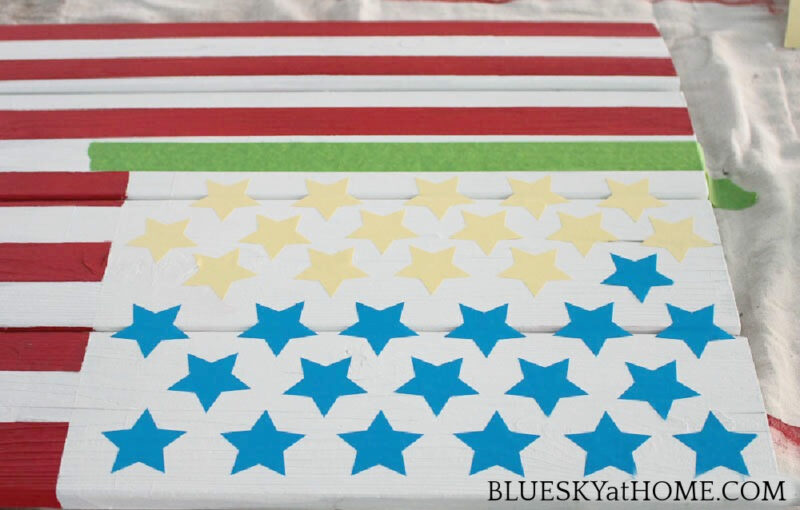
NOTE: If you don’t have a Cricut Machine, you could make a star pattern out of cardstock and cut each one out indivially, but that would take much longer and be more tedious. #buyaCricut
Step 4 – Painting the Stars
Now it was time to paint the vinyl stars and the background with the Liberty Blue Paint. I used a bouncer to apply the paint over this entire section.
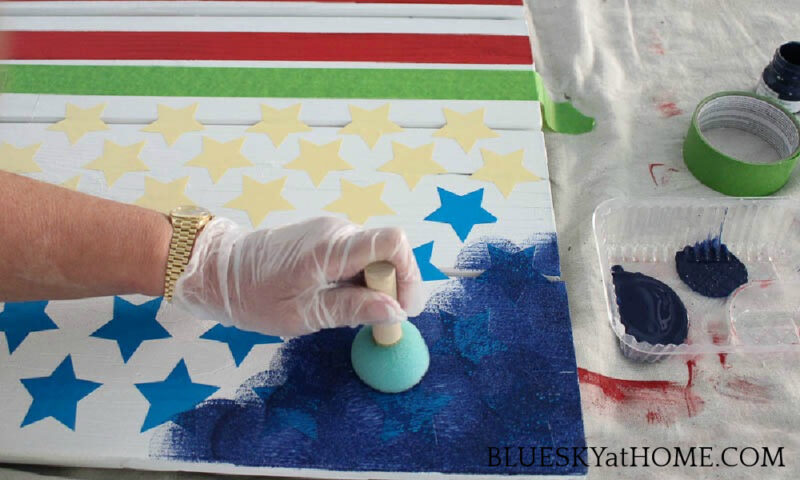
To lift the vinyl stencil, I used the point of my paring knife. (I know I shouldn’t have used my good paring knife!) I would recommend using a Cricut weeder.
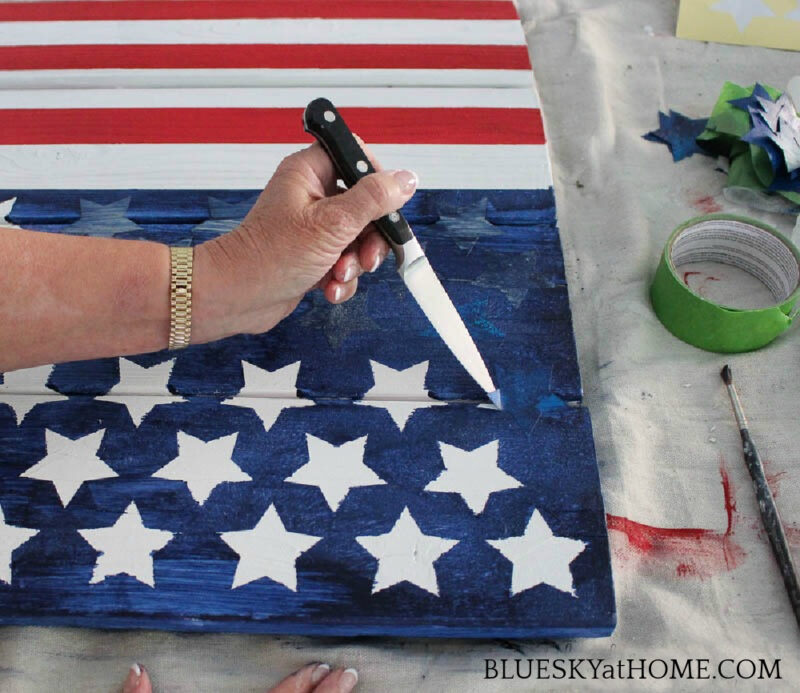
The white stars on the blue background “appeared” as I removed the star stencils.
Again, some of the paint bled through. Just as I did for the stripes, I used a small brush with white paint to go back and make corrections.
The American flag was complete.
Displaying Your Painted U.S. Flag
I placed the flag on our mantle and am so happy with how it turned out. It will be a great focal point in our living room and the star of all our patriotic holiday decor and 4th of July decorations.
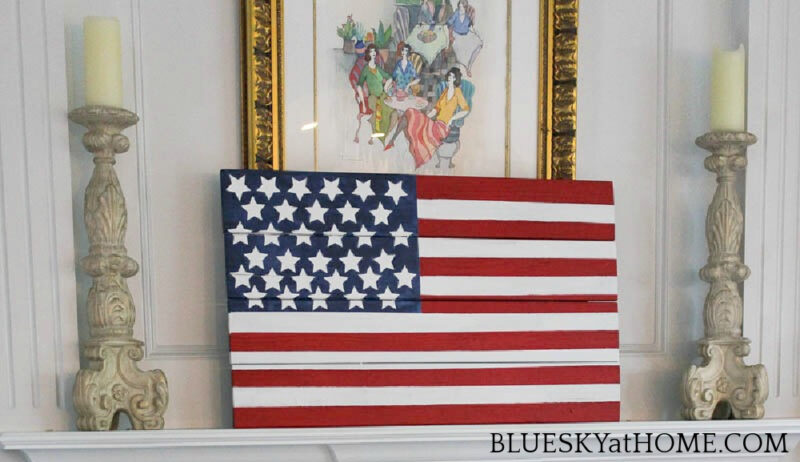
I promise this is a one-day project. It would probably be even easier with just a solid piece of wood, but I love that I was able to repurpose our tabletop. Literally, this project cost exactly $15, which was for the 3 tester pots of Fusion Paint.
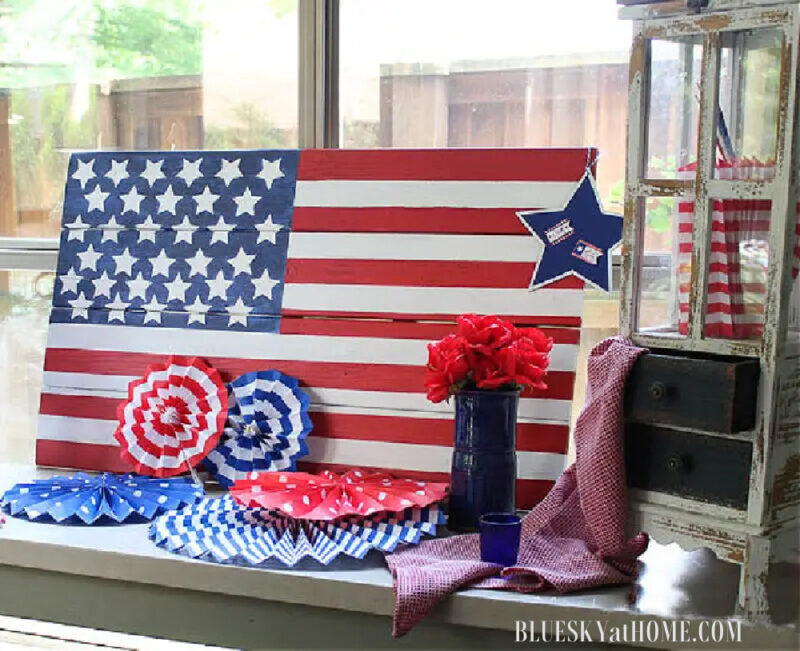
Here is another place where I used my DIY-painted American flag – in our breakfast room.
A covered porch or patio would also be an awesome place to display your flag. So I did. This was before we updated our patio and backyard.
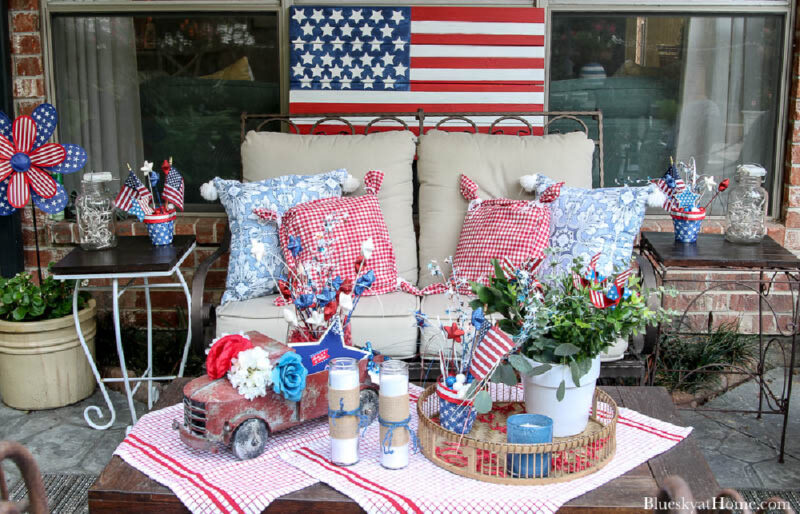
With our new patio and backyard makeover, I can’t wait to use our DIY-painted American flag this year.
What DIY project for the 4th of July are you going to make? I’ve got a couple more up my sleeve – such as these easy patriotic DIY projects from last year’s Fourth of July.
The great thing about patriotic DIY projects is that they never go out of style. Especially how to paint a DIY American flag.
Thanks so much for visiting. I hope you love this project. If you want more patriotic projects, please visit my Pinterest Boards, Patriotic Holiday Ideas and Patriotic Tablescapes.
If you want to remember how to repeat this DIY American flag project, please PIN it.





Sharing on Saturday on the Weekend Edit! Love this flag!
laura
LOVE the tips and tricks you shared, Carol!
We will be featuring you starting Wednesday at the Creative Crafts Linky Party! Pinned and shared!
Creatively, Beth
Carol,
Love this flag! and it looks so nice where you chose to display it!! Thanks so much for sharing!! I hope you are having a great week!!
Hugs,
Deb
So cute, Carol! I love displaying the flag, especially during the summertime, and your rendition is great. Love that you re-used the old tabletop!
Thanks so much for joining the Grace at Home party at Imparting Grace. I’m featuring you this week!
This is a lovely project Carol! It turned out so beautiful and very patriotic! Thanks for sharing on Crafty Creators!
XOXO,
Niki
So good!! I love that you re-purposed an old table for this project…how cool! It turned out beautiful.
This turned out great, Carol. Great update!
Such a great tutorial, Carol! This flag turned out beautifully and I love that you repurposed your tabletop!
What a great looking flag, and I love that you repurposed an old table! Thanks for the step by step instructions!
This is an amazing tutorial. You make it look so easy. I love your flag. Thanks for the step-by-step
Carol,
This is such a great idea. I love how it turned out.
Still a great idea Carol! Thank you for joining in this week! I know you were super busy. pinned
Your flag looks great and the perfect backdrop for a patriotic vignette! I love interesting upcycle projects. Well done Carol!
Such a cute and clever project! I love that it is customizable. Bravo Carol!
Hi Carol,
What a great project to share for this PC! I love it! I know you are having a wonderful time on the cruise with your family! Happy Day friend! Colorado Laura
This flag sign turned out great, Carol! What a great statement for the holiday.
Thank, Pamela. One of my favorite projects.
This is beautiful!! It’s a good thing you saved that table top.
Great repurpose, Carol!!! I do love reusing old pieces and turning them into something new. Love your flag!!! Perfect for placing in any vignette or to hang on a wall. I just brought home an old flag from my in-laws that will get used shortly. 😀
Happy RWB day!
Hugs,
Barb 🙂
Hi Carol,
This is a wonderful and beautiful patriotic project.
I love it and it looks fabulous in your home.
So great to share in this monthly hop with you!
Jemma
I love it. I did this a few years ago. I love how you styled it. So cute.
Too cute Carol! But then I’m all about wooden signage. Such a great idea. Love the up cycled tabletop… definitely going to give this one a try!
Your flag is beautiful, Carol. I painted one a few years ago for my son-in-law but instead of stenciling the stars, I spray-painted wooden ones and glued them on. I love how you upcycled an old tabletop!
WOW! What a great piece to have for all the patriotic holidays. I love it Carol. So inspiring and simple to create. Thanks for sharing.
What a great recycling idea. Your tutorial is so detailed and easy to follow!
Thank you, Patti. One of my favorite projects. The former teacher in me has to provide the step by step.
This is super cute! Great job, Carol!
My patriotic stuff comes out before Memorial Day and stays up past 7/4! I would have gone crazy doing the touchups; I’m afraid mine would have ended up with a rustic look. You did an awesome job!
Kathy, from Memorial Day to Labor Day, you can’t go wrong with red, white and blue in your home decor. Thanks so much for visiting.
I hate tossing things too, so this was a great way to recycle your old tabletop into a beautiful flag decoration. Love it.
Erlene, I was so proud of myself for thinking of how to recycle the table top. We’re definitely enjoying the new version during the holiday week.
Loved this amazing tutorial on how to paint an American Flag on just about anything. Thank you for participating in the Wall to Wall DIY Wednesday link party! 🙂
Sincerely,
Robyn Davis
Thanks Robyn. I’m loving my painted flag.
That is beautiful! Thanks so much for sharing with us at the Summer Time Fun Linky. Pinned
I was thinking how hard it was to hand paint stars. Great idea with the stickers!
Cindy, Hand paint stars? No way, but I can make a stencil and paint over it.
Carol, when our boys were little we made one of these for one of their bedrooms. It’s an easy project with great impact! I’m glad you shared how easy it is to do.
Stacey, you were starting them early on the stars and stripes. 🇺🇸