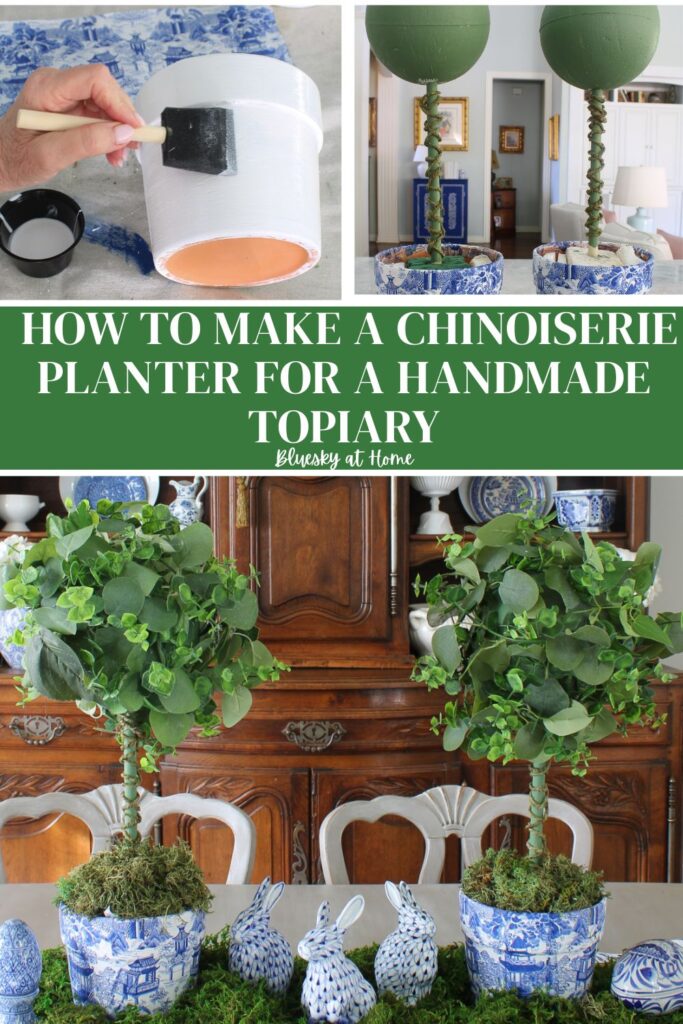
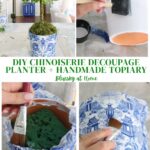
How to Make a Chinoiserie Planter for a Stunning DIY Topiary
For centuries, topiaries have provided a sophisticated and whimsical decorative accessory. Have you ever made a handmade topiary? Have you used decoupage to make a pretty planter from a terra cotta pot? I wanted to combine these two crafts to make a new decorative accessory for our home. This new project is about how to make a chinoiserie planter for stunning DIY topiary.
One unexpected item sparked the idea – turning a simple garden pot into a chic chinoiserie topiary planter.
This handmade piece celebrates elegance, combining the vibrancy of topiaries with the classic beauty of chinoiserie design.
The process promised not just a creative outlet but a unique addition to my home decor collection. With Mod Podge, pretty napkins, and a dash of imagination, I set out to create something special, turning everyday craft supplies into chic decor pieces.
Topiaries have gained tremendous popularity in recent years. They bring a classic, organic accessory to any style of home.
We have had a pair since we built our previous home. The containers were originally a shade of black, but a few years ago, I used paint and gold leaf to transform them.
A while back, I decided to create topiaries to add a green spring look to our kitchen. For that project, I used boxwood balls to make topiaries for a spring vignette.
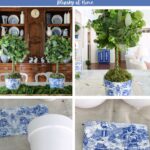
For a new topiary project, I would make the topiaries from scratch and create a beautiful chinoiserie-style planter using decoupage. This idea would combine my love of chinoiserie with the elegance of topiaries.

This post contains affiliate links to products used to create this project. If you should order any item from this site, I may receive compensation, but you do not pay a penny more. Your purchase is greatly appreciated as it helps support the continued publication of this site.
Gathering Your Supplies
This is another project that required a small number of craft supplies I already had on hand. I only had to purchase one item specifically for this project.
For the Chinoiserie Planters
The chinoiserie pattern is ideal for topiary planters. It’s the design of the napkin you choose that results in unique, one-of-a-kind items. The napkin design that complements your vision transforms a plain ceramic vase or garden pot into a vintage treasure.
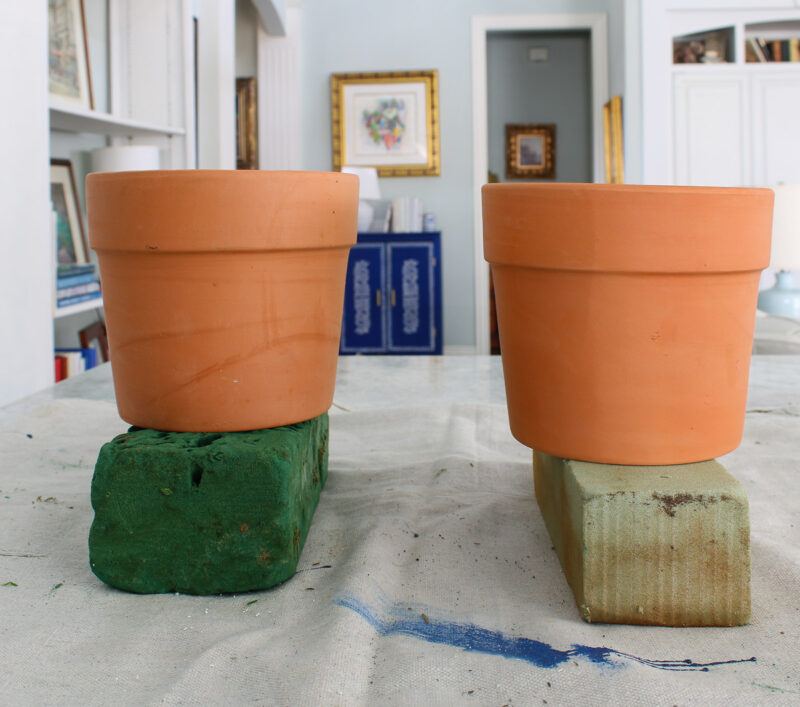
- 2 terra cotta garden pots – fortunately, we had these in the garage. The pots should be identical for the topiaries. 6 inches round is a great size for this project. If you don’t have any terra cotta pots lying around, this set of 2 pots is perfect.
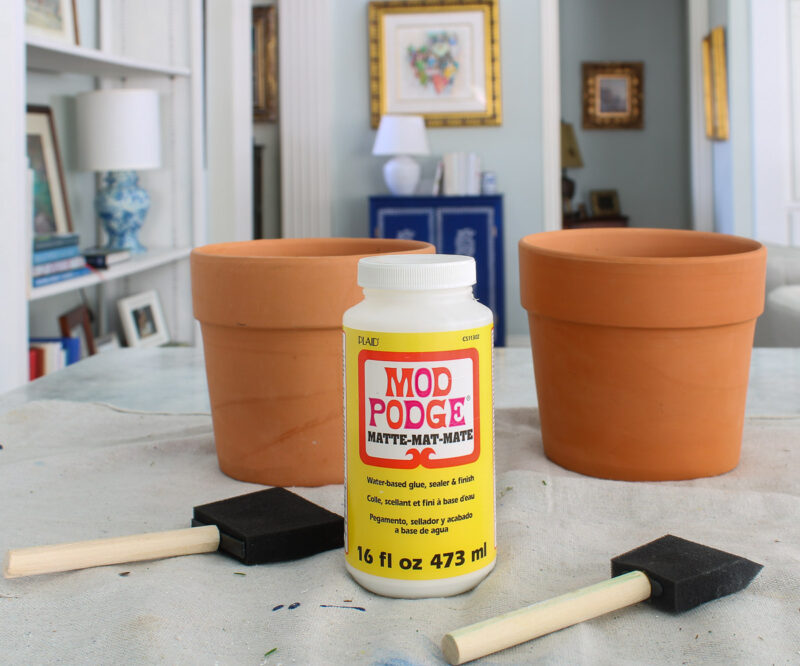
- matte Mod Podge or gloss Mod Podge– on hand. Mod Podge is a must; it’s the decoupage glue that bonds the beautiful napkin layers to the pots.
- Mod Podge Ultra-Gloss Spray Sealer – I find that finishing with the sealer protects your decoupage project, but it also gives a bit more shine to the finished project.
- Mod Podge brushes – you can use foam brushes, but I find that these brushes give a smoother finish.
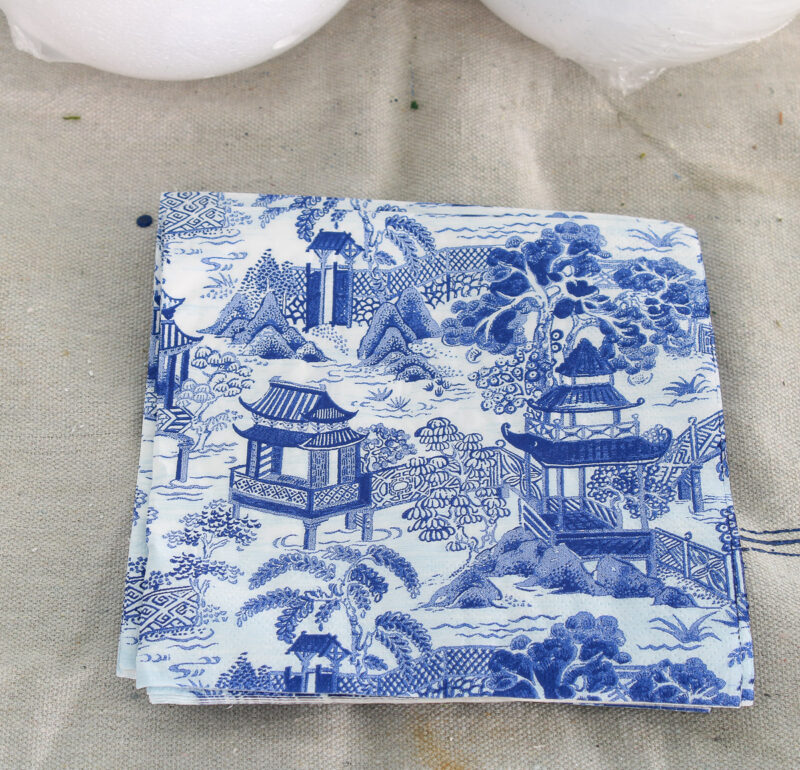
- cocktail– or luncheon-size paper napkins – since I wanted a very Chinoiserie-looking planter, I found this beautiful, elegant Chinoiserie design.
If you want more chinoiserie design options, check out my PAPER GOODS shop on Amazon.

For the DIY Topiaries
Think making a DIY topiary is hard? I promise it’s not. Here are the supplies you need:
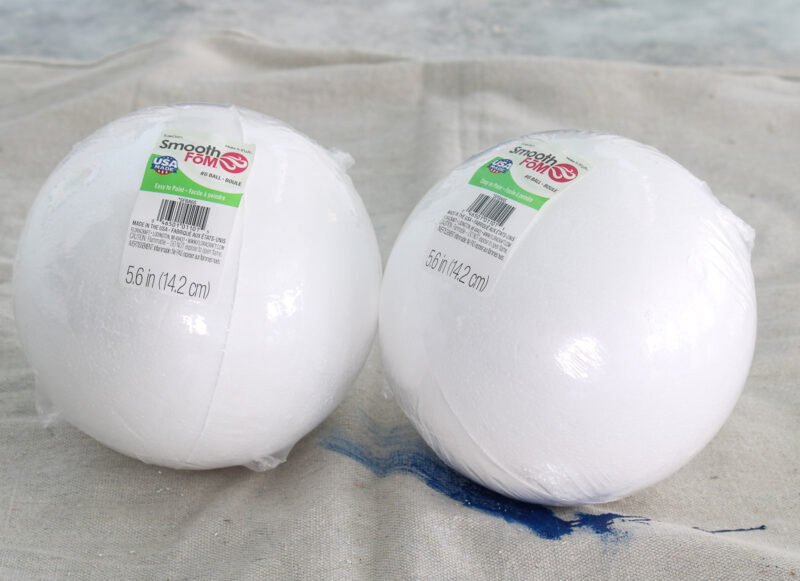
- Styrofoam balls – These are 6 inches in diameter. Get the ones with a smooth surface. The napkin will look much better. They were what prompted me to start this project.
- drill – I used my drill with a large bit to make a hole for the dowel rod
- 1/4-inch wide wood dowel rod, 36 inches long – I bought these at Lowe’s for a spring vignette topiary project. I only used one, so I had another one on hand. I cut two 15-inch lengths for this new topiary project.
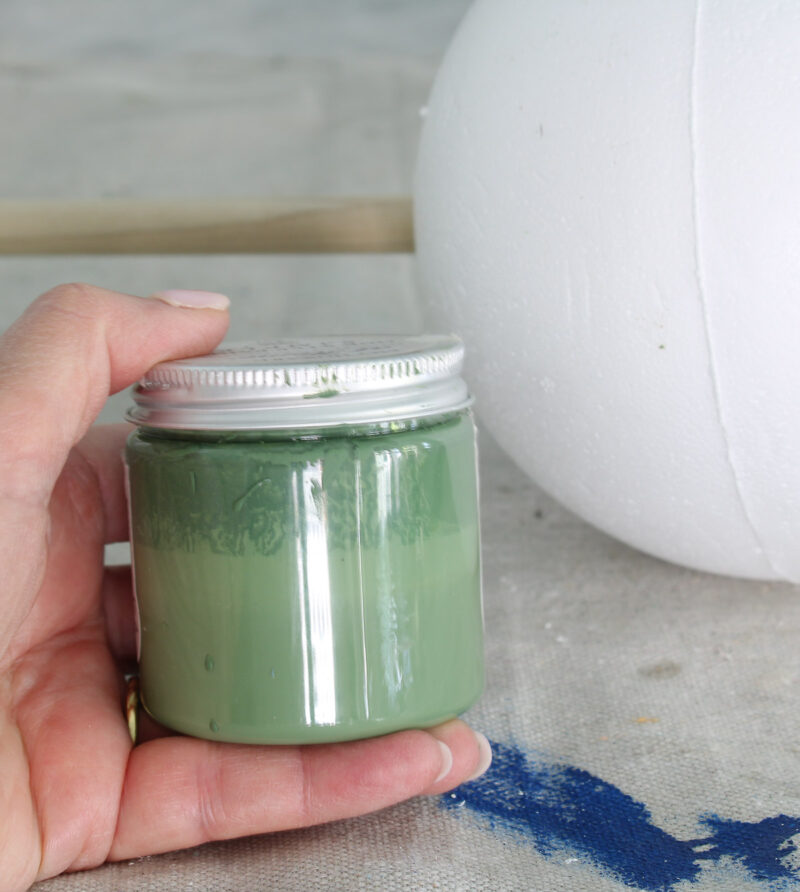
- boxwood green acrylic paint to paint the styrofoam balls. You can also use chalk paint.
- small paintbrush
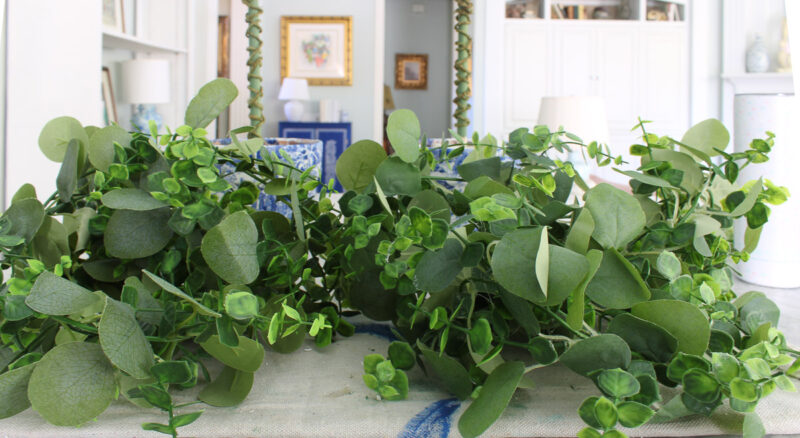
- greenery garland or individual stems – I had two garlands that I bought and used for Christmas garlands on our mantel. Ivy garland will give you the best “topiary” look.
- glue gun and glue sticks
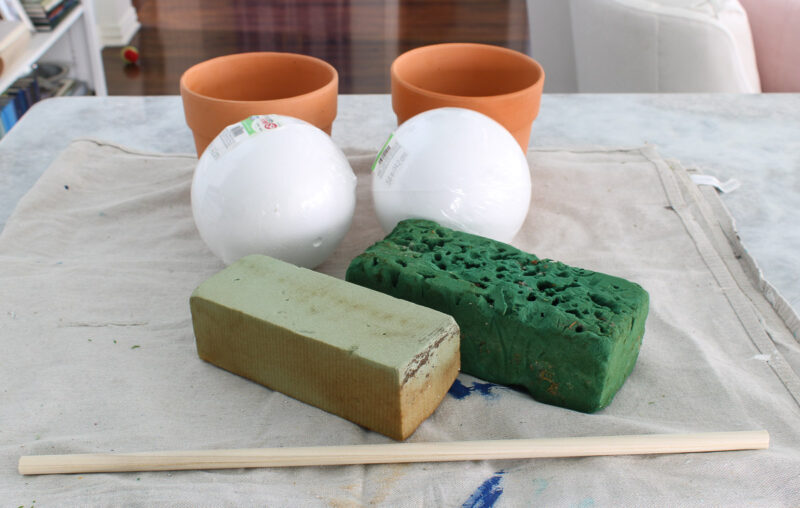
- florist foam or styrofoam to secure the dowel rod in the terra cotta pots.
- moss to cover the base of the florist foam
Preparing the Terra Cotta Pots
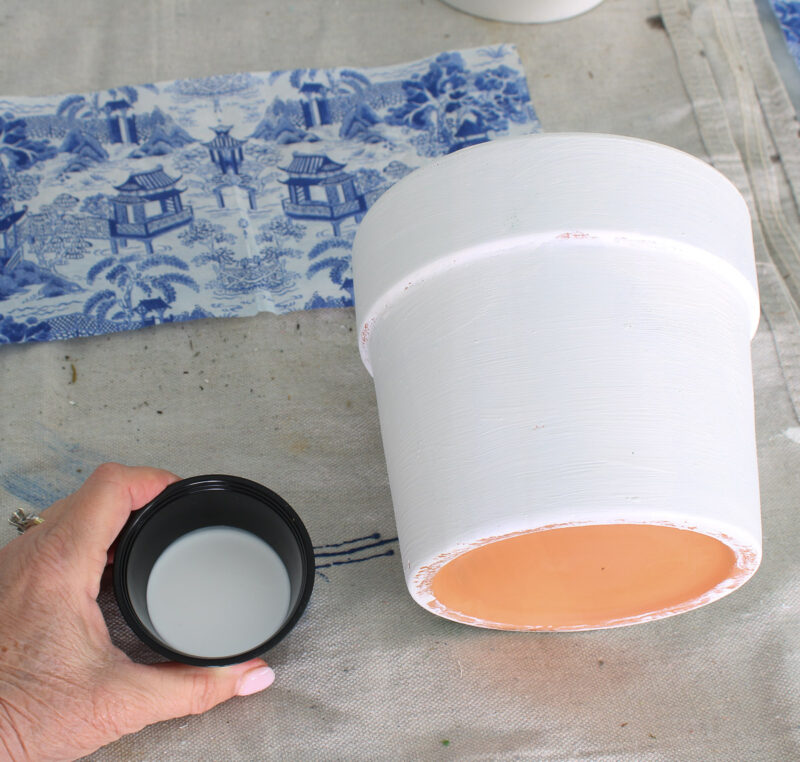
First, gather your garden pots. They must be clean to ensure the decoupage medium adheres properly. These planters had never been used, but I still wiped them with a paper towel to remove any dust.
I set the planters on old pieces of florist foam to make painting easier.
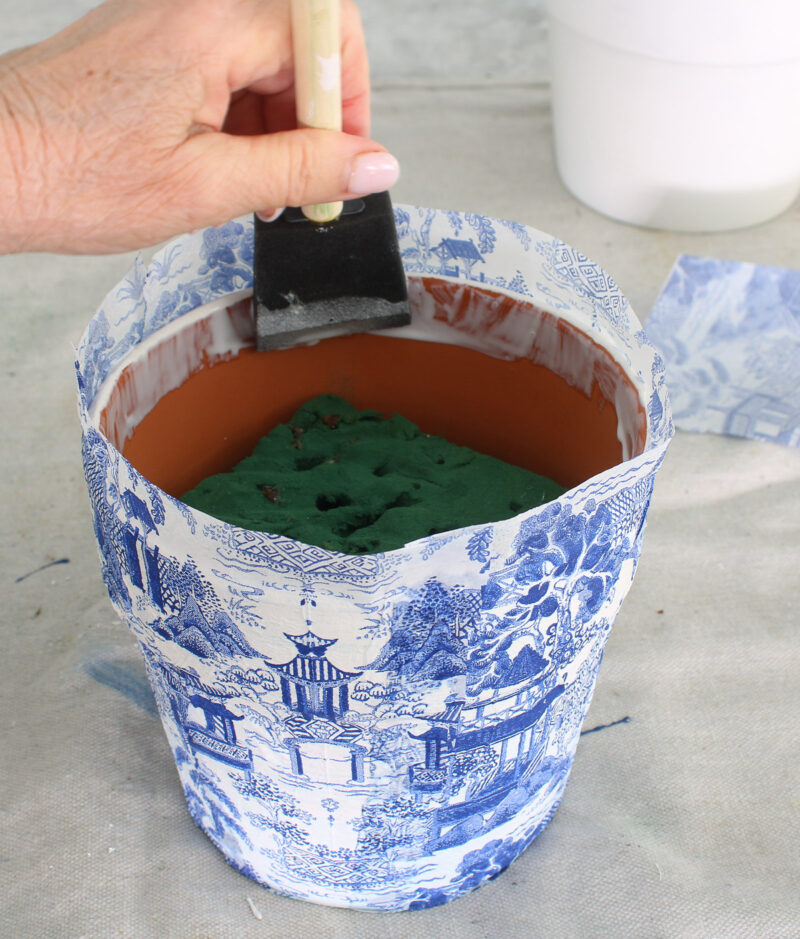
Painting the Terra Cotta Pots
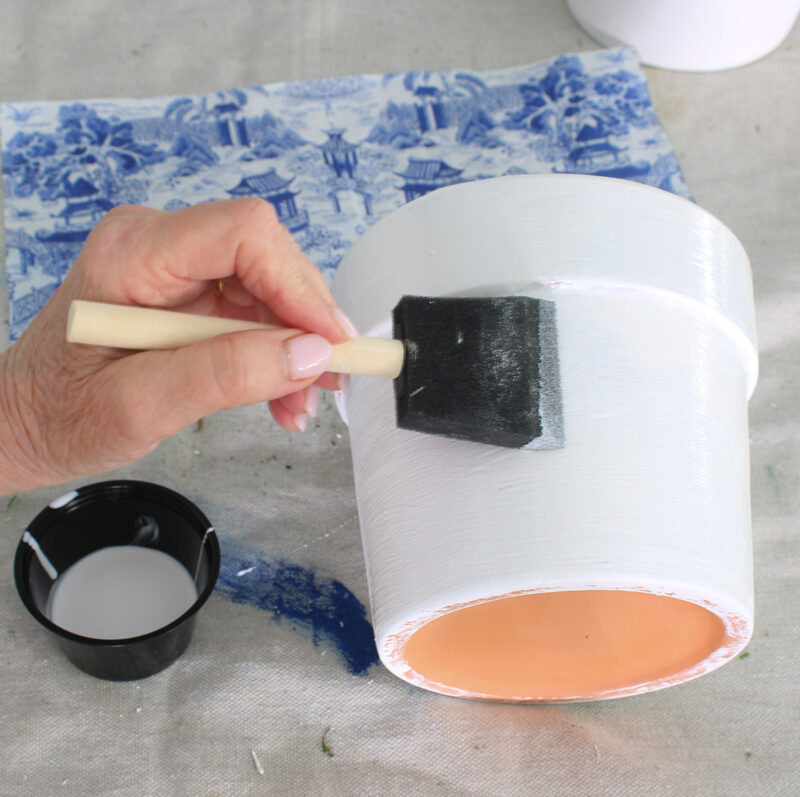
The entire pot needs to be painted. Any chip brush or foam brush will work.
- This step gives the planters a good seal for the Mod Podge. Terra-cotta pots absorb Mod Podge differently than ceramic varieties.
- I always use white paint, regardless of the color of the planter, so that the design on the napkin is clear and shows up well.
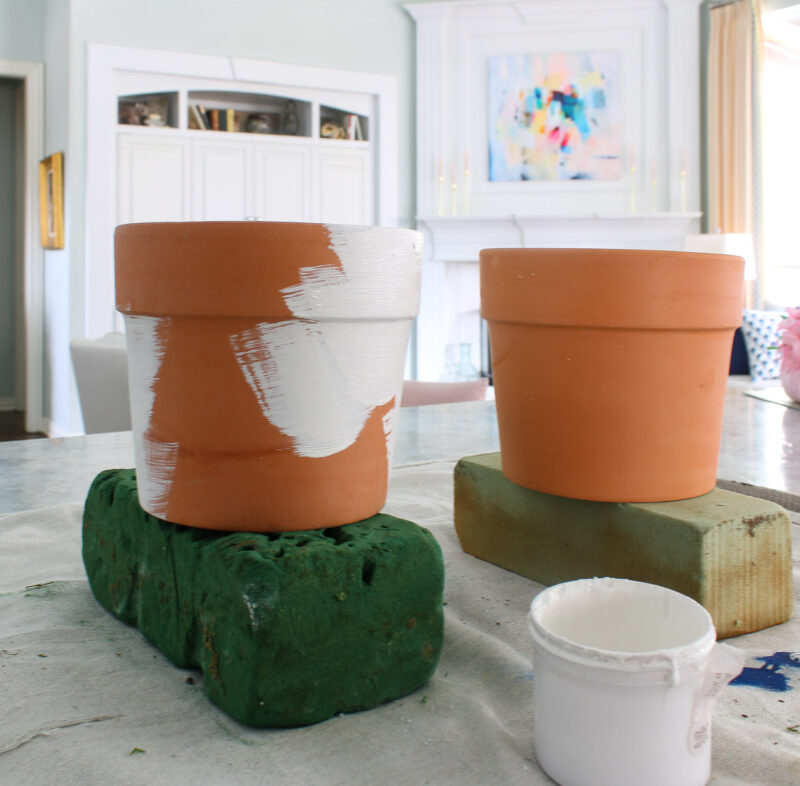
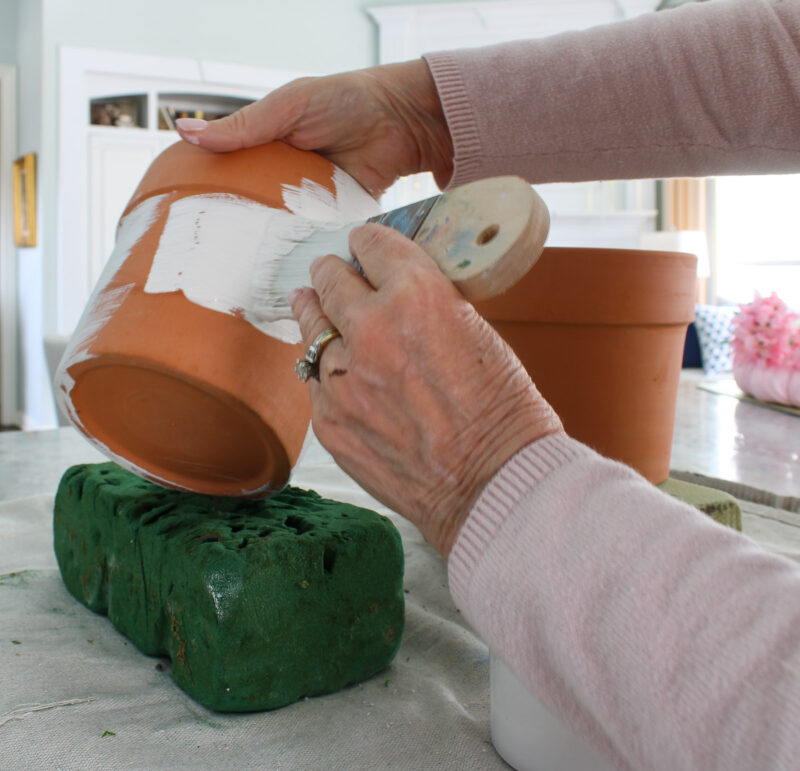
Any acrylic-type paint will work. It only took one coat to cover the planters’ orange color. Let your pots dry completely.
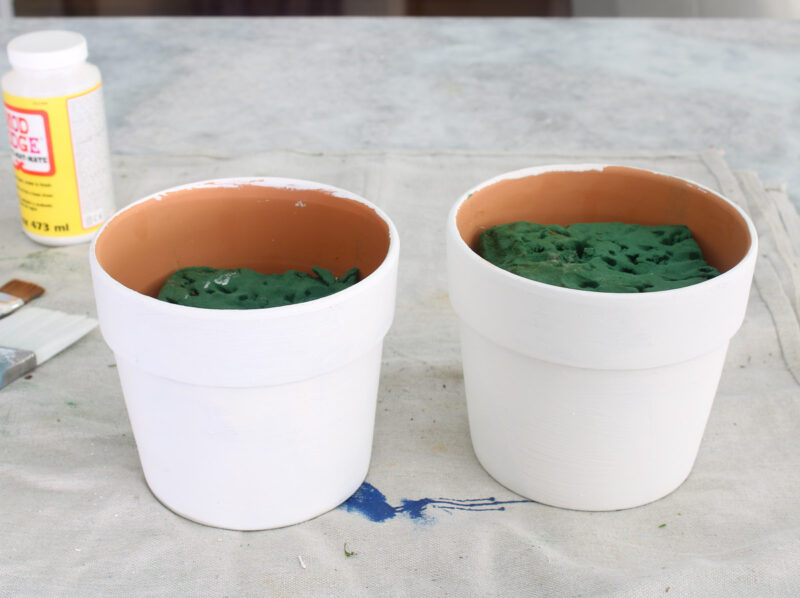
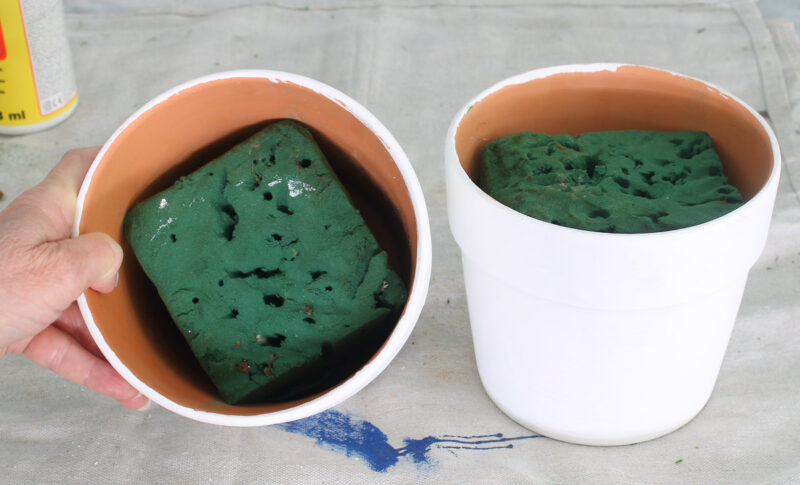
I also went ahead and placed pieces of florist foam into the planters. You want to make sure it’s a firm fit to hold the dowel rod for the topiaries. I ended up adding more styrofoam pieces for a tight fit.
NOTE: Going forward, I would use the round 4.5-inch florist foam I linked in the supply list.
Decoupaging the Terra Cotta Pots
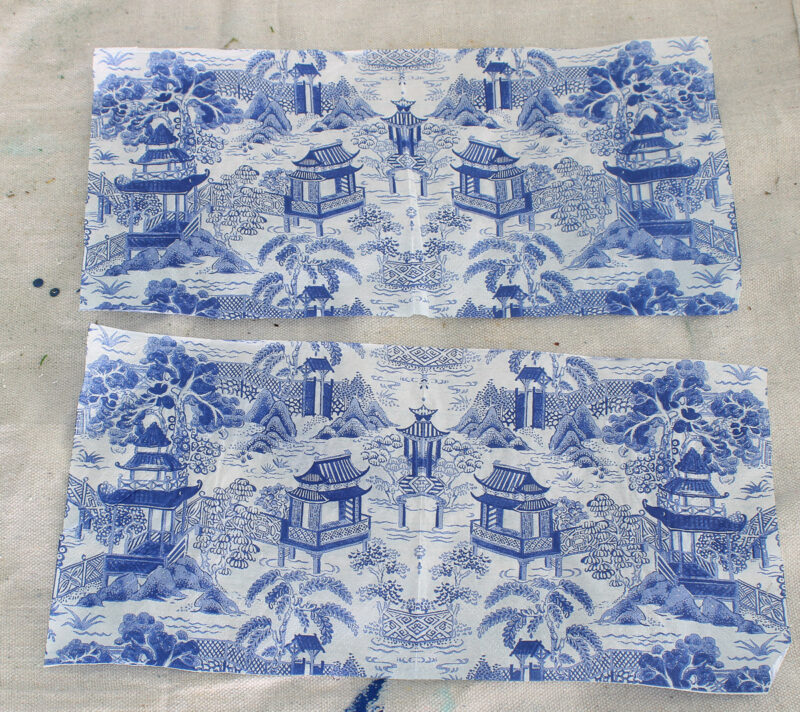
Unfold your napkins. There are different ways to prepare your napkins. You can cut or tear the napkin into pieces, or use it as a single piece.
I wanted to completely cover my planters. I placed the whole napkin on the planter and decided not to cut or tear the napkin into pieces, but to use it as a solid piece. I cut a napkin in half horizontally to preserve the design.
Separate the napkin’s design layer from the bottom layer(s). That’s always the hardest part for me! I rub the corner of the napkin between my fingers. You can use a small, sharp knife point to get between the layers.
By separating the white layers from the printed layer, you ensure the napkin piece adheres smoothly.
Applying the Mod Podge
Step 1 – I poured some Mod Podge into a disposable plastic container.
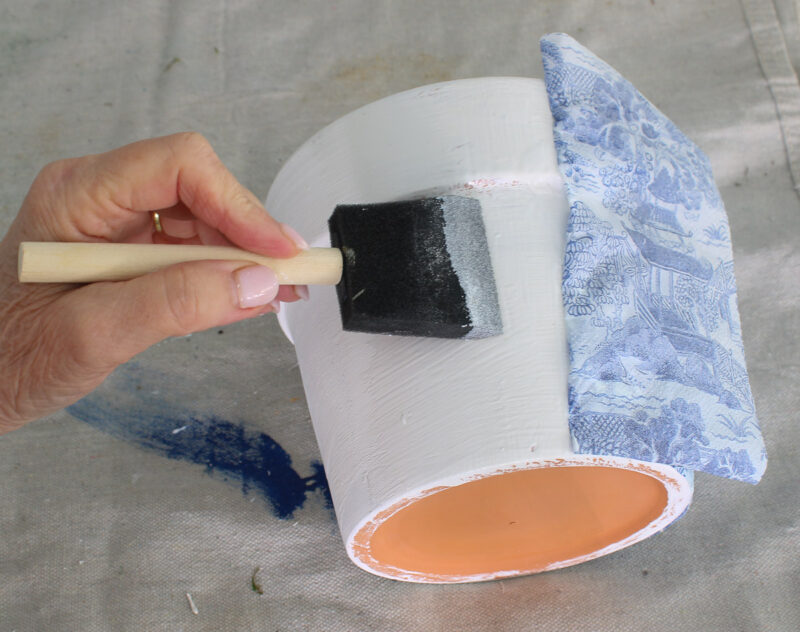
Step 2 – Then I used the foam brush to apply a thin, even layer of the Mod Podge to the planter in a large area, about 4 inches wide, from top to bottom.
Step 3 – I carefully laid the napkin on the planter with the edge of the napkin at the bottom of the planter.

NOTE: Since the planter is round, I adjusted the napkin to keep the napkin’s bottom in line with the bottom of the planter. You will create some folds this way, but it’s the best way to keep the design straight.
TIP: This is something new I tried: Usually, I brush more Mod Podge on top of the napkin. Instead, I used a dry brush to gently go over the napkin. This method worked so much better. It created fewer wrinkles, and I didn’t have any tears in the napkin. I worked from the center towards the edges to eliminate any air bubbles.
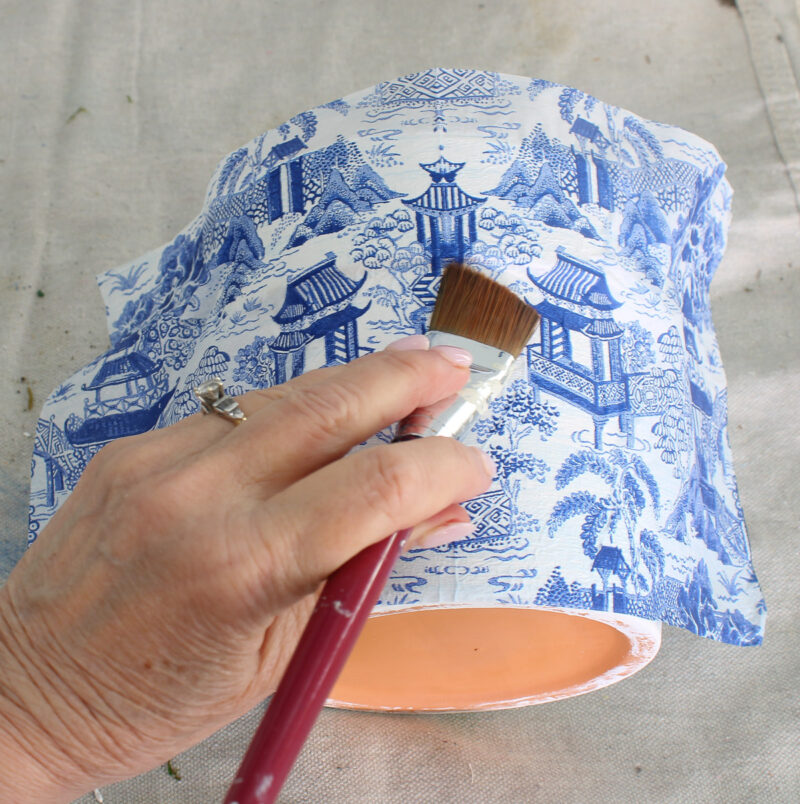
Step 4 – I added more Mod Podge and laid down the remaining napkin, as I did for the first section, using the dry brush to smooth it out. I repeated the step on the other end of the napkin.
Step 5 – To cover the rest of the pot, I attached the other piece of napkin to the pot, adding more Mod Podge and cutting off the excess napkin with scissors.
TIP – For any areas with napkin folds, add a little Mod Podge under the fold and use the dry brush on top to smooth it down.
Step 6 – Apply Mod Podge to the top rim of the planter and brush up on the napkin with the dry brush. Apply more Mod Podge – about 1 inch – on the inside of the planter. Use the dry brush to fold over the napkin and brush down on the inside of the planter.
Set the pot aside to dry and repeat the decoupage process with the other planter.
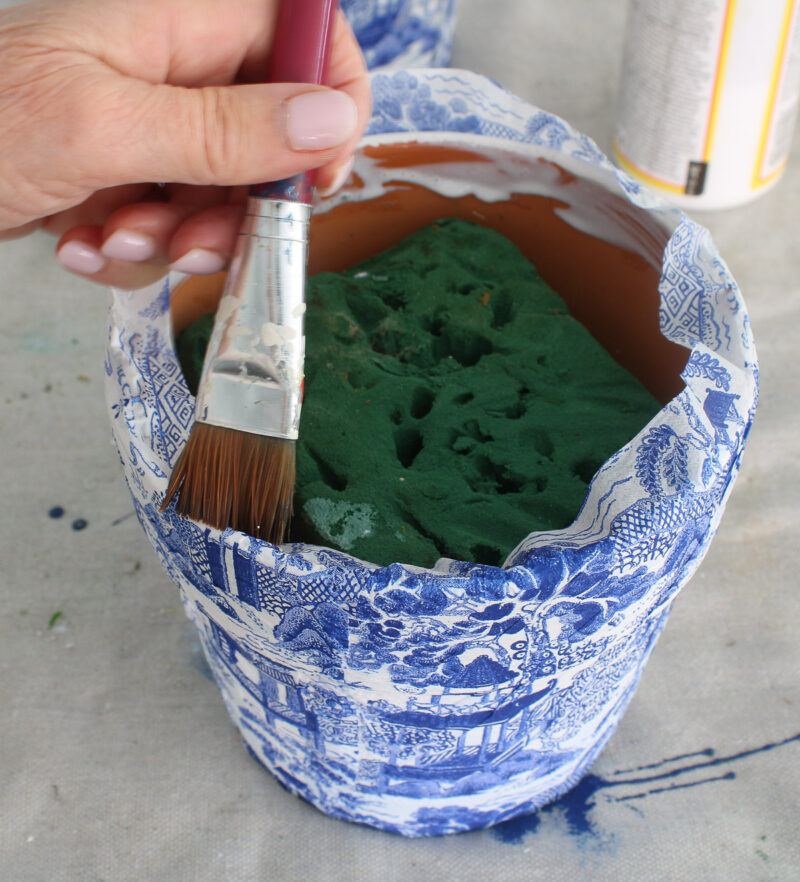
Step 7 – When you have finished both planters, apply a thin coat of Mod Podge to the pot. This step seals and protects the decoupaged planter. You’ll notice the Mod Podge shows white, but it will turn clear as it dries. Set the planters aside to completely dry.

NOTE: When the planters are dry, there won’t be any tackiness and the design will be clear.
Step 8 – For extra protection, apply the Spray Mod Podge Sealer. You need to do this step outside, out of any wind.
Making the Topiaries
While the planters dried, I started on the topiaries. I had never made topiaries from scratch with a styrofoam ball. I had previously purchased balls of grapevine twigs wrapped in ivy vines.
Drilling a Hole
I used the largest drill bit I had and drilled a hole in the styrofoam balls.
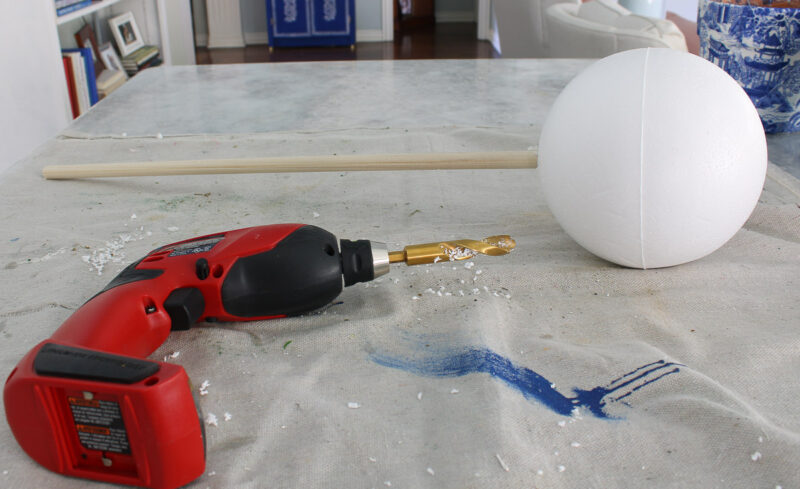
TIP: If you want, add some hot glue or Gorilla glue in the whole to secure the dowel rod.
Cutting the Dowel Rods
I placed one end of the leftover dowel rod (It was 24 inches.) in the florist foam in the pot. Then I held the styrofoam ball where I thought it would be the right height. I thought 15 – 18 inches would be right.
Using my miter board and hand saw, I cut the dowel rods at 18 inches.
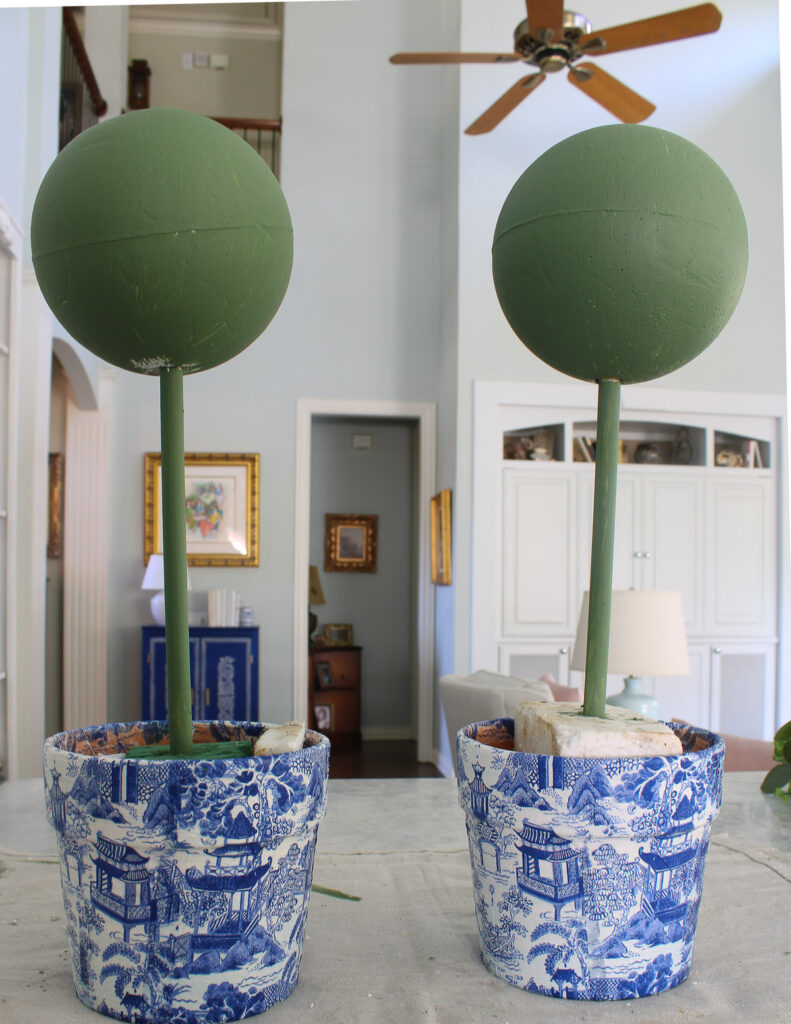
I placed the dowel rods back in the florist foam.
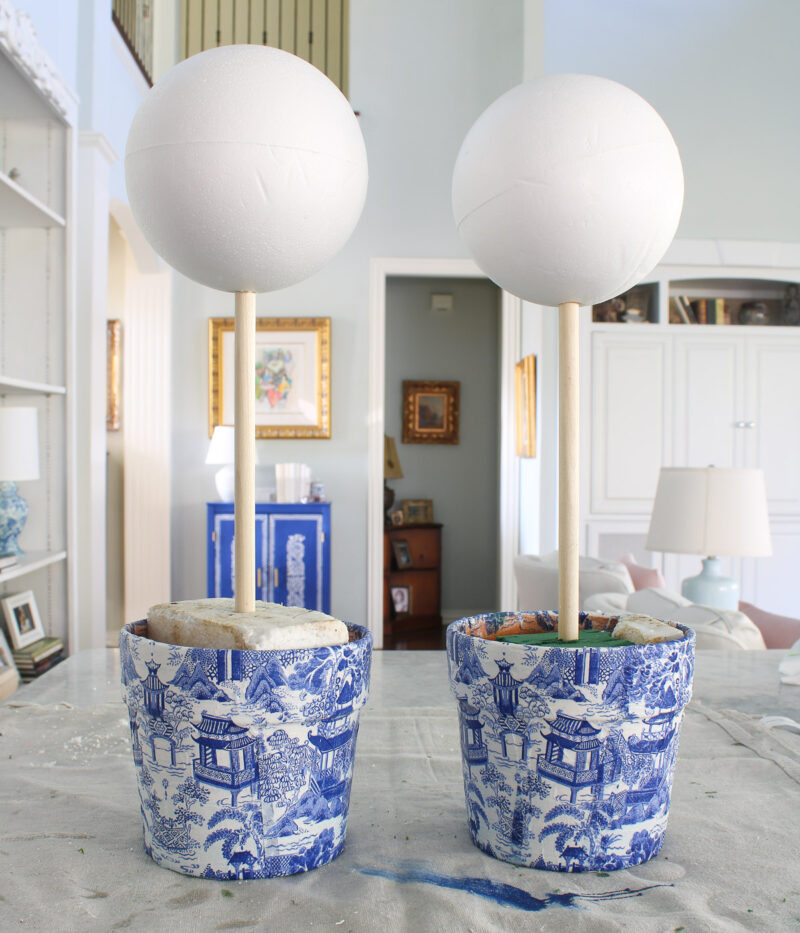
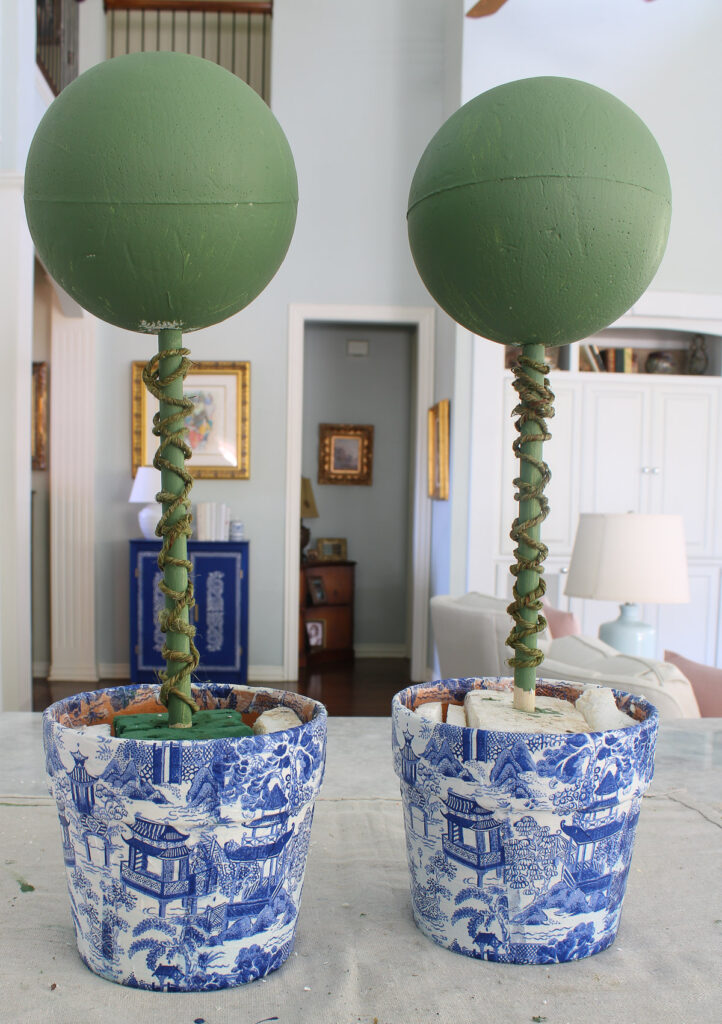
With the topiaries assembled, I could begin to paint them.
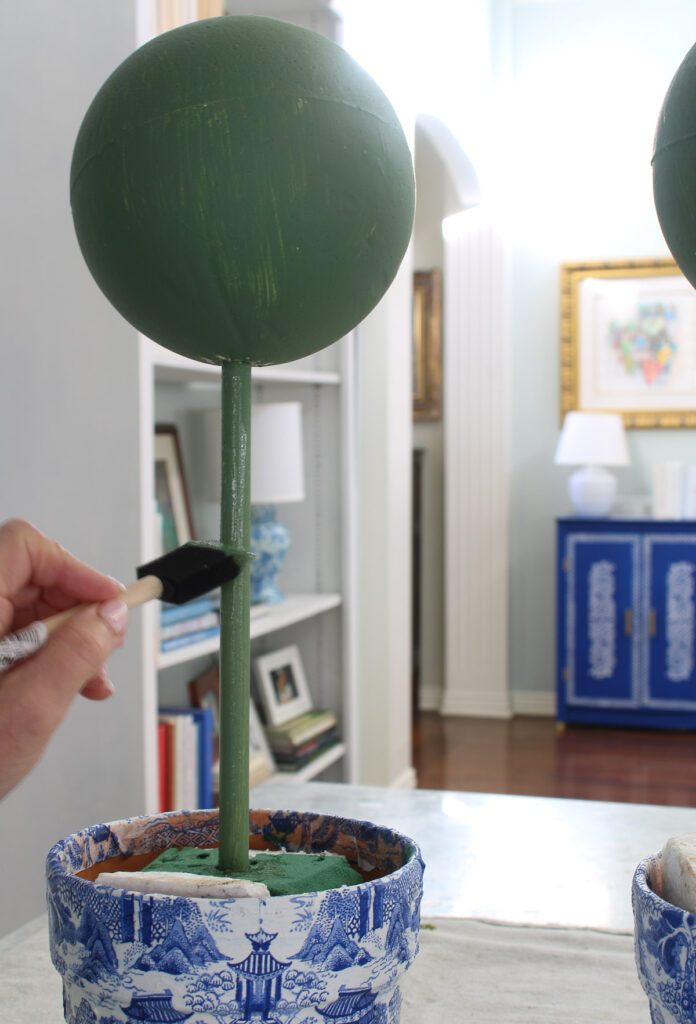
Painting the Topiaries and the Dowel Rods
The white of the topiaries had to be covered so it wouldn’t show through. With the dowel rods and styrofoam balls in place, I began painting them.
I used a pretty soft green color acrylic paint. I placed a piece of newspaper around the dowel to protect the Chinoiserie planter.

I used foam brushes in two sizes to paint the balls and the dowel rods. It only took one coat to cover.
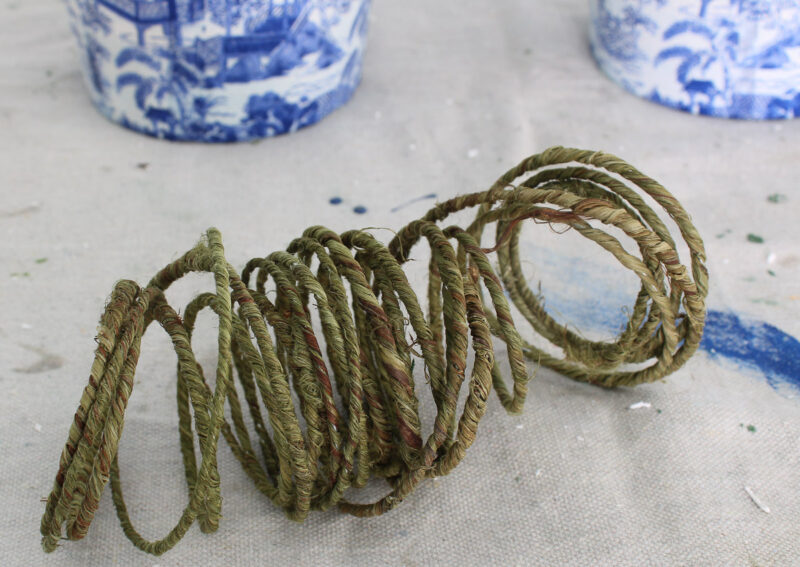
To add more texture to the dowel rods, I wrapped them with green wired twine. First, I disassembled the topiary.
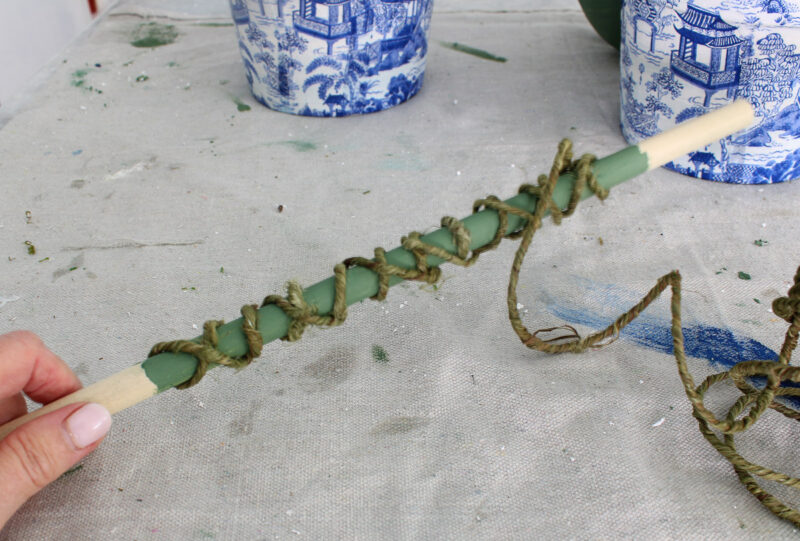
And then reassembled them
NOTE: In future topiary projects, I would recommend doing this step before you put the rods in the florist base or the styrofoam balls.
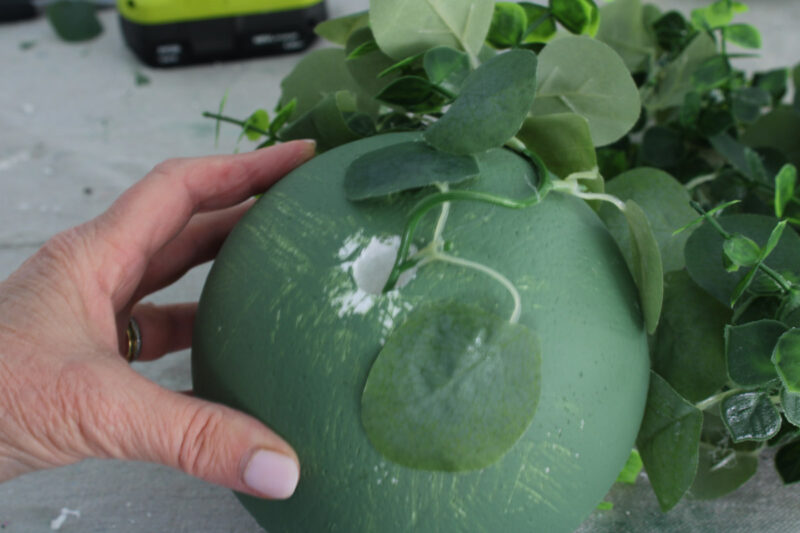
Adding the Greenery to Make the Topiary
I wasn’t sure how to attach the garland to the styrofoam balls. I heated my Ryobi Glue Gun.
Version 1
For the first ball, I thought I would add the entire garland at once. I thought gluing the stems would work as I wrapped the garland around the ball.
It became clear that that method didn’t work well. Instead, I started gluing some of the larger leaves to the ball. That approach worked much better, and I was able to cover the ball with the greenery.
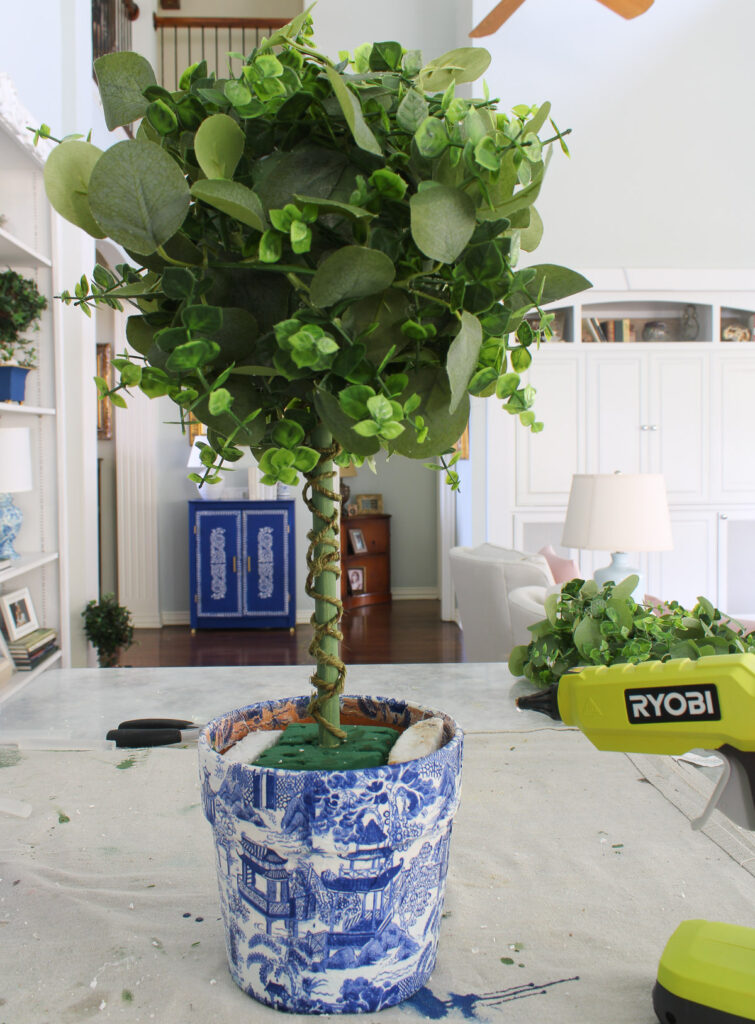
Version 2
For the second ball, I cut the garland into pieces about 8 – 10 inches long. This method was easier because there was less garland to work with at once.
To fill in sparse areas, I tucked in small pieces of leaves I had saved for this purpose.
I was so intent on wrapping the balls with garland that I didn’t take more pictures. The end result was spot on.
The chinoiserie planter for a handmade topiary came together exactly as I envisioned.
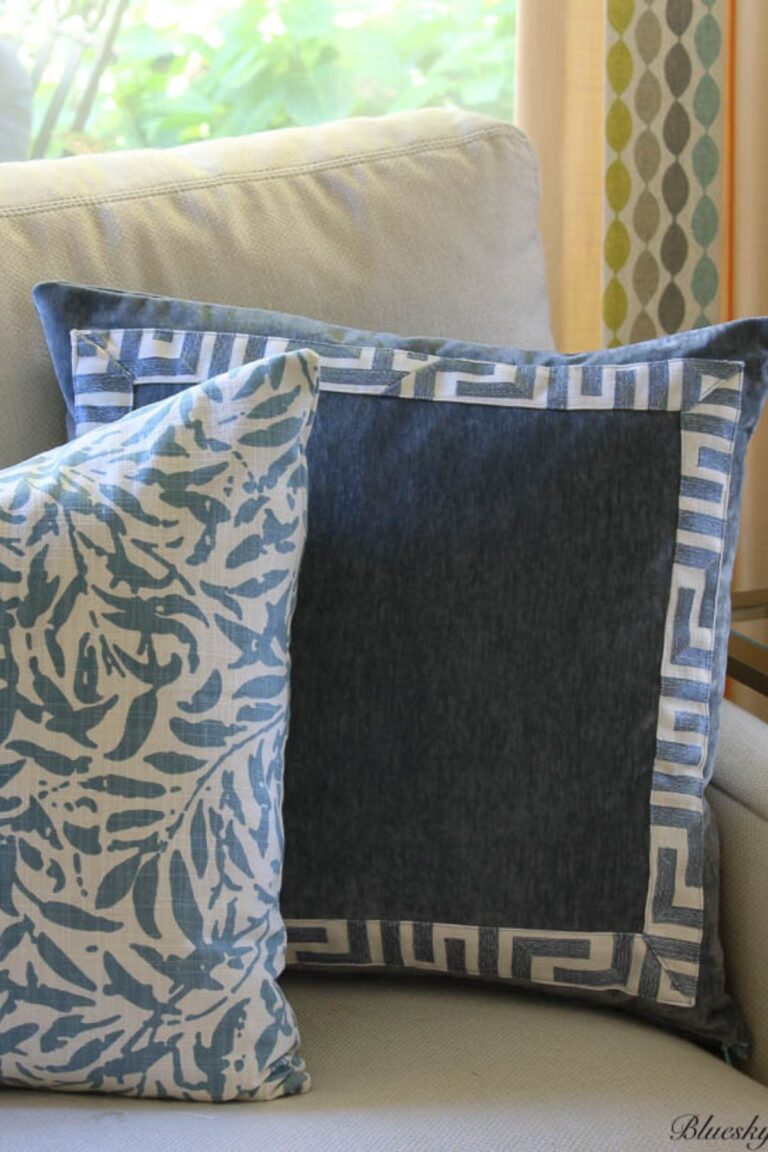
Other Decoupage Projects You’ll Love
Finishing Touches
The final step was to tuck in some crumbled newspaper in the pot.
And, finally, I covered the base of the topiary/Chinoiserie planter with some of my Super Moss. This step is a must-do finishing touch.
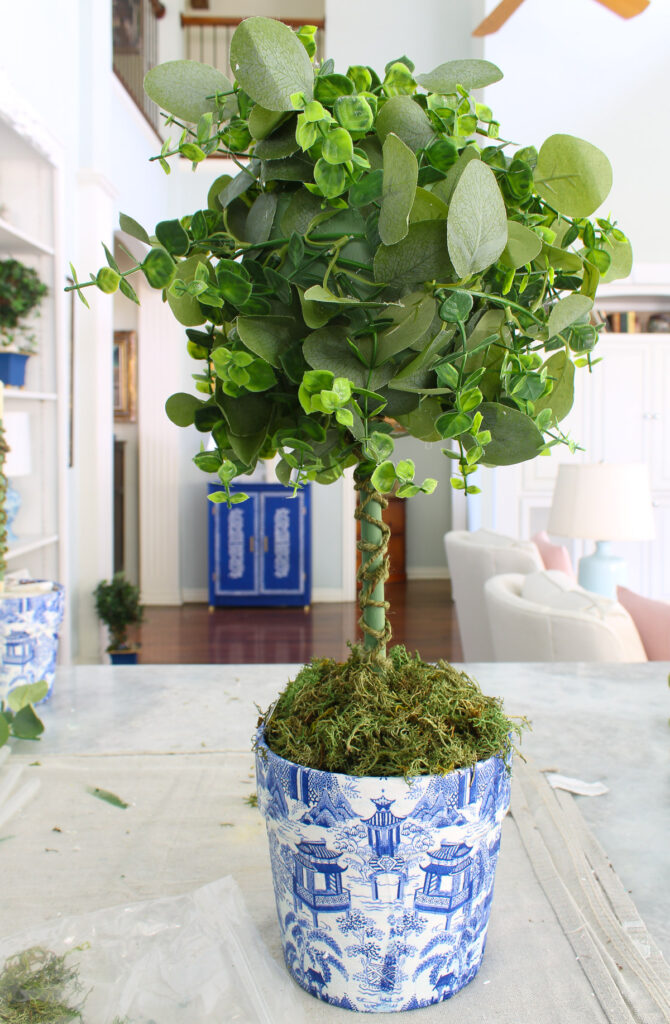
My Chinoiserie planters and handmade topiaries were finished and turned out better than I expected. This decoupage project was one of the easiest. Handmade pieces are the ones that give the most satisfaction in decorating our homes.
Making this chinoiserie planter for a DIY topiary was a fun, fairly simple, and very satisfying craft.
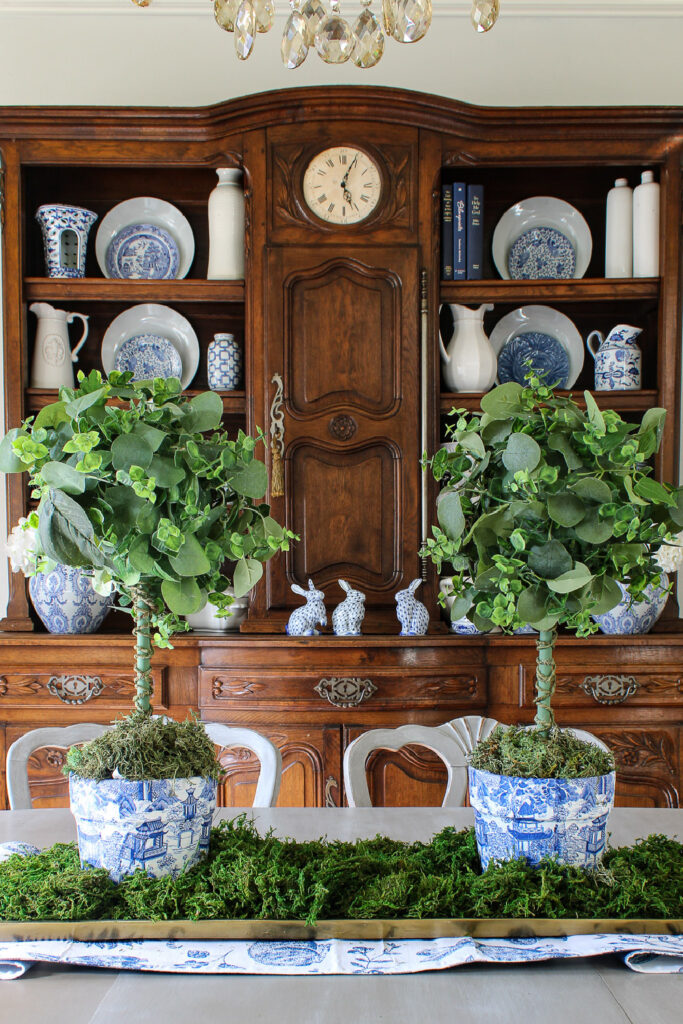
I’m displaying my chinoiserie planters with handmade topiaries in our dining room.
Next up, I’ll finish styling the dining room and show it off.
Since making this DIY chinoiserie topiary, I’ve used it elsewhere in our home, most often on our mantel.

Questions You Asked
Chinoiserie is a decorative style inspired by Chinese and East Asian art and design. It is characterized by delicate motifs like birds, botanicals, and pagodas, often rendered in blue and white. It has been beloved in European and American interiors for centuries for adding an air of elegance and sophistication to any space.
The basic supplies are a terra cotta or similar pot, decorative napkins with a chinoiserie-style print, Mod Podge, a foam brush, and a sealer to protect the finished piece. Sharp craft scissors are good when you plan to cut the napkins.
Look for thin, three-ply napkins with a print you love – the thinner the napkin, the smoother and more seamless the finished result. Chinoiserie-inspired prints are widely available at craft stores and online, and even paper cocktail napkins can work beautifully.
A basic handmade topiary uses a foam ball, fresh or faux greenery, a wooden dowel or stick for the stem, and a planter filled with floral foam to anchor everything in place. You attach your greenery to the foam ball, insert the stem, and secure it in the planter for a classic, polished look. You may use glue to attach the greenery to the styrofoam ball.
If you use faux greenery, your topiary requires almost no maintenance beyond occasional dusting. If you use fresh or preserved botanicals, keep the planter out of direct sunlight and excessive humidity to extend its lifespan. A spritz of water occasionally will prolong the life of the greenery.
This project is best suited for indoor display or a protected outdoor space like a covered porch. Prolonged exposure to rain, direct sun, or high humidity can damage both the decoupage finish and the topiary materials over time.
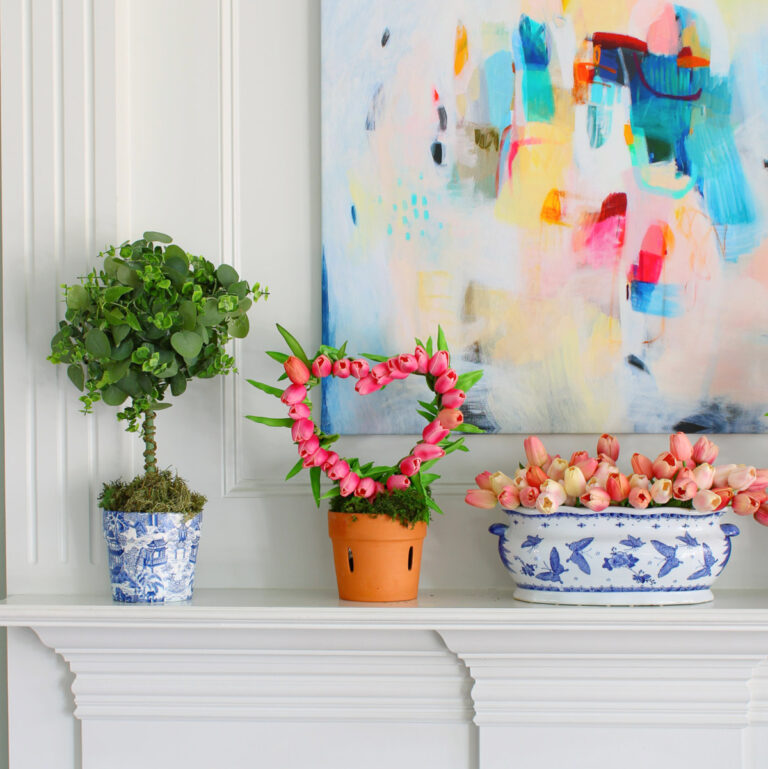
I also used these chinoiserie planters and topiaries, along with a pretty pink Valentine’s tulip topiary that is so easy and quick to make.
If you love chinoiserie as much as I do, check out this curated list of chinoiserie decor for your home on my Amazon Storefront.
ONE MORE THING: I have 6 beautiful chinoiserie art printables available on my ETSY SHOP.
I hope that you will PIN this chinoiserie and topiary project to your favorite Pinterest Pins.
Check out more decoupage projects on my Pinterest Boards – Decoupage Ideas and Chinoiserie Style


Love the tutorial and such a GORGEOUS result! A lovely addition to any home decor!
Don’t forget to join us over at the Creatively Crafty Linky Party every Wednesday through Sunday
https://creativelybeth.com/creative-crafts-linky-party/
Followed and Pinned!
Creatively, Beth
Thank you so much for the comment, Beth. Linked UP!
Wow! These are so pretty, Carol! I love how you coordinated the topiaries with your china cabinet and accessories! What a lovely idea and project!
Thanks for the feedback, Gail. It was a fun one and very satisfying.
These are beautiful Carol! I love the way you have them displayed too, on a Chinoiserie runner in a moss filled tray~ they look like they are real Chinoiserie, matching your lovely display on the hutch. Thank you for your tips and detailed tutorial, this is a wonderful project!
Thank you, Jenna. Coming from you, I’m thrilled. I’m finishing the dining room table this week and will share the final styling.
Carol, your handmade chinoiserie pots are beautiful and they really elevate your DIY topiary! Blessings, Cecilia @ My Thrift Store Addiction
Thank you Cecilia. I was so pleased with the results. Still working on more styling for the table.
These pots turned out so pretty. You can’t even tell they are made with fabric at first glance at the photos. You did an amazing job on this project. Definitely pinning this one.
Thank you so much, Donna. It was fun project that turned out better than I expected.Thanks for the PIN.
Carol these turned out beautifully! I am definitely going to give this a try. Already added the napkins to my Wish List on Amazon. Great job – and I can’t wait to try it!
Hi Tammy. Thank you for the sweet comment. I loved those napkins when I found them. I’m sure I’ll use the again. The planters turned out better than I expected.
Your topiaries are beautiful, Carol and the greenery you chose is perfect for using them all year long. Great project!
Thank you, Ann. They are definitely a year round accessory!
Your topiary turned out pretty. Love the design and color of them.
I can’t believe you made these from scratch, they look so impressive. Great work, Carol.
Blue and white is so beautiful and classic; I love how easy maintenance this is for a dining room table too!
HI, Sara. and thanks for the feedback. Thank you for hosting the blog hop.