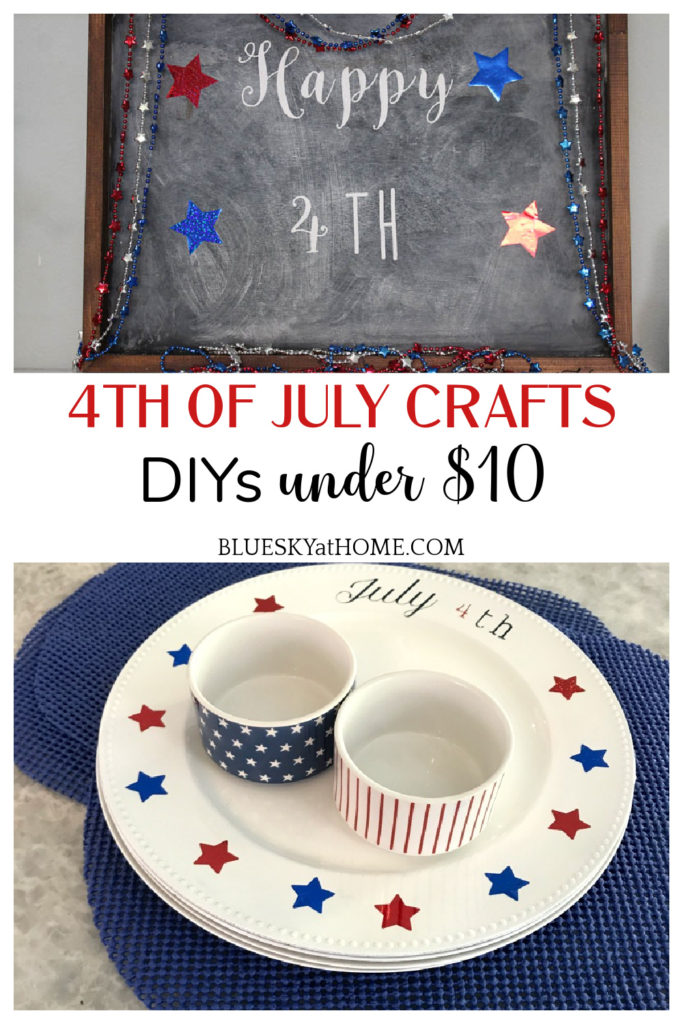
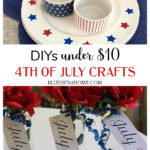
3 Easy 4th of July Crafts under $10
It’s time to start thinking about 4th of July decorations. For 4th of July celebrations, we are all about red, white, and blue. So here are 3 easy 4th of July crafts under $10.
Can you make 4th of July crafts under $10?
Yes, you can. All you need is a little imagination to create your 4th of July decorations.
One great thing about our summer patriotic holidays is that we can reuse and repurpose our red, white, and blue decorations. The colors never change and the design elements never change, but it’s fun to come up with new ideas for 4th of July crafts. That’s what I decided to do for you.

Not only can you make 4th of July crafts under $10, but you can also make them without spending 1 single penny. Plus, I know that can use them again.
4TH OF JULY CRAFT PROJECTS: 3 EASY ONES UNDER $10
This post contains links to products that I love and were used in this post. If you should purchase any product through this site, I may receive compensation, but you don’t pay a penny more.
I wanted to make some homemade 4th of July crafts that would allow me to reuse items I already had on hand. It wasn’t hard to find crafts for the Fourth of July that I could make for under $10 with supplies in my stash boxes.
4TH OF JULY TAGS
Somewhere recently I saw some printed tags with a summer theme. For this 4th of July craft, I knew I could make a similar tag for the 4th of July decorations. I plan to use these tags as part of my centerpiece for my 4th of July tablescape.
Here are all the supplies you need to make these cute easy 4th of July tags.
- card stock or heavy paper
- stencils
- Gel Art Ink
- curly ribbon
- bottles, jars or vases
- flowers, fresh or faux
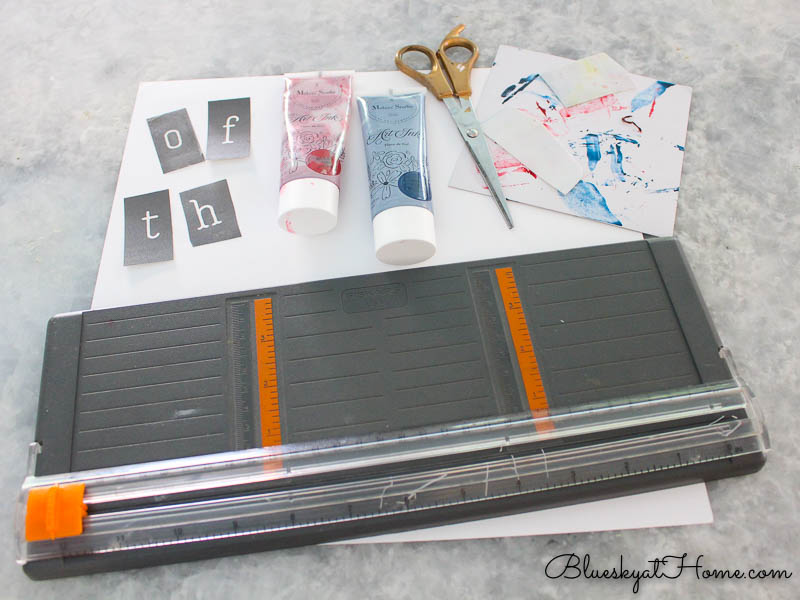
I always keep scrapbook paper on hand and I always buy it on sale. I only needed 1 piece of paper for this project.
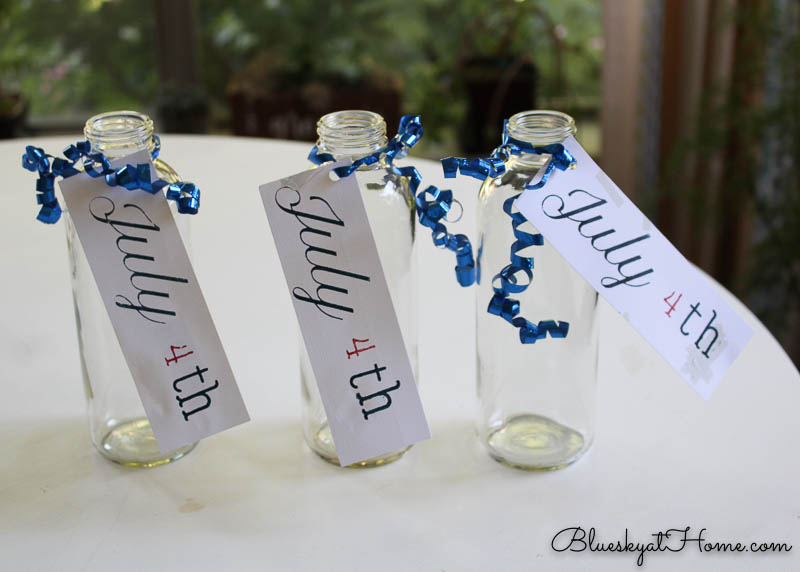
Using my paper cutter, I made 3 pieces that were 6” X 2”. You could make any size you wanted.
So that these tags would be specifically for the upcoming holiday, I would stencil “July 4th” on the tags.
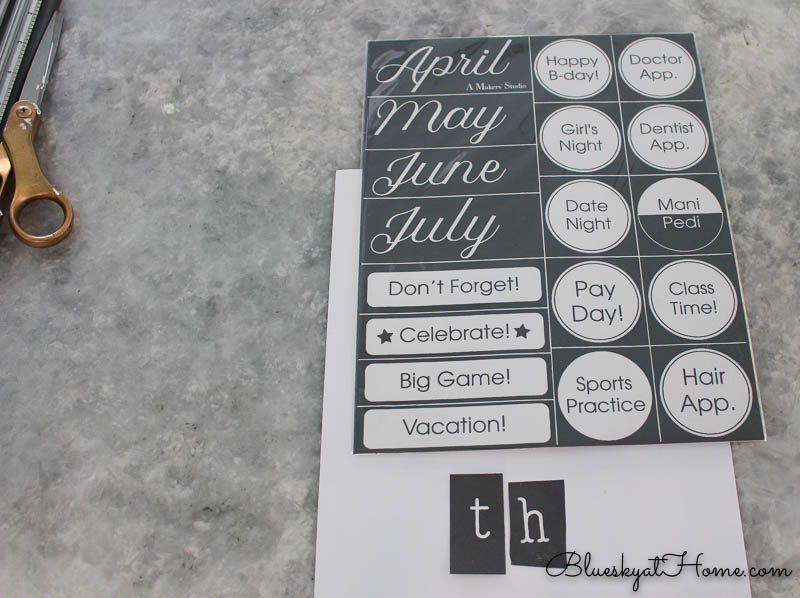
I used 2 different stencils from A Makers’ Studio, both of which I already had on hand. When you have these tri~mesh stencils and can reuse them over and over, it’s hard to even determine a cost per use.
I love our new calendar stencil; it has all the days of the week and months of the year and cute reminder tags.
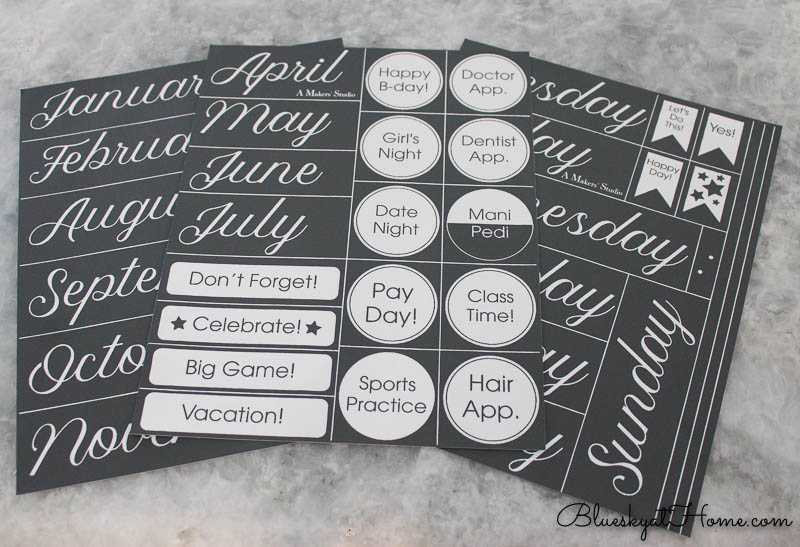
I used the “July” and then spelled “4th” from our Alphabet 4 stencil.
I used Gel Art Ink because it works well on paper and is permanent. It comes in a tube and squeezes out so easily for use. It takes just a tiny amount to cover the stencils.
I used Hush Your Mouth for the blue and Bless My Heart for the red. I’ve used both in the past for projects. I reused a piece of cardboard to offload the Gel Ink.
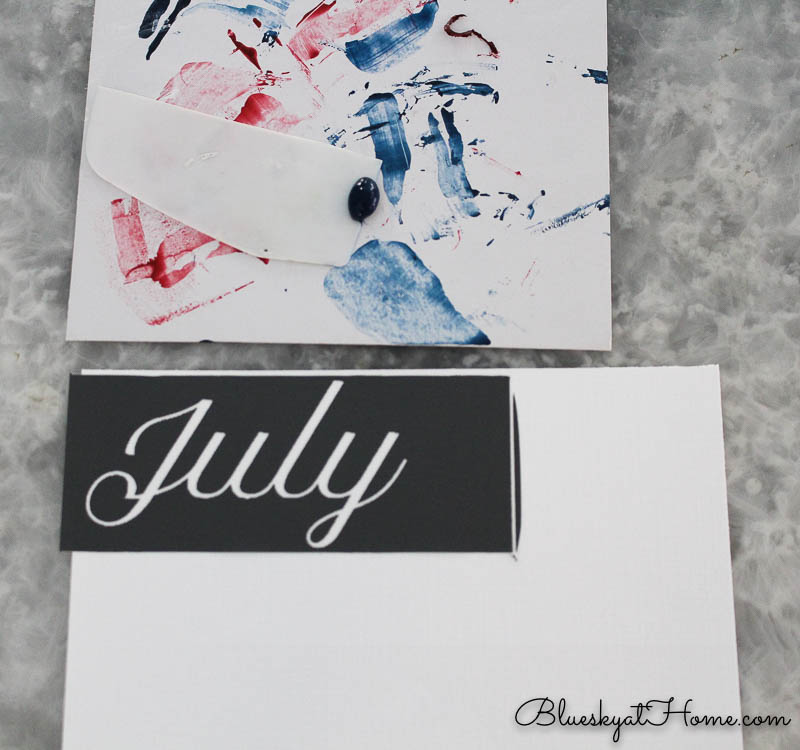
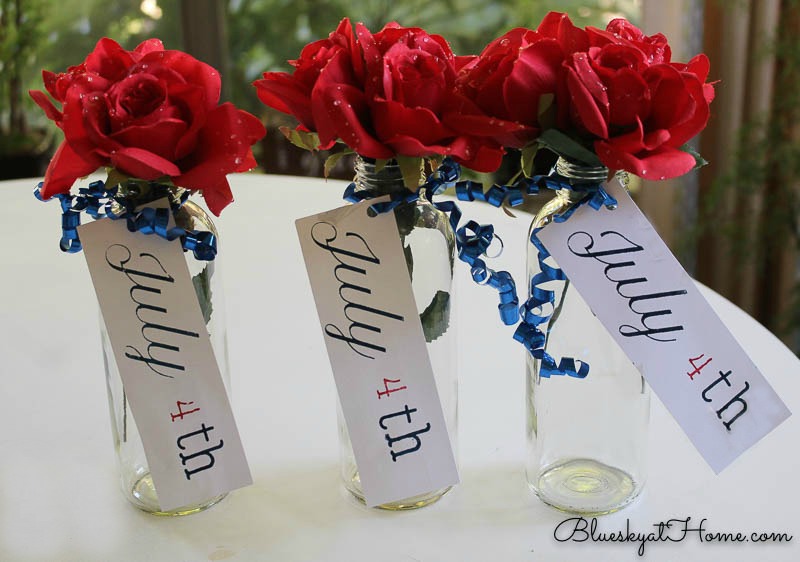
After finishing the tags, I used my hole punch and threaded blue curly ribbon ~ another reused supply ~ to tie the tags around the neck of my kombucha bottles. I now have 7 of those bottles. I like the bottles better than the kombucha.
Some faux red roses (also used for Kentucky Derby decorations) complete the first of my easy 4th of July crafts. The 3 bottles will go around the umbrella pole on our teak table for the 4th of July tablescape. At that time, I’ll use fresh flowers ~ either red roses or red carnations.
You could easily adapt this 4th of July craft to making place cards or menu cards or cupcake toppers. I will definitely be using these tags on my 4th of July tablescape.
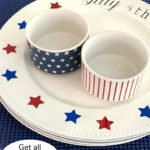
4TH OF JULY CHARGERS
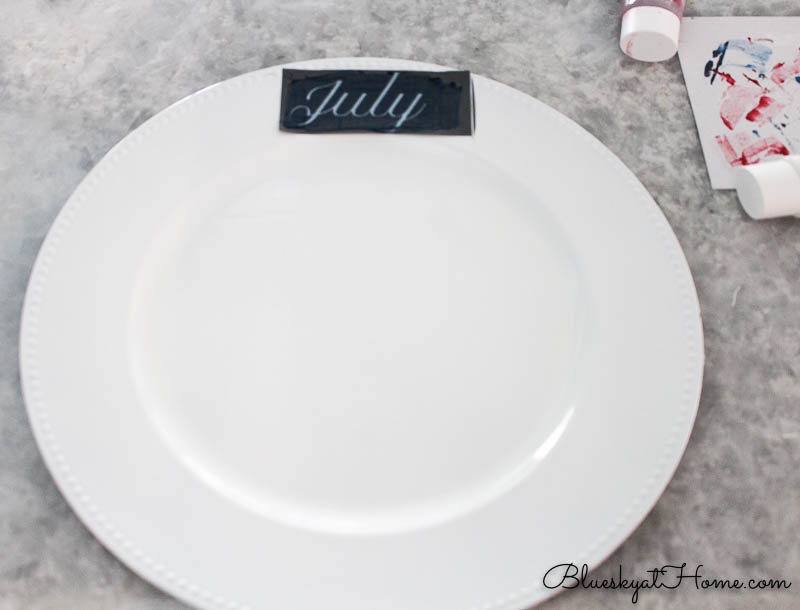
I already have in mind how I what to style my 4th of July tablescape. I want to reuse the white chargers that I ordered from Dollar Tree and first used for my Easter tablescape. At $1.00 each originally, they are now .50 each. (I was taught in culinary school to think of equipment as cost per use and I still do that for DIY supplies.) I have the feeling that I will be using these chargers over and over again.
Supplies:
- Chargers
- stencils
- Gel Art Ink
- star punch
- sparkle vinyl paper
Once again, I used the July stencil and Alphabet 4 to “write” July 4th. Although Gel Art Ink is permanent on fabric and paper, it will come off glass and ceramic surfaces.
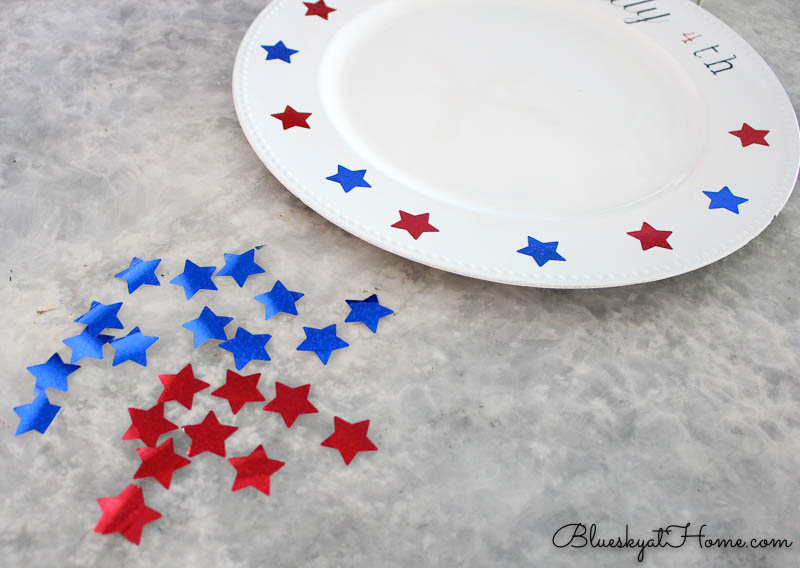
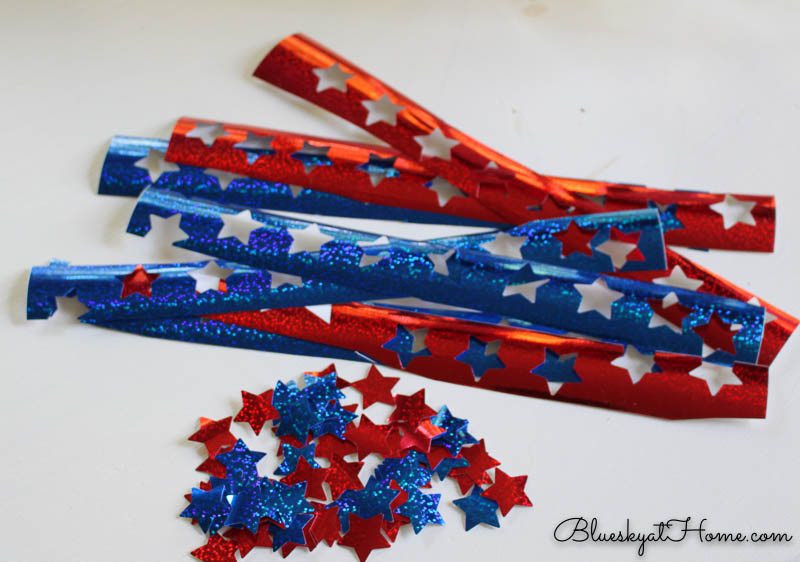
For a little sparkle, I used my star punch. I already had plenty of Cricut sparkly vinyl in red and blue from earlier July 4th decorations.

11 alternating stars gave the charger exactly the look I wanted. I’ll make 5 more chargers for our July 4th tablescape.
While I had the star punch and the vinyl out, I made more stars so I would have them on hand. I just put them in a baggie in my patriotic supply box. Punching out vinyl stars is very therapeutic.
4TH OF JULY SIGN
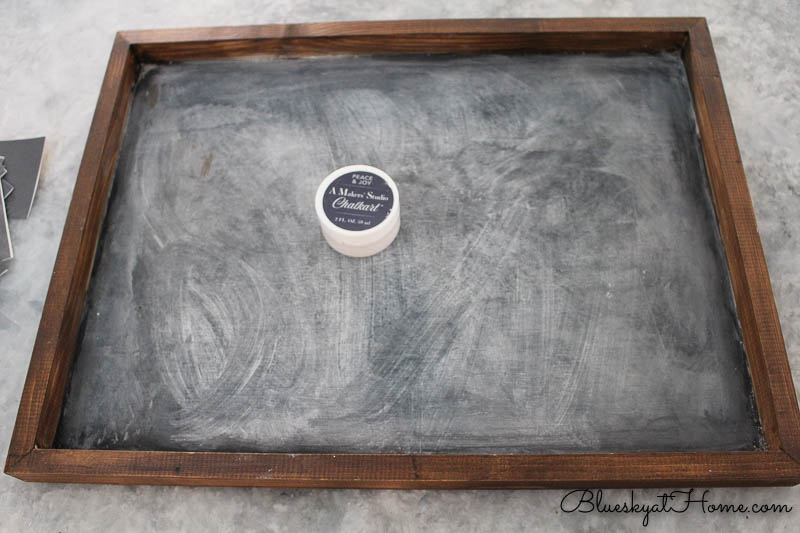
For my last easy 4th of July craft, I realized we needed a sign for the bookcase in our living room. A frame that I have used many times for stencils over the past months would be just right.
This frame originally was raw wood. I painted it using black (Little Black Dress) Rescue Restore paint on the base and I then stained the edge. I “seasoned the board” by rubbing chalk over it.
Supplies:
- wood frame prepped with Rescue Restore paint in Little Black Dress
- stencils of choice
- ChalkArt in Peace & Joy
- stars, beads for embellishment
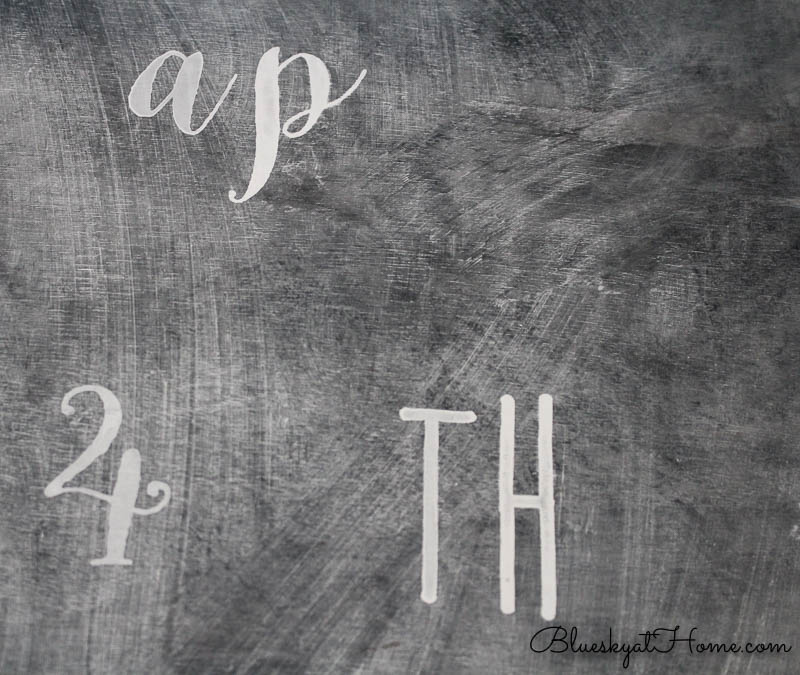
For the stencils, I used a combination of 3 fonts, but you could use any style of alphabet stencils that you wanted.
- Alphabet 3 for the capital “H” and the “4”.
- Alphabet 2 for the “a~p~p~y”
- Alphabet 1 for the “TH”

Next, I put my first letter in the center of my frame.

Then I work from left and right, applying the stencils and ChalkArt only when I’m sure the previous stencil is dry ~ about 5 minutes.
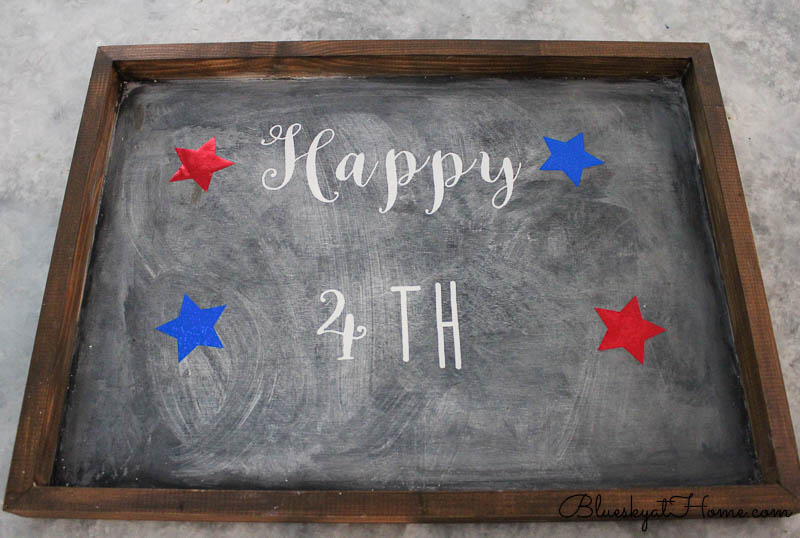
If you don’t like the placement of your letters ~ I had too much space between the “4” and the “TH”, just wipe the letters off with a damp paper towel. Let the surface dry for a minute or two and then reapply your stencil and ChalkArt. This is one of the features that I love about ChalkArt.
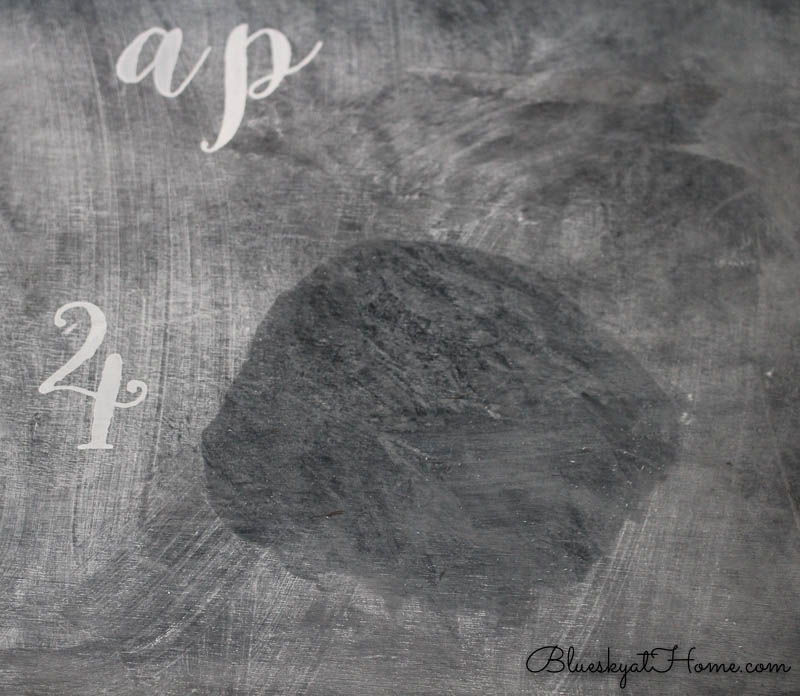
NOTE: After using your plastic scraper to scoop out a little ChalkArt from the jar, keep the lid on your ChalkArt while you are applying the stencil.
NOTE: As the ChalkArt dries it will get darker and the white will show up more.
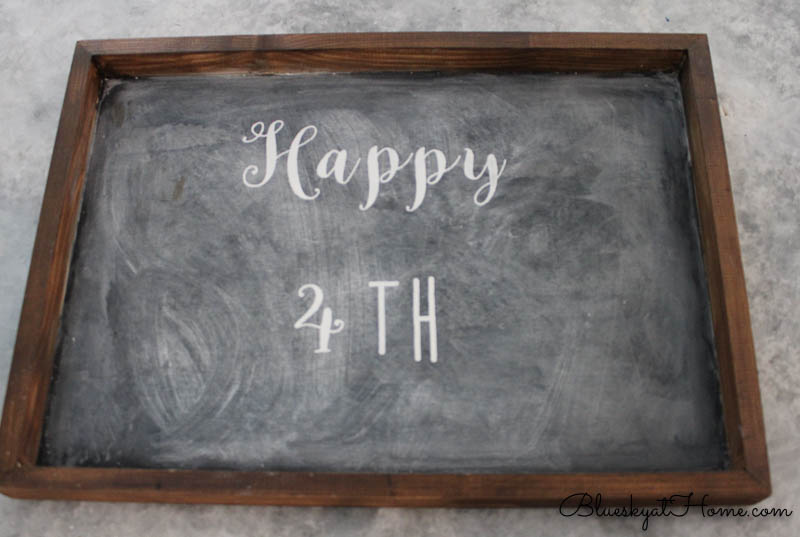
This stencil sign took about 20 minutes in total. I purposely chose a very simple design.
Once the ChalkArt is dry, you can rub your hand over it and it will not come off ~ until you take it off with a damp paper towel.
For a little extra pizazz, I added some of those sparkly stars that I made with my Cricut.
Next, I placed the sign on the shelf on the bookcase. Then, I draped some star garland from my red, white, and blue supply box.
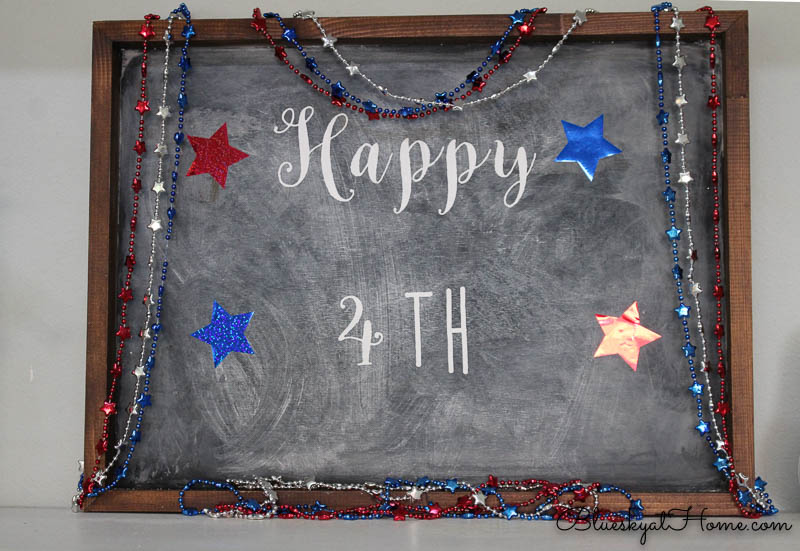
The sign is now front and center on our bookcase.
That’s my easy 4th of July crafts under $10 ~ or no $$. If these projects give you some ideas for your own 4th of July decorations, I hope you’ll PIN this post and share it with your friends. Here are more easy patriotic DIY projects. If you don’t have time to read them now, you can PIN them for future reference.
10 Fun Ways to Celebrate the 4th of July
4th of July Decorations
3 Quick and Easy Patriotic Vignettes
If you need easy ideas for patriotic projects, then be sure to save these and PIN for now or later.


Carol,
These are such cute and creative ideas. I’d like to share a link to your post on Sunday’s Dirt Road Adventures. I hope that’s ok with you.
I love these ideas and appreciate that they are so easy to make.
Super cute charger idea! I would love to have you come join us on my blog for my Centerpiece Wednesday Linky Party https://karinskottage.com/2020/06/centerpiece-wednesday-linky-party.html
See you over there,
Karin
Thanks Karin. I did!
So festive and so easy for some quick holiday decorations. I like that you are reusing what you already have. Thanks for sharing #HomeMattersParty
Love sharing!!
Very cool ideas
Thank you, Anita.
These are some adorable ideas, Carol! Love the tags on the bottles… you could do that for so many events! So happy and blessed to have you at Tuesday Turn About (Haven is coming!!! Oh, have I said that before?)
Love those charger plates, Carol! It’s good to have several options to decorate for the 4th, and I liked how you could reuse certain elements. Thanks for sharing this at Tuesday Turn About!
Thank you Crissy. Love the new party.
Very creative ideas. Love them. My favorite is the chalkboard. TFS
Thanks so much. I love the chalk board too since I can change it up anytime.
Carol, each of these projects are really neat on their own but I am sooo glad you put up all three!!! I have a trick to make paint go through ceramic glaze and I’ll let you know when I write it up.
Happy decorating for the 4th and I like your chalkboard idea very much,
Barb 🙂
Thanks so much Barbara. Can’t wait to see your project.
Cute, cute! I love the font on those.
Oh my goodness, so many cute ideas! I love the vases…what a great way to decorate the table for the holiday!
Kim, those bottles/vases have become one of my favorite things. You’ll see them again!!
Carol, I love these ideas! They are just too cute! I’m not great with chalkboard stuff, but I think I may be able to decorate some plates! Love it! So glad you have power and internet! Hugs!
Thanks, Benita. I promise you can make these projects. The stencils and ChalkArt make it so easy and fun.