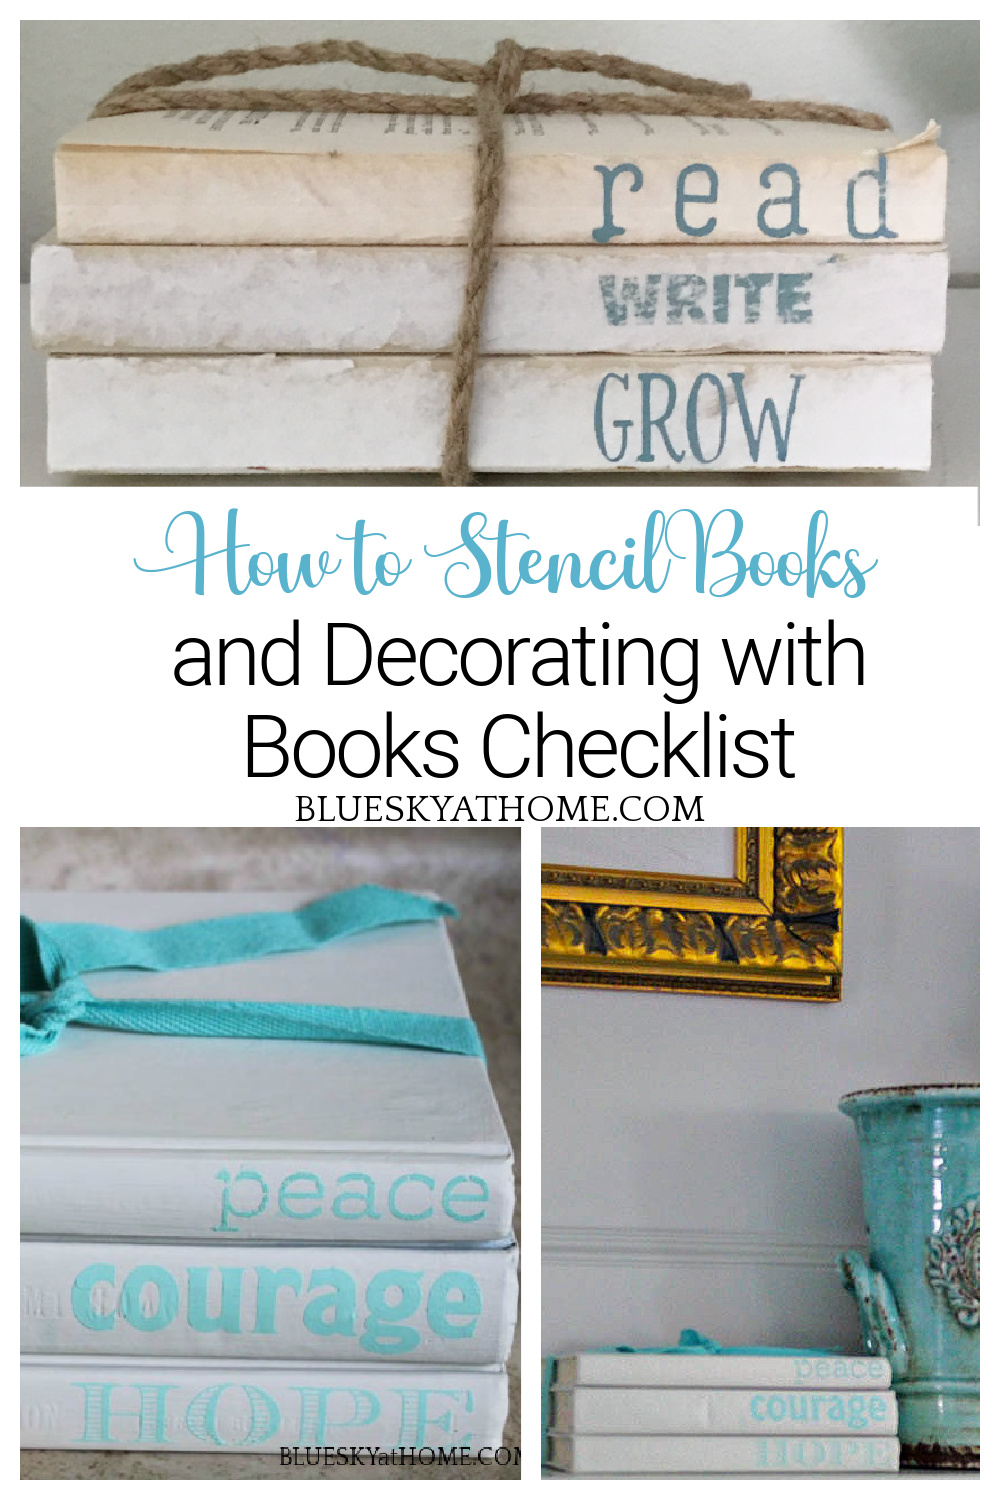
How to Stencil Books for Your Home Decor
Do you love books? Not just to read, but to use in your home as accessories? Let me show you how to stencil books to add whimsy, personality, and fun to your home decor.
If you have ever wondered how to stencil books for your home decor, then follow this easy tutorial. You’ll be stenciling books and anything else your heart desires in no time.
I’m an avid reader and we have so many books that I’ve lost count. Not only are books wonderful to use in styling your home decor, but they can be great items to use for DIY projects. Especially stenciling. Does stenciling a book seem like a contradiction? Adding words to a book?
I recently participated in a blogger challenge using stacked books as a focal point in home decor. Yes, you can stack any type of book of any size to add color, pattern or texture to your home.
It’s so much fun to add some personality to your stacked books with stencils. Using stencils, you can convey a message, a thought, a wish to make a book stack something special.

How to Stencil Books for Your Home Decor
For your convenience, this post contains links to products used in this project. I only recommend projects that I love. If you should order any product from this site, I may receive compensation.
I see projects where people have used stamps to write words on books. So often they mention that the paint used in the project bled around the stamp. That’s not good and will not give you the results you want.
I have bought stamp kits at the craft store and have not had success with them. I much prefer using stencils for a cleaner project.
Stenciling books is easy and inexpensive, especially if you are using books you already have. Obviously, these should be books that you don’t mind painting.
The paperback books I used were from our church’s annual library sale. On the last weekend of the sale, you can fill a paper grocery bag with books for $1.oo. I read all these books before I took the covers off. For stenciling the hardback books, I used old ones that I was OK with painting.
Supplies for Stenciling Books
- at least 3 books, either paperback or hardback
- stencils with the words you want to paint on the books
- a painting medium
- applicator
- painter’s tape
- optional: something like twine, ribbon, or lace to tie the books together
Step 1 ~ Choose Your Books
I chose the books to stencil first. You can either choose your books first or your words first, but you want to make sure that your books are thick enough for your stencil.
If you are using paperback books, which is what I’m using for this stencil project, it’s easy to tear off the front and back covers and the binding.
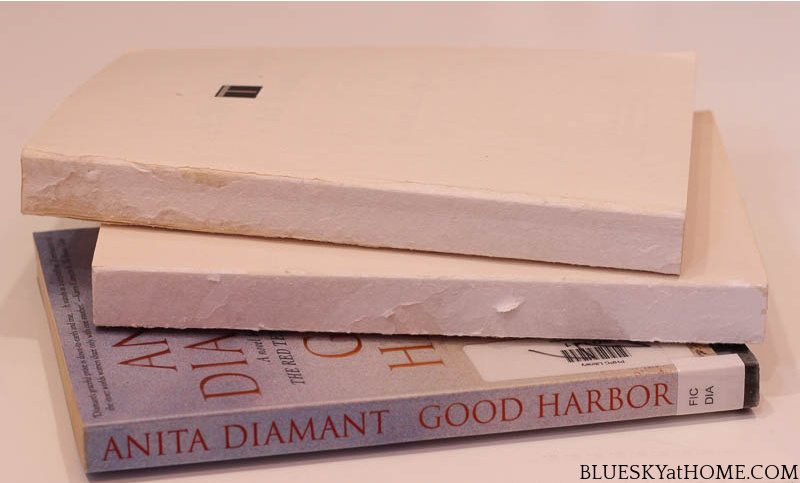
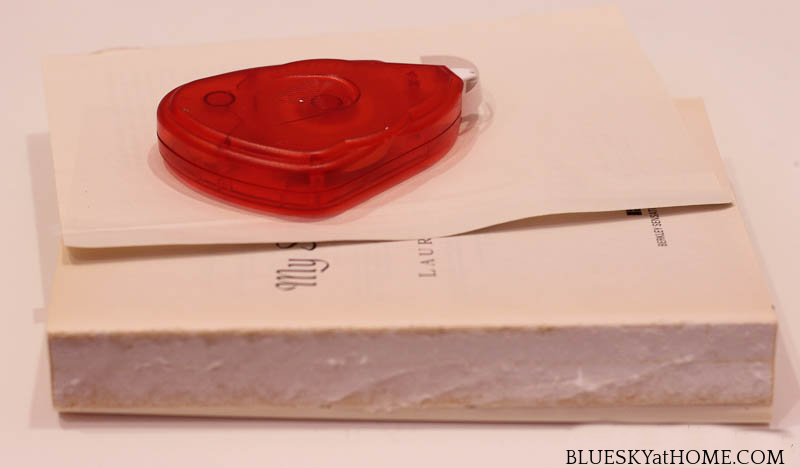
If any paper or page is loose, remove it. When you remove the covers of paperback books, there will be printing on the first page. You can find a page with no writing and tape or glue it to the top for a “blank” look.
I don’t mind if some of the paper from the binding is left, but you don’t want any loose pieces.
Step 2 ~ Choose Your Stencils
I knew which stencils I wanted to use. I wanted to convey my love for reading and writing so I used stencils from A Makers’ Studio that contained those words.
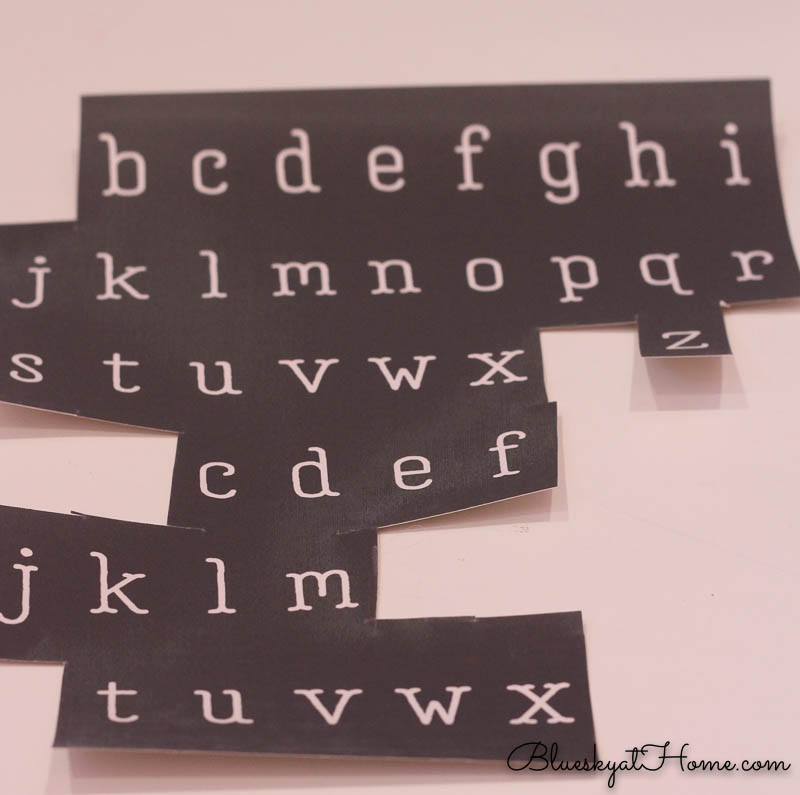
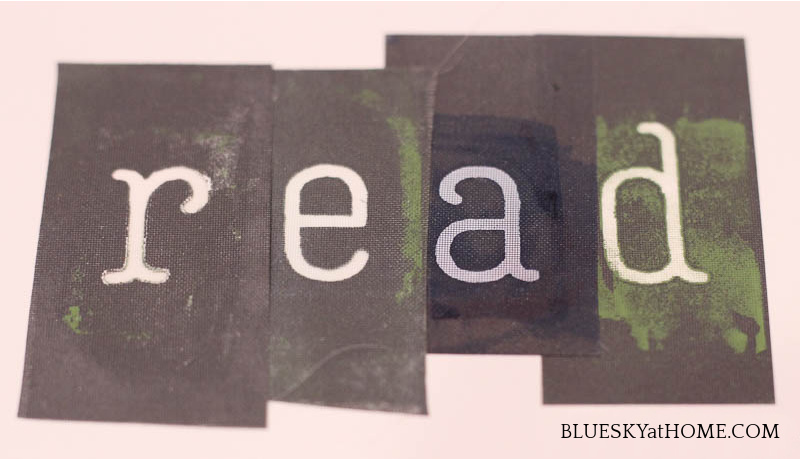
For the word “read”, I used the Alphabet 4 stencil which is all lowercase and is a simple typewriter font. There are 2 sets of letters in this package. I’ve used this stencil so meaning times to create different words for projects.
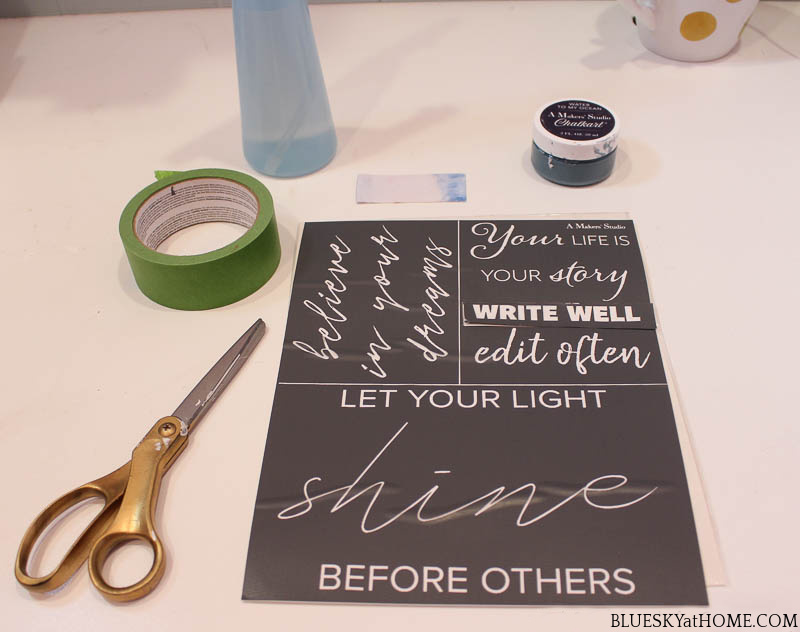
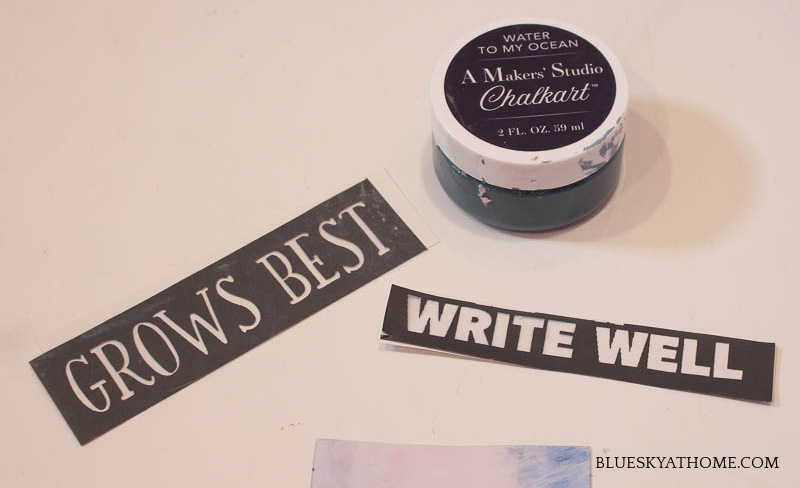
This new stencil is called Believe Quotes and has words and sayings that can be used in so many ways. I used the word “WRITE”.
For my third word, I picked “GROW” because that’s what you do when you read and write. GROW is from the Nest stencil which I have used multiple times.
Step 3 ~ Pick your Paint and Color
There is only 1 paint that I would ever use for stenciling and that is ChalkArt from A Makers’ Studio. It is specifically designed for stencils and can be removed from most surfaces with just a damp paper towel. Paper is porous so the ChalkArt can’t be removed, but that is perfectly OK for this project.
The color that I chose was Water to My Ocean, a pretty deep blue, which would look nice against the off~white of the paperback binding.
Because A Makers’ Studio tri~mesh stencils have an adhesive backing, it’s easy to adhere them to the books.
Step 4 ~ Apply Your Stencils
For most of the adhesive stencils, just place your stencil where you want it and rub across it to adhere to your surface. Use a plastic scraper to rub in the ChalkArt across the stencil, then gently remove the stencil. Allow your ChalkArt to dry until the color has lightened up a bit.
For the stencil using individual stencils to spell the word “read”, line the letters up the way you want them.
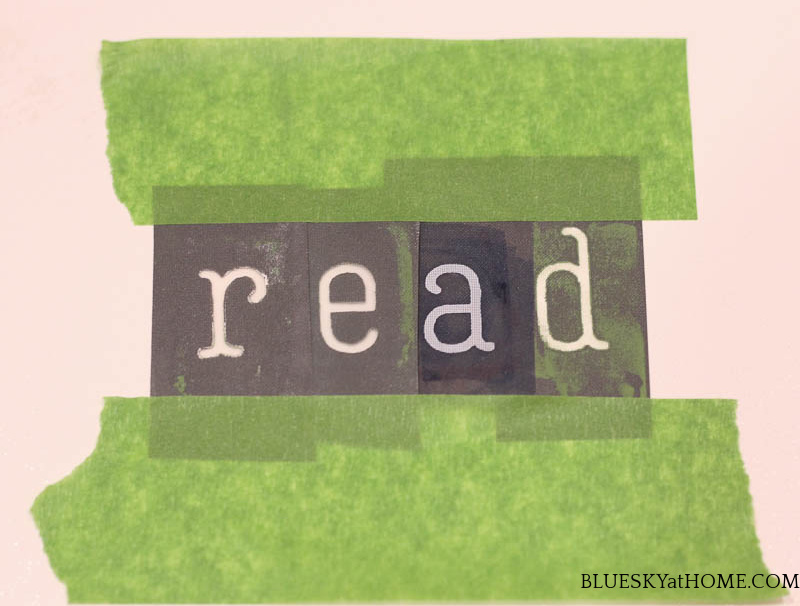
TIP: I like to use painter’s tape to attach them. This step ensures:
- your letters will be straight
- you can attach and remove the letters as one to your book
- you won’t get any ChalkArt between the letters
- the tape around the letters gives you extra space to work with
Adhere your stencil to the binding where you want it.
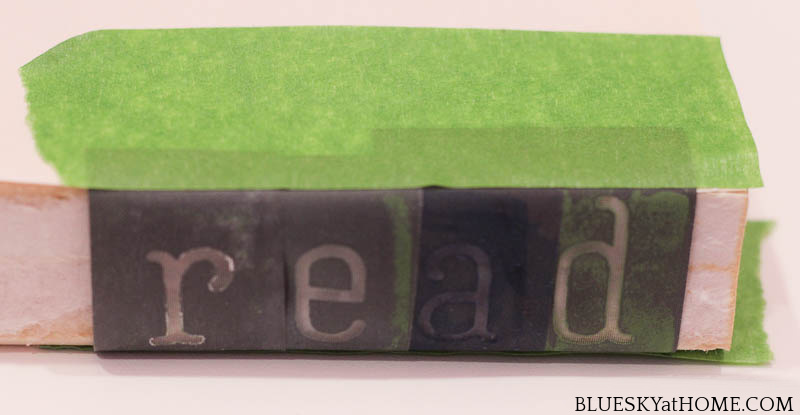
Apply the ChalkArt to the stencil in a “smushing” and scraping motion across the stencil. Once my ChalkArt was dry, about 10 minutes, I tied a piece of twine around the books.
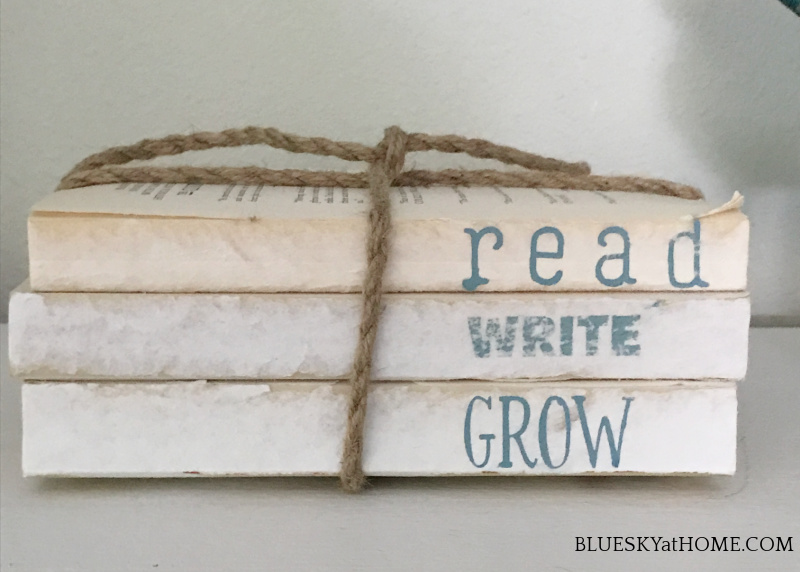
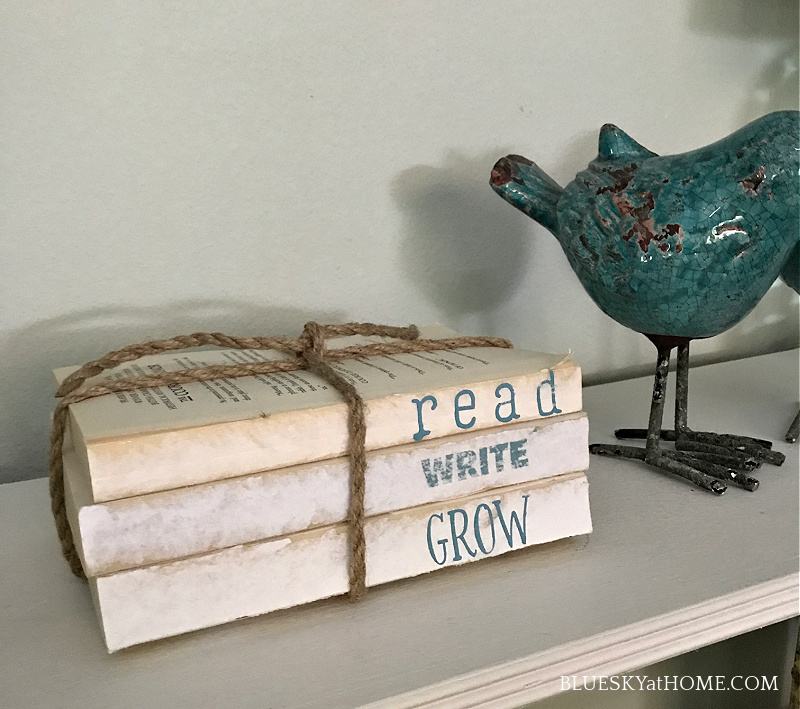
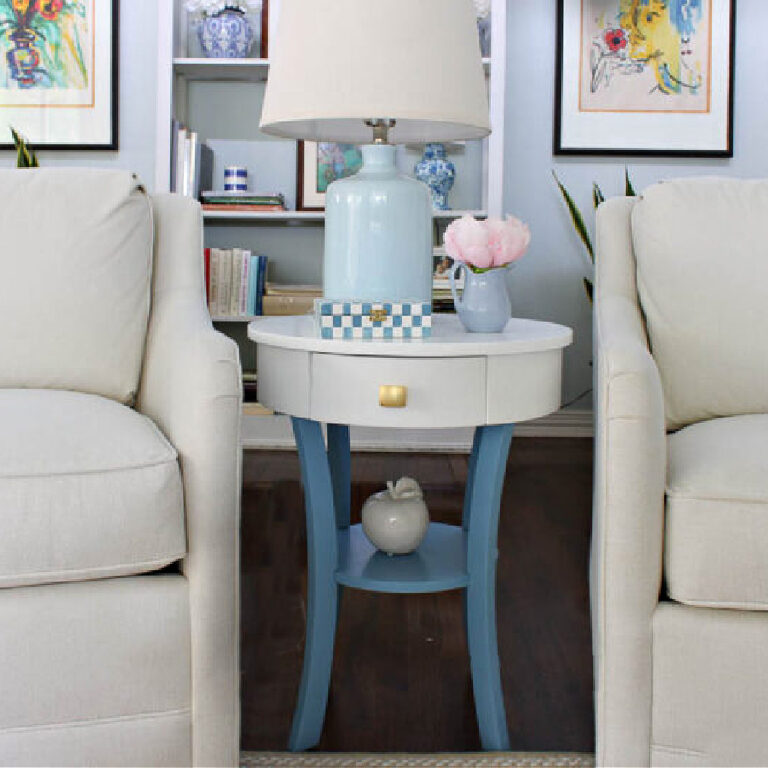
I used the stenciled books on our bookcase shelf.
How to Stencil Hardback Books
The steps to stencil paperback books are basically the same for hardback books. For the hardback book, you will need to paint the cover to hide the words printed on the binding, such as the title and the author.
Supplies to Paint Hardback Books
- Paint for book covers
- Chip brush
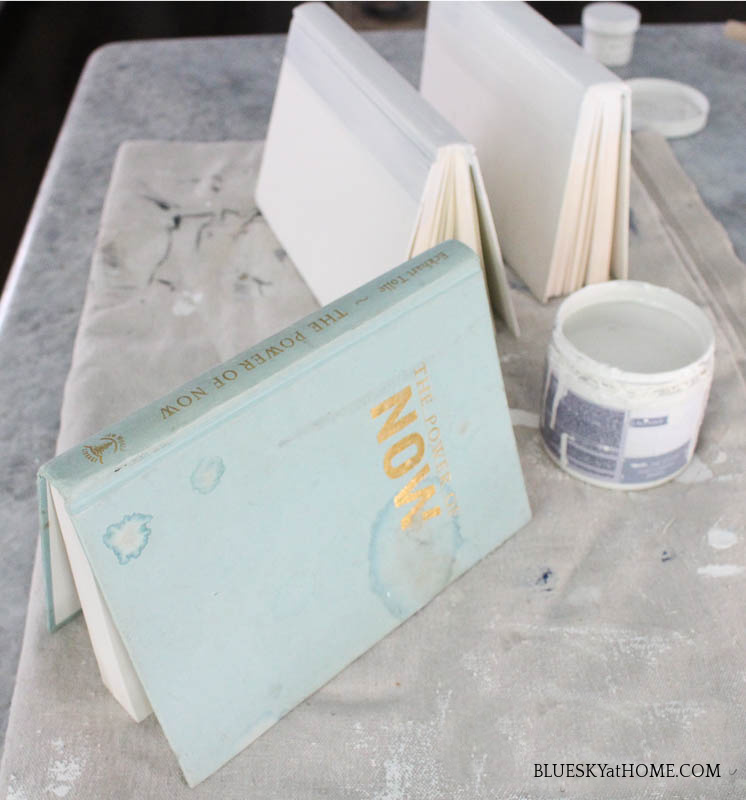
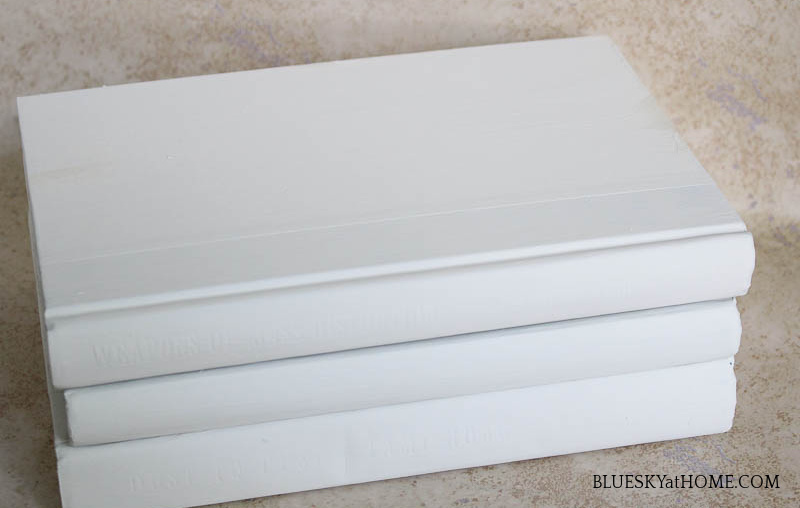
First, I picked 3 hardback books that I didn’t mind painting. The light blue book had definitely seen better days.
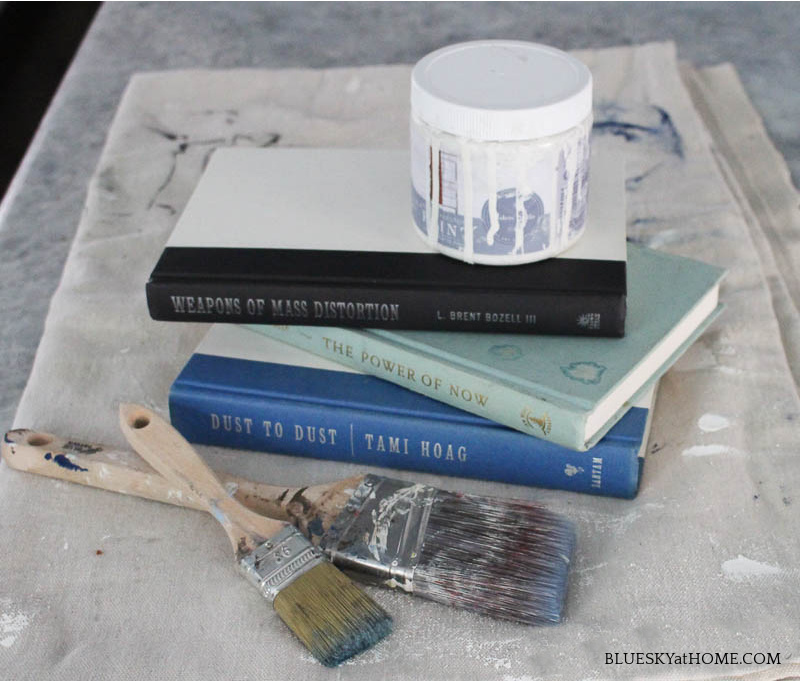
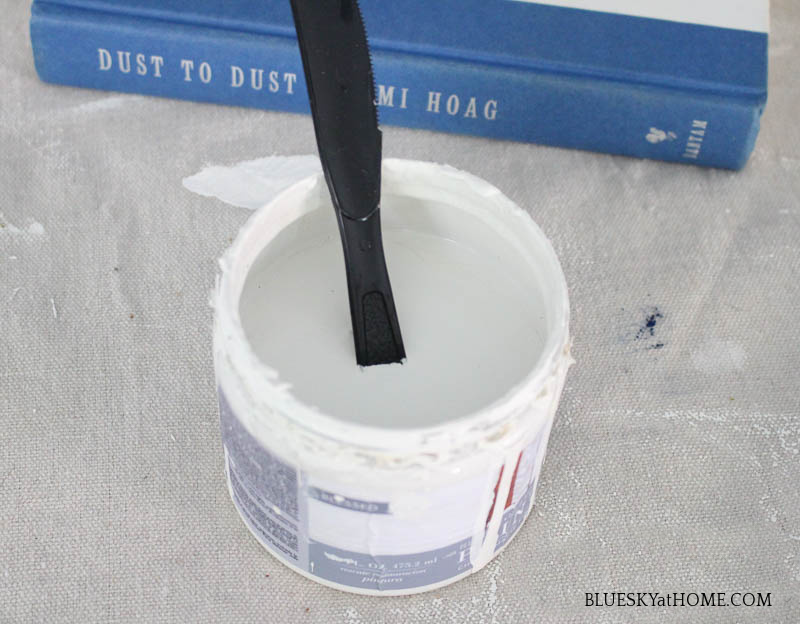
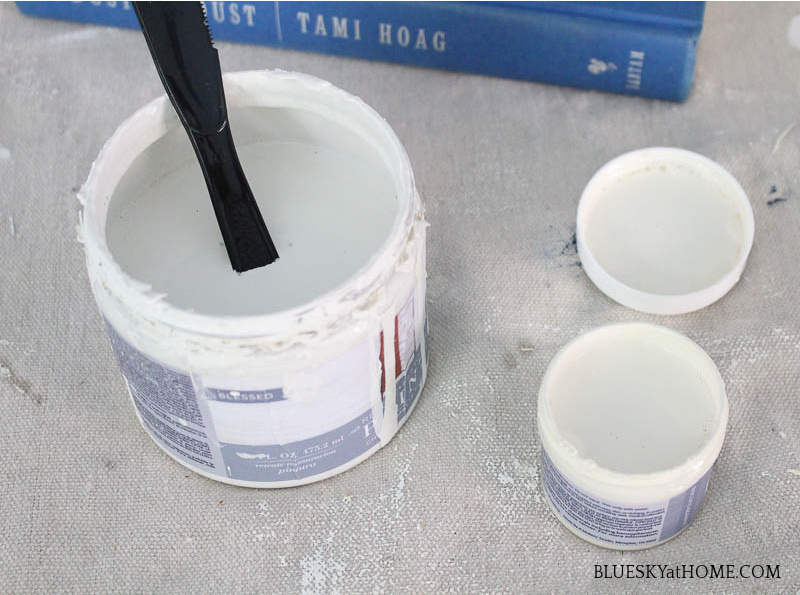
To paint the books, I’m using Rescue Restore Chalk Paint in Blessed, which is a true bright white. I love this paint because it has no odor, it goes on smoothly, dries quickly, and has great coverage.
If you want an off~white, I recommend Biscuits & Gravy, which is a soft white.
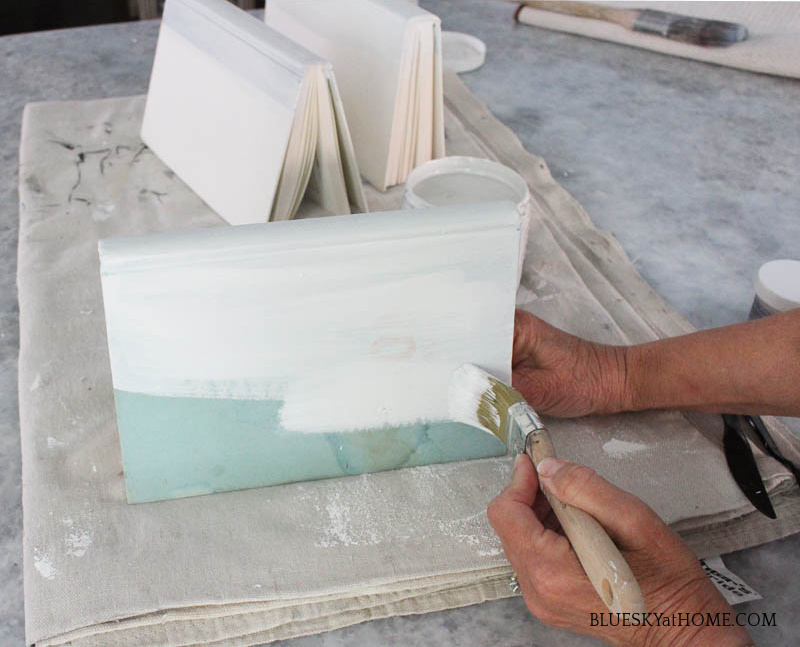
I set the books vertically to paint them.
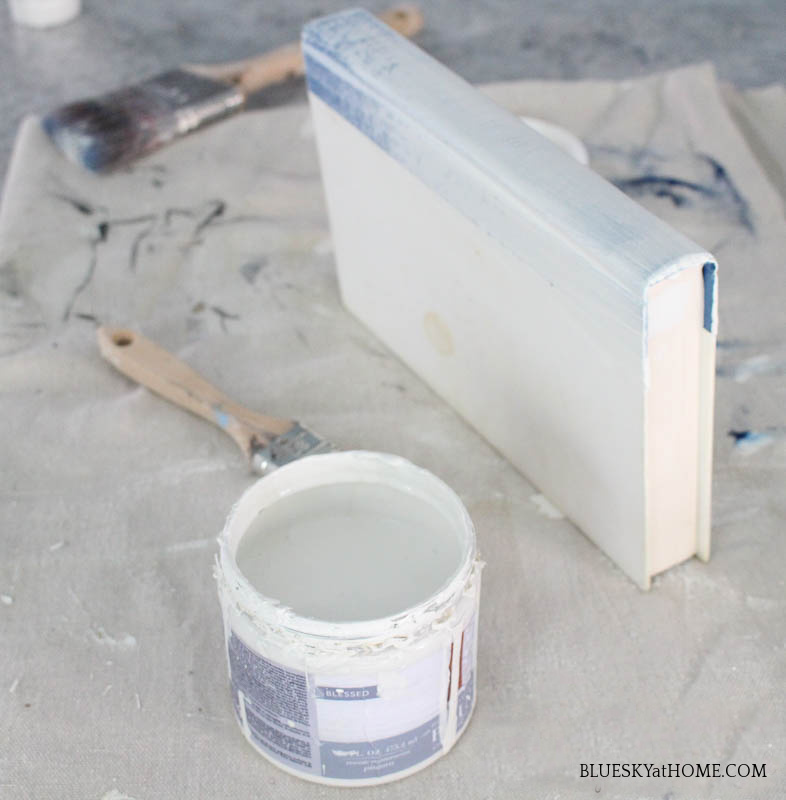
TIP: Spread the books apart to paint and let them dry.
Use long strokes. Depending on the color of the book cover, you will need to paint 1 or 2 coats.
Let the book covers dry thoroughly before stacking them. I let mine dry at least 30 minutes. Stack your books in the order you need for your stencils to fit.
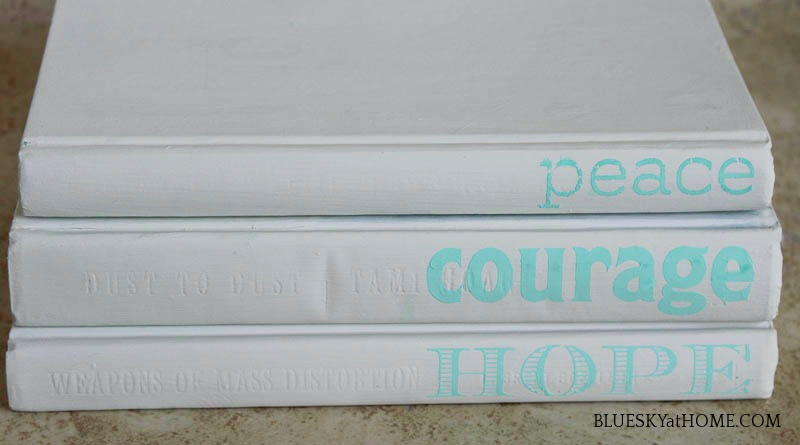
For my stencils, I’m using a new stencil design from A Makers’ Studio called Be Still, which has great inspiration words.
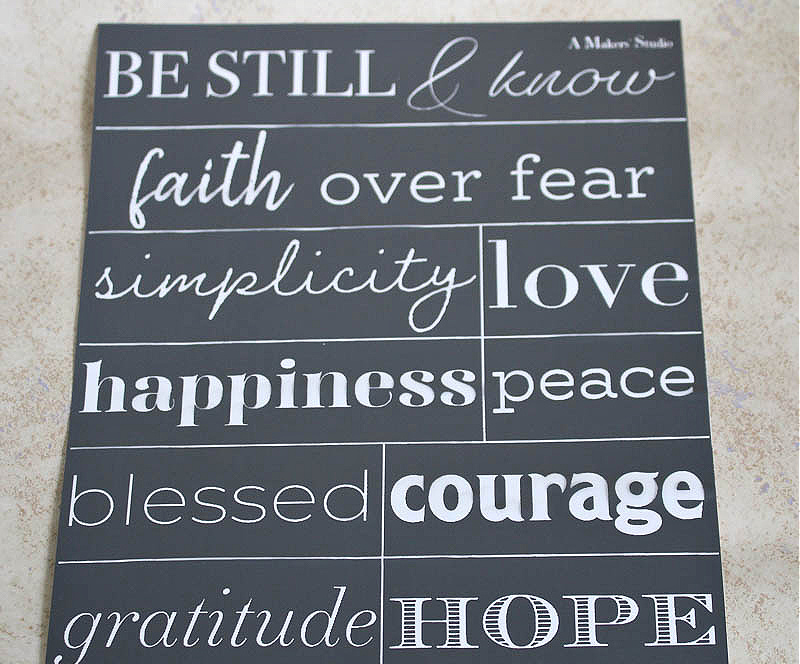
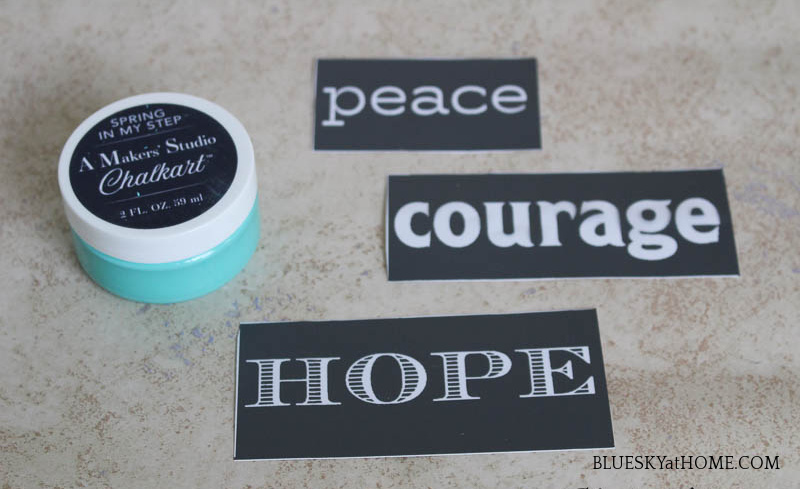
I picked out these 3 words because I like the words themselves, the combination of fonts and they fit my 3 books. For my ChalkArt color, I’m using a beautiful bright aqua called Spring in My Step.
Place your stencils on your bookbinding and rub the stencil on the book to get a good seal. Remember they are adhesive and will stay in place.
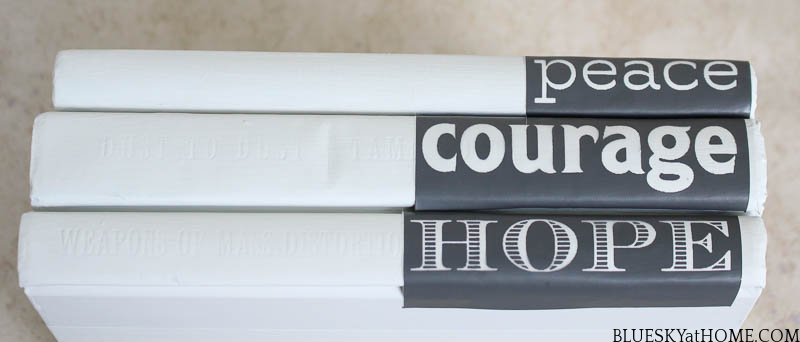
Use the plastic scraper to apply the ChalkArt, smushing it into and across the stencil.
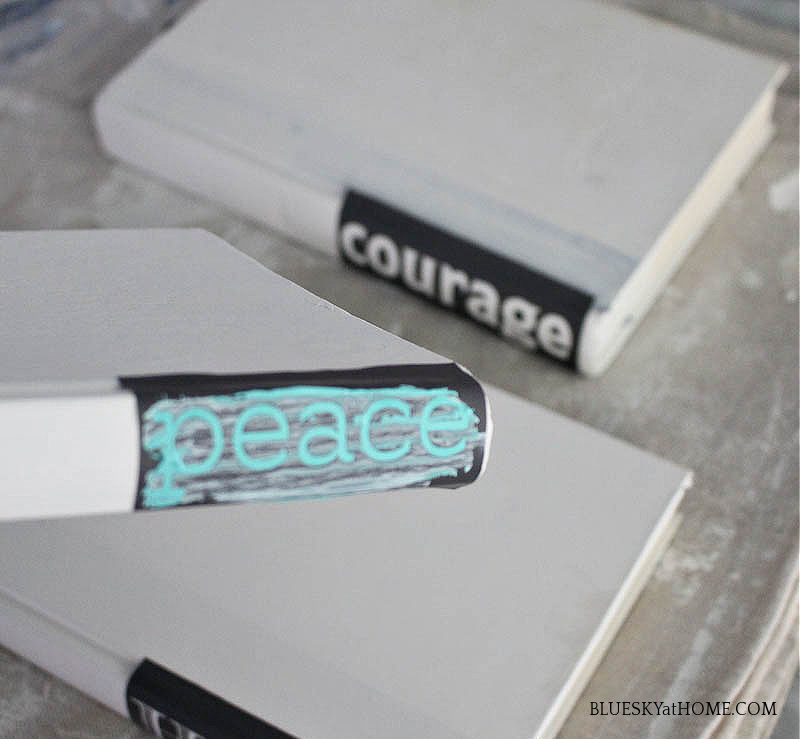
Gently remove the stencil when you finish each word. Repeat until your stencils are complete. Let the ChalkArt dry for about 10 minutes. The color will lighten as the ChalkArt dries.
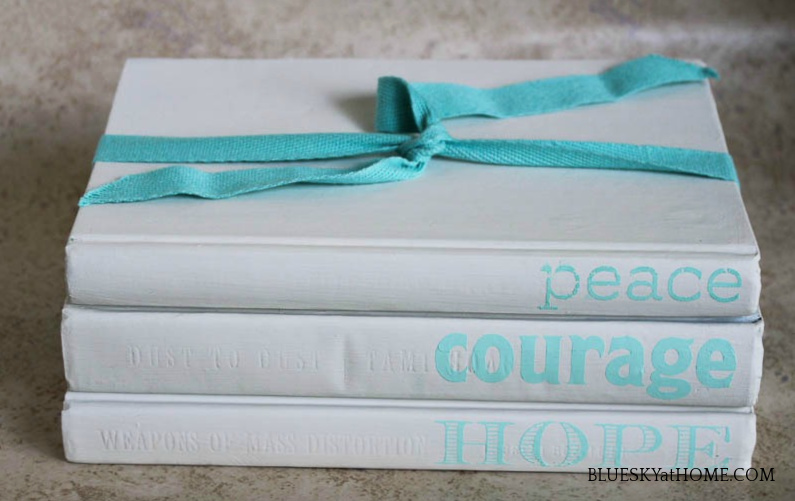
I found the perfect aqua ribbon (which was wrapped around 2 dishtowels I bought at HomeGoods.) in my ribbon stash.
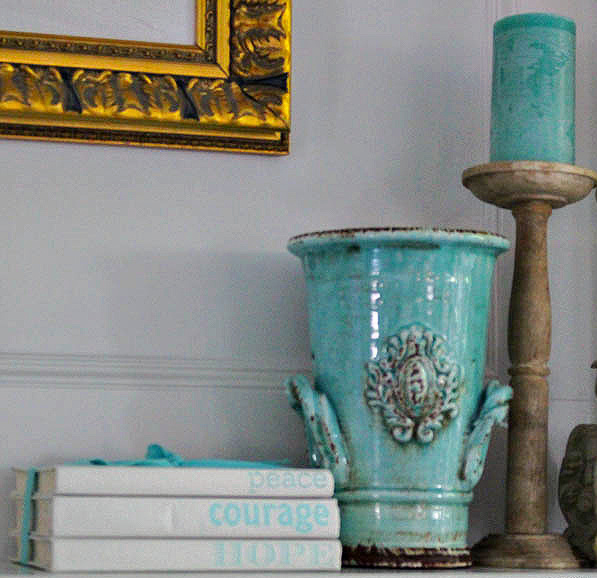
Since I already had some aqua accessories on our mantle when I stenciled the books, I decided to add the stacked stenciled books there.
Here’s another post with great tips for working with stencils.
If you would like more ideas for using books in your home, you’ll love my Decorating with Books Tip Sheet. Click on the graphic below to receive it.

I hope you enjoyed learning how to stencil books ~ both paperback and hardback ~ for your home decor. Such an easy project, very inexpensive, and one that you can personalize with words, stencils, and color.
If you have any questions about this project, please ask in the comments or email me. I’d love to hear your thoughts.
If you would like to see A Makers’ Studio founder Amy Howard show you how to stencil books, watch this video.
What 3 words would you stencil on books?
Want to copy this project for yourself? Be sure to PIN it for later!

Have fun stenciling.

2021 Link Parties February 8 ~ February 14
All About Home Anything Goes Pink Saturday** Beautifully Made Busy Monday Celebrate Your Story Charming Homes and Gardens Creative Crafts Creative Muster Creatively Crafty Farmhouse Friday Friday with Friends Grace at Home Handmade Monday Happiness is Homemade The Happy Now Hearth and Soul Link Party Home Matters Inspire Me Monday Inspire Me Tuesday Keep in Touch Little Cottage Link Party Love Your Creativity Meraki Link Party Party in Your PJ’s Saturday Sparks Share Your Style Simple Homestead Blog Hop Sunday’s on Silverado Thursday Favorite Things Vintage Charm Party Waste Not Wednesday Wednesday Link Party Wednesday Centerpiece Link Party Wonderful Wednesday Wow Me Wednesday


Love this craft, Carol…especially how you styled it with teal accessories on the mantel! Thanks for sharing at Celebrate Your Story! Link Party 🙂
Great tutorial, Carol! I’ve made hand-stamped book bundles for years but no stencils. Perhaps I’ll try that next! Thanks for sharing at Vintage Charm. xo Kathleen
I’ve been seeing quite a few of these books used in home decor, these days. I must say, yours looks lovely.
Thank you for sharing the tutorial with us at Meraki Link Party.
Naush
I did something very similar using my Cricut. Very nicely done. TFS
HI Carol,
I love this tutorail. I love the stencils and painted books! Sharing next weekend for the weekend edit. I love this!!! xo laura in CO
Laura, so happy you “loved” this project it is one of my favorites. Thanks for sharing.