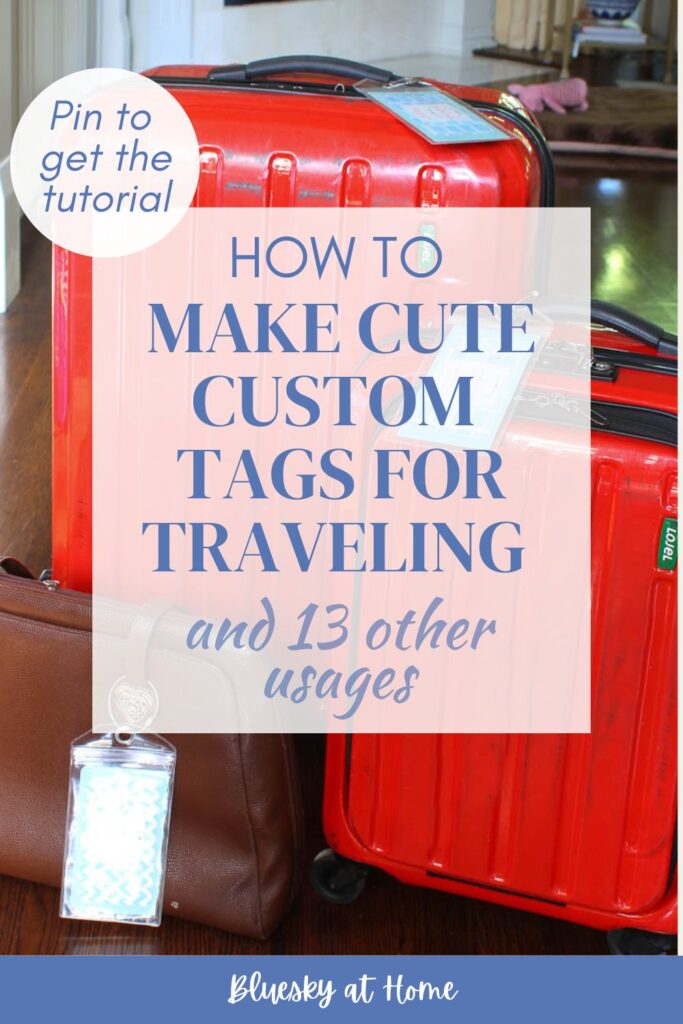
How to Make Easy DIY Luggage Tags
If you have travel plans this summer, would you like to know how to make easy DIY luggage tags. Even if it’s just for an overnight trip, you know how important it is to have tags to identify your luggage.
I was without luggage tags for a few trips, which is not good. I decided it was time for new ones so I decided to make them myself.
This project is quick and easy. You’ll love that you can customize the DIY luggage tags to your favorite colors. You can use different colors for different pieces of equipment or different family members.
The most important thing is to have a secure way to include your personal information for identification. Secondly, with so many pieces of luggage looking the same, you want to be able to identify your own luggage with your custom luggage tags at baggage claim.
I’m giving you a few options for making this DIY luggage tag tutorial.
Before I go further, I want to let you know that these DIY luggage tags have other uses.

Other Places to Use the DIY Tags
Here are all the ways that I think these DIY luggage tags can be used:
- kids’ school backpacks
- travel backpacks
- kids’ lunch boxes
- kids’ toys when traveling
- trunks for camp or college
- kids’ camp laundry bags (I’m thinking for summer camp.)
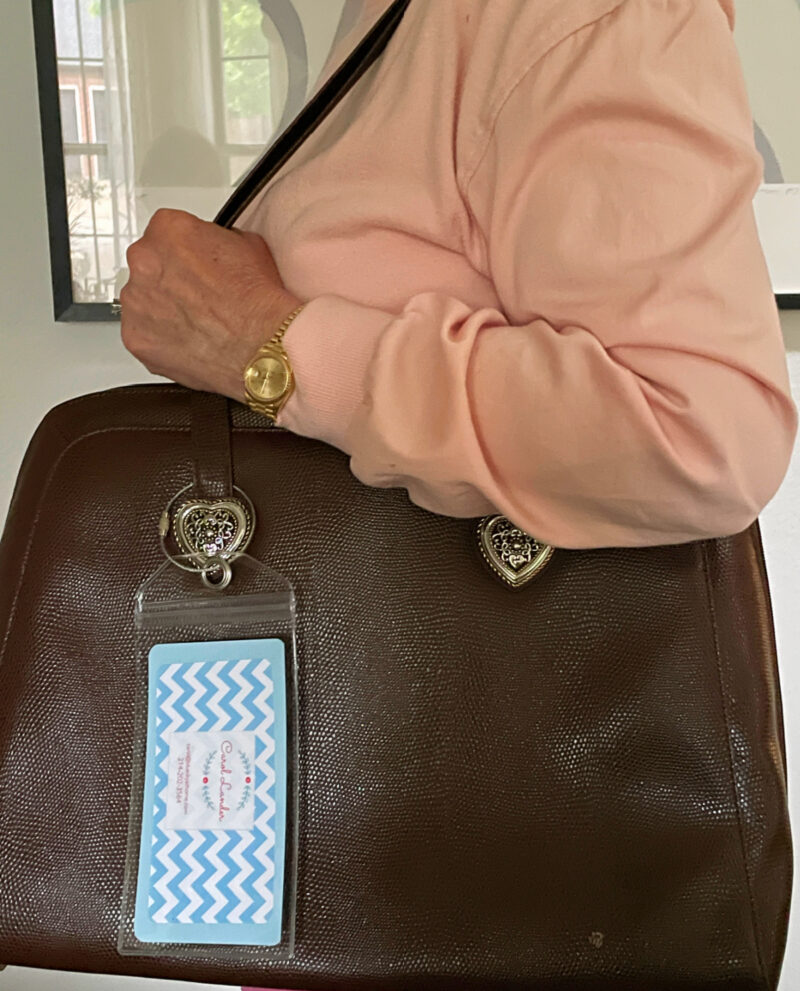
- carry-on bags
- picnic hampers
- coolers for tailgating
- sleeping bags
- camping equipment
- yard tools that you lend out
- summer travel supplies
I’m sure that there are more ideas you can think of.
DIY Luggage Tags as Gifts
After you make this very simple luggage tag for yourself, consider these ideas to use them as handmade gifts:
- kids’ birthday favors
- bridal shower favors
- graduation party favors
- teacher gifts
- bon voyage gifts for friends traveling
The Idea for the Homemade Luggage Tag
With an upcoming trip to Atlanta on my agenda, I decided to stop procrastinating and make my own unique luggage tags.
Sweet Shark has leather luggage tags from our Viking River cruise several years ago. Somehow, mine disappeared after that trip. I did buy a very nice leather one at a gift shop about three years ago. I spent way too much on it, then, the leather strap broke after a year.
Since I need at least two luggage tags, I decided I could save a lot of money and make my own tags.
How to do that?
Supplies for the Luggage Tags
This post contains affiliate links to products used to create this project. If you should order any item from this site, I may receive compensation, but you do not pay a penny more. Your purchase is greatly appreciated as it helps support the continued publication of this site.
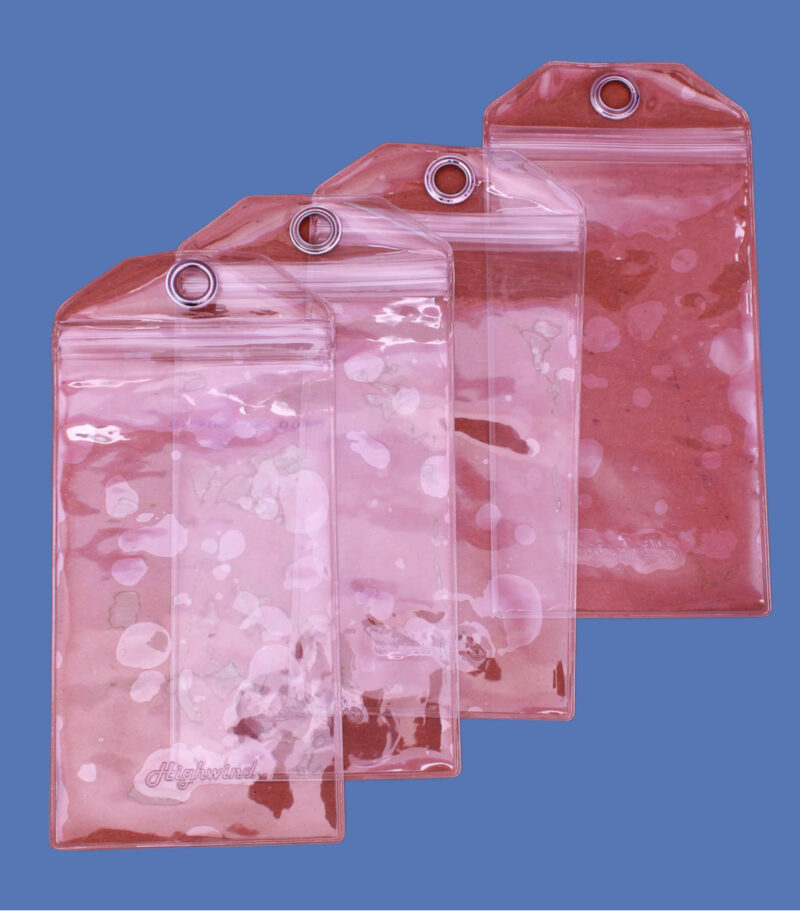
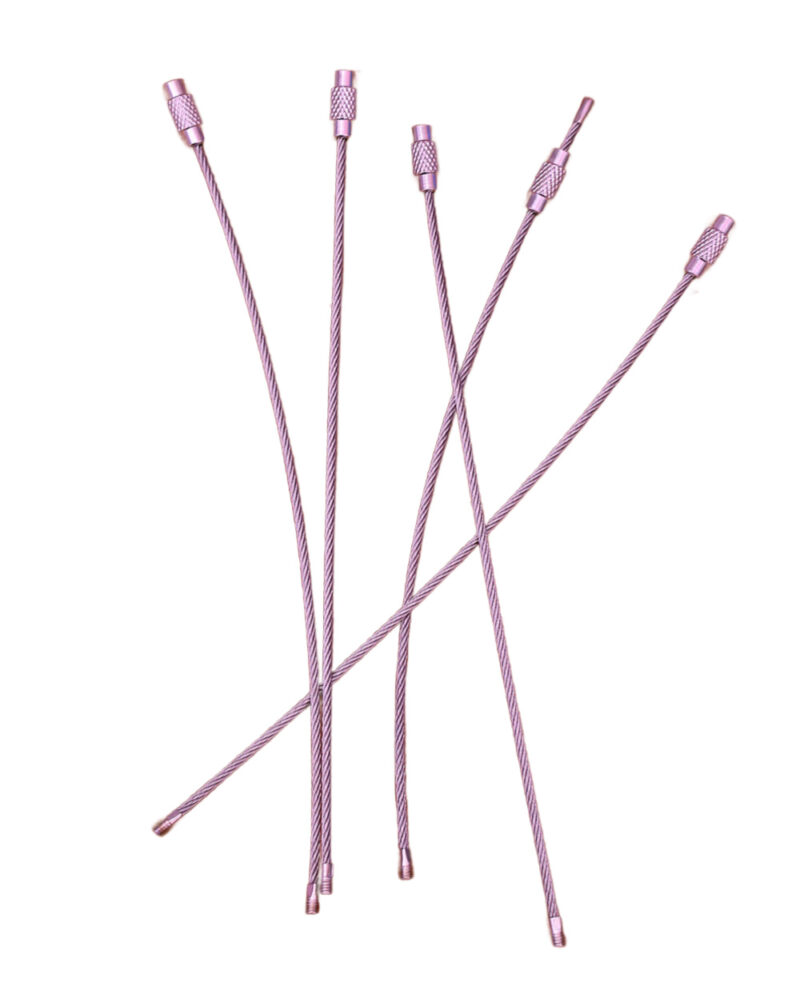
A search online for luggage tag ideas turned up these plastic zip-seal luggage tags. They are called “cruise tags”. Four to a package with a secure wired strap perked my interest. The price was very affordable and I could customize them. This idea seemed like a good one.
I like that the straps are sturdy wires that screw together
How could I customize these luggage tags? Here are the supplies that I used. All are available online or at your favorite craft store.
- heavy cardstock in the color of your choice
- scrapbook paper in a coordinating color
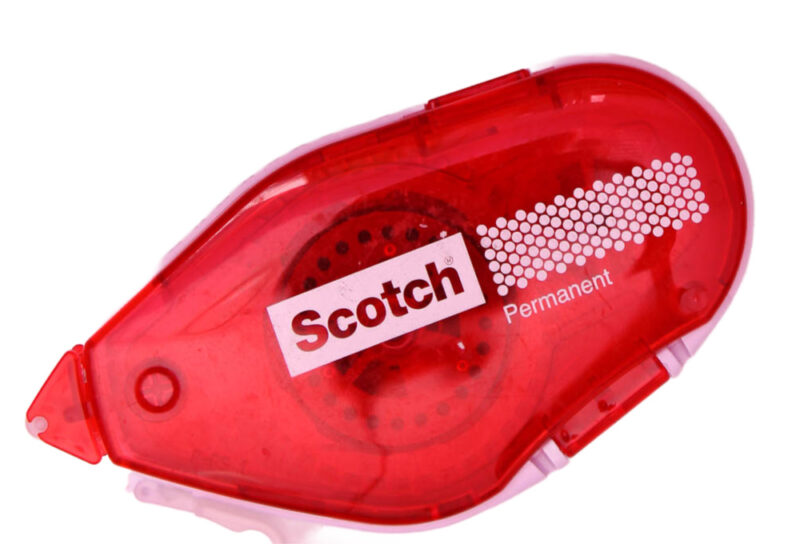
- permanent Scotch adhesive tape dispenser or other glue or adhesive
- Avery labels
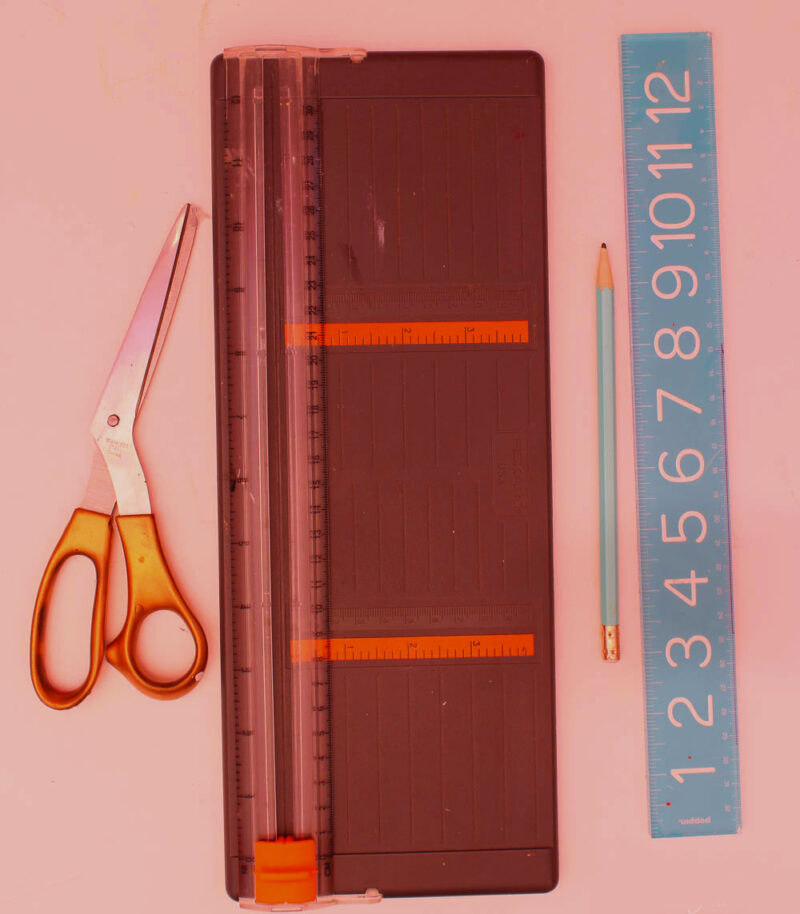
For cutting your cardstock and scrapbook paper you have four options:
- scissors and ruler
- paper cutter
- rotary cutter and cutting mat
- Cricut machine
Easy Steps to Making Your Travel Tags
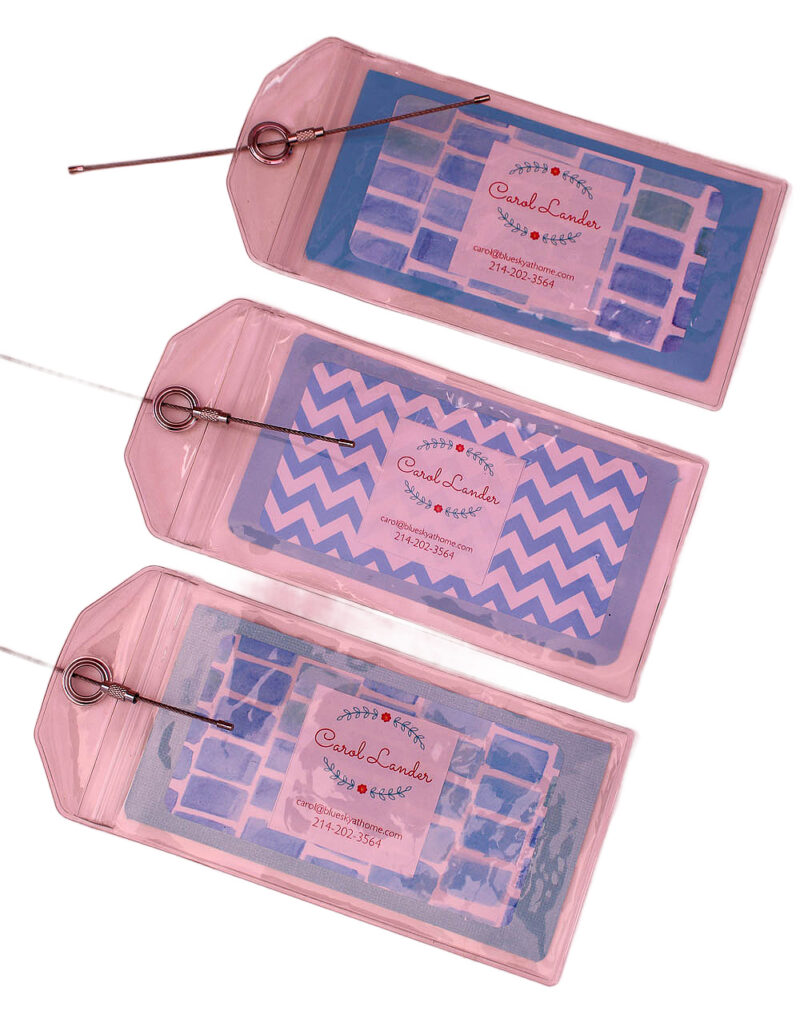
I’m going to make three DIY luggage tags:
- my large suitcase
- my carry-on smaller suitcase
- my computer bag.
Step 1 – Measure the dimensions of your luggage tag. The tags I ordered are 6.5 inches in length x 3.5 inches in width. I like that these tags are large.
Step 2 – For each luggage tag, choose a solid color of your choosing in heavy cardstock and a pattern of scrapbook paper in a coordinating color. I choose blue as my color scheme.
NOTE: This is a great opportunity to use small leftover pieces of cardstock and scrapbook paper.

Step 3 – Here’s where you can decide how to cut your cardstock:
- You can use a pencil and ruler to measure the cardstock and use scissors to cut it out.
- You can use a paper cutter.
- You can measure with a pencil, then use a rotary cutter and cutting mat.
- You can use a Cricut to design and cut your cardstock.
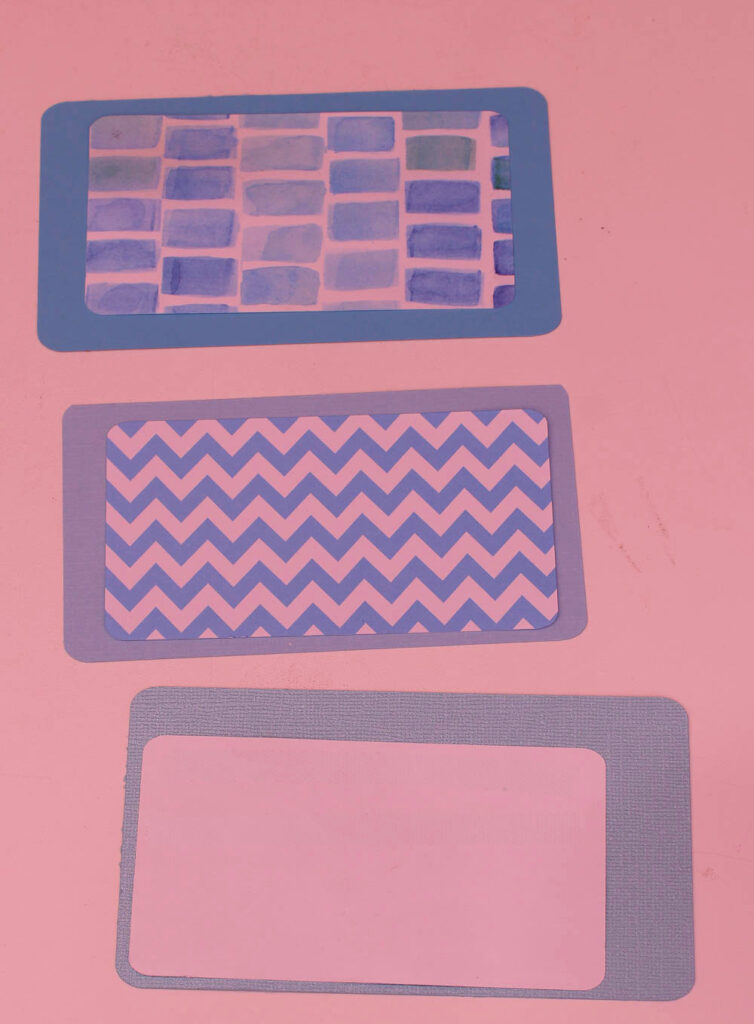
The cardstock will be the back of the tag. Regardless of how you cut the cardstock, I determined that it should be 5 1/2 inches long and 3 inches wide.
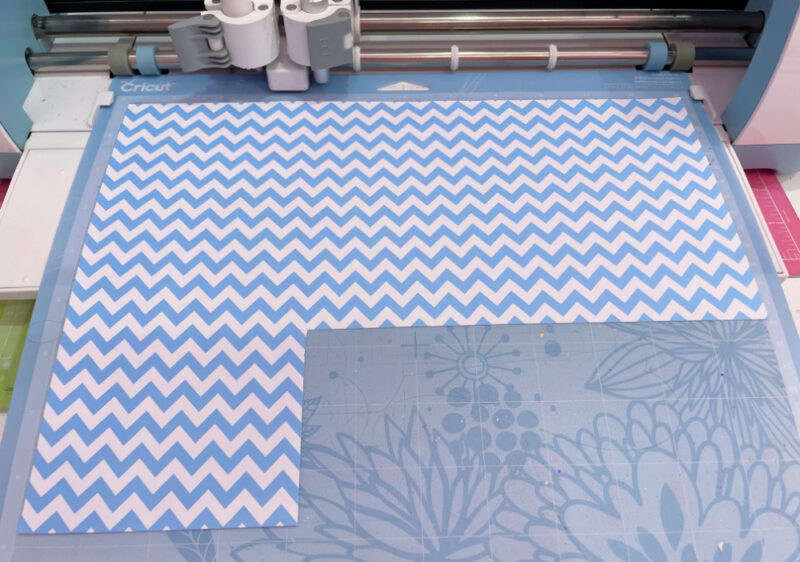
Step 4 – Cut out your cardstock. I decided to use my Cricut. (I’m getting back into using my Cricut more and have been making a few projects.)
I used Cricut Design Space to design my cardstock at 5.5 inches x 3 inches.
You might notice that I used rounded corners. That is just personal preference.
Step 5 – Cut out your scrapbook paper. For the scrapbook paper, I used 4.5 inches x 2.5 inches as my size.
Again, I used Cricut Design Space to design this size. Since I was using 3 different patterns of scrapbook paper, I made three different cuts with my Cricut.
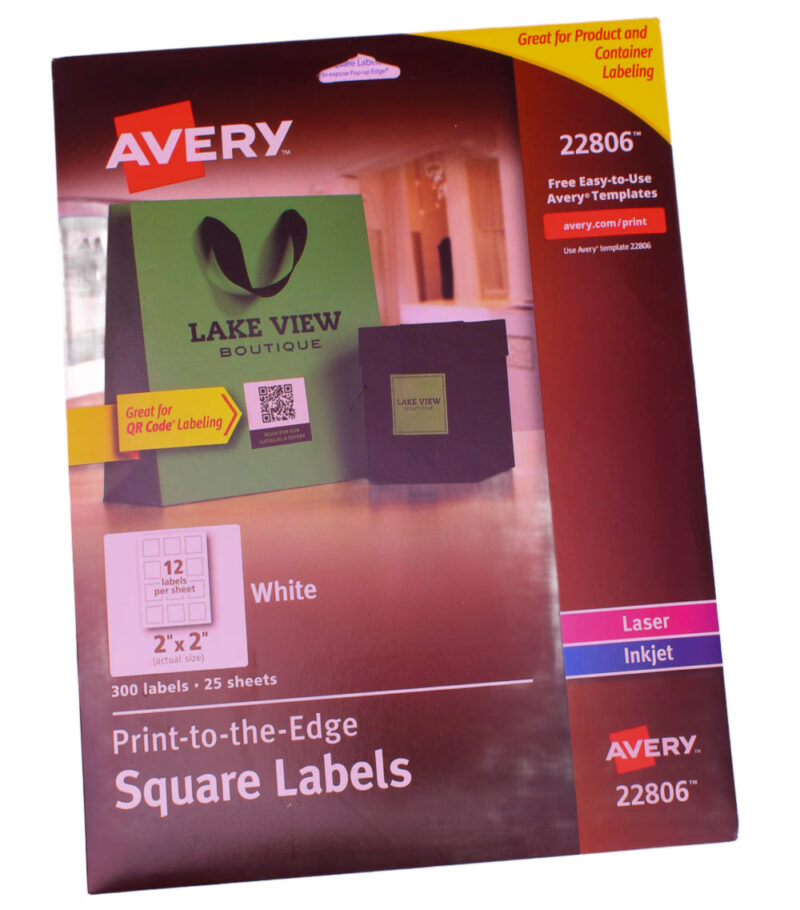
Step 6 – Make your information card. I had a package of Avery labels in the 2-x 2-inch size. The number is 22806.
Log in to Avery.com and follow the directions on the website to add and print the information you want.

I picked a cute design from all the possibilities.
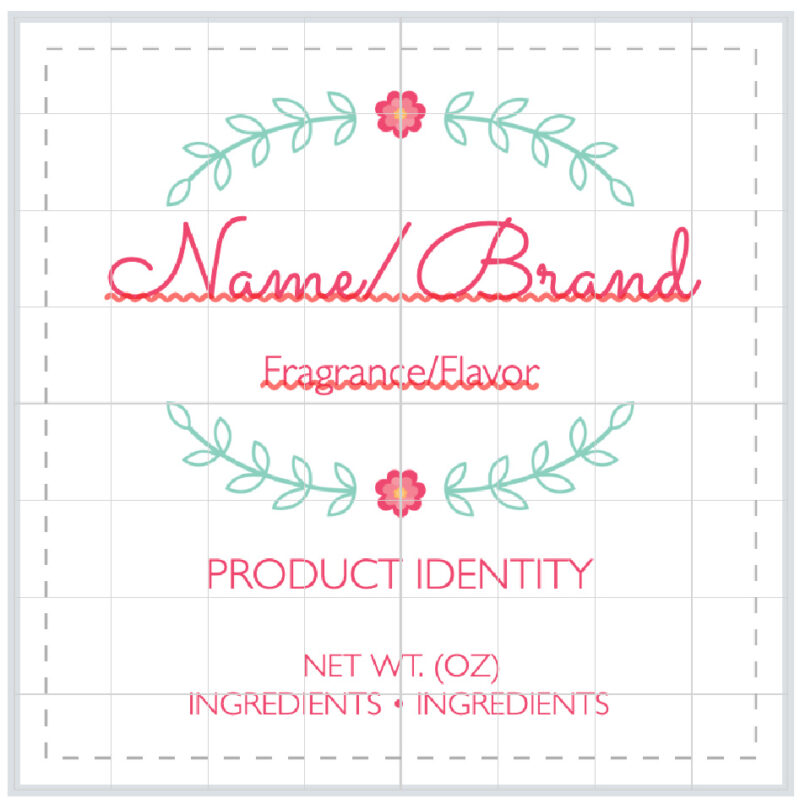
I included my name, phone number, and email address. I don’t include my address for security reasons.
NOTE: You can use your business card instead if you like.
Assembling the Luggage Tag
Once you have your three elements, it’s time to connect them.
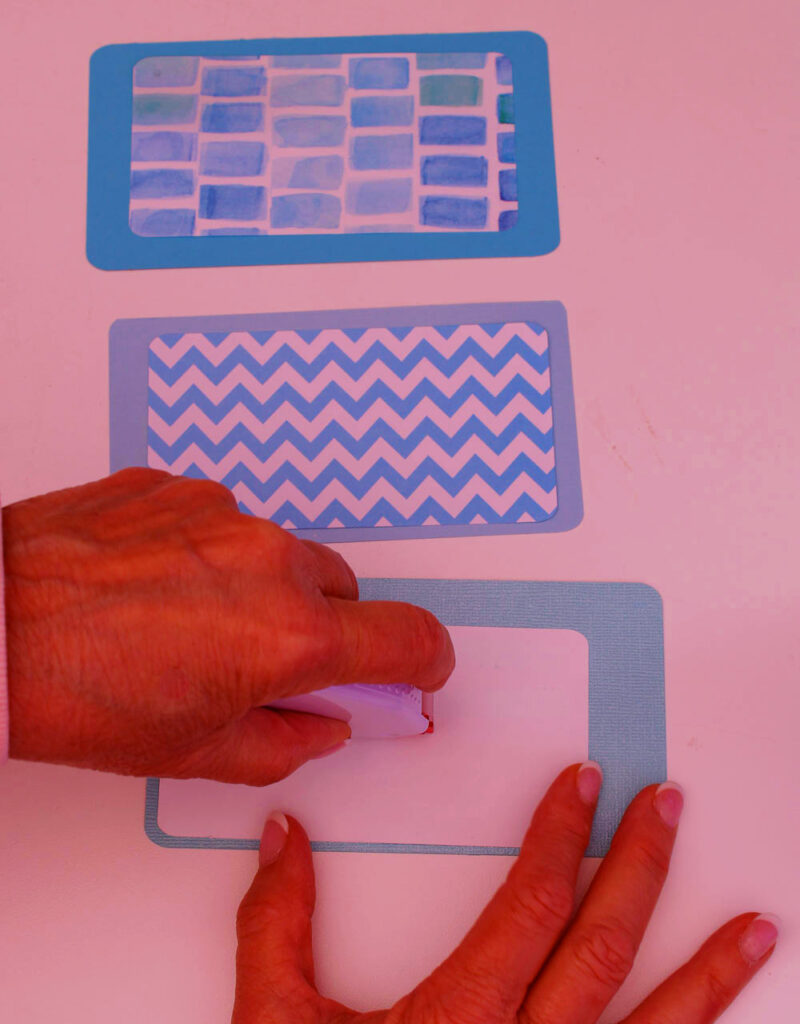
Step 7 – Set your cardstock piece on your work surface.
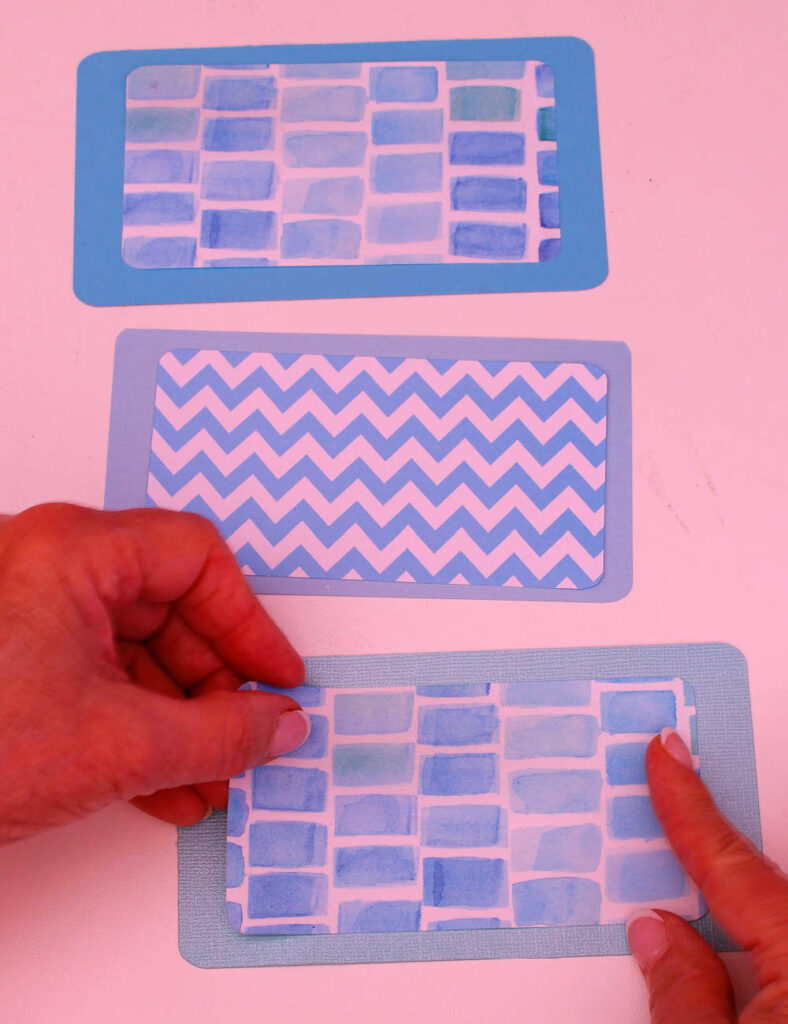
Step 8 – Turn the patterned scrapbook piece over and apply the adhesive tape to the entire back. Turn the scrapbook paper over and center over the cardstock. Press down to adhere firmly.
Step 9 – Remove the label from the backing. Center it over the scrapbook piece and attach it to the scrapbook/cardstock.
NOTE: If you don’t have the Avery labels, you can still print off the design from the Avery website and cut them out with your paper cutter.
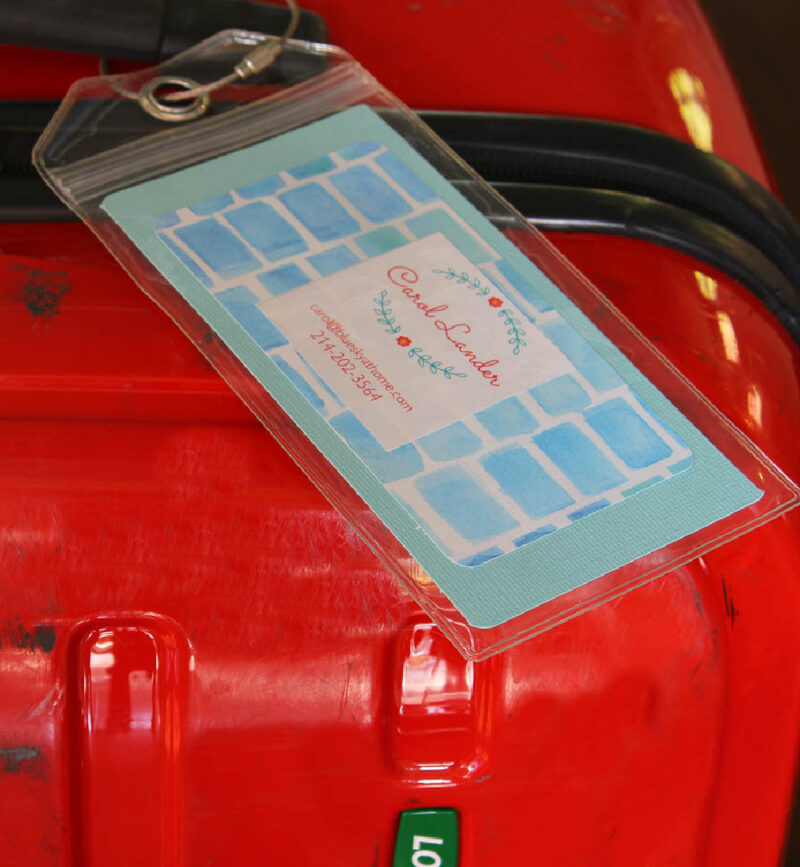
Step 10 – Slide your paper luggage tag into the plastic sleeve.
What do you think of these chic DIY luggage tags? I love that they were so easy to make and so inexpensive. I really like the custom look. It will be easy to find my luggage at the airport. I feel better knowing that my travel bags have my contact information on them.
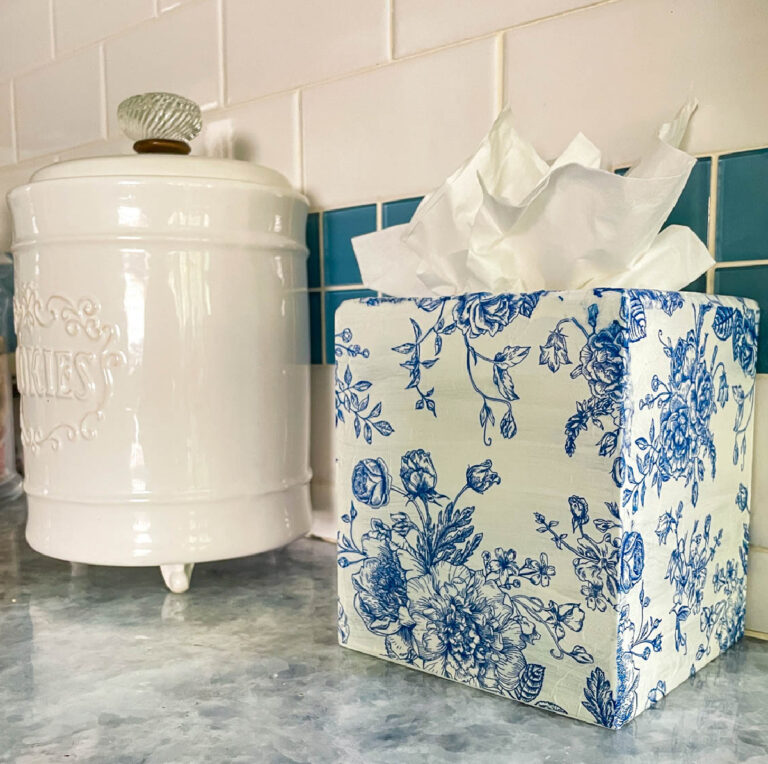
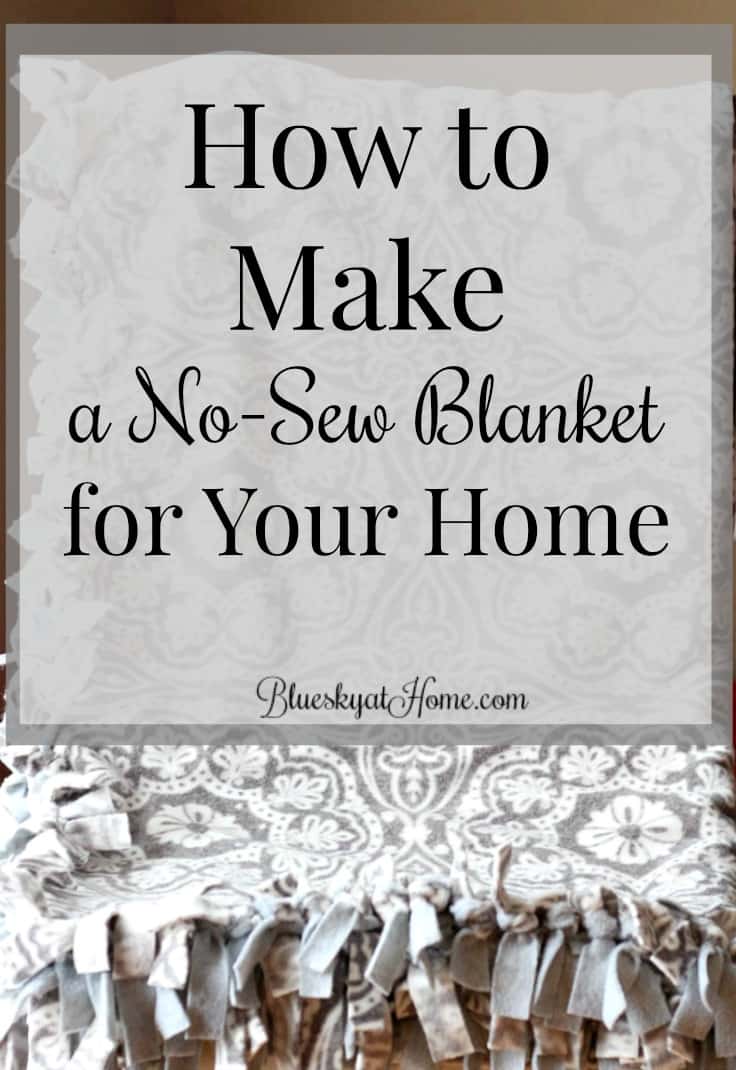
Other DIY Tag Projects
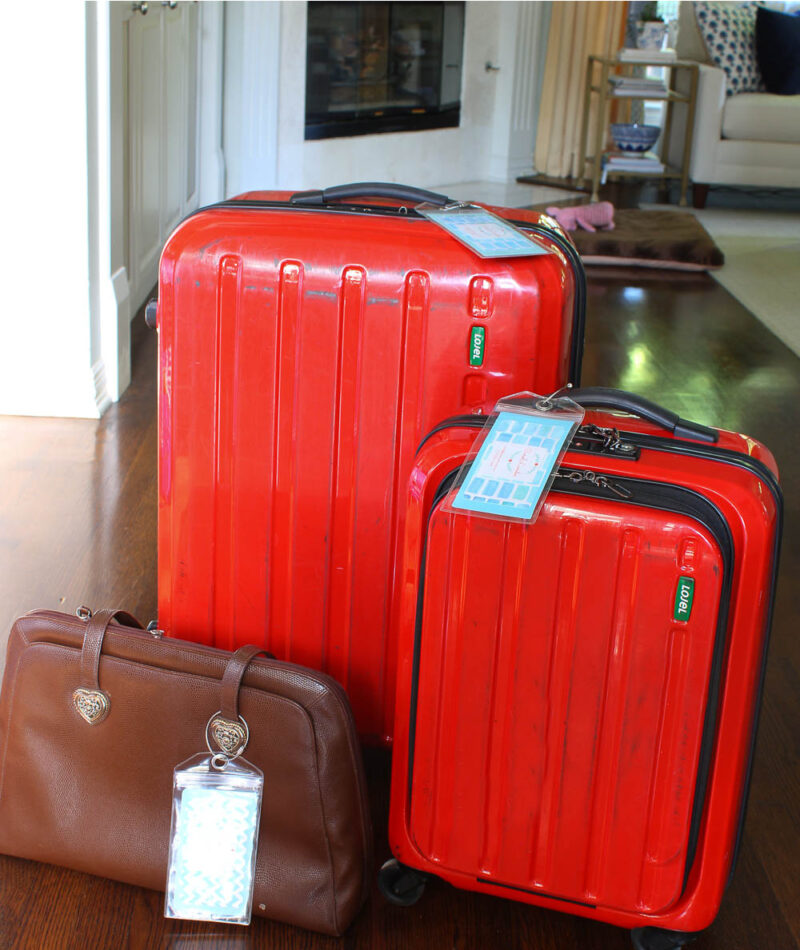
Final Tags Step
The last step is to attach the DIY luggage tags to your luggage or other bags. It’s really easy using the wire straps. This little tag project was perfect for using small leftover pieces of cardstock scrapbook paper.

Supplies to Make the Luggage Tags
The only supply that I had to buy was the luggage tags which were $6.99 for four.
Here’s what you need to make these colorful luggage tags:


Be sure to PIN this post about how to make DIY luggage tags so you will have the steps, the supplies, and as a reminder to make your own luggage tags. Have fun.