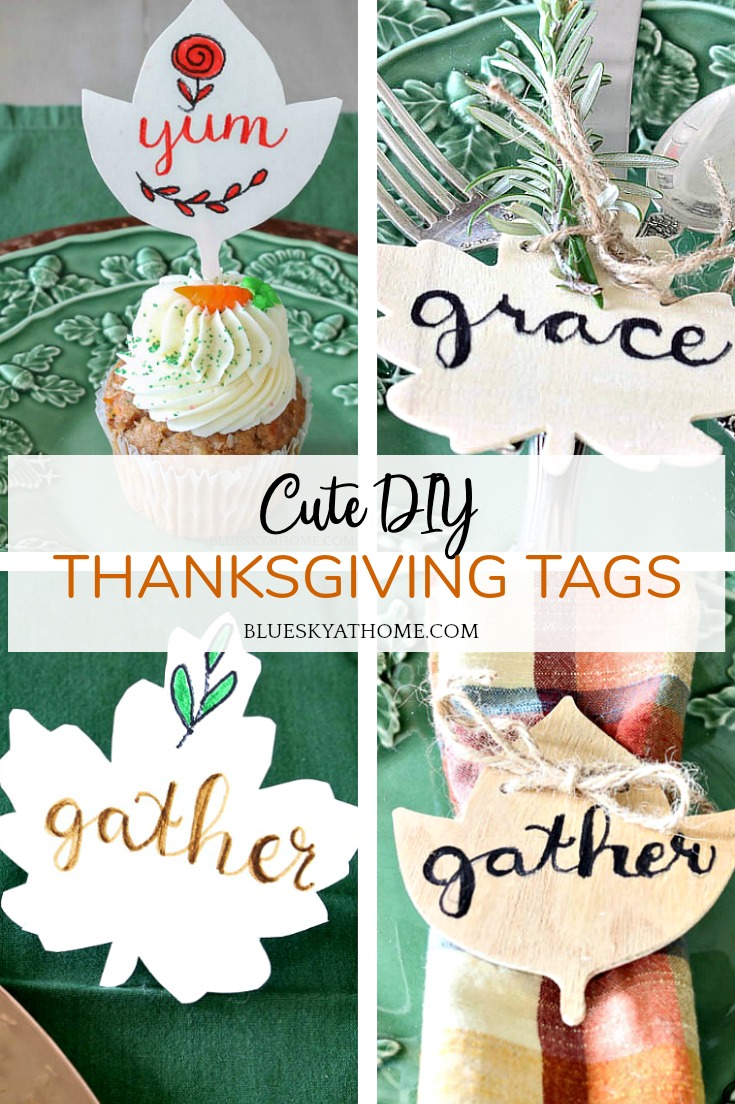
Cute DIY Tags for Your Thanksgiving Table
Yes, you read that right ~ Thanksgiving Table. I want you to have cute DIY tags for your Thanksgiving table.
I know it’s not even Halloween, but we are thinking way ahead. We want you to be prepared for the biggest feast of the year. That’s why I want you to have instructions for these cute DIY tags.
I love making custom elements for any holiday table. It just makes the holiday preparation more fun. Think that you might not have time for a DIY project for the holidays? That’s why I’m sharing as many projects early so you will have time.
Let’s get started!!
You can make these cute DIY tags for your Thanksgiving table in less time that Tom Turkey can say gobble ~ gobble. Now, if you are not quite ready to make these cute tags, be sure to PIN this post so you can make them later.

Cute DIY Tags for Your Thanksgiving Table
This post contains links to products used in this project. If you should order any product from this site, I may receive compensation, but you don’t pay a single penny more.
Pretend I’m whispering: I’m not setting a Thanksgiving tablescape. I’m barely setting one Thanksgiving place setting. I just want to show you how to make really cute DIY tags for your Thanksgiving table.
O.K., now that we have that confession out of the way, let’s talk Thanksgiving tags.
I’m going to show you several different cute DIY tags used in 4 ways. So what can you use these tags for?
- place cards
- napkin rings
- tie up your silverware
- stick in a pumpkin
- decorate your table
- use as cupcake toppers
Supplies for Your Cute Thanksgiving Tags
You only need a few supplies to make these cute Thanksgiving signs.
- wood leaf cutouts
- paper, such as card stock or watercolor paper
- scissors
- twine
- Scotch tape
- 1 notecard or card stock
- Sharpies or hand lettering pens
Why Make These Cute DIY Tags?
Two things prompted these DIY tags for Thanksgiving. First, a few weeks ago, as I walked into Target looking for copper polish (which is no fun), I passed by had to walk through the Dollar Spot (which is fun). I found a bag of wood leaf cutouts. I bet I can find someething to do with those for fall.
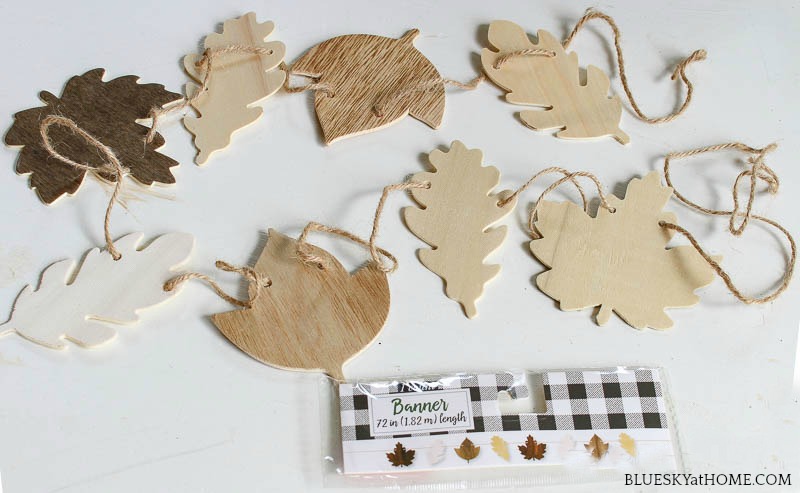
At home, when I looked more closely at the bag, I discovered that it was actually a banner of 7 wood leaves in 2 shapes joined by thin jute twine.
Since I already have 2 fall banners (this wood and burlap one and this burlap and letter one), I decided the leaves would make great tags for a Thanksgiving table.
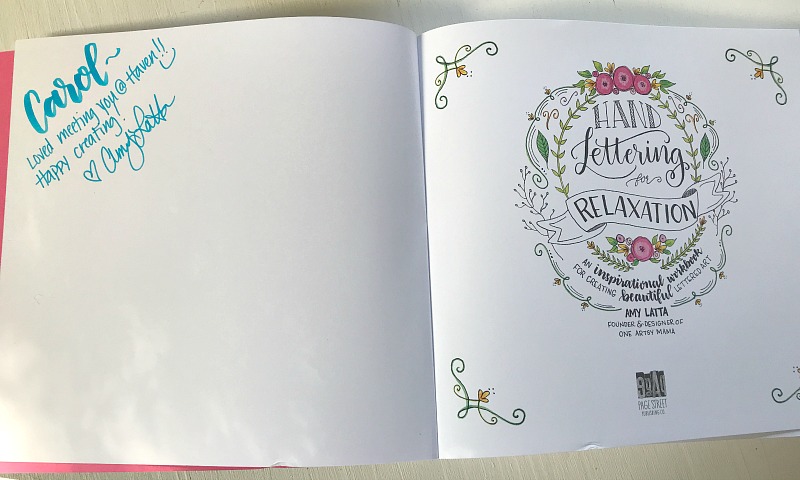
The second thing that prompted me to make these cute (I think they’re cute) DIY tags for a Thanksgiving table was finding a post on Pinterest from Amy Latta. I met Amy a few years ago at Haven when she taught a class on hand lettering. I bought Amy’s book Hand Lettering for Relaxation.
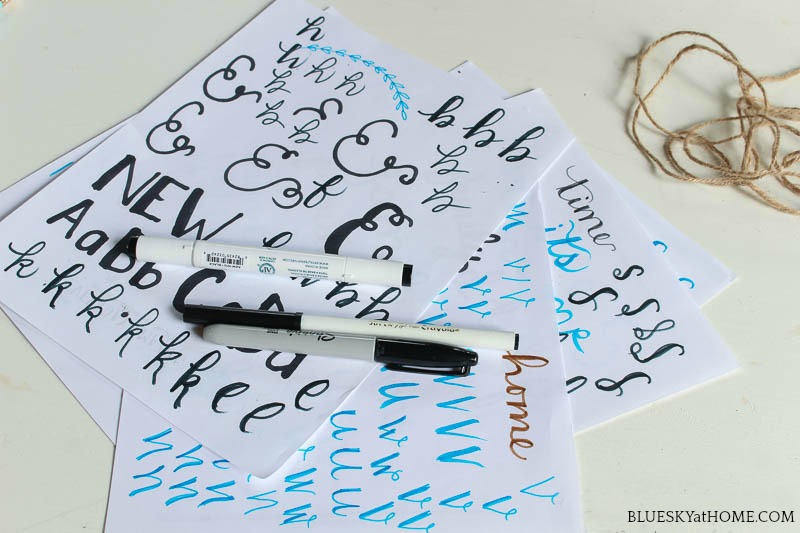
I was so excited to learn how to hand letter. I’ve been practicing for about a year now, using Amy’s book and practice sheets.
Every day I practice my hand lettering following Amy’s clearly written text and illustrations. Hand lettering is relaxing and a great stress reliever.
Some letters are made just like cursive, but some of the loops go the opposite way and it takes a lot of repetition to create a new set of muscle memory. Also, I’m left~handed and I’m not sure if that makes a difference.
 FYI: Amy has a newer book, Hand Lettering for Faith, which I also have.
Now that I have the wood tags on hand, I decided to use them to make cute DIY tags for a Thanksgiving table.
Finally, I thought I was ready (at least that I wouldn’t embarrass myself) to hand letter the wood leaf tags.
I wanted to have a tag at each place setting with a word that evoked the sentiment of Thanksgiving, so I practiced hand~lettering home, give, thanks, gather, love and pray.
Making My Paper Tags
First, I removed the twine, which I saved (of course) to use later for these DIY tags.
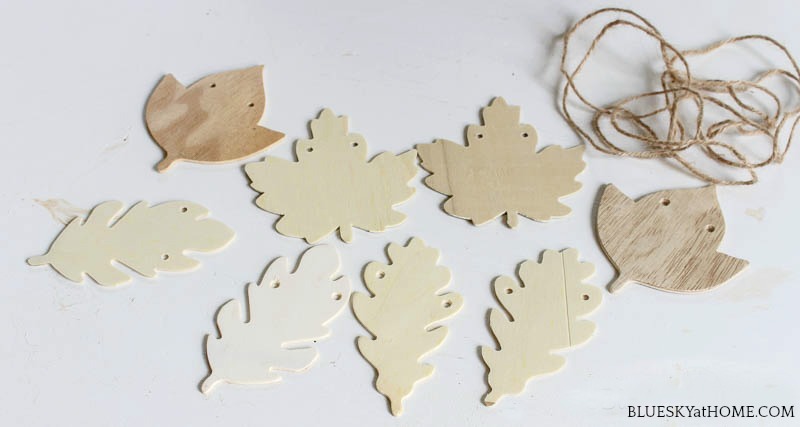
I thought about lightly sanding the wood leaves since some of them were a little rough. Impatience got the better of me and I didn’t sand them, but I would recommend that you do. I think my letters would have looked nicer.
Then I traced around them to make 6 tags, 3 of the maple shape and 3 of the longer shape. For my paper, I’m using watercolor paper which is heavy~duty, but card stock would work too.
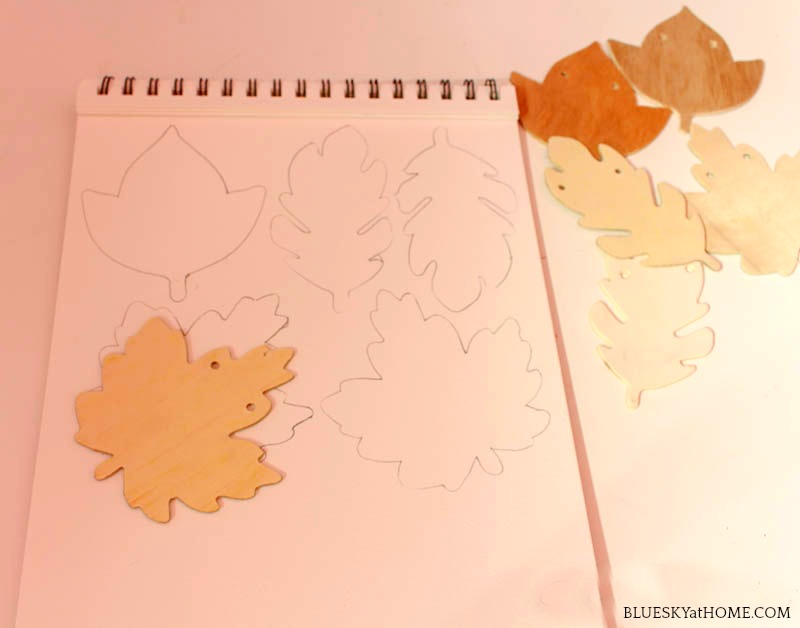
Next, I cut out all the paper leaves. This step took the longest and was the least fun. If I were just making paper tags and wanted a leaf motif, I would have used my Cricut, which I did last year to make leaves.
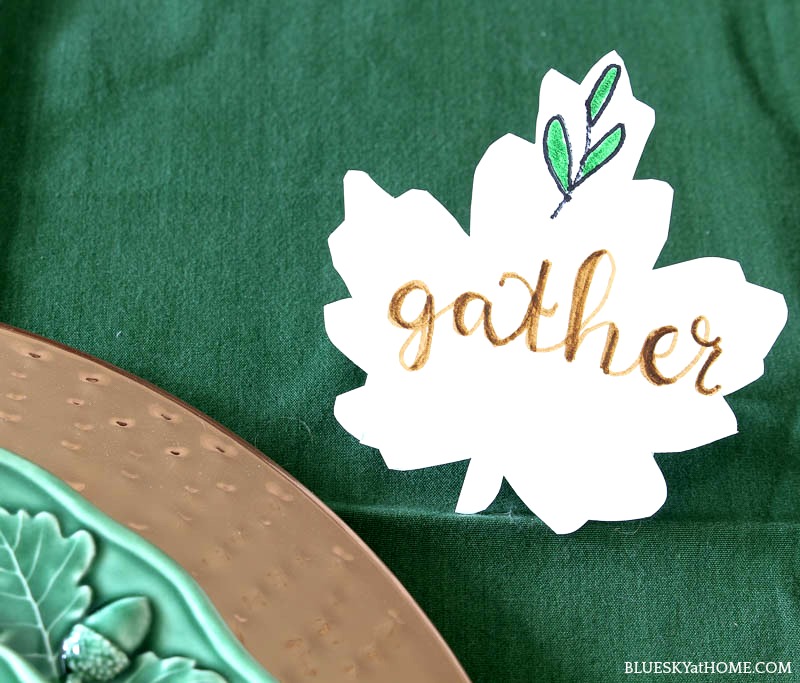
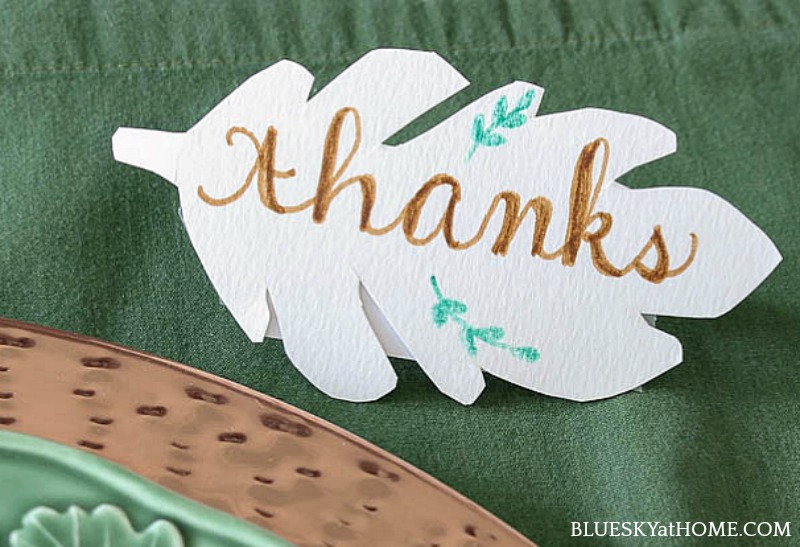
For my paper tags, I wrote directly on the leaves with a brown Tombow dual brush pin #977. I was actually very pleased with the way these turned out.
Then just for fun, I hand drew some leaf designs following the illustrations in Amy’s book. I drew the leaves in black Sharpie and filled in with a green Tombox brush #296.
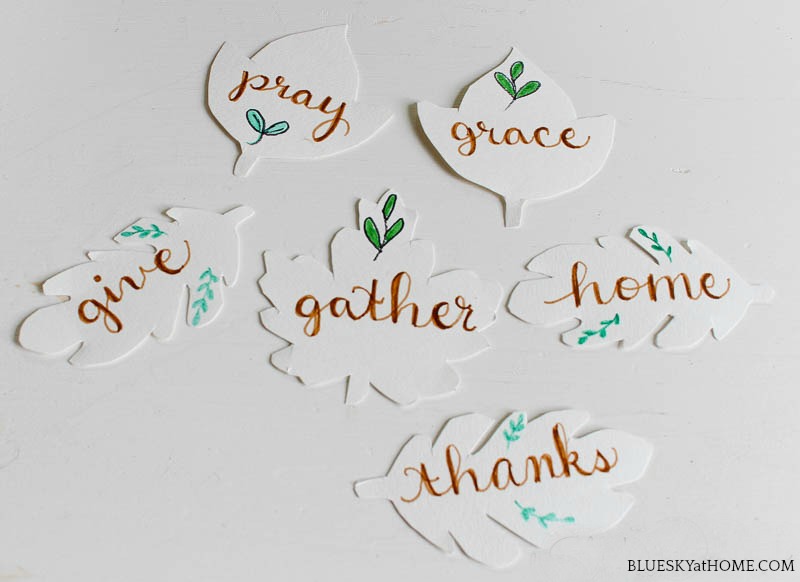
I am now officially hooked on hand lettering.
Making Your Tags with Wood
Although I have a set of Tombow dual brush pens (one tip long and narrow and one tip short and fat), I didn’t have a black one and Joann didn’t have any. So I just went with a Sharpie Fine Point.
Before I attempted to write on the wood leaves with the Sharpie, I wrote my words in pencil to make sure I had the spacing right. I didn’t bother with crossing t’s or dotting i’s.
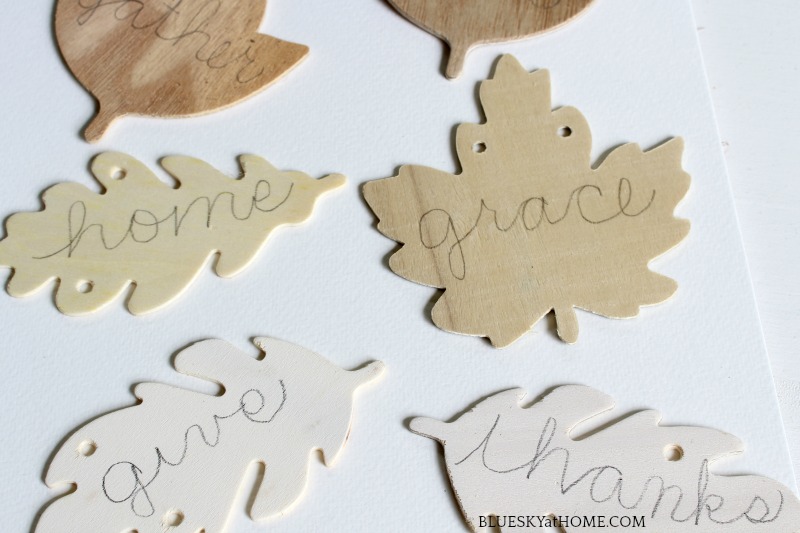
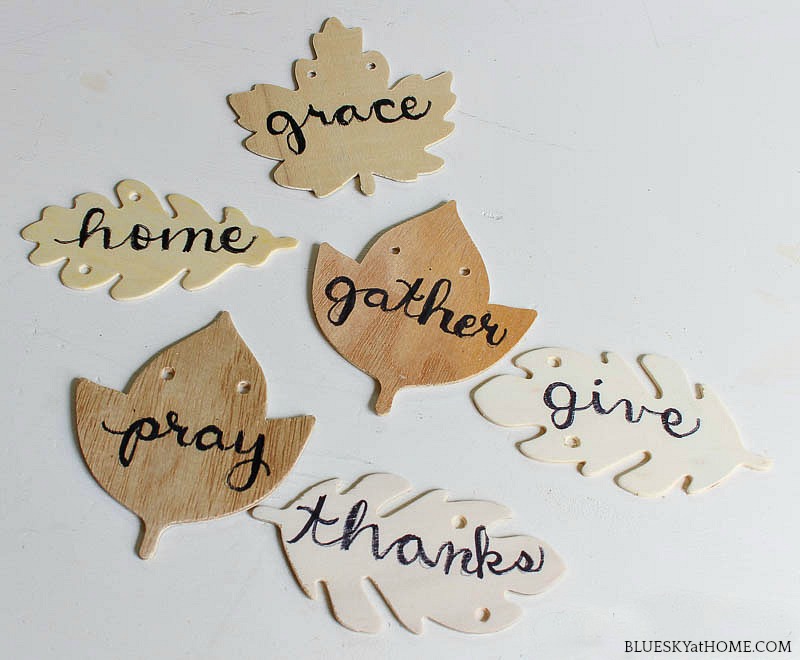
Next, I traced over my words with the Sharpie and then went back and added the extra strokes for the hand lettering.
I didn’t erase some of the visible pencil marks, but I would do that next time. Not bad, but I did wish I had sanded the leaves first. That’s it. All of 5 minutes. I should have said cute, easy and quick.
Another step I might add next time is to paint the wood leaves first. This would give a smoother surface to write on.
How to Use the Cute DIY Tags on the “Thanksgiving” Table
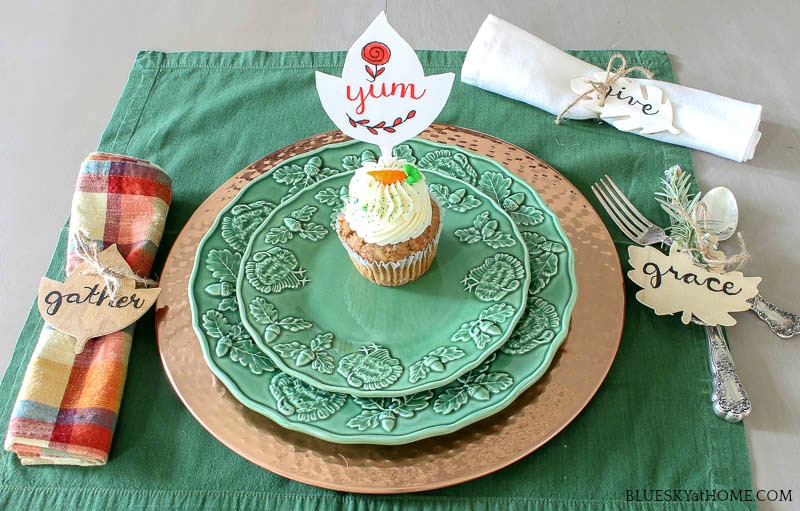
I did set out a dinner and salad plate of my Thanksgiving dishes on one of my copper chargers. Use your imagination for your own Thanksgiving tablescape.
This is the really fun part ~ using my cute DIY tags as I would when I do set my Thanksgiving table. I know they are not perfectly cute, just sort of cute; but for the first attempt at hand lettering, I was pleased as punch.
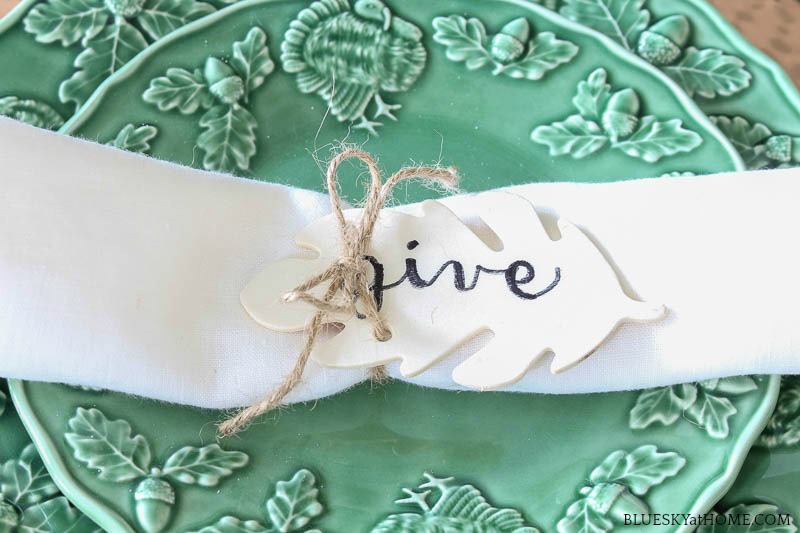
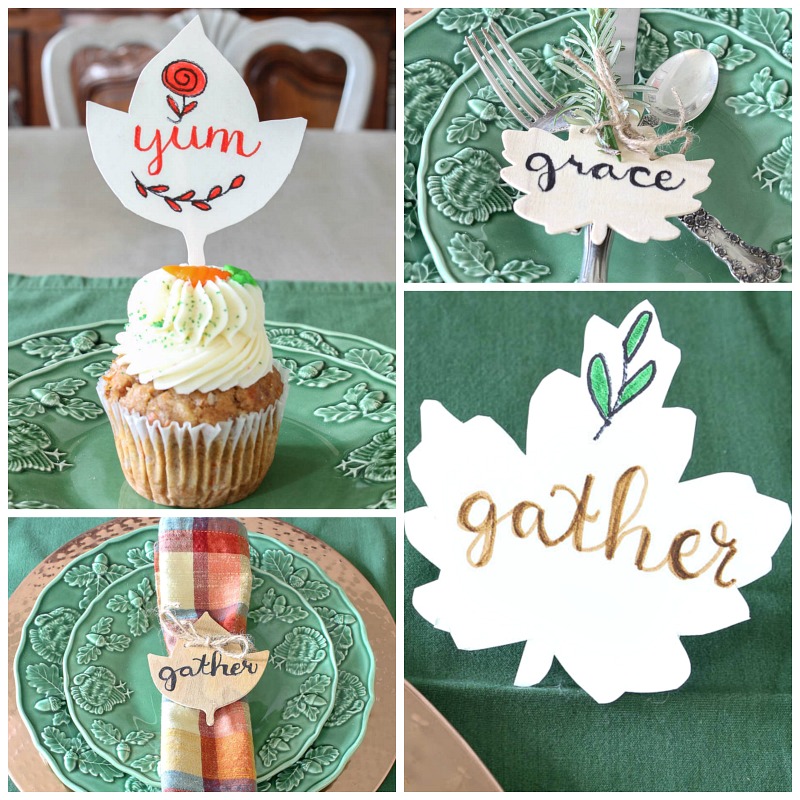
First, let’s use them as napkin rings. I pushed the twine back through the holes in a leaf, wrapped it around the napkin, and then tied a bow. That is pretty darn cute.
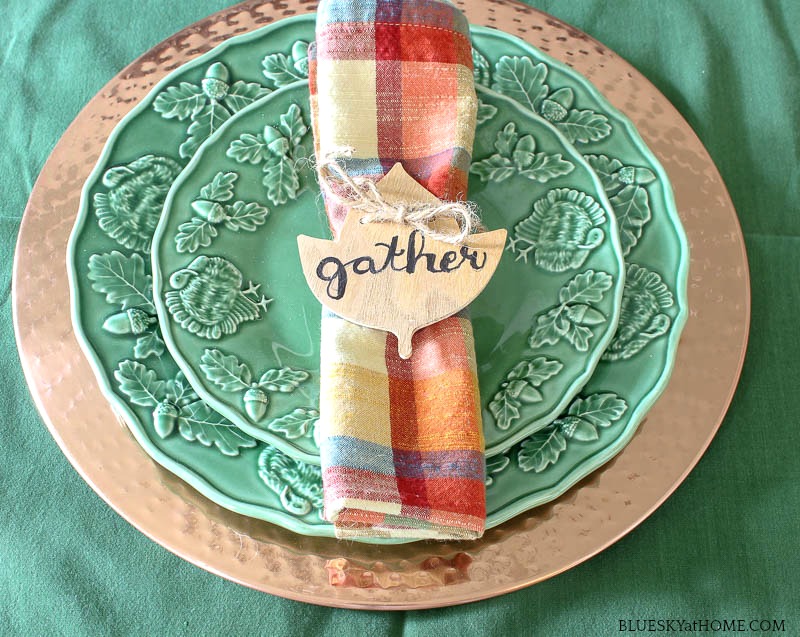
As a variation, I used a different napkin and a different tag in a different direction.
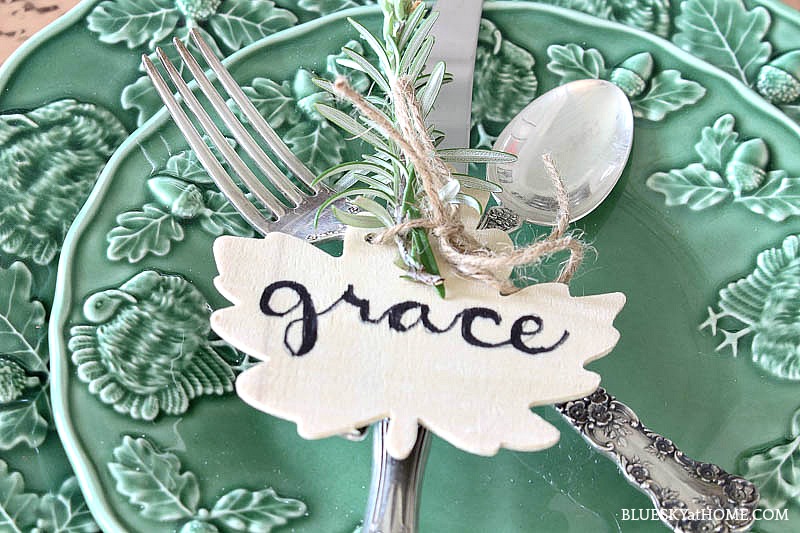
Let’s switch it up and use the leaf tag to tie up your silverware. I added a sprig of rosemary for color and scent. You can see here that the pen bled just a bit on the wood. Would you notice if you were sitting at my Thanksgiving table?
Now let’s use the paper tags. First as a place card. All I did was fold an index card, cut it to fit, and Scotch~taped it to the back of the tag.
Obviously, if this project were for a real Thanksgiving tablescape with real people, I would put each person’s name on a place card. If I could draw a turkey, I would add that too.
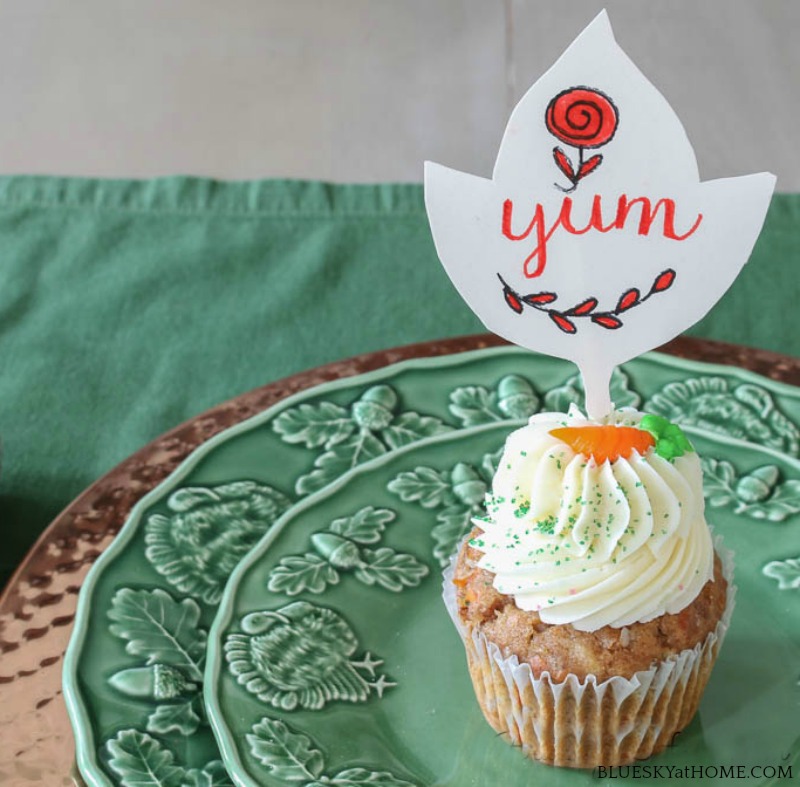
And finally, maybe my favorite ~ as a cupcake topper. I made a whole new tag for this. Then I glued a pop stick to the back. The cupcake is from my favorite cupcake bakery, Gigi’s in Inwood Village. Sweet Shark was so excited when he saw it sitting on the dining room table.
I used Tombow #556 for my red/orange color.
Here are my cute DIY tags for your Thanksgiving table.
I know for me, these cute DIY tags were just the beginning of using this new skill to use for other projects, such as these DIY Halloween Cards.
Thanks for being patient with me as I try this new skill. I do hope that you will PIN this project for later ~ when you are ready to plan your own Thanksgiving table.
Link Parties October 12 ~ October 18
All About Home Anything Goes Pink Saturday Beautifully Made Busy Monday Celebrate Your Story Charming Homes and Gardens Creative Crafts Creative Muster Creatively Crafty Embracing Home and Family Grace at Home Handmade Monday Happiness is Homemade The Happy Now Home Matters Inspire Me Monday Inspire Me Tuesday Keep in Touch Love Your Creativity Meraki Link Party Party in Your PJ’s Saturday Sparks Share Your Style Silver Pennies Sundays. Sunday’s on Silverado Thursday Favorite Things Vintage Charm Party Waste Not Wednesday Wednesday Link Party Wednesday Centerpiece Link Party Wow Me Wednesday

These have come out pretty cute. Thank you for sharing with us at Meraki Link Party.
Naush
These are just the cutest for Thanksgiving Carol! Thank You for sharing at Charming Homes and Gardens.
You recipe for the pumpkin scones lists 12 cups of sugar, which I know is not correct. Is it 1/2 cup or 1 1/2 cup of sugar. Those darn typos!!!
Thanks
Love this DIY! I’ve been wanting to learn hand lettering! So pretty!
I too enjoy hand lettering so may have to add Amy’s book to my wish list. The tags are definitely cute. Especially love the with the cupcakes.
So many cute ideas! My favorite was the wooden tag with the silverware tied with twine and rosemary. So cute! I’ll be borrowing that idea for sure!
These are really cute! I love the wooden tags. And that cupcake looks so good! 🙂
Michelle, thank you for your kind remarks. The cupcakes were delicious.
Those are so cute! I’m going to have to check out my dollar store. Pinned.
Very cute idea, Carol. Isn’t dollar spot great?
Hi Carol!
These are perfect for Thanksgiving! I love how you used the real wood leaf shapes instead of paper or cardstock. Here in Virginia, we have broken heat records this week. It’s in the upper 90s today with a heat index warning. They’re saying we will have a much cooler week in the upper 60s and lower 70s next week. It will be a welcome retreat from all of this heat. Thanks so much for sharing these adorable tags at Homestyle Gathering!
I love these!! Such great Fall/Thanksgiving touches.
Thank you Jessica. I appreciate your feedback.
They turned out amazing my friend!!
These are so cute! I love the different ways to use the tags!
Hi Carol, cute project and love the words you chose. Your dishes are pretty too.
Great to have a new blog to follow
Cindy
Thank you Cindy. Words are important aren’t they. Definitely love to include them.
Carol this little idea works for just about anything. I love how cute they look where you placed them. Great idea. Happy Wednesday Carol!
Very cute Carol. I’m with you on waving good-bye to September. I’m just about over this heat. I started practicing Hand Lettering a few years ago. It is definitely something you have to do all the time to be good at. Unfortunately, I don’t practice very often. Such a great idea!