How to Make the Cutest Paper Flower Party Decorations
I’m ready for some DIY projects and tablescaping. I’m so excited to share this tutorial on how to make the cutest paper flower party decorations. I think it’s one of my very favorite little DIY party decorations ever.
As part of preparations for a Sunny Summer Tablescape ~ my theme was lemons and yellow flowers ~ I combined the 2 to create the cutest paper flower party decorations for each place setting.

And speaking of flowers, you might also want to see how I made a real flower centerpiece for this tablescape ~ it has some tips that will help you in creating your own flower centerpieces.
You know that saying, “the devil is in the details”? Or “It’s the little things that count”. Well, when it comes to home decor and party decorations, it’s the little details that make a home or a party extra special.
I think it’s one of my very favorite little DIY party decorations ever.
How to Make the Cutest Paper Flower Party Decorations
For your convenience, this post contains links to products used in this project. If you should order any product from this site, I may receive compensation, but you don’t pay a penny more.
Inspiration for My Paper Flower Party Decorations
Here’s how this cute paper flower decoration came about: my tablescape was completely done, or so I thought. I stepped back to check it out and eyeball every little spot. It was missing something ~ that one little extra that would make a guest feel really special. In the past I’ve made place cards ~ love those, but this time, I thought the place setting needed a boost. Since I love using my Cricut Explore Air (how many times have you heard me say that?!) , I decided to search through the images in Cricut Design Space for a project that would combine my theme of lemons and flowers. (BTW, Cricut Design Space has just been updated with awesome new design features to make it even more user~friendly.) And I found this ~ a darling cupcake topper.
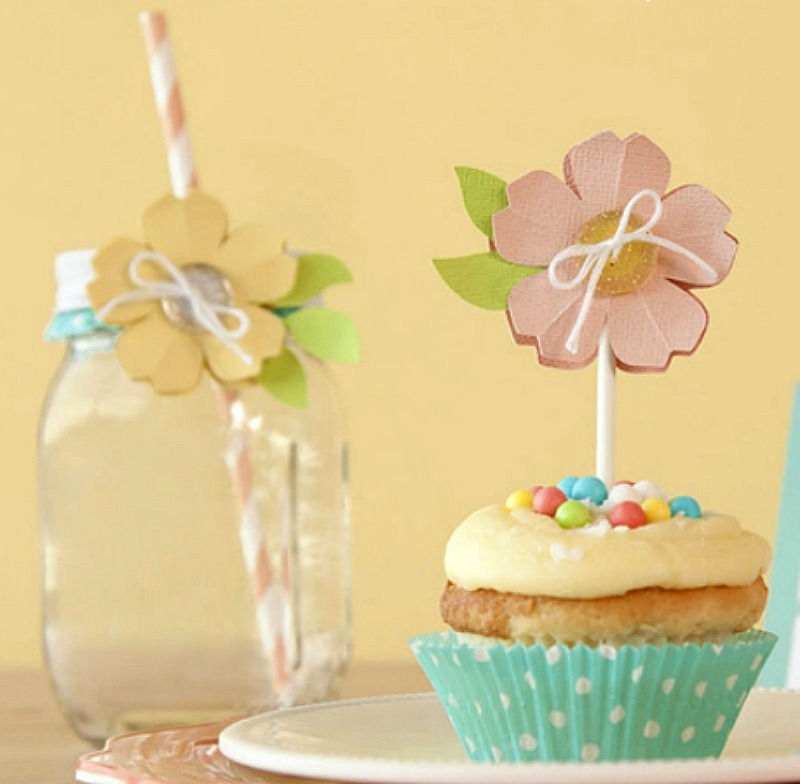
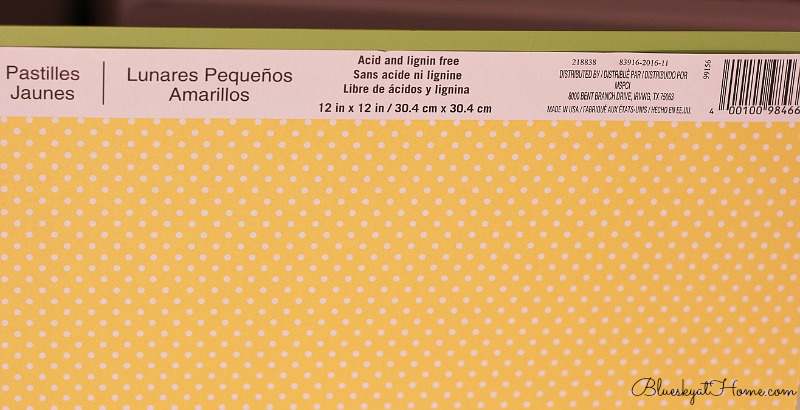
Now I didn’t need a cupcake topper, but I thought I could still use this design. And my colors for this tablescape were not pink (I know it’s a shock), but yellow. So I searched through my paper stock and found the perfect yellow polka~dot pattern.
TIP: remember that Cricut Design Space images are merely inspiration. Even though Cricut gives you a list of paper colors, you don’t have to use their choices. Use what fits with your color scheme.
How to Make the Paper Flower Party Decorations
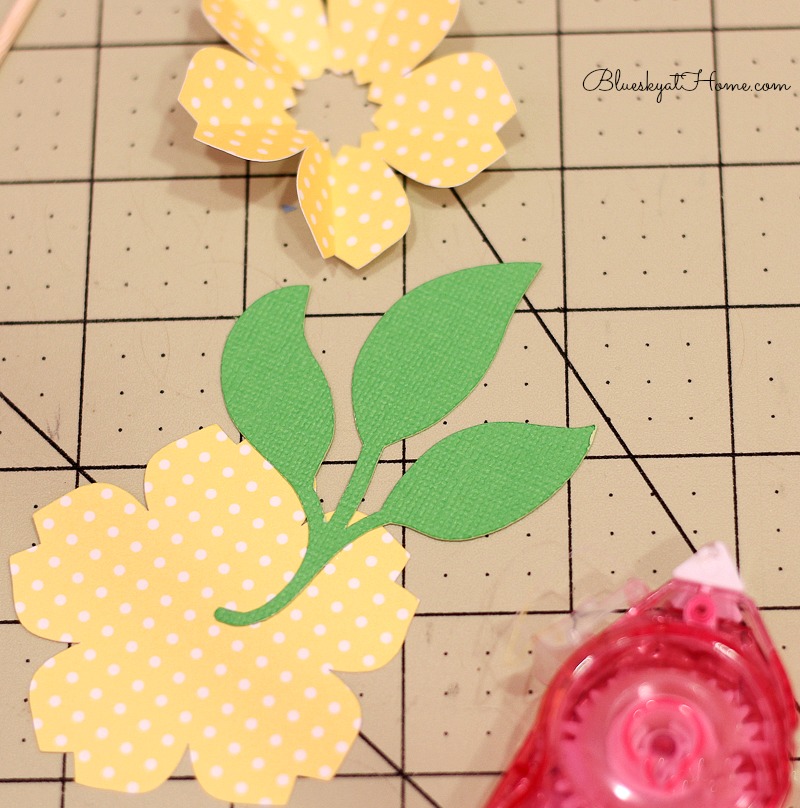
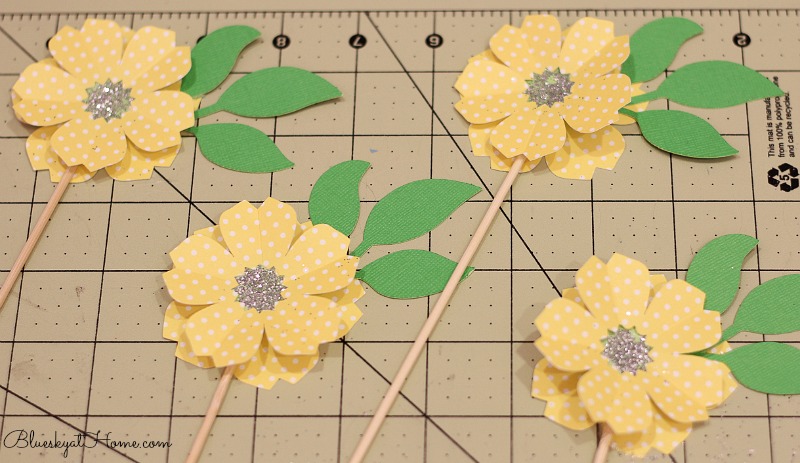
In edit mode, I told Cricut I needed 4 of each cut. That is a super easy step. I needed 4 of 2 cuts ~ in other words, I had 2 different cuts to make ~ one for the back flower and one for the front flower.
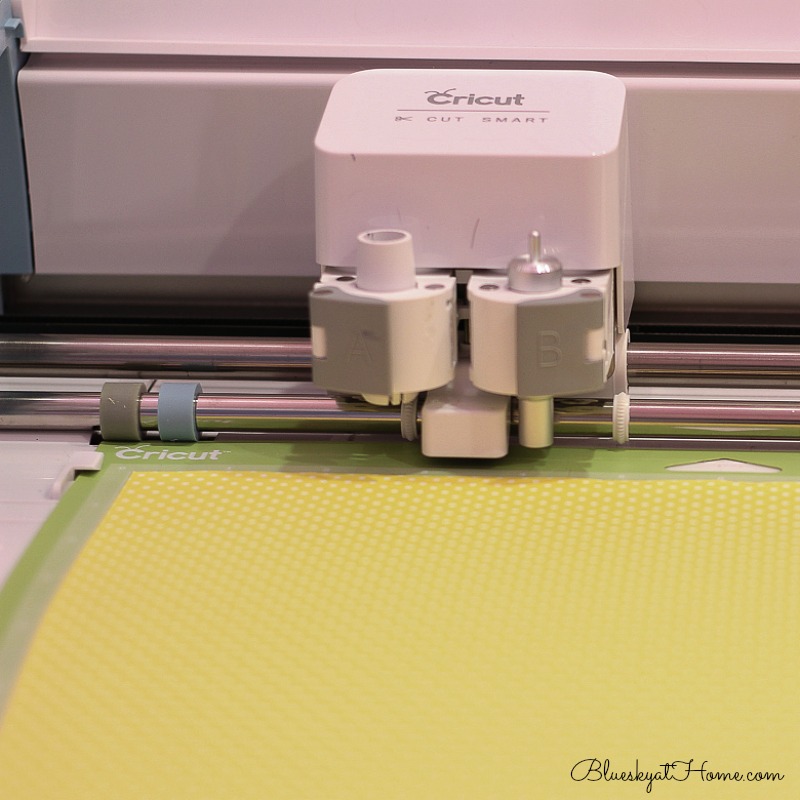
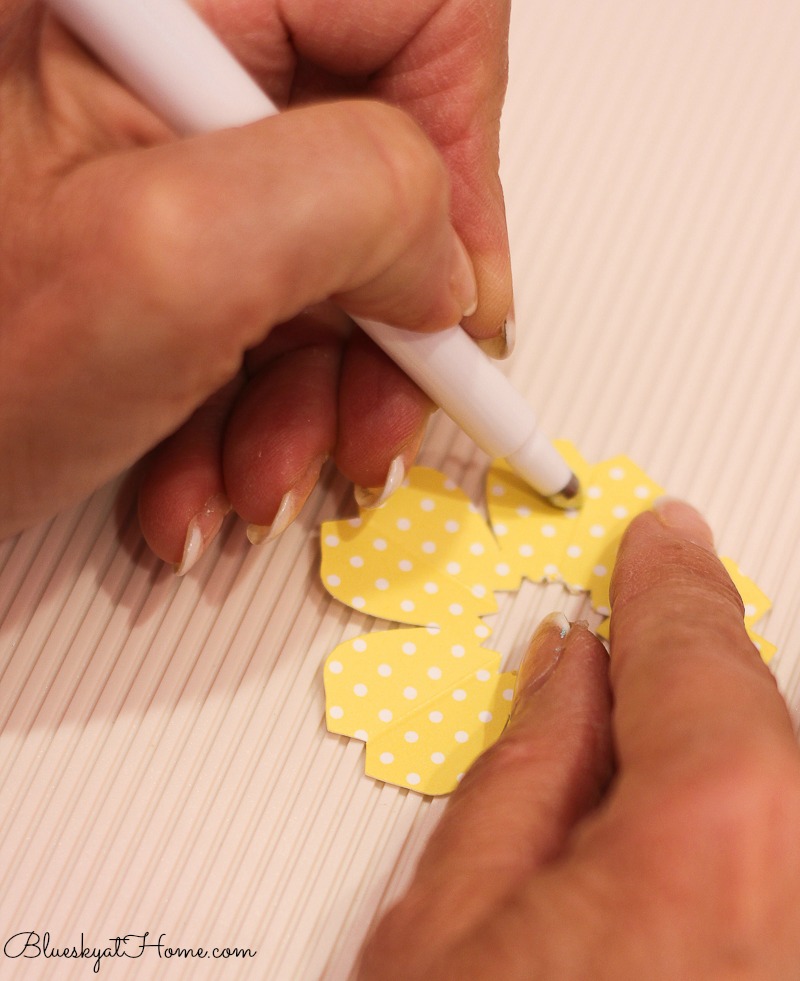
The back flower was a solid piece, but the front flower had a whole in the center. Before the cutting, I inserted the Cricut scoring tool to create a line in each “petal”. Then I used my Cricut scoring stylus and my Martha Stewart scoring board to emphasize the line on the petal. Fold the flower forward on the scoring line which gives the flower dimension.
After cutting out and scoring my flowers, I used a piece of green card stock to make the leaves. Again, I told Cricut to make 4 at once. Next, I used permanent double~stick tape to attach the leaf to the flower.
TIP: It’s a good idea to have both permanent and repositionable tape on hand.
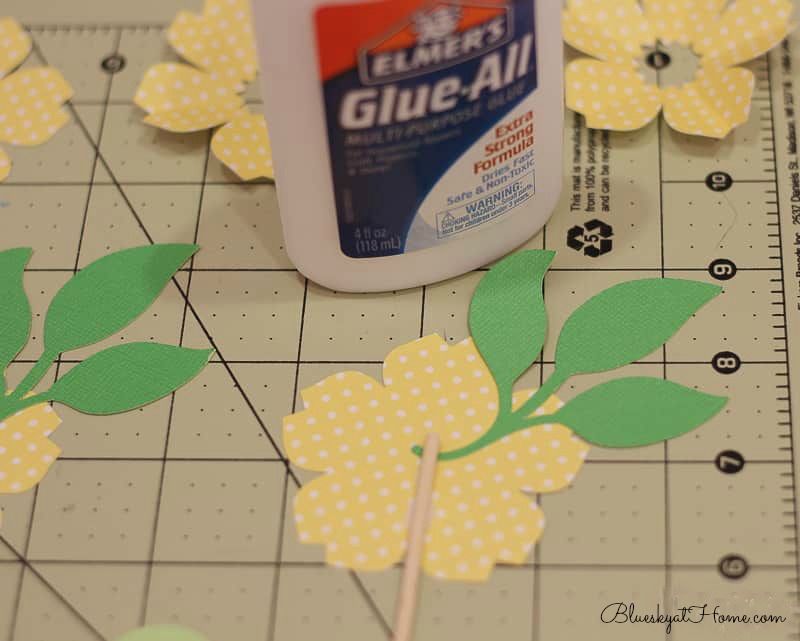
Then I glued 6~inch wooden skewers to the front of the flower back. These are the kind you find in the cooking aisle of the grocery store or at a craft store. Let them sit for a few minutes to be sure that they are completely stuck. Gosh, have you ever thought about how many millions of times you’ve used Elmer’s Glue in your life!
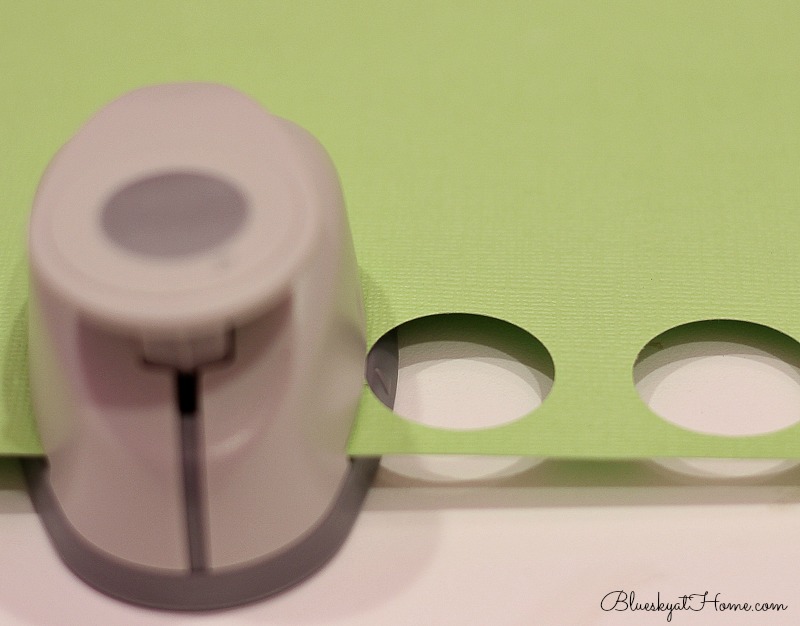
If you look back at my inspiration photo in Cricut Design Space, you’ll see that they used a button and twine to attach the flower pieces together. I wanted something simpler. I had another color of green card stock on hand and I cut out 1~inch circles with one of my punches.
I used the double~sided tape to attach the green circle to the back of the flower petals. Which worked great, but left a sticky center. This is when what I call #randomactsofdiy came into my head. I looked through my craft drawers for inspiration and spied GLITTER!
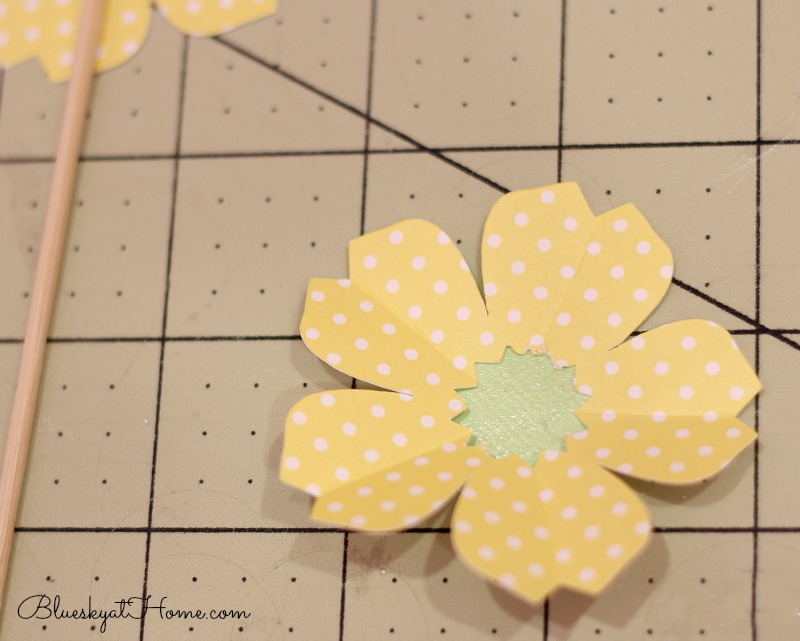
Sprinkling the silver glitter on the center circle gave the flower just a little sparkle (well, yea, duh!) and covered the sticky center. Then I attached the front flower to the back flower with the permanent double~stick tape. I debated whether to cover the wooden stick, but I didn’t have any washi tape on hand that would fit the color scheme, so I left it as is. Adds a little natural feel to the flower.
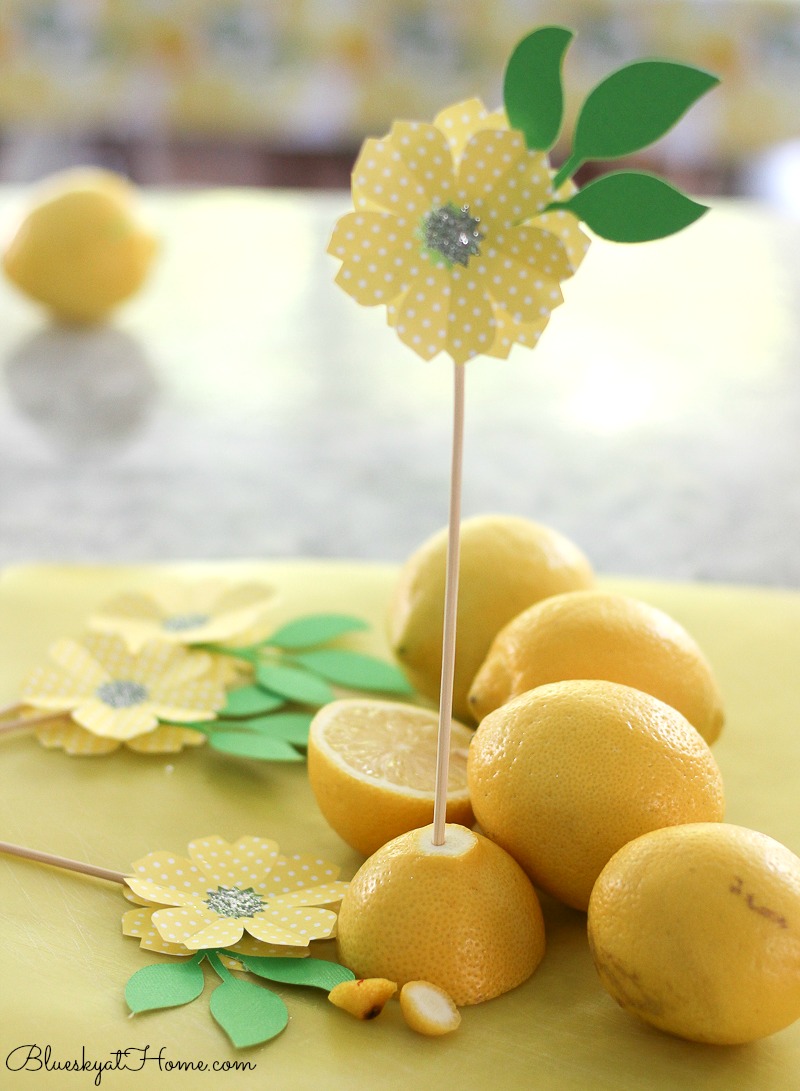
Next I took 2 of my extra lemons (I had bought a ton of lemons for this tablescape, just in case.), cut them in half and stuck the wooden skewer in them.
NOTE: first, I cut off the pointy end off the lemon.
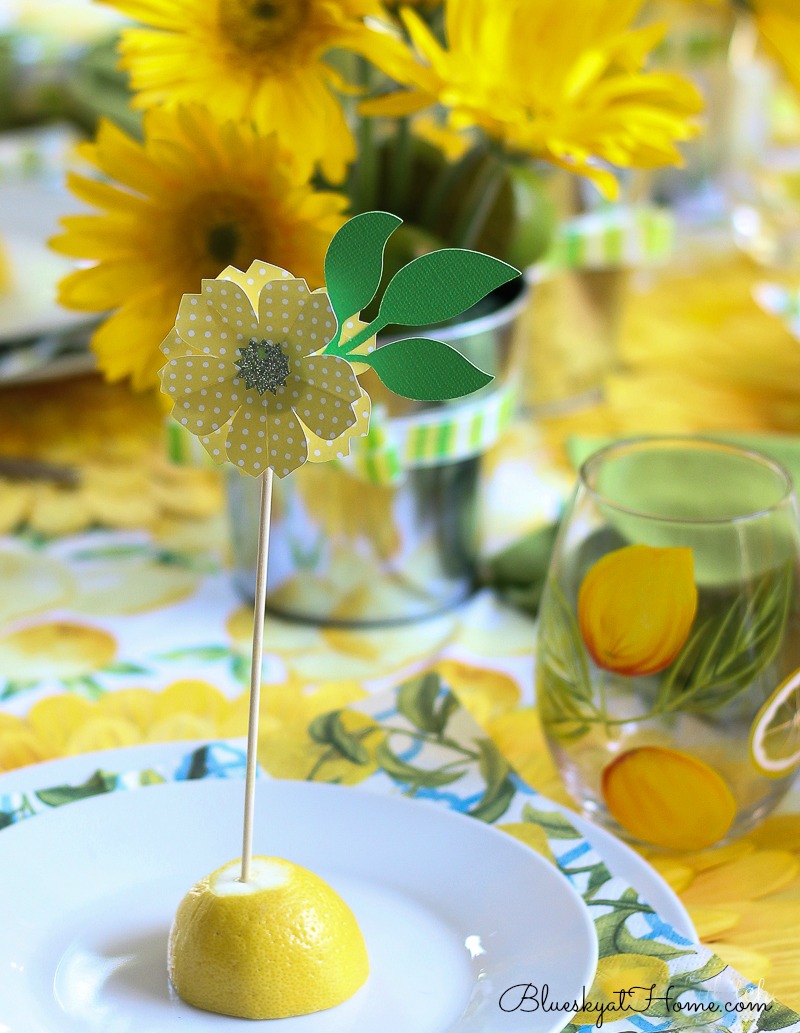
Lastly, I set the flower and lemon on each plate. Wha~la!! Making these paper flower party decorations added just the right of amount of cuteness for my table. Believe me that I will use this Cricut project again. Next time these paper flowers may find their way to a cupcake.
Here are the supplies you need to make the paper flower party decorations:
- 1 sheet of card stock in your color or pattern for the flowers (You can easily get 8~ 12 flowers per sheet of paper.)
- 1 sheet of green card stock for the leaves
- 1 sheet of card stock for the center of the flower (The color doesn’t matter as it will be covered by the glitter.)
- Cricut or other scoring stylus
- scoring board
- double~stick tape
- glue
- wooden skewers or pop~sticks or even straws for holding flowers
- glitter in preferred color
- Cricut Explore Air*
NOTE: If you don’t have a Cricut, you could find a pattern online or from a coloring book for the flower and leaves and just cut them out.
Please tell me you loved these paper flower party decorations. I hope you think they are as cute as I do. They were so easy ~ I finished them in less than an hour. Granted, I had all the supplies on hand which is always nice.
I hope you’ll go see how I used them in my Sunny Summer Tablescape.
Here is another project ~ 3 Quick and Easy Projects to Make with a Cricut that is all about creating items for a tablescape.
If you liked this project, please Pin It, Tweet It, or Share It with your best buddies.


I have always loved cupcake toppers as a way to add that special touch to an occasion. And you certainly are a whiz at using your Cricut! I’m also crushing on lemons right now so…..love it. Thanks for sharing at Vintage Charm. xo Kathleen
The flowers came out so pretty! A cricut is definitely on my Christmas wish list this year. Thanks for sharing with us at #OMGHWW.
Thank you Alice. Watch the Cricut ad on my side bar for Cricut sales. Right now the Cricut is on sale. You will love it.
Your paper flowers are so cute. I recently bought a flower punch with 6 petals that looks like a daffodil background to me. I made the flowers double, moving the bottom one so the petals were slightly off-kilter from the top. I bent the petals forward from the center, then creased the center of the petals with my thumbnails to make sunflowers. I made thank you notes for my daughter’s upcoming wedding. I made brown 1/2″ circles for the centers–much too bland for me; I dipped them in glue, then in coffee grounds. Now THAT’s textures. Never thot of glitter! I did some plain, some with burlap paper so they were all different. Hand punching was sure a lot more tedious than your Cricut, that’s for sure! I invested in 2 50 yd rolls of 12″ burlap to make at least 120 placemats–dunno if I’m brave enough to make THAT many more flowers to decorate them!
Cute, cute, cute! If only I had a Cricut machine. Do you find that you use it often?