How to Install Aspect Peel and Stick Tiles
Walls of pink. Countertops of white. Shelves of white. File cube of white. Bookcases of white. Utility organizer of white. But I thought I needed another element to really tone down all the pink and white. Actually, this “other element” came into the picture before I even knew that we would be constructing an office late last fall. At Haven Conference last summer, one of the companies showing off its product was Aspect Tiles. So now 4 months later, I can show you how to install Aspect Peel and Stick Tiles for a beautiful focal point in your home.
Picture frames of white. Is there a pattern here? In my vision for my new office, I saw lots of pink and white. I’ve shared with you how to add decorative elements and how to make a gold polka~dot planter and how to make the cutest pen holders. I brought in other colors in my pallet of soft greens and blues and gold, with the colors of books providing a tiny splash of orange and yellow, red and black.
Now I love tile ~ we installed subway tile in our kitchen and marble tile in our master bath, but that type of tile requires adhesive, grout and a professional to install it. But Aspect Tile is meant for the DIY lover ~ those of us who love to save money and still get a gorgeous and quality product for our homes. When I saw the Aspect Tile, I immediately thought, “office”. A month after Haven, I received a super heavy package. I had no idea what it was. We opened it to find a wide range of tile samples from Aspect. Wow! Glass tiles in beautiful colors and metal tiles in gorgeous metallics and stone tiles that looked so real. And a note from the folks at Aspect that said thank you for attending our booth at Haven and we are going to send you 20 square feet to try. Well, count me in!
Aspect Tile sent me the glass tiles to try and share on this post. All opinions are 100 % mine.
How to Install Aspect Peel and Stick Tiles
The Story Before the Installation
When I received my package of sample Aspect Peel and Stick Tiles, I knew immediately which one I wanted: glass tiles in Morning Dew. This beautiful color is so similar to my main blog font color, the prettiest soft, pale blue~green.
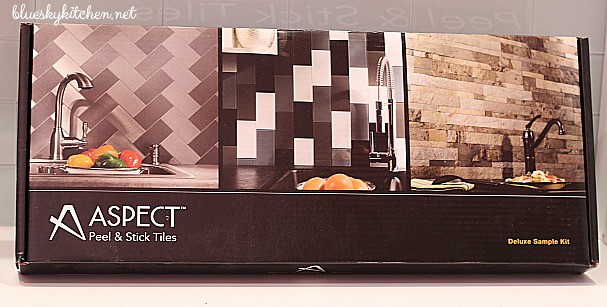
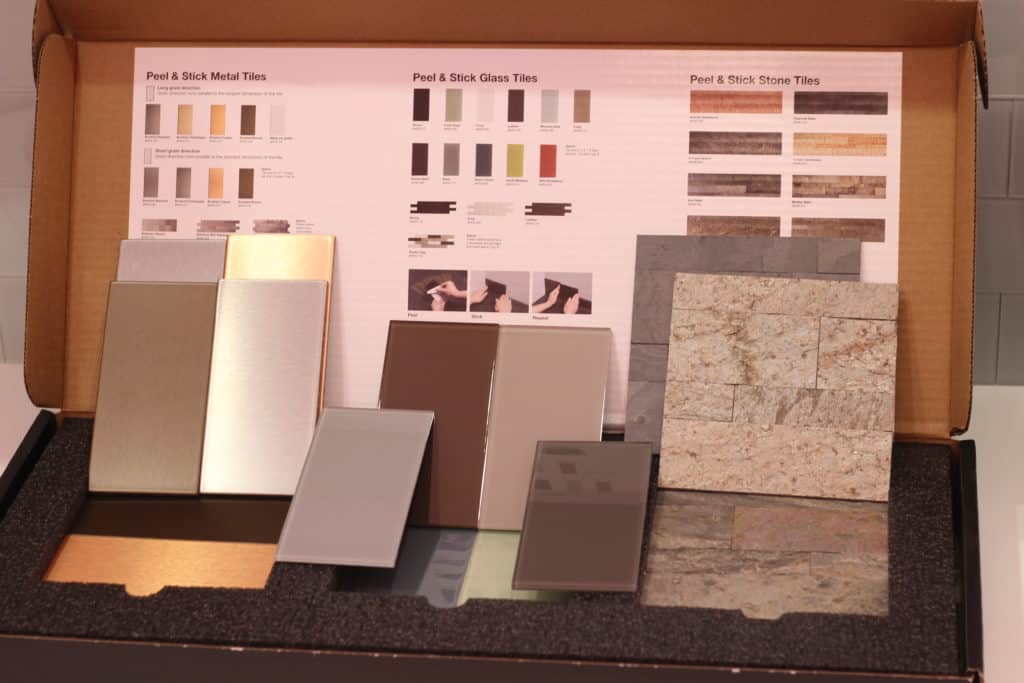

I received 2 boxes of Aspect Peel and Stick Tile. In each box were 6 packs of 8 tiles each.
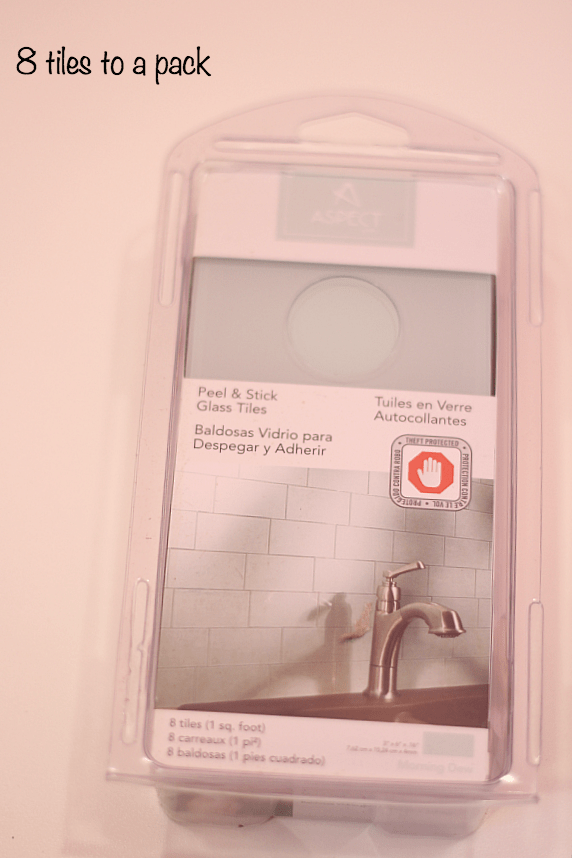
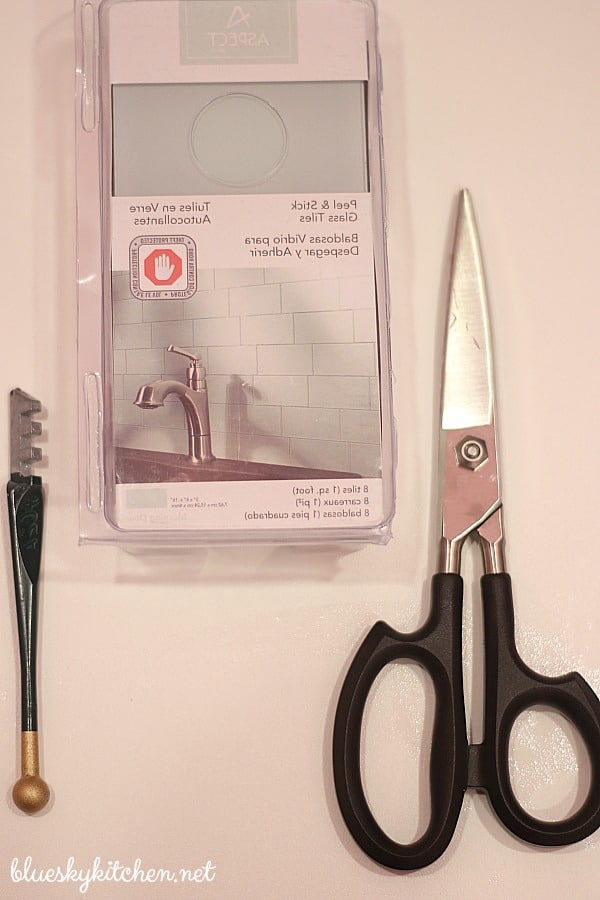
To be honest, the hardest part of the entire process was getting the hard plastic containers open. I used large tin snips. You will also need a tile cutter, ruler, box cutter, straight edge and pencil. Sweet Shark bought a tile cutter for me, but it didn’t work very well, so I bought another one at Ace Hardware Store which was much better. Both cost about $5.00 each.
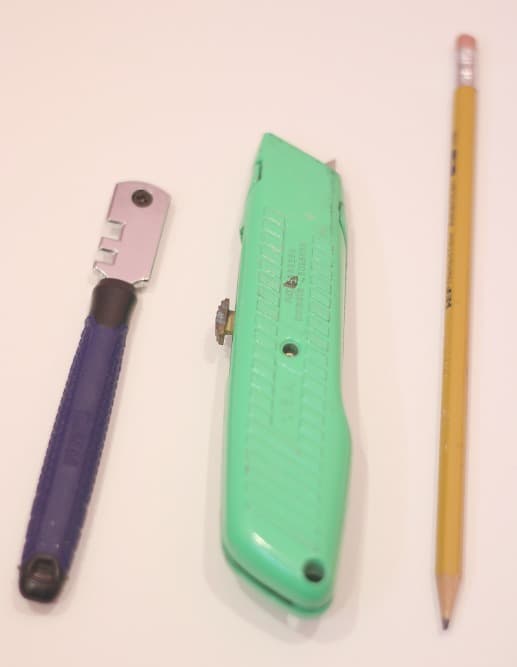
About the tile cutter: I know there are more elaborate, more heavy duty ones available, but I really didn’t want to invest in anything more expensive. Since I wouldn’t be making cuts around electric outlets, I hoped the smaller, less expensive tile cutter would work, and it did.
Beside the lovely colors, the beauty of Aspect Peel and Stick Tile is that it is peel~and~stick. No adhesive, no grout, no wait time. You literally, peel the paper off the back and stick it to the wall. And stick, it does. Once you’ve placed it on the wall, there is no taking it off.
The wall that I was applying the tiles to was basically a blank wall. The directions tell you to make sure that the surface is clean and flat. This was new sheetrock (This is the wall that was built to create the new wall for the office.) with little texture and newly painted. I didn’t do anything to it.
The Installation
First I marked the center of the wall where I would place the first tile.
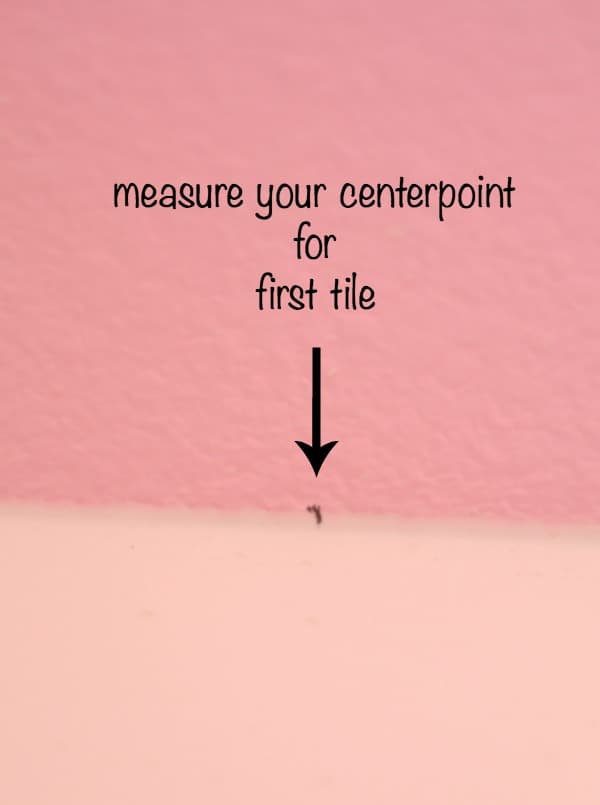
Then I placed the center of the first tile at the pencil mark.
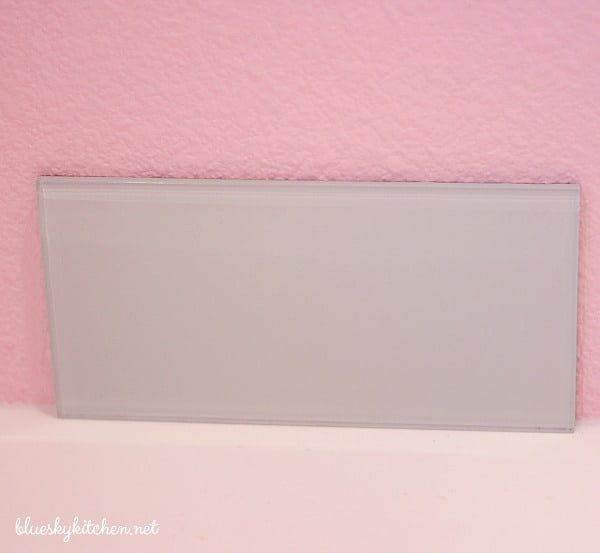
Next, I just started place the tiles, using the countertop is a base, going as far as I could to the side walls.
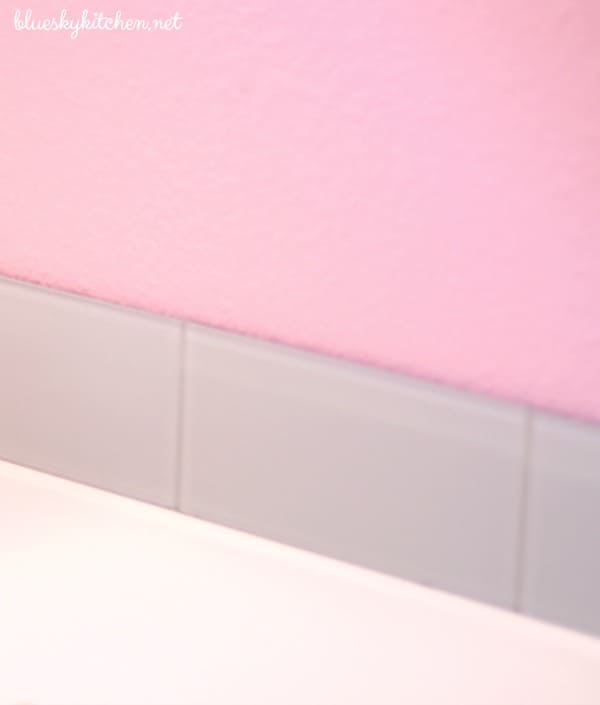
When I got as far as I could go on the right, I knew that I would have my first cut. I decided to start on the second row of tiles.
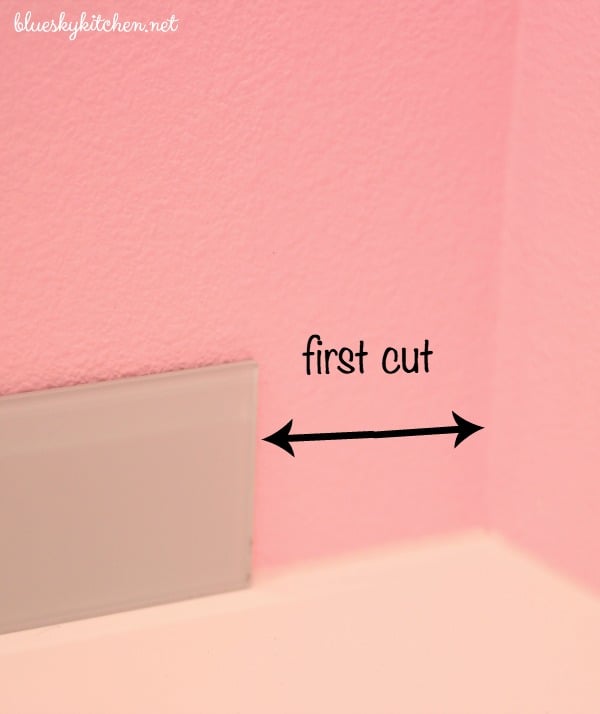
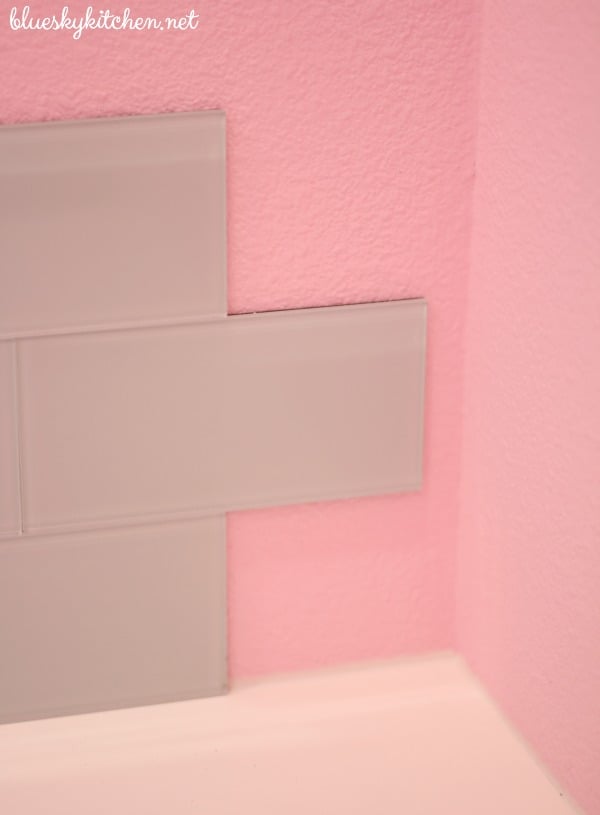
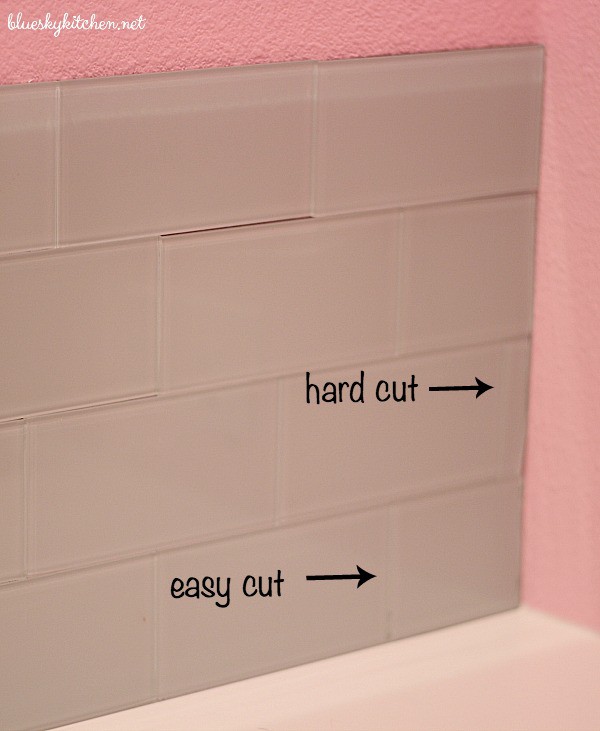
After 3 rows, I decided to make my first cuts. I measured the length of the cut and placed my tile face up on my mat cutting board. To ensure that I had a straight line, I placed a piece of tape across the tile, placed my straight edge on the tape and used the tile cutter. You really have to bear down hard to get a good cut. You’ll hear a “crunch” sound.
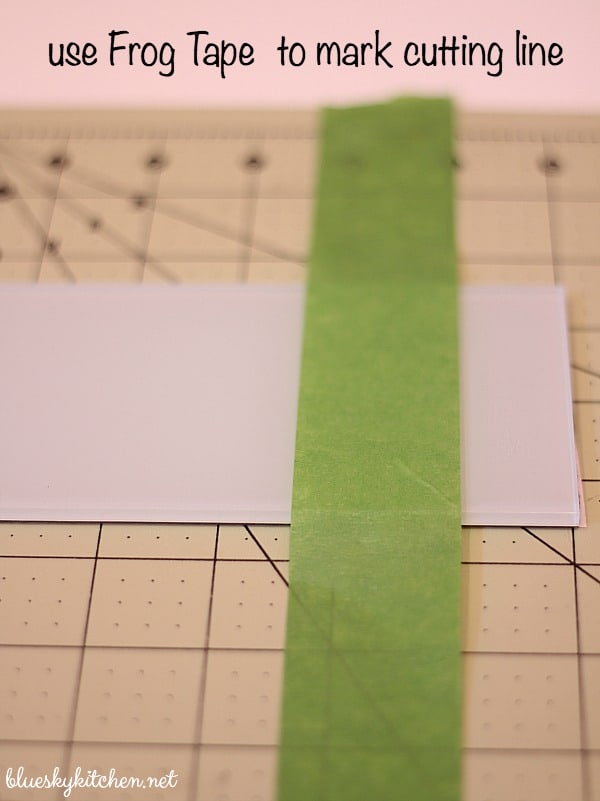
Then turn the tile face down. Now you can press the tile against the countertop with pressure until it pops. I used my box cutter to cut the paper backing along the tile cut.
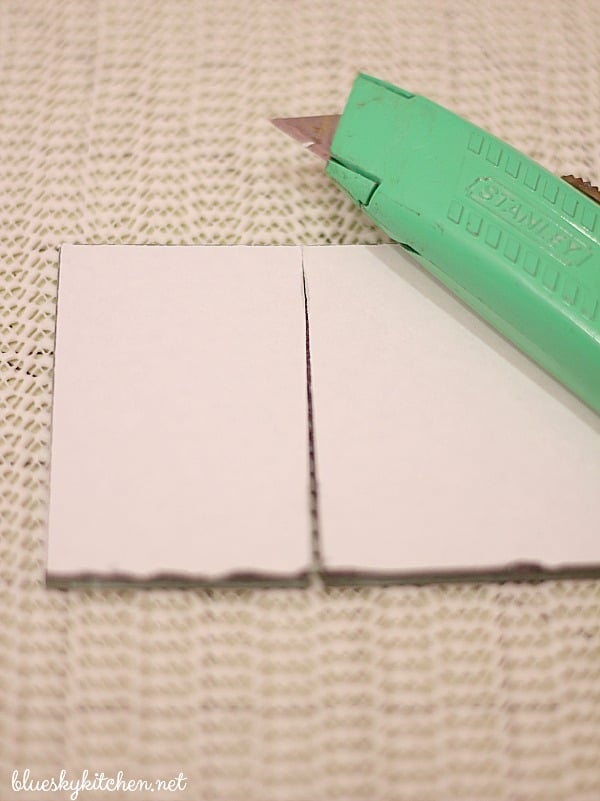
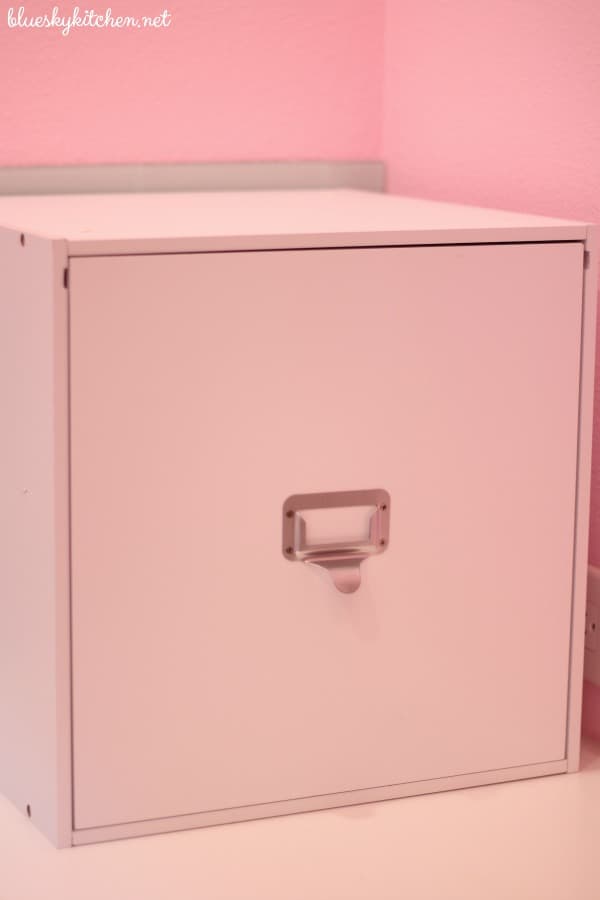
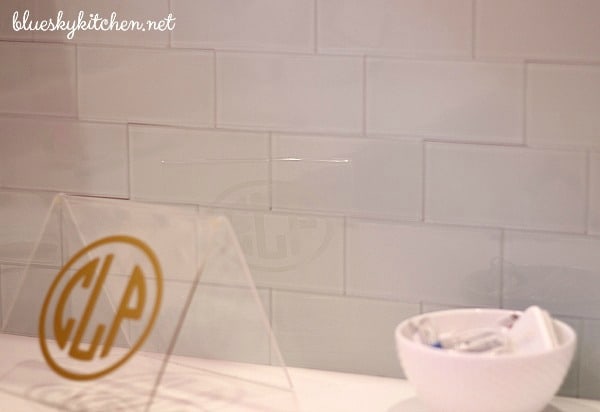
My only other challenge was making cuts that were less than 2 inches. The cutting part was easy, but with such a small cut, it was hard to “pop” the cut nice and clean. I had to try a few times before getting a clean edge. In this photo, you can see one place that I didn’t quite get the tile aligned just right. Fortunately, this area will be covered by my file drawer.
After the Installation
I installed 5 rows of tiles, up to 1 inch below the bottom of my lowest wall shelf, for a total height of 18 inches. I think stopping there gives the wall plenty of tile and the focal point the wall needs. Going higher would have required every tile to be cut in order to create a line even with the top of the shelf. Even though I had plenty of tile, I decided that stopping where I did was the right thing esthetically.
What to I thing of the Aspect Peel~and~Stick Tile? I think it’s a wonderful product. The stylistic options and colors are so varied that you can add a beautiful focal point to any wall in any room for any type of decor. Peeling and sticking was really easy ~ this wall is not coming off! (Just remember to place it exactly where you want it before pressing it to adhere to your wall.) I love how the tile breaks up the pink color and white countertop. The shiny finish of the glass is a nice compliment to the matte finish of the textured walls. When friends have seen my office, after commenting on how pretty the tile is, they couldn’t believe that it was peel~and~stick and that I did it myself.

Would I do anything differently? Not for my application, but if I had a wall with outlets and had to make many cuts I would invest in a more heavy~duty tile cutter. Would I use the tiles in a kitchen or bathroom? Not if they would be near water. I also think installation depends on your neighborhood and area and where in your home you plan to put the tile. I know in our neck of the woods, people expect tile to be installed with adhesive and grout in kitchens and baths. My contractor did run a bead of caulk across the top and sides of the tile and then painted the caulk with Sweet Taffy which made for a nice, finished look.
The Aspect Tile website is excellent in describing all the products with a great photo gallery of ideas. The tutorials for installing the different tiles ~ glass, stone, and metal ~ are very helpful and I recommend watching them before tackling your installation job.
I hope that you enjoyed learning how to install Aspect Peel and Stick Tiles for a beautiful focal point and that if you have a similar job, it might be just the product for you. I have 2 boxes of tiles left over and I am not going to let them go to waste. I’ve already got some ideas for using them and when I do, I’ll definitely share.




I never knew peel and stick tile existed, this is great! Thank you for sharing with us this week at Celebrate Your Story, have a great weekend.
It looks great, you did a wonderful job. I had no idea they would be so easy to cut. Thank you for sharing the tutorial at The Really Crafty Link Party this week. Pinned!