Easy DIY Thanksgiving Sign Gets an Update
The Halloween decorations may just be making their appearance in your home. That doesn’t mean you can’t start thinking about Thanksgiving decorations now. You can start with this easy DIY Thanksgiving sign for the mantel.
I love Thanksgiving. I love planning, preparing and of course, eating the Thanksgiving meal. The smells, turkey roasting, pies baking, dressing and cranberry sauce. I love leftovers: white turkey meat on toasted white bread (The only time during the year I have white bread in the house.).
The only thing about Thanksgiving that is challenging is the lack of decorations. Yes, plenty of pumpkins. But it’s hard to find much more.
Over the years, Sweet Shark and I have collected a decent amount of pilgrims, Indians, and turkeys, but I’m always looking for more. Sometimes we just have to get creative.
A few years ago, I decided I needed something new for the mantel so I got my creative juices going and came up with my own Thanksgiving sign for our mantel.
Here it is for you to try for yourself.
I had certain criteria in mind for this Thanksgiving sign for the mantel.
- I wanted a wood sign.
- I wanted letters.
- I wanted a seasonal word that had meaning and significance.
- I wanted an easy DIY Thanksgiving project that wouldn’t take all weekend.
- I wanted one that wouldn’t be expensive – in fact, I wanted a Thanksgiving sign on a budget – a little one.
So, four years ago, I made a sign. Then last year, it was time to update that sign and give it a new look.
I had seen signs with blocks, in fact we have letters on our mantle that spell our name – when it’s not a holiday.
I wanted something more substantial for the mantle. I also wanted something easy to put up and store for the other 11 months of the year. So I had to make an easy DIY Thanksgiving sign all my own.
Words for a Thanksgiving Sign
My word was thankful, well, because it’s the perfect word for Thanksgiving.
Depending on the size of your mantel or the letters you have, you may want a different word. That’s great – it’s what makes this sign so adaptable. Here are some more words for Thanksgiving:
- Harvest
- Faith
- Grateful
- Gratitude
- Blessed
- Family
- Feast
- Home
Once you have your word chosen, you are ready to get your letters and begin the sign.
Supplies for this Easy DIY Thanksgiving Project
This post contains affiliate links to products used to create this project. If you should order any item from this site, I may receive compensation, but you do not pay a penny more. Your purchase is greatly appreciated as it helps support the continued publication of this site.
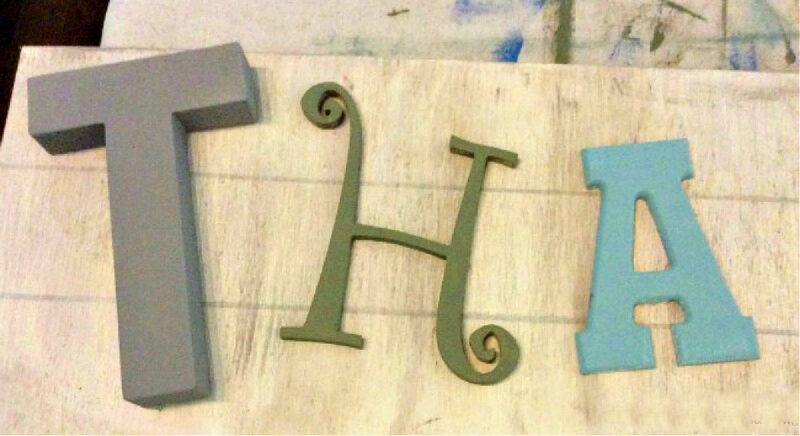
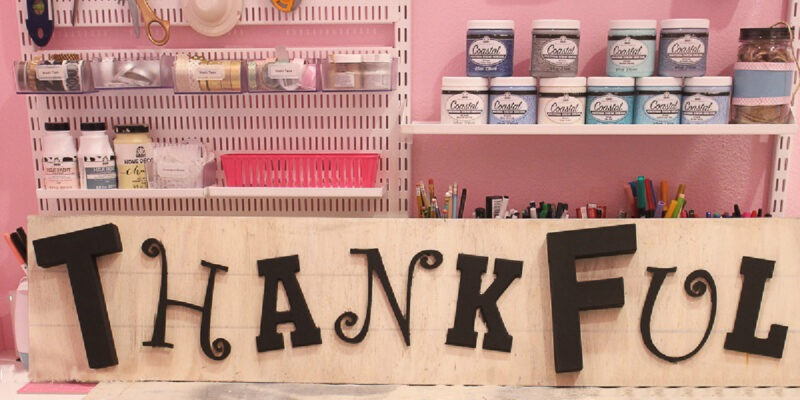
Finding the right combination of wood letters was the first step. I found these letters at Hobby Lobby.
To spell out “thankful,” I had to use three different letter styles. But that was OK because it was more interesting than just one style and size—and because I had no choice if I wanted “thankful.”
Next, I headed over to my neighborhood Lowe’s. Did you know that Lowe’s keeps scrap lumber? Pieces left that other people don’t want? I found a piece of plywood behind the wood-cutting machine.
Here’s my motto: “Never leave scrap wood at Lowe’s. You never know when or how you could use it in another project.”
I asked the nice man in the lumber department if I could have the scrap piece of wood. I don’t think he understood my project even when I laid my letters out on the floor.

This piece of scrap wood was the right length, but too wide. The piece was 14 inches X 48 inches and I needed just 10 inches wide.
So I smiled real big (We Southern girls know how to flirt when necessary.), and asked the nice man cut it down for me. He cut the wood and told me the wood was free. (Hot dog!) I thanked him, gave him another big smile and got the heck out of Lowe’s.
Now I had the completed Thanksgiving sign clear in my mind. The supplies would be few, easy to get, and wouldn’t cost much.
- wood letters to spell out your word of choice; my letters were about 6-inches tall
- piece of plywood on which to place the letters
- sandpaper
- Frog tape
- paint for the plywood and letters; NOTE: it takes so little paint for each letter, so it’s a great time to use leftover paint
- glue gun or wood glue to attach the letters to the plywood
- chip paint brushes
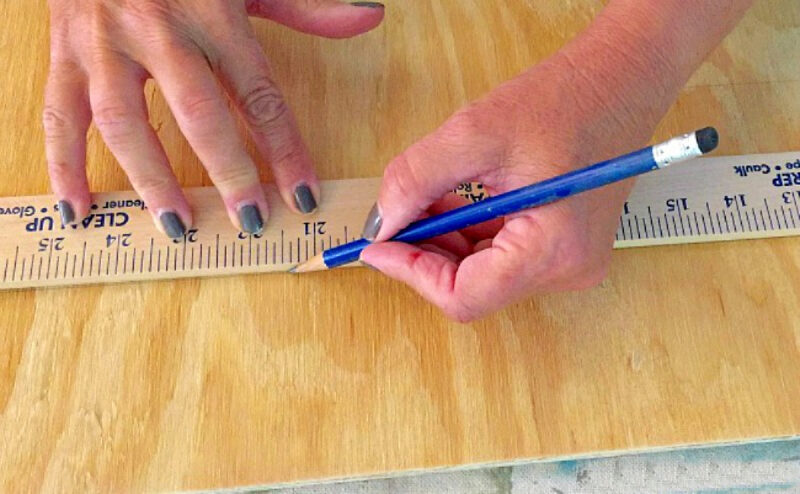
- pencil and ruler for measuring

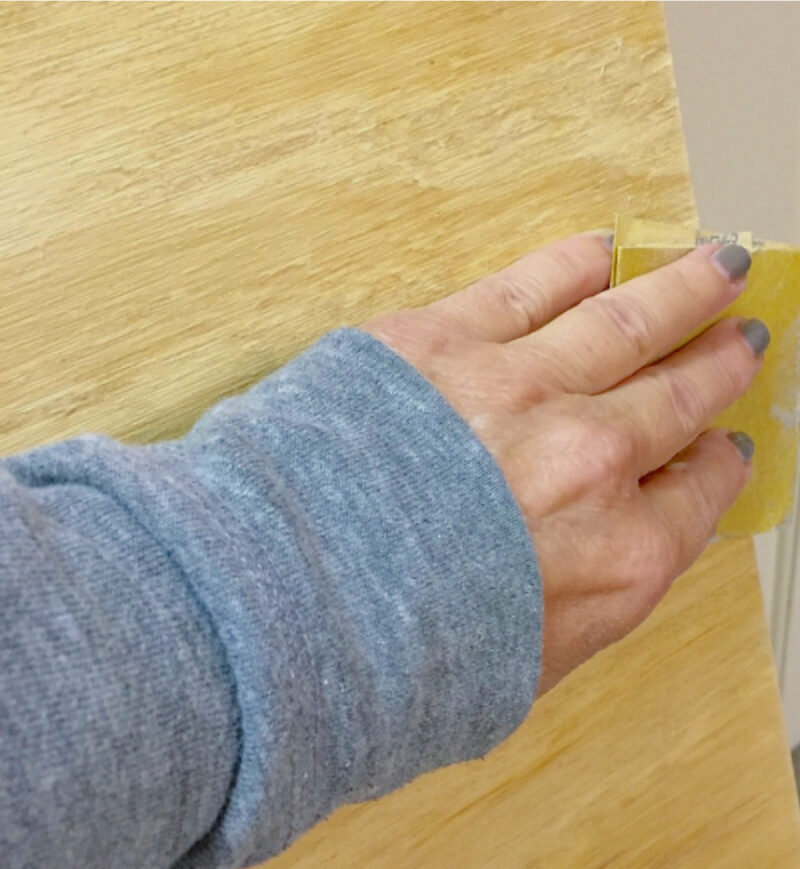
Making the Sign for Our Mantel
Being plywood, the piece was a little rough around the edges so I lightly sanded and wiped it down.
I didn’t want just a plain piece of wood, so I divided the board into about thirds horizontally and drew a line with pencil.
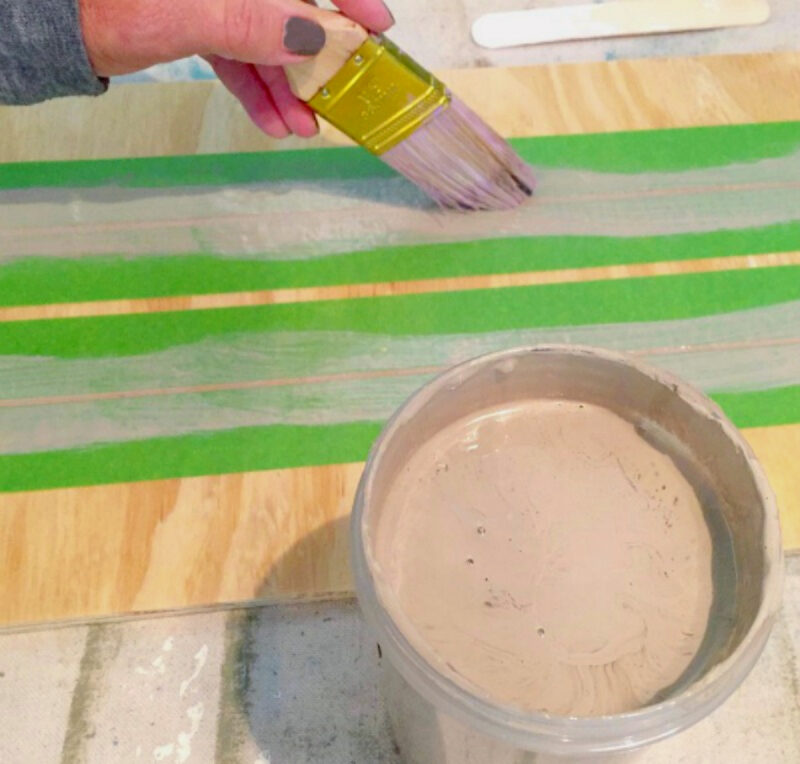
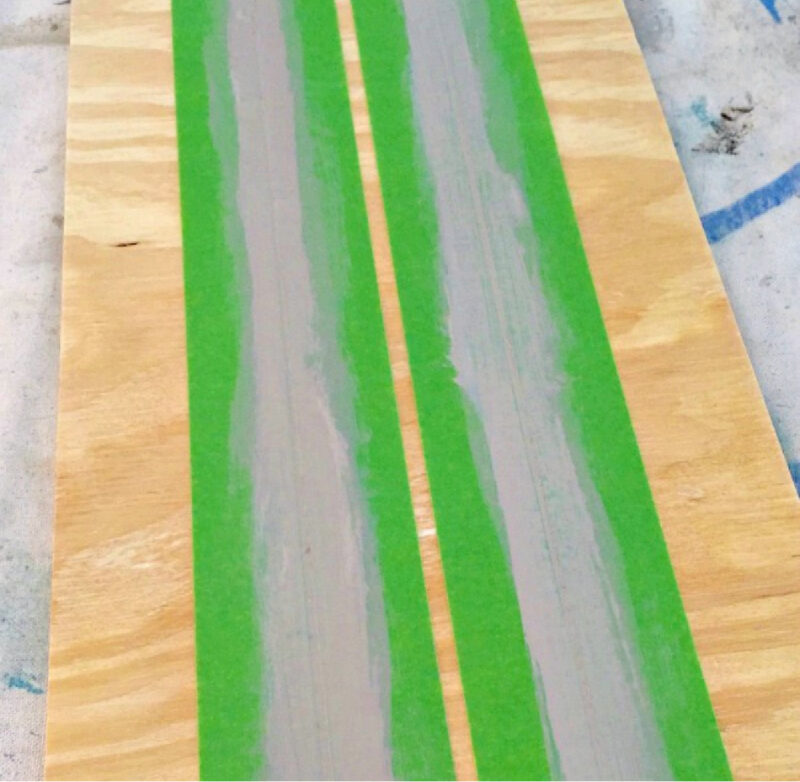
I used Frog tape to create lines that I hoped would look like wood planks from a distance. I said we have to get creative.

For paint, I used all leftover Annie Sloan Chalk Paint since at that time I had plenty of colors on hand. I used Coco to paint the little lines. After doing an inventory of paint last summer, I threw all that brand away since most of it had dried up in the jars.
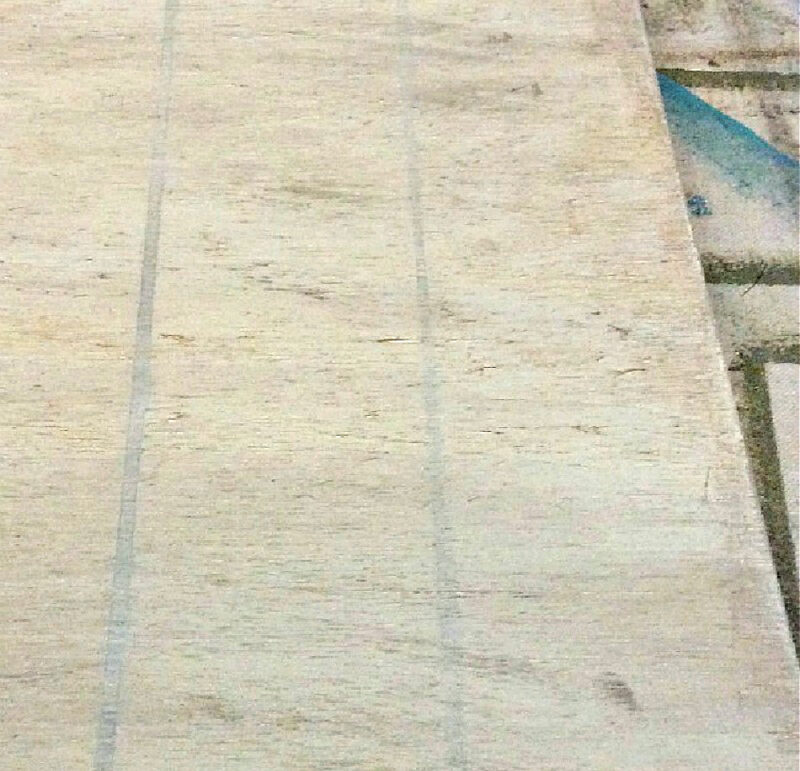
When the paint was dry, I removed the tape, and painted the entire board with Old White, wiping the paint off right after I brushed it on. This is one of my favorite techniques.
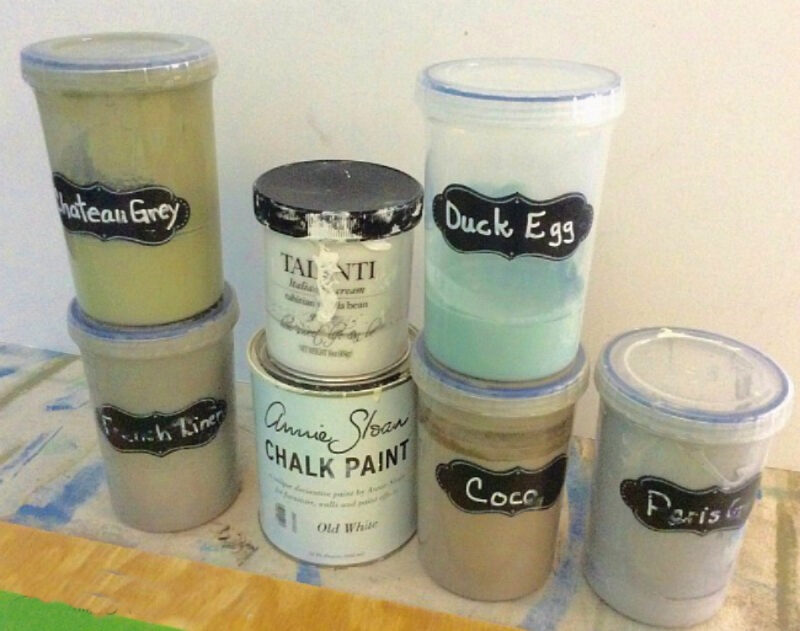
While the board dried, I gathered my paint colors.
My colors were: French Linen, Chateau Grey, Duck Egg Blue (Don’t tell Sweet Shark; back then, he thought I painted everything Duck Egg Blue and I did at one time.), Coco and Paris Grey.
I laid the letters out to determine the order of paint colors. Next, I started painting the letters with chip brushes.

After the letters were dry, I placed the them on the board and then used my glue gun to attach each one to the plywood. The Thanksgiving sign was complete.
The sign was perfect for the living room mantle. I didn’t need to hang it. It would sit on the mantel.


The Finished Easy DIY Thanksgiving Paint Project
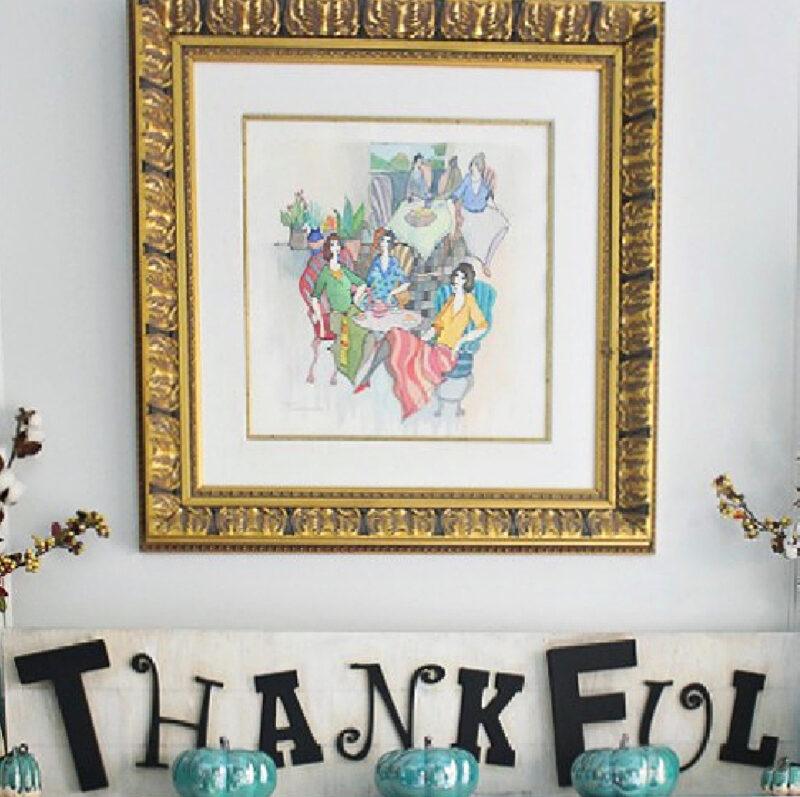
Here’s what the mantle looked like the first year – with Pilgrims and Indians, mini white pumpkins and faux fall leaves.

Here is what it looked like a few years later. It’s not very different.
Updating the Thankful Sign
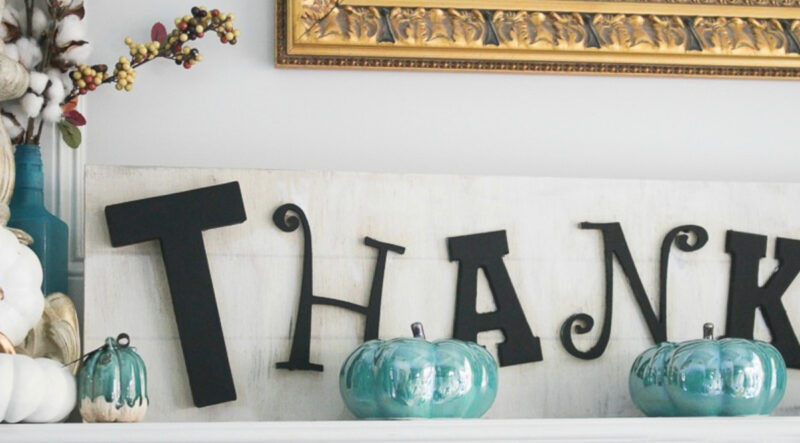
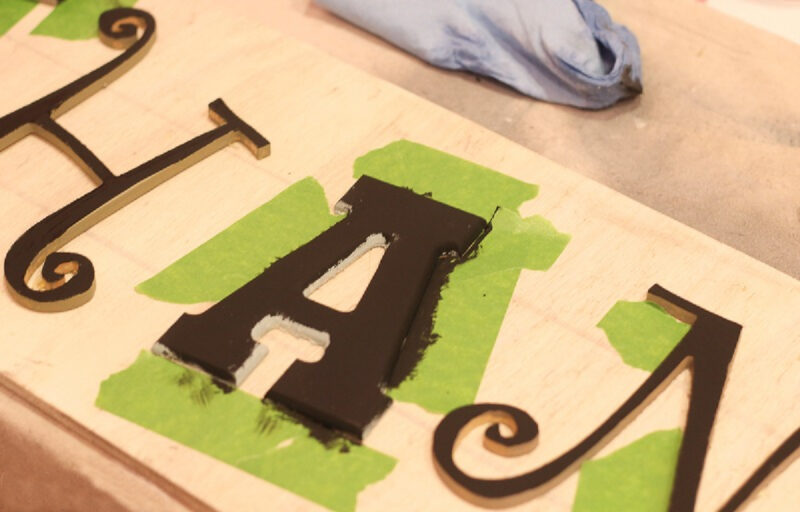
Last year I wanted something a little different. I was tired of the neutral letters and I wanted a bolder look for the wood sign. So I decided to paint the letters black.
First, I used Frog Tape around the letters as much as possible to keep the black paint off the board. Since some of the letters are script and curvy, I didn’t completely tape them off. It is a little tedious.
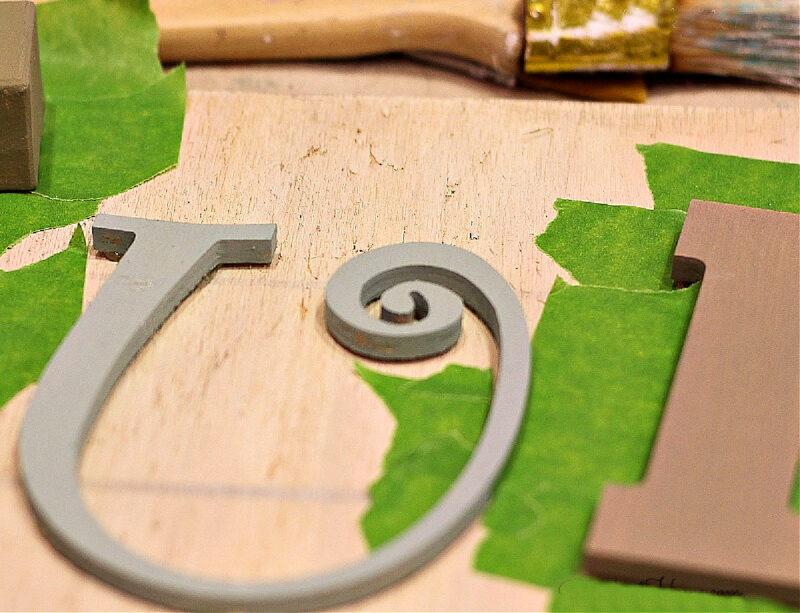
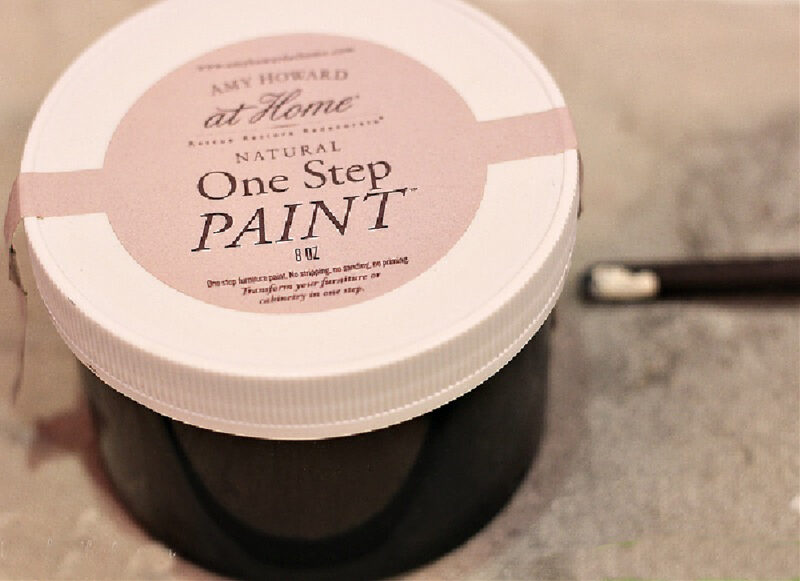
I used Amy Howard at Home One Step Paint in Black to repaint the letters.
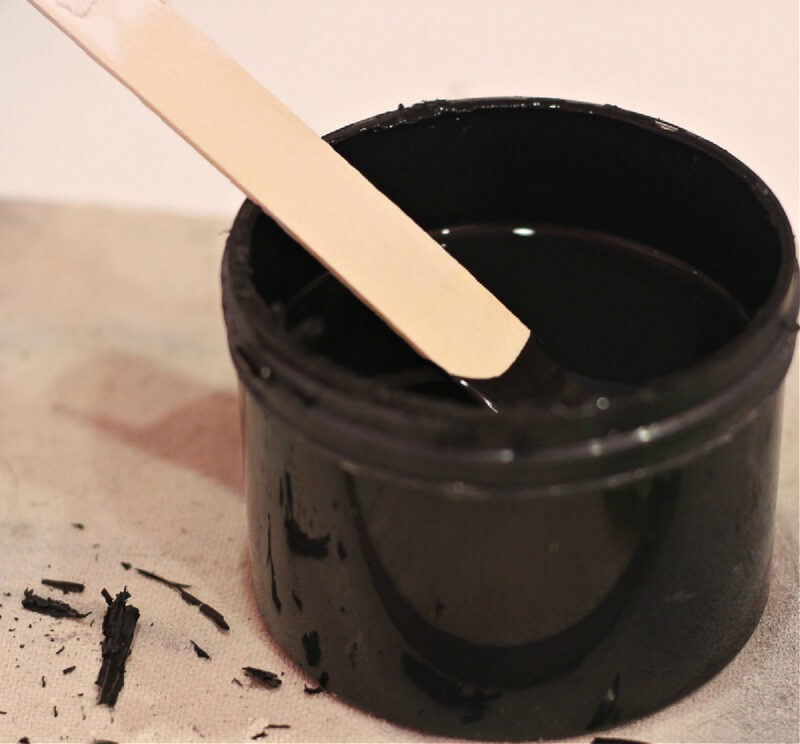
I started with a flat 1-inch wide brush on the flat side of the larger letters; then I switched to a very small brush for the curvy, thin letters and small places on the letters.

Since One Step Paint dries so quickly, I was done with the letters in about 30 minutes.
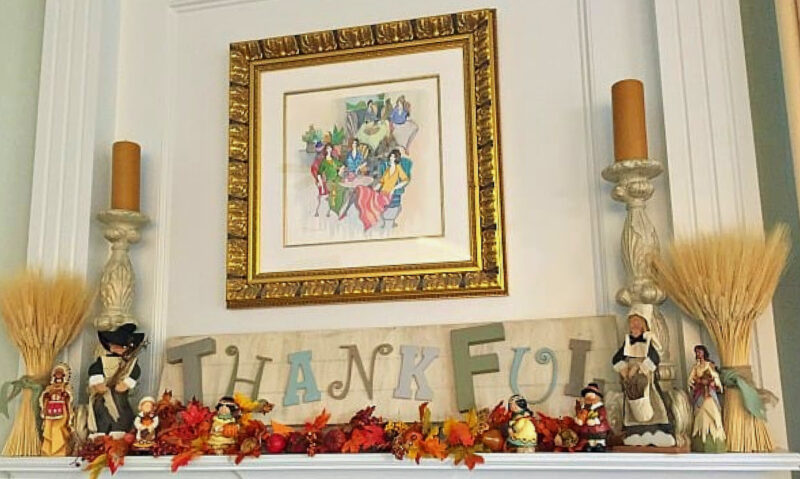
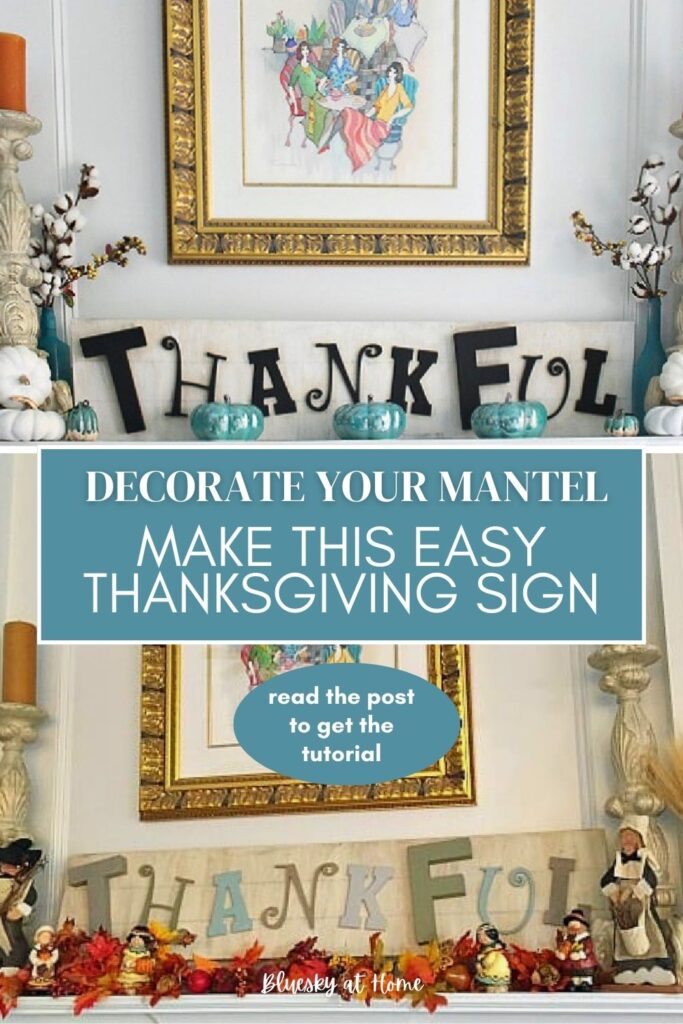
Decorating the Mantle with my Updated Thanksgiving Sign
Continuing my use of aqua and turquoise, I left my sea glass bottles on the mantle and added one cotton stem branch and one sprig of fall berries.
Then I added three of my turquoise glass pumpkins from Hobby Lobby and a couple of tall pilgrims. Next, I placed two orange candles on two tall candlesticks. It’s simple, but says Thanksgiving season is here.

I think the black letters on the “thankful” sign had so much more presence than the previous pale chalk paint letters. I really liked the bolder look.
You could certainly paint your letters any color or combination of letters that fit your color scheme for Thanksgiving.
Check out these posts . . .
Thanksgiving DIY Projects
I hope you liked my easy DIY paint project for Thanksgiving. The first one and the update. It didn’t really cost me anything since I already had all the supplies on hand. You could make this easy DIY Thanksgiving paint project today.
Please follow me on Pinterest and check out these Pinterest Boards: Thanksgiving DIY Projects and Thanksgiving Ideas.


Love this cute project, Carol! And you’re too funny about Lowe’s. Nice thrifty find, eh? Thanks for sharing at Vintage Charm. xo Kathleen|Our Hopeful Home
Hi Carol! Love your Thankful sign and its transformations over the years!!! I like to smile big at the sweet men here at our Lowe’s too. Works well and the best part ~ Lowe’s Texas doesn’t charge for cuts like the one’s in California {Here that, Calif??!}. I have some letters to work on a Christmas sign I ought to pull out…
Thanks for the sweet ideas and of course I pinned to several boards, <3
Hugs,
Barb 🙂
I LOVE the updated version!! Way to go!
Holly, me too. Thanks so much for dropping by.
Very creative ideas. I love using the different letter styles. Too cute.
Clearissa, As it turned out, not finding letters in the same size and font was a DIY blessing in disguise.
Carol, I love this sign! I know exactly what you mean about having to sweet talk and smile prettily to get some help from the gentleman at home, LOL. But you are much nicer than I am, I tell mine if you want dinner I need some wood cut, LOL. Dinner won’t taste the same if I happen to be missing a few fingers! 😊
Benita, here in Texas, we learn from a young age that a smile and please go a long way!
FREE!!! hahaha Awesome…
I thought I loved it best before, but I that updated look is really cool too!
🙂 gwingal
Nikki, spur of the moment DIY is sometimes the best!
That is adorable. I love the different fonts. So cute.
I’m a sucker for a sweet sign and this one is super charming!! Love that it’s easy to do, too!
Kim, thanks for your sweet comment. I like charming.
I love your sign with the different sizes and fonts. They make it much more interesting. Both versions were pretty with your mantel decorations.
Jane,thank you. I appreciate your comment.
Love the sign!
Thanks, friend. Glad you liked it.
This is so cute Carol! I love the combination of fonts, it’s whimsical.
Happy Thanksgiving!
Lisa, I had to get what wa available but it did turn out to have a nice look.
Thanks Lisa. Not finding letters in the same size and style actually turned out to be a blessing.
I love this, Carol! I would like to make something similar for Christmas. So cute!!
Stacey, I make another for Christmas, too. Thanks for organizing our little $10 projects.
Carol,
What a beautiful sign! I love with the darker letters – and how each letter is a different font. So CUTE!
Tammy, thanks for visiting and the compliment.
This is such an adorable idea Carol, love how you used all the different letters!
Mary, thank you for the comment. So glad you you liked my project. It’s one of my favorites!
That is really cute and getting the wood free was a great bonus!
Sandra, I find a smile always gets results!