How to Use Fabric and Flowers to Make a Spring Wreath
Would you like a pretty spring wreath to adorn your home for the season? Of course! In addition to your front door, other spaces are perfect for displaying a beautiful spring wreath. I am here to share how to use fabric and flowers in a spring wreath.
A wreath, whether on your front door or inside your home, is an iconic way to celebrate a season or a holiday.
A wreath will never go out of style. We’ve been making them for years. They just get more creative in style and materials.
Since I recently made a beautiful garden-style floral wreath for our front door, I needed another wreath that would grace the mirror in our entry.
I decided to update a wreath that I made last year, but I wasn’t sure what to do with it. Then I saw another spring wreath using fabric scraps and I knew exactly how to recycle last year’s wreath.
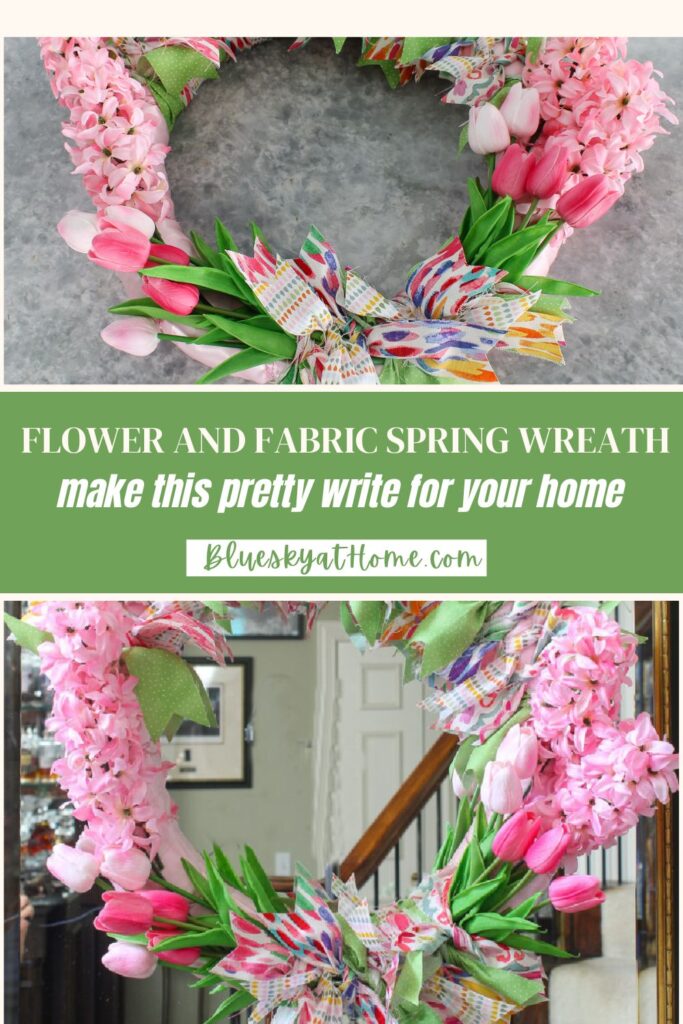
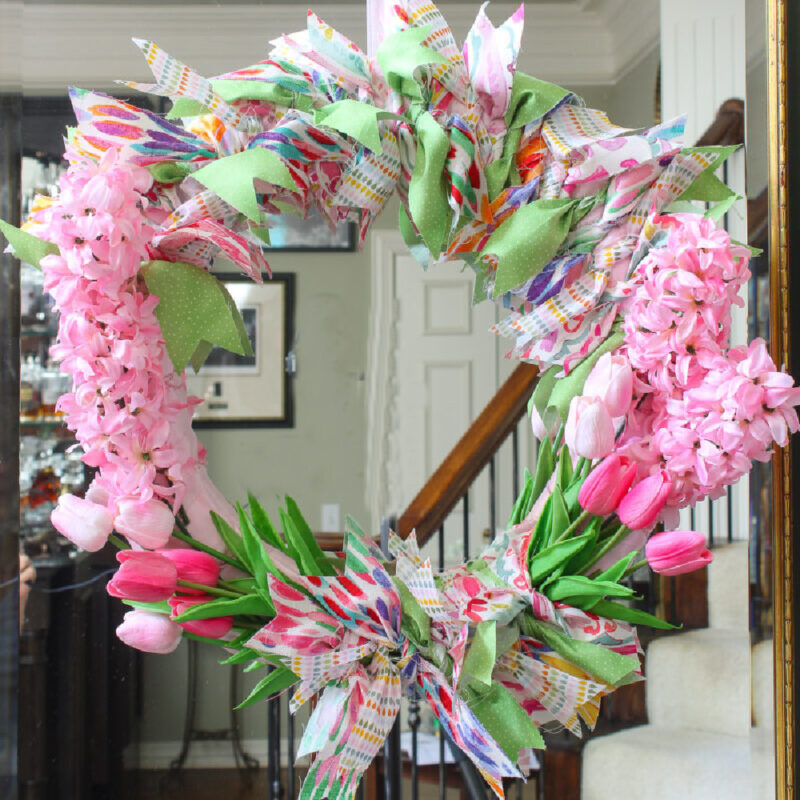
You’ll see that this pretty DIY spring wreath proclaims the new season with a burst of color and pattern in the flowers and the fabric.
This project was not just about adorning our entry, but also about continuing the essence of spring from the front door and into our home.
If you love combining different materials to produce a stunning impact in your DIY crafts, then this project is for you.

Welcome to this month’s Celebrate the Holiday Blog Hop. Each month a talented group of my blogger friends and I share an idea for an upcoming season or holiday. These are ideas/projects that you can use as inspiration for your own home.
It’s March so our theme is spring and Easter. You’ll find a mix of topics to inspire your creativity. If you are joining me from my friend Donna of An Organized Season, thanks for joining.
The list of participants is at the end of this post. Enjoy all the good things for spring and Easter you will find here.
This post contains affiliate links to products used in the creation of this project. If you should order any item from this site, I may receive compensation, but you do not pay a penny more. Your purchase is greatly appreciated as it helps support the continued publication of this site.
Updating a Used Wreath
I made this pink wreath for Valentine’s Day a couple of years ago. This is another project that doesn’t require a hot glue gun! The main decorative element were pink dried bunny tails.
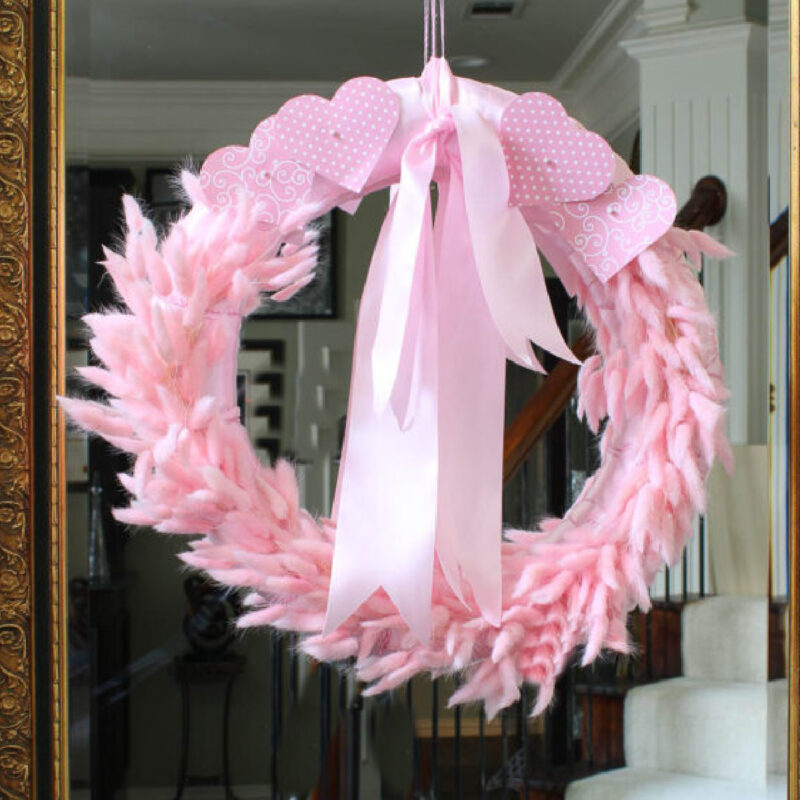
I knew that I could reuse the pink-ribbon-wrapped-straw-form for a new spring wreath.
First, I removed the paper hearts and ribbon. Don’t worry – I saved them for other projects.

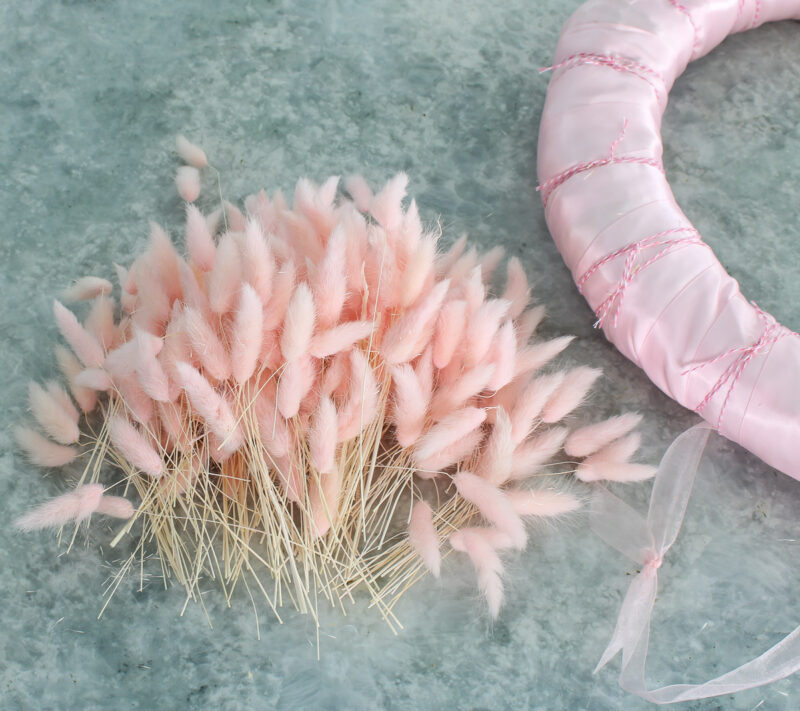
I removed all the pink dried bunny tails. I’ll save them for another project.
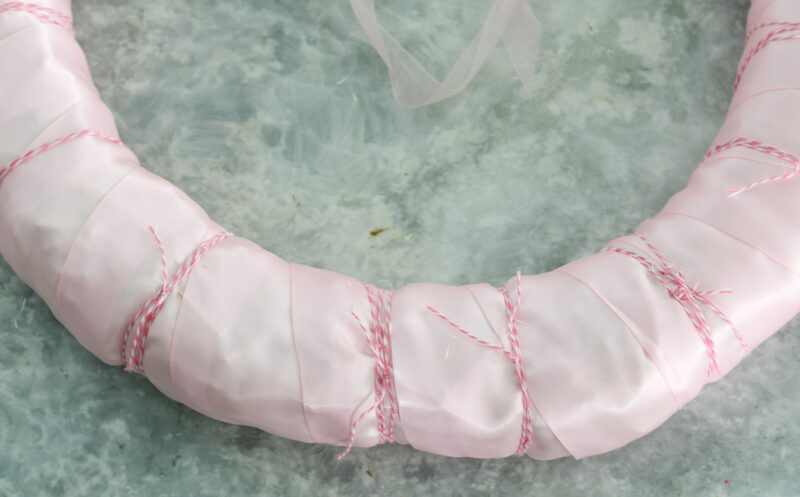
I left the wrapped pink twine and the pink satin ribbon on the wreath.
Gathering Supplies for the New Spring Wreath
If you were starting this wreath from scratch, here are all the supplies you would need. As you can see, my main color was pink.
- the wreath foundation – for this wreath, I recommend using a a 16-inch straw wreath, but a styrofoam wreath form will also work. I would opt for one with rounded edges to more easily wrap the ribbon. You can use a larger wreath form or a smaller one.
- 2-inch wide satin ribbon in your choice of colors for wrapping the wreath
- pink twine – to hold the faux flowers
- faux flowers of your choice to cover about half of the wreath. I had plenty of faux flowers on hand leftover from other projects: 4 stems of pink hyacinths (snapdragons would also work well) and 5 pale pink tulips. A new package of bright pink tulips provided more color and contrast; I used 6 of those stems.
I didn’t use the pink flowers on the branch.

- strips of fabric to hold the flowers and cover part of the wreath – I used four different patterns of fabrics from my fabric bins.
- TIP: I highly recommend that you save all your fabric scraps. They are great when you need small amounts of fabric for other projects.
- sewing scissors

You could use burlap ribbon for a neutral or natural spring wreath.
How About More Ideas for Spring Wreaths?
- How to Make a Cotton Stem Wreath
- How to Make a Spring Floral Wreath
- Celebrate Spring with a Blue and White Wreath
Steps to Make a DIY Spring Wreath with Fabric and Flowers
It was easy to get this wreath ready for an update: After I removed the bunny tails but left the pink string and the pink satin ribbon, I now had a clean slate. But let’s pretend you are starting from scratch.
Step 1- Preparing the Wreath with Ribbon
We’ll pretend that we are starting the spring wreath from scratch.
TIP: Leave the plastic wrapping on the straw wreath. It keeps the straw from getting messy.
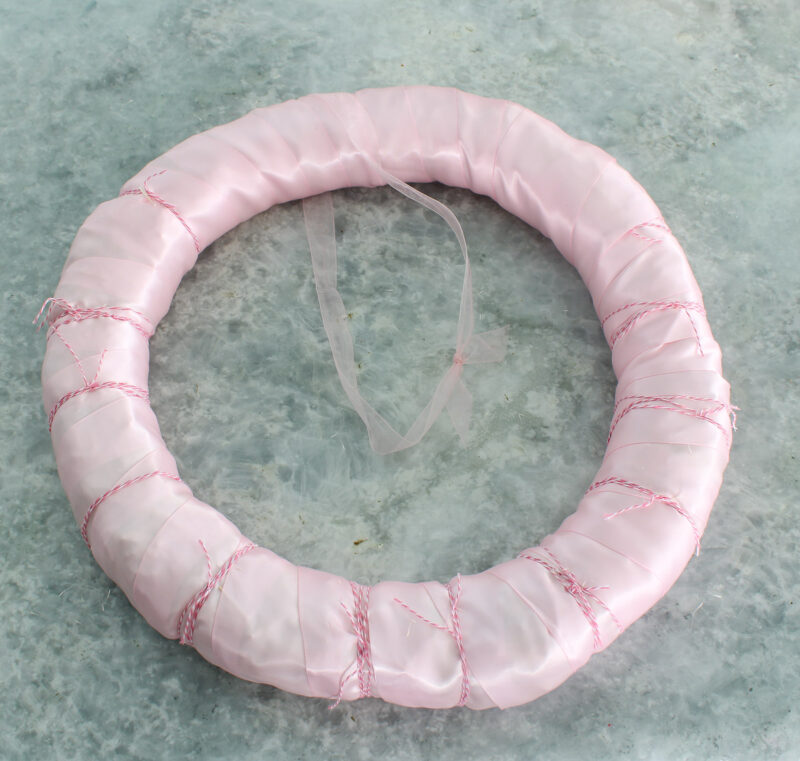
- Wrap the pink satin ribbon tightly around the straw wreath, overlapping the ribbon by 1/2 inch. Secure the beginning and end of the ribbon with straight pins. Cut off the excess ribbon on the back side of the wreath.
- TIP: You could also leave long tails on the ribbon and tie them together later for a bow.
- TIP: I used dressmaker pins, which have a small ball at the end. This keeps the pin from going into the straw wreath.
- NOTE: If you are making this wreath from scratch, you don’t need to add the pink twine. I used the twine to hold the bunny tails.
- Decide how much of the wreath you want to cover with your flowers. I mentally divided my wreath into four sections: two sections would be flowers and two sections would be fabric.
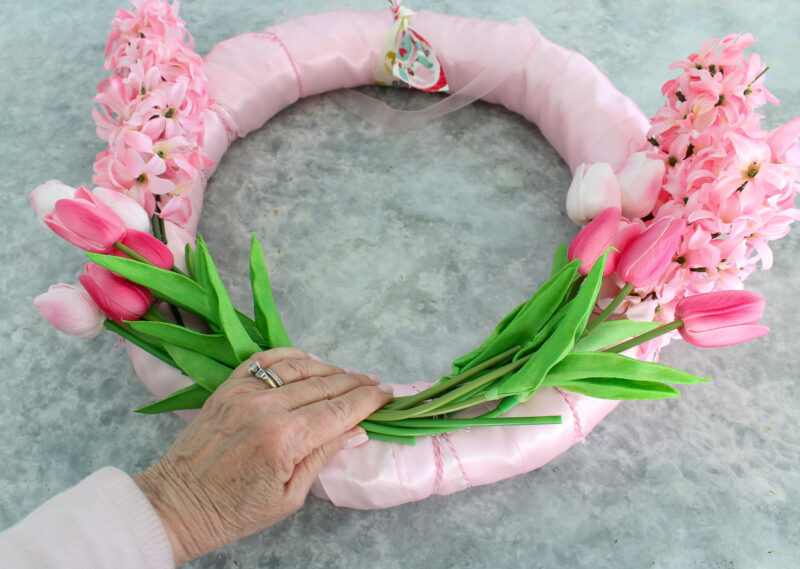
Step 2 – Add Your Flowers
I used a combination of the faux pink hyacniths, and two shades of pink tulips. You can customized your wreath with different flowers in different colors.
Bend the flower stems to flow with the curve of the wreath.
You can secure the flower stems in place with more twine. This will be covered with fabric later.
Step 3 – Choosing Fabric
From my fabric stash, I selected four coordinating fabrics. Three of them had shades of pinks, blues, greens, and purples – all traditional spring colors. One fabric was green with small polka dots. (I realized I didn’t have enough of the green checked fabric, so I replaced it with the green polka dot fabric.)
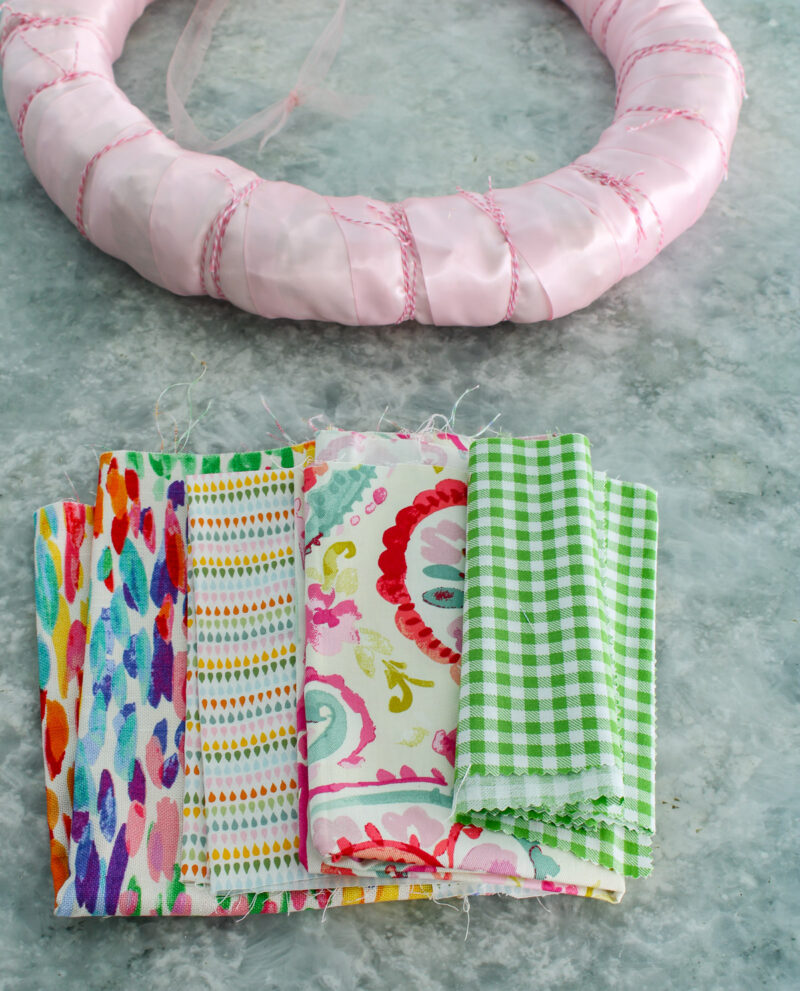
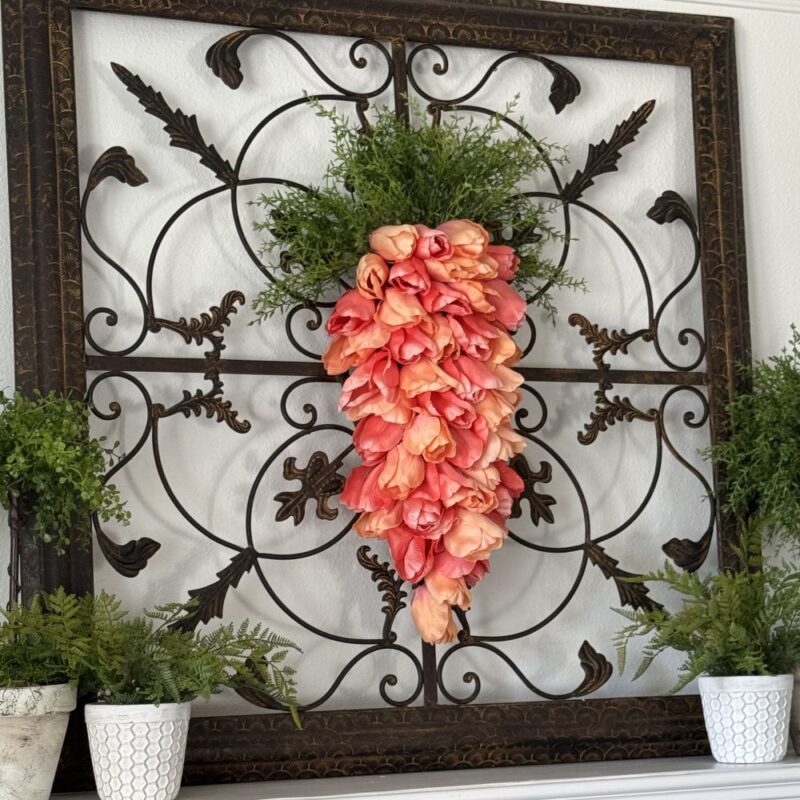
The two fabrics with distinctive patterns were used to make framed art in our dining room. The fourth fabric had a small print with spring colors that I used to make a dress for my older granddaughter when she was about five (She’s almost 14!).
If you don’t have any leftover fabric you can use for this craft project, then you can find great cotton fabrics at Joann or Hobby Lobby. One-fourth of a yard for each pattern should yield you plenty of fabric strips for this project, whether you cover a small portion or the entire wreath.
Step 4 – Making Fabric Strips
Determine the length of your fabric strips. I used a piece of kitchen twine to figure out the length of the fabric strips.
TIP: Be sure to iron your fabrics before cutting them into strips.
When cutting straight edges, I have found that a rotary cutter is the easiest way to get good cuts.

Using my rotary cutter, my cutting mat, and a large fabric ruler, I cut 18-inch long x 2-inch wide fabric strips.
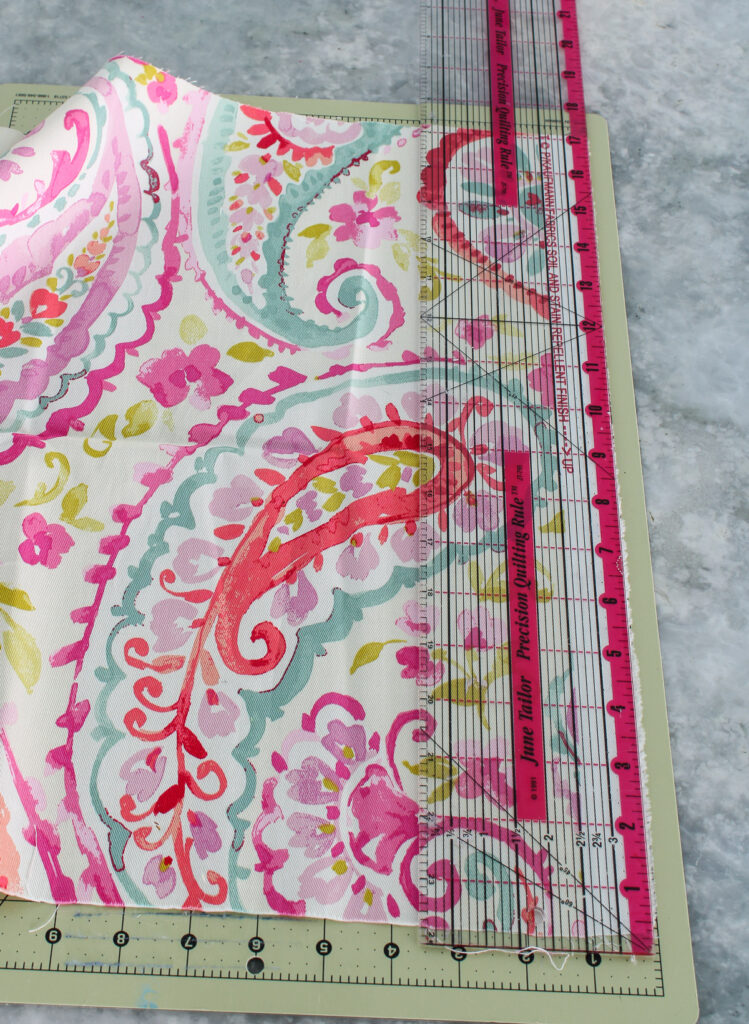
I didn’t know exactly how many strips I would need so I cut strips until I used up most of the fabric.

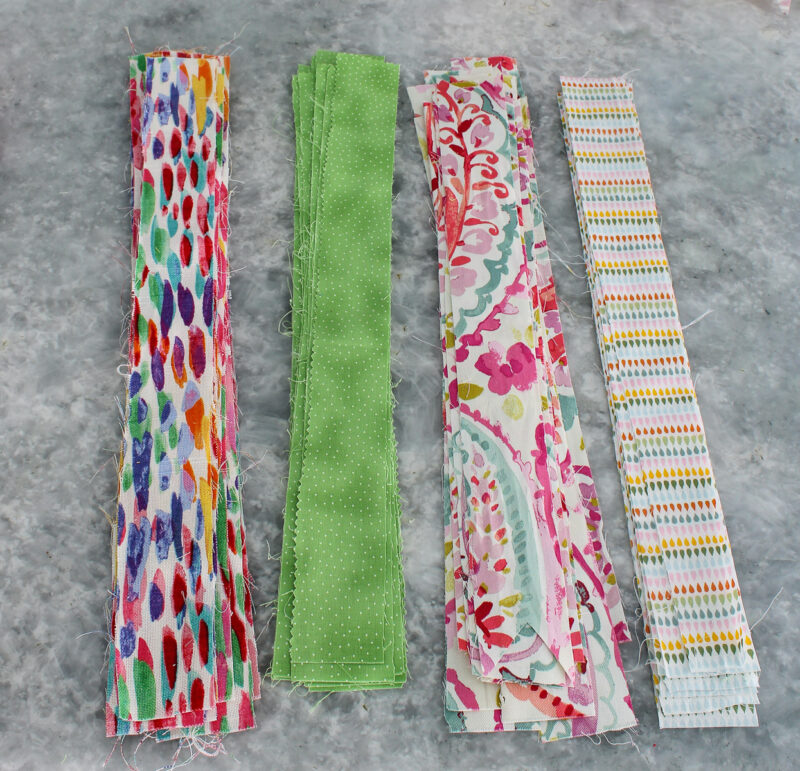
After I finished cutting all the strips, I notched the ends of the fabric strips.
Step 5 – Tieing the Fabric Strips to the Wreath
First, I used the fabric strips to secure the tulips and hyacinthas at the bottom of the wreath. I repeated a pattern with the four patterns of fabric until the stems of the flowers were covered.
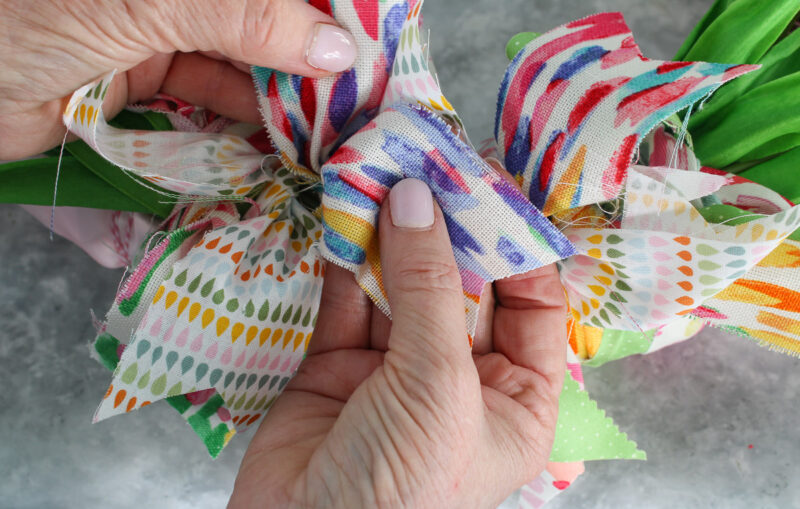
All you need to do is loop the fabric tightly on top of the tulips. No knot is needed. I did twist the loop so that the right side of the fabric would show.
Keep the fabric loops as close together as you can to hide the stems.
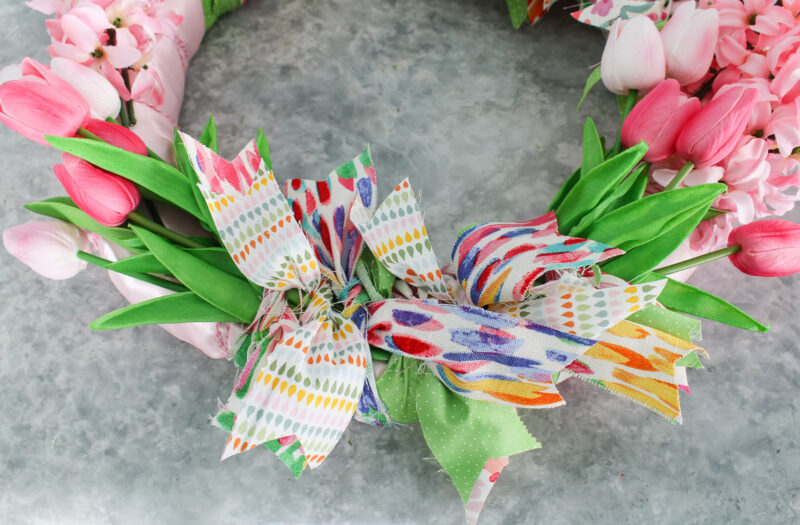
I realized that the fabric ties looked best when I pulled up on the ends of the fabric.
Then I tied the rest of the fabric strips at the top of the wreath between the tops of the hyacinths. Again, keep them close together.

There was no room for a bow and it’s not needed.
The colorful fabric strips add so much color, pattern and vibrancy to the wreath. I loved the contrast of pattern and color.
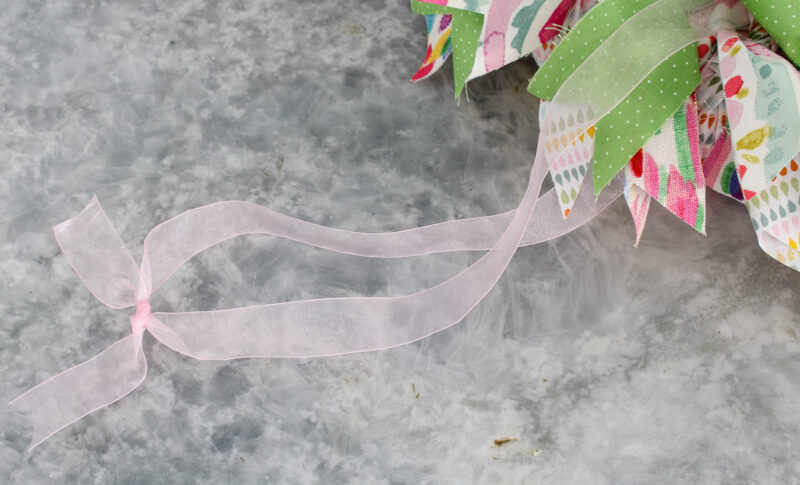
I added a hanger using some of the sheer pink ribbon that I used for my garden-style wreath.
Displaying Your Spring Wreath
Once your colorful spring wreath, bursting with colorful fabric and flowers, is ready, your next step is displaying it proudly.
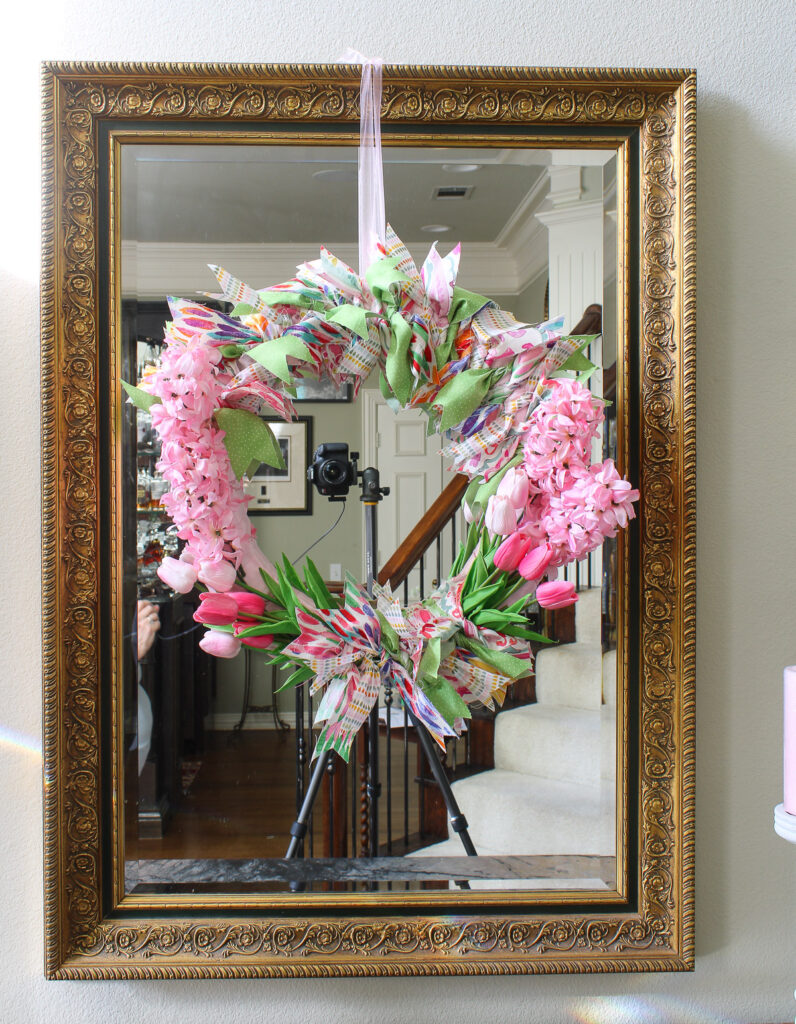
I knew that the wreath would adorn the mirror in our entry.
We have a small nail in the top of the mirror frame for hanging decorative pieces. The spring wreath with fabric and flowers filled the mirror just right.
NOTE: Ignore the camera reflected in the mirror. (Said the Wizard of Oz.)
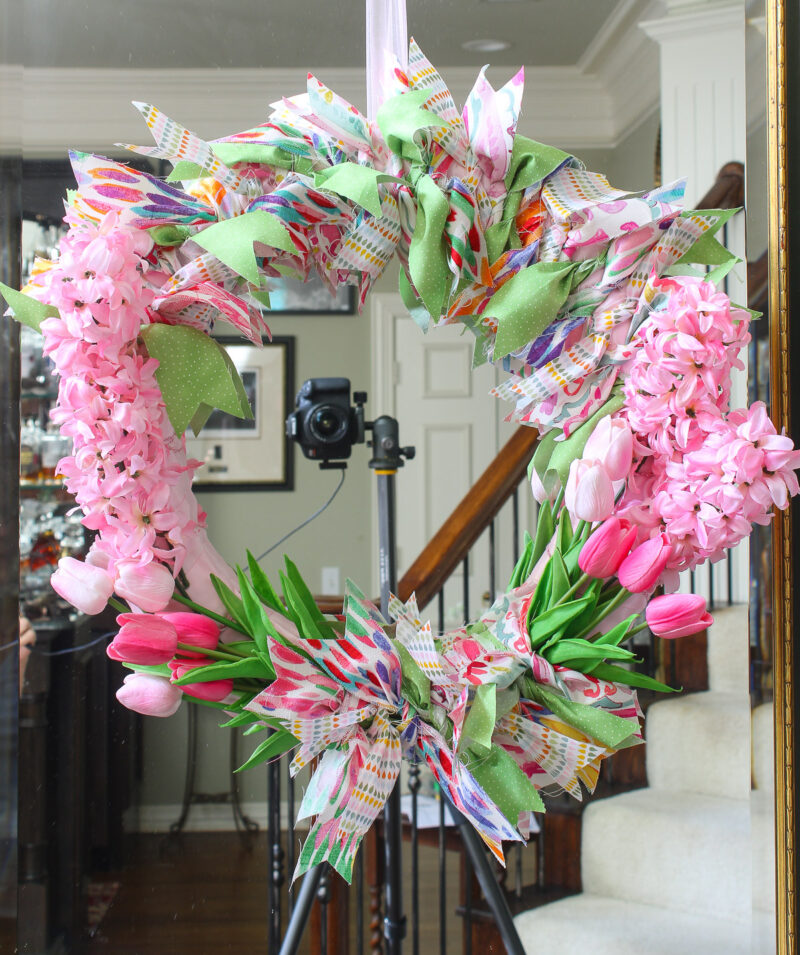
The colors and patterns of each fabric strip show through on the wreath, but blend for a cohesive whole.
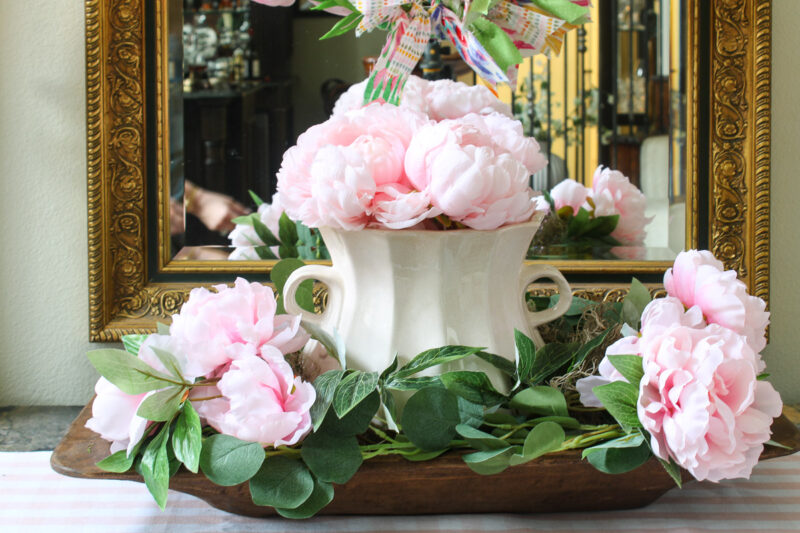
To complete our spring entry, I added a pink and white check runner.
Then I set my dough bowl filled with a flea market white vase filled with pink peonies. I surrounded the container with a eucalyptus garland and Spanish moss.
Next I added pink pillar candles to two wood candlesticks.

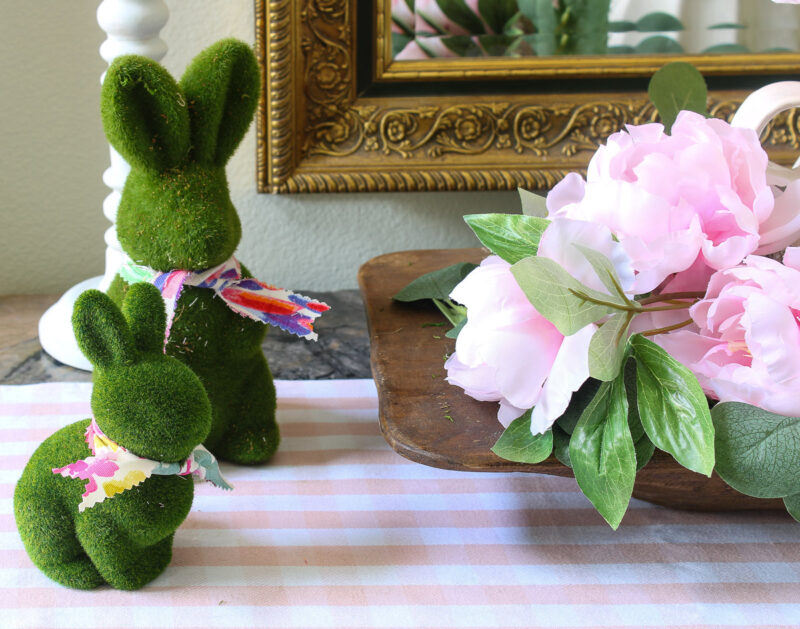
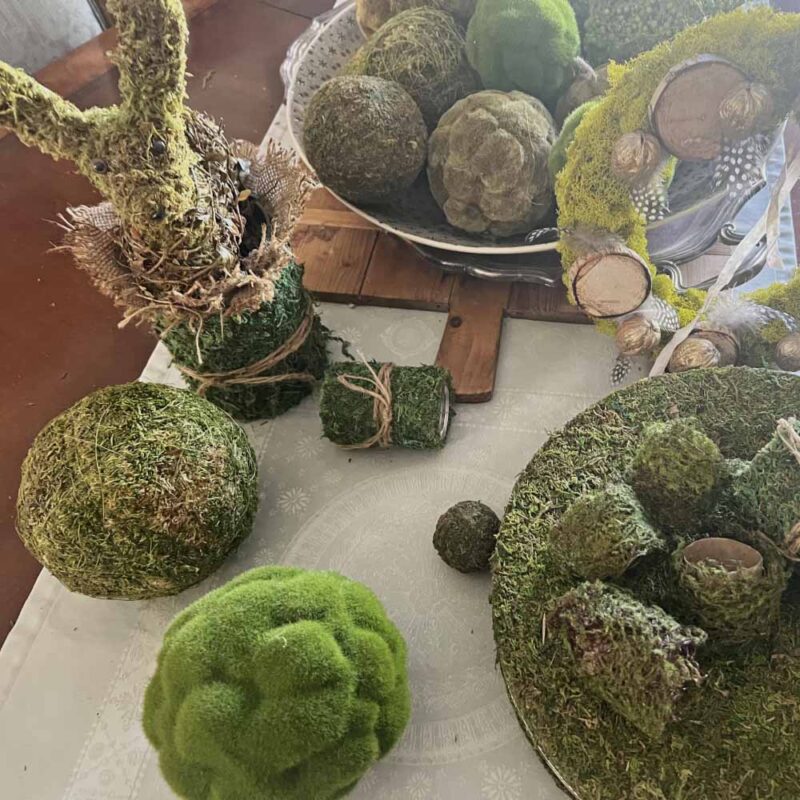
Wanting to bring a little Easter to the scene, I added four moss-covered bunnies that I purchased last year. I love the pop of green they create.
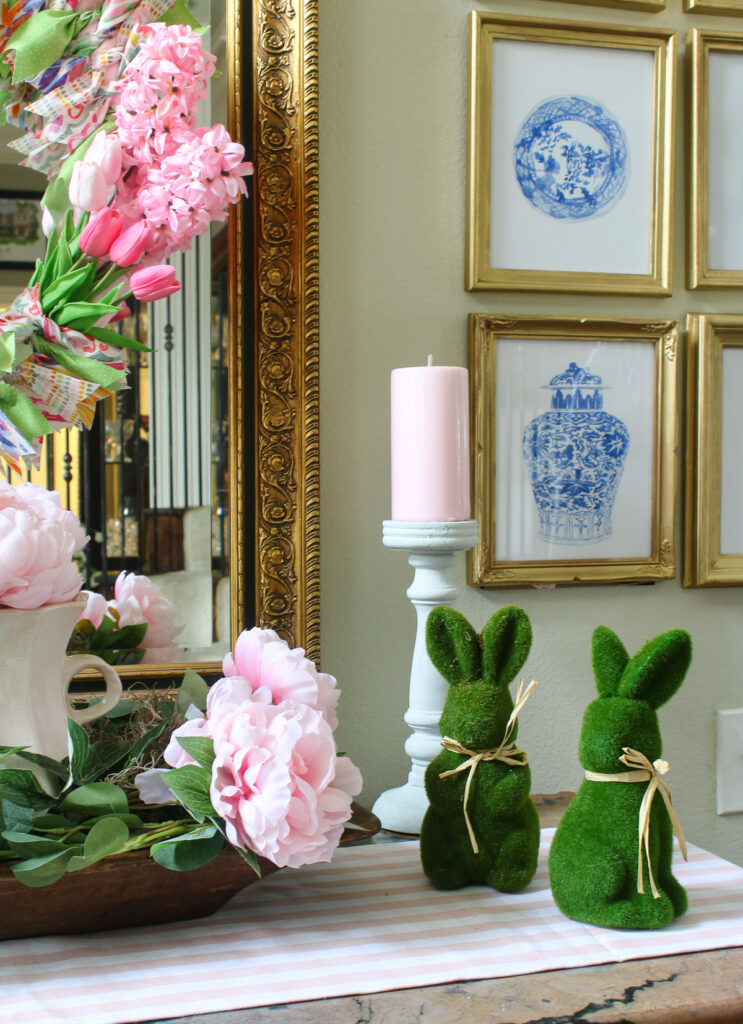
To pull in more color and connect the table surface to the fabric on the wreath, I added “bowties” to the bunnies.

I cut two of the multi-colored fabric strips in half lengthwise and tied them around the bunnies’ necks. Much cuter than the rafia.

This wreath with fabric ties is best hung indoors or in a covered outdoor space. If your front porch is exposed, the fabric would get wet during spring showers.
I didn’t have a preconceived vision for this wreath, but I love how it turned out and continues the feeling of spring decor into our entry.

I hope this DIY spring wreath, bursting with beautiful flowers and embellished with colorful fabrics, is a craft inspiration that you can grab on to.
The entry commode with flowers and a touch of Easter is ready for spring. Be sure to Pin this spring wreath project and check back to see the finished entry.
You will enjoy these Pinterest Boards:
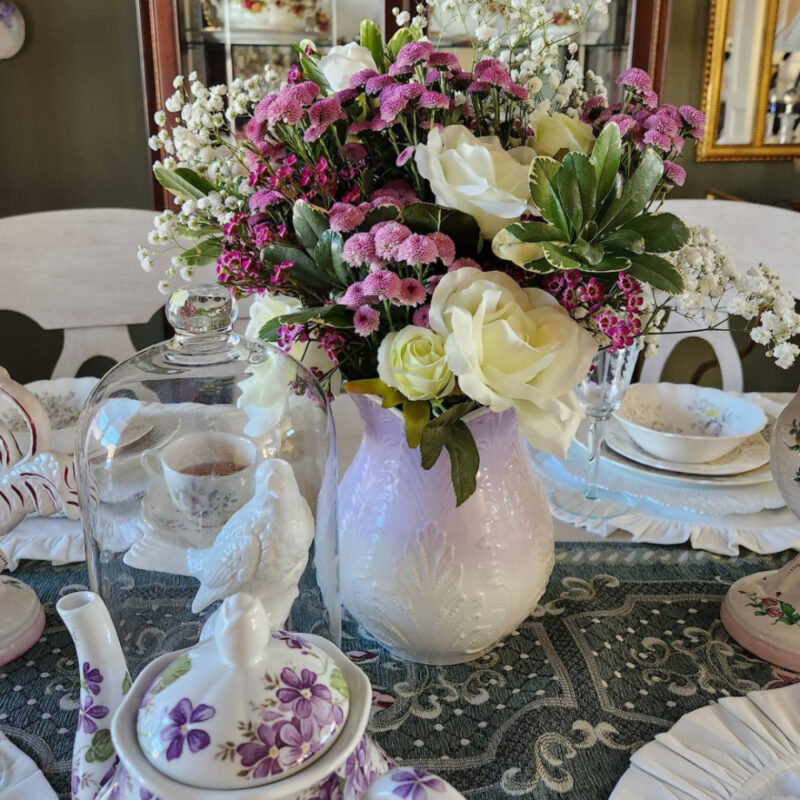
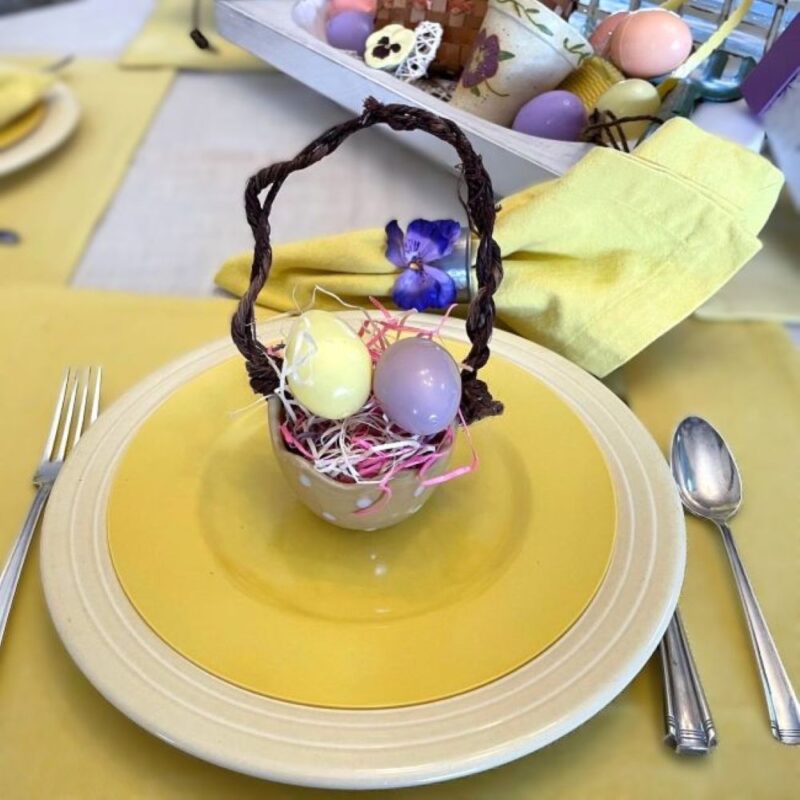
Next up on our Celebrate the Holiday Spring/Easter hop is another friend, Susan of Hen and Horse Design with a beautiful Easter tablescape for you.


I love the idea and the different textures you used on your wreath. It looks lovely in your home Carol. Happy Spring!
Thank you Susan. The wreath is up again in our entry!
Carol, I had not thought of using fabric and silk flowers together. I love this idea, thanks for sharing!
Happy Spring!
Such a beautiful way to bring all the beautiful elements together. Your wreath is lovely, Carol, and looks so pretty hanging in your home!
I love the idea of combining fabric and silk flowers to enhance a wreath! Thank you for sharing your idea with us! It was great “hopping” with you today!
Your wreath is lovely Carol. I love the idea of combining flowers and fabric. Your entire styling brought everything together beautifully. Wonderful to share with you today. XO- MaryJo
Hi Carol, Your wreath turned out so pretty! I adore the color combination and the idea of mixing flowers with fabric! I’m pinning it now so I can try this sometime! Happy Spring!
HI carol this is gorgeous! Pinned.
Thank you for coordinating this holiday hop!
xo laura
So many great tips! Lovely colors. Pinned!
This so much, Sue. So glad you liked and thanks for Pinning this post.