How to Make Gingham Placemats
Do you love pattern and texture in your home decor? Sure, you do. One of my favorite patterns is gingham ~ big gingham, little gingham. For my fall tablescape last week, I had my heart set on buffalo checks or gingham. I couldn’t find any at my local fabric stores, but I found a solution that gave me exactly the look and the color I wanted, so let me show you how to make gingham placemats in the color of your choice.
Both gingham and buffalo checks are so popular, with good reason. They are classic patterns. They can be used in any style, from country to farmhouse to traditional or even modern. These patterns are used in everything from men’s and women’s and children’s clothes to pillows and blankets, upholstery and curtains. Dish towels to napkins and placemats.
When I couldn’t find gingham or buffalo check fabric (shame on my local fabric stores!), I looked online and found the fabric in the color I wanted, but it wouldn’t arrive until after our fall tablescape blog hop was over. (I’ll show you later what I did order.) So I had to get creative. Fortunately, the solution had already arrived and was sitting in my office right under my nose.
I’m so excited to show you how to make gingham placemats because it’s really easy. And if you love DIY, you’ll love bragging about how you made them to your friends.

How to Make Gingham Placemats
This post contains affiliate links for your convenience to products that I use, love and highly recommend. If you order any product through this site, I may receive compensation, but you do not pay one penny more.
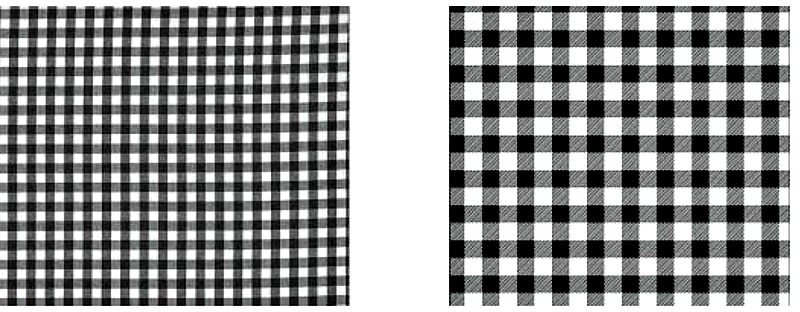
Let’s have a fabric pattern lesson first. Because I really did not want to misspeak or be confused about gingham versus buffalo check, I looked up the definitions. It’s one of those instances, where you know what a pattern looks like and the name for it, but you can’t actually define it (think Supreme Court judge). So . . .
“Gingham“ comes from the Malayan word genggang, or “striped.” True gingham is distinguished primarily for being a “dyed in the yarn” fabric, meaning the yarn is dyed before it is woven. Gingham is a medium-weight balanced plain-woven fabric made from dyed cotton or cotton-blend yarn. It is made of carded, medium or fine yarns, where the coloring is on the warp yarns and always along the grain.”
And how is buffalo check defined?
“Buffalo check is often a two- or three-color striped fabric whose pattern creates large squares of equal size in all directions (as opposed to checked gingham fabric, which has small squares). While it often includes black as one of the colors, black is not required in order to qualify the pattern as buffalo check.”
So it sounds like the difference between gingham and buffalo check is, for all practical purposes, just a matter of size. That’s easy; gingham is little or medium and buffalo check is big.
Now that we have that out of the way, let’s get on with this DIY project.
How to Make Gingham Placemats with Paint and Stencil
Yes, that’s right. I used paint and a stencil to make these gingham place mats. The inspiration came when my goodie box of products from A Maker’s Studio arrived with a gingham stencil that I had ordered. Could I use it to make a gingham place mat? Would it work on fabric? Well, yes indeed, you can and it did.
Supplies to make Your Gingham Placemats
First you have to decide what colors you want your placemats. I wanted a soft, natural color scheme, so I decided on taupe and white.
- Fabric ~ I found a cotton fabric at Joann (on sale, of course) in a pretty light caramel (you could call it taupe) color. It was actually called Kona Kona Khaki. Regularly $8.99 a yard with 30% off. (This fabric is on sale right now for $4.99/yard!! in multiple colors.) The price was so low that I bought 2 yards ($12.59). Depending on the size you want your placements, 1 yard would be enough for 6 place mats.
- Gingham Stencil from A Maker’s Studio. This 12″ x 12″ stencil is $17.99. That may seem more expensive than plastic stencils, but you can wash the stencil and use it over and over. Plus the quality of these tri~mesh stencils makes using them so easy.
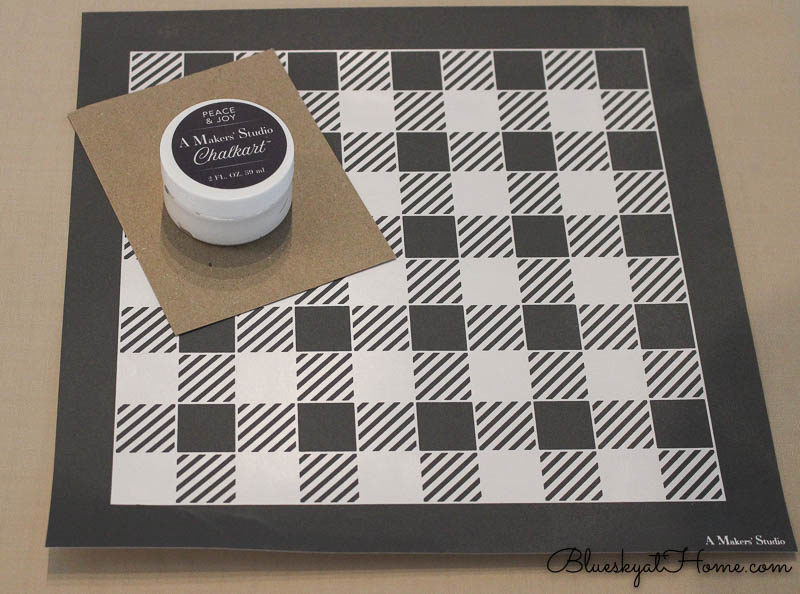
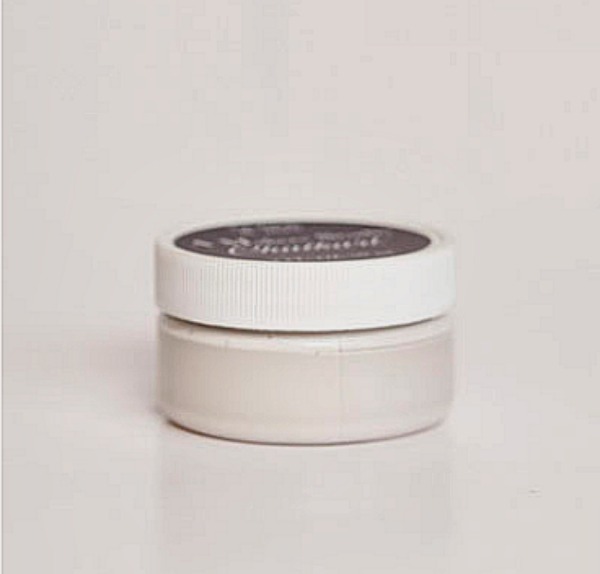
- Paint ~ I used ChalkArt in Peace & Joy, which is a white color. $8.99 for a 2~ounce jar. It goes a long way. Using ChalkArt is so much easier than using regular craft paint because it’s thicker and doesn’t run under your stencil.

- Spreader ~ use to “spread and smear” your ChalkArt on the stencil. $.50. You can cut it in half which makes it easier to use. You can use an old credit card if you like.
Steps to Make Your Gingham Placemats
I’m sorry I didn’t make a video tutorial for this project, but these steps should work just fine.
- Iron your fabric to remove any wrinkles.
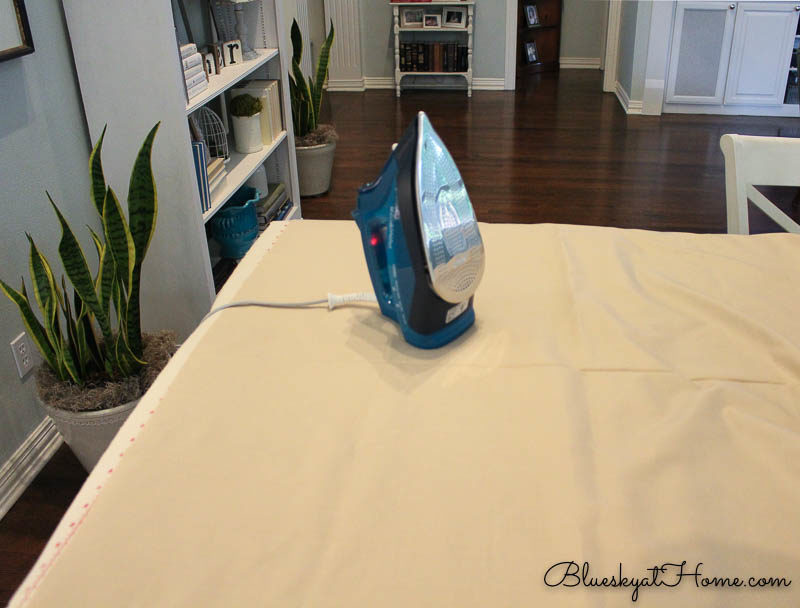
NOTE: I use a roll~up ironing pad for fabric or tablecloths. I can just lay it out on my kitchen island and it’s so much better than getting out the ironing board and you have a larger surface for your fabric.
- Determine the size of your placemat. I used a woven placemat I already had as my guide. It was 14″ X 13″. My fabric was 48 inches wide, so I could get 3 placemats out of 1 width (14″ x 3 = 42″). The stencils are 12″ square, but the actual pattern is 10″. That meant that I would repeat my stencil 4 times plus add 2 inches. For the height of my placemat (13″), I would repeat for a second row and then add 6″ of stencil on a 3rd row. That would give me at total of 26″. Hope that makes sense.
- Carefully peel the stencil away from the backing (save the backing for storing the stencil.)
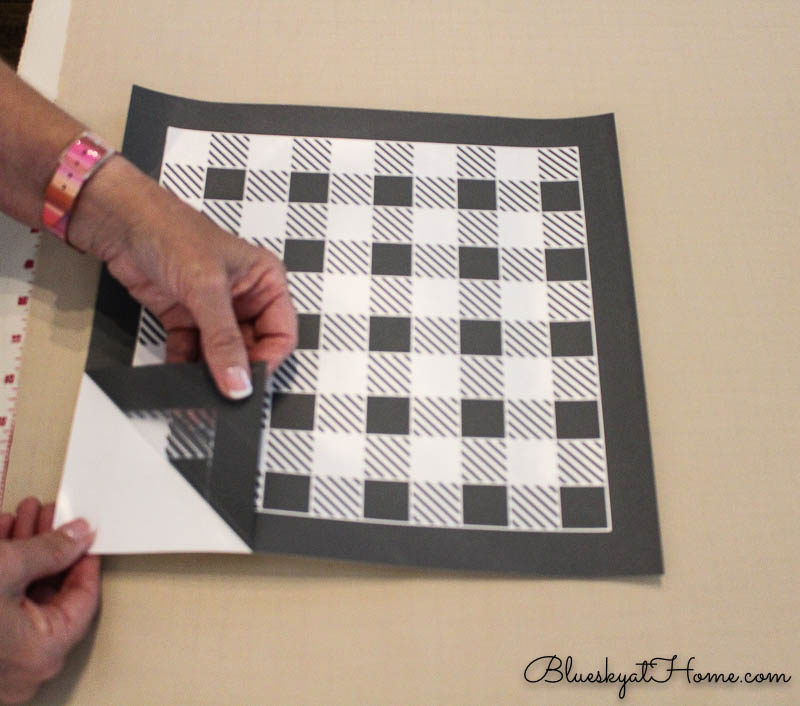
- Place the stencil along the side of your fabric near the edge. Make sure that your stencil is straight on the fabric.
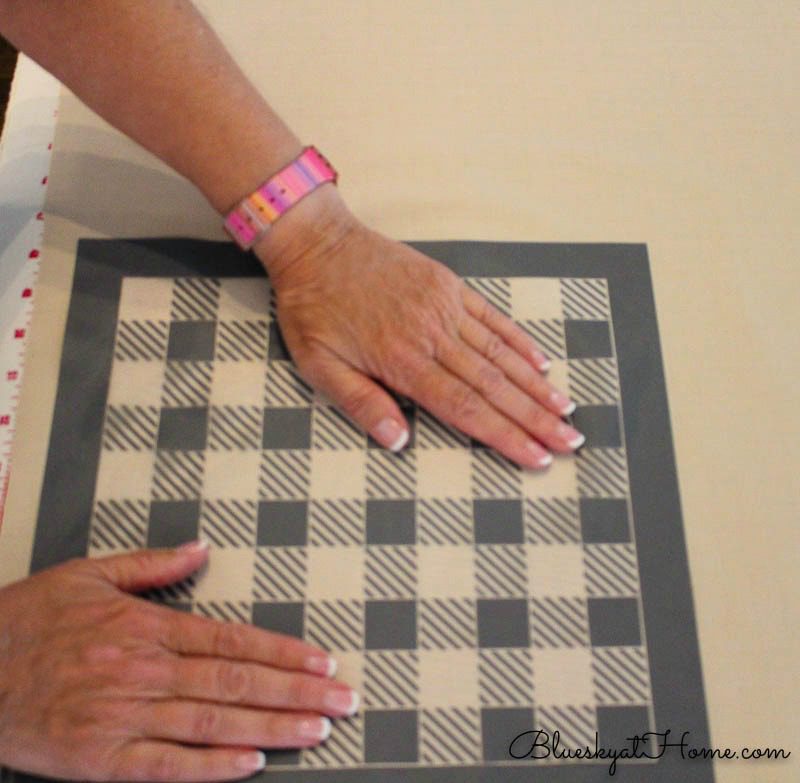
- Press the stencil all over with your hands to adhere to the fabric. A Maker’s Studio stencils have an adhesive backing which makes it easy to use ~ no spray adhesive! no mess! no stickies!
- Dip your spreader in the ChalkArt and get about 1/2 teaspoon on the edge.
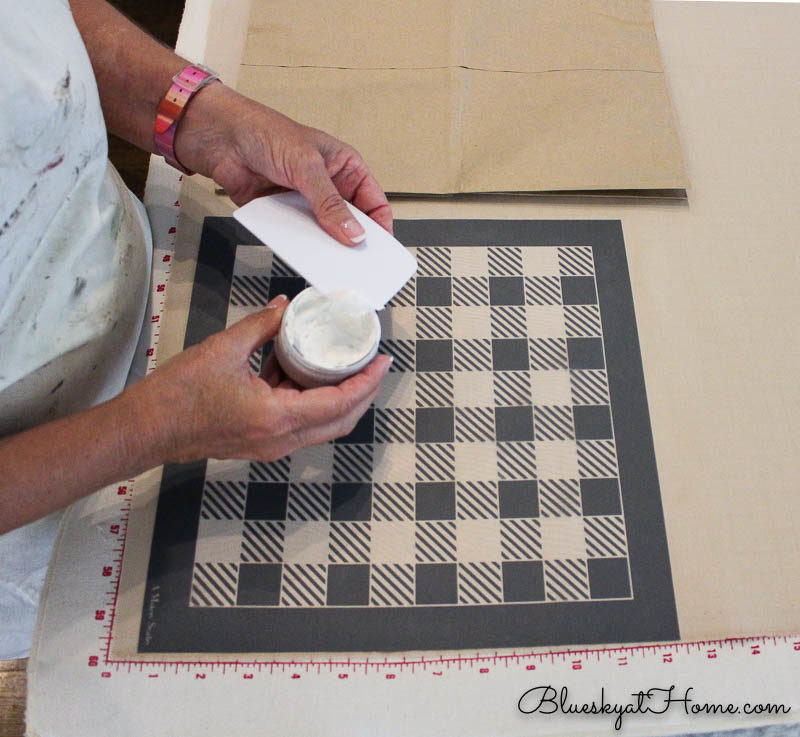
NOTE: I set my ChalkArt on a grocery sack to make sure I didn’t get any on my fabric.
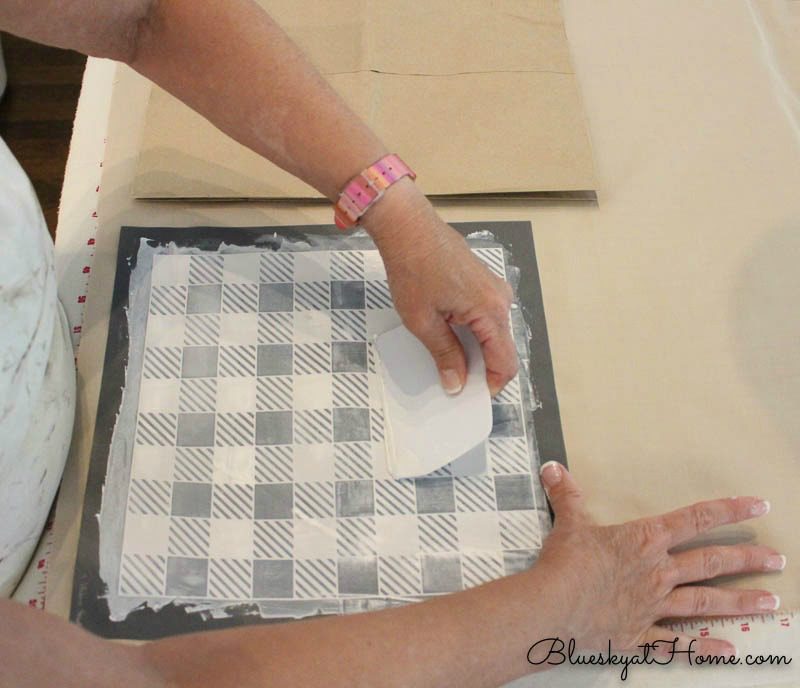
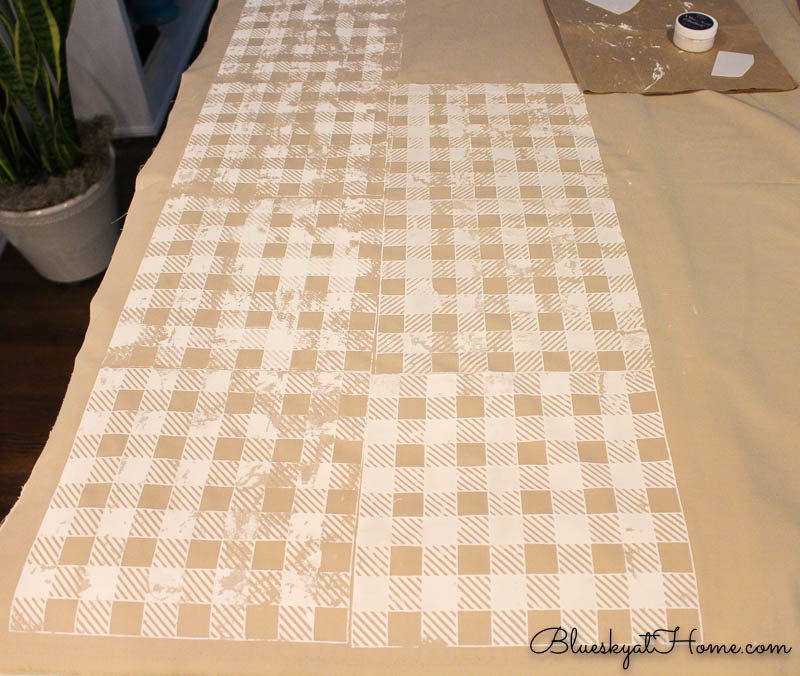
- Starting in one corner of the stencil, “smear and spread” the ChalkArt across the stencil. Apply some pressure so that the ChalkArt completely covers the pattern of the tri~mesh stencil and is pushed through the tri~mesh fabric.
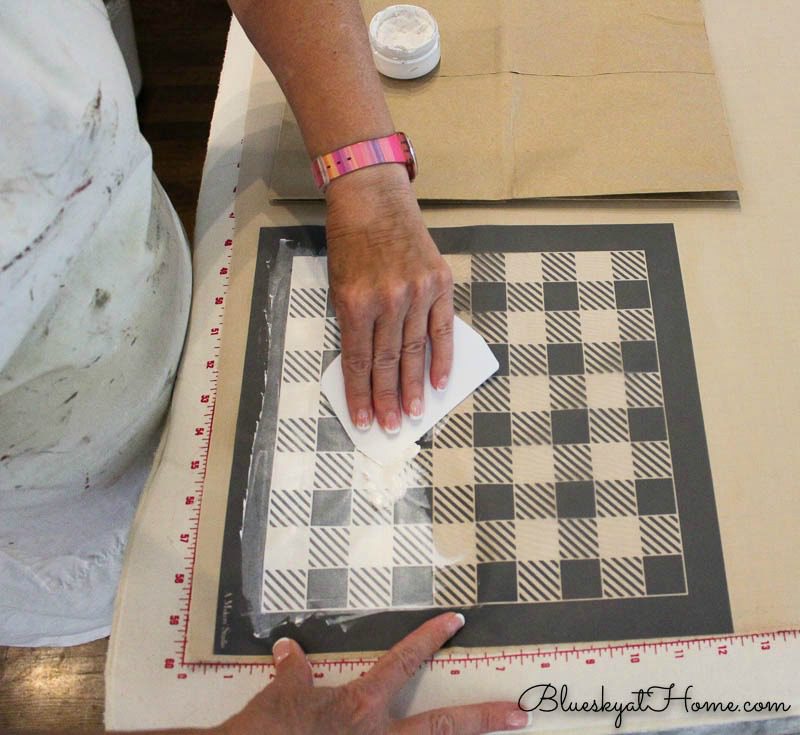
NOTE: In the gingham stencil, some squares are blank and some are striped. That is where the ChalkArt goes through the stencil to create the gingham pattern.
- When you have completely covered a section, use the spreader to remove any excess ChalkArt on the top of the stencil.
- Continue adding ChalkArt to your spreader and use the “smear and spread” motion. Make sure the stencil is completely covered in ChalkArt. Then be sure to remove all excess and scrape it off into the ChalkArt jar.
- When you have finished, gently lift up the stencil from your fabric. You can let it sit for a few minutes to dry.
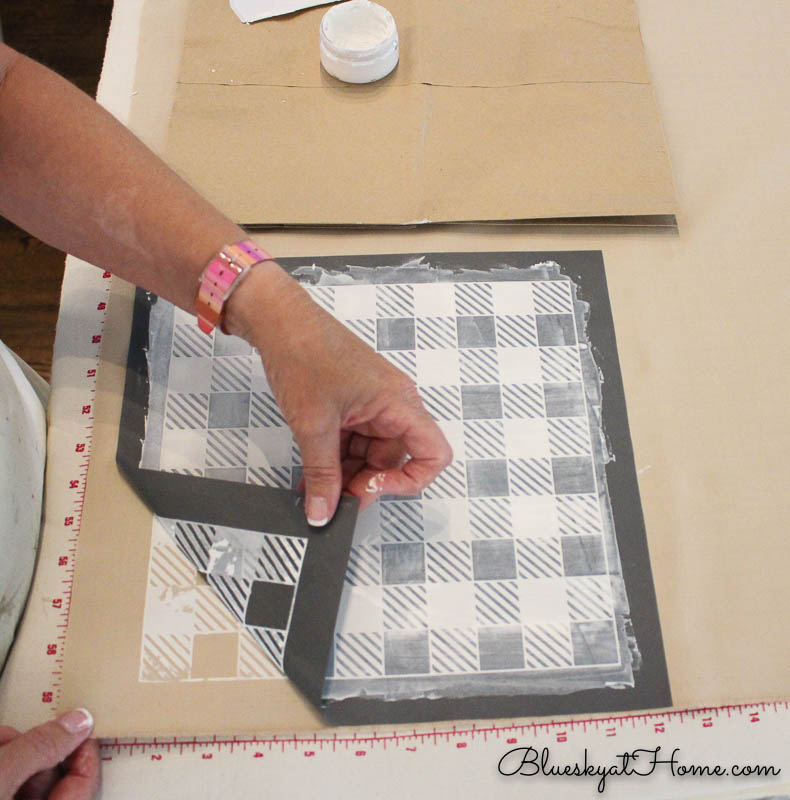
- Since you can see through the tri~mesh stencil, lay the stencil down on the fabric next to the first stencil pattern, lining up the pattern so it doesn’t repeat.
NOTE: You may have to change the direction of the stencil so that the solid, blank and striped squares are alternating and don’t repeat next to each other.
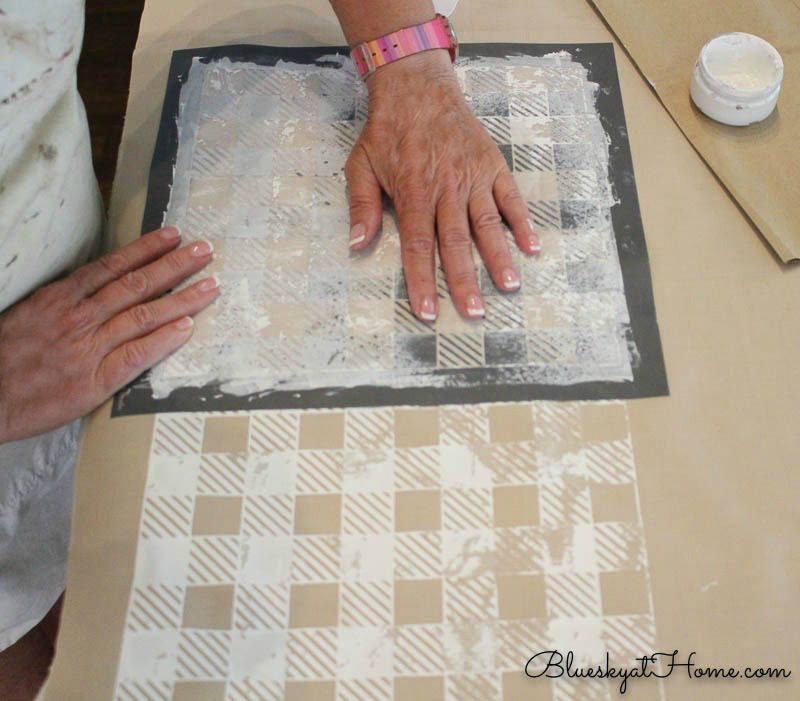
- I found that I got the best results if I washed my stencil after every 3 “passes”. You can spray water on the stencil and wipe the ChalkArt off with a damp paper towel or you can put the stencil in the sink, spray with water and wipe the ChalkArt with a sponge, rag or paper towel. Either way works great. Then lay your stencil on a dish towel and wipe it dry. You’re ready to use it again.
NOTE: If your ChalkArt builds up it can keep a new layer from properly going through the tri~mesh stencil. I didn’t realize this and some of my squares were not completely covered. I actually didn’t mind the imperfection of the result. It had a rustic, natural look which I liked.
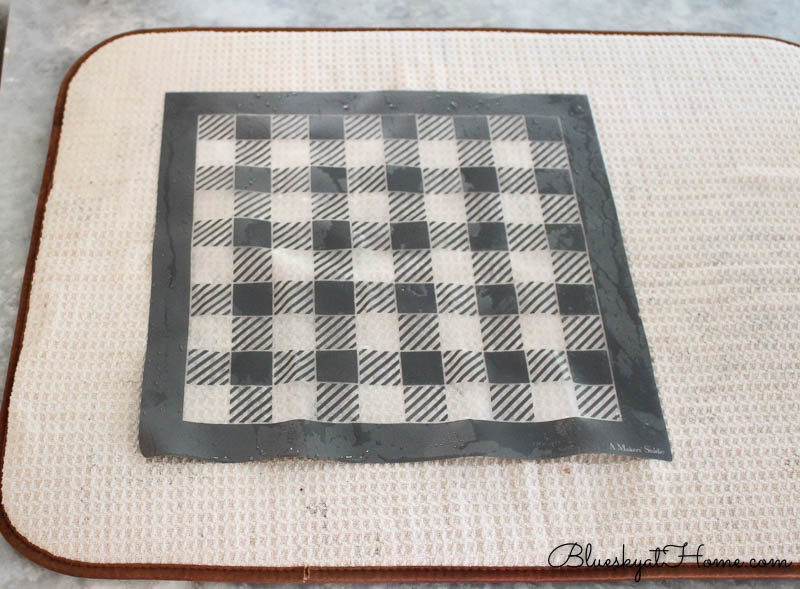
- Once you have completed applying the ChalkArt and stencil the required number of times to cover the amount of fabric you need for your placemats, let it sit for about 10 minutes to completely dry.

- Using an existing place mat as a guide or measure with a straight edge, cut your placemats out. I didn’t worry if I cut through a square.
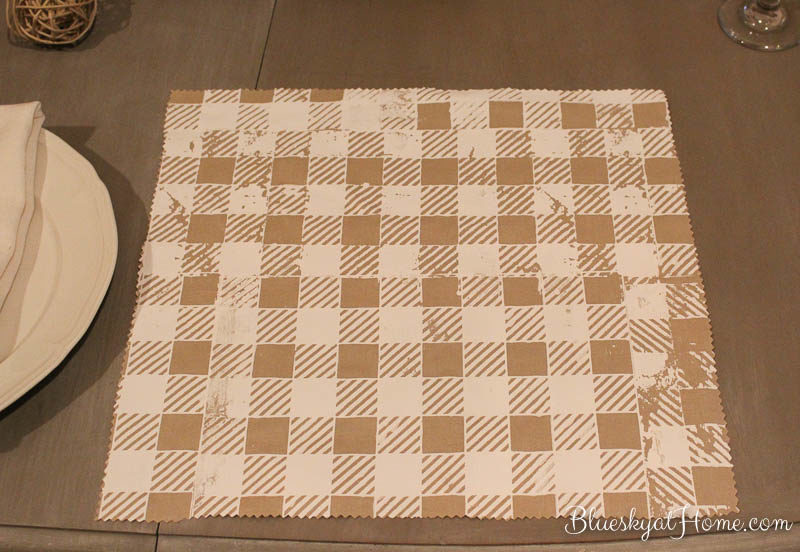
NOTE: I used pinking shears, not just for the cuteness factor, but also so the fabric doesn’t ravel.
I found that the ChalkArt acted like starch and gave the fabric body which was a nice unexpected bonus.
Now all that is left is to set your table!
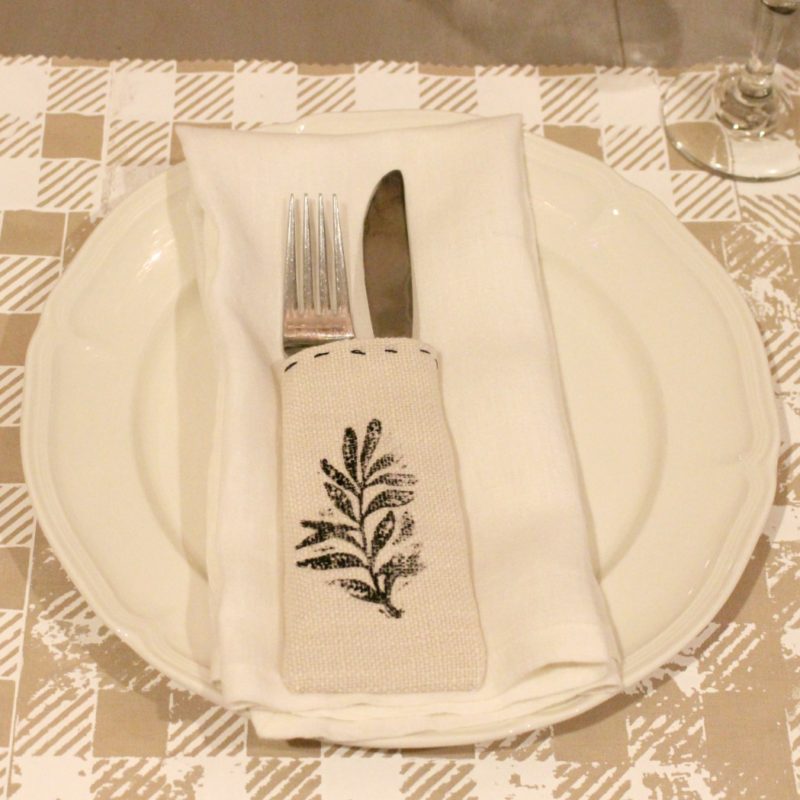
And there you have it ~ how to make gingham placemats. Obviously, now that you know how to use stencils on fabric, you could use any stencil on fabric for a multitude of seasonal or holiday looks. A Maker’s Studio has so many stencil patterns to choose from that the possibilities are endless. There is even a stencil with a place setting pattern!
- leaves for fall
- wreaths for Christmas
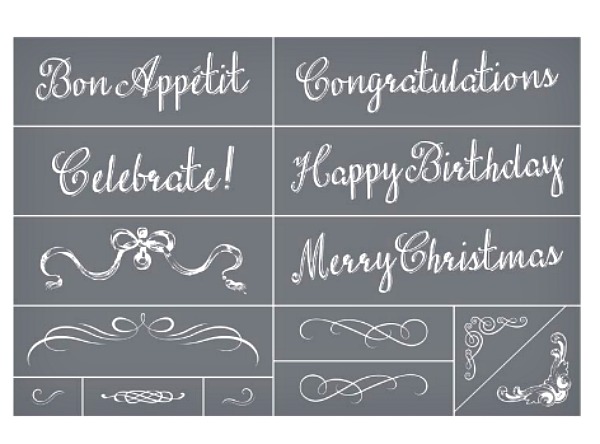
- words for any occasion: Celebrate!, Congratulations, Happy Birthday, Merry Christmas or make up your own.
- print your family’s name and each person gets their own placemat
 ChalkArt comes in 14 colors (with more on the way) plus metallics in Gold, Silver, and Copper so you can make any color of placemat or other project you need.
By the way, I used about 1 1/2 jars of the ChalkArt. Obviously, this was a big project, using the stencil about 10 times to get the coverage on my fabric for the placemats.
I can’t wait to do another project like this and try different stencils. If you have any questions about the project, the stencils or the ChalkArt, please leave a comment and I’ll be happy to answer. Hope you loved this project. I sure did.

These placemats are super cute and on trend! I’ll have to experiment with the stencils. I love all the Maker’s Studio projects you’re doing.
Crissy, I love them too. As I use A Maker’s Studio products for projects, I love them more and more. Hope you will try some out.