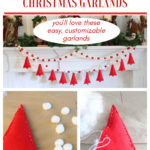
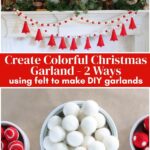
Easy DIY Christmas Garlands to Transform Your Holiday Decor
Forget the standard evergreen swag – DIY Christmas garlands made from colorful felt balls and felt shapes offer endless possibilities for personalizing your holiday decor. In this post, I’ll walk you through step-by-step tutorials for making these easy DIY Christmas garlands. These charming, budget-friendly garlands are surprisingly simple to create, requiring no special skills and just a few basic materials.
Using felt allows you to make the prettiest DIY garlands in any color palette you love. You’ll discover how easy it is to craft custom felt garlands that add handmade charm to every corner of your home – from cozy mantels to festive staircases
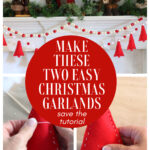
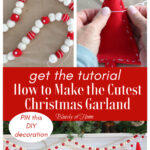
Garland doesn’t always look like green branches. It can be any color, material, shape, or size. I’m going to show you how to make the cutest, easiest DIY felt Christmas garlands.
Whether you’re drawn to rustic burlap and pinecones, glittering pom-poms, or classic paper chains with a modern twist, handmade garlands let you create exactly the look you want without the designer price tag. If making a garland using felt balls and felt fabric is new to you, please stick around for the full guide.
This DIY Christmas garland tutorial is one of my favorites. It’s pretty, bright, happy, and festive.

The idea for these DIY Christmas garlands came from one tiny little thing – felt balls. Then the idea grew to felt and embroidery thread. The idea for creating cute garlands grew and grew.
Have you ever worked with felt and felt balls? They are such easy materials to use and readily available online or at your local craft stores.
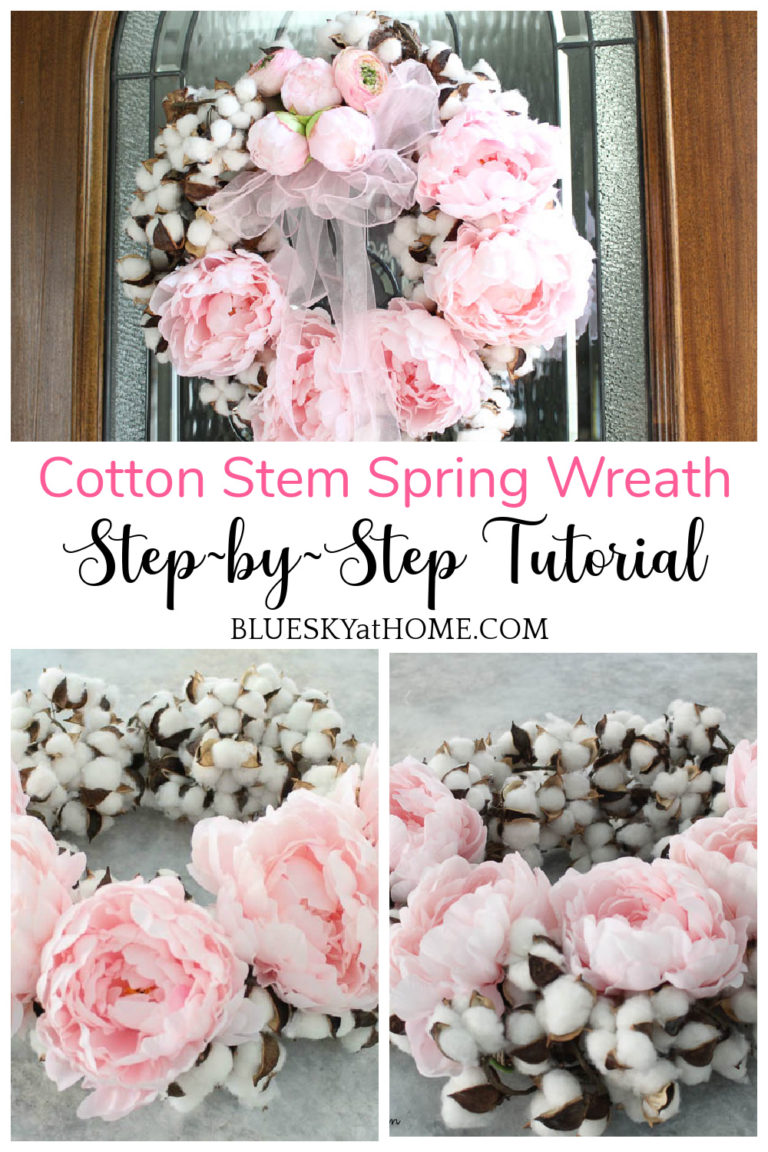
I actually created my first garland using felt for a Valentine’s Day heart garland. If you can make a heart garland, then why not a Christmas tree garland?
Steps to Make These Easy Christmas Garlands
These garlands are going to be used for a mantel.
The first step is to measure the width of your mantel. You are going to use these garlands on a staircase buffet, console table, or across a headboard or hutch, then measure that piece. You want to know the approximate width of wherever you are going to put your garland before you make it.
The great thing about felt and felt balls is that they come in dozens of colors. Felt balls come in different sizes, too.
This post contains affiliate links to products used to create this project. If you should order any item from this site, I may receive compensation, but you do not pay a penny more. Your purchase is greatly appreciated as it helps support the continued publication of this site.
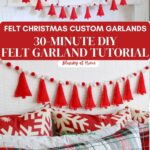
Supplies for Two DIY Christmas Garlands with Felt and Felt Balls
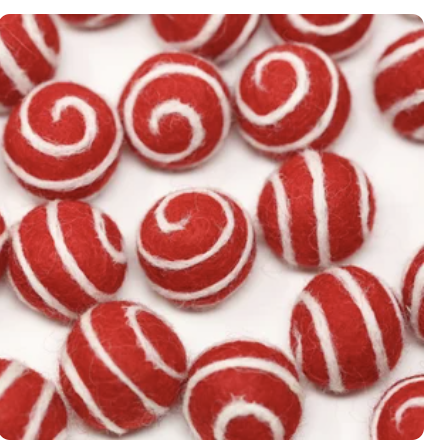
My color theme for Christmas this year is red and white, so I ordered the cutest red felt balls with designs from Etsy, but they are available on Amazon, too. Red felt is available online and at your local craft stores. Felt balls come in a multitude of colors so you aren’t limited.
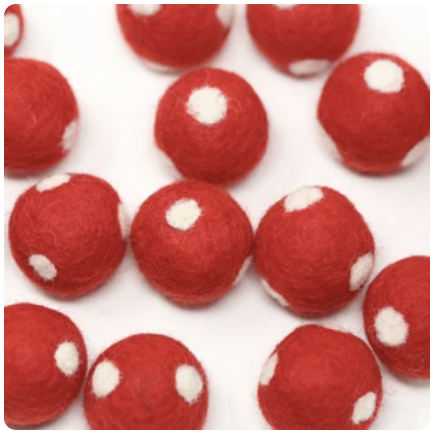
- two batches of felt balls in your design of choice – these felt balls were red with polka dots and swirls
- felt in your color of choice* – mine was red
- felt balls in secondary color – mine was white; I also ordered a package of red felt balls.
- embroidery thread* – I used white
- large darning needle*
- sharp sewing scissors*
- cardstock or cardboard to make a tree template*
- fiber fill batting
- small pom-poms cut from trim*
- glue* – can be fabric glue, but any good glue will do
*denotes items I already had on hand


Making the Felt Ball Garland
Step 1 – Gather your supplies. I put the three felt balls – polka dots, swirls, and solid white – in different bowls to make it easy to arrange the pattern for my garland.

Step 2 -Decide on the pattern you want for your felt balls. I had 60 white felt balls and 10 each polka-dot and swirl felt balls. I decided to use two white felt balls between the red polka-dot and swirl balls.
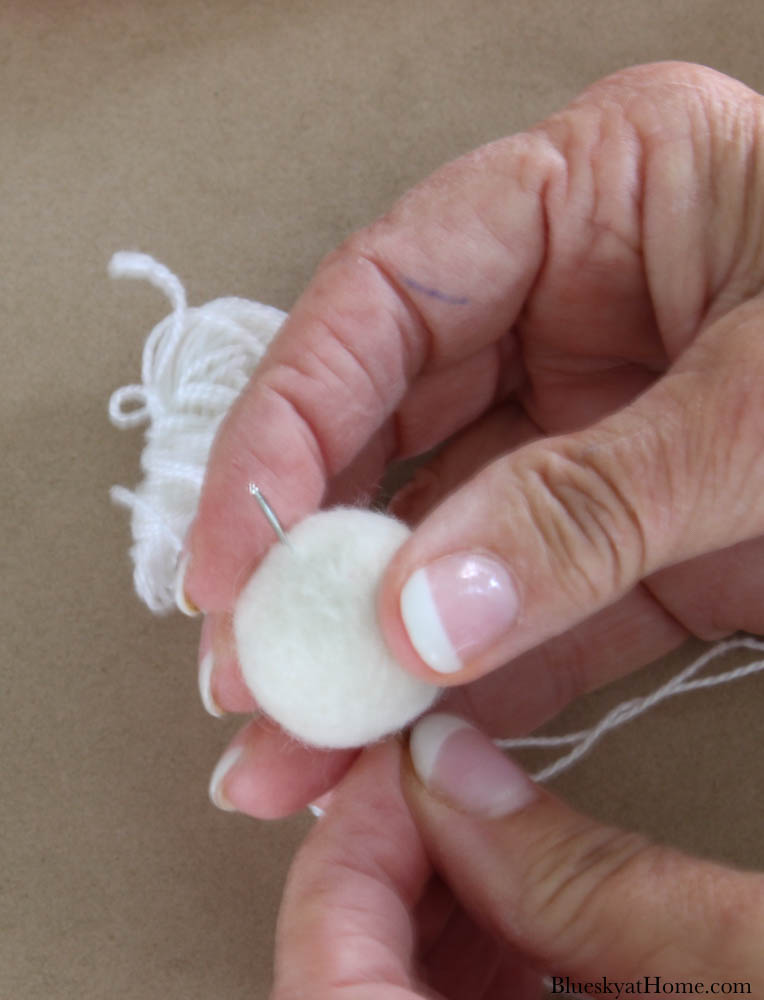
Step 3 – Thread your embroidery thread through your large darning needle. Don’t cut any thread. You will continue adding felt balls onto the thread until you have the length you need.

Step 4 – Start your garland by pushing the needle through the center of your first felt ball. I started with two white felt balls. You may have to push a bit to get the needle through the felt ball, but it actually is very easy.
Pull the needle and thread through the felt ball and push it back a foot or two. You want plenty of slack to add more balls.
Step 5 – Keeping the pattern that you want in mind, continue threading the needle through the felt balls. Slide them back toward your first ball as you go. My pattern was: two white balls, one polka-dot ball, two white balls, one swirl ball.
I kept going until I used all my red felt balls. I used a total of 20 red felt balls and 42 white balls. (Yes, I know I’m one white felt ball short in this picture, but I did add it.)

This DIY Christmas garland was so easy. I made it one Sunday afternoon while we were watching a Cowboy game. I think it took me less than one quarter.
Step 6 – Hang your cute DIY Christmas garland. Don’t cut off the embroidery thread until you know how much swag you want and the width of your mantel or wherever you are going to hang the garland.
NOTE: This garland is very light-weight. You can tape it to your mantel or tie it around a candlestick or something else heavy on the mantel.
TIP: It definitely helps to have another person hold up one end while you adjust the swag and balls.
I’ll show you the finished garland after I show you how to make the Christmas tree garland.
How to Make the Christmas Tree Garland
Since I made a Valentine’s garland last February, I have wanted to make a Christmas tree garland. I estimated that I would need ten trees. That meant I needed 20 Christmas trees.
Instead of buying red felt, I decided to use felt I already had on hand. A few years ago, I made eight red felt placemats. I thought I would just use a couple of them to make the Christmas tree garland.
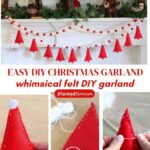
Step 1 – Using a piece of cardstock or cardboard, make a template for your Christmas tree. I used a ruler to measure about 7 inches on each long side.
Step 2 – I angled the lines to form a point, and it became a simple Christmas tree. I drew a line with the ruler across the bottom to make the shape of a tree. Then I made a small trunk by hand. Cut out our Christmas tree template.
Step 3 – Lay your template on top of the felt, starting at an edge. Trace around the tree template. I used a Sharpie. Line each tree up against the others along the straight lines. I got 10 trees – barely – on each place mat.

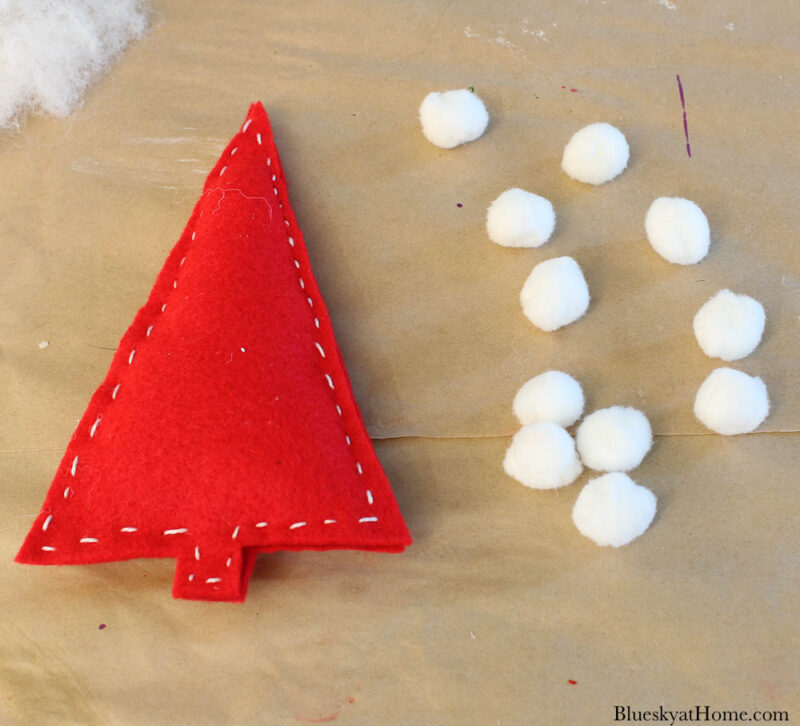
Step 4 – Cut out each tree with sharp sewing scissors. They don’t have to be perfect. You can trim any extra felt when you place two felt trees together.

Step 5 – Thread your embroidery thread onto a darning needle. On the back side of one of the trees, start sewing the two pieces of felt together. You could use a blanket stitch, but I just used a running 1/4-inch stitch. Again, it doesn’t have to be perfect.
Don’t cut the embroidery thread from the embroidery bundle.
Leave an opening about 2-3 inches wide.

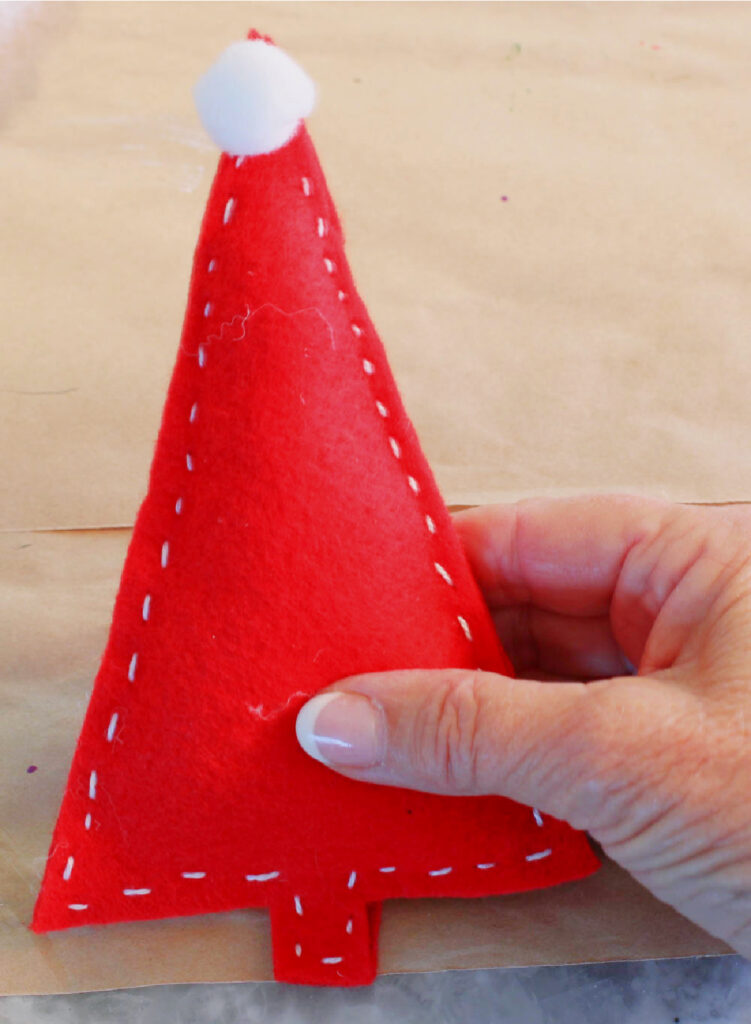
Step 6 – Stuff small pieces of batting into the felt Christmas tree, pushing it into the points. It helps to use the blunt end of a wood skewer.

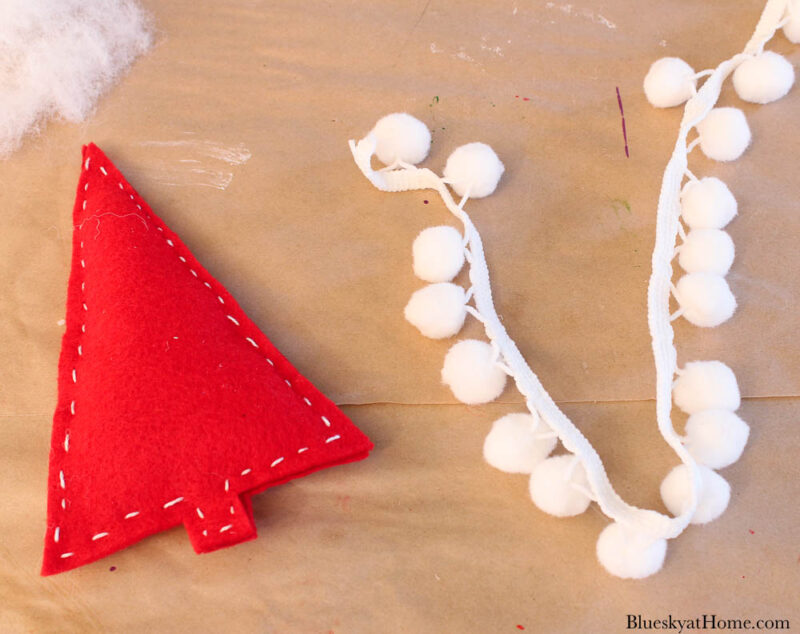
Step 7 – When you have finished stuffing, sew the opening shut with the thread. Make a double knot on the backside of the tree. Cut off the excess thread.

Step 8 – I wanted to use a little pom-pom as a star. I had some trim with white pop-poms on hand. I cut off ten pom-poms.
Step 9 – Use your glue to attach the pom-poms to the tip of the Christmas tree. You can also sew them to the tree if you prefer.
You could use the felt Christmas trees in different ways, but we are going to make them into another Christmas garland.
Step 10 – Thread your large darning needle again, but don’t cut off any length. Just as you did for the felt ball garland, decide how you want to mix in the red and white felt balls.
I used an alternating pattern – white, red, white – between each felt Christmas tree.
Follow the same instructions for threading this garland as you did for the felt ball garland.
The embroidery thread will easily go through the top of the felt Christmas trees. Put your needle just below the white pom-pom.
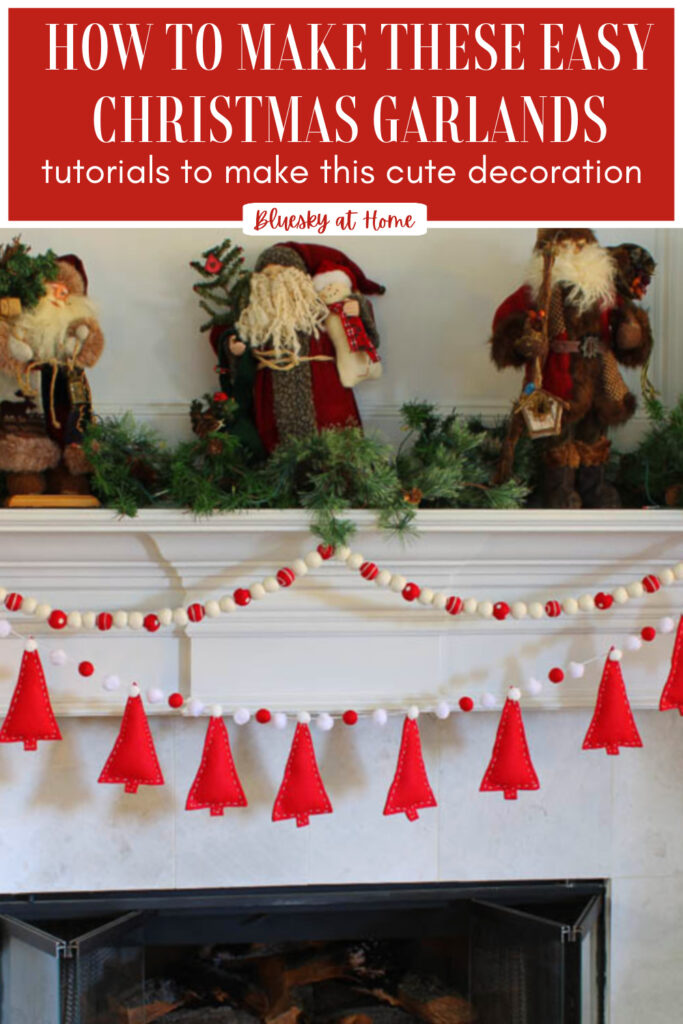
Step 11 – Either hang your Christmas tree garland separately or with the felt ball garland. I chose to combine both DIY Christmas garlands on the mantel.

Cutest and Easy DIY Christmas Garlands: Mix and Match
What do I love about these Christmas garlands? You can change them up, mix them up, or hang them together or separately.
You can change the colors to match your Christmas color theme. Mix up the patterns. The possibilities are endless.
These two cute DIY Christmas garlands would be used on your living room mantel. You could also use them on a banister, mirror, or across a chest, a bookcase or a headboard.
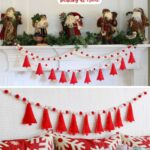
The Cutest Christmas Garland on the Mantel
Here is how our mantel turned out with the two garlands. I tied the garlands around the feet of two Santas. You can also use tape or tie them to heavy candlesticks.

If I were doing this garland again, I would probably switch the order of the red and white balls between the Christmas trees.
I still love the result. The red and white garland against the white of our fireplace surround adds a great pop of color for the holidays.
Don’t forget – your garland is so customizable by the colors, patterns, designs, and size of your felt balls and your felt trees.
If you have kids you can trust with a needle, then this would be a great project for them.
I hope you love how cheerful these DIY Christmas garlands look. Remember that you can use any colors you like.
The following year, I strung the felt garlands across our headboard. It added a festive touch to our Christmas bedroom.

If you have all your decorations for this year done, then please PIN this project to your Christmas boards for next year. You’ll be ahead of the game. You can follow more ideas on these Christmas Boards: Christmas DIY Projects, Christmas Home Decor, or Christmas Inspiration


This is such a fun garland Carol, pinning 🙂 Hugs-Tanya @twelveoeightblog
this was such a great tutorial, Carol! I love how you added the varying polka dots and the red Christmas trees. Both added so much whimsy to your gorgeous mantel! Thank you for sharing!
I have always loved making felt wood garlands and love this idea of adding these cute trees! This looks so fabulous on your mantel with your Santa Claus collection. So many possibilities! Great tutorial, Carol!
Your garlands are adorable, Carol! I need to make some this year! Thanks for sharing and for organizing our blog hop!
I just love your tutorials; they are always so clear and easy to follow. I have enjoyed making all kinds of garlands for the last several years; just bought 2 black pennant ones at Michael’s clearance for next Halloween! Several years ago I made Christmas tree ornaments with green denim very similar to yours; they went well at our church bazaar! Want to do more!
These are super cute Carol! I love how you can adapt them with different colors and motifs! Great tutorial. Pinning! XO- MaryJo
Carol these turned out just beautiful! I love the contrast of the stitching. Great tutorial!
Super cute garland. It’s such a great idea. Hugs to you.
HI Carol, This is so pretty and it looks amazing against the white fireplace mantel!
So pretty! Thank you for hosting!
I love felt projects! Your tree garland is so cute and bright and happy! This is putting me in the mood to start my Christmas projects. Love it Carol!
I’m totally in love with those swirl and polka dot felt balls. They look cute in a garland! Thanks for sharing at the #HomeMattersParty.
I’m so glad you like them, Allyson. They are really cute. Some wait to order them. They’ll be gone by by Halloween.
Such adorable and festive felt garlands, Carol. I’m loving the pop of red and white against your white fireplace.
These are the cutest garlands. Thanks so much for the tutorials.