How to Take Clipboards from Blah to Bling
I’m taking some clipboards from blah to bling thanks for the 10 Reasons You Need the HomeRight Tabletop Spray Shelter that I shared last week. My first spray paint project using this paint tool was so easy, faster, neater and more pleasant than spray paint projects I had tackled in the past. Today I’m going to show you the actual project that I completed and how to take clipboards from blah to bling.
At I mentioned in the previous post, I have had these clipboards for years, using them for large cooking classes. Here’s what I did to take these clipboards from blah to bling.

How to Take Clipboards from Blah to Bling
A few had some banged up corners. Now I want to use them to display blog information that I download and print off or a to~do list or an inspirational message. I wanted them to be attractive, reflect my brand colors (pink and aqua) and have a little sparkle and bling (gold and silver). I kept putting off this project because of the mess of spray painting on the garage floor and the bending over and squatting down to spray paint. The tabletop spray shelter fixed those problems.
This post contains affiliate links to products that I use, love and highly recommend. If you purchase any product through this site, I may be compensated, but you do not pay one penny more.
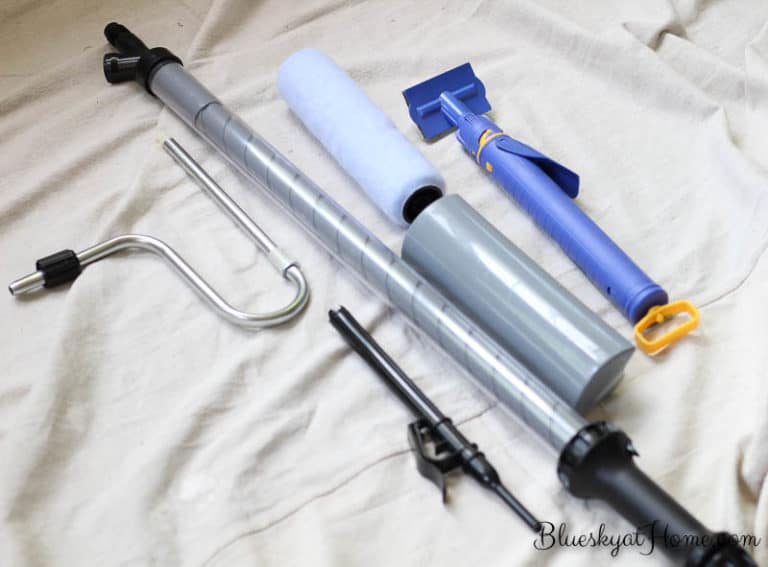
Equipment
HomeRight Tabletop Spray Shelter ~ if you read last week’s post, you know this is my new, favorite accessory for spray painting; I will never spray paint without it.
Rust~Oleum Spray Can Grip ~ discovered this little tool a year ago and it changed how I view spray painting.
Frog Tape

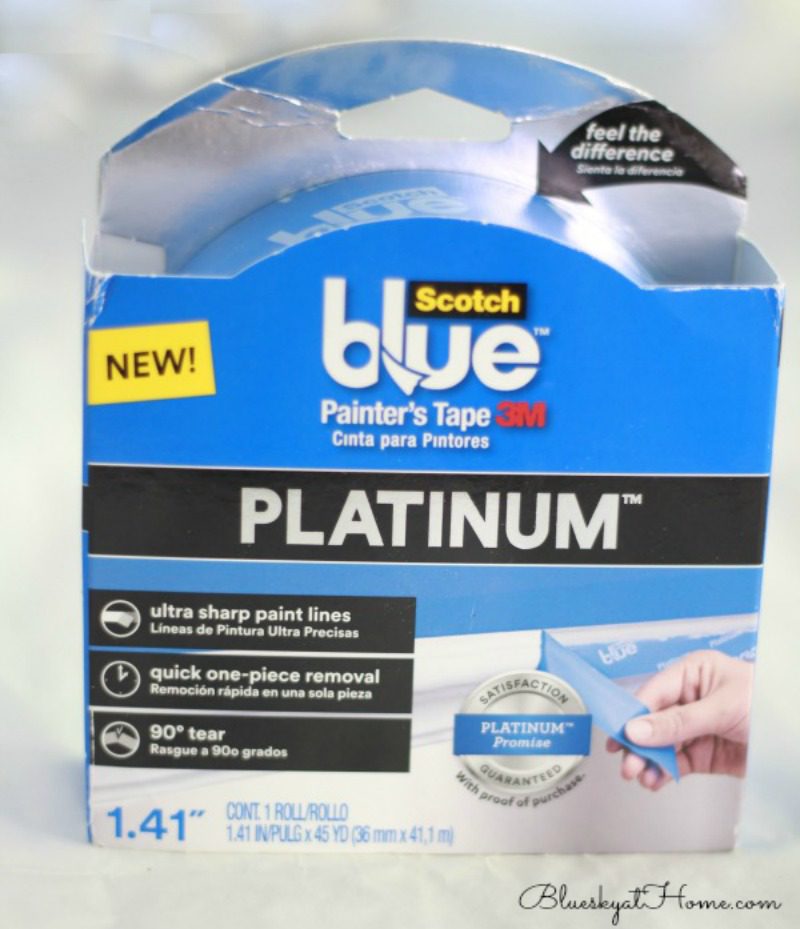
3M Command Paint Tape ~ this is a new product that I discovered at Haven Conference. I love it: it’s stickier than Frog Tape, but comes off very easily.
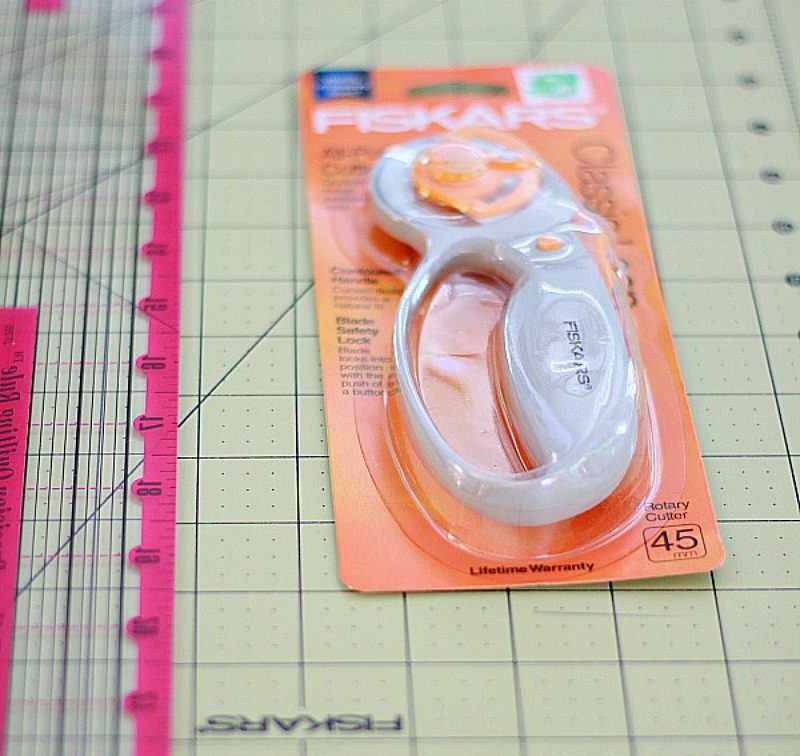
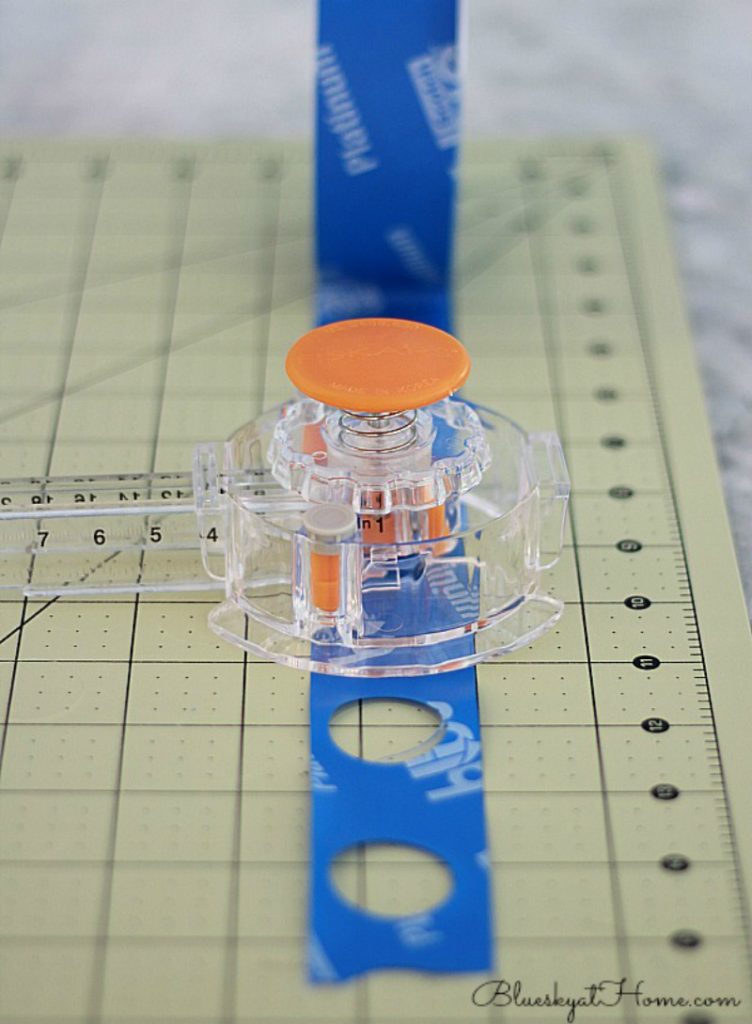
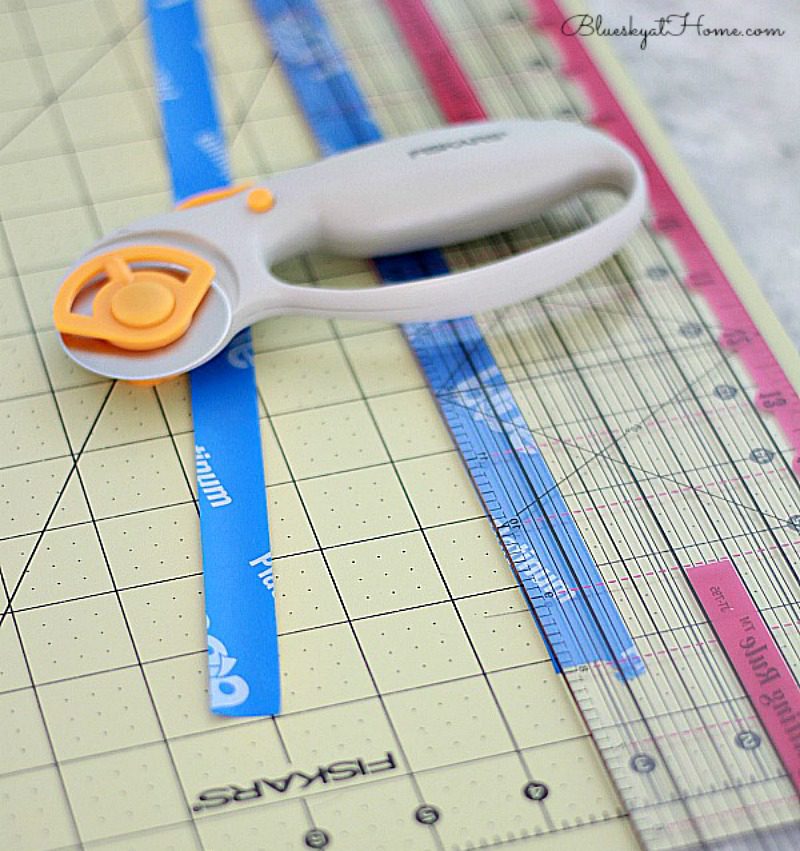
I also used these 3 products from Friskars for my stripes and polka dots. These tools make cutting straight lines and circles so easy.
Fiskars Cutting Mat
Fiskars Rotary Cutter ~ this one cuts cleaner and sharper than the old off~brand one I previously used.
Fiskars Circle Cutter ~ love this little gadget; makes cutting out circles from 1~inch to 8~inches so easy.
Prepping the Clipboards
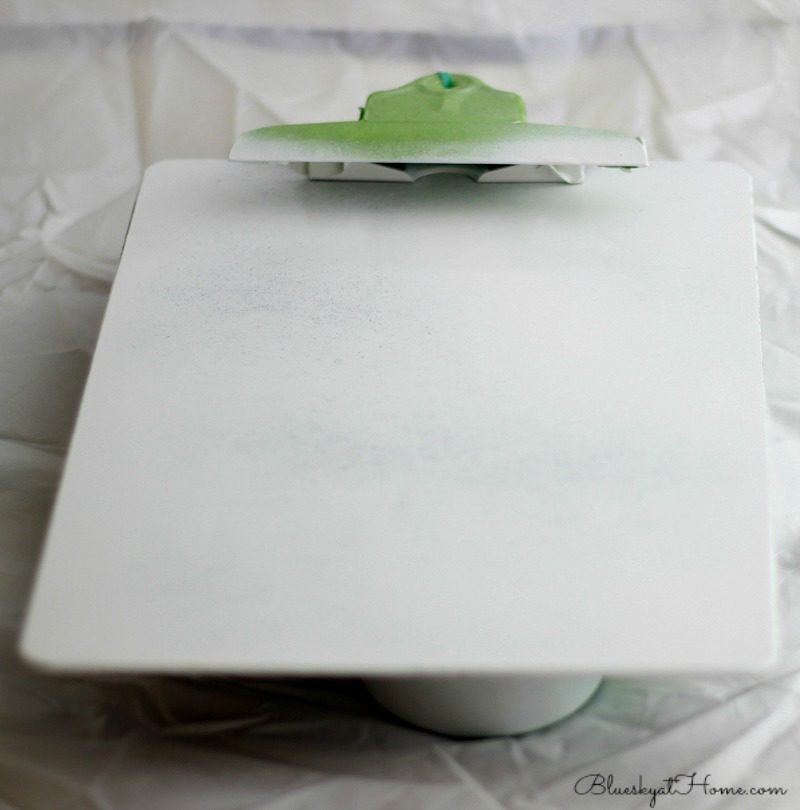
First I used Frog Tape to cover the silver clasps. I’ve seen a project where the clasps were removed, but that was not possible with these clipboards.
Secondly, I used a long twist tie to secure the clasps open for painting.
Color Choices
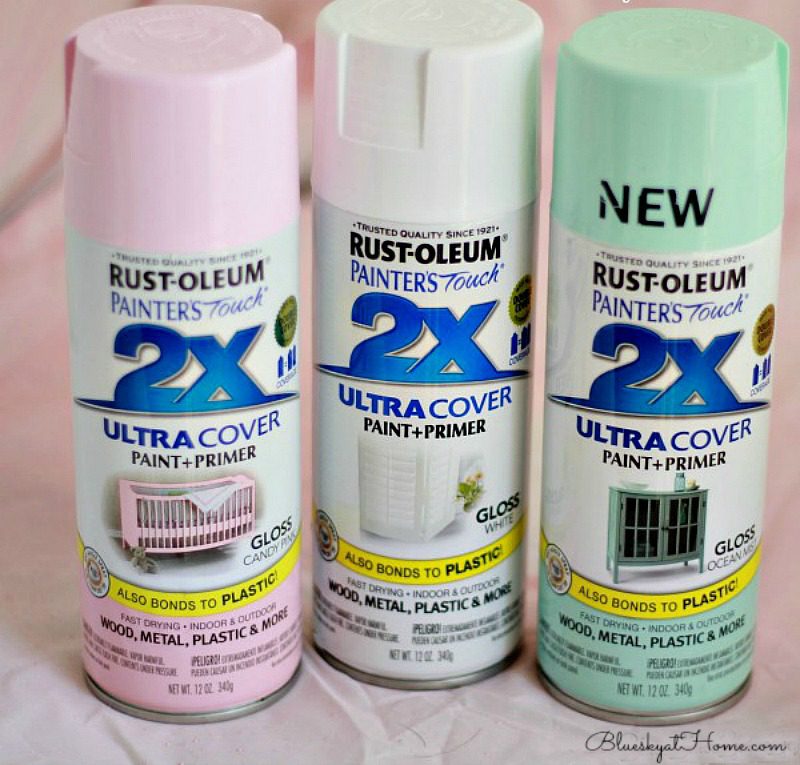
I knew that I wanted to use pink, aqua, white, silver and gold. I had Krylon Spray Paint in Ballet Slipper, Rust~Oleum Ocean Mist and Rust~Oleum Gloss White.
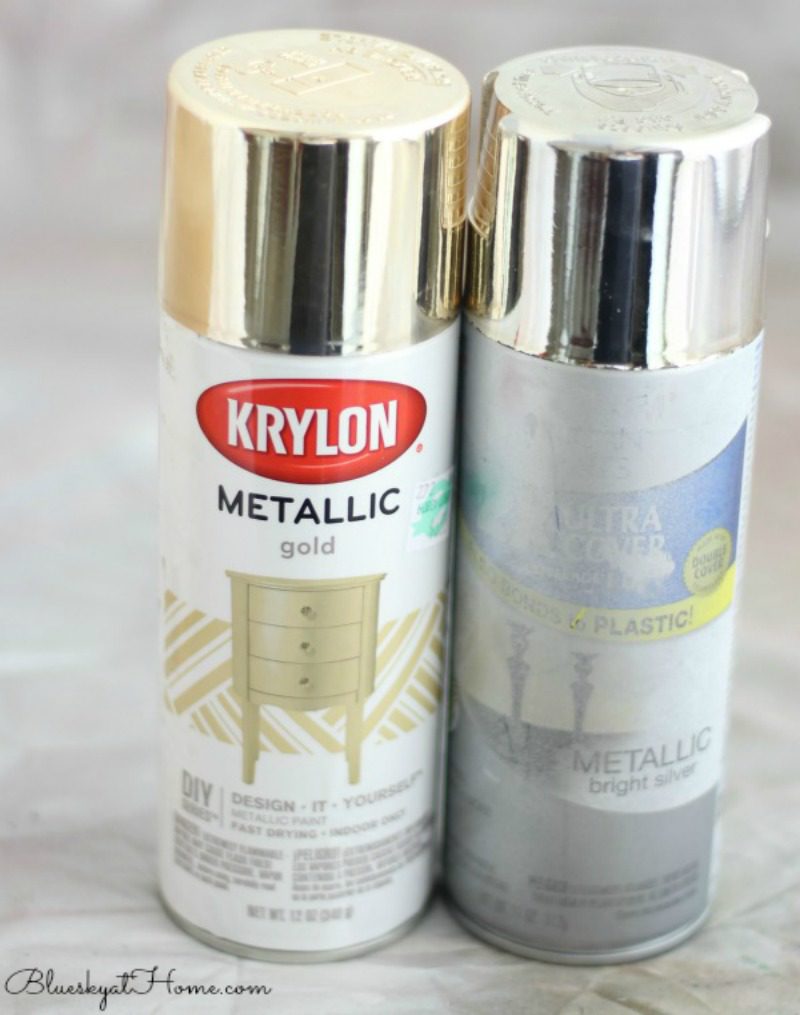
I also had Rust~Oleum Metallic Silver and Krylon Metallic Gold.
Painting the Clipboards
I began by painting 4 clipboards in Rust~Oleum Gloss White.
Clipboard #1
I used the 3M Paint Tape to make wide stripes and place them on the diagonal. Then I painted a 2nd coat with Krylon Ballet Slipper, one of the prettiest, softest pinks.

Clipboard #2
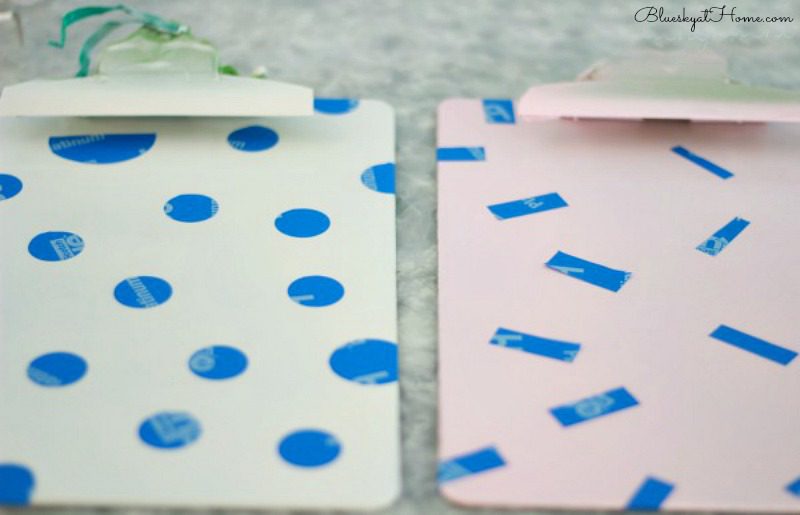
For the 2nd white clipboard, I used the 3M Painter’s Tape and cut out 1~inch circles with my Fiskars Circle Cutter; this simple little tool lets you cut circles from 1 inch up to 8 inches. It’s amazing. Then I cut a few larger ones that I placed at the edges of the clipboard.
Painted the second coat with Krylon Metallic Gold.
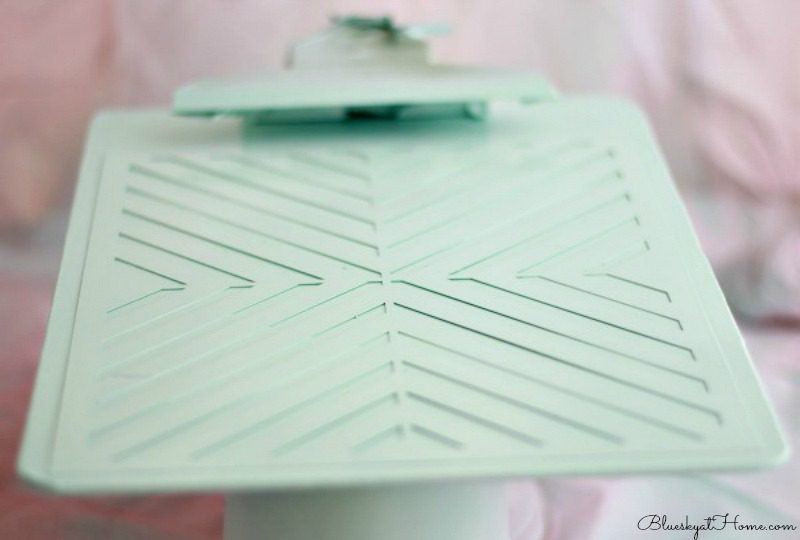
Clipboard #3
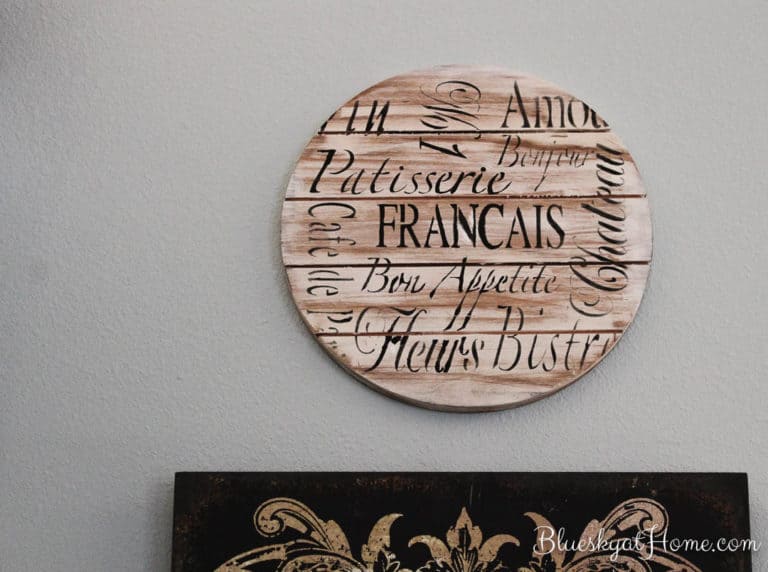
For the 3rd white clipboard, I used a stencil that I had bought weeks ago just because I liked it.
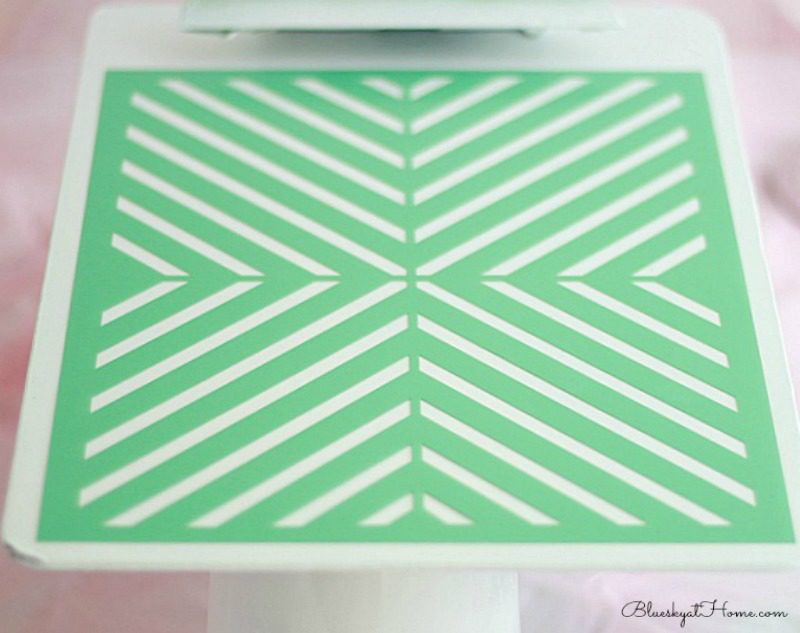
Painted the 2nd coat with Rust~Oleum Ocean Mist.
Clipboard #4
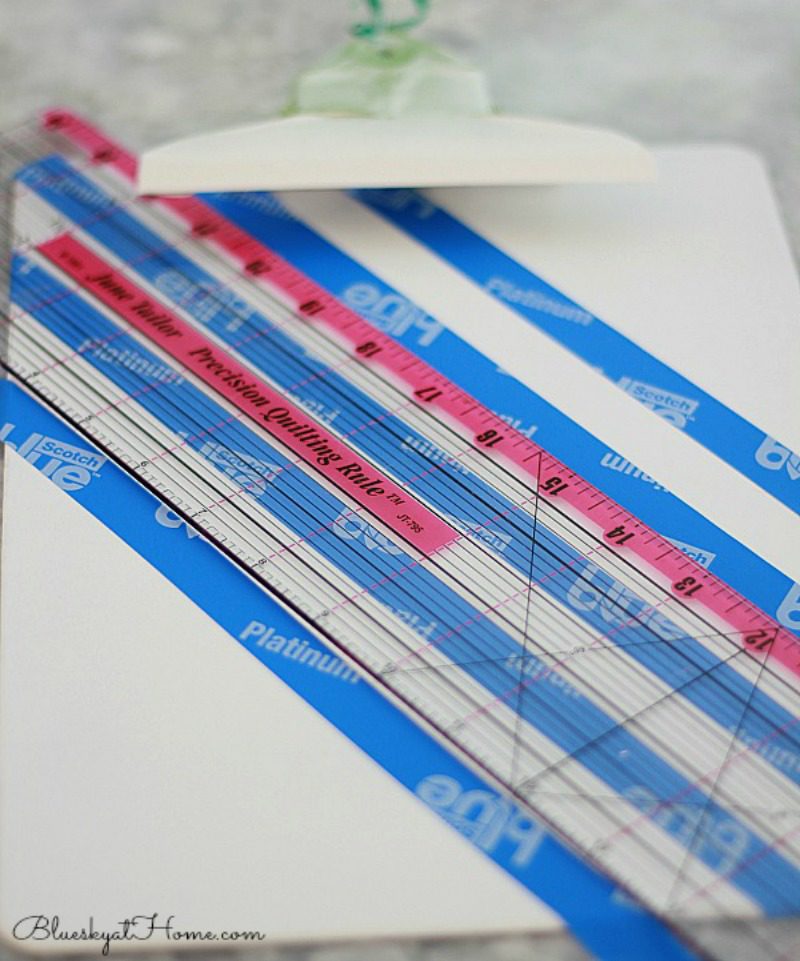
For the 4th white clipboard, I wanted thinner stripes, so I used my Fiskars mat and rotary cutter to make 3/4~inch wide strips.
I placed the strips of 3M Tape on the diagonal on the clipboard, using my clear plastic ruler to keep the tape straight.
Painted the 2nd coat with Rust~Oleum Metallic Silver.
Clipboard #5
Painted the clipboard with Krylon Ballet Slipper.
Again, using the Friskars Circle Cutter, I cut out 1~inch circles.
Painted the 2nd coat with Rust~Oleum Gloss White.
Clipboard #6
Painted the clipboard with Krylon Ballet Slipper.
I used the Friskars Rotary Cutter to cut random rectangles.
Painted the 2nd coat with Rust~Oleum Gloss White.
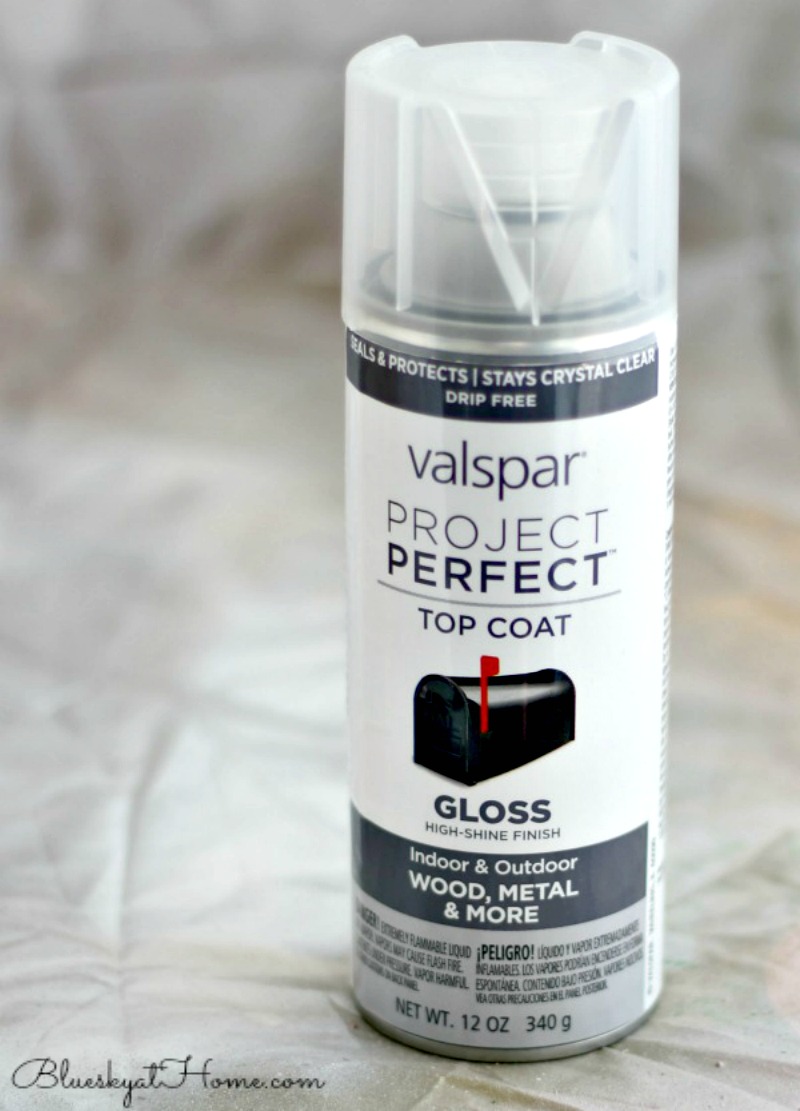
Finally, I sealed all the clipboards with Valspar Clear Top Coat, which I already had.
The Finished Project
And here are all my pretty clipboards.
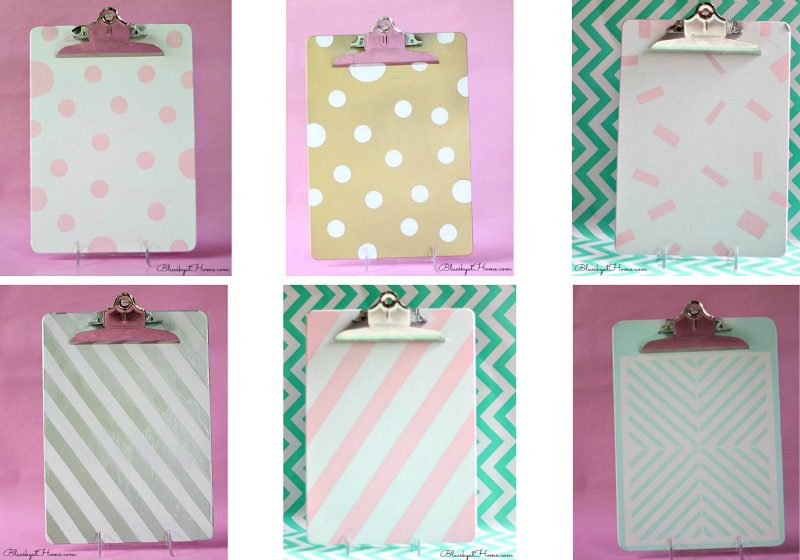
I love how they turned out. From blah brown to my favorite colors of pink and aqua with some bling in silver and gold. I can’t wait to use them.
I have a few ideas how to display them. What to you think? How would you use decorated clipboards? I’d love to hear your ideas.
So pretty! I love your color choices. You can never have too much bling:) Thanks for sharing at Vintage Charm! xoKathleen Charm Bracelet Diva {At Home}
Those are adorable Carol! Why use something plain and boring when you can use something pretty?! I love them <3 Thank you so much for linking them up to our Inspiration Galore Project Party. Pinned and saved.
Lisa, I’m so glad you liked them. It’s one of those projects that result in smiles. Thanks for hosting and pinning and sharing.
This is such a fun idea Carol! Painting them adds so much vibrancy to them. And now you can hang them as they are to add a bit of “pop art” to your home or you can attach other pieces of art . A great idea! Pinning and sharing.
Mary,I can’t wait to put them up for display. I have a few more and depending on space, I may paint them too. Thanks for pinning and sharing.
Love this idea! These look like those fancy, scrapbooking clipboards. I also like how you batched the process to get a lot done at the same time. These would make great teachers gifts! Thanks for the inspiration.
Melissa, glad you like my clipboards. I didn’t think at the time that I was “batching”, but it did work to paint, tape, paint by color. I love the idea of teacher gifts, although I no longer have to worry about that!
Carol,
Your clipboards now have STYLE! Isn’t it amazing how much difference a little paint can make? Your boards all turned out beautifully, and I’m looking forward to see what you clip to them. Thank you for sharing this excellent tutorial at Monday Social.
Judith
Judith, I like that word, style! Thanks for checking out my tutorial and sharing on the link party.
They look great, Carol. I have one of my daughter’s old clipboards from high school that I keep tripping over in the office. I keep looking at it like “I’m going to make you all pretty one day.” You have inspired me!
I also love the platinum 3M tape. I just did a painter’s tape review vs. no tape test on our office French doors when I painted them last week. Painting French doors certainly tried my patience. Ha.
Diane, glad you liked them. And the new 3~M tape is great. I have a pair of French doors waiting to be painted. I’d love to see how you did yours.
These turned out great, Carol! I love them all!
Thanks, they are a fun project.