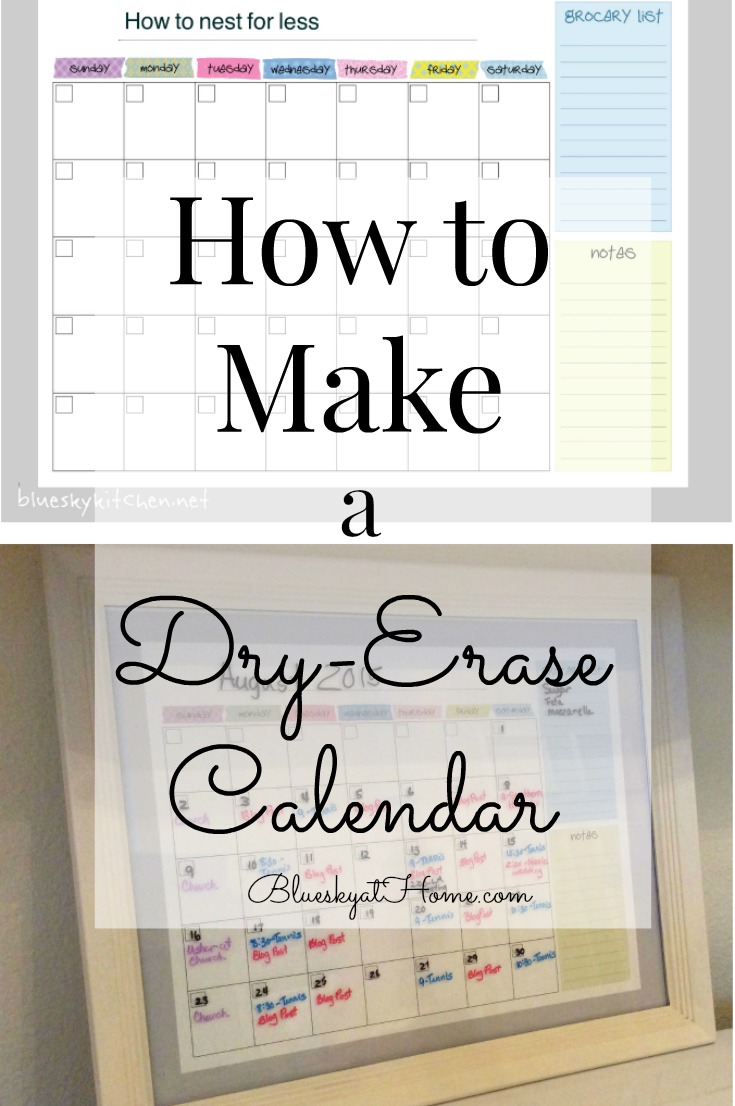
How to Make a Dry-Erase Calendar
Have you ever used a dry-erase calendar? It’s a wonderful way to record your things~to~do and where~to~be. With Labor day behind us, today feels like the first day of a new school year. The first day of fall semester. Organization meetings start. Volunteering starts. Bible study starts. Tennis league starts this week. Get Set. Ready. Go. Blast~off. After I shared my little DIY project of a holder for my dry~erase markers to go with my calendar, I thought I’d take you back to how to make a dry~erase calendar. I made it last year and I still love it. And, as I mentioned, this is the month when activities really gear up, so it’s going to be getting a lot of use.
With the busy lives we lead today, I’m always interested in how people keep track of everything on our “plates”. How do you stay organized? If you like to have your calendar big and visible and easily updated, then you’ll love to learn how to make a dry-erase calendar.
How to Make a Dry-Erase Calendar
Do you remember the days of the daytimer? Every mom’s bible of what to-do, when to-do it, address books (in the days before e-mail when phone # ~ including home # ~ were the only way to contact friends.), calendars, school schedules, and anything else that was critical to running our lives?
Every year, I gave the kids, Sweet Shark, and myself a calendar for Christmas, trying to encourage them (the kids, not Sweet Shark or me) to keep up with school and sports activities. Well, I don’t have to do that anymore, but it seems my life is just as busy: cooking class schedules, tennis drills, Bible Study, lunch dates (never enough of those), to-do errands, volunteering, organization meetings, dinner with friends. You know what I’m talking about, right?
I still give Sweet Shark and myself a calendar every year. I bought my 2015 calendar in Venice right off the Rialto bridge. As pretty as it is, the boxes for writing in the daily doings are so small, it’s impractical. And it seems to get lost under stacks of magazines and mail. (That’s another organizational issue to tackle!) I started using my iPhone as my calendar which has worked really well, but I’m a visual person. I like to see my monthly calendar out front where I can glance at it. Plus Sweet Shark can’t see what I’ve got going on.
My Calendar Solution
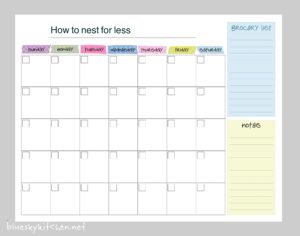
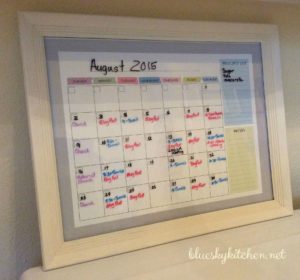
So I started thinking about a solution. Then I saw a calendar idea on Pinterest from Erin at How to Nest for Less. It’s a free downloadable printable of a calendar using a frame and dry eraser board markers. It’s so cute and big and can be used over and over.
Dry~Erase Calendar Pre~Assembly Preparation
Erin bought a frame on Amazon ($19), but I decided to re-use a frame that I already had.
First, I ordered glass from my local glass and mirror store. The inside edge of my frame was 19 7/8″ X 15 7/8″ x 1/4″, so that’s the size I ordered. Cost $18.97
Second, I downloaded the calendar, went to my local Fedex and had the calendar printed in the same size as the glass. Cost $23.54.
Third, I had a piece of foam core board cut at Jo-Ann’s for the backing. Cost $3.78
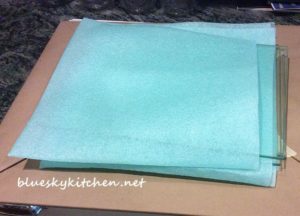
To flatten the calendar, I placed it between the foam core board and the piece of glass and set some more glass shelves on top to weigh it down.
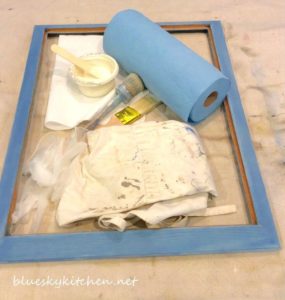
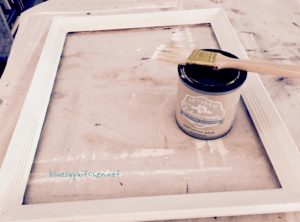
Fourth, just like in cooking, I gather all my supplies first. As you can see, the frame was painted in Greek Blue from its earlier use as a bulletin board. That project was O.K. but I didn’t like how it looked in my kitchen.
Making the Dry~Erase Calendar
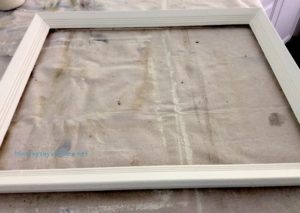
I painted the frame with 2 coats of Annie Sloan Chalk Paint in Pure White which I already had on hand. You could spray paint the frame, but it was 100 degrees outside so spray painting was not an option.
I’ve always wax my ASCP projects, but I wanted some shine so I used my Artisan Enhancements Top Coat Sealer.
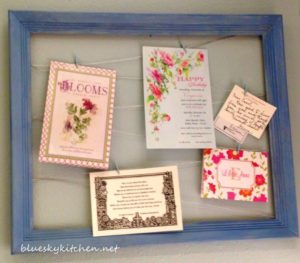
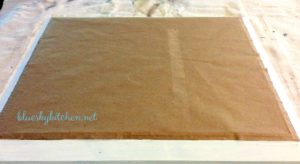
Finally, I assembled the frame, glass, calendar, foam board, and paper backing (which I already had).
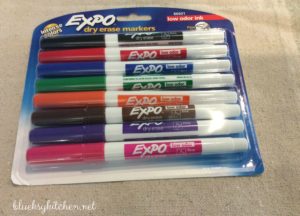
I haven’t attached the wire hanger yet. I purchased a package of 10 dry eraser markers at Staples (it’s right next to Jo-Ann’s) in different colors for different events. Cost $11.90.
Now I don’t have a designated, all my own office. My laptop is in the “desk” area of my kitchen, but I do have a file cabinet and Elfa storage in the laundry room so that’s where the calendar is (for now), accessible, but not front and center. If (I really hope when), I get that office, I’ll move it but for now it’s working fine.
After I had all my supplies, the painting and assembly took about 2 hours. My total cost for the dry erasable calendar was $46.29 plus the cost of the markers. I think that’s a great deal.
Thanks Erin for the inspiration.
Have a great week and come back to visit. Let me know if you like this project.






Great idea, Carol! I made one of these for my weekly dinner menu but I think I need a calendar like this!