Using HomeRight Paint Sticks to Paint Our Dining Room
Here we are in Week 4 of the One Room Challenge. This week was the most intense and challenging of the process of making over our dining room. I love painting and giving new life to old furniture and accessories, but painting a rather large room with 10 foot ceilings is a task I have never tackled. Painting a large room can be time~consuming, tiring and messy. But I had faith that my friends at HomeRight had the tools that would make the job easier, faster and cleaner. Using HomeRight paint sticks to paint our dining room was a life~saver.
Week 4 in our One Room Challenge is not glamorous or full of design ideas (Week 3). As we all know, nothing can change the look of a room more than a fresh coat of paint. Have you ever known anyone who says they just love to paint walls and woodwork? Me neither.
I think that I mentioned that when Sweet Shark asked me who was going to paint the dining room and I told him that I was, he rolled his eyes (Yes, grown men can roll their eyes.) But I knew something that he didn’t know: I had a secret weapon that was on its way to help me complete this major task in our dining room makeover.
While I was in Atlanta 2 weeks ago, Sweet Shark told me a package had arrived from HomeRight. I was so excited because I knew what was in it. A HomeRight Paint Stick EZ~Twist. After seeing a video of how much easier and faster this tool made the process of painting walls and ceilings, I knew I needed one for the ORC and HomeRight graciously offered to send me one to use. If using HomeRight Paint Sticks would make painting our dining room faster and better, I was all for it. If you have a room to paint in your future, you don’t want to miss this how~to.

Thank you to HomeRight for providing the tools for this project and sponsoring this post. All opinions and recommendations are my own. This post also includes affiliate links to these products. If you should order any product through this site, I may receive compensation, but you do not pay one penny more.
Using HomeRight Paint Sticks to Paint Our Dining Room ~ ORC Week 4
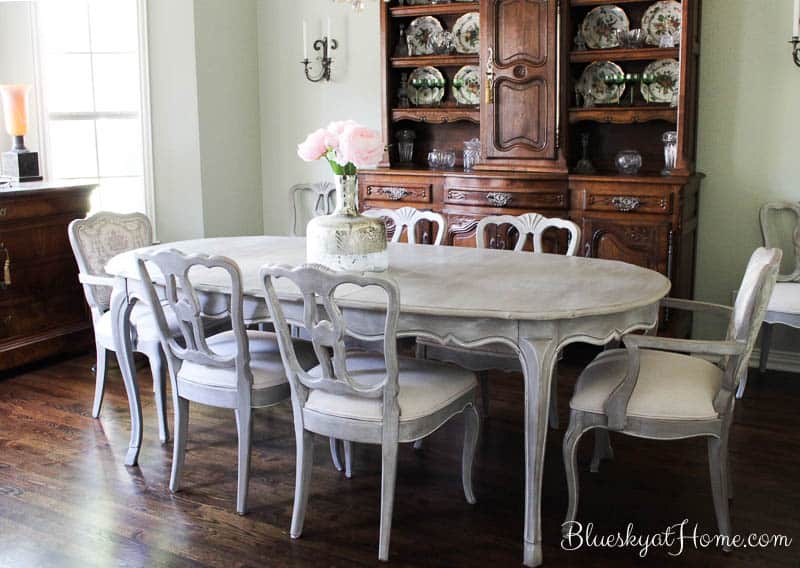
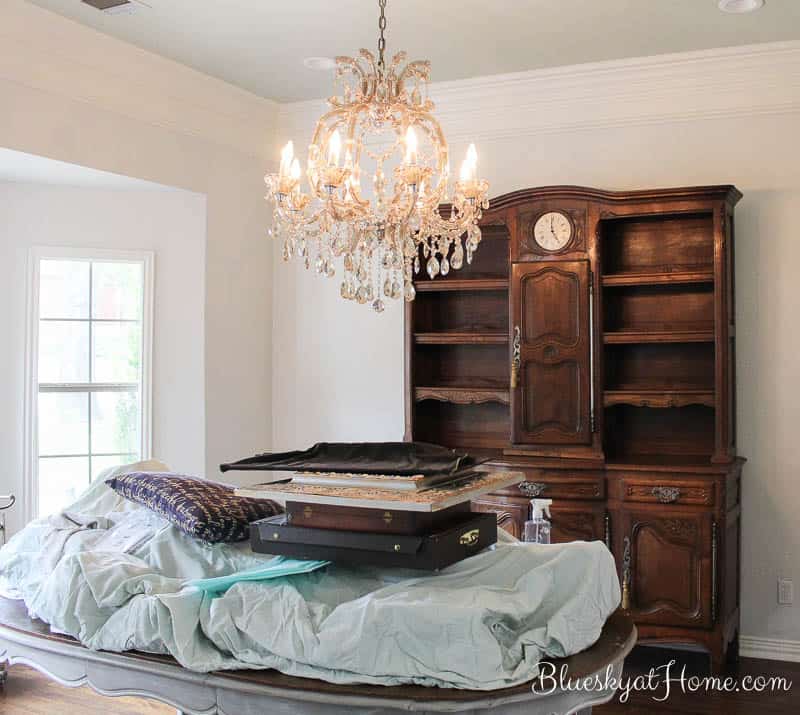
In Week 2, I showed you our possible paint choices and how I painted all our window trim and baseboards using Benjamin Moore White Dove. As a reminder, here is how the room looked originally. The wall color is Sherwin~Williams Grassland although we had Benjamin Moore make the paint.
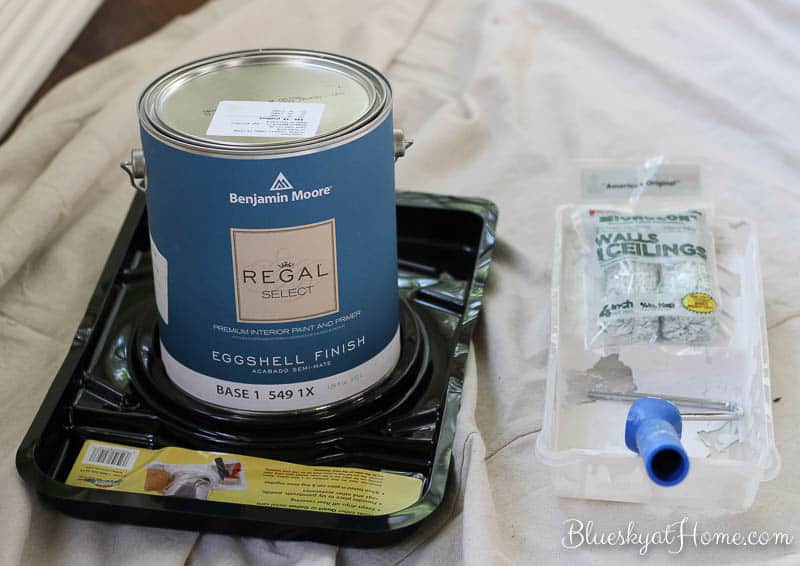
We chose Benjamin Moore Silver Satin, a barely gray color. We used BM’s Regal Level Paint in Eggshell finish.

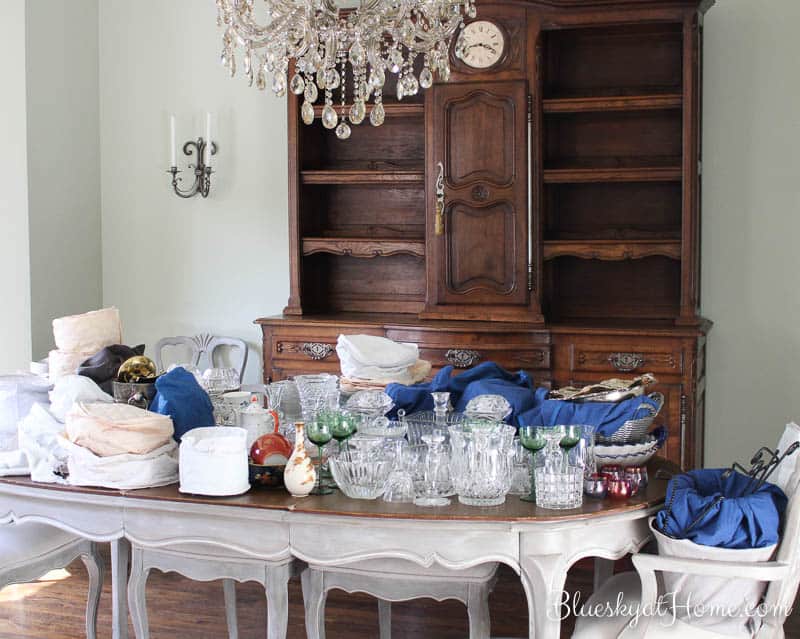
Our dining room is 12 1/2 X 15 1/2. The ceilings are 10 feet tall with the crown molding about 1 foot. Most of one wall is the cased opening to the entry, one wall is mostly the bay window, and the other 2 walls are just walls. To get to the large back wall, we had to move the vassilier away from the wall. Even empty that piece is heavy and we had to “scooch” it a little at a time. The dining room table was still in the center of the room and Sweet Shark’s rolled up rug was still in the room. We finally moved the chairs into the entry. After tripping over the (d—-) rug a couple of times, we pushed it under the dining room table.
Supplies for Painting the Dining Room
- drop cloths
painters tape(see below why I have that crossed out)- paint can opener
- paint can tray
- stir stick for paint
- hammer for sealing paint lid
- paper towels
small roller brush and paint tray(again see below)- step stool and/or ladder (depends on your height and height of the walls)
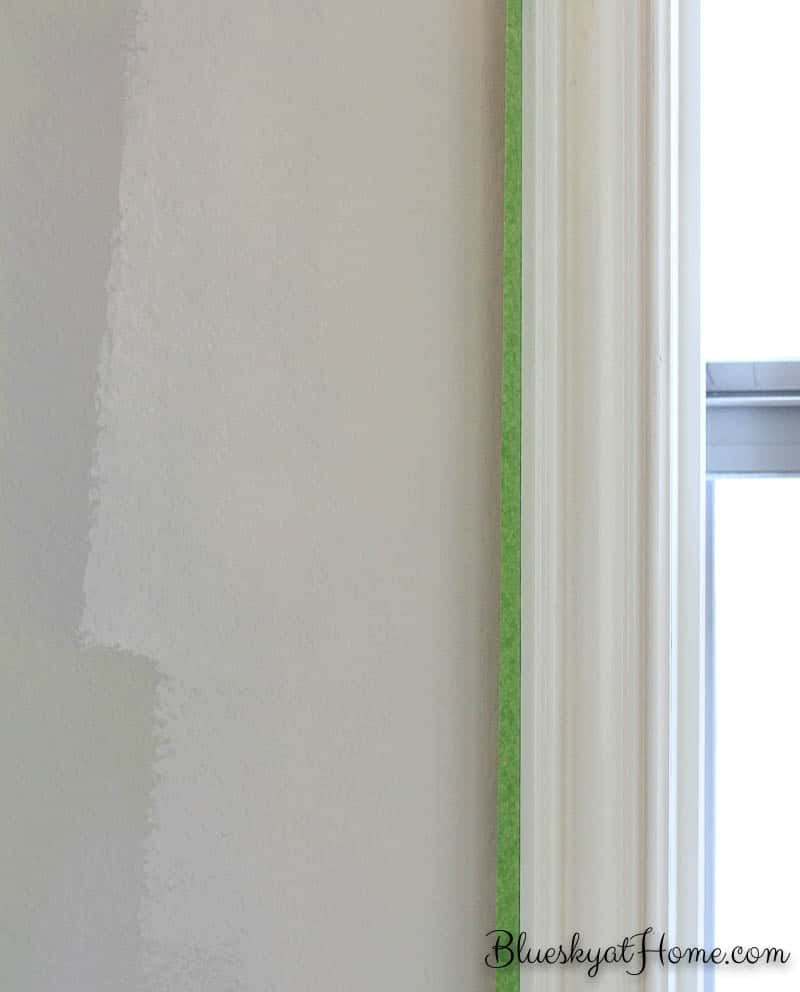
Day 1 ~ Cutting in the Wall Paint
Another job that no one likes. I decided to start with the windows since that wall would be the most time~consuming. Once again I used Frog Tape around the windows. Then I painted around the trim on the windows with a small, 4~inch wide roller.
Because I hate to waste paint in the paint pan, I painted between the bottom of the windows and the top of the baseboards. I just kept painting until I used up all the paint.

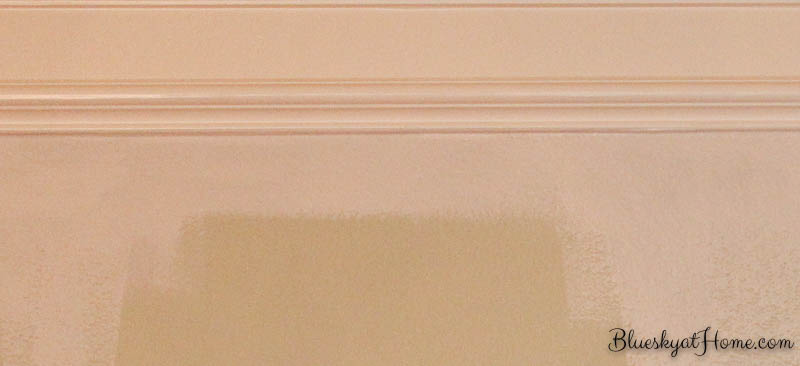
By the way, this was the moment of truth: Did I like the paint color? My biggest fear was that it would be too dark. Fortunately, it had just the bare tint of gray that I wanted. In the sunlight, it looks really light but at night or in the shade, it turns a softer pale, pale gray.
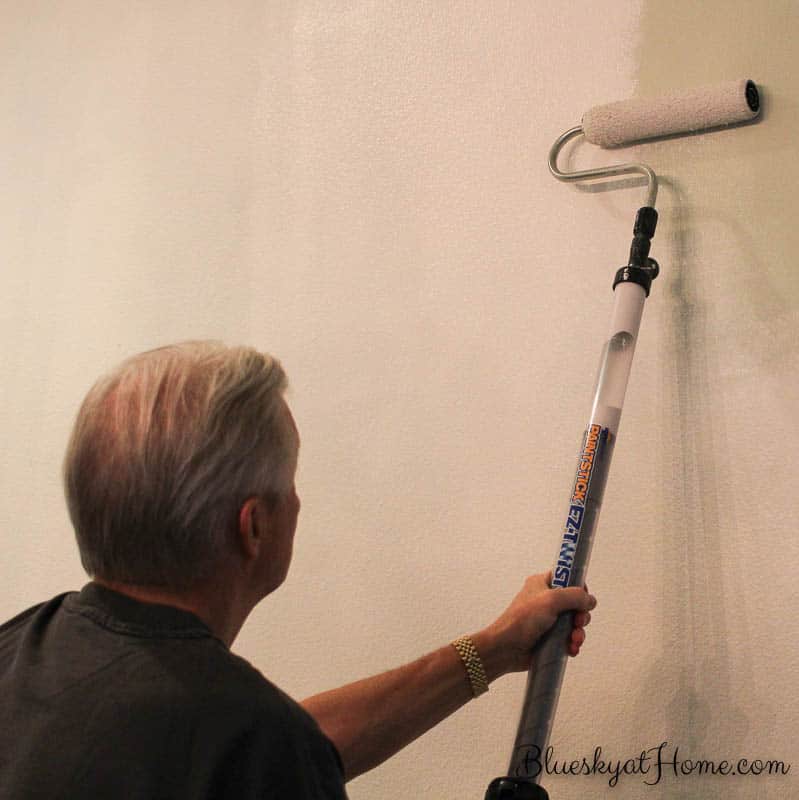
Day 2 ~ Painting the Window Wall with the Paint Stick EZ~Twist
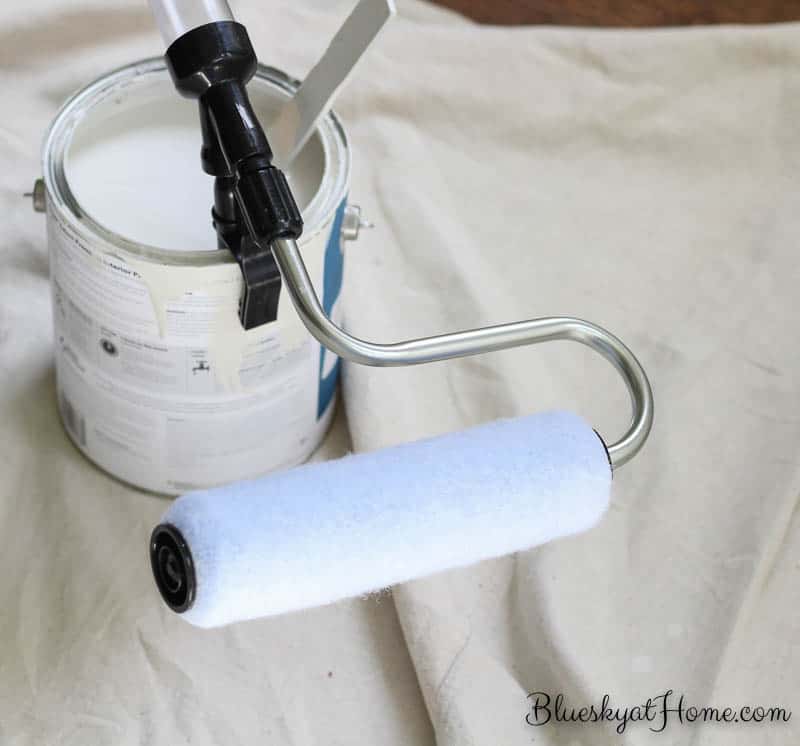
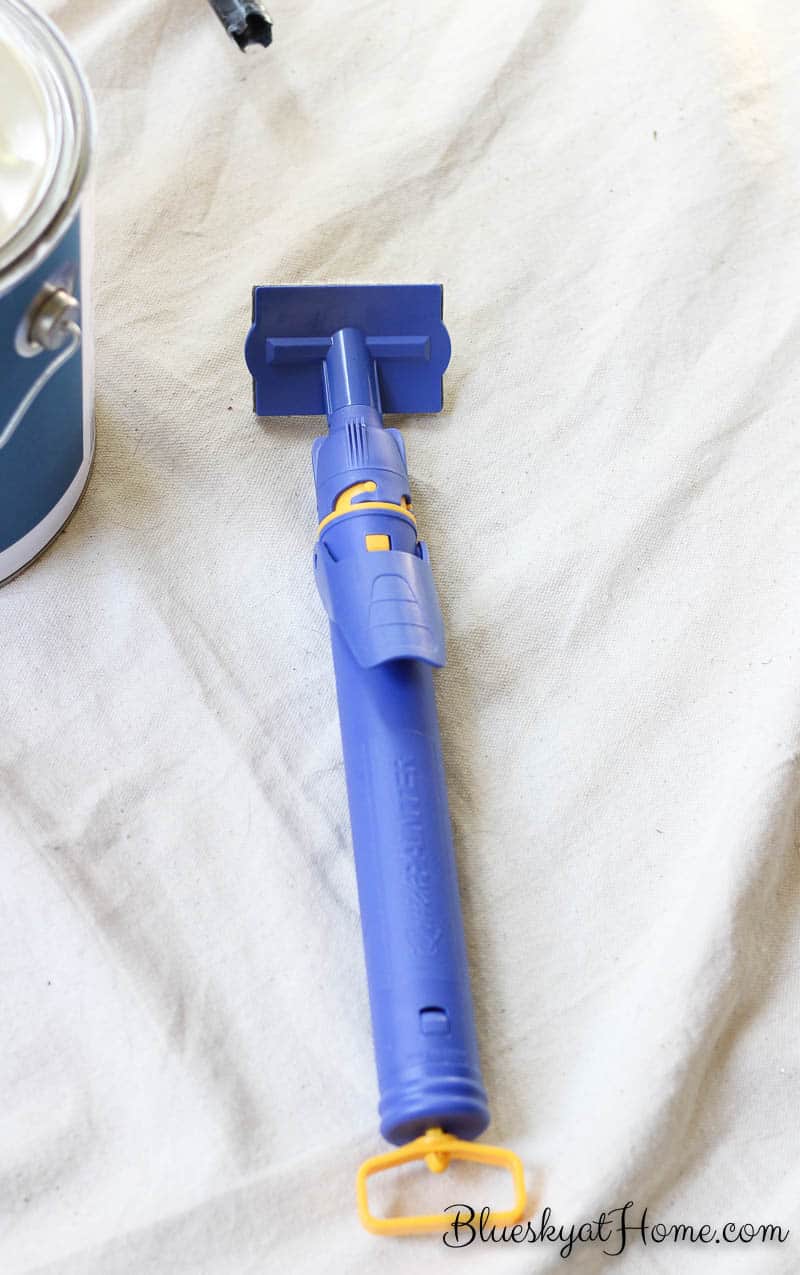
Here’s where the fun began. I took the Paint Stick EZ~Twist out of the box and laid all the pieces out along with the instructions. There are really not that many moving parts, which is a good thing. (All parts, such as the roller, are available individually.) The paint stick, the roller attachment, the roller (with the roller filler inside), the fill tube and the paint guard are all included.

From past experiences, I know that watching the HomeRight videos are so helpful. I highly recommend watching the how~use the Paint Stick EZ~Twist a couple of times before you start using it. I can tell you that following the directions in the video will make the wall painting go easy.
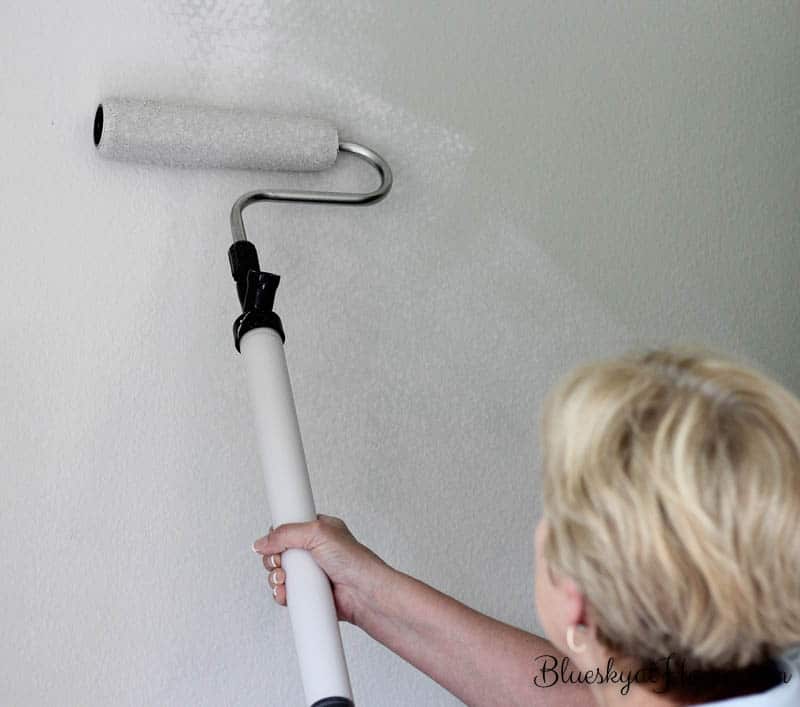
Here’s my brand new Paint Stick. It looks so pretty. Place the fill tube on the rim of the paint can. It clips under the lip of the can. Attach the Paint Stick. Be sure to stand across the paint can from the paint roller and have the Paint Stick at a 45~degree angle.
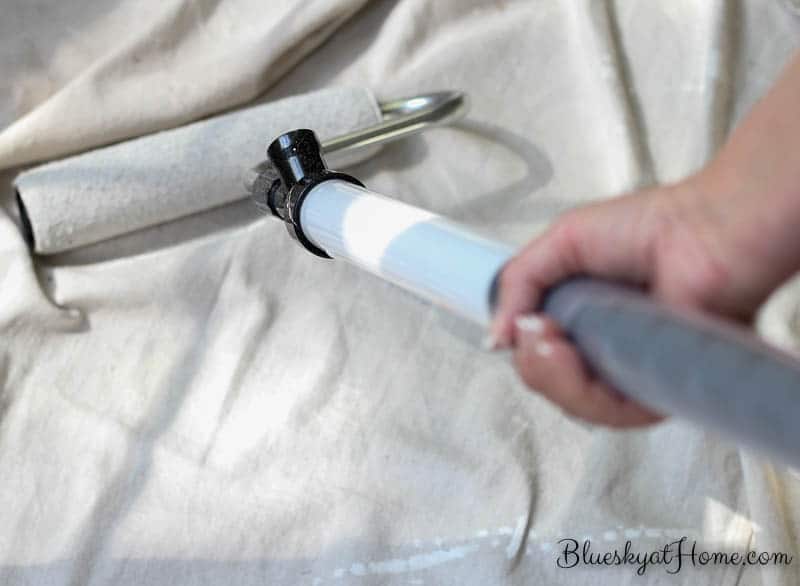
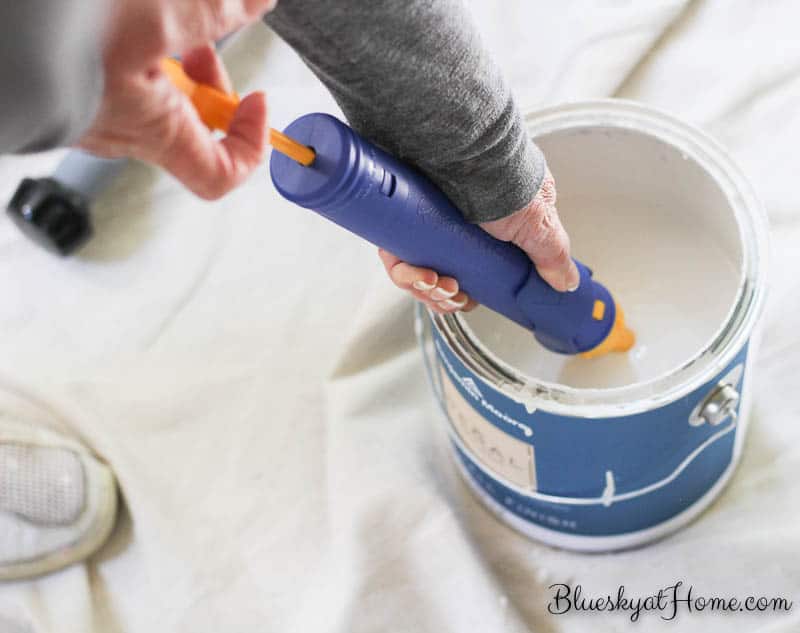
With the toggle on the handle pointing down (the directions call this position UP), pull back on the inner stick and the Paint Stick fills with paint. Continue to do this 2 or 3 times to completely fill the Paint Stick. Gently lift the Paint Stick from the fill tube. Flip the toggle back toward you (the directions call this position DOWN) and start twisting the handle to push the paint down into the roller.
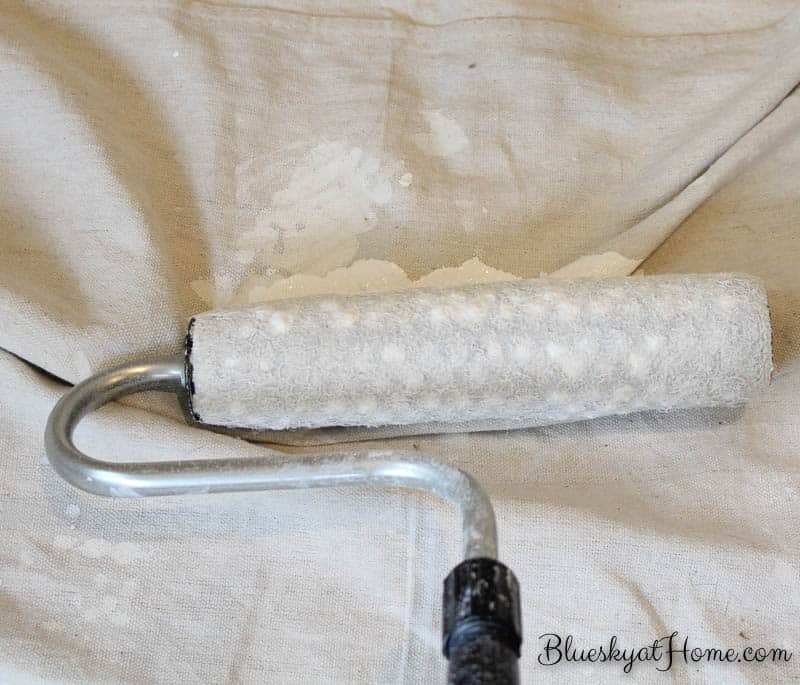
TIP: the roller has to be completely filled with paint. Twist the handle in a clockwise direction until you see little dots on the roller. You may hear a little gurgle. Stop when you see the dots of paint on the roller. Now you are ready to apply the paint to the walls. Don’t get frustrated if the paint dots don’t appear quickly. The first time you use the Paint Stick you will have to twist the handle until almost all the paint has been pushed down to fill the roller. After the first use, the roller fills much more quickly.
If you twist too much, the roller looks like this and you may have some drips on the floor. Be careful when you place the roller on the wall. It may slide a bit until you’ve applied the some of the paint to the wall.
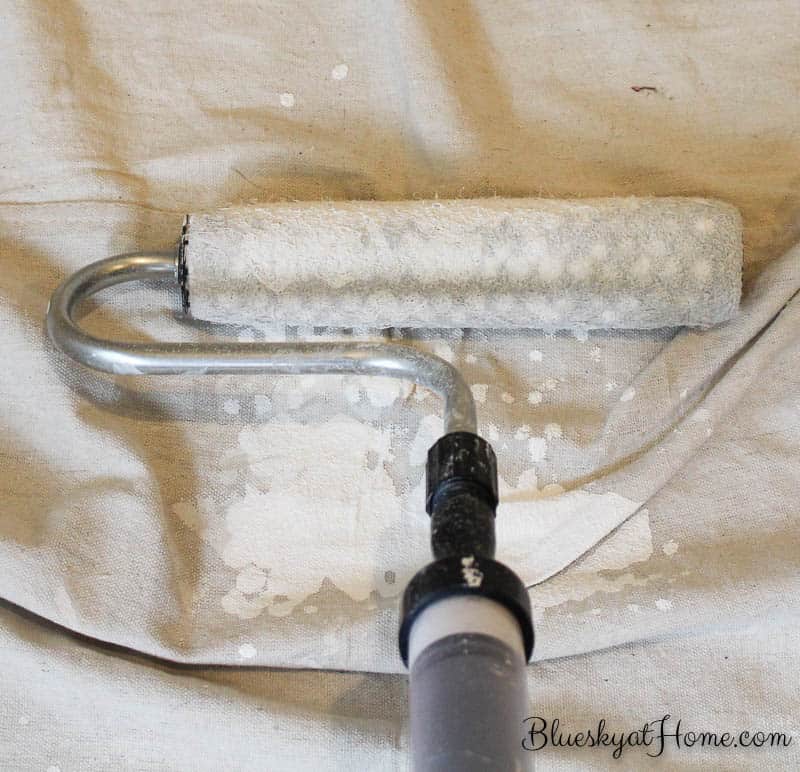
TIP: Unlike a regular paint roller, the EZ~Twist will not drip if you don’t put too much paint into the roller. I would still place drop cloths on the floor.
I finished painting the walls around the windows and on the ceiling above them. This paint dries really fast so I was able to go back and give the window walls a second coat of paint. And that was Day 2. Since this would be the first time I cleaned the Paint Stick EZ~Twist, I watched this video ~ a couple of times.
TIP: I had an old towel ready to place the parts on once they are cleaned.
Day 3 ~ Using the Quick Paint Trim Tool and Painting the Back Wall
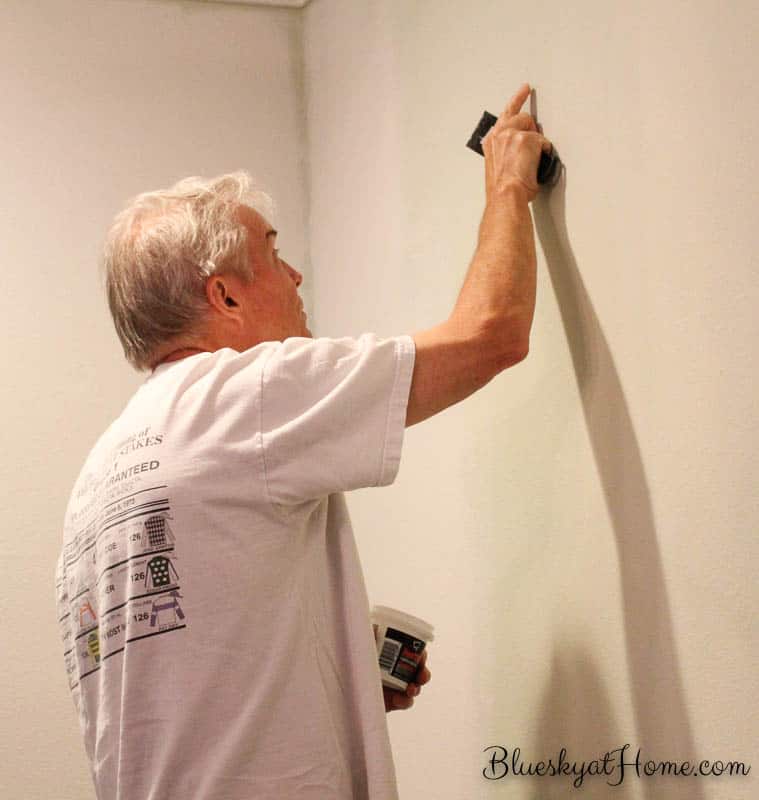
Here’s where I wanted to kick myself. When I took all the pieces out of the packing box, I didn’t pay attention to the blue and yellow tool. It wasn’t part of the Paint Stick EZ~Twist. It was the Quick Paint Pad Edger or Trim Tool. Once again I went to the HomeRight site (or YouTube and watched the video for the Quick Painter Trim Tool. I realized that this tool was meant for cutting in. And you don’t have to use painter’s tape! What a time saver in addition to no roller and tray.
TIP: Always read all the instructional material and look at all the pieces in the packaging before starting a project!
Following the video instructions, I filled the Quick Painter Trim Tool with paint. This process is really quick: press down on the lever and pull up on the handle; think of a baster or a syringe
TIP: To get the paint onto the paint pad, place a folded paper towel over the pad and barely push down until you see a couple of dots of paint. I found that it’s best to have the paint pad facing up to avoid any paint drips.
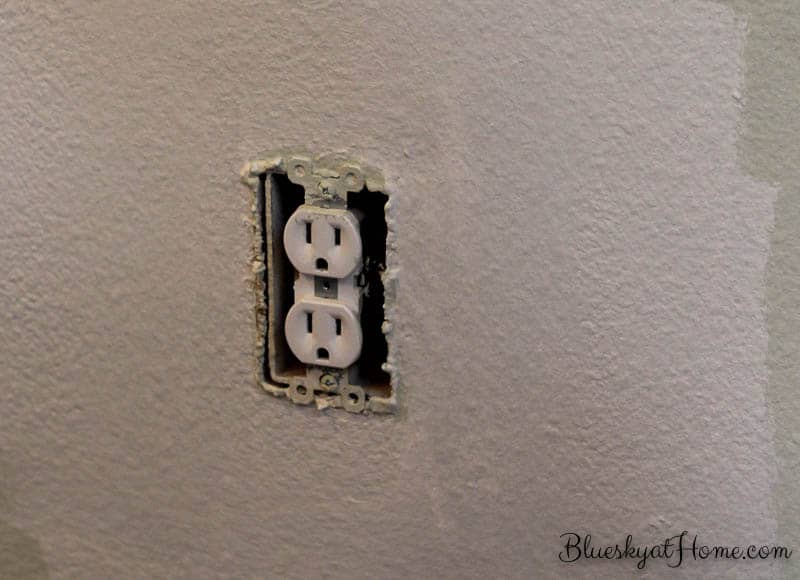
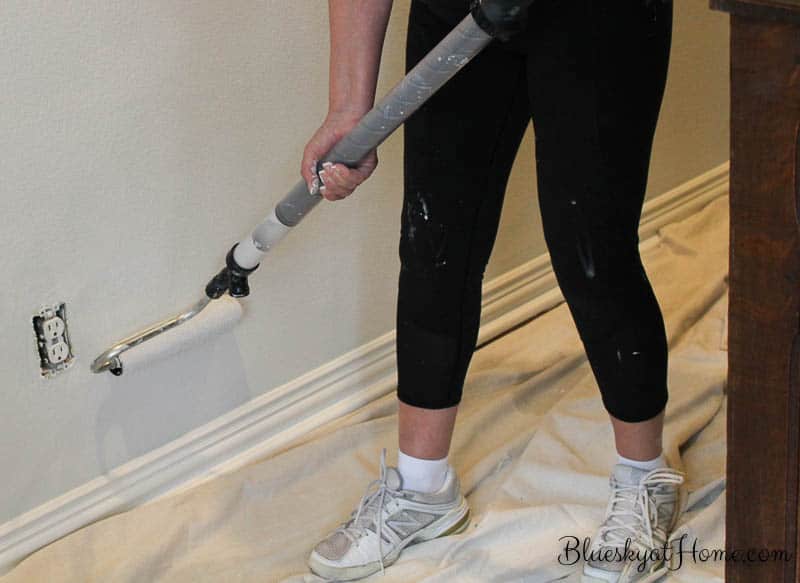
Because I really wanted to finish the wall with the vassilier first so we could move it back in place, I cut in the baseboards, around the outlets and the ceiling first and then I switched back to the Paint Stick EZ~Twist. Not having to tape saved so much time, both before and after painting.
While I painted the back wall, Sweet Shark removed our 2 tapestries and filled the holes with spackle (Thank goodness no golf game on Friday!) on the other big wall.
Then I went over the back wall with a second coat of paint. Sweet Shark really got into the spirit of the painting when he saw how easy it was.
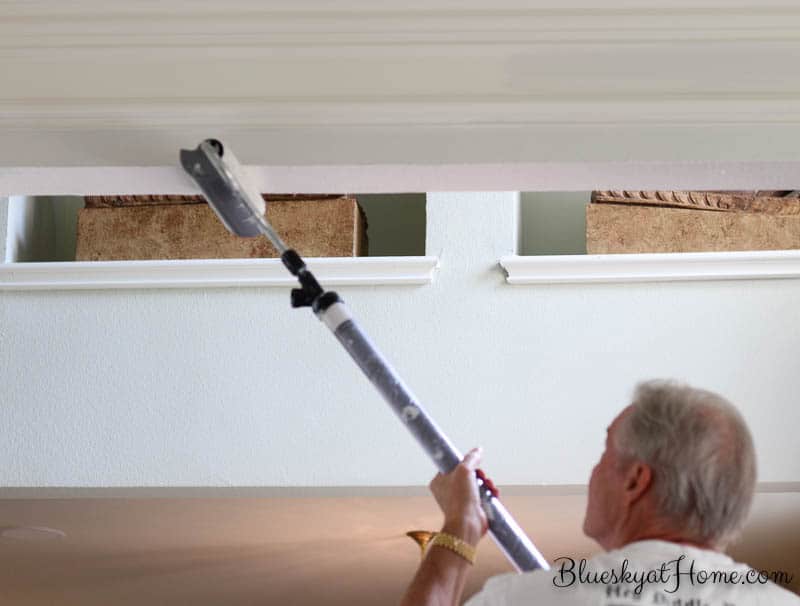
We finished the day’s painting by covering the header separating the dining room from the entry. I used the Trim Tool to paint the inside. I did have to get out the ladder to reach this area as well as cutting in below the crown molding. At 5’2″, I just can’t reach to the top of a 10 foot ceiling.
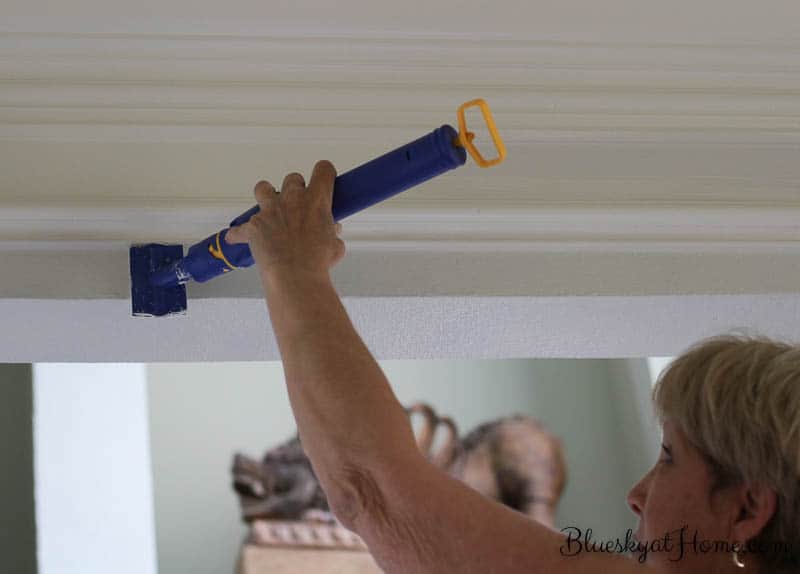
Sweet Shark used the Paint Stick to paint the bottom of the header.
Day 3 came to a close. It was happy hour and time to get ready to go out to dinner.
Day 4 ~ Finishing the Side Wall and Cleaning Up
Saturday morning I had tennis drills in the morning and Sweet Shark went to work out. When we both returned home, we watched our beloved Barbara Bush’s memorial. We got a late start on our last day of painting. The first thing we did was “scooch” the vassilier back to the wall. That gave us so much more room to work in.
Together we painted the side wall, me painting from the middle to the baseboards and Sweet Shark painting from middle to crown molding.
The shadows on the wall make the wall appear uneven, but it actually is very even. The paint coverage was excellent, which I attribute to good paint quality and the Paint Stick. One other advantage of the Paint Stick EZ~Twist is that you don’t have to paint in a W or V on your wall. You can go straight up and down or sideways. 
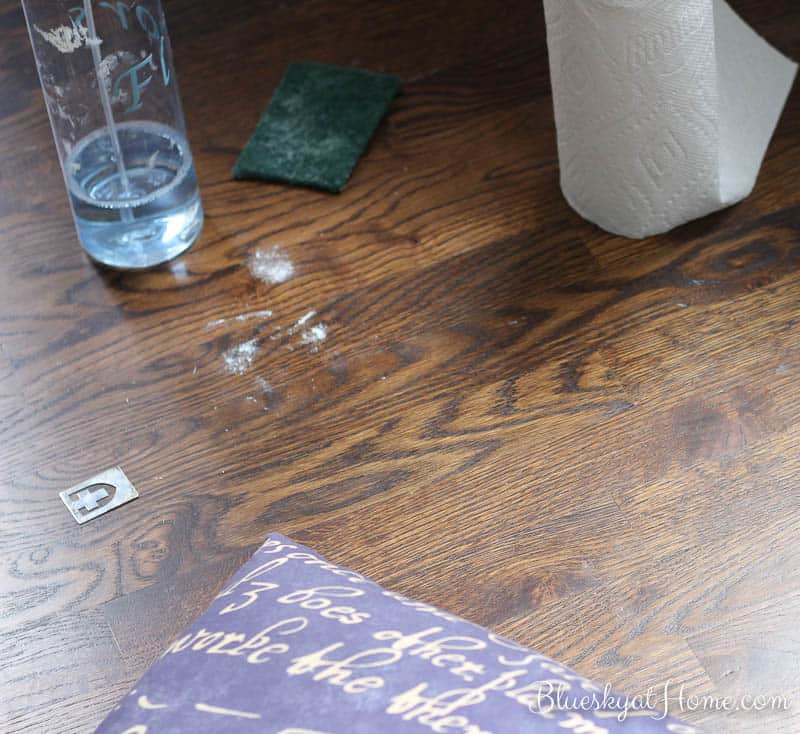
While Sweet Shark screwed all the outlet plates on, I cleaned up the room: all the supplies went back to their places, I folded the drop cloths and vacuumed. Then I cleaned up the paint splatters from the hardwood floor. Now that I know how to use the Paint Stick and the Trim Tool, I’ll be better at not overfilling them. And I’ll always use drop cloths. Cleaning up paint from hardwood floors is not fun.
NOTE: You may have noticed that we did not paint the ceiling. We would have had to move the dining room table out of the room to do that. Since that isn’t feasible right now, we’re just leaving it as is. The ceiling is a tint ~ Grasslands diluted by 50% so it isn’t real noticeable.
At the end of Days 2 ~ 4, I took the Paint Sticks to our laundry room where we have a large sink. I’ll admit that it took me awhile to get the hang of the cleaning process. The first time I just went with my gut. I watched the cleaning portion of the video on Day 3 again and the process went much easier. Before we started cleaning up on Day 4, I had Sweet Shark watch another cleaning video with me. Like anything, if you know how to do a task correctly, it is easy.
We are over the hump of the One Room Challenge. I’m really proud of Sweet Shark and me for painting the dining room by ourselves ~ a first! Thank you so much to the HomeRight family for sending us the tools to make the job so much easier, faster and more manageable.
What’s up for the coming week?
- return all the china, crystal and silver to the vassilier and style the shelves
- the rug we order arrives and I hope we love it
- the 2 Peony prints arrive (Then I can make a decision about the other art in the room and the color of the fabric for the accent pillows.)
- the drapes are being installed at the end of this week!!!
- paint a few accent accessories
This coming week will be a fun one, but busy. I’m really getting excited and feel like we are coming around the backstretch of this dining room makeover. Please check the One Room Challenge tomorrow with all the links to the other guest participants. It’s my favorite day of the week.
Carol, your paint job turned out beautiful! I love that new color, it really brightens up your dining room. And there’s just enough contrast with the trim for it to stand out. I haven’t used a paint stick yet but I bet that saved a ton of time, especially the trimmer tool. Next time…. 🙂
Toni, thank you so your sweet comment. The PaintSticks were a great help. Glad you like the color!
Love that new paint color! It looks fantastic! I’ve never used a paint stick. It looks cool.
Thank you, Emy. The paint stick is an amazing tool.
The new paint color is so pretty! I’ve got I try the Paint Stick it looks like it could be a good time saver.
Jessica, I’m loving the color. The Paint Stick made the whole job easier, faster and cleaner.
Cindy@countyroad407 says, thanks so much for the post.Really thank you! Great.
Cindy, you are so welcome, friend.
I new they the paint stick, but I didn’t know about the edger tool…I really to get one of those! I love the color you picked, your room so light and fresh!! Great job tackling that yourself 🙂 And you even got Sweet Shark to help…go Carol!!
Thanks you so much, Susanne. If you want to order, you can just click on the links in the post. Good thanks happen when you smile and say please!
How have I never heard of the painting sticks? I feel like I need to enhance my painting game / tool kit now. haha! It’s looking great!
Sarah, Super great tool for very little investment.
The paint color is fab! And I agree….HomeRight painting sticks ROCK. Great progress this week. ~~ Susie from The Chelsea Project
Susie, happy you like it. Painting the room was a big step forward.
Carol, there’s nothing worse than painting a few feet then having to reload your brush or roller. I bet that paint stick made all the difference in the speed and the eveness of the paint finish.
I can’t wait to see all of this complete. You have such great taste! I know the room will be gorgeous.
Stacey, the paint stick is a game changer when it comes to painting walls. Only way to go.
I’m sure the room looks great with the new fresh coat of paint, Carol! I bet the paint tools cut down the painting process quite a bit. I hear you about not redoing the ceiling. Wanna know something? No one would be the wiser. Good luck with Week 5!
Fantastic Post with so many helpful tips! I have some painting to do soon and think I’ll try the HR stick. I hate painting so anything that could help make it go a little faster and easier is a huge plus in my book! The dining room is looking great! Can hardly wait to see the finished result.
Thanks so much, Cindy. You can get the paint stick through my site.