Paint Preparations for Our Dining Room Makeover
Welcome to the 2nd week of the One Room Challenge. I’ve been amazed at the proposed projects for this Spring 2018 Challenge. From laundry rooms to offices to living rooms, bedrooms, kitchens and dining rooms ~ the scope and ambitions of all the contributors is a bit overwhelming. I’m just happy to be here as one of the guest participants. As I shared in Week 1, I am giving our dining room a lighter, fresher and more colorful look. Last week was the vision and the plan and this week is the paint preparations for our dining room makeover.
As we all know, a new color of paint can transform a piece of furniture or an entire room. But brushing paint on the wall isn’t the first step in the process. As I discovered this past week, there’s so much that has to happen before you even open a can of paint. Properly executing your paint preparations can result in a more efficient and successful result ~ especially when you have just 6 weeks to complete a major project.

Paint Preparations for Our Dining Room Makeover
To be honest, although I’ve painted countless pieces of furniture and accessories, I haven’t painted a room myself in several years. It’s a much bigger undertaking. I’d love to just pick out a color and slap it on the walls. But I know enough about painting to know that some tedious tasks have to happen before the fun begins. The paint preparations took up this entire week and I’m not finished. Be forewarned: this is not the post with pretty pictures of rugs and drapes and new art on the new painted walls. It’s the down and dirty, Can’t wait to show you the process and the progress.
Moving Furniture
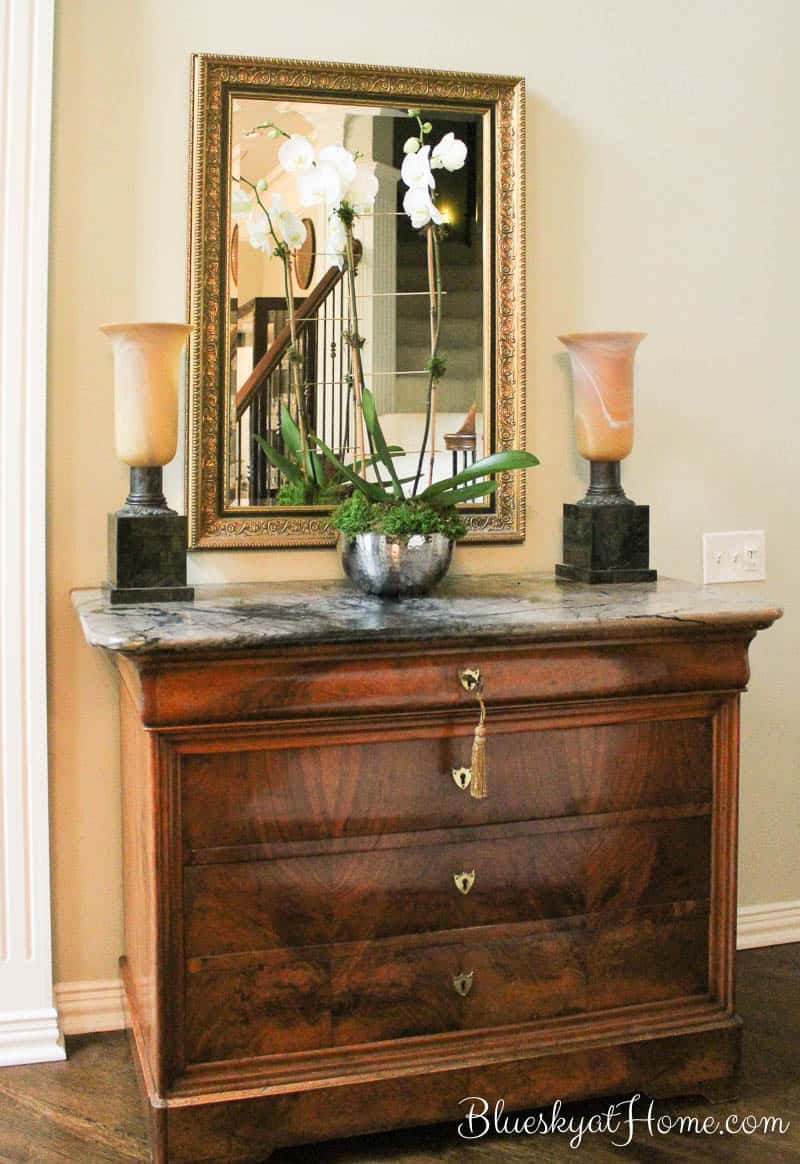
One of the plans for the dining room was to move the commode from the bay window to the entry. The entry was empty after we moved the console to our bedroom.
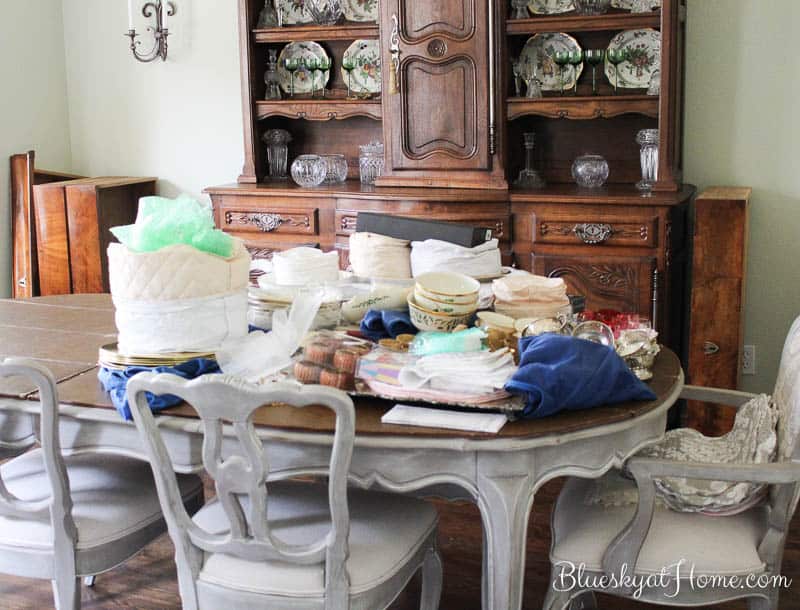
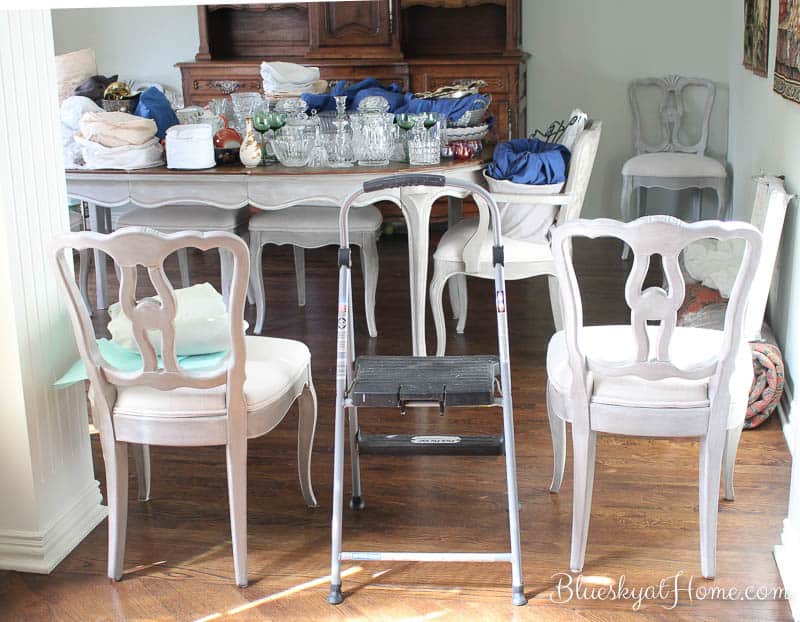
In order to move the commode, I had to first empty the drawers of our Christmas china, some silver plates, and placemats. The logical place to put all that stuff was on the dining room table. To protect it, I put the custom~made covers that came with the table when I bought it at the thrift shop. If you don’t have a cover like this, I would put down a big blanket or sheet to protect your table.
I took everything out of the drawers and then took out the drawers.
To move the commode, we placed a thin blanket under it, and then just pushed it into the entry. I was really surprised how easy it was with the blanket under it.
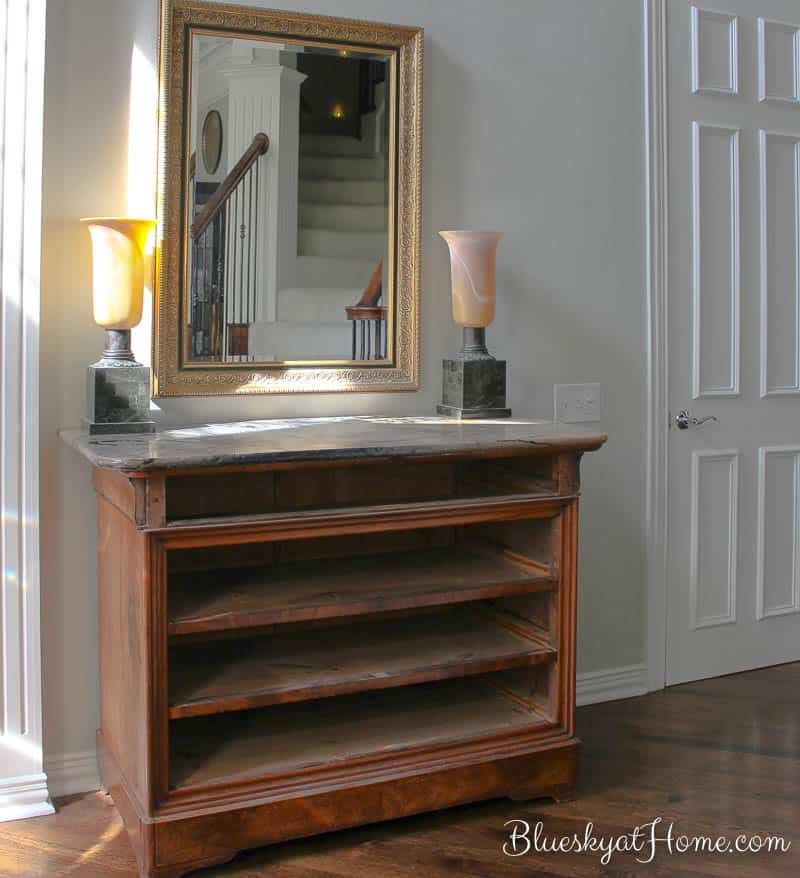
Next the drawers went back in and I gave the commode a through polishing. I started filling the drawers which was a perfect time to do a little rearranging. I love the look of the commode in the entry. This is how it looked with the mirror and the torchiere lamps in our previous home. When the commode was in the dining room, we rarely turned the lamps on. Now, we’ll turn them on every evening. They create a beautiful glow when lit and I love having lamps on at night. I just brought home the orchid last Friday. It was the centerpiece for a charity luncheon. I love that I have so much more room for beautiful arrangements in the entry.
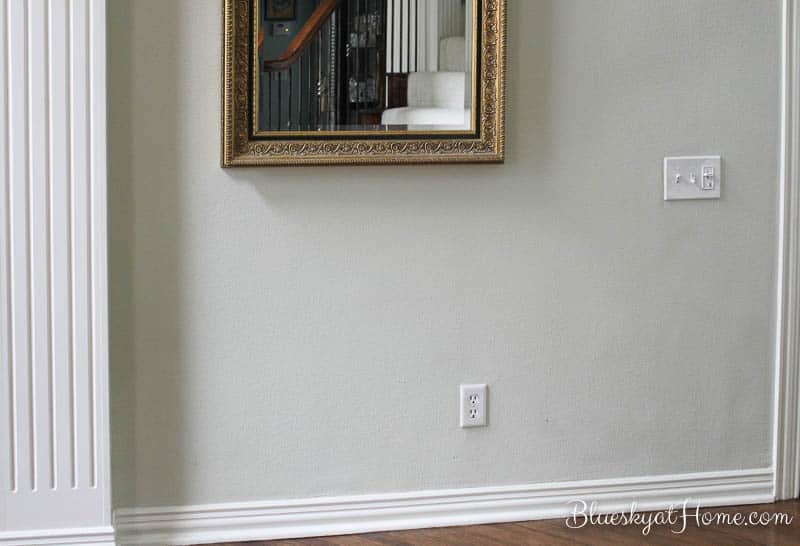
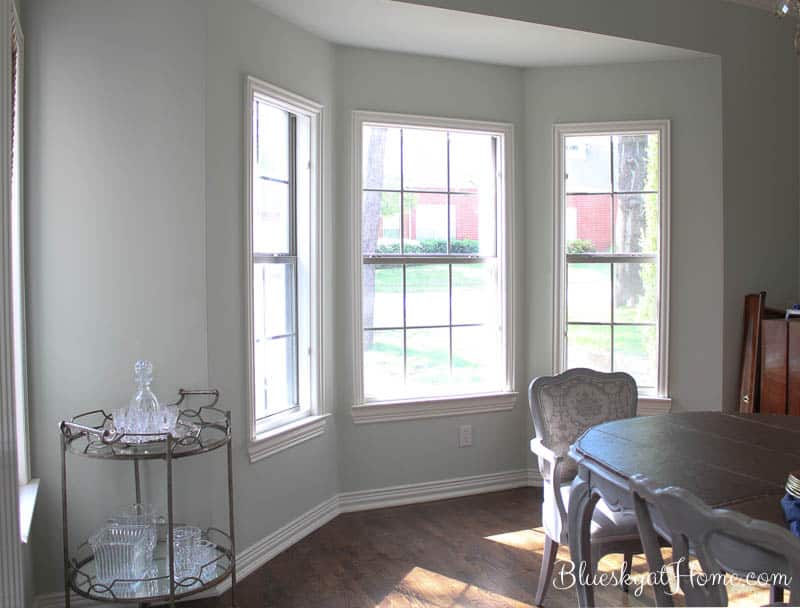
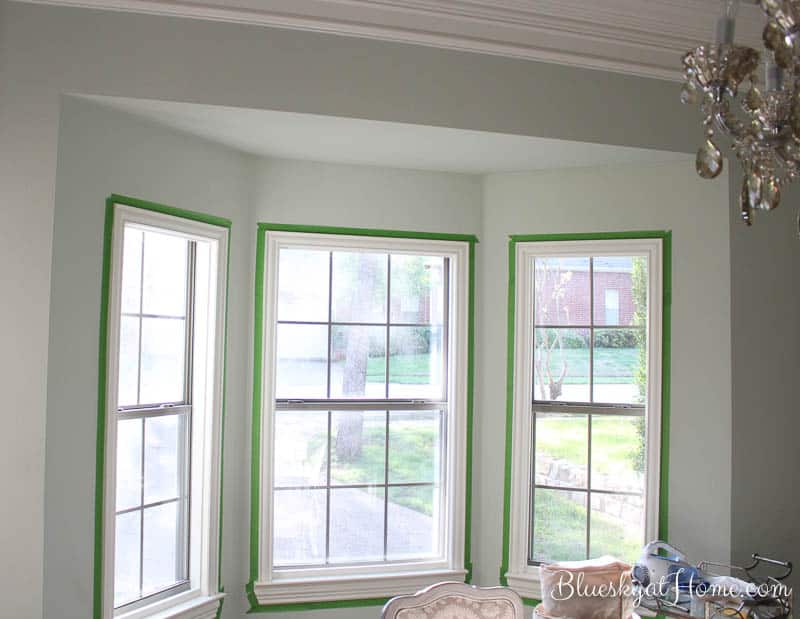
Now with the commode gone, I can’t believe how much bigger the dining room looks. I gained a good 3 feet of length and the bay window looks so much more open, especially with all the dust bunnies removed after a five~year accumulation.
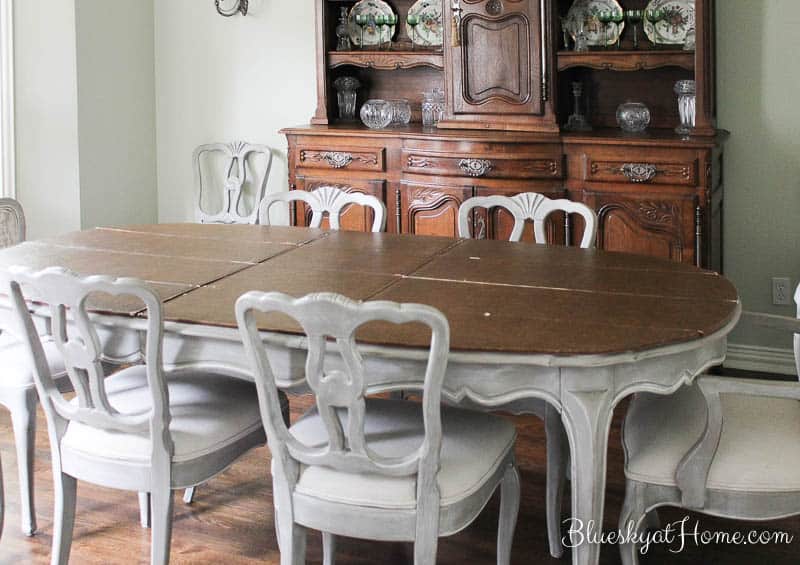
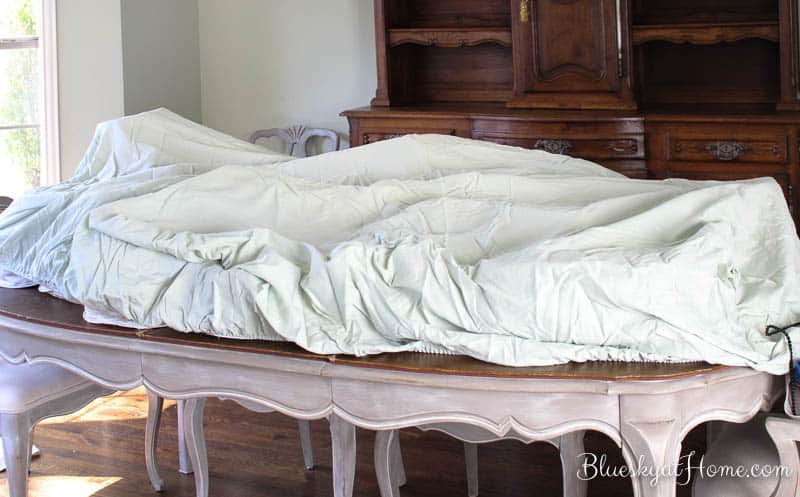
At this point, I decided to take everything out of the vaisselier so I could move it away from the wall when I was ready to paint it.
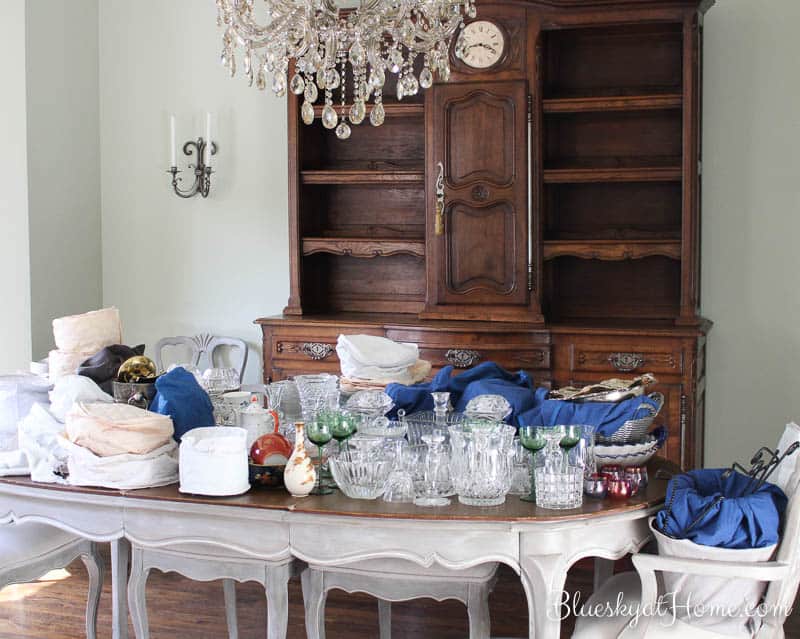
To protect everything from paint and dust I covered the table with an old sheet.
Prepping the Windows
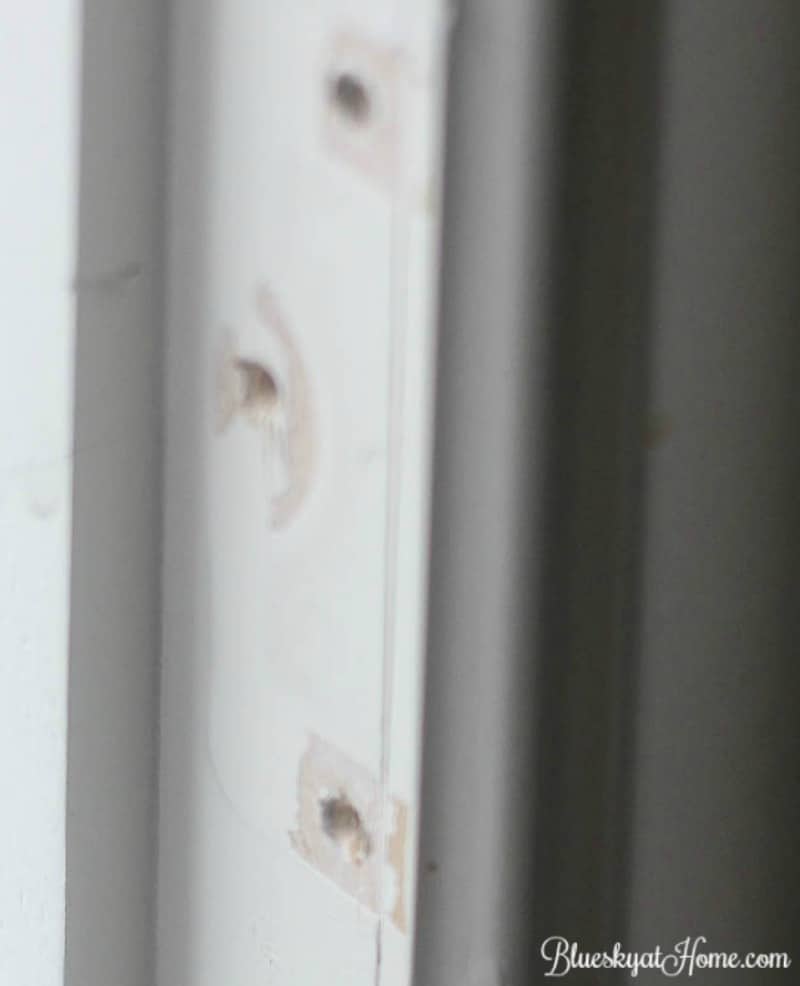
Next on the agenda was filling in the holes that were left after I moved the shutters and the magnets. I bought a jar of wood filler and a paint spatula at Lowe’s.
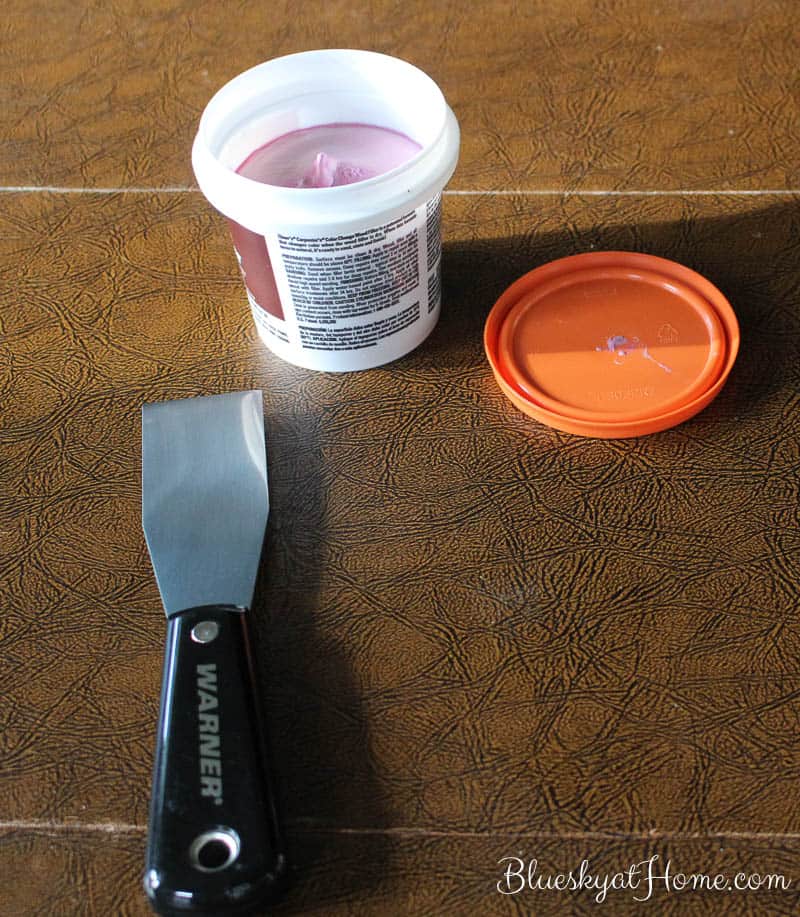
As you can see, the wood filler is purple, but it dries a buff color. This job was pretty easy even though I had 16 sets of holes to fill in.
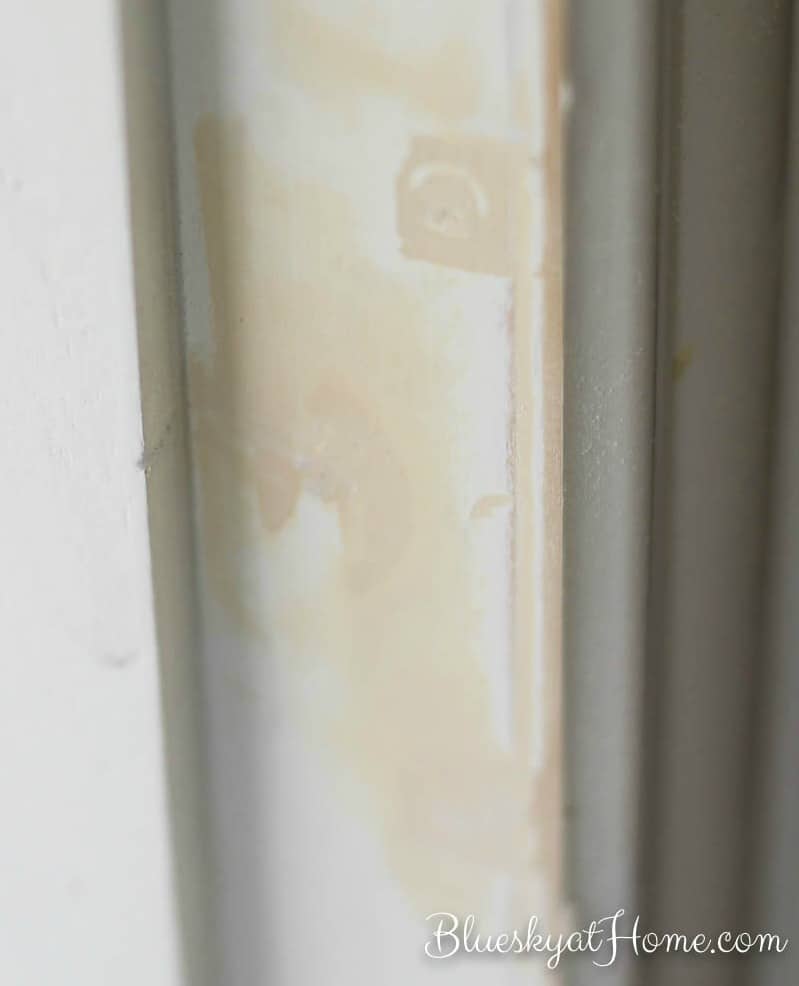
Next I sanded the filled holes with a 180 grit block until smooth. That job was easy. Then I used my Dust Buster and a rag to remove all the dust and any spots. A step stool will come in handy for reaching the tops of the windows.
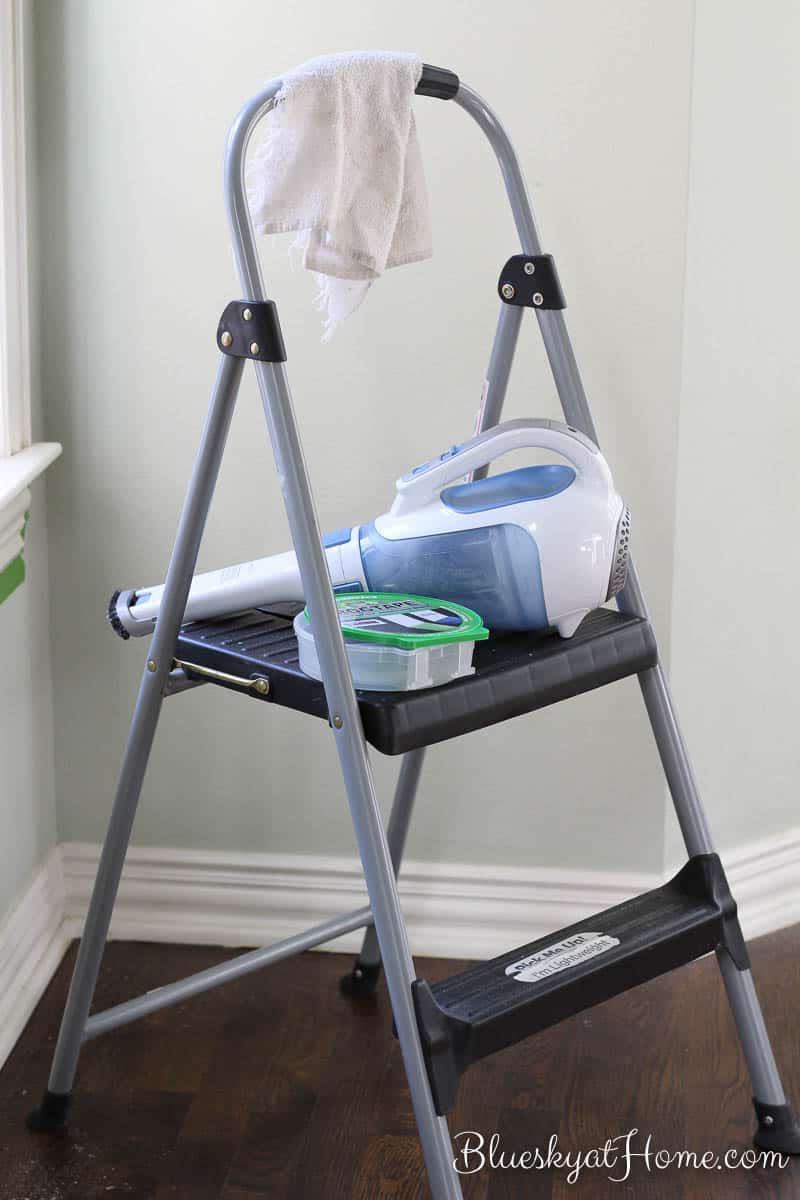
Now it was time to apply the painter’s tape all around the window frames. Thank goodness, I had 2 rolls of Frog Tape on hand.
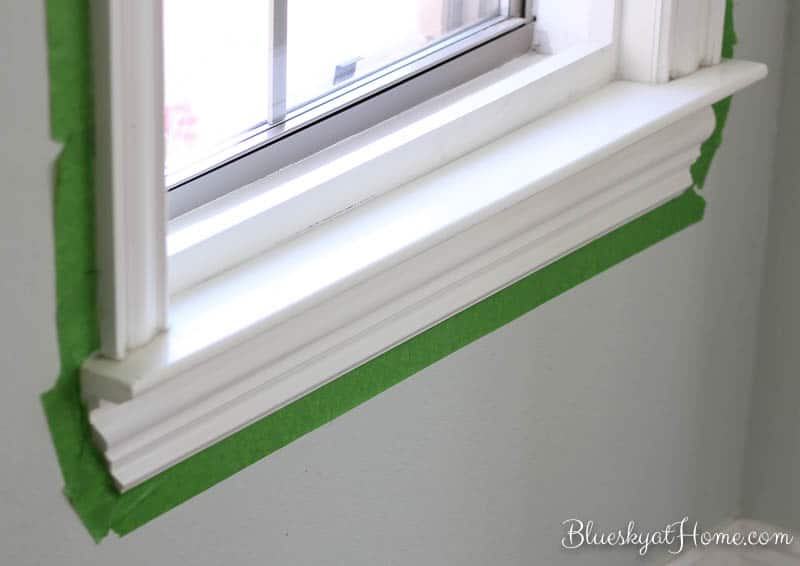
One reason I’m painting the window frames is to cover the filled holes; but another reason is that these were not painted when we moved in the house. If you’ve ever had plantation shutters installed, you know that they are factory~painted. We had no idea what color of white was used and it’s almost impossible to paint the shutters once they are installed so we just told the painters not to bother. I’m so happy that the window frames and sills are getting a fresh coat of paint.
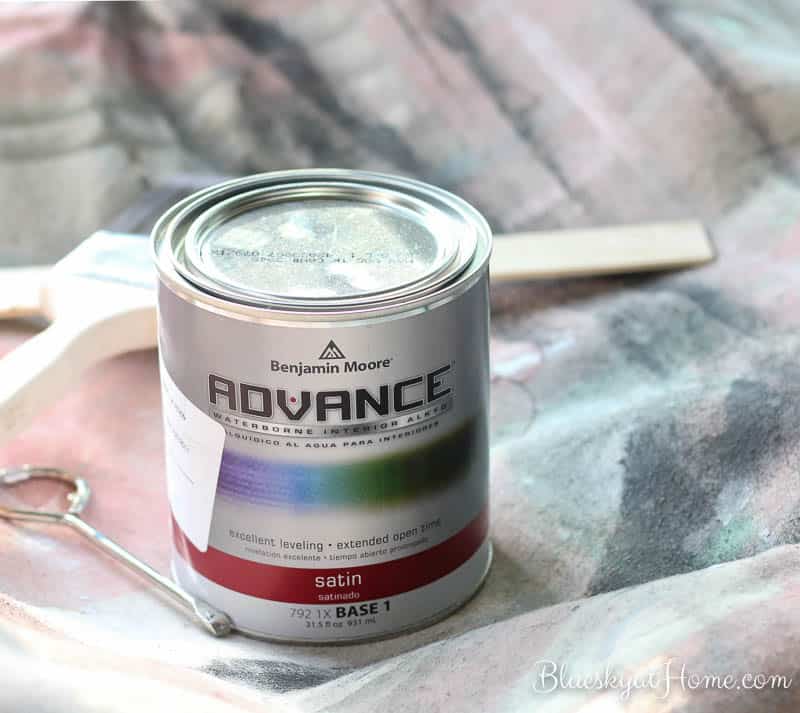
We used Benjamin Moore White Dove for all the trim in the house so I bought a new quart can of that color. I chose a latex enamel in a satin finish.
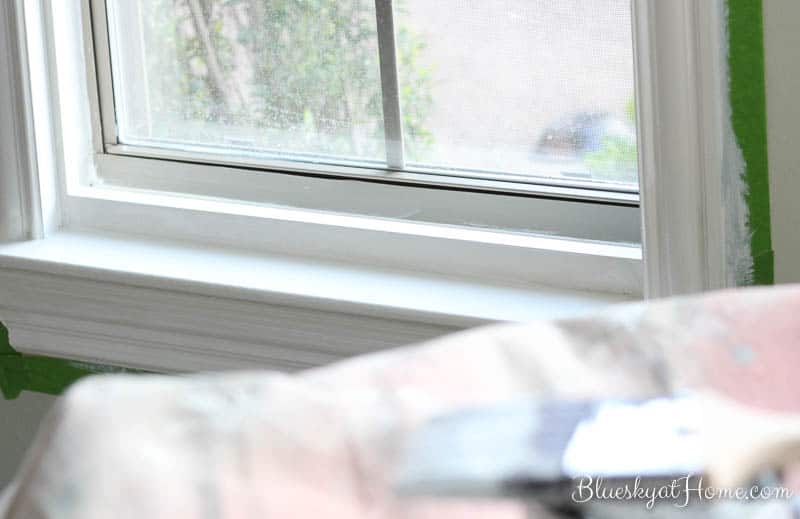
I’m using my bar cart covered with a drop cloth as my work table.
I couldn’t wait to paint the window frames and sills. The new white windows now look bright and clean. The room already looks so much fresher. As I mentioned earlier, I haven’t painted like this in years and I was thrilled at how easy this latex enamel went on and how fast and smooth it dried. I only needed one coat on the window frames, but I applied 2 coats on the window sills just for extra protection (from a drooling Lab who likes to look out the windows).
Speaking of drooling Labs, I decided a little time out from the dining room was needed.
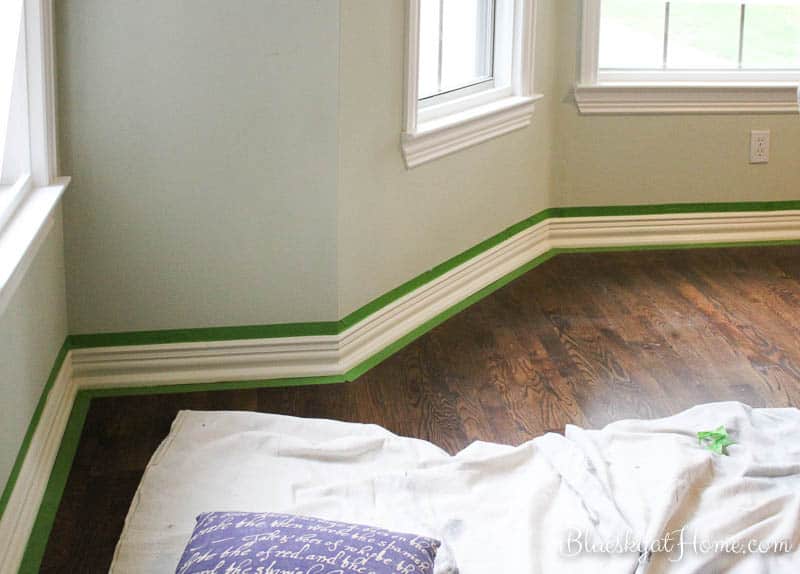
Once I had the windows painted, I realized how awful the baseboards looked. Painting them wasn’t on my agenda, but I realized it would have to be done. First I cleaned and dusted them and out came the Frog tape again.
Getting down on your hands and knees isn’t easy, so I recommend putting down your drop cloth to slide around and a thick pillow to project your knees. I was able to get about 1/3 of the baseboards covered. As soon as we can remove the rolled rug and pull the vaisselier farther away from the wall I’ll finish the other 2 walls.
Well, folks, that was Week 2 of our dining room makeover. The paint preparations will take a little longer since I have to now do the baseboards. So next week I’ll have that chore done and hopefully will have chosen our wall paint color. Be sure to check out the other designer projects at One Room Challenge today and guest blogger contributions on Thursday. If you need to catch up on last week, you can still visit the designer projects and the guest projects.
Keep your fingers crossed for all of us and positive home decorating project thoughts coming our way. I thank you in advance.


Can’t wait to see how all the painting turned out! Thank goodness for Frog Tape! It may take a while to set up but it saves time and mistakes in the long run.
Jessica, I know it takes awhile to tape during prep, but so worth it. I love taking it off and revealing off the pretty painted woodwork.
Painting is a lot of work! I can’t wait to see how this turns out.
Gotta love how paint transforms a space. Looking forward to what next week brings for you.
danielle
clarkandaldine.com
Danielle, thanks for visiting and commenting. Painting walls starts in full force this week.
Your dining room looks so spacious now and I love that you were able to find a perfect home for that gorgeous piece in your entry. Prepping is such a necessary pain, right? Looking forward to seeing your wall color choice!
Joy, it is so much more spacious. Of course, right now it’s a mess with paint supplies and drop cloths. Hopefully, this time next week, it will be back in some semblance of order.
I admire all the work you are doing. I don’t mind painting so much it is the prep work I hate! I can’t wait to see the next phase. Keep up the good work!
Thanks for joining Dishing It & Digging It each week. Love seeing your stuff, even if life has me hopping and I can’t always say thanks 🙂
Christine, you’re so sweet for acknowledging. Please link up at Happiness is Homemade on Sunday mornings.
Haha! My drooling lab is causing me to have to repaint all of my trim too. 😉 I didn’t realize how gross it was until I was painting the walls and all the areas at dog level are particularly gross…
Emy, we also have yucky build up on the hardwood floors in front of the windows. Layla is lucky I love her so much.
While I don’t mind painting so much, it is all the prep (and clean up) involved that I wish I could avoid! Looking forward to see the room all finished, gorgeous tablescapes and all!
Maureen, I know the prep takes up so much time, but it’s better than cleaning up paint mess ups.
I’m excited to see the new paint on the wall! Such a fun point in any room makeover! Can’t wait 🙂
Lindi, made my wall paint color decision and can’t wait to get it up on the walls.
I love this post bc it shows the real life work it takes to re-do a room. I agree about using a pillow to schooch around while painting trim. Can’t wait to see the finished product!
The pillow trick! I love that idea! I hate painting trim.
Brittany, sliding around the floor on a pillow and the drop cloth made prepping and painting the baseboards so much more comfortable and faster.
Jill, this is real life! My husband, who is very used to me painting furniture and accessories, asked me who was going to paint the walls. When I told him Me, he was a little sceptible, but I think he’s impressed with my prep and how well the window frames turned out. He of little faith!
It really is a process! I remember painting our entire kitchen, cabinets included and it was so tedious (all that prep work). But the finished product is always worth it! Can’t wait to see your final reveal. Thanks for sharing at Vintage Charm! xo Kathleen|Our Hopeful Home
Kathleen, I’m starting to impress myself. ust trying to be deliberate and careful with the prep.
Carol it looks so fresh and it does look a lot larger now that you removed the commode. I can’t wait to see what you do next!
Suzanne, thanks for visiting. I’m really excited with the way the room is looking, but I’ve only just begun. Lots of decisions on decor this week.
Carol, I thought the room was so pretty before but it’s going to turn out even better.
I laughed a little about you painting the baseboards. When you start painting trim, it never ends because one thing connects to another. I’ve made that glorious mistake before…it’s worth it though.
It’s a big job to paint out trim, but yours is looking great. Looking forward to seeing your colour on the walls! Great work.
Freshly painted windows are so pretty, the baseboard will make a huge difference once the room is painted. Good luck with the extra puppy help!
Paint prep is BRUTAL!! But kudos on doing it all properly – it’ll make a big difference in the final outcome!
Carol, oh my gosh reading this it’s like we were living parallel lives this past week! I had to take out all of my dishes too in order to move my credenza. After so much painting in the last challenge, it feels like riding a bike and I get in the zone.
Good luck with the rest of the project. I’ve run into some major snags, as you know. This goes SO fast 🙂 Can’t wait to see the reveal!
Wow! You have some lovely pieces in here. Good job taking the steps to protect them. I can’t wait to see how it all turns out!
You have done a great job getting all the leg work out of the way so you can move forward with a clean slate to design. I know for me this is not the fun part but it is still a part of the process. Good job!
I hear you about what an undertaking it is to repaint walls, especially when you have to move items in the room. You have such a great dining space. I can’t wait to see the reveal!
Hi Carol….Doesn’t it feel great to be on your way? Good luck with the painting. It’s going to look awesome. ~~Susie from The Chelsea Project